

Chapter Two: The Exploration
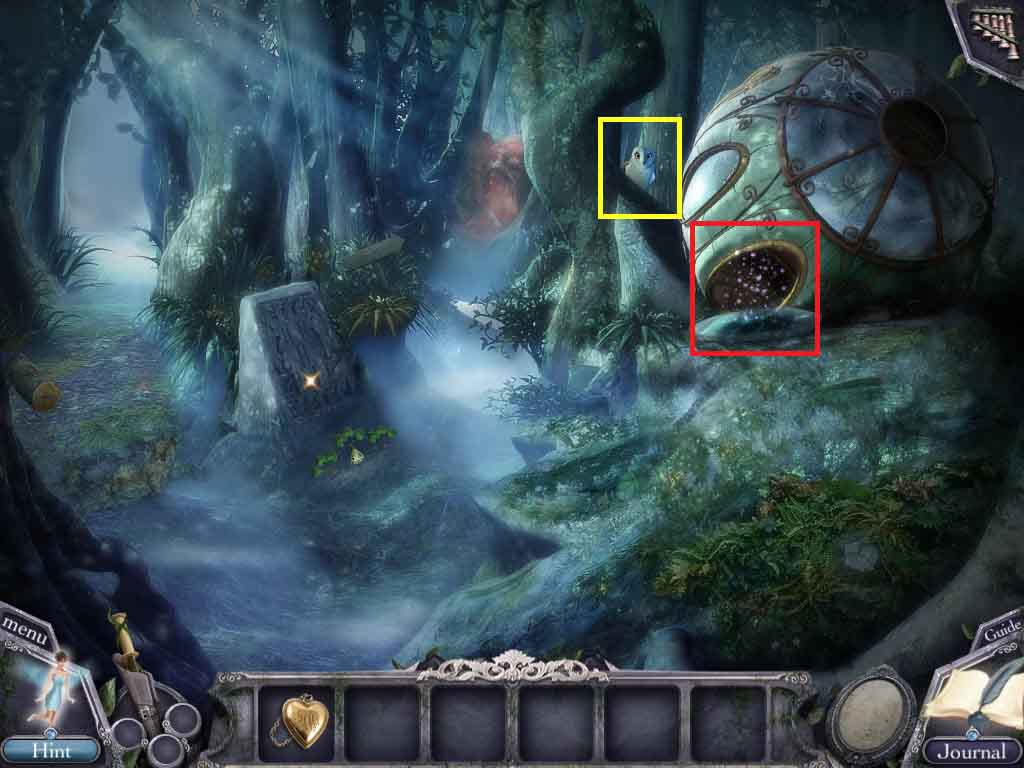
- Speak to the owl.
- Click the landing pod to access a hidden objects area.
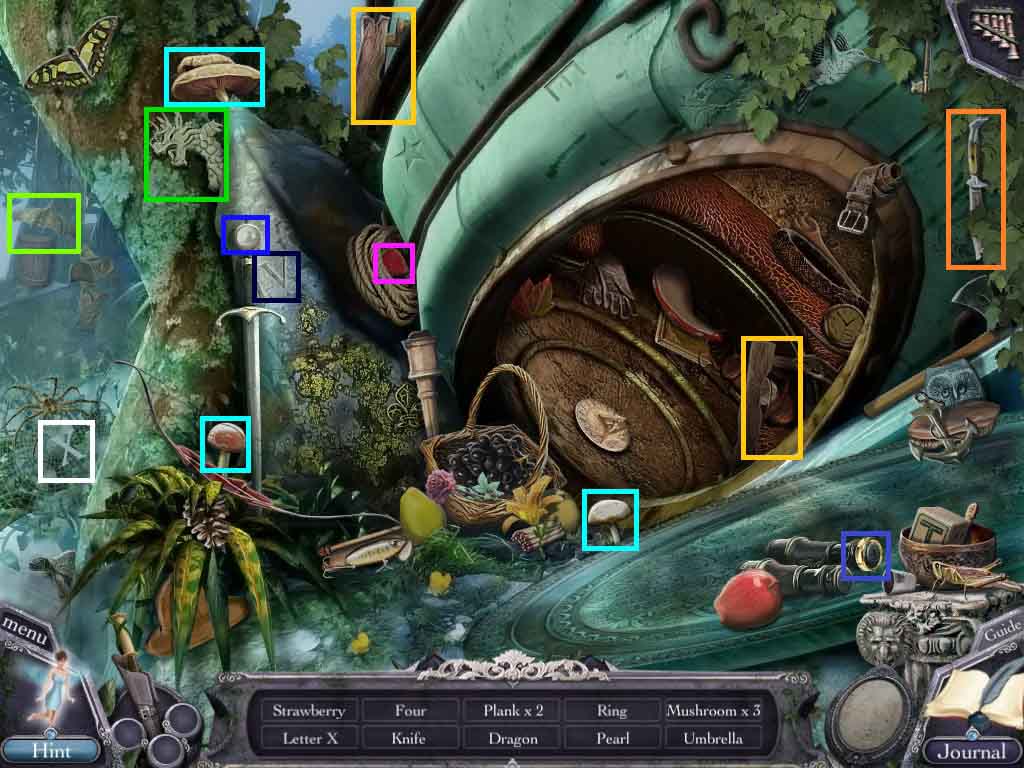
- Find the listed items.
- Collect the 2 wooden planks.
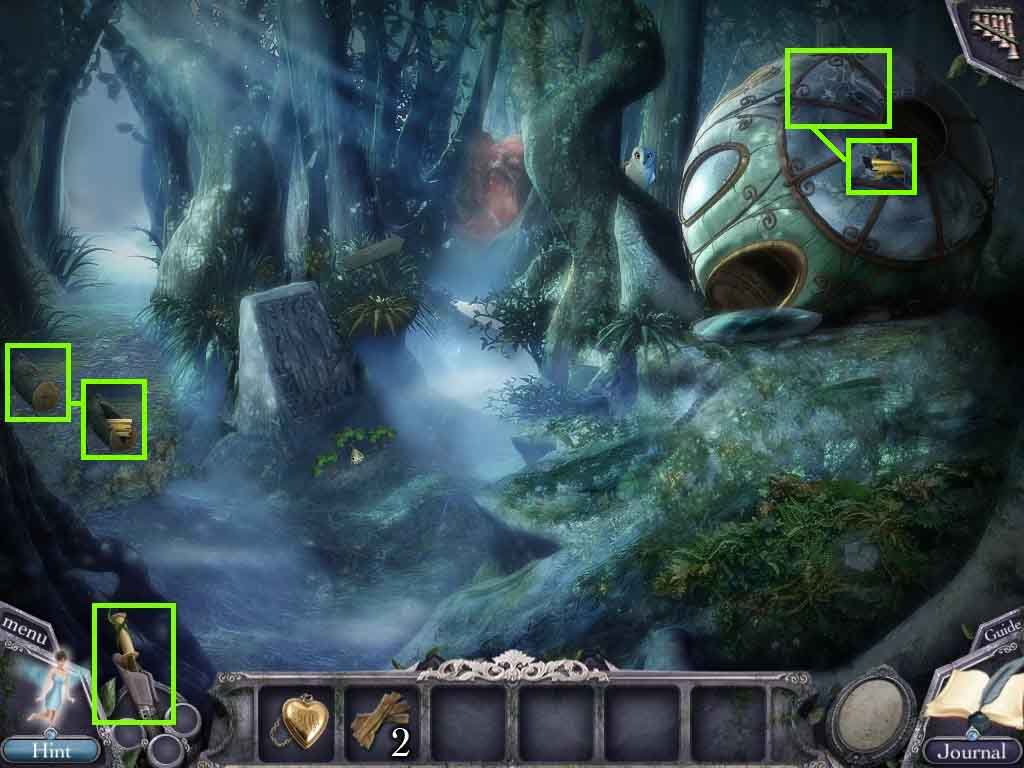
- Select the magic wand; use it to crack the log.
- Collect the portrait piece 1 /10.
- Select the magic wand; use it to break the window.
- Collect the portrait piece 2 / 10.
- Go to the middle path to the Spider Forest.
- Click the log to access a hidden objects area.
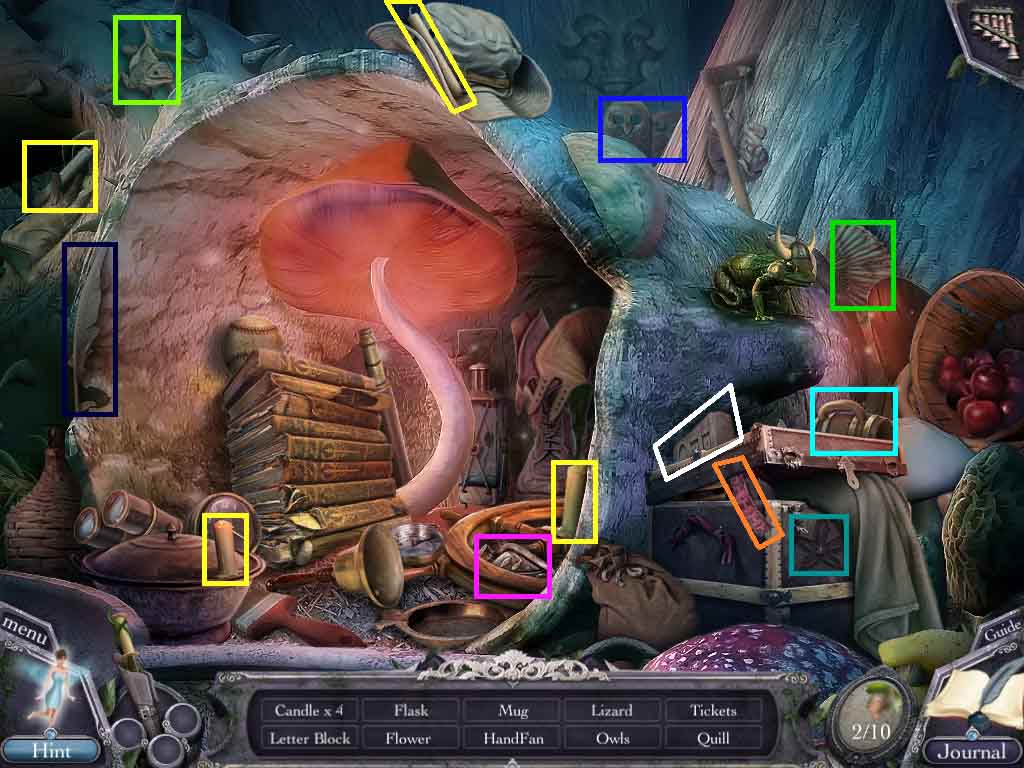
- Find the listed items.
- Collect the glyph stone 1 / 3.
- Move through the skull path to the Swamp area.
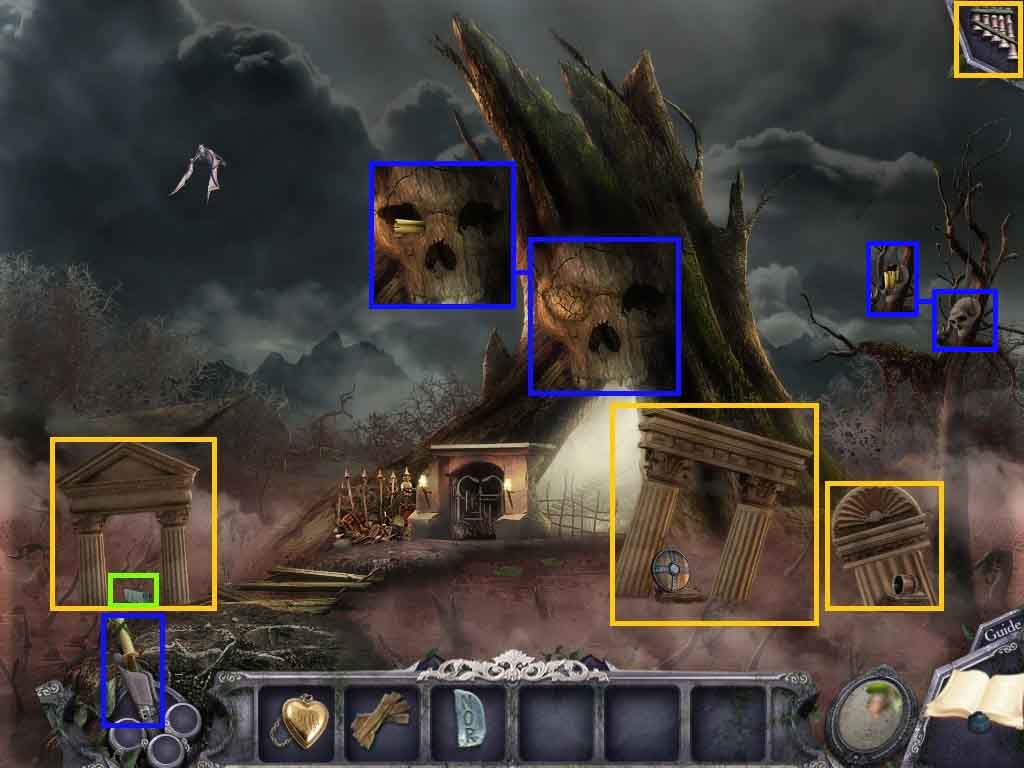
- Use the dragon’s flute to move the 3 monuments.
- Collect the glyph stone 2 / 3.
- Select the magic wand and use it on the skull eye; collect the portrait piece 3 / 10.
- Select the magic wand and use it on the skull; collect the portrait piece 4 / 10.
- Move to the Crash Landing pod area.
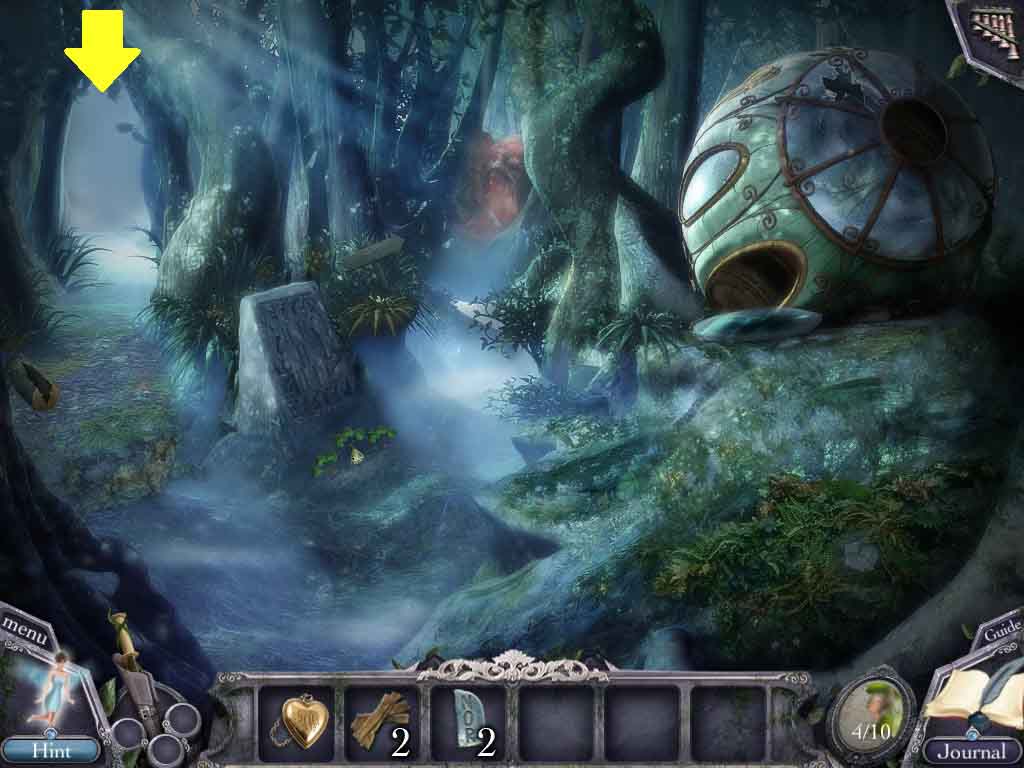
- Move to the left path to the dock area.
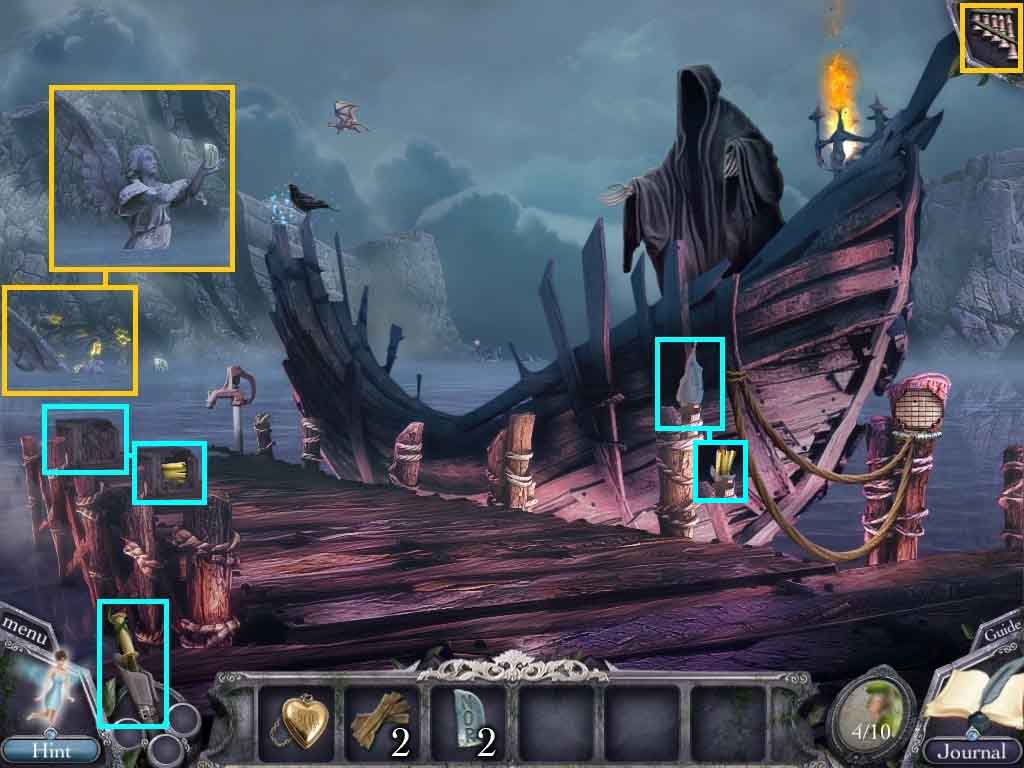
- Select the magic wand and use it on the crate; collect the portrait piece 5 /10.
- Select the magic wand and use it on the ice flame; collect the portrait piece 6 /10.
- Use the dragon’s flute to move the statue out of the water.
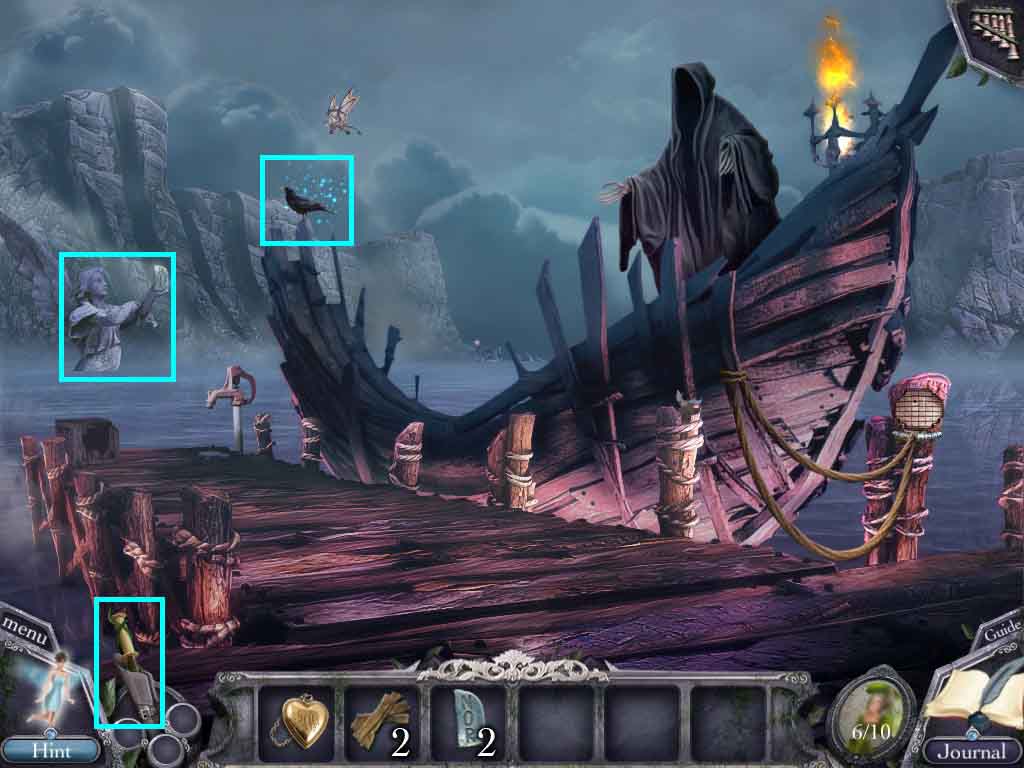
- Select the magic wand and use it on the crow and then click the statue.
- Collect the glyph stone 3 / 3.
- Move to the Crash Landing pod area.
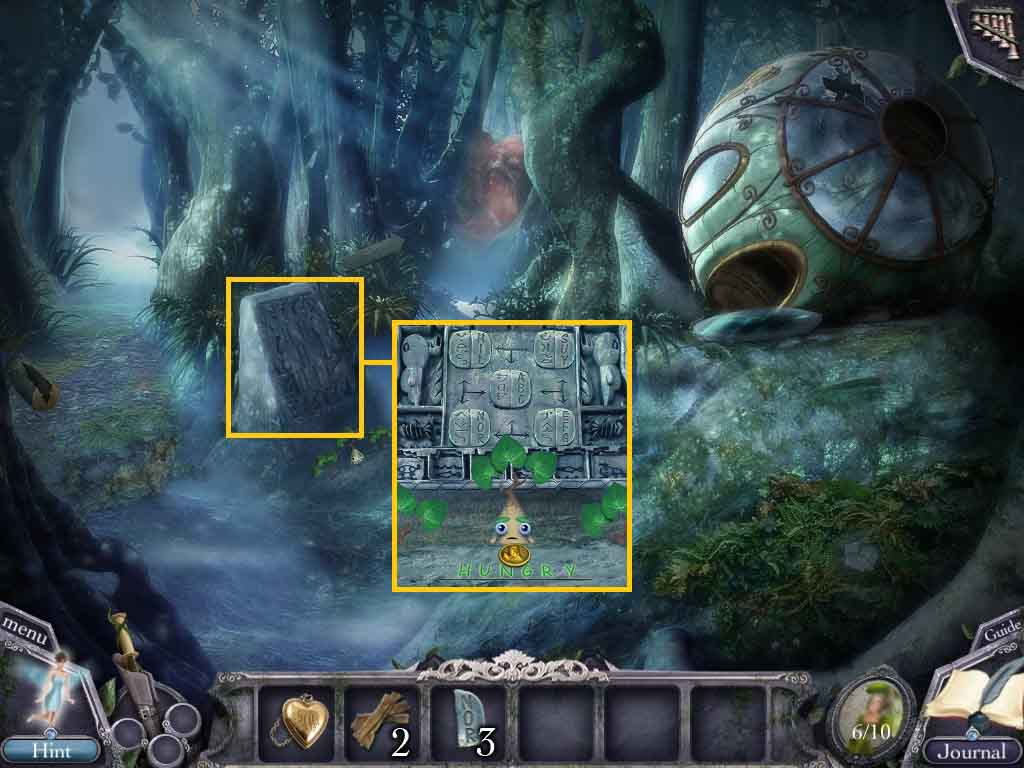
- Click the stone tablet; insert the 3 glyph stones to trigger a mini-game.
- Move the glyph stones into the correct order; collect the coin.
- Move to the dock area.
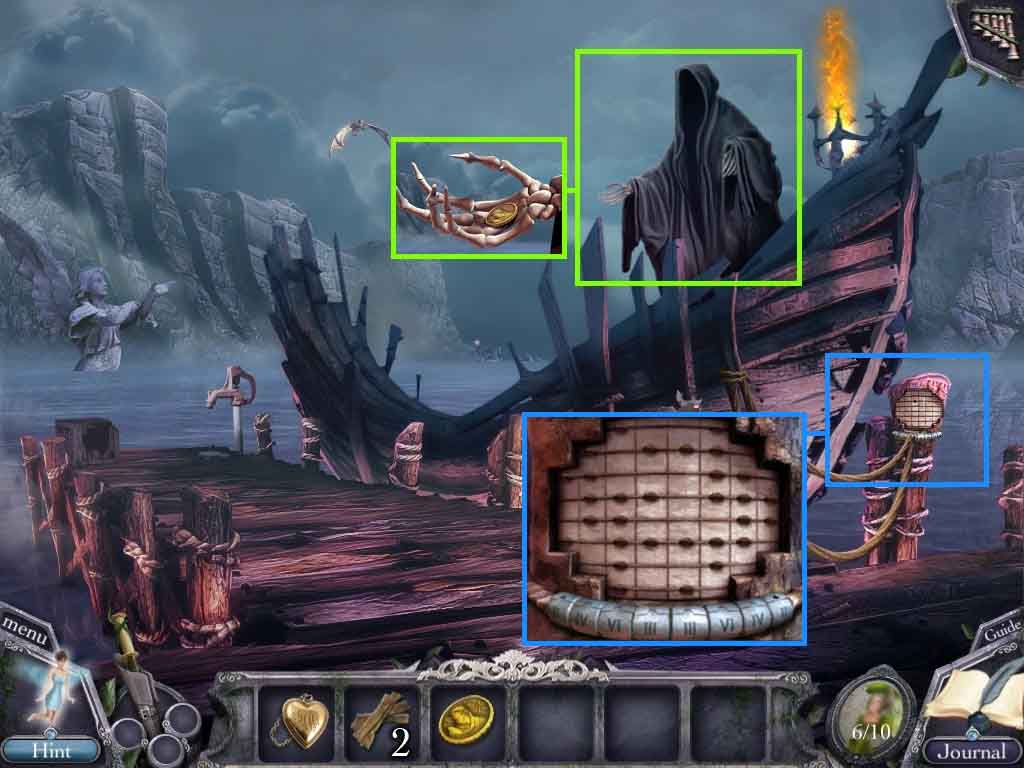
- Click the boatman and place the coin in his hand.
- Click the ropes to play a mini-game.
- Move the beads to reflect the number listed at the bottom of the column.
- Move to the Castle Waterfalls area.
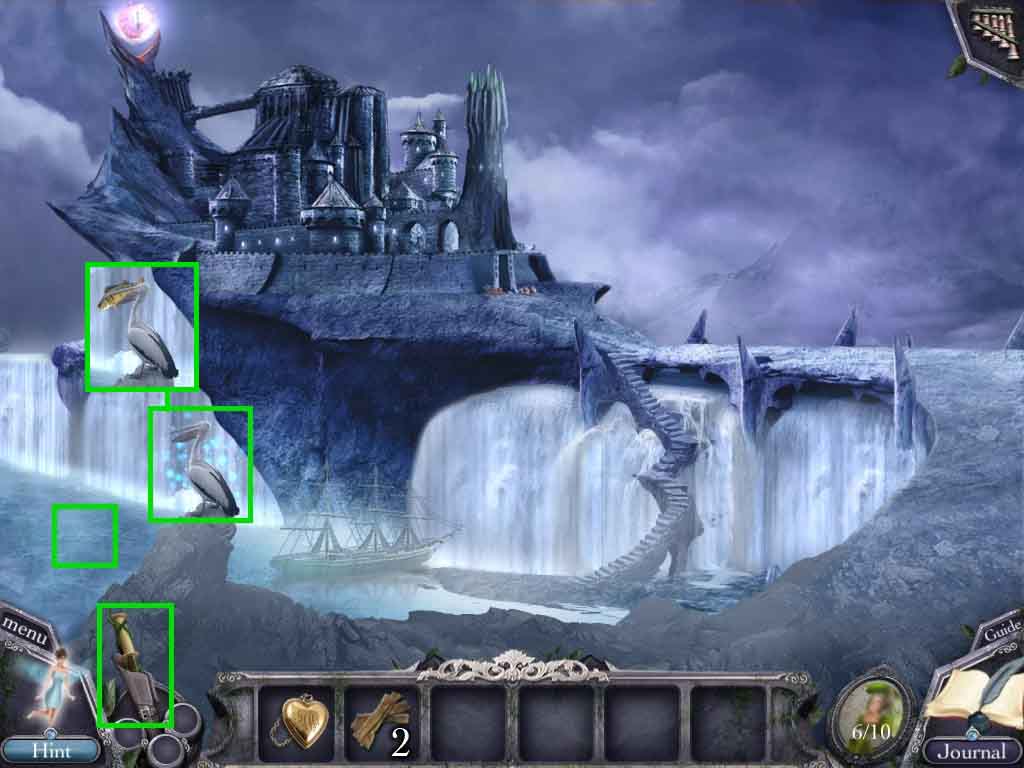
- Select the magic wand and use it on the pelican and the click the fish below.
- Collect the fish from the pelican.
- Move to the Wall of Faces.
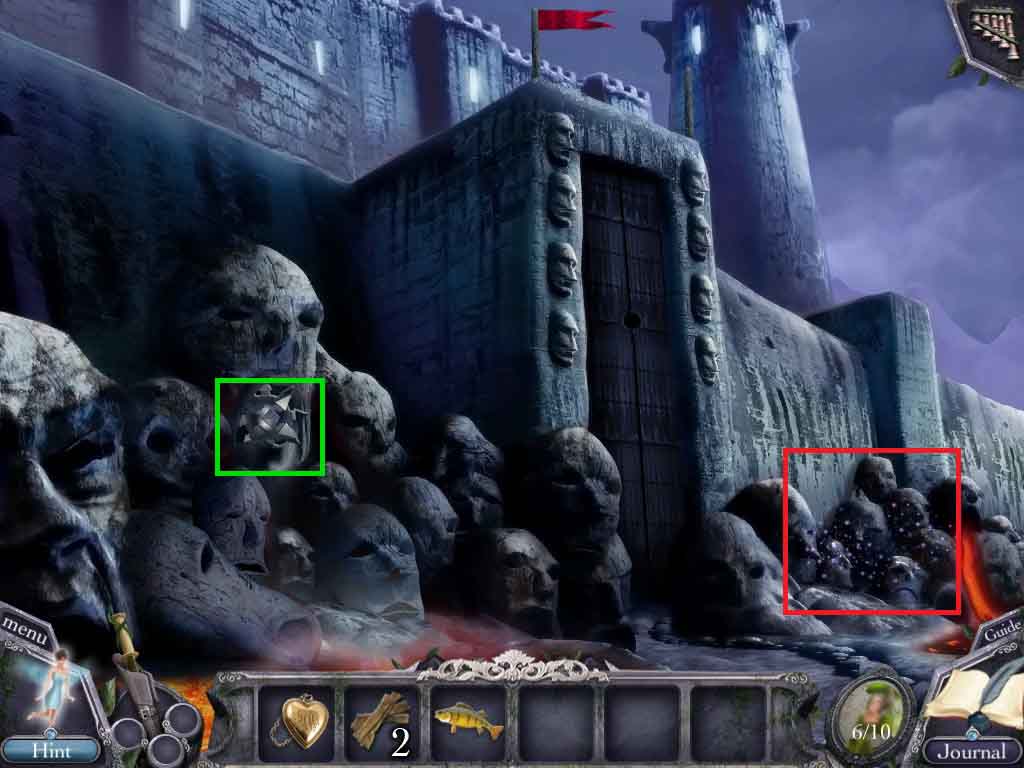
- Collect the mace ball from the stone head.
- Click the other stone head to access a hidden objects area.
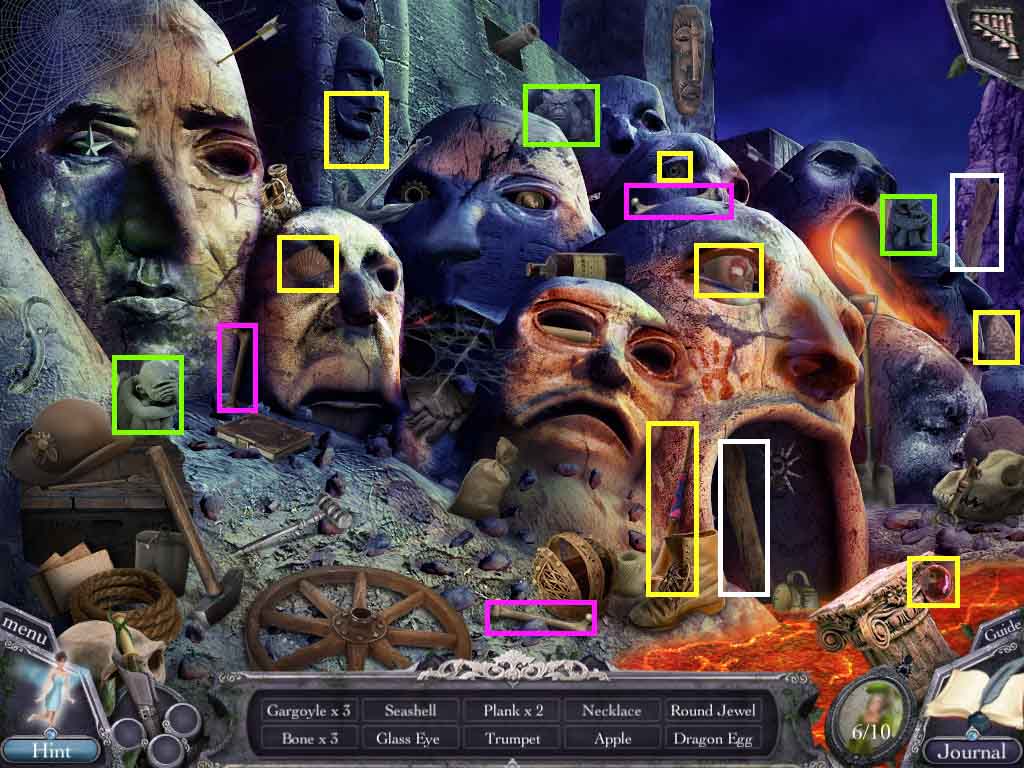
- Find the listed items.
- Collect the 2 wooden planks.
- Move to the Crash Landing area.
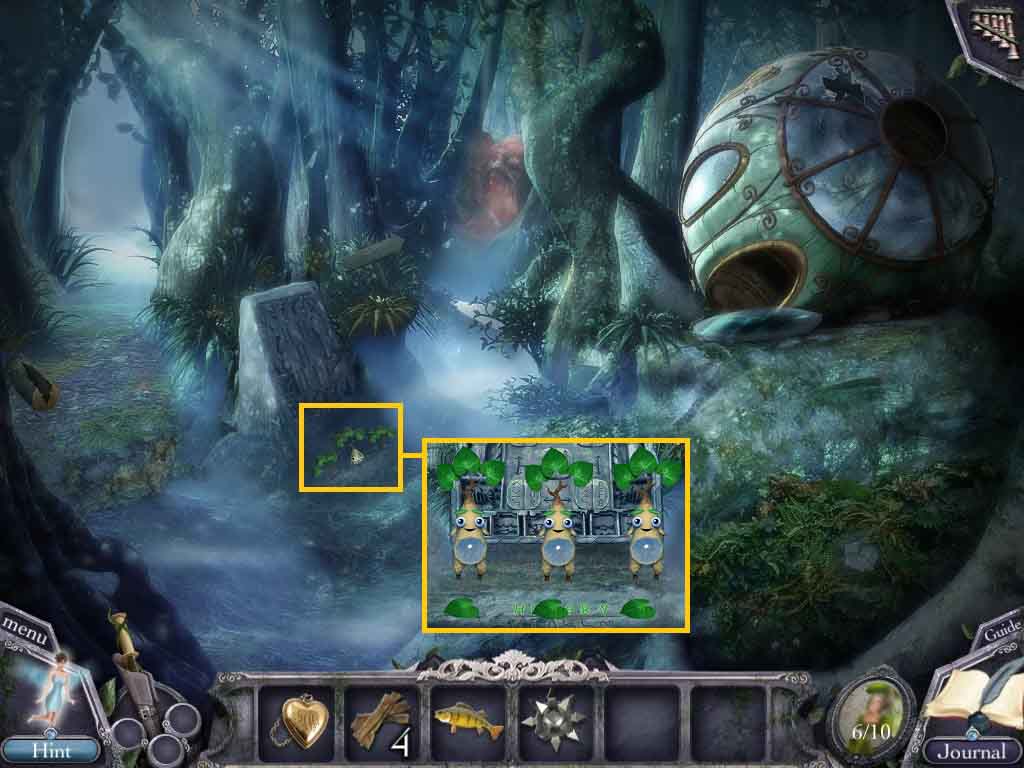
- Click the stone tablet.
- Give the mandrake the fish.
- Collect the leaves.
- Move to the Swamp area.
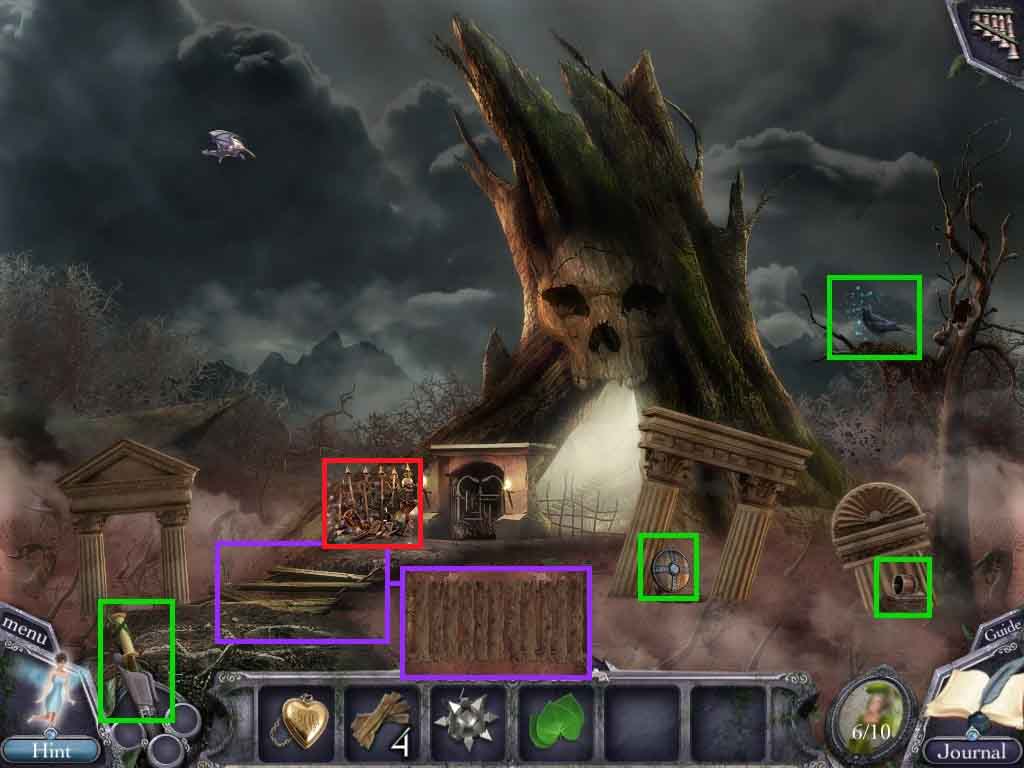
- Select the magic wand and use it on the crow; collect the shield.
- Select the magic wand and use it on the crow; collect the empty bucket.
- Click the broken bridge; insert the 4 wooden planks to trigger a mini-game.
- Place the planks into the correct alignment.
- Click the fence to access a hidden objects area.
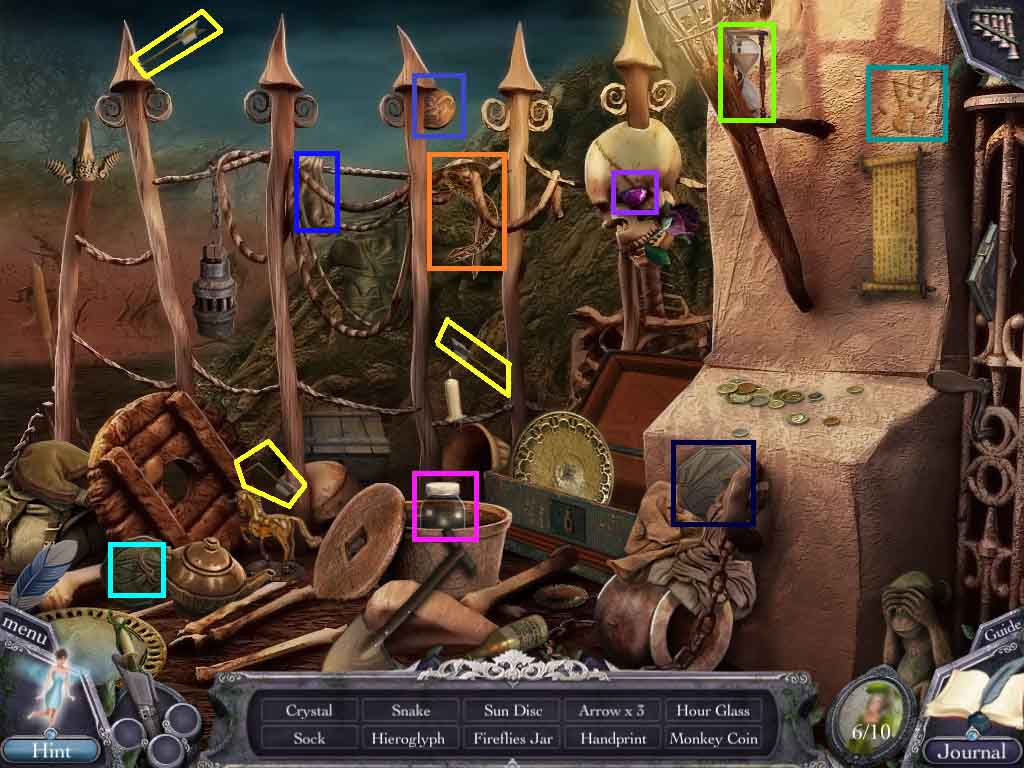
- Find all the objects to collect fireflies.
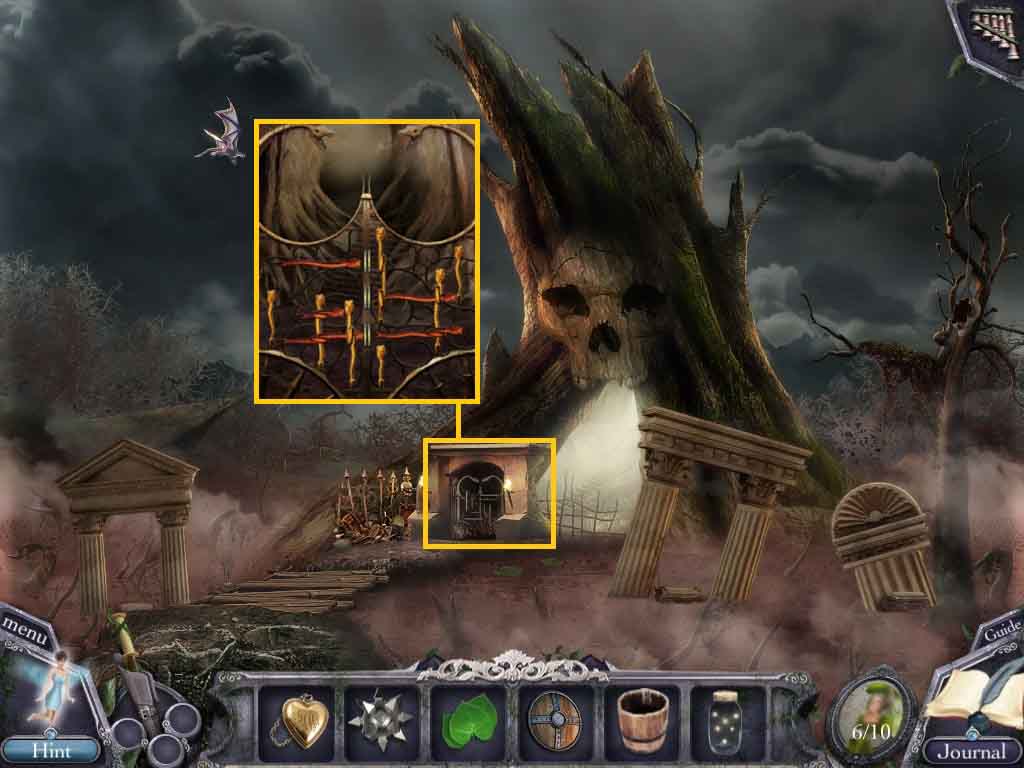
- Click the gate to access the snake lock puzzle.
- Move the snakes in the correct order to unlock the gate.
- Move to the Spider Forest area.
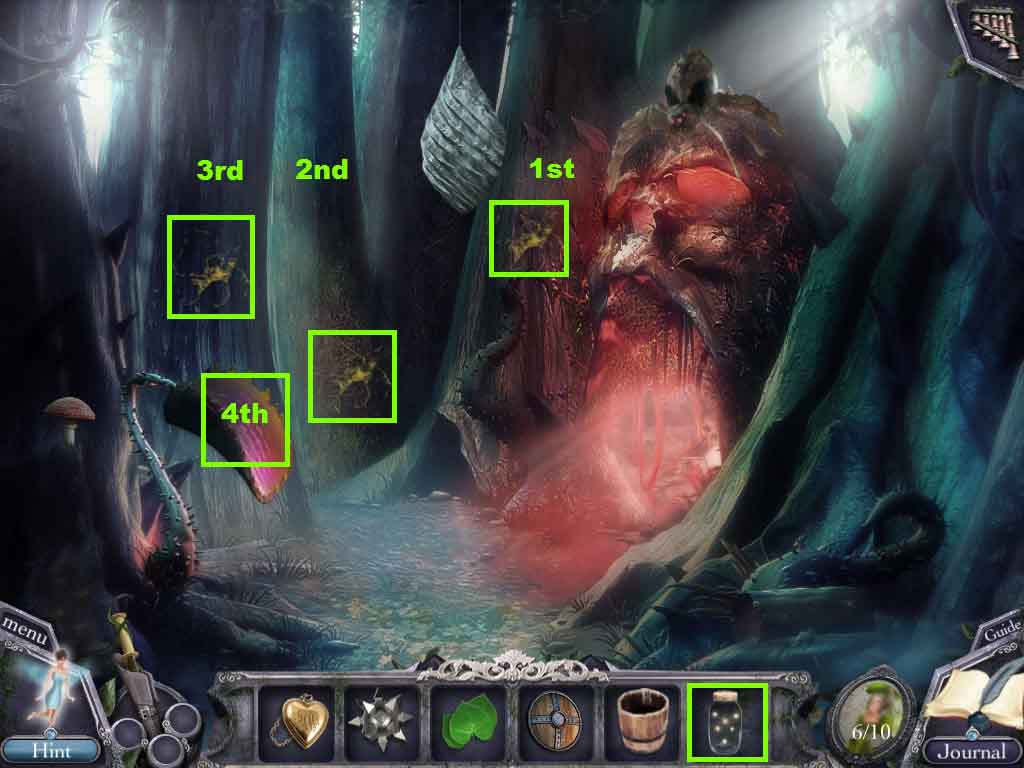
- Use the fireflies on the tree sap in the following sequence.
- 1st: The tree on the right
- 2nd: The center tree
- 3rd: The tree on the left
- 4th: The snapping plant.
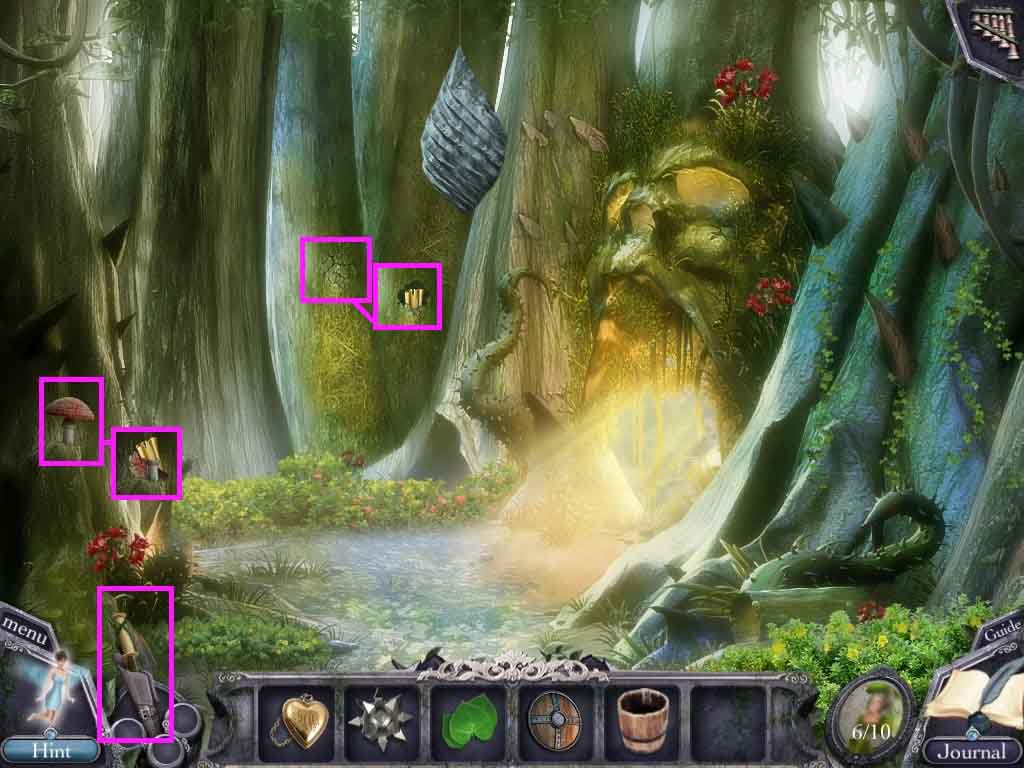
- Select the magic wand and use it on the mushroom; collect the portrait piece 7 /10.
- Select the magic wand and use it on the cracked tree; collect the portrait piece 8 /10.
- Move to the dock area.
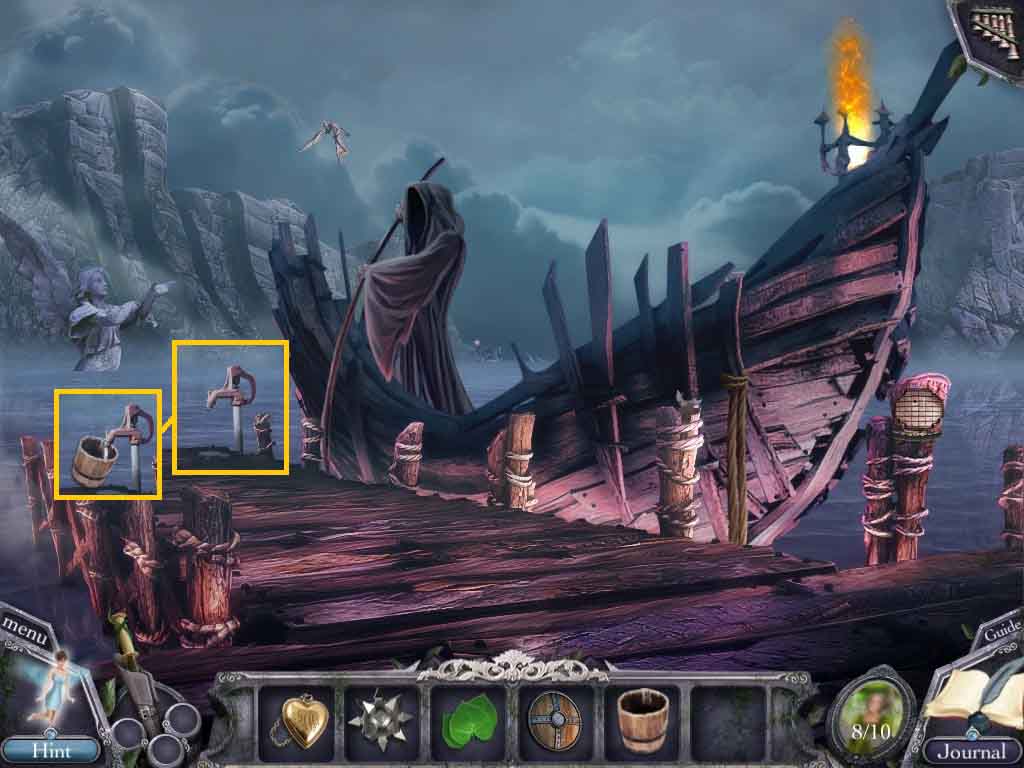
- Place the empty bucket into the water faucet; collect the bucket of water.
- Move to the Spider Forest area.
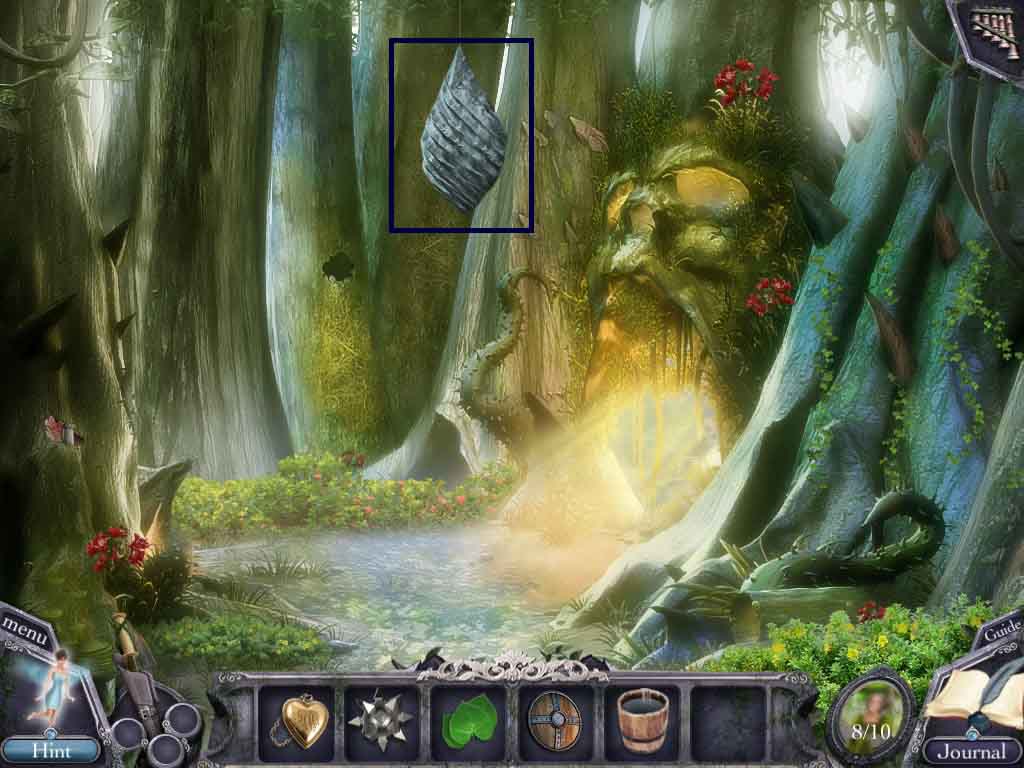
- Pour the bucket of water on the spider cocoon to release the mandrakes.
- Follow the mandrakes to the Swamp area.
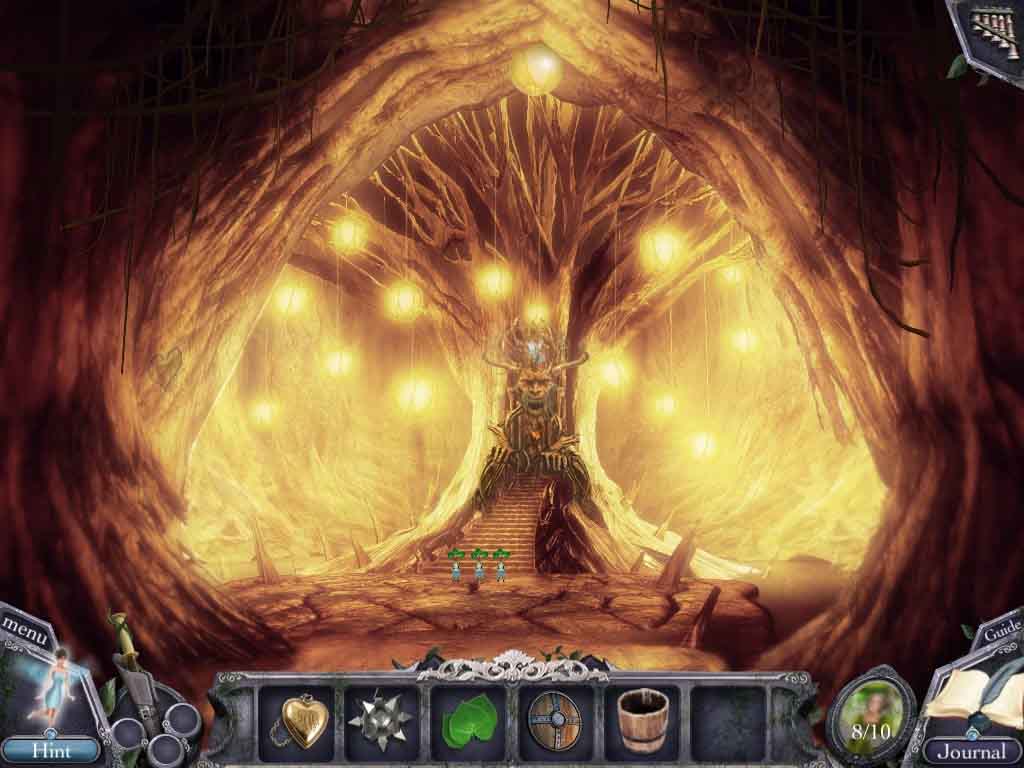
- Move into the Tree Temple.
Comments will load when you reach this part of the walkthrough.