
Chapter Eight: The Last Masquerade
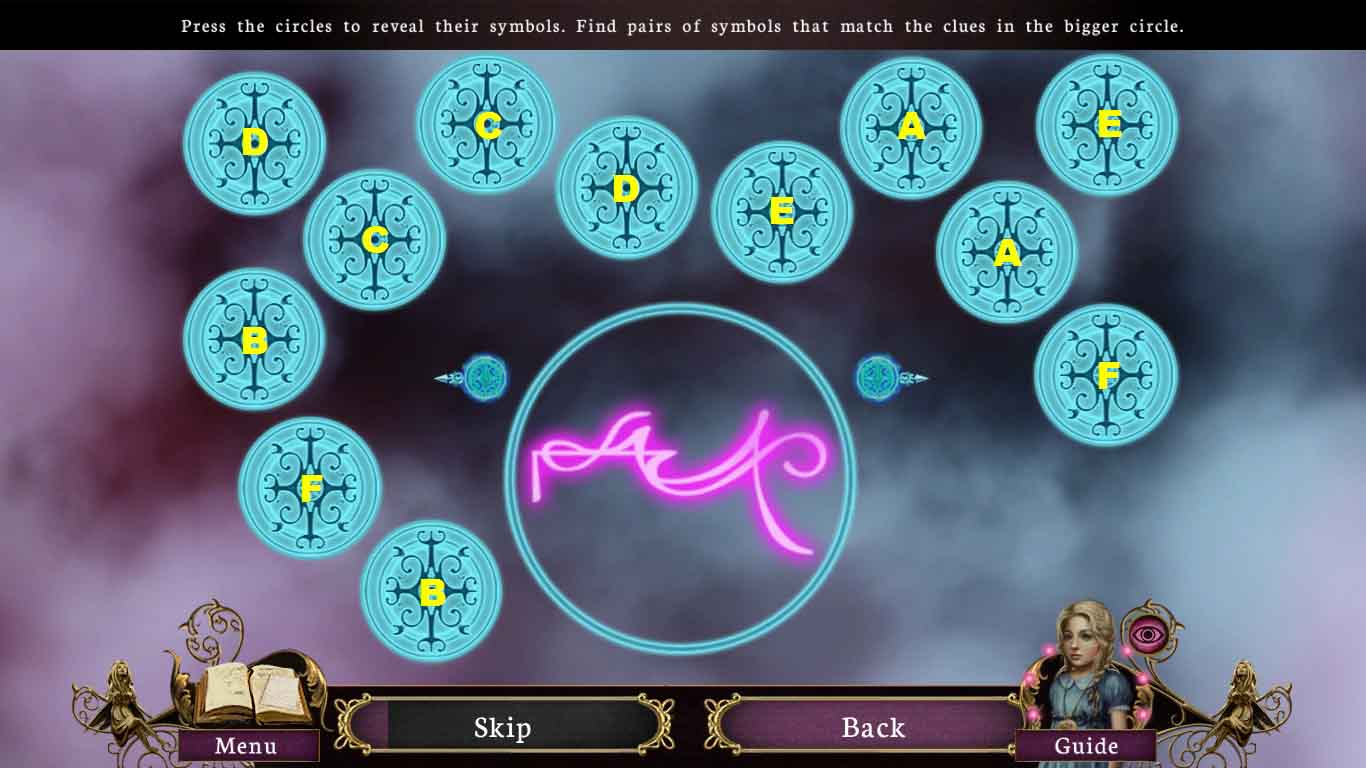
- Solve this puzzle by matching the pairs (A-F).
- If the game is exited then the icons will be randomized.
- Shuffle through the various icons using the arrow button.
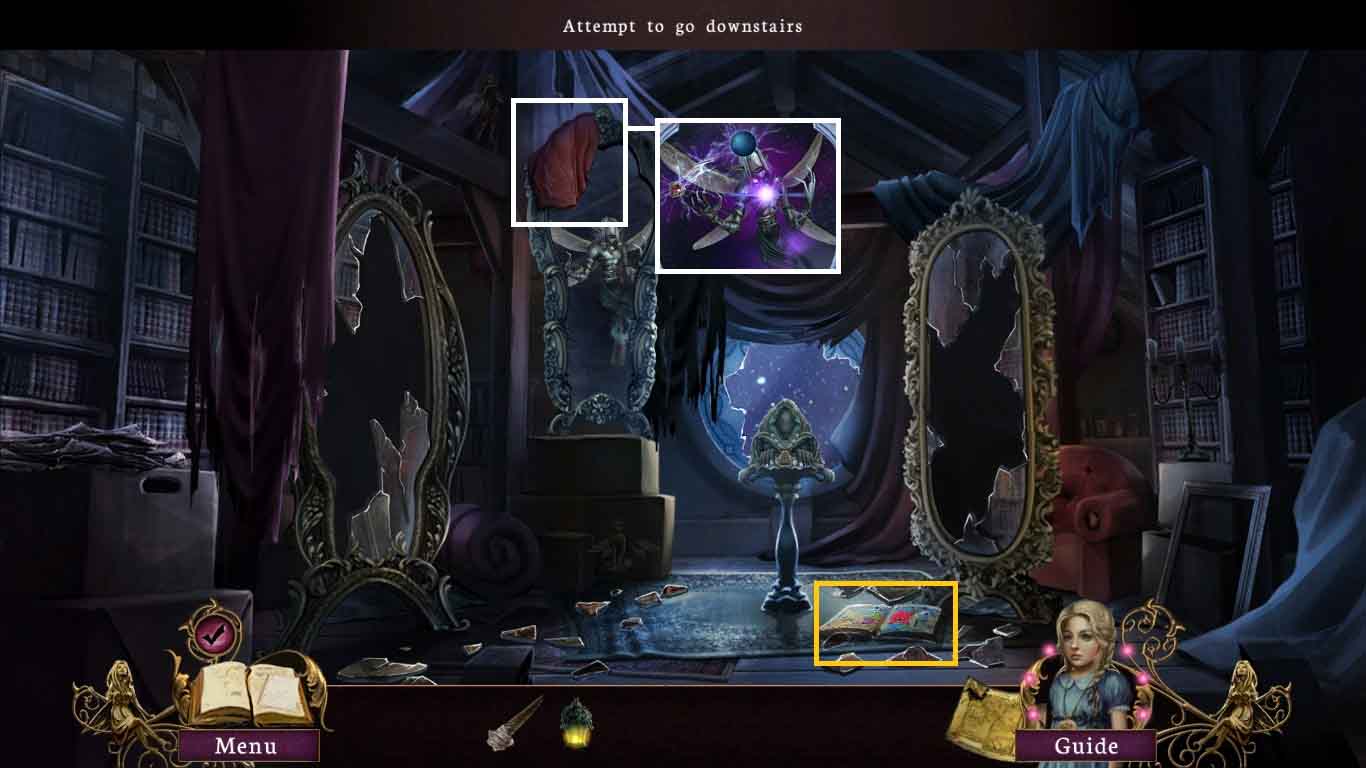
- Examine the mirror.
- Select the scrap of cloth and click the mirror.
- Examine the book.
- Play the hidden objects scene.
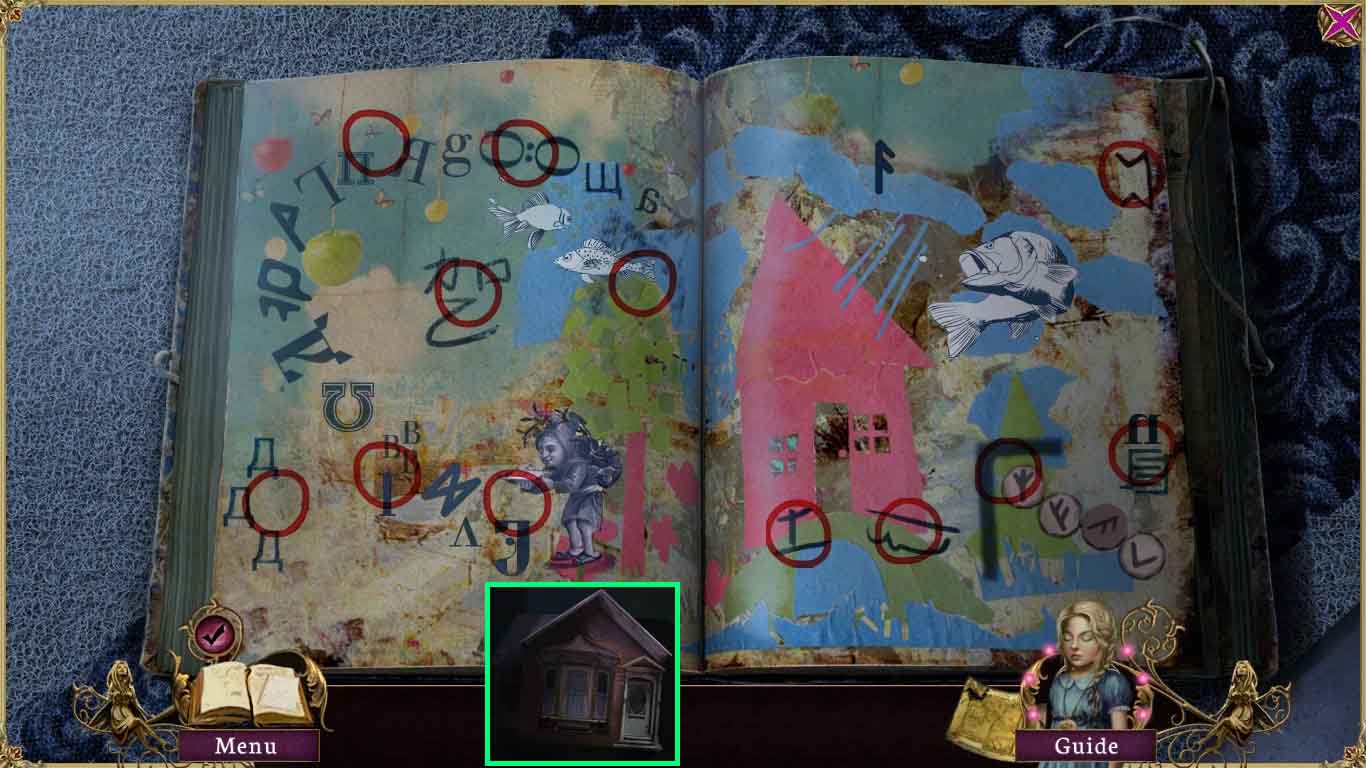
- Uncover the 12 fragmented items.
- Click the pages 3 times; collect the house statuette.
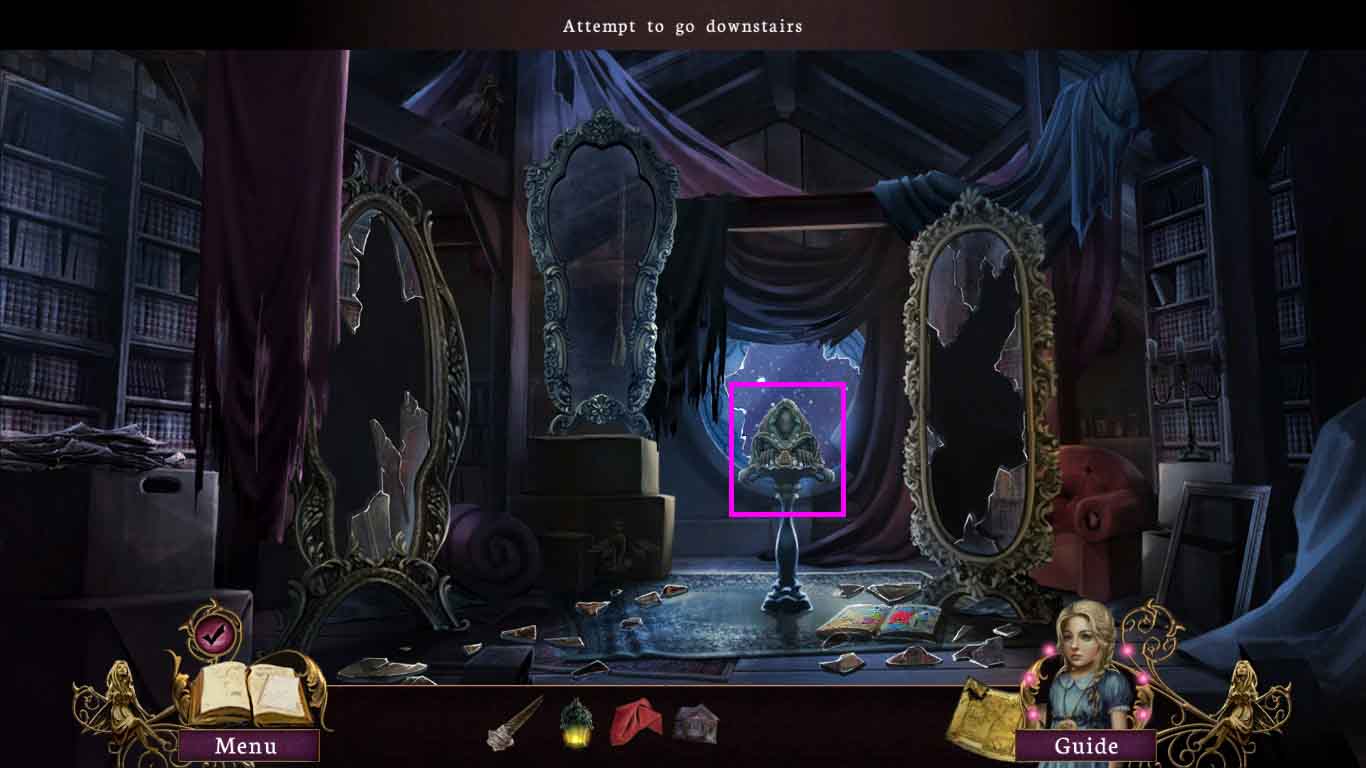
- Examine the navigation device.
- Place the house statuette down.

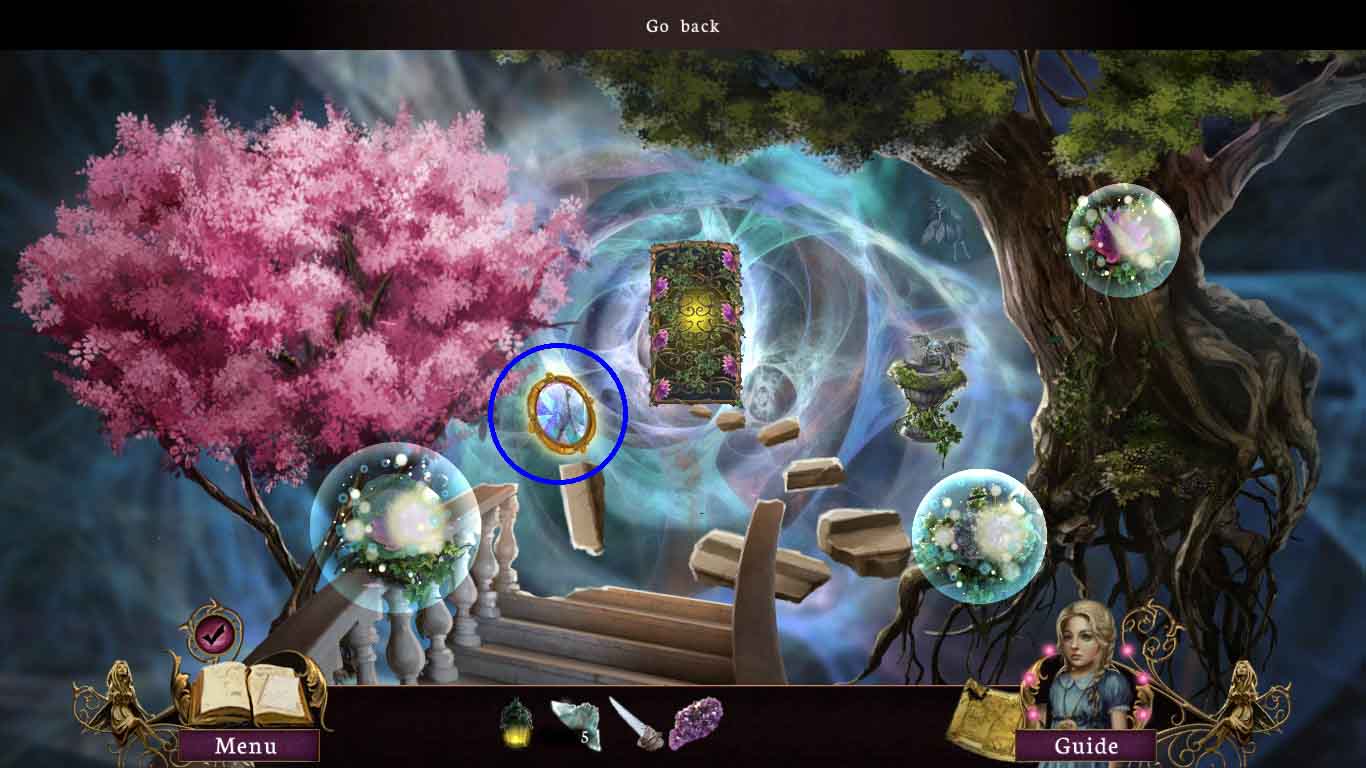
- Move through the portal.
- Collect the 1st mirror fragment using the scrap of cloth.
- Collect the uncharged stone.
- Examine the 3 buds; use the lantern to light all of them.
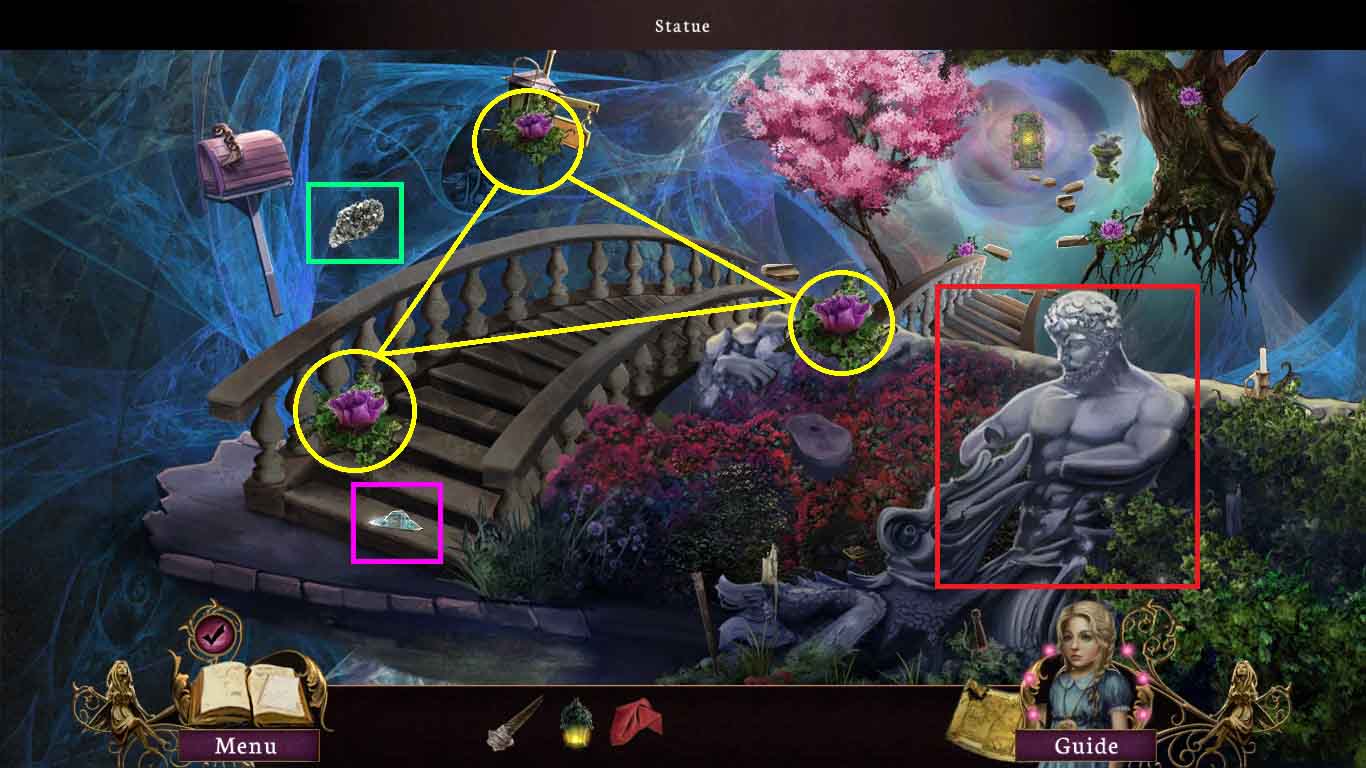
- Examine the statue.
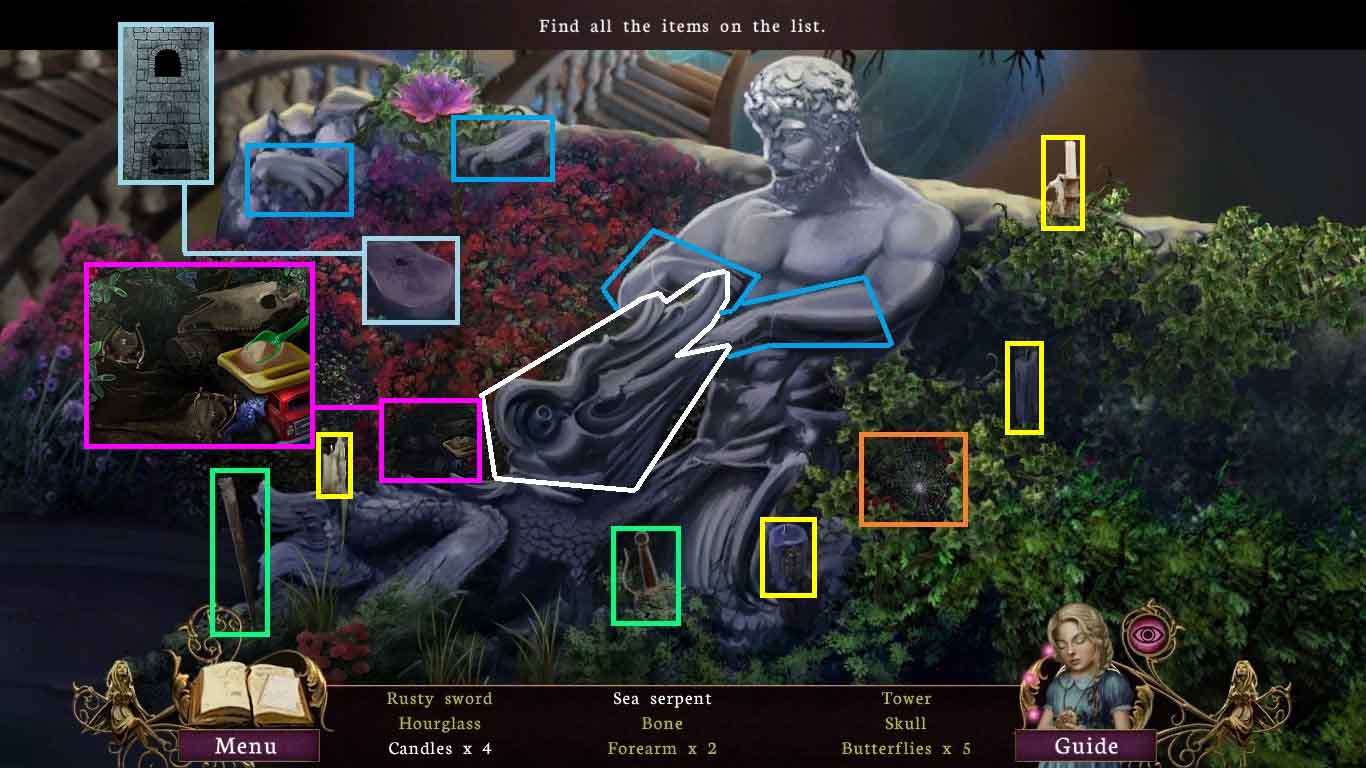
- Play the hidden objects scene.
- Examine the rock; clear the leaves.
- Move the sticks to a tower shape and collect the tower.
- Examine the cobweb; collect the 5 butterflies.
- Collect the sword hilt; place it onto the sword.
- Collect the rusty sword.
- Select the 2 hands and place them onto the statue’s arm; collect the 2 forearms.
- Examine the toys; collect the bone.
- Attach the 2 skull halves; collect it.
- Select the sand and fill the broken hourglass.
- Attach the 2 hourglass halves.
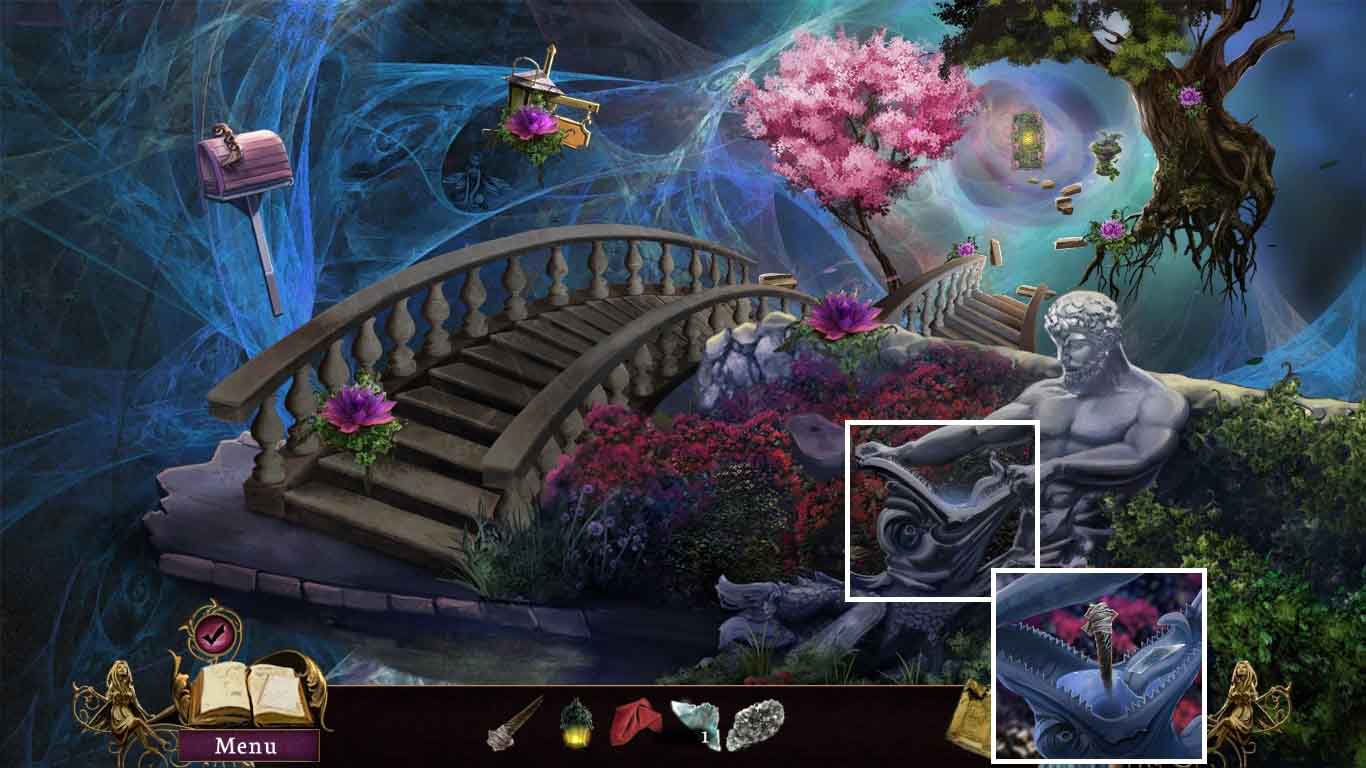
- Examine the statue.
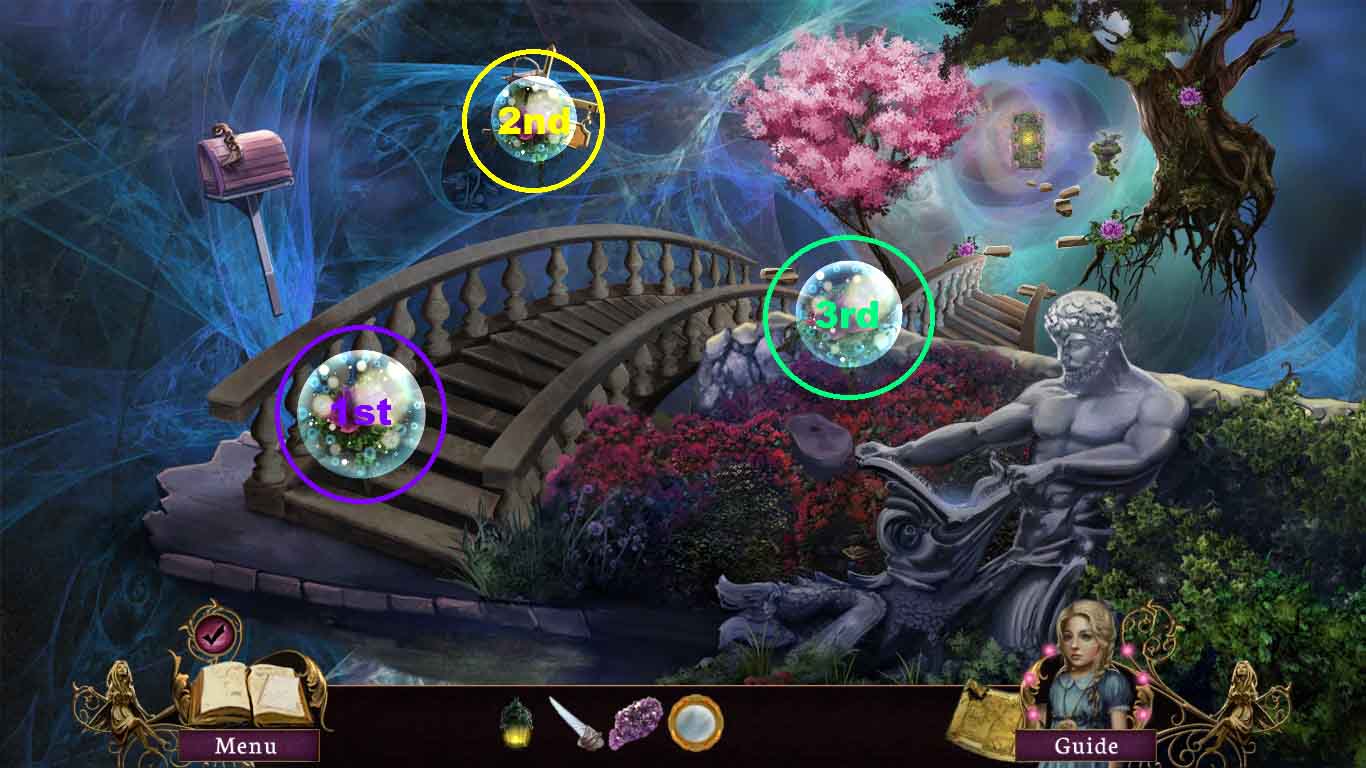
- Using the scrap of cloth; collect the 2nd mirror fragment.
- Insert the blade into the mouth.
- Collect the charged blade.
- Go forward.
- Examine the 3 magical buds.
- Light them using the lantern.
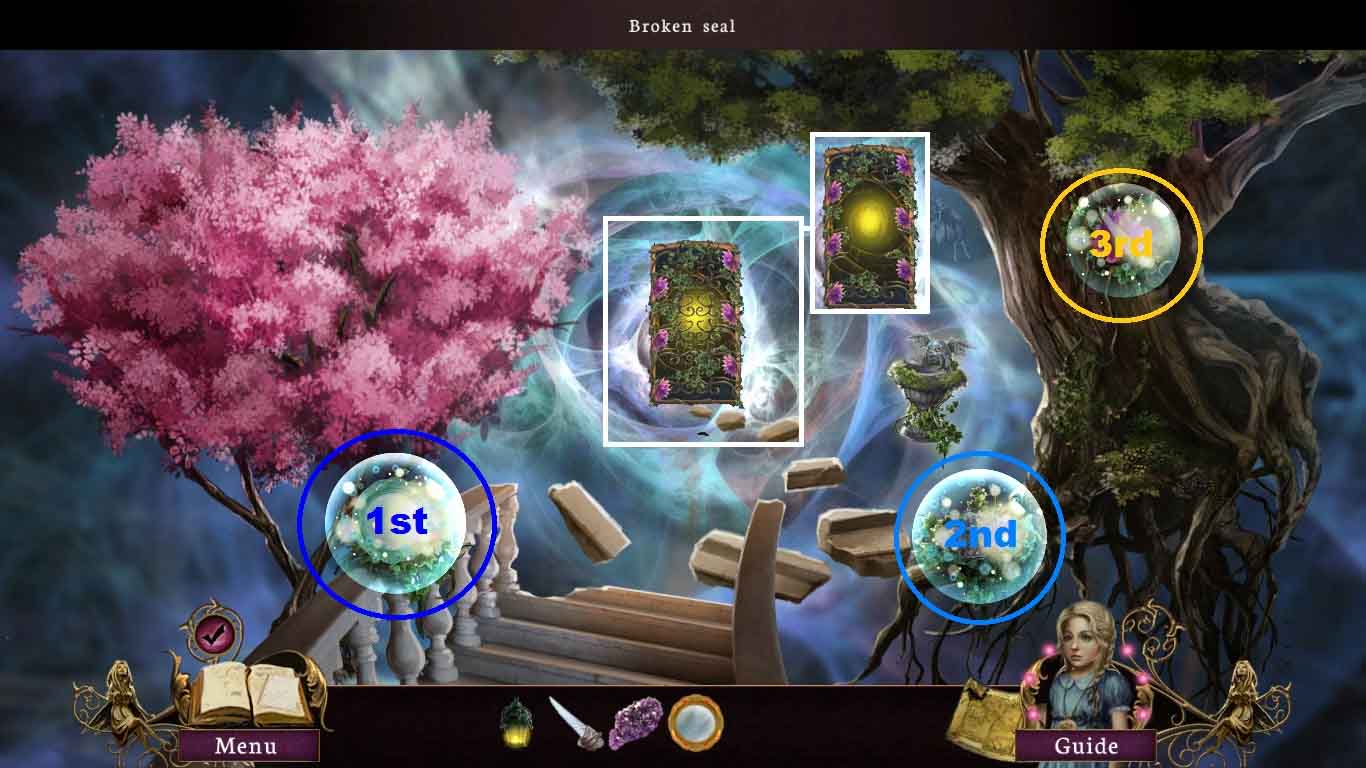
- Examine the door.
- Collect the 3rd and 4th mirror fragments using the scrap of cloth.
- Examine the birdbath; insert the uncharged stone.
- Play the mini-game.
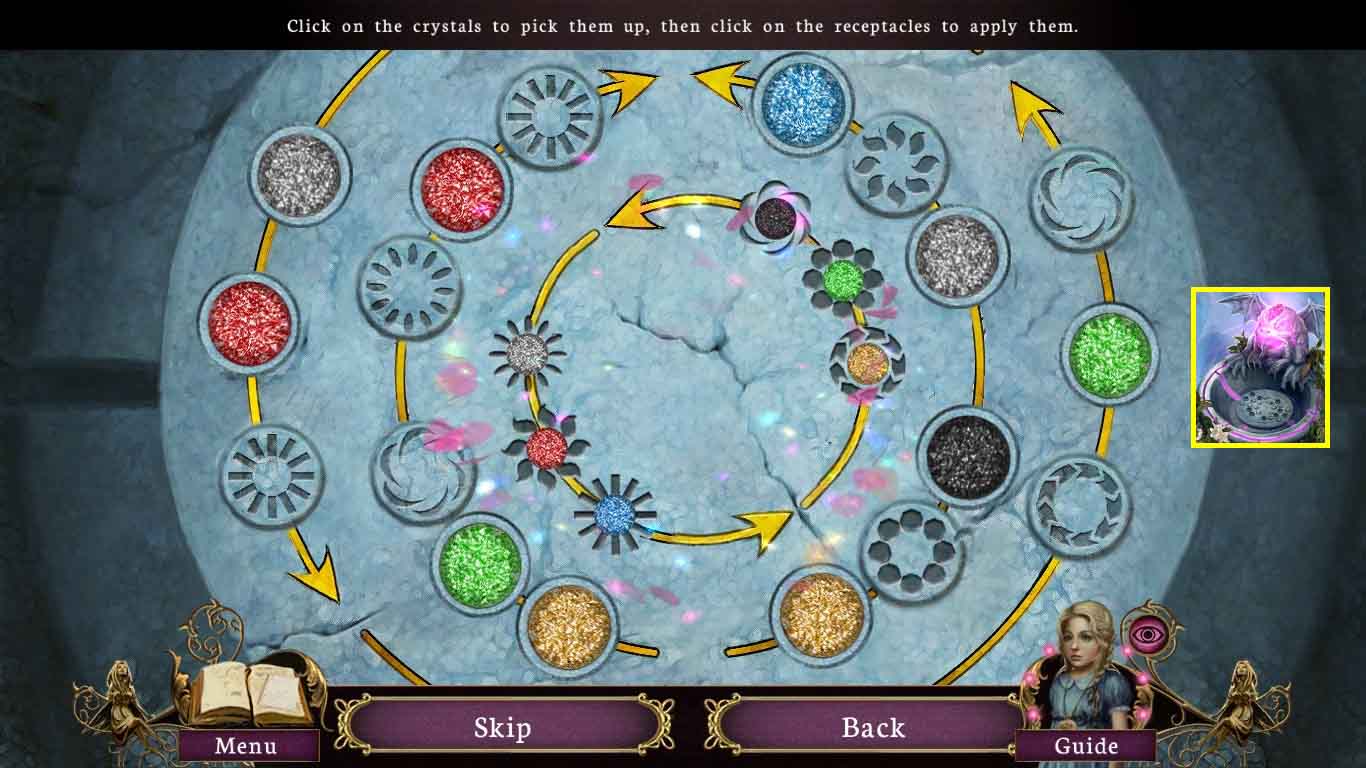
- Solve this puzzle by selecting the colored crystals and placing them into the correct slots.
- Use the icons and arrows as clues.
- Collect the charged crystal.
- Collect the 5th mirror fragment using the scrap of cloth.
- Examine the mirror; insert the 5 mirror fragments.
- Collect the mirror.
- Move down one time.
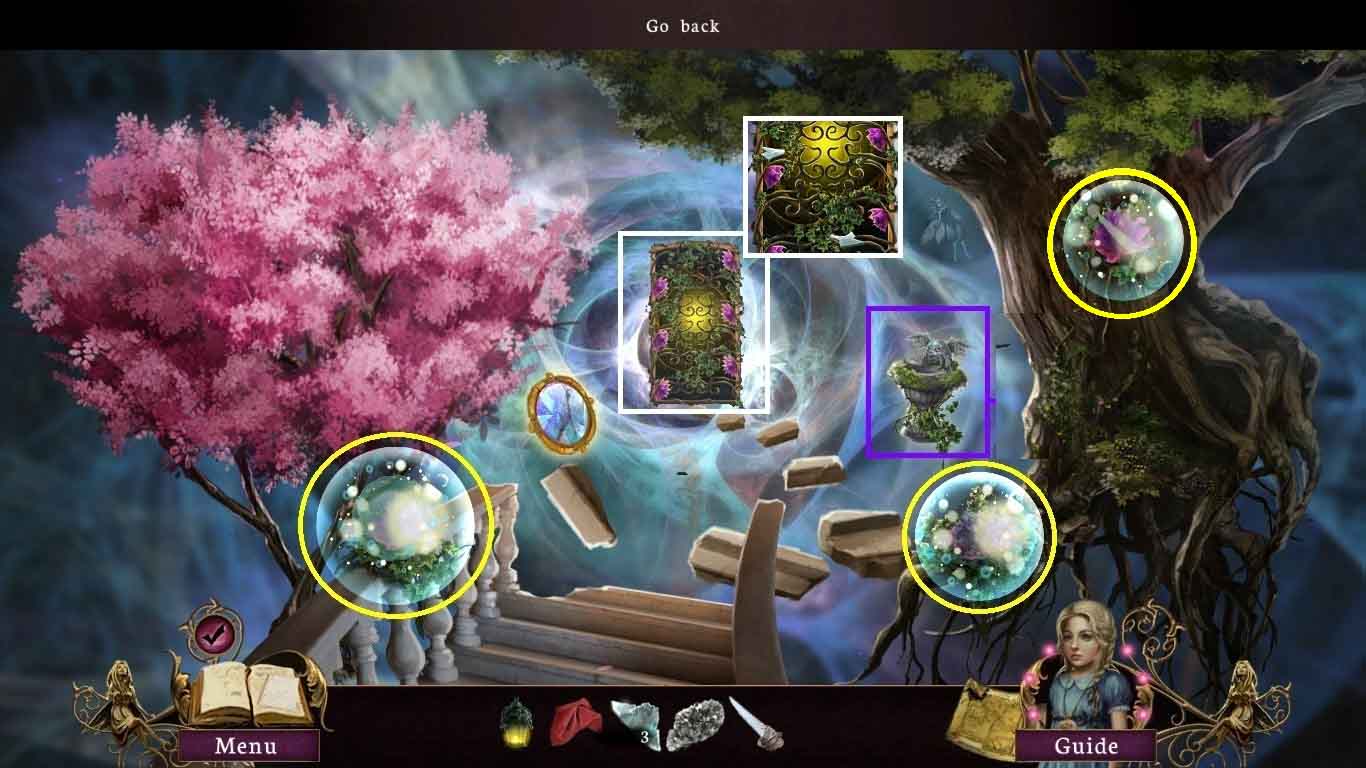
- Examine the 3 flowers.
- Insert the charged crystal into the 1st magical bud.
- Insert the charged blade into the 2nd magical bud.
- Insert the mirror into the 3rd magical bud.
- Go forward.
- Examine the 3 flowers.
- Insert the mirror into the 1st flower.
- Insert the charged crystal into the 2nd flower.
- Insert the charged blade into the 3rd flower.
- Examine the door, move back and re-enter the door.
- Play the mini-game.
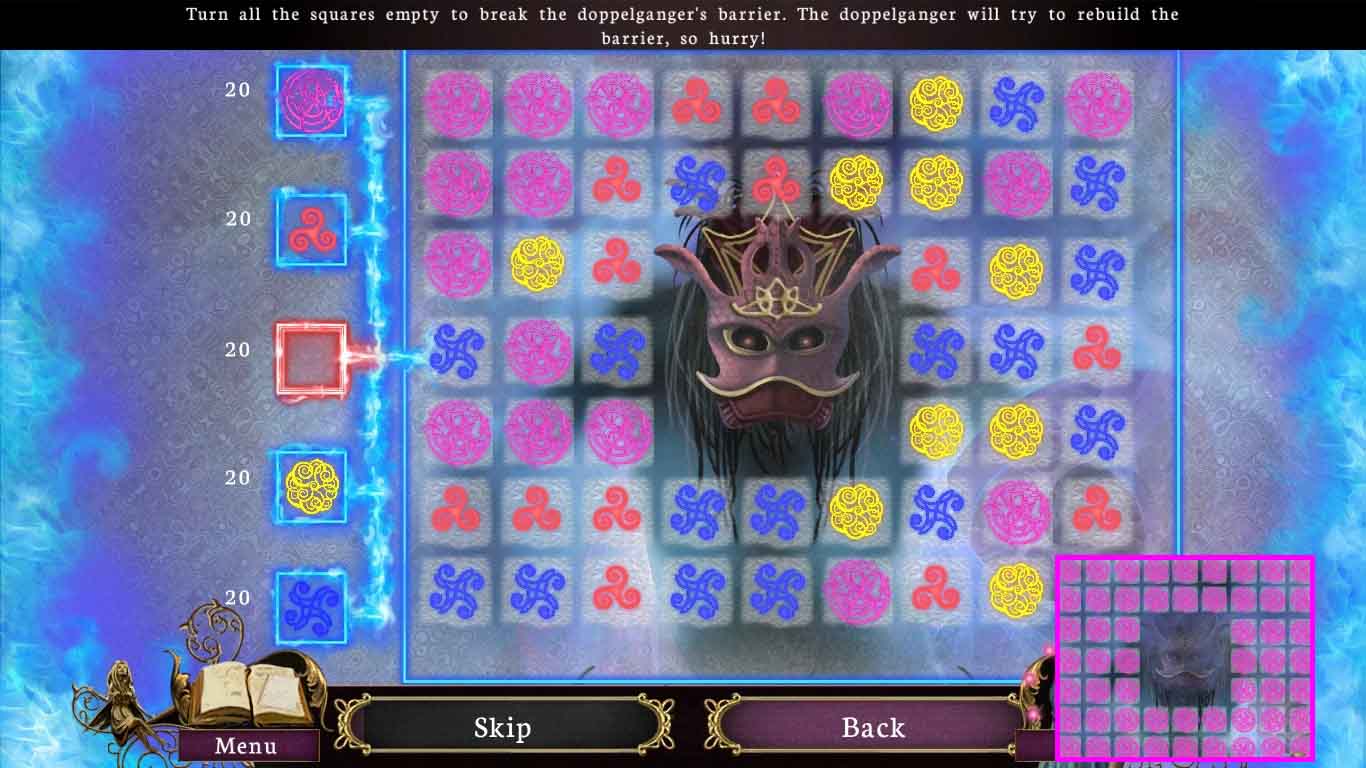
- Solve this puzzle by changing all the squares the same color.
- Click the button to clear all the squares from the board.
- Notice the squares that have been already turned due to the doppelganger’s attempts to block your forward movement.
- Hold the mirror next to the doppelganger.
- Play the mini-game.
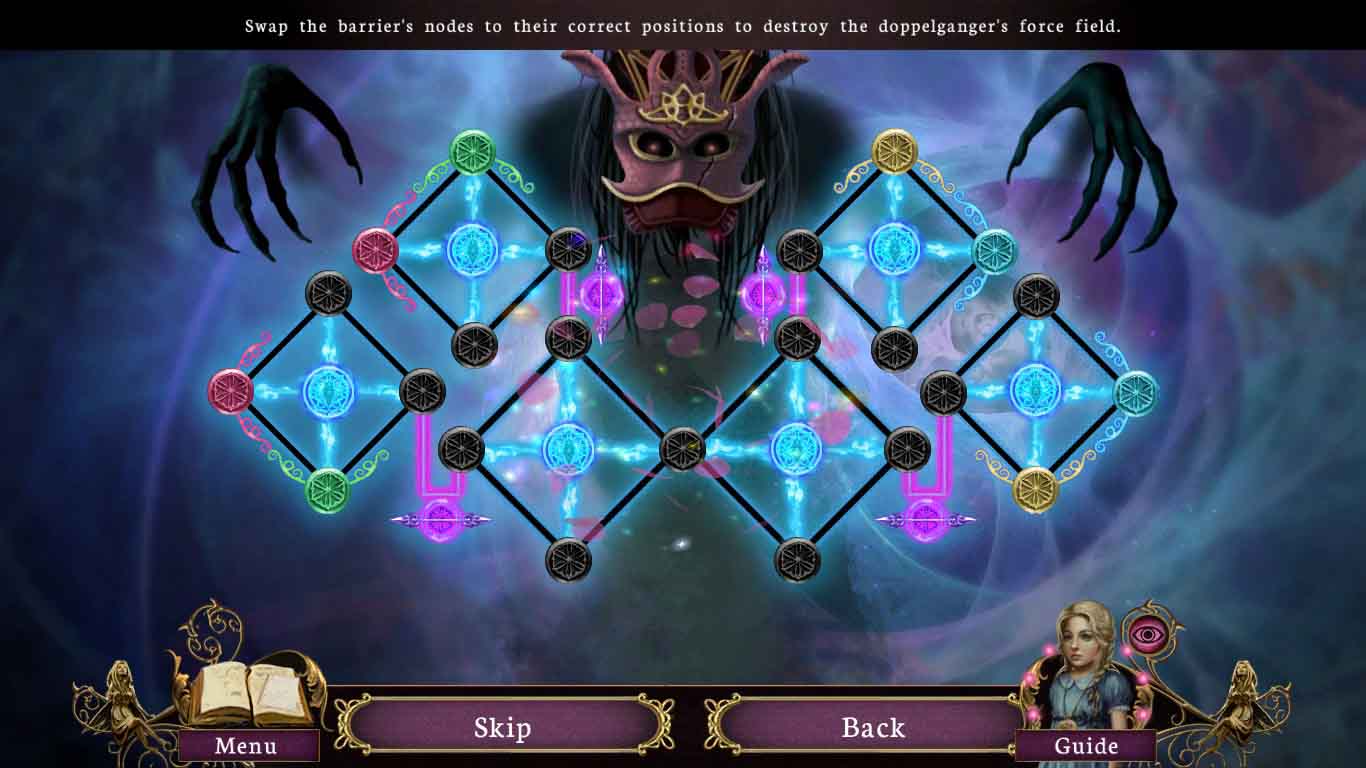
- Solve this puzzle by switching the colored nodes into the correct positions.
- Be aware that the doppelganger can trigger buttons also, notice any changes.
- Show the doppelganger the mirror.
- Play the mini-game.
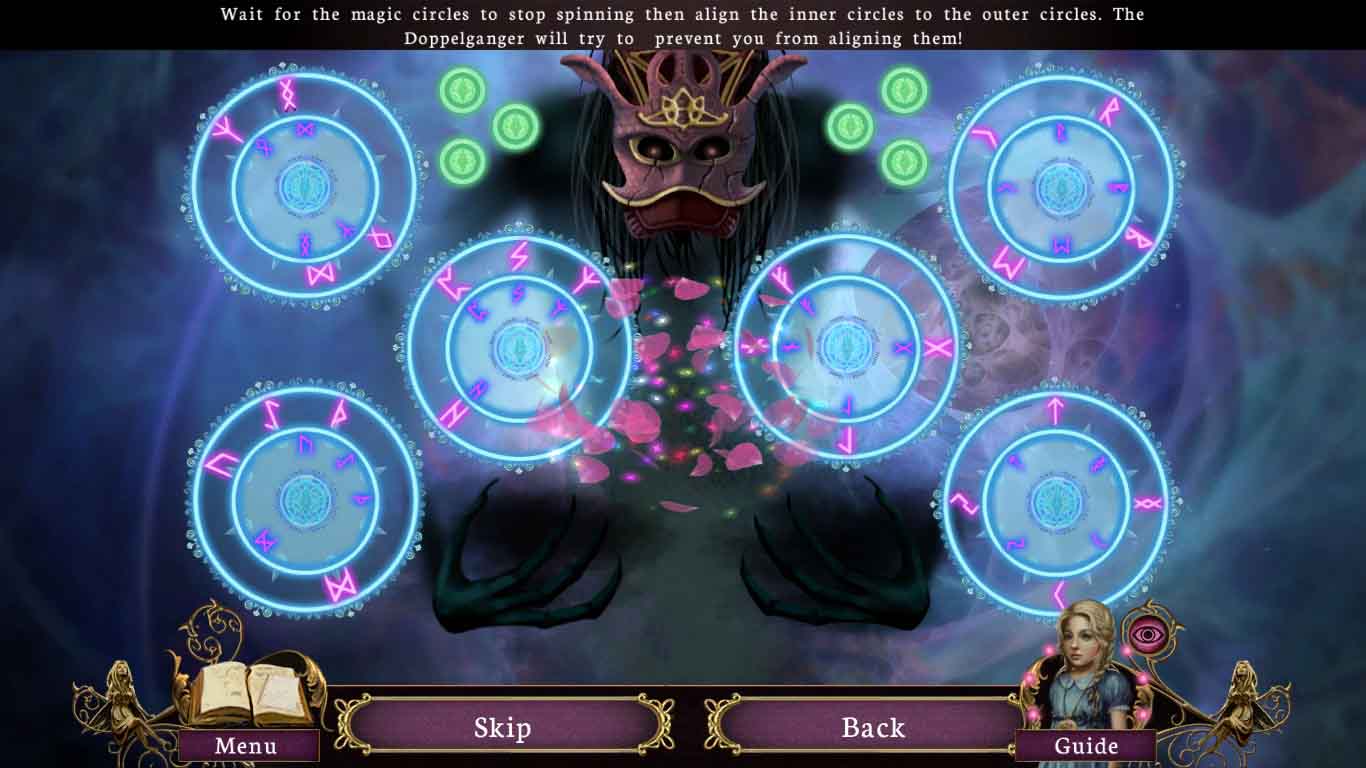
- Solve the puzzle by allowing the outermost circle to stop spinning.
- Then move the innermost circles to align with the out circles.
Comments will load when you reach this part of the walkthrough.