

Chapter 3: The Only Way Out
- You are back in the Inn. Talk to Tiberius. He tells you to see if the phone lines are still working at the Bridge.
- Exit the In and go back to the Electrical Room in the Opera House.
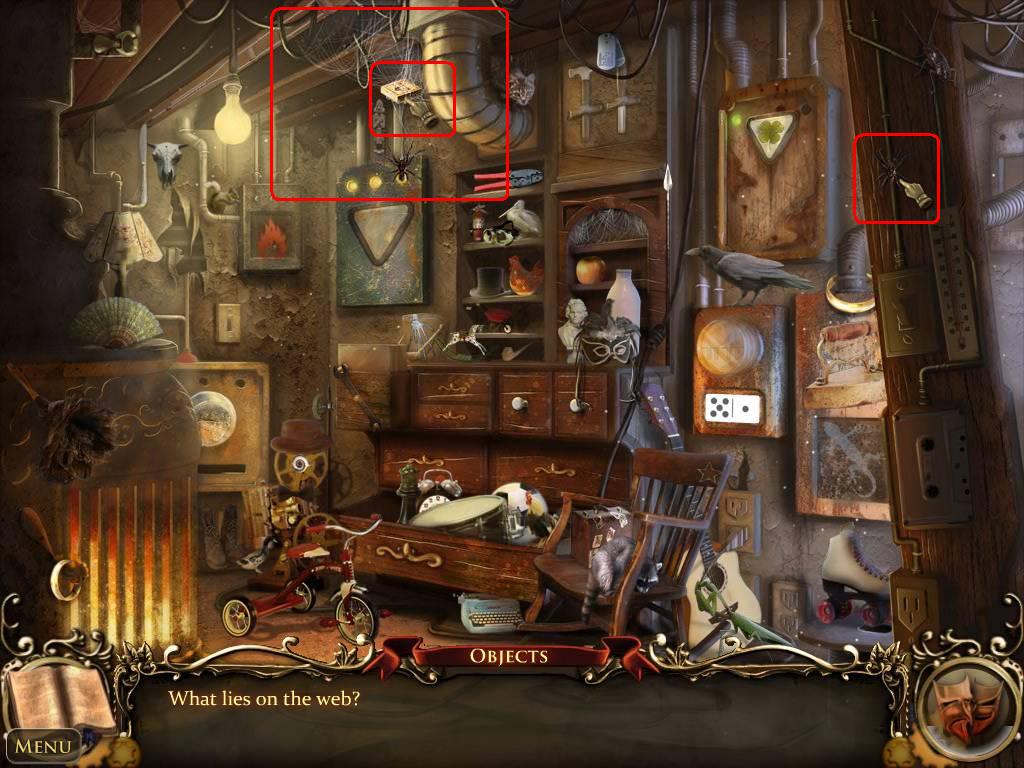
- Complete the Hidden Object scene.
- Find the SPIDER.
- Place the SPIDER on the spider web.
- Take the MATCHES.
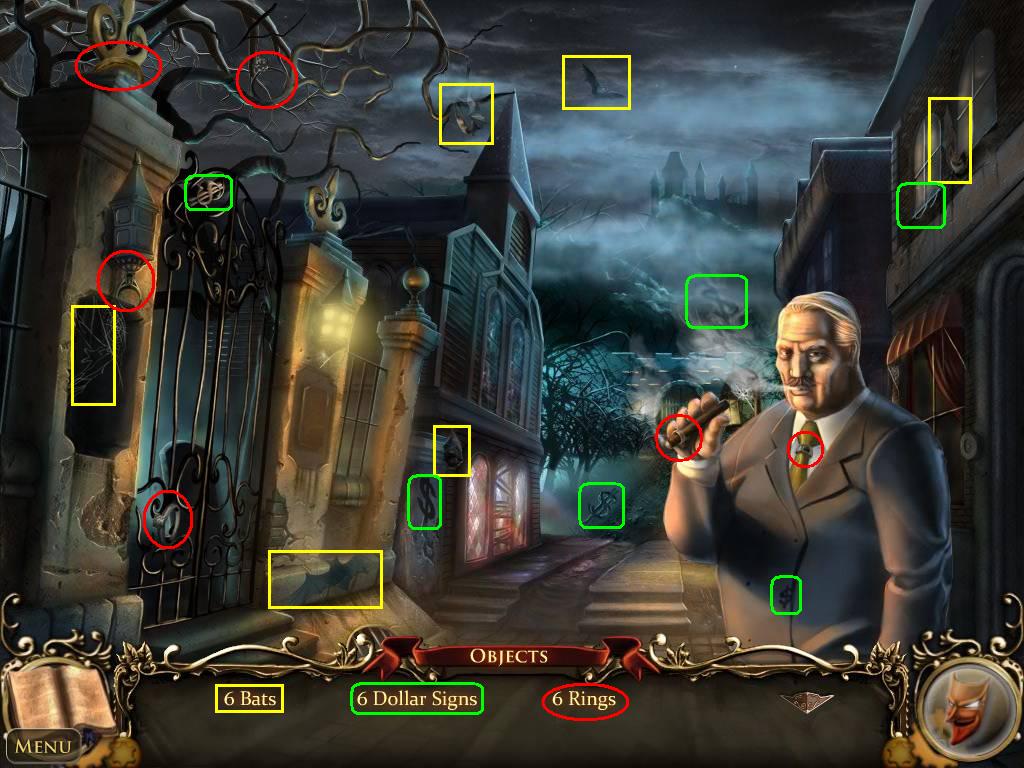
- Go to the Residential Street.
- Leonardo will ask you to find: 6 Bats, 6 Dollar Signs, and 6 Rings.
- Leonardo will ask you to help him find a way into the Church.
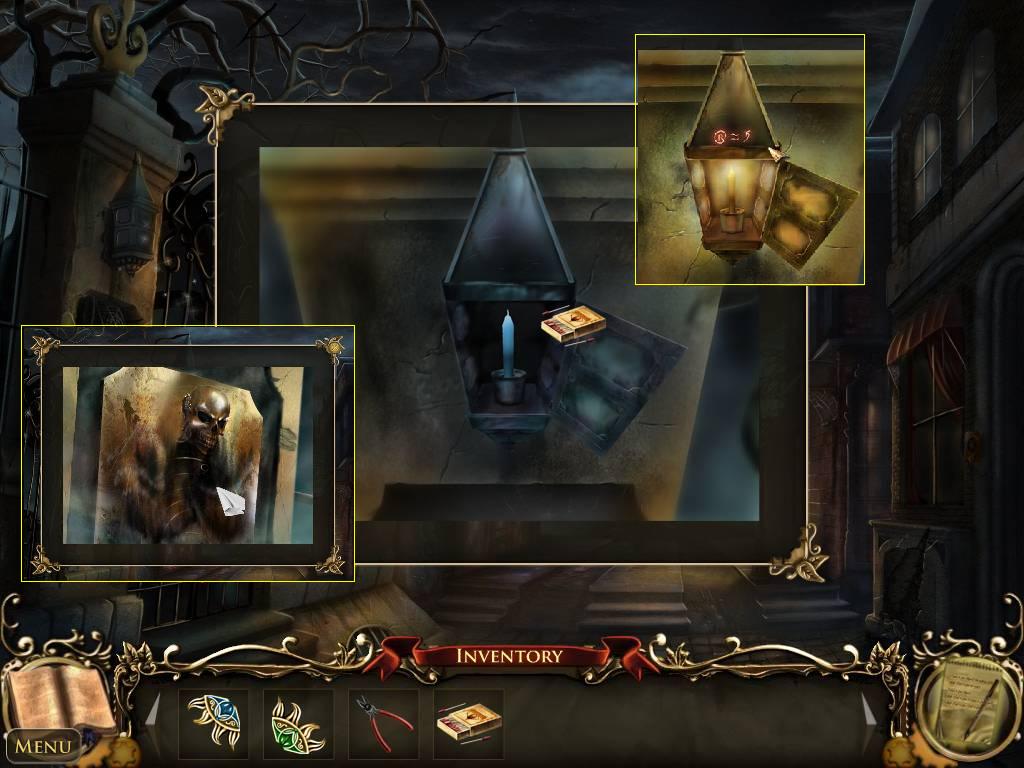
- Click on the sparkles on the lamp.
- Use the MATCHES to light the lamp.
- Make note of the clue illuminated. They will be entered into your journal automatically for use in a puzzle later.
- Click on the plaque to the right of the gate.
- Use the CLOTH to clean the plaque.
- Make note of the pattern revealed. It will be entered into your journal and recalled automatically for use in a puzzle later.
- Click on the sparkles to the left of the gate, under the lamp to play the puzzle.
Graveyard Puzzle
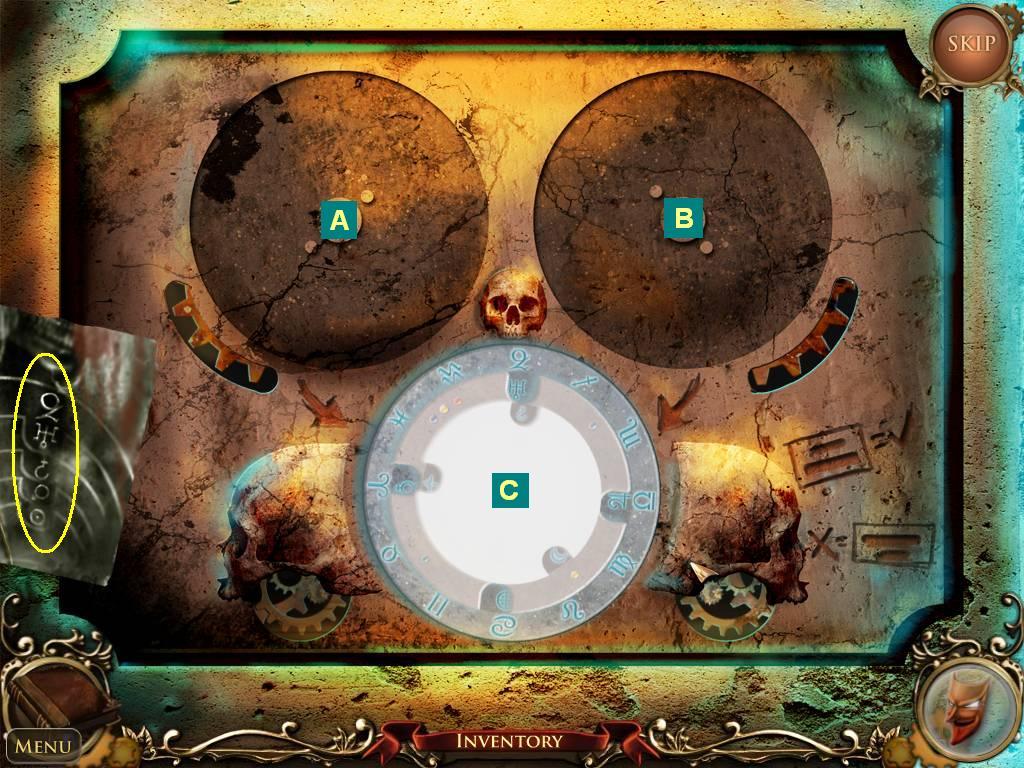
- Before you can solve the puzzle, you need to move the 5 discs from Circle A to Circle C. Organize them Largest to Smallest.
- Follow these steps. Circles labeled ABC. Puzzle pieces labeled 1 (smallest) to 5 (largest)
[NUMBERED]
[/NUMBERED]
- Click on the pieces to turn them. Match the icon sequence (highlighted in yellow)
- Once complete, move on to the Graveyard.
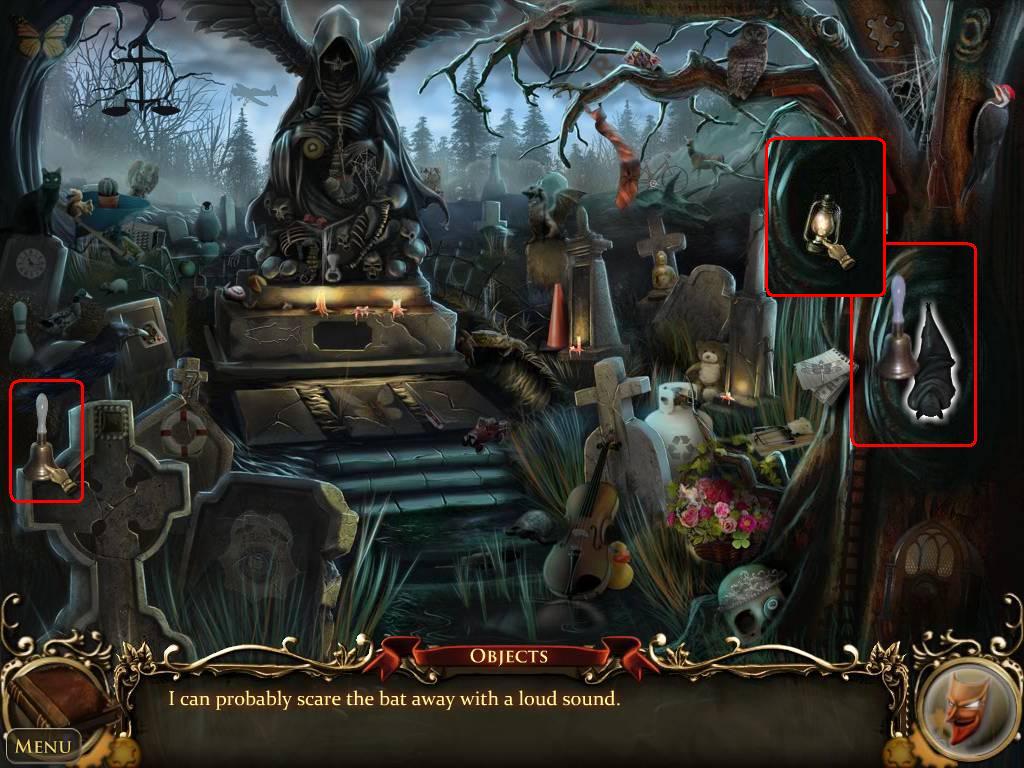
- Complete the Hidden Object scene
- Pick up the BELL and use it to scare the BAT.
- Take the LANTERN
- Exit the scene and take the sparkled path to the bridge.
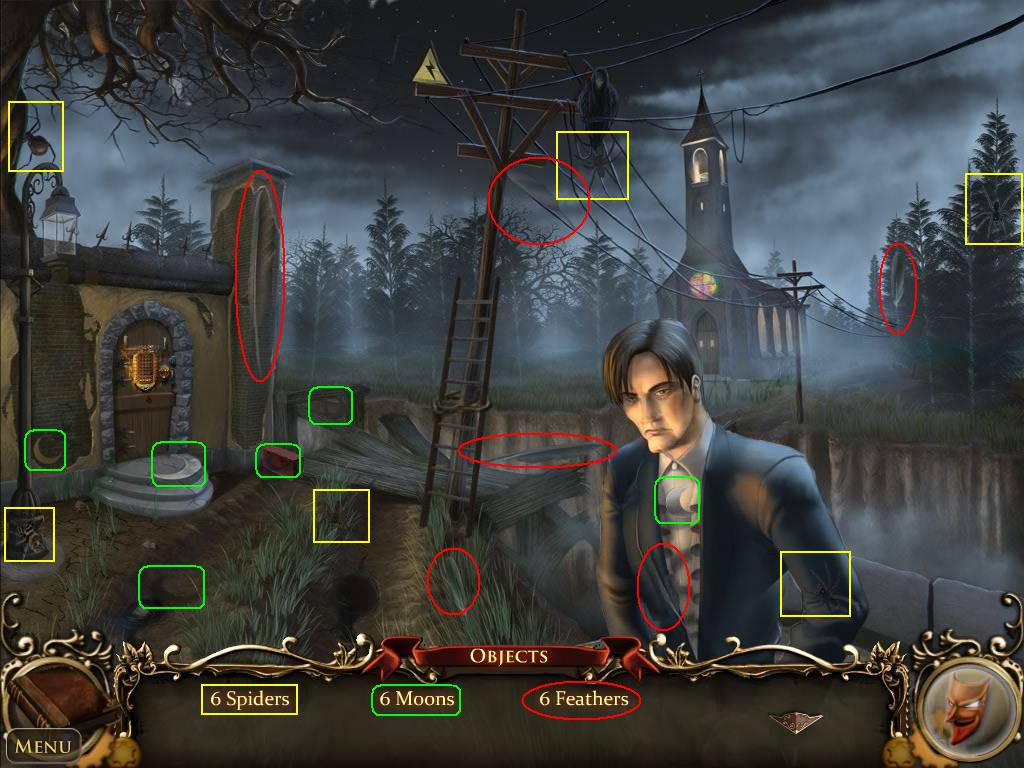
- Vincent is at the bridge. Help him find 6 Moons, 6 Feathers and 6 Spiders.
- Vincent will tell you some interesting facts about Demon Blood.
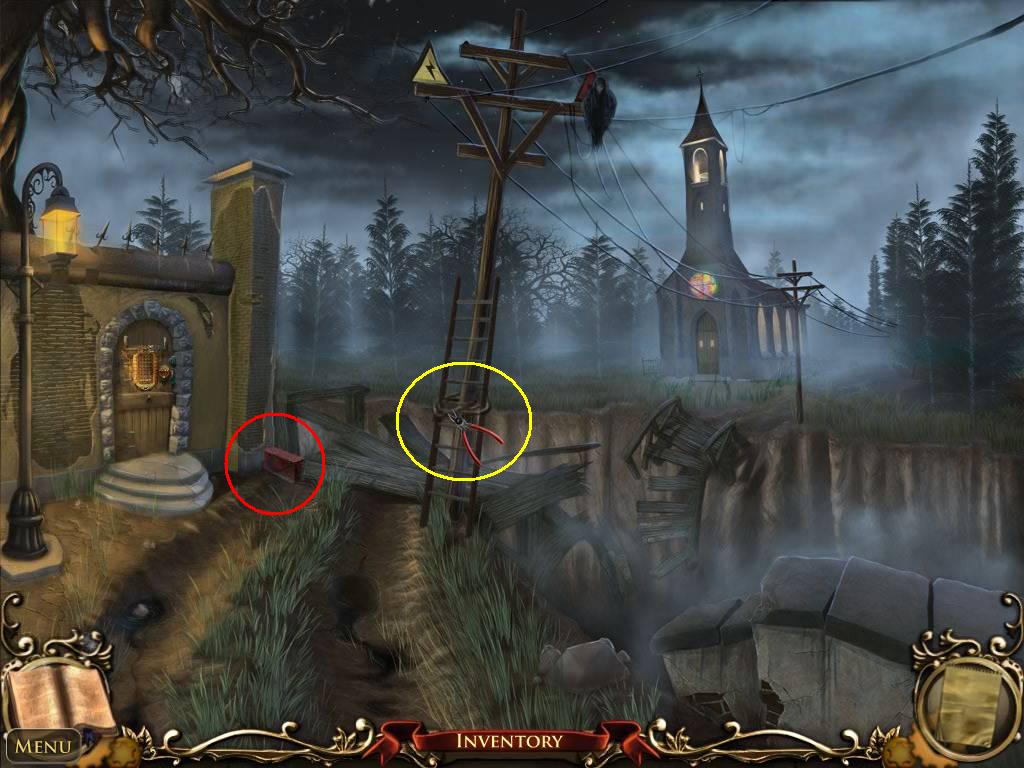
- Use the PLIERS from your inventory to cut the chain on the LADDER
- Take the LADDER
- Take the BRICK
- Exit the scene. Go back to the Village Square
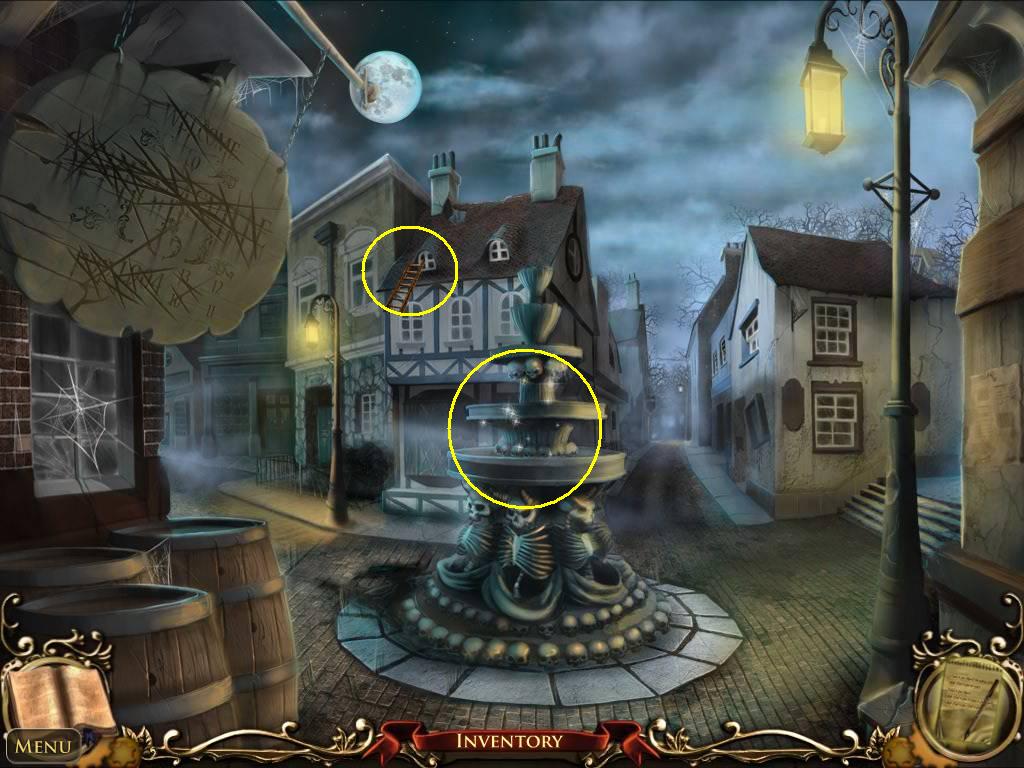
- Use the LADDER to enter the upstairs window.
- Take the PURPLE SUN KEY sitting on the roof.
- Enter the window.
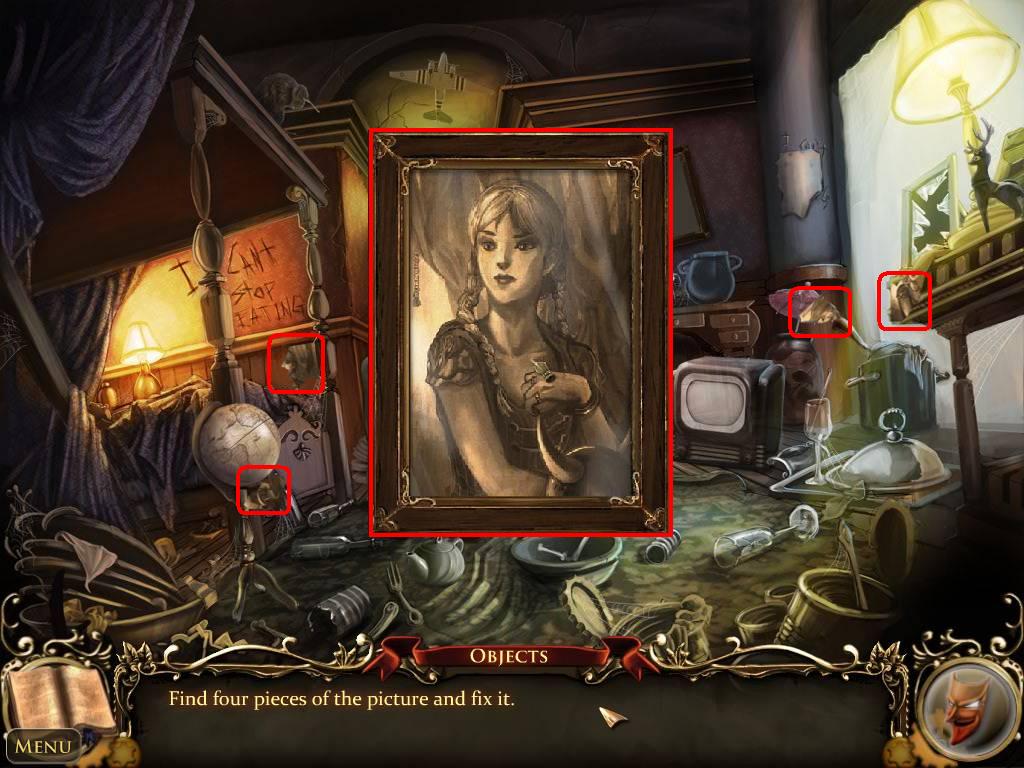
- Complete the Hidden Object scene.
- Locate the 4 Photo Pieces and put them in the frame.
- That's all you can do here for now, you need more keys.
- Exit the scene and go to the Fountain with sparkles.
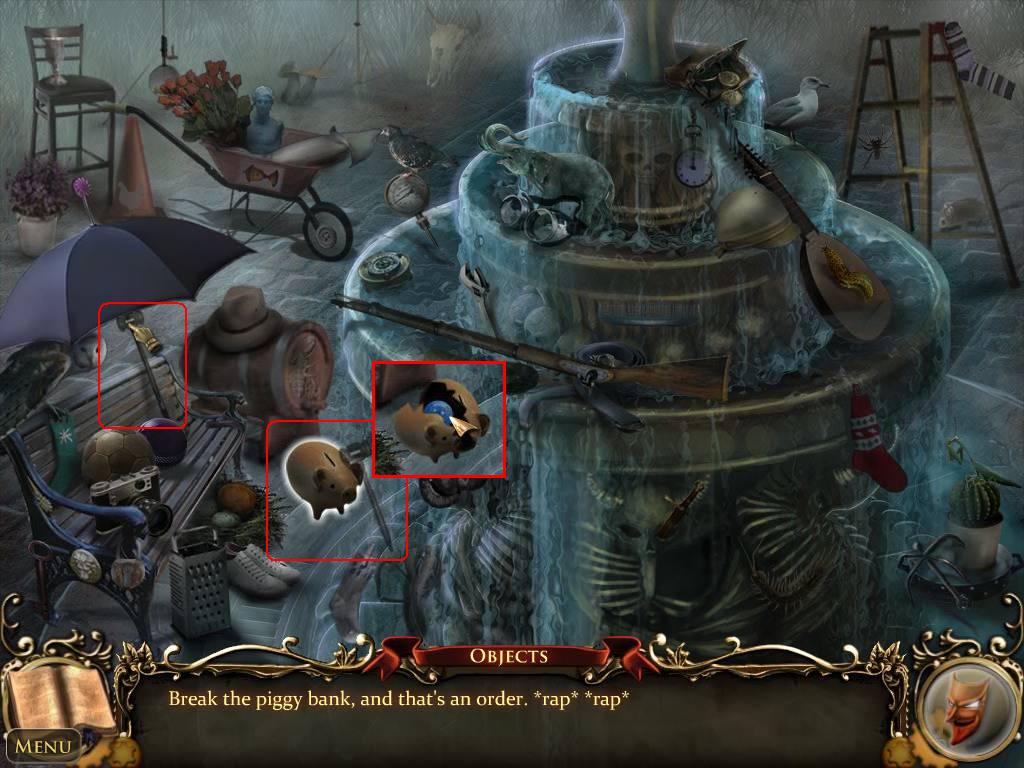
- Complete the Hidden Object scene.
- Pick up the MALLET and use it to smash the PIGGY BANK.
- Take the BLUE MARBLE.
- Exit the scene.
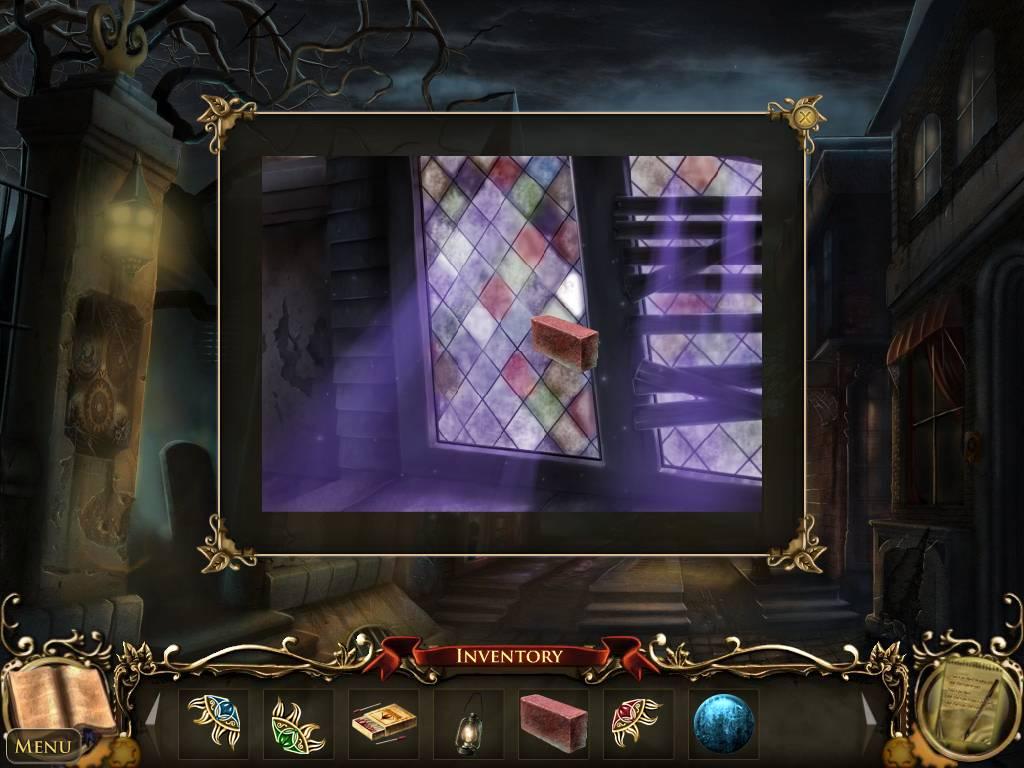
- Go to the Residential Street.
- Click on the sparkles on the stained glass window of the church to enlarge the scene.
- Use the BRICK to smash the window.
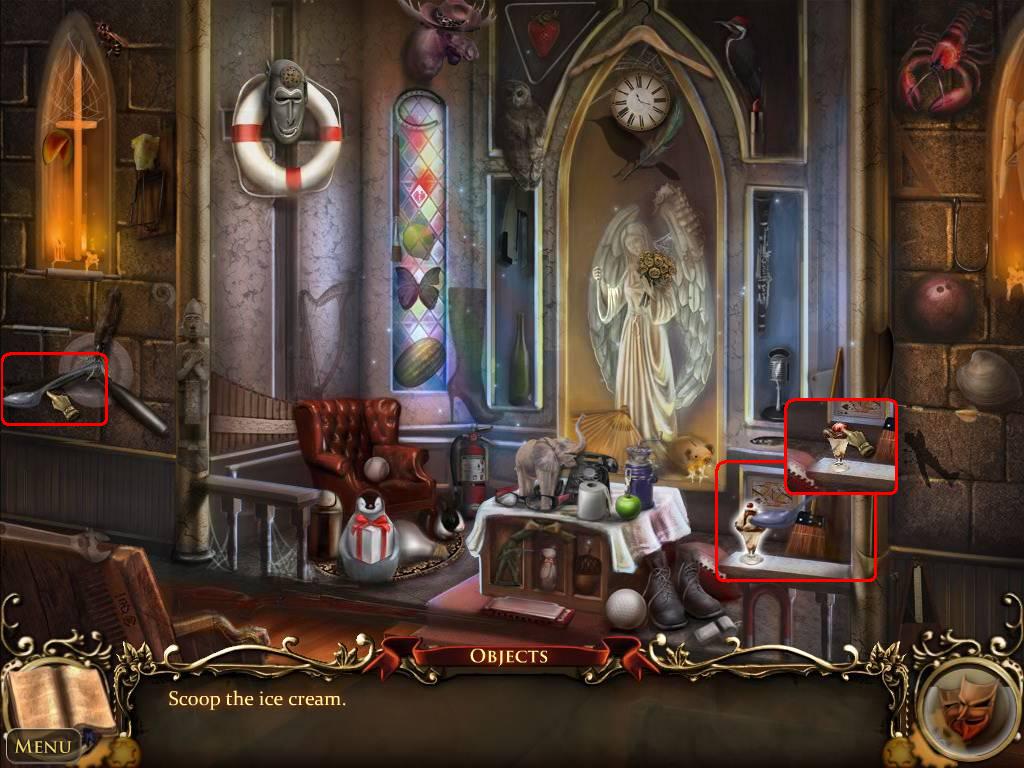
- Complete the Hidden Object scene.
- Use the SPOON on the ice cream sundae.
- Take the RED MARBLE
- SURPRISE!
Comments will load when you reach this part of the walkthrough.