

Chapter 5: An Echo from the Past
- You start off at the Inn again. Click on the clock covered in sparkles.
- You must set the clock to the three times Hilda mentioned by pulling the pendulums.
- 1st pendulum = +1 hour 45 minutes
- 2nd pendulum = + 15 minutes
- 3rd pendulum = + 45 minutes
- Pull the chain when you have the correct time.
- The clock resets after every 5 pulls.
- 2:45 = Lower all three pendulums. Pull the chain
- 7:45 = Raise the middle pendulum. Pull the chain twice.
- 10:30 = Lower the middle pendulum so all three are down. Pull the chain.
- Take the SKULL KEY
- See video
[youtube]https://www.youtube.com/embed/mrPDuOpgLvQ[/youtube]
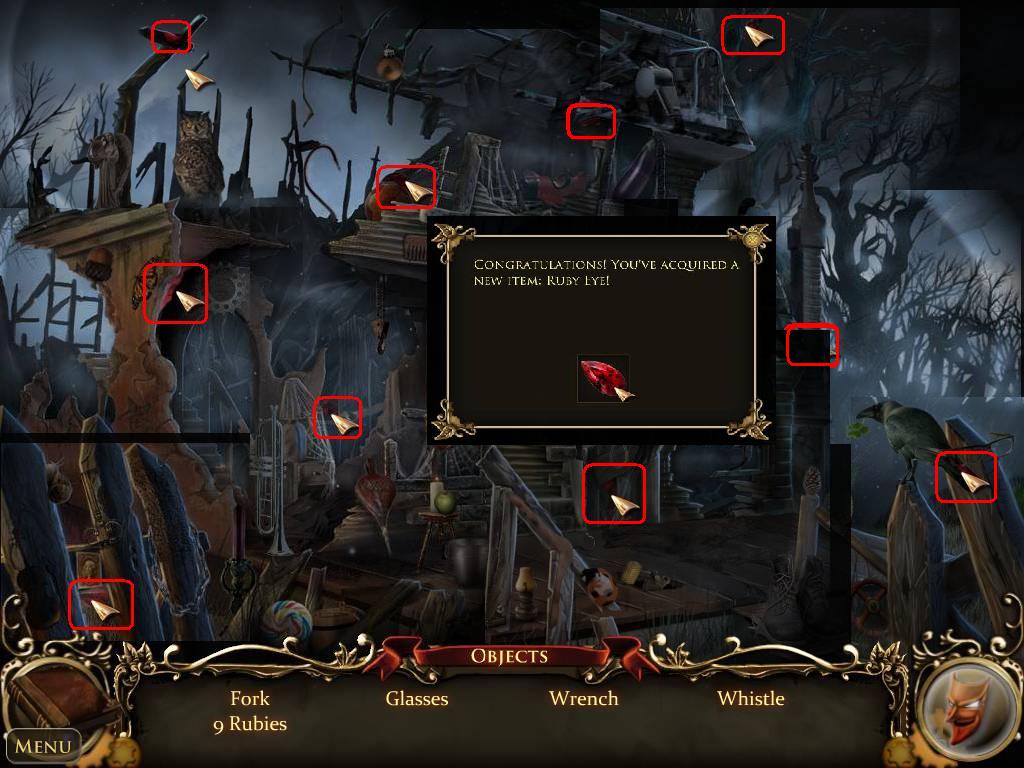
- Go to the Burnt House.
- Find 4 random items and 10 Rubies.
- Take the RUBY EYE
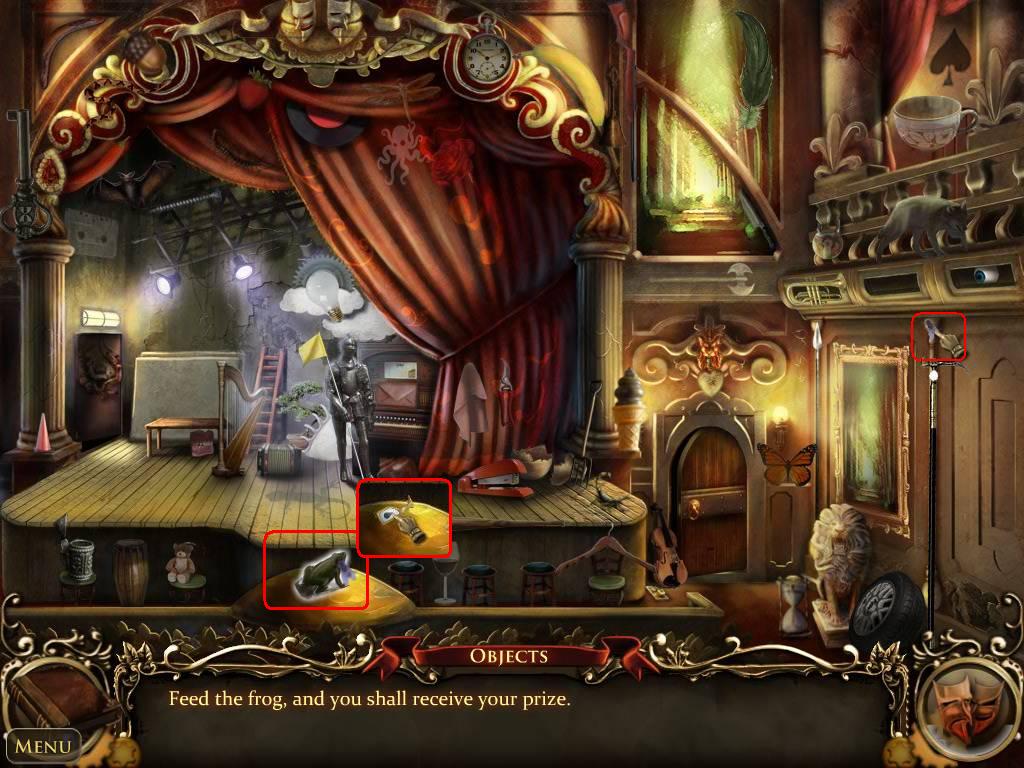
- Go to the Opera House.
- Complete the Hidden Object scene.
- Grab the FLY and feed it to the FROG
- Take the ANTIFREEZE
- Exit the scene.
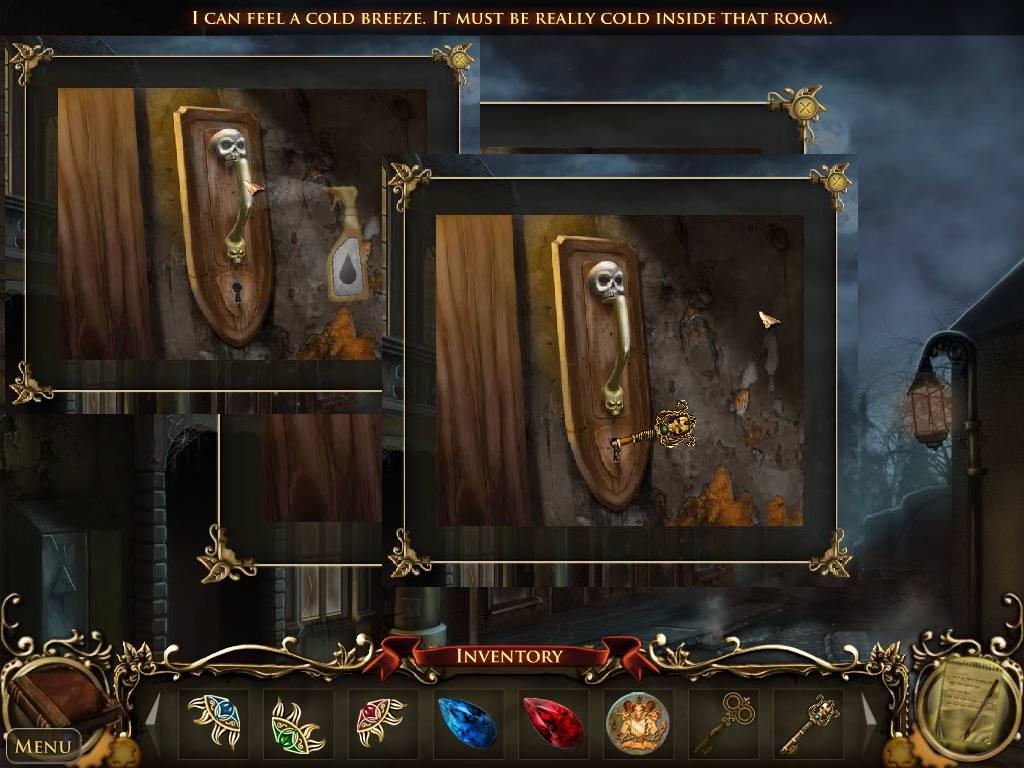
- Go to the Frozen Door next to the Opera House.
- Click the sparkle door to enlarge the scene.
- Use the ANTIFREEZE on the DOOR HANDLE
- Use the SKULL KEY to unlock the door.
- SURPRISE!!!
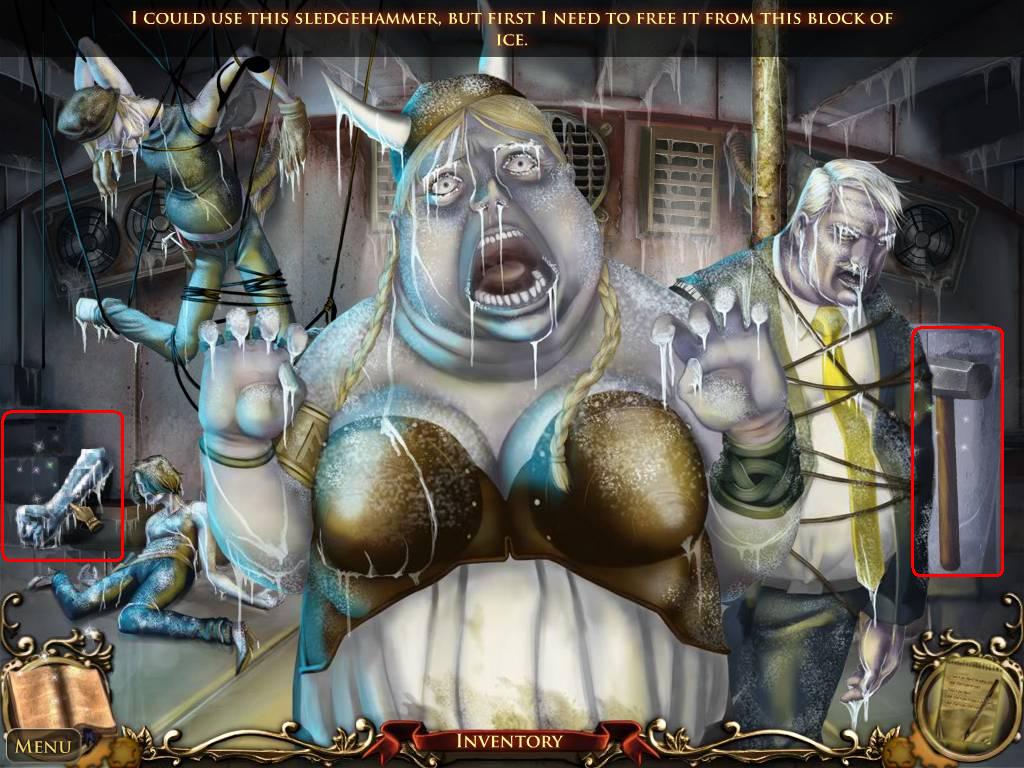
- Take the FROZEN ARM on the left covered in sparkles.
- Notice the SLEDGEHAMMER to the right. You'll need this later.
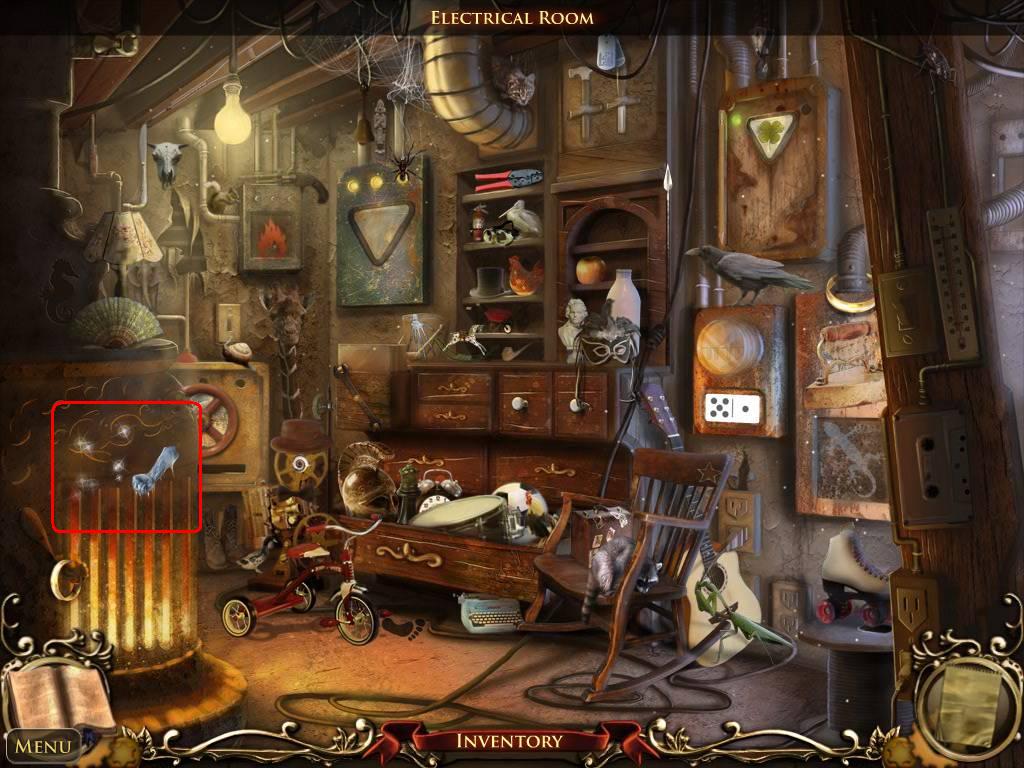
- Go to the Electrical Room inside the Opera House.
- Place the FROZEN ARM onto the FURNACE.
- FROZEN ARM changes into STATUE ARM.
- Exit the scene.
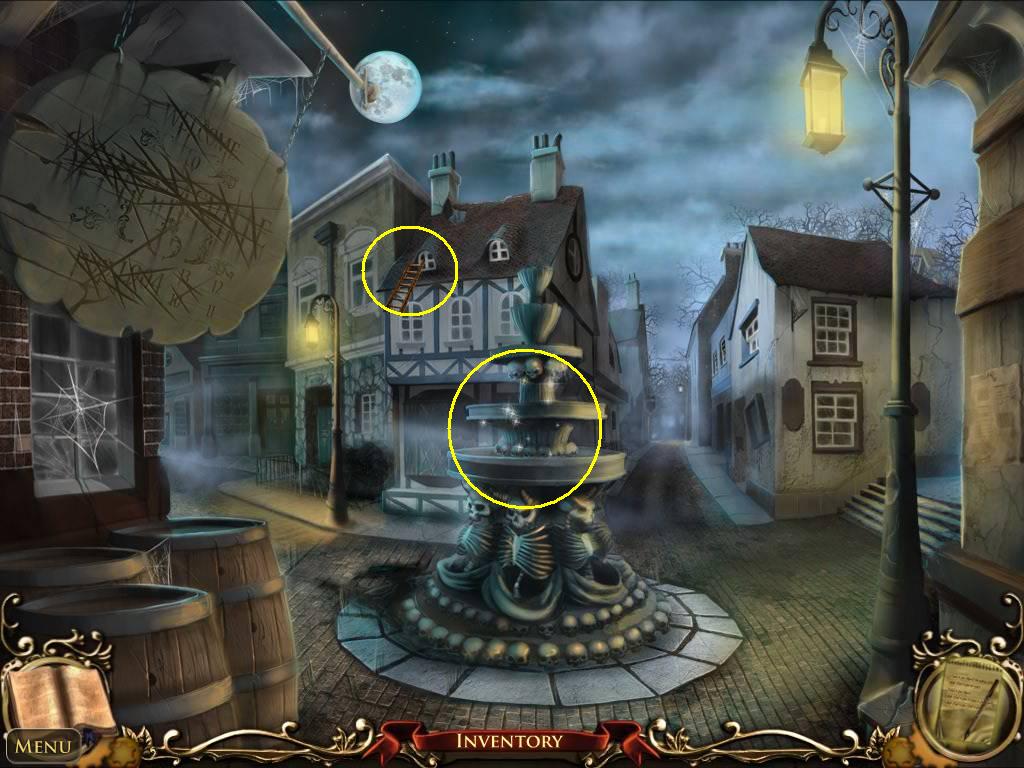
- Go back to Village Square. Use the LADDER to climb into Hilda's room.
- Use the door to enter the hallway.
- Click on the CARETAKER'S DOOR to enlarge the scene. (Door on the right)
- Use the CARETAKER ROOM KEY to unlock the door.
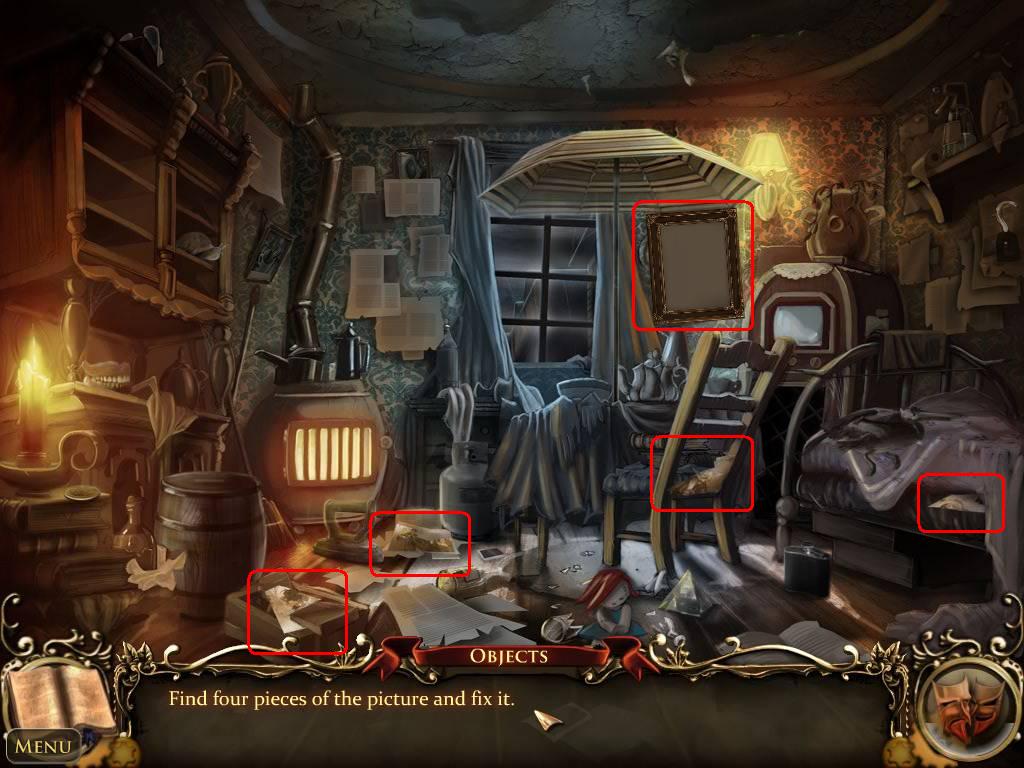
- Complete the Hidden Object scene.
- Find the Four Picture Pieces and place them in the frame.
- Exit the scene.
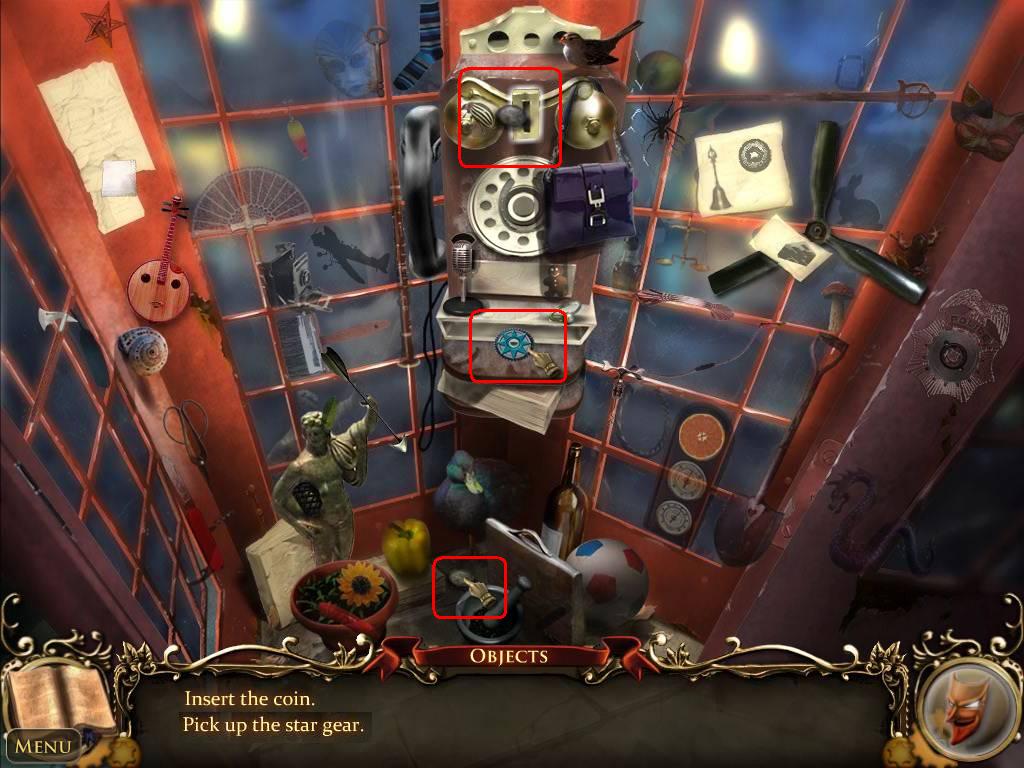
- Go to Shop Street and enter the Phone Booth.
- Complete the Hidden Object scene.
- Take the COIN and put it in the slot.
- Take the BLUE STAR GEAR.
- Exit the scene.
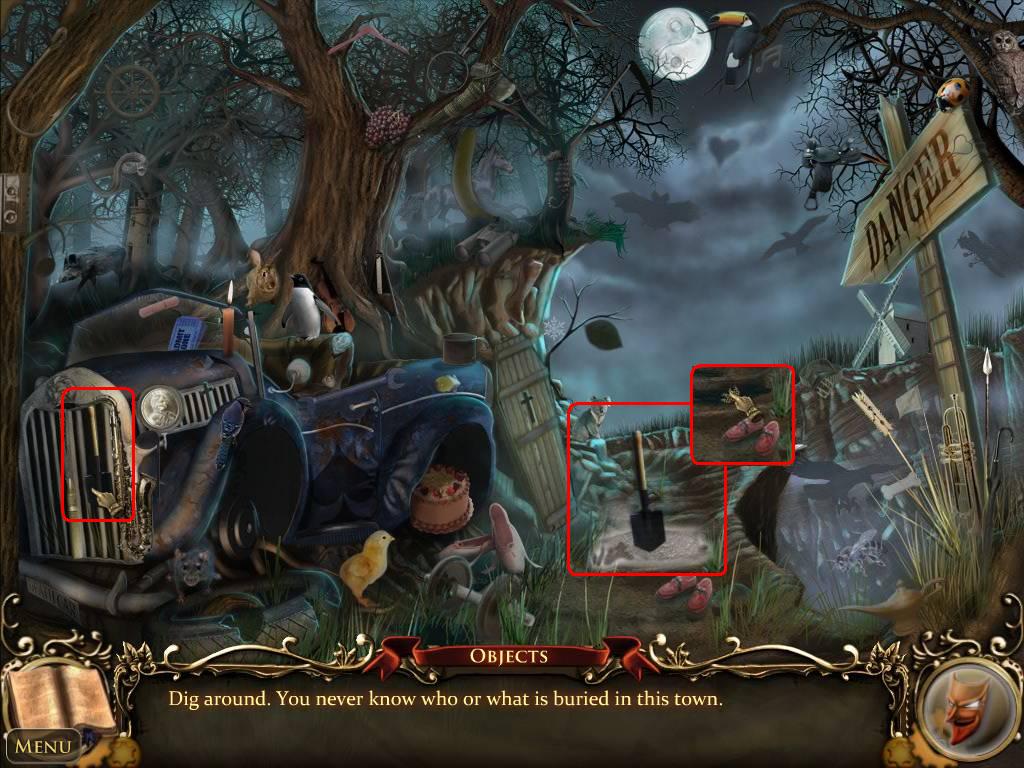
- Go to the Bridge. Open the door and go to the Cliff
- Complete the Hidden Object scene.
- Take the SHOVEL from the car grill and dig a hole in the GROUND
- Take the RED SUN KEY
- Exit the scene.
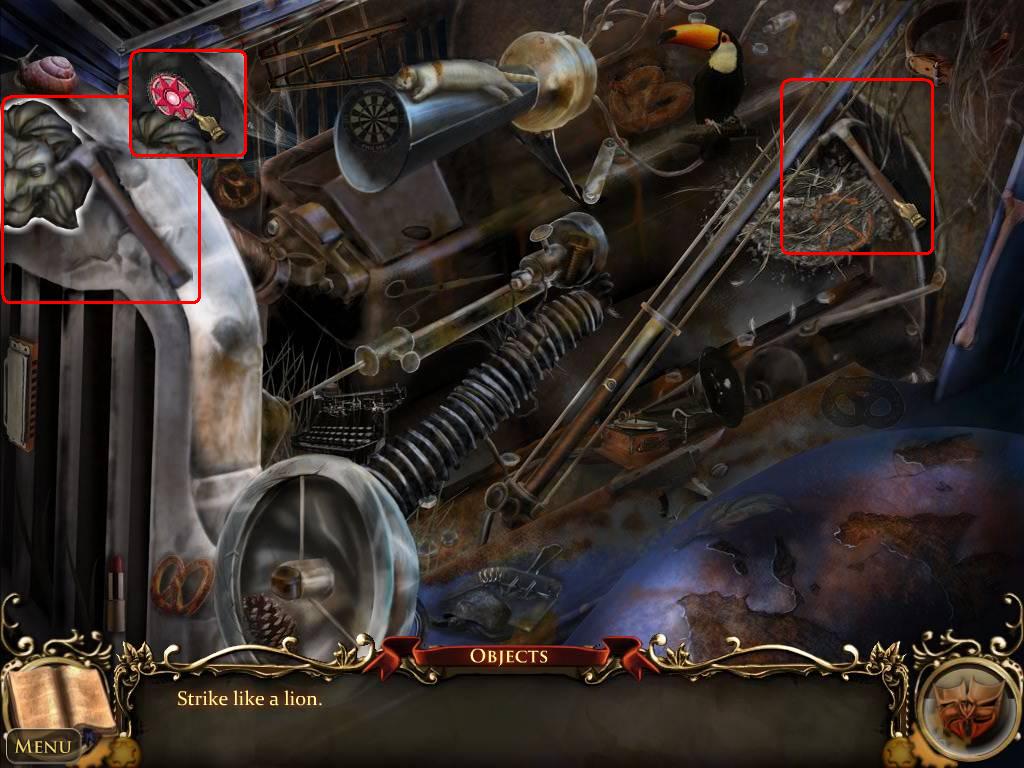
- Click on the sparkles on the car.
- Complete the Hidden Object scene.
- Take the HAMMER and smash the LION
- Take the RED STAR GEAR
- Exit the scene
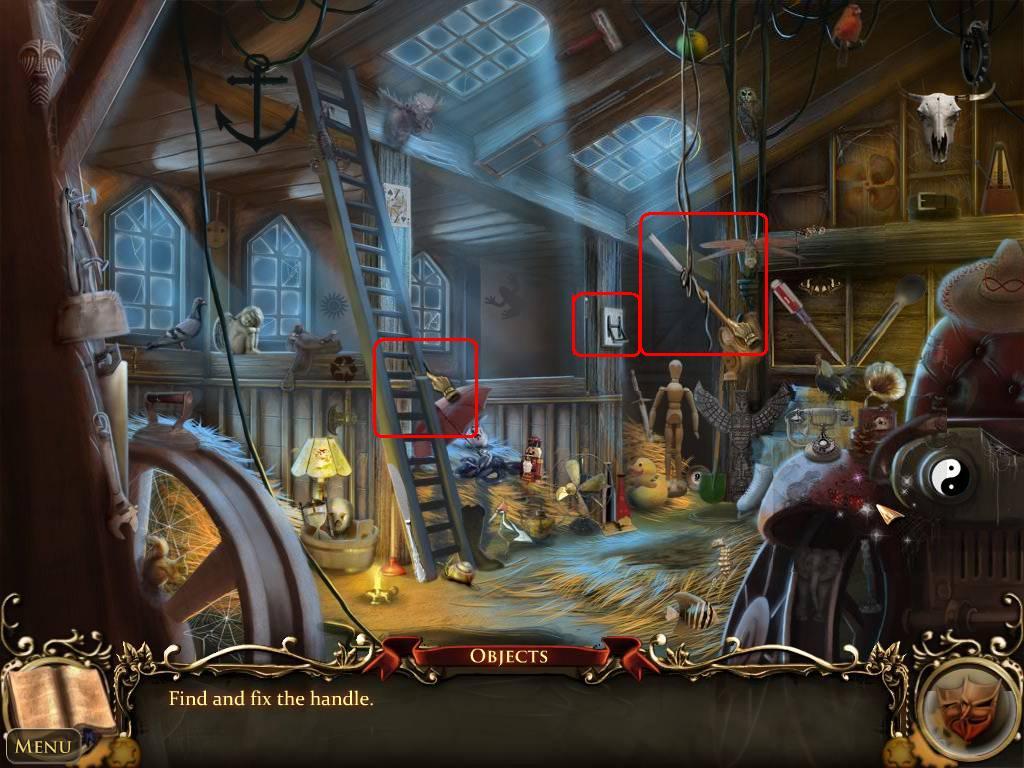
- Go to the Coach House.
- Complete the Hidden Object scene.
- Take the SWITCH HANDLE and place in into the H SWITCH on the wall.
- Take the ICE CHISEL that drops from the ceiling.
- Click on the sparkles on the Coach.
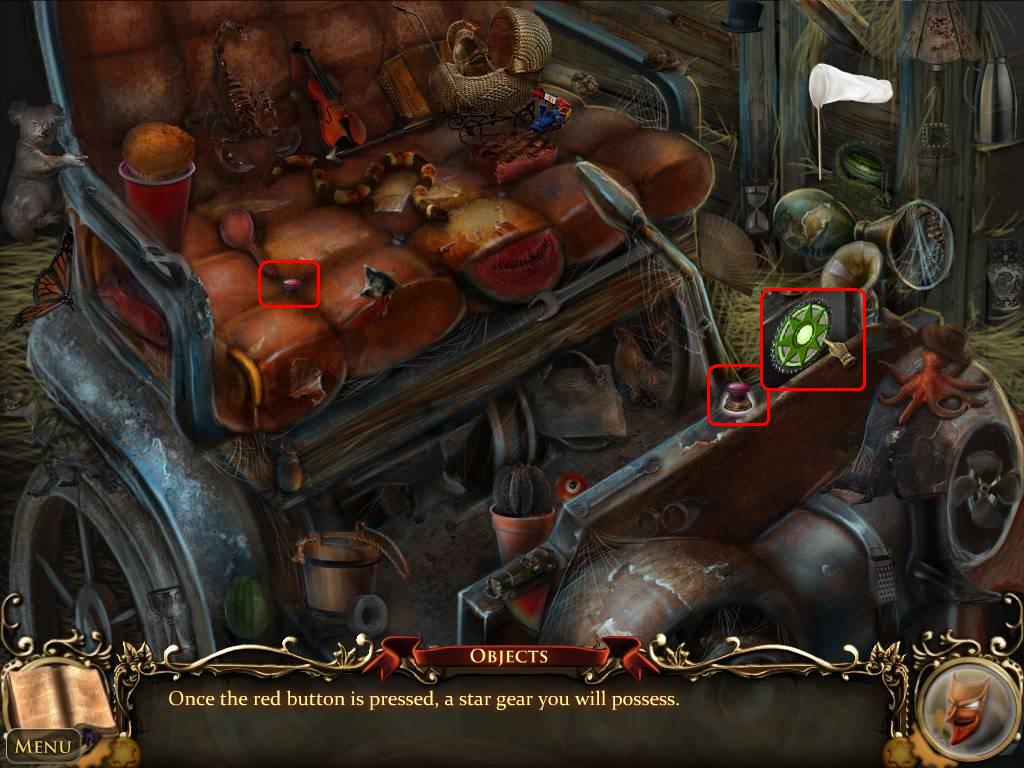
- Complete the Hidden Object scene.
- Pick up the red BUTTON. Place it in the holder.
- Take the GREEN STAR GEAR
- Exit the scene.
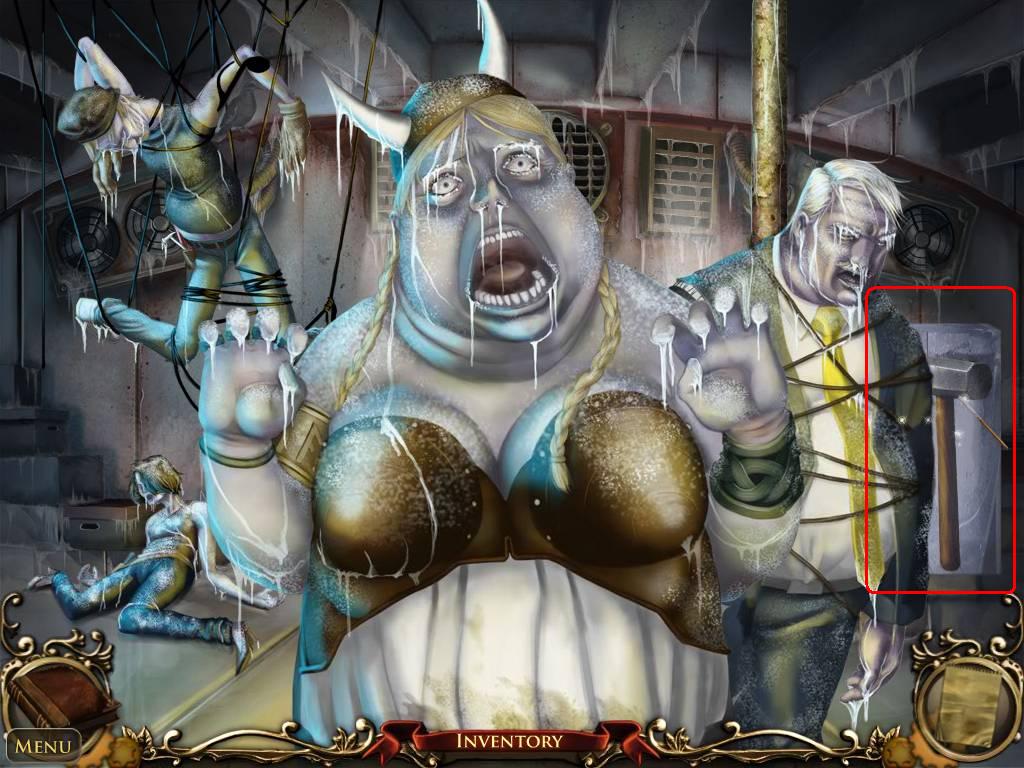
- Go back to the Frozen Room
- Use the ICE CHISEL to break the ice.
- Take the SLEDGEHAMMER
- Exit the scene.
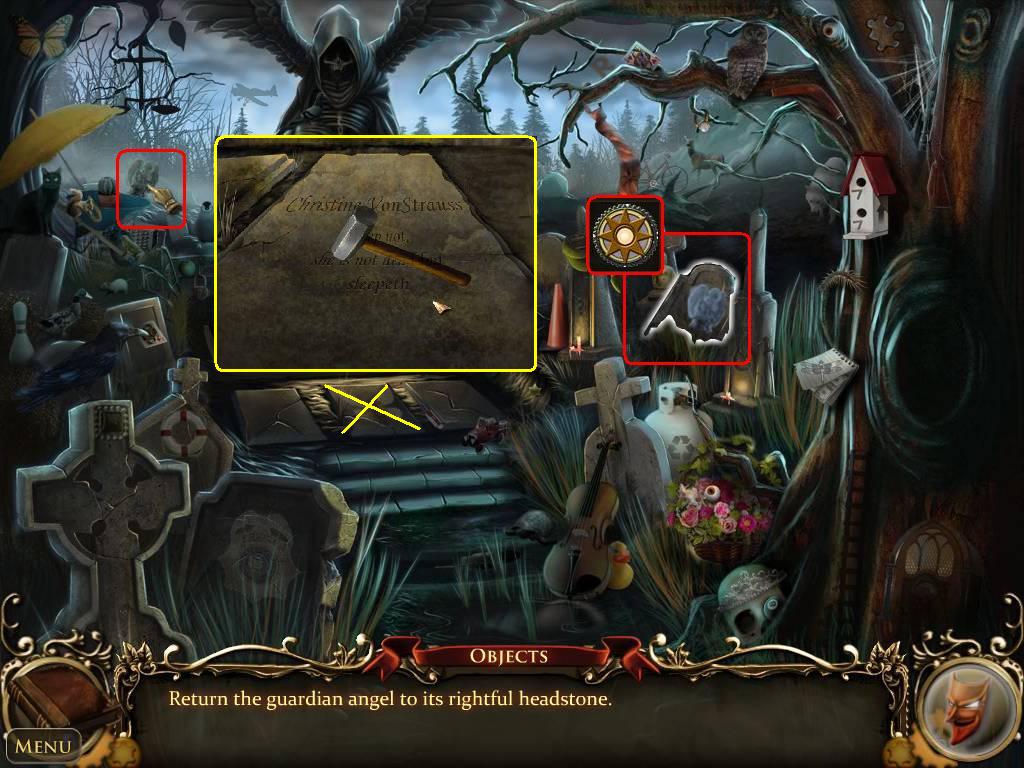
- Go to the Residential Street, and then enter the Graveyard.
- Complete the Hidden Object scene.
- Take the ANGEL and put it on the HEADSTONE
- Take the YELLOW STAR GEAR
- Click on the sparkles just above the steps.
- Use the SLEDGEHAMMER to smash the gravestone.
- Click on the box to start a puzzle.
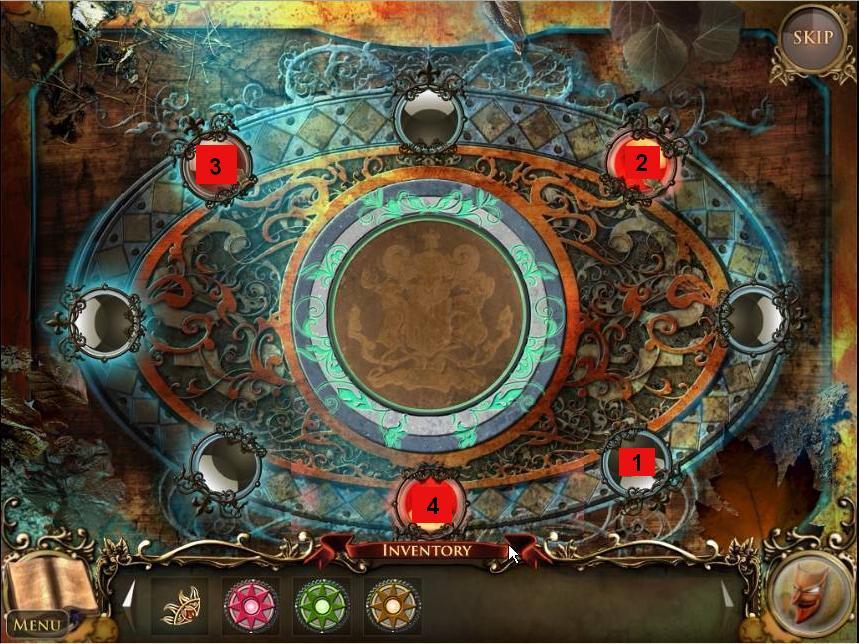
- Click in the correct sequence to turn all the lights and complete the Lights Puzzle.
- Once all the lights are lit, place the FAMILY CREST in the center.
- View the picture.
- Take the CENTER SUN KEY
- Exit the scene
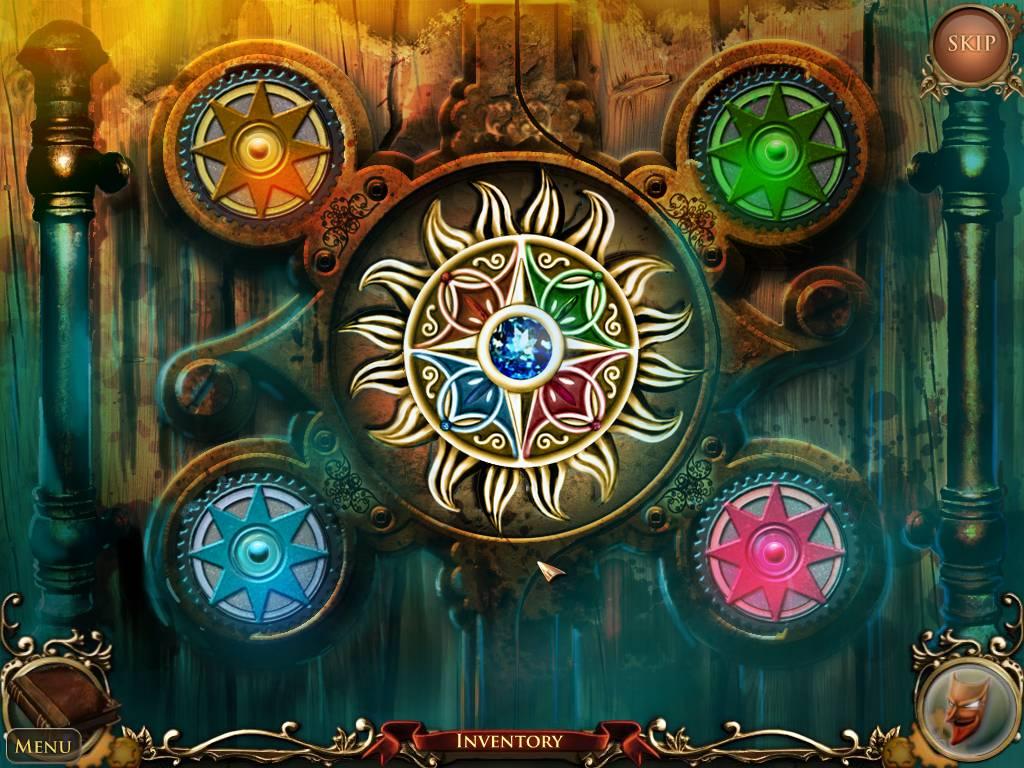
- Go back to the Residential Street.
- Click on the sparkles on the path to the Castle.
- Complete the Sun/Star puzzle.
- Place all SUN KEYS and STAR GEARS into the puzzle
- Place the SUN KEY to activate the puzzle.
- Click until the center and outside colors match.
Comments will load when you reach this part of the walkthrough.