
Chapter One: Welcome to Nearwood
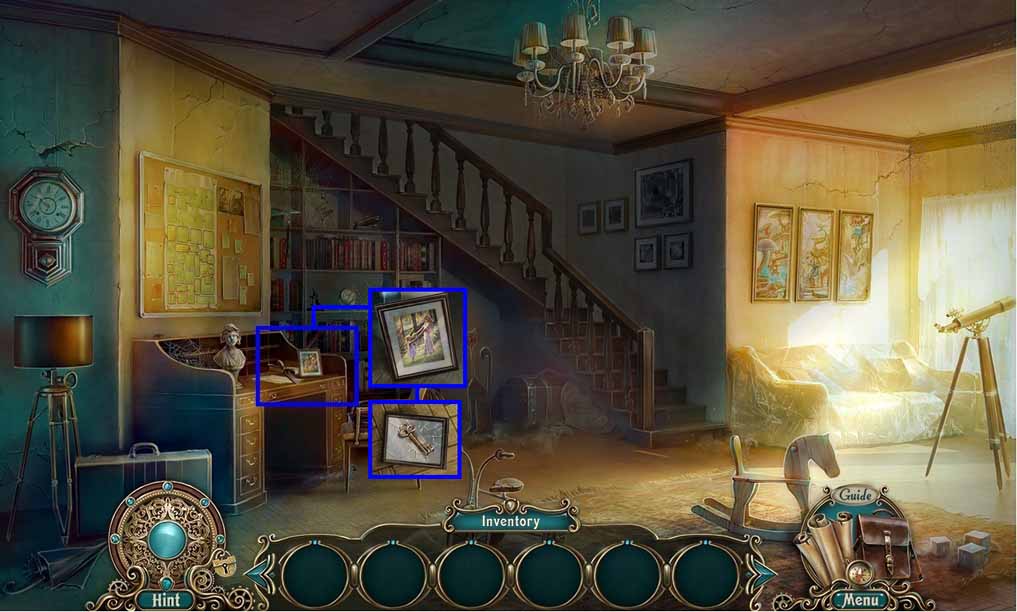
- Zoom into the desk; click the portrait.
- Examine the photo and collect the key.
- Move upstairs.
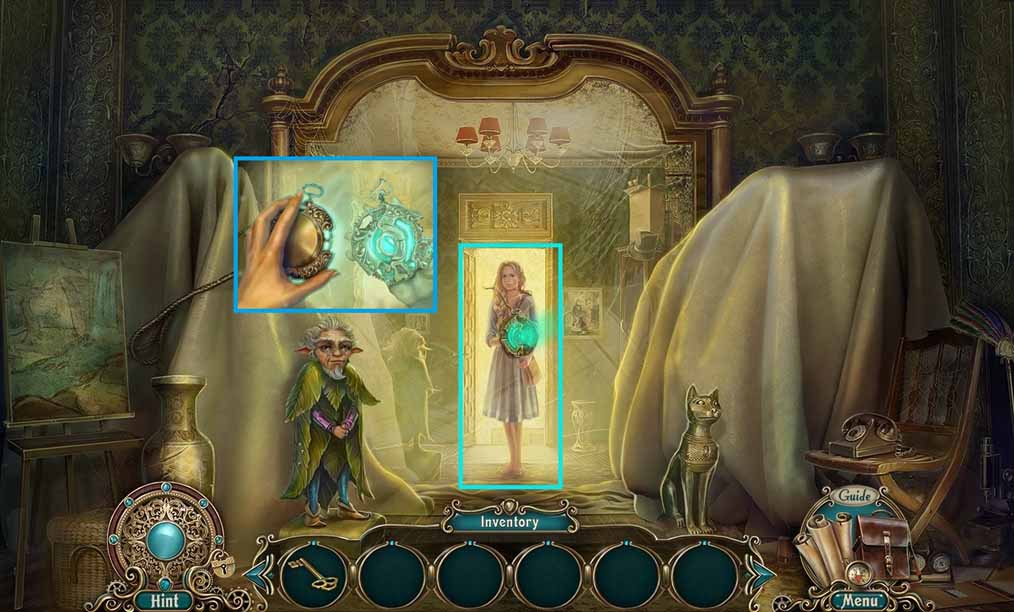
- Collect the medallion; use it on the mirror.
- Move ahead.
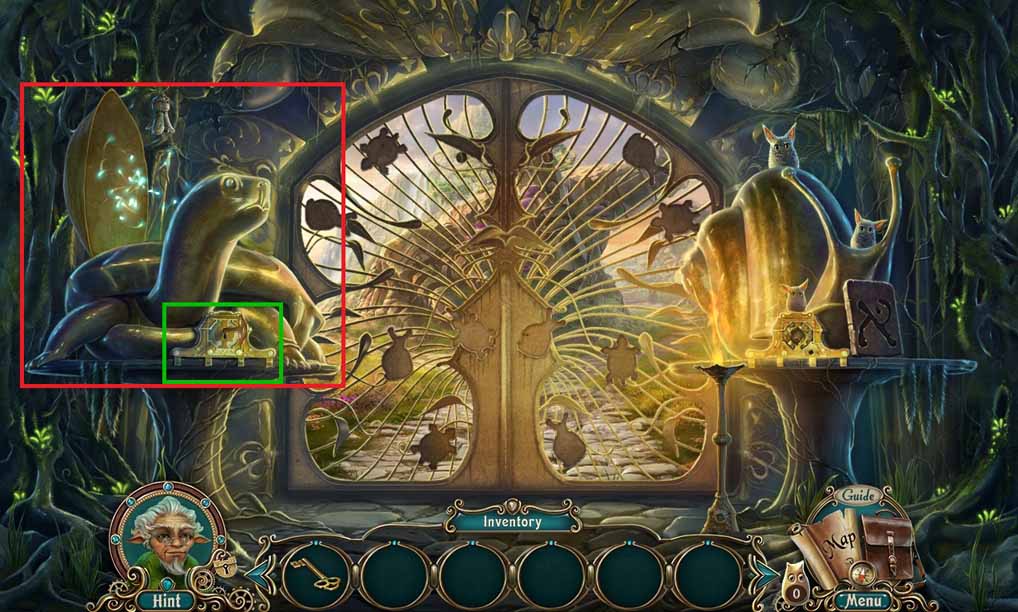
- Click the lock; insert the key and click it once.
- Click the turtle to trigger a hidden objects area.
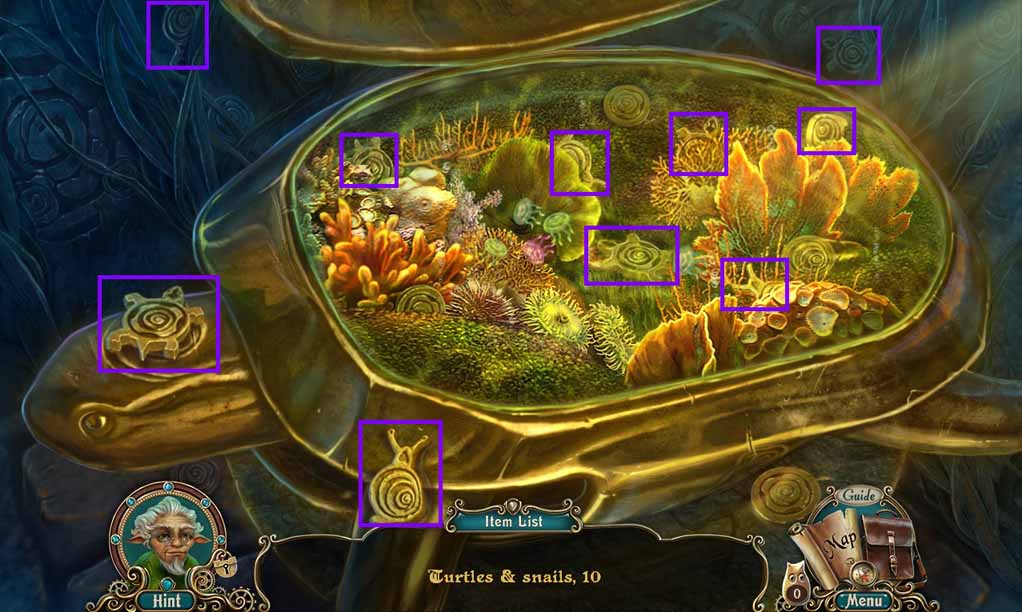
- Find the 10 turtles and the snails.
- Collect the brass figurines.
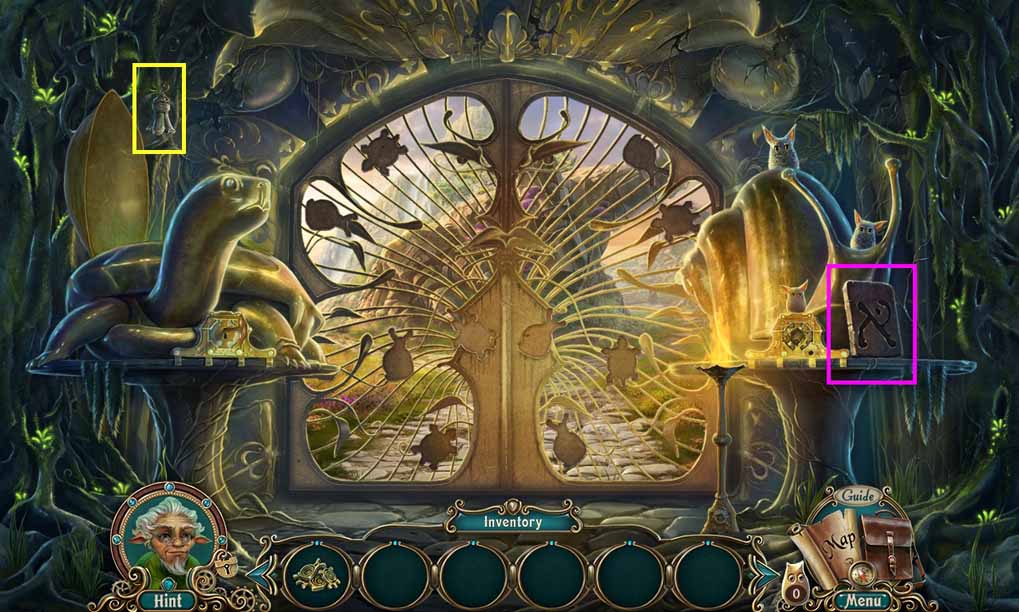
- Collect the bell and the stone slab.
- Insert the brass figurine into the mural to trigger a mini-game.
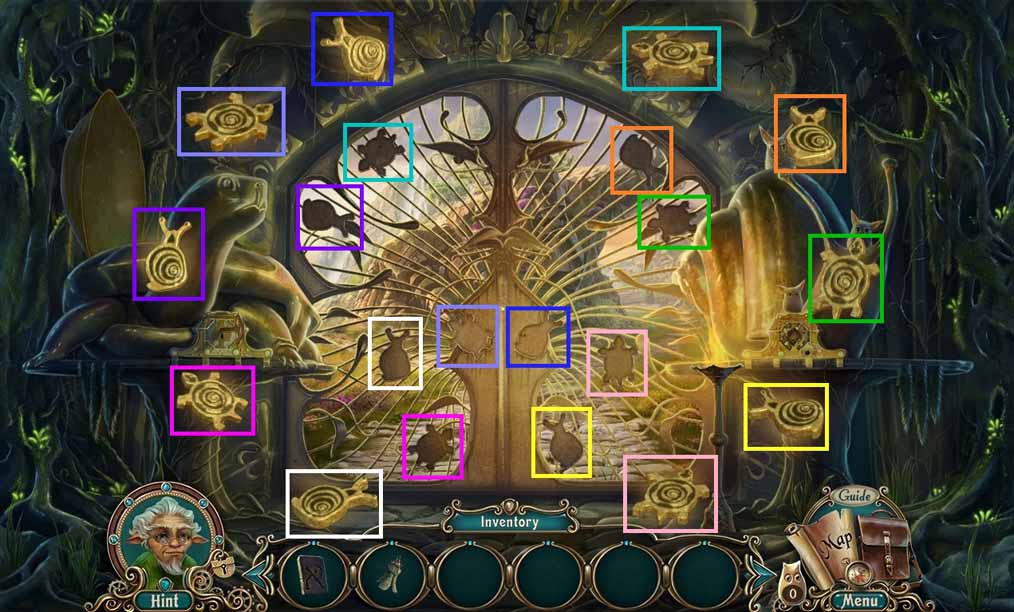
- To solve the mini-game, place the snails and turtles into their matching slots.
- Move ahead to the Golem.
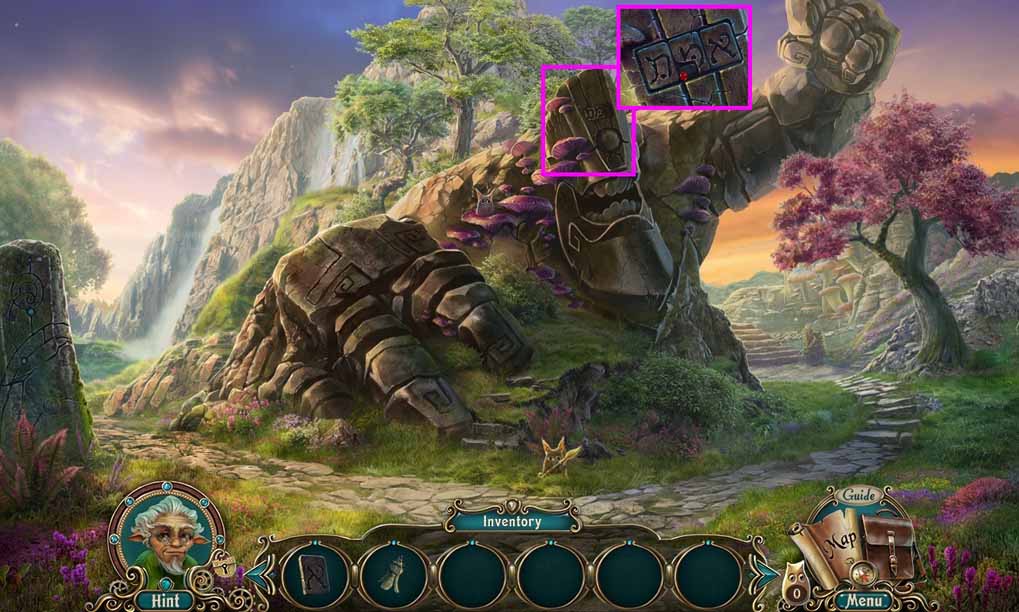
- Click the golem; insert the stone slab.
- Click the golem; collect the ruby.
- Move right to the Crossroads.
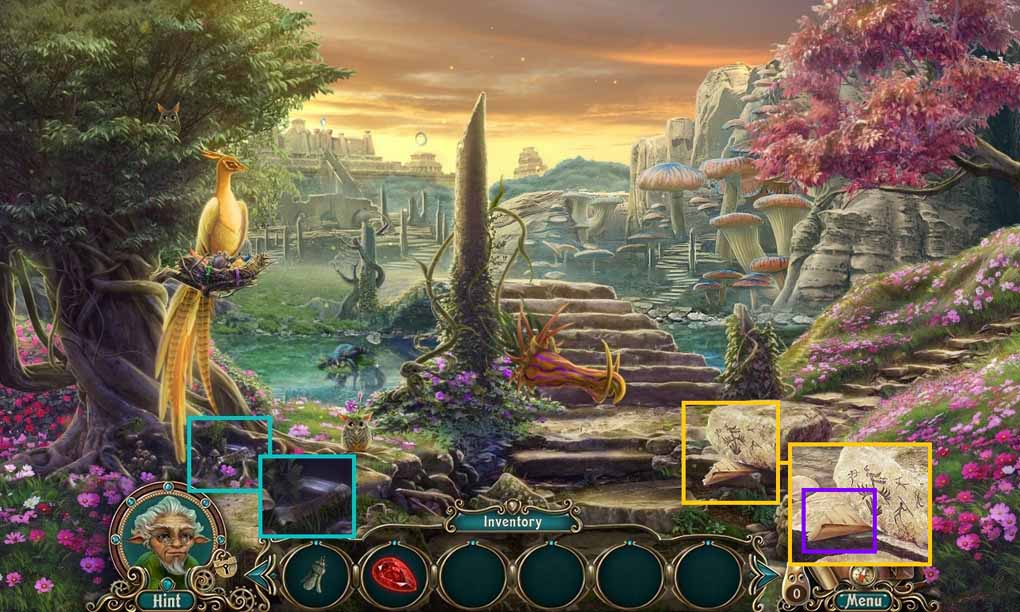
- Click the flowers; collect the knife.
- Click the rocks; examine and collect the recipe piece.
- Move to the right and go to the Statue.
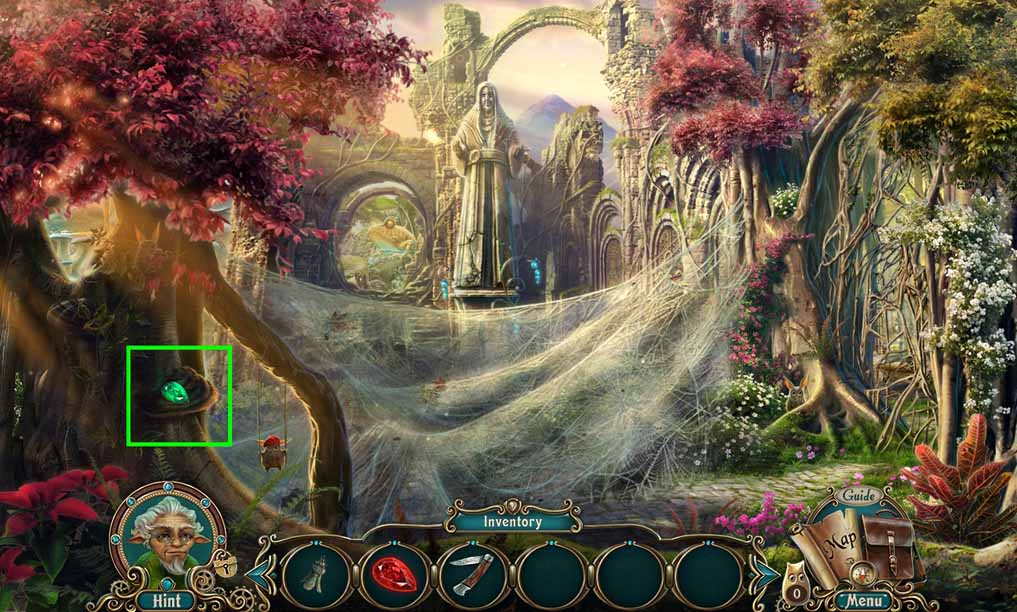
- Collect the emerald.
- Move to the Golem and move left to the River.
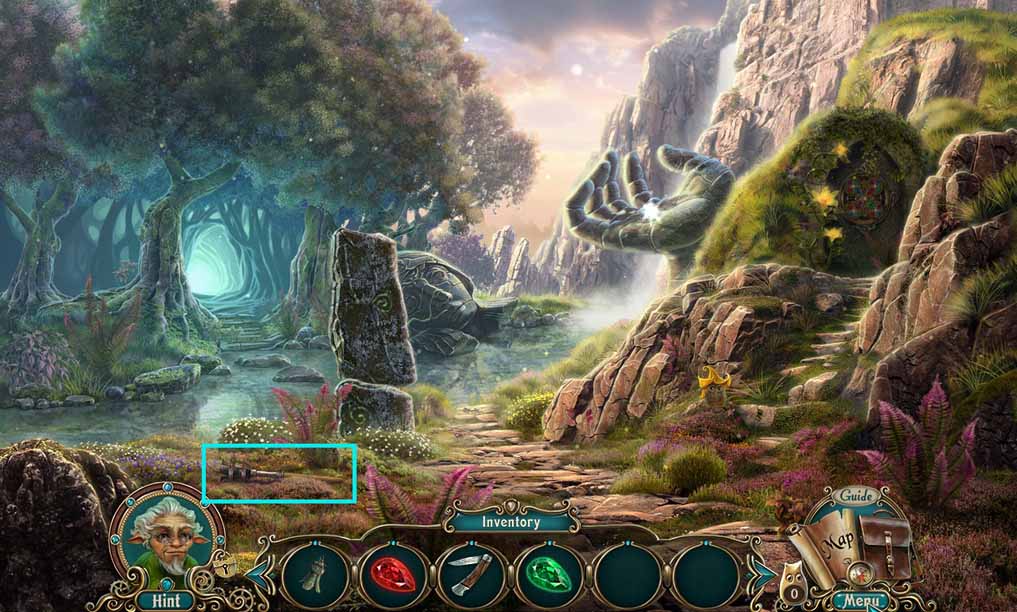
- Collect the unlit torch.
- Move down 2 times.
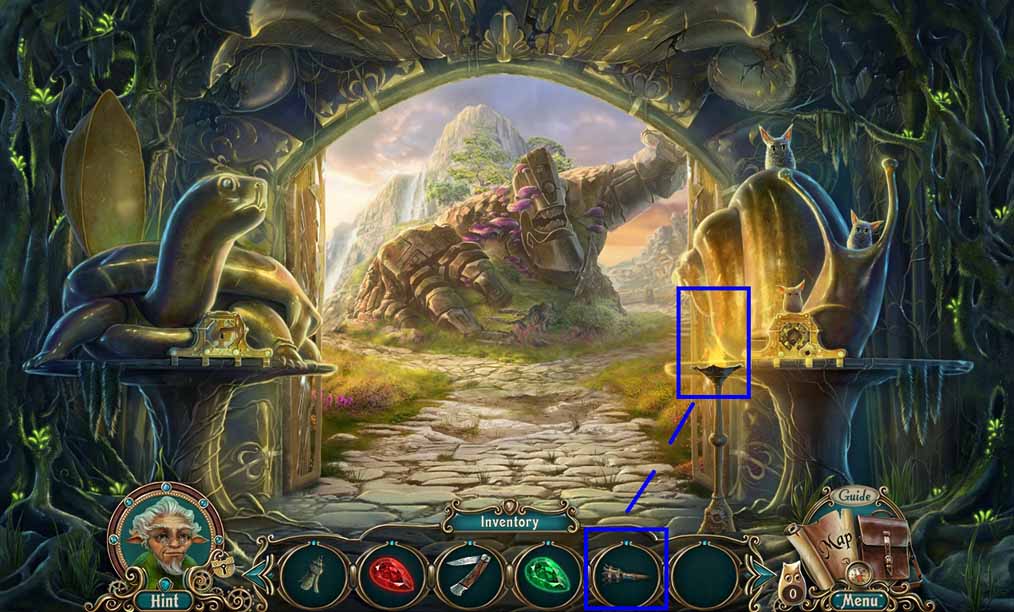
- Place the unlit torch into the flame.
- Collect the lit torch.
- Move to the Statue.
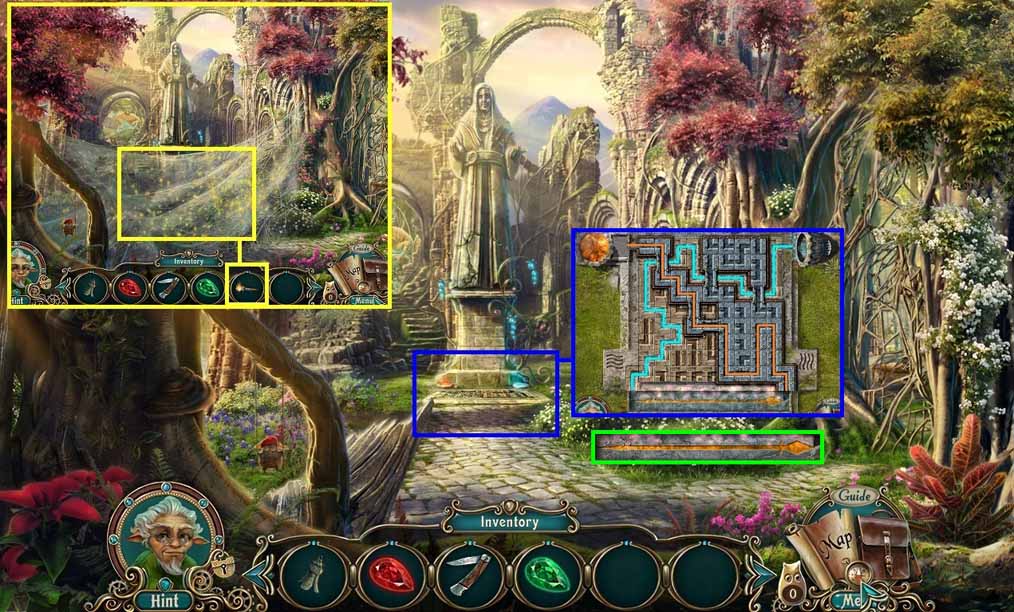
- Select the torch and use it to clear the cobwebs.
- Click the statue to trigger a puzzle.
- Solve the puzzle by arranging the tiles to allow the fire and water to flow through the pathways.
- Collect the spear.
- Move ahead to the Path.
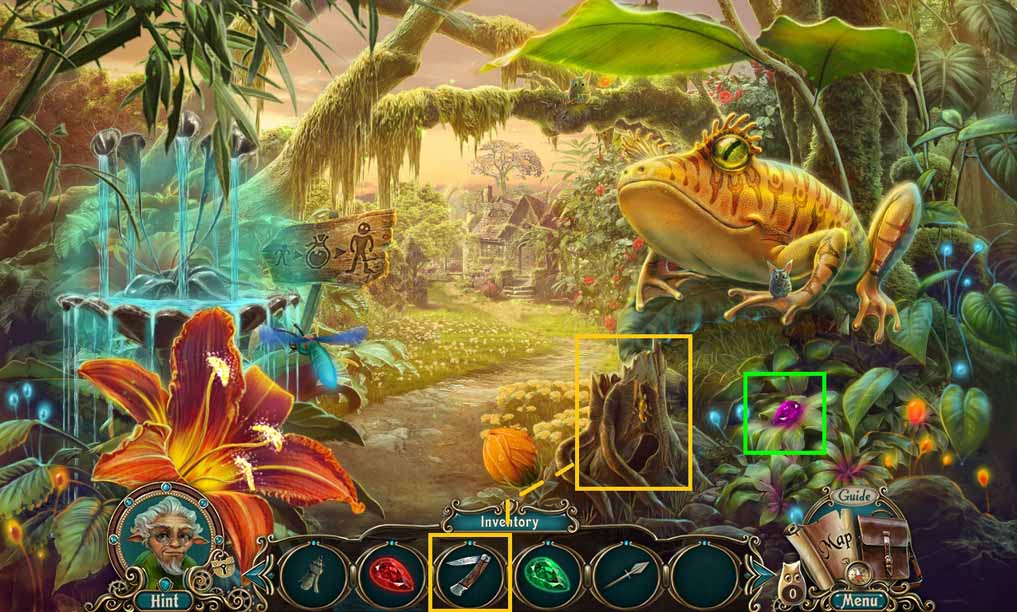
- Click the tree trunk.
- Select the knife to carve the trunk; collect the tree sap.
- Collect the amethyst.
- Move to the River.
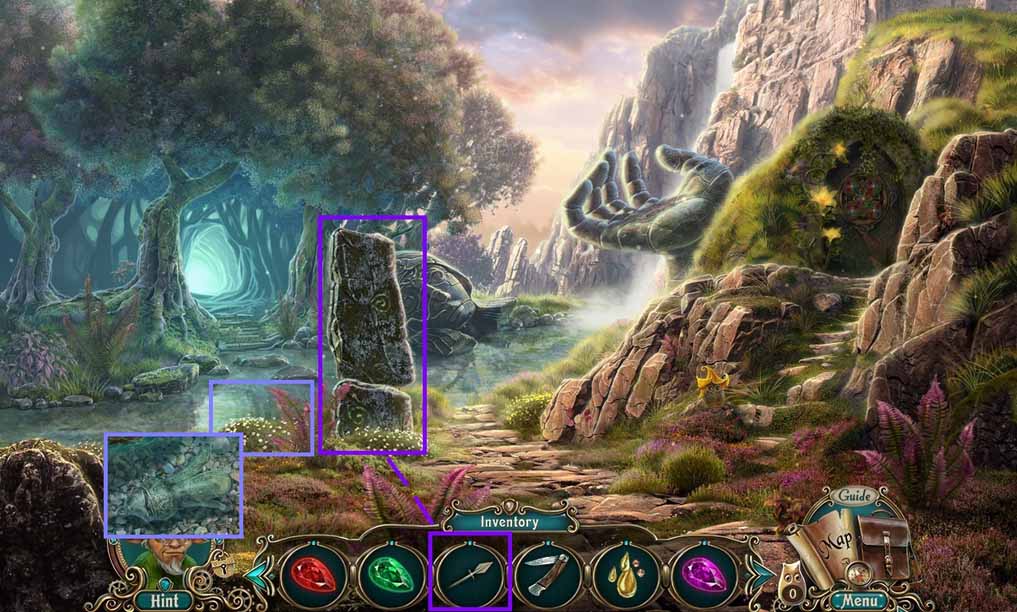
- Select the spear to use on the stone.
- Click the riverbed; collect the 2nd bell.
- Move ahead to the Bells.
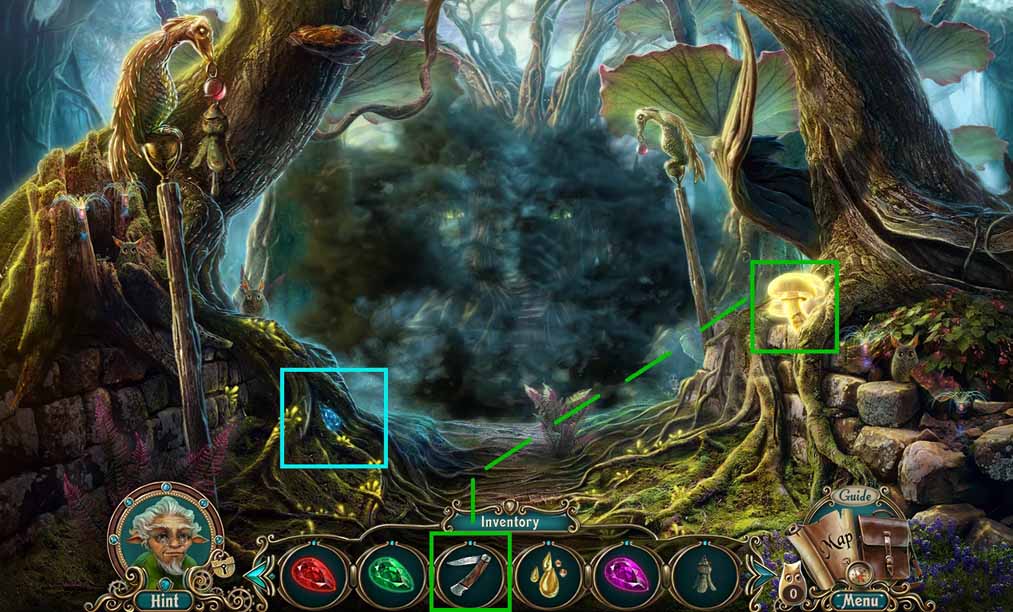
- Collect the topaz.
- Select the knife; use it on the mushroom and collect the glowing mushroom.
- Move down once.
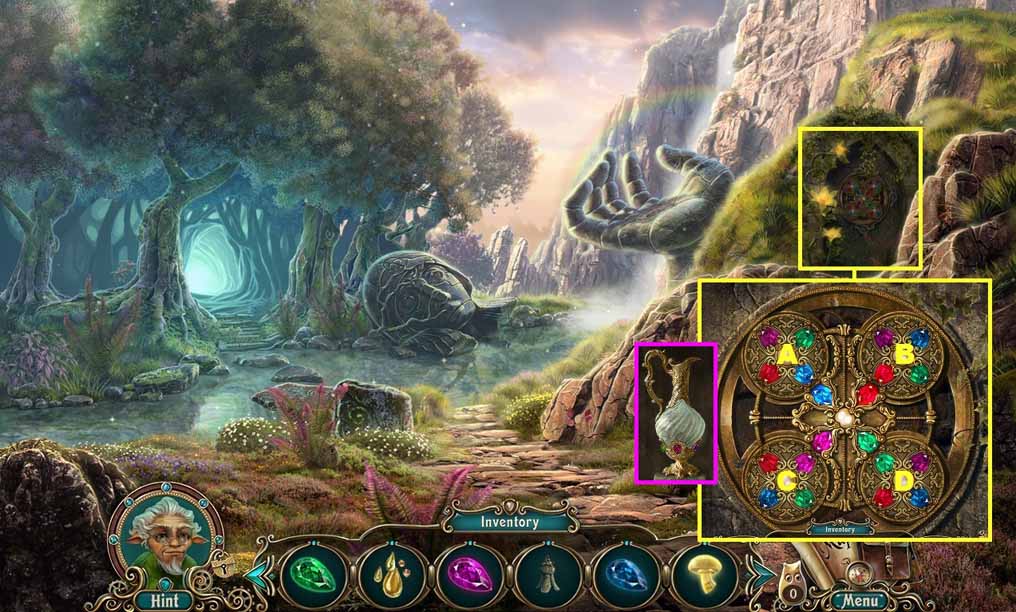
- Click the plate; insert the ruby, amethyst, the topaz and the emerald to trigger a puzzle.
- Solve the puzzle by rotating the gemstones until the color matched stones are aligned.
- Click the discs using the following sequence to solve the puzzle.
- A – A – A – B – D – D – D – C – C – C – B – B
- Collect the crystal pitcher.
- Move to the Path.
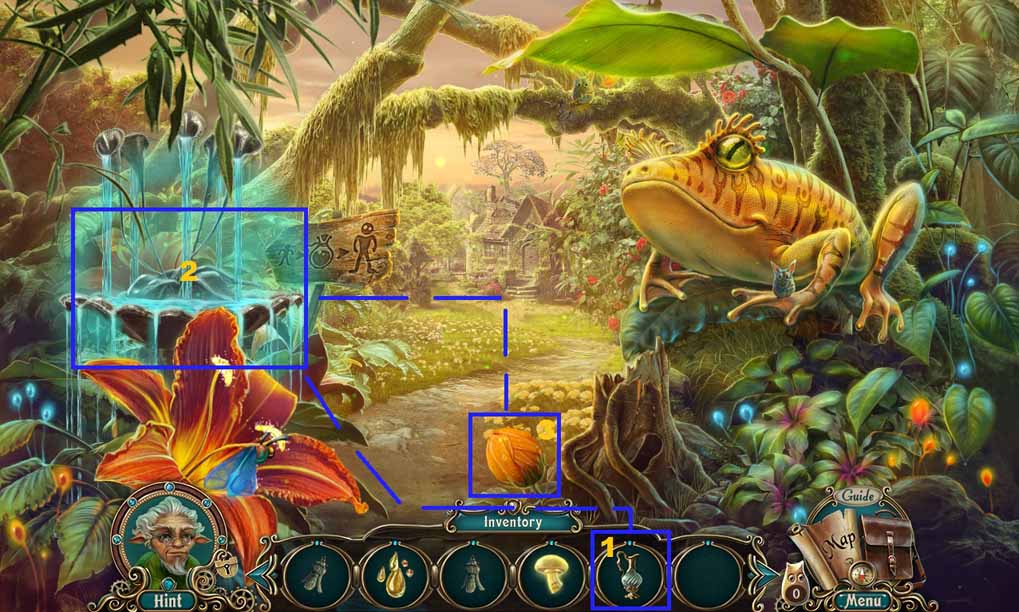
- Place the crystal pitcher into the fountain; collect the grow water.
- Pour the grow water onto the flower.
- Move ahead to the Front Yard.
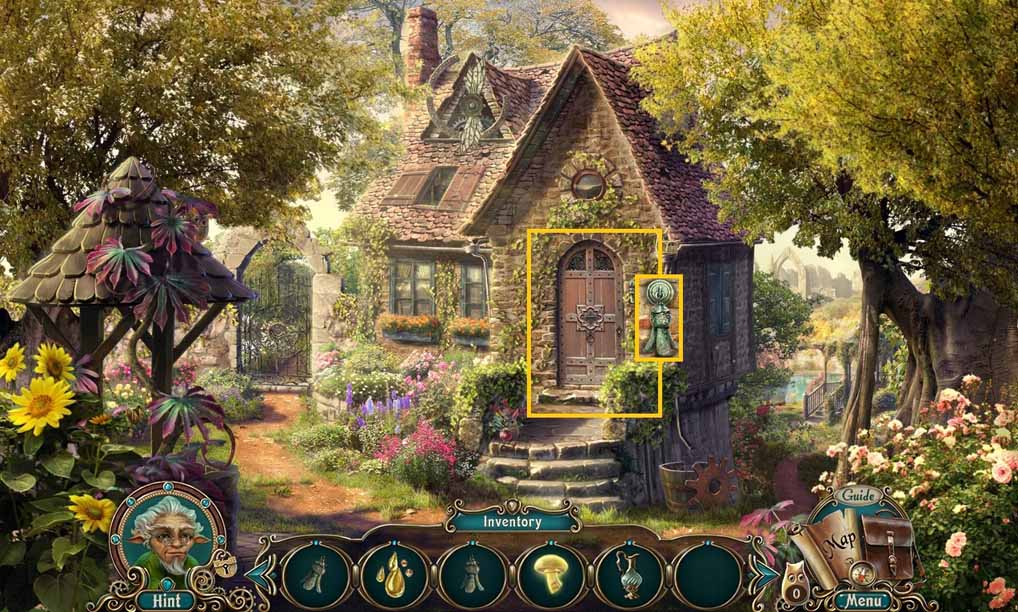
- Click the door; collect the 3rd bell.
- Move to the right to the Gazebo.
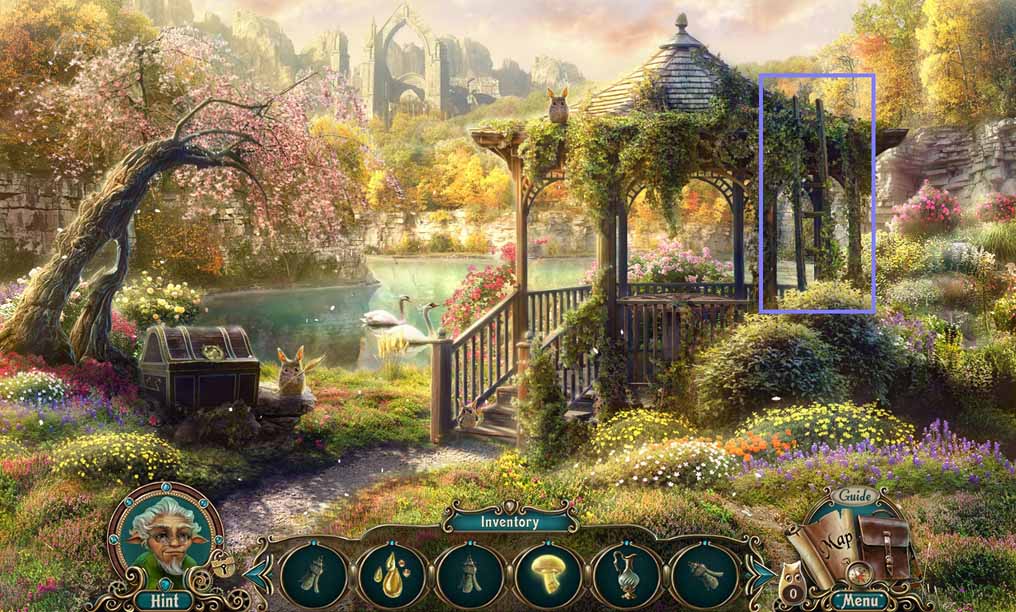
- Click the vines twice; collect the ladder.
- Move down once.
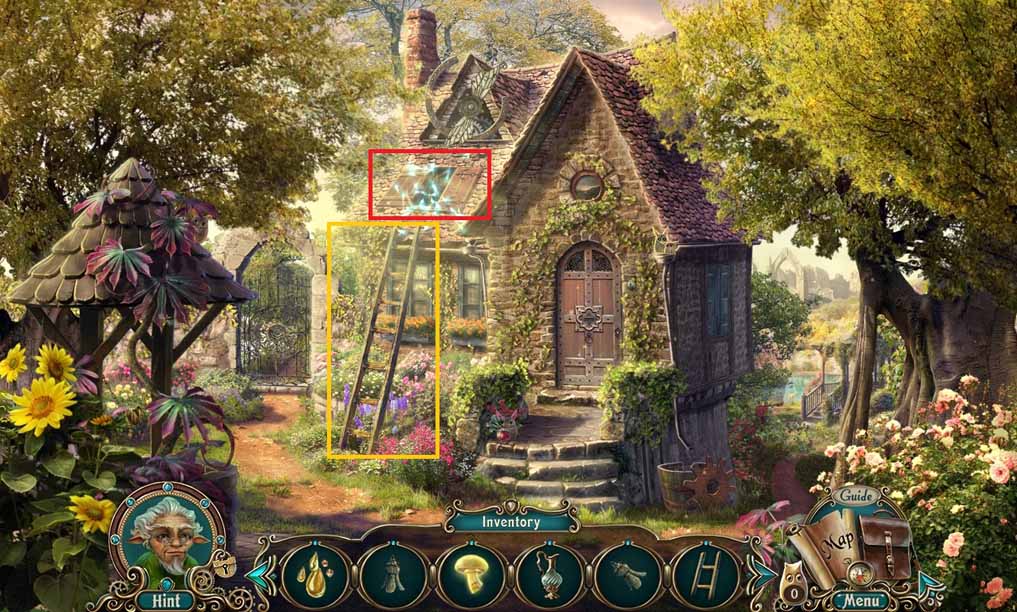
- Lean the ladder onto the window.
- Zoom into the window to trigger a hidden objects area.
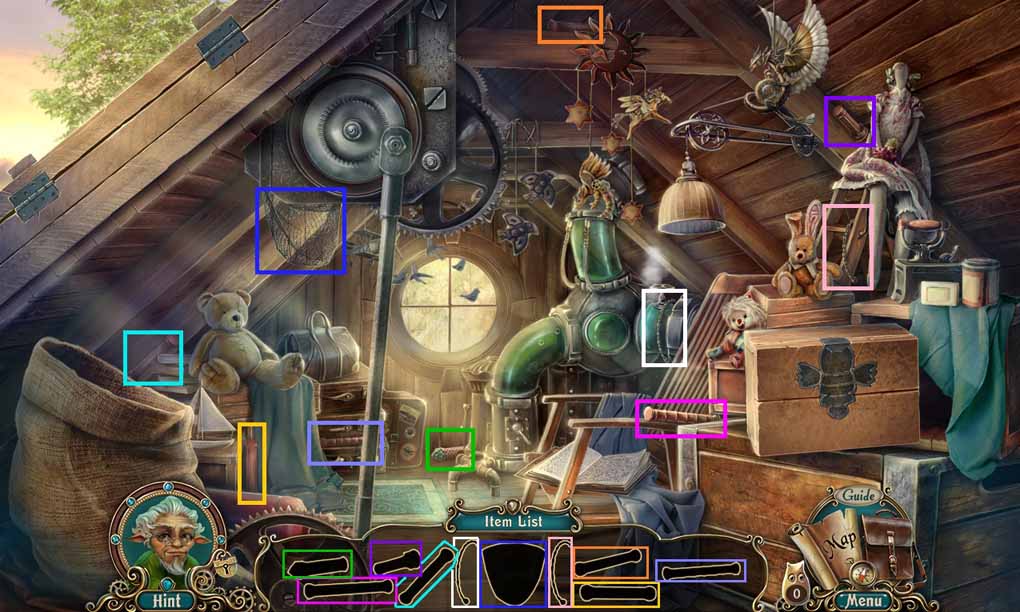
- Find the silhouetted items.
- Collect the animal net.
- Move to the Crossroads.
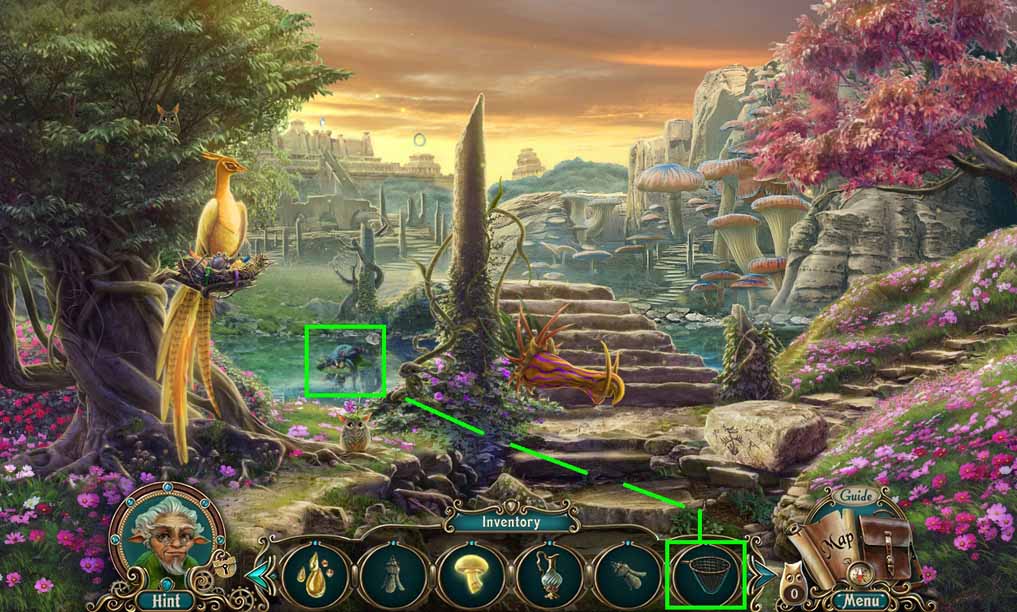
- Click the ferret.
- Select the animal net to use on it; collect the rainbow ferret.
- Move to the Bells.
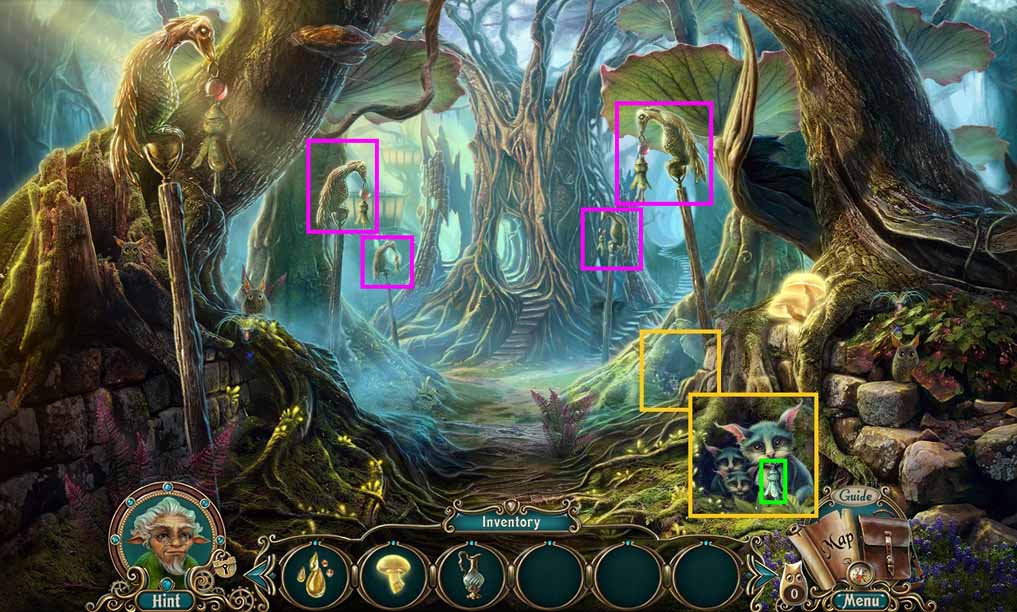
- Attach the bell and the 2nd bell onto the holders.
- Click the tree and insert the rainbow ferret into the trunk.
- Collect the 4th bell.
- Attach the 3rd and 4th bells onto the holder.
- Move ahead.
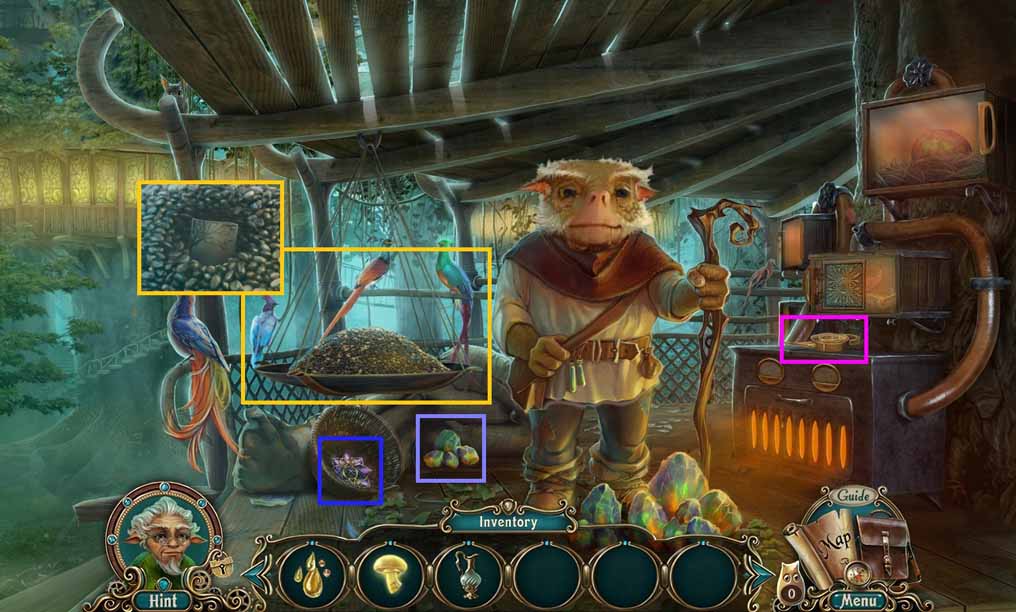
- Zoom into the scale; collect the bird seed and the picture slide.
- Click the metal star.
- Collect the rainbow coal and the rust remover.
- Move to the River.
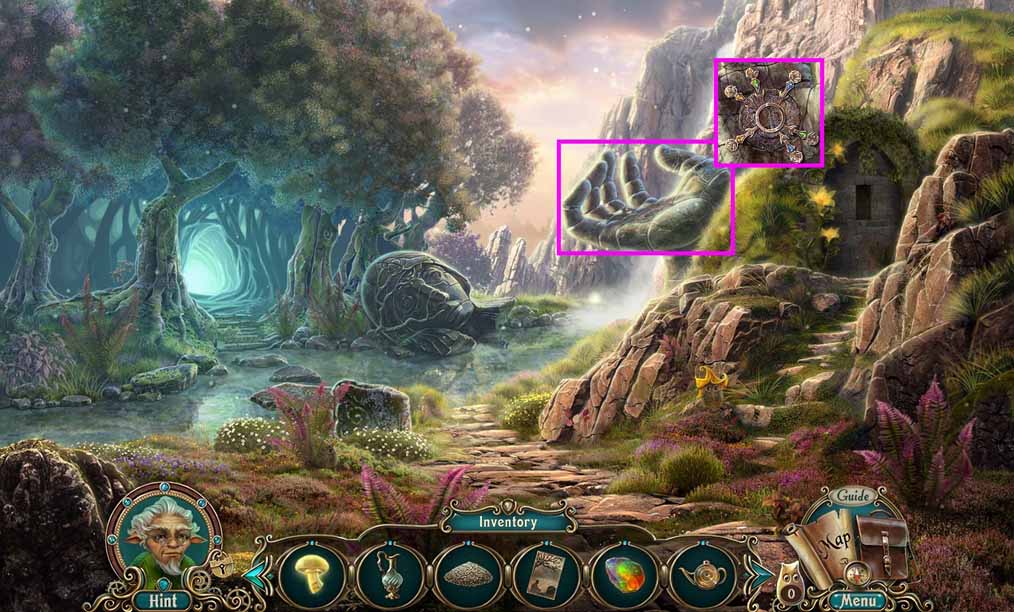
- Click the hand.
- Select the rust remover and use it on the spikes; collect the metal spikes.
- Move to the Gazebo.
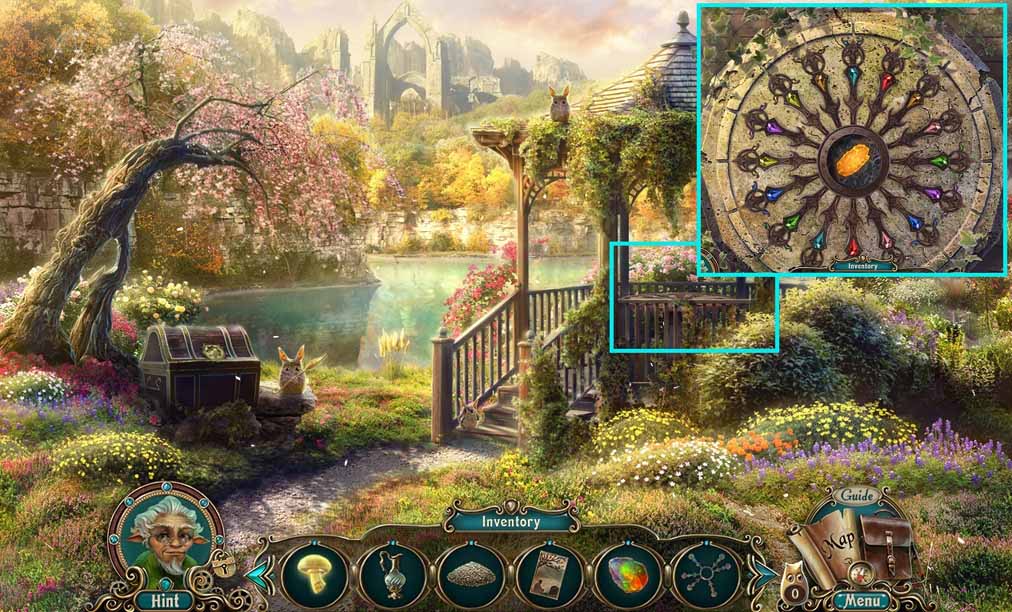
- Click the gazebo.
- Put the metal spikes onto the stone to trigger a puzzle.
- Solve the puzzle by switching the clock hand positions until none of the clock hands lap over the others.
- Collect the glowing crystal.
- Move down once.
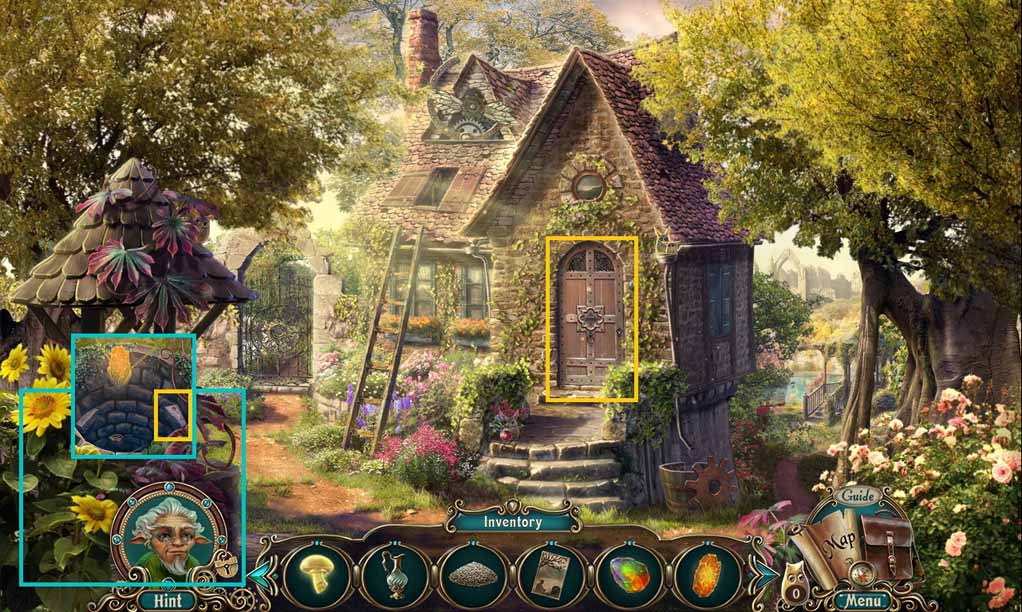
- Click the well and insert the glowing crystal; collect the house key.
- Click the door; insert and click the house key.
- Move into your Parents’ House.
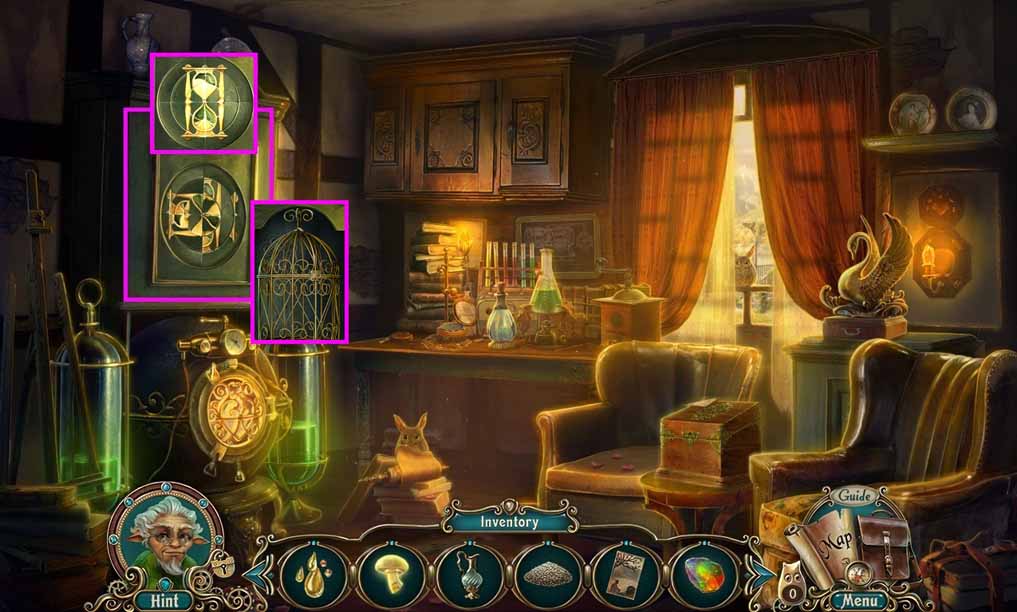
- Click the cupboard to trigger a mini-game.
- Solve the mini-game by switching the pieces to form a completed image of an hourglass.
- Collect the birdcage and the valve handle behind it.
- Move to the Crossroads.
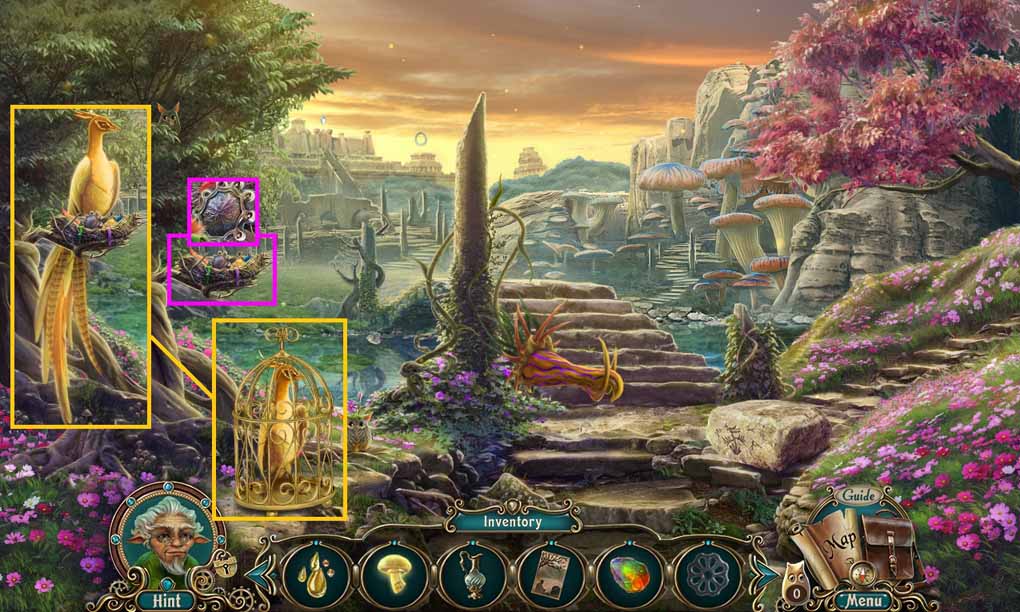
- Place the bird cage beneath the Phoenix.
- Insert the birdseed into the cage; collect the captured Phoenix.
- Click the nest; collect the box handle.
- Move to the Gnome Village.
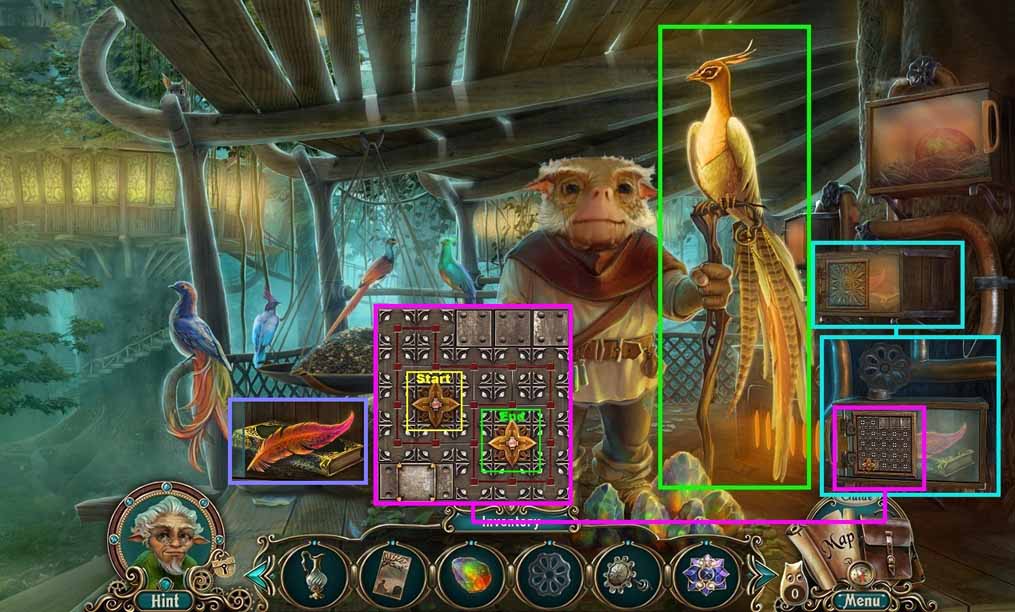
- Give the captured Phoenix to the gnome; collect the metal star.
- Click the furnace; attach the valve handle and click it.
- Zoom into the plate to trigger a puzzle.
- Solve the puzzle by using the arrows to move the slider across the board while making sure that it moves through each square on the grid one time.
- Collect the Phoenix feather and the book, “Bird Keeping.”
- Move to the Gazebo.
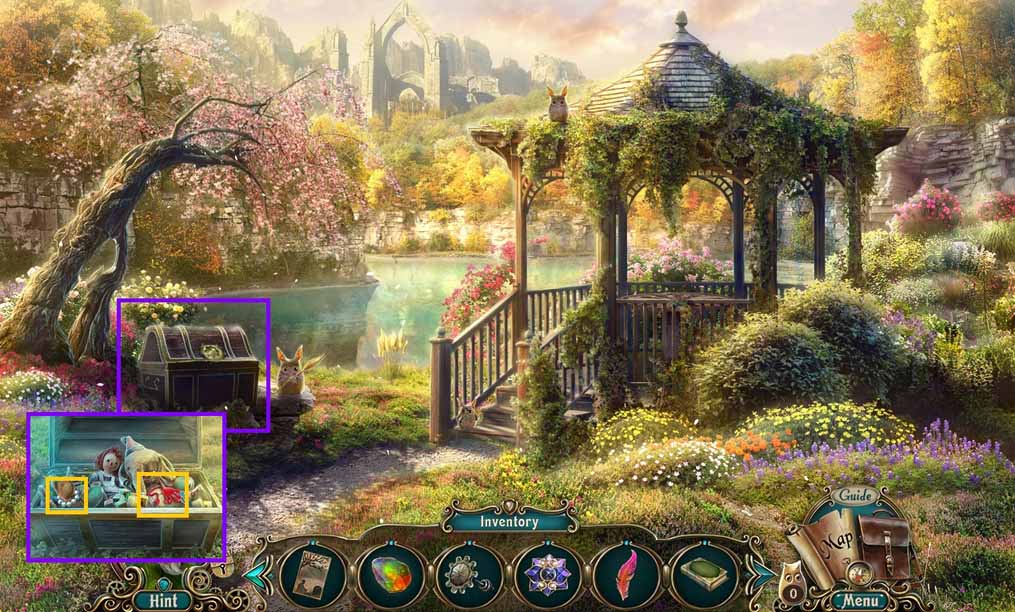
- Click the chest and insert the metal star.
- Collect the pearls and the sticky hand.
- Move down once.
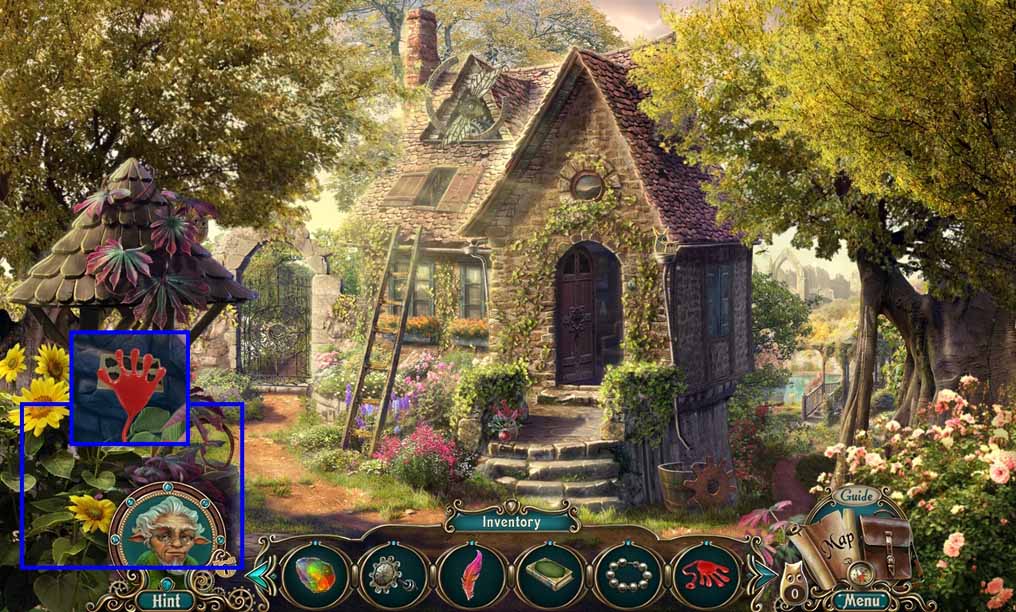
- Click the well.
- Select the sticky hand to collect the 2nd picture slide.
- Move into your Parents’ House.
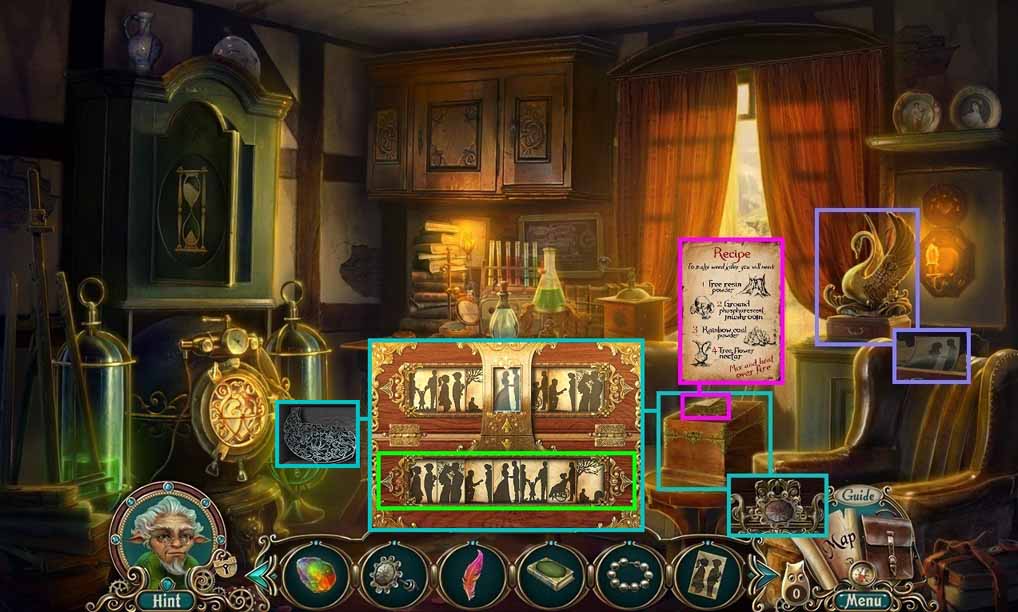
- Zoom into the swan box; click the drawer and collect the 3rd picture slide.
- Click the chest; collect the recipe.
- Attach the box handle and click it once.
- Insert the 1st, 2nd and 3rd picture slides to trigger a puzzle.
- Solve the puzzle by using the arrows to move the pictures in the correct order.
- Collect the gate key half.
- Move to the outside of your Parents’ House and click the window to trigger a hidden objects area.
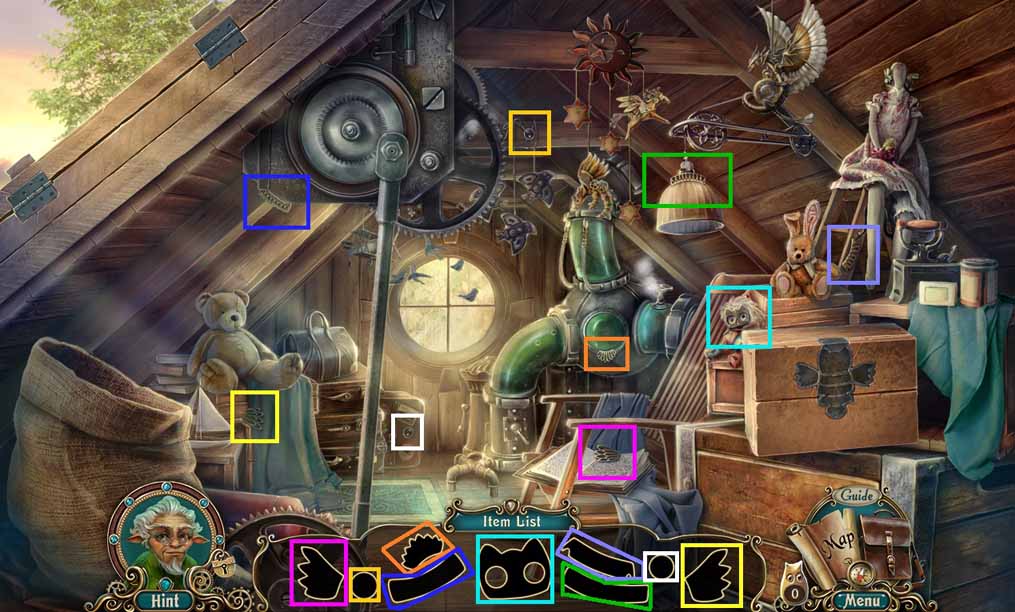
- Find the silhouetted items.
- Collect the owl figurine.
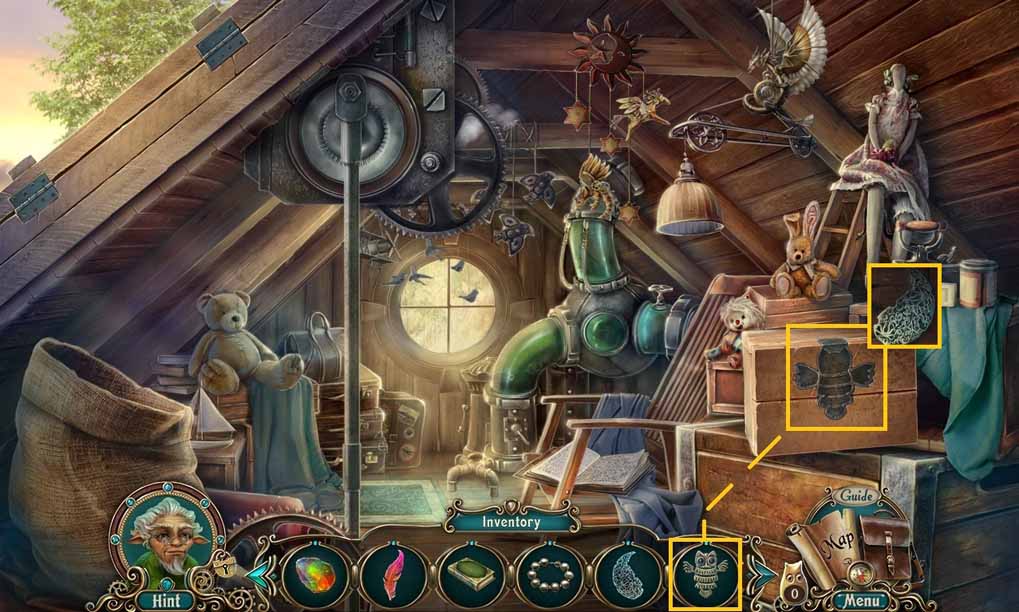
- Insert the owl figurine into the groove.
- Collect the 2nd gate key half.
- Move into your Parents’ House.
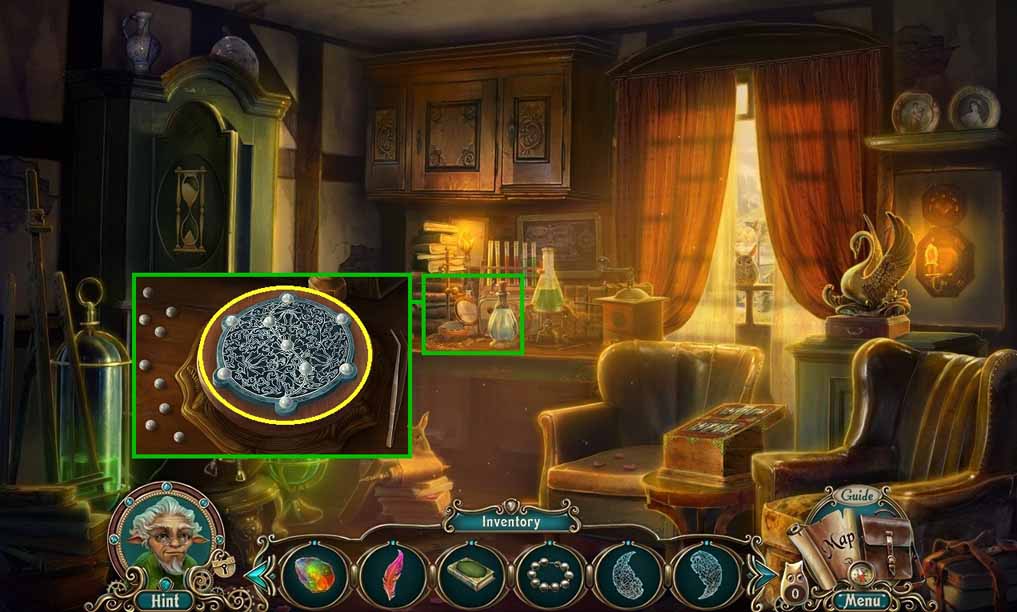
- Zoom into the flasks and examine the holder.
- Insert the 2 gate halves onto the holder.
- Place the pearls down.
- Select the tweezers and use them to place the pearls into the holes; collect the gate key.
- Move to the area outside of the Parents’ House.
Comments will load when you reach this part of the walkthrough.