

Chapter Six: Shrine
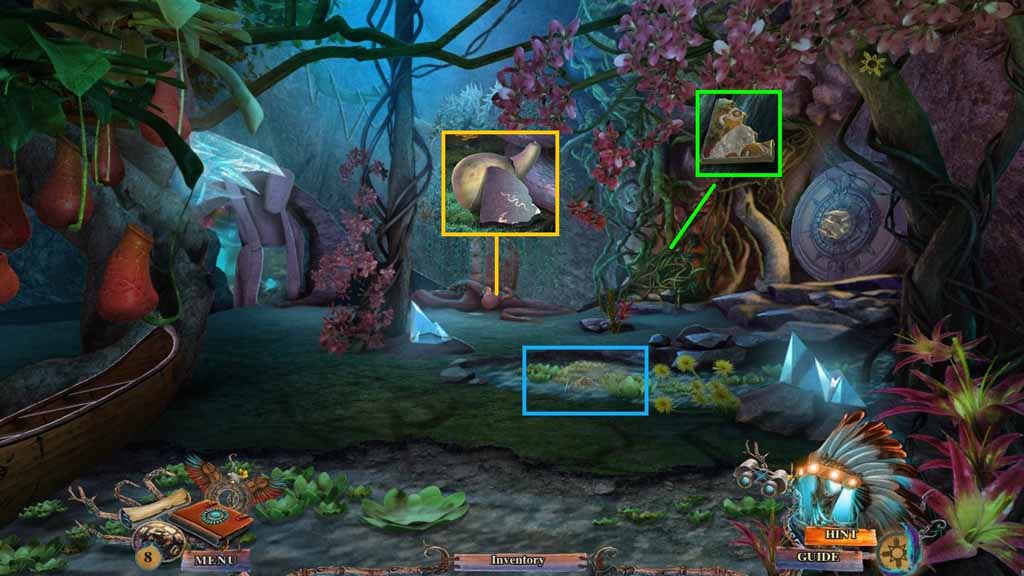
- Collect the fishing net.
- Collect the mosaic part.
- Collect the story tile and the gourd.
- Move to the left.
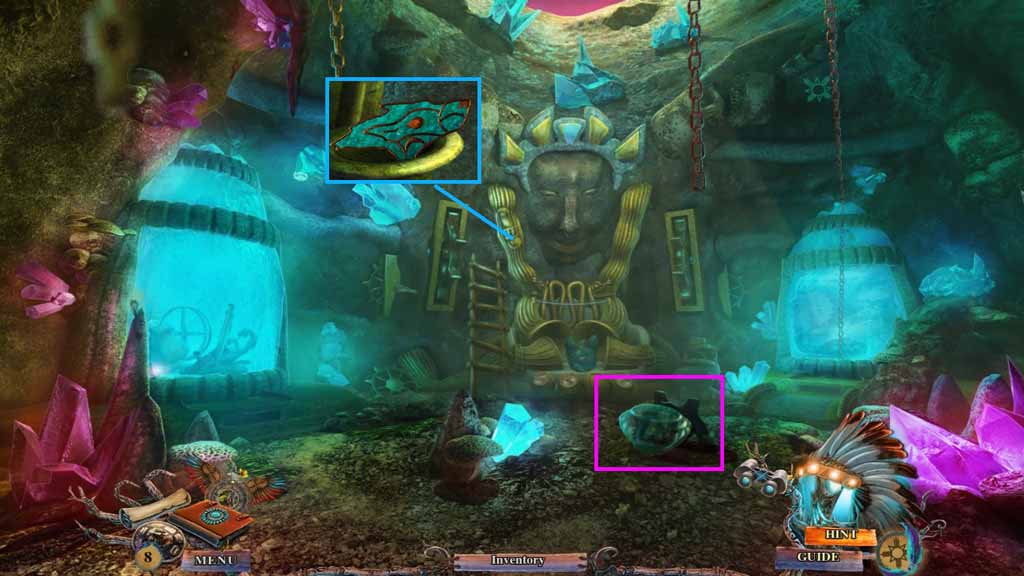
- Collect the crystal bowl.
- Collect the wolf head.
- Move down once.
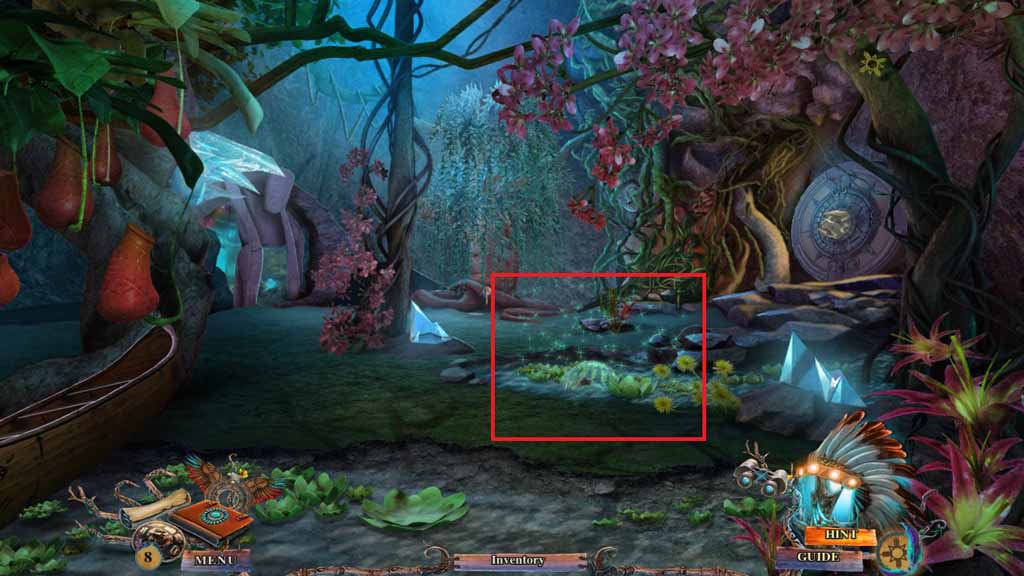
- Dip the crystal bowl into the water.
- Click the hidden objects area.
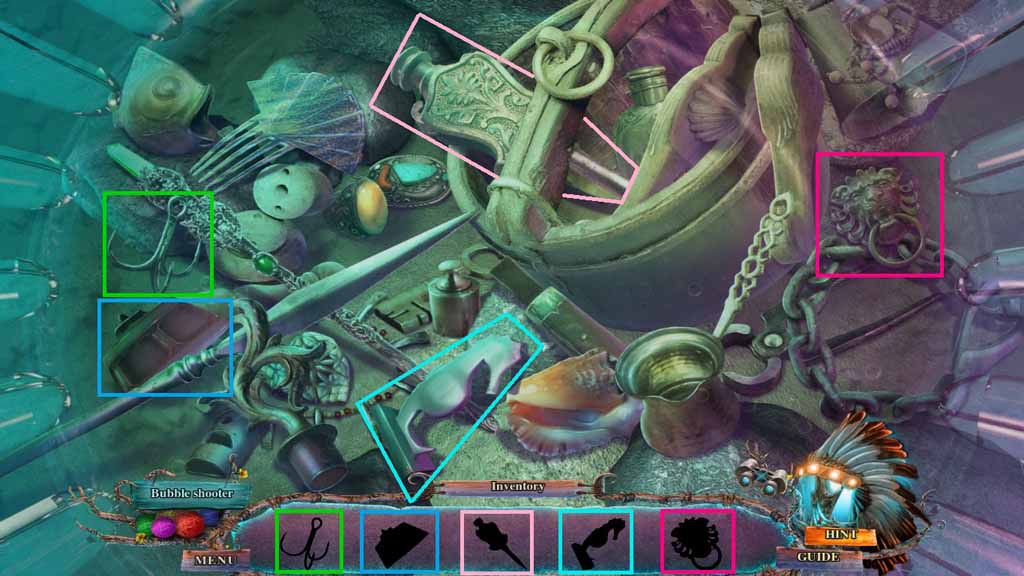
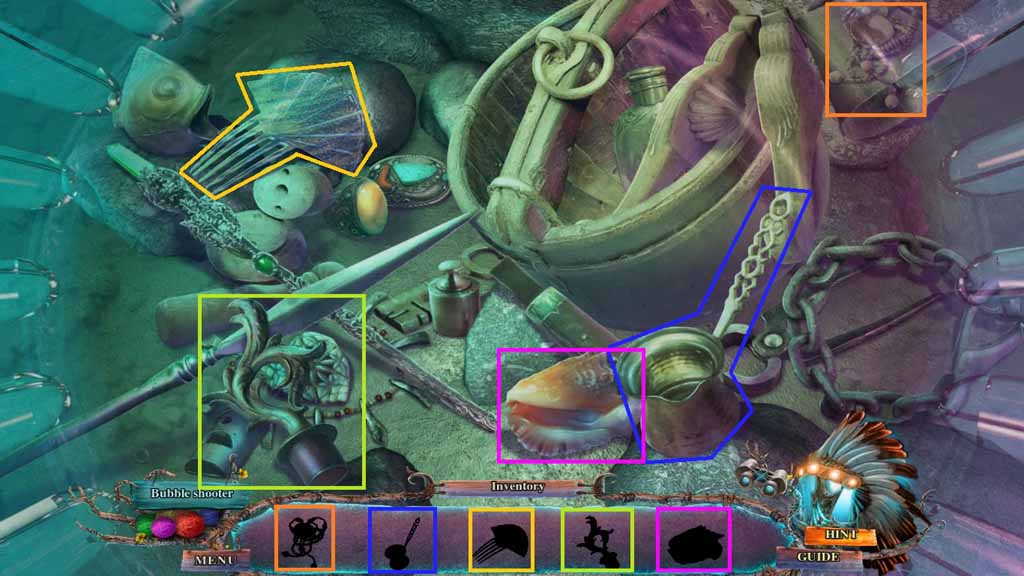
- Find the silhouetted items.
- Collect the weight.
- Move to the left.
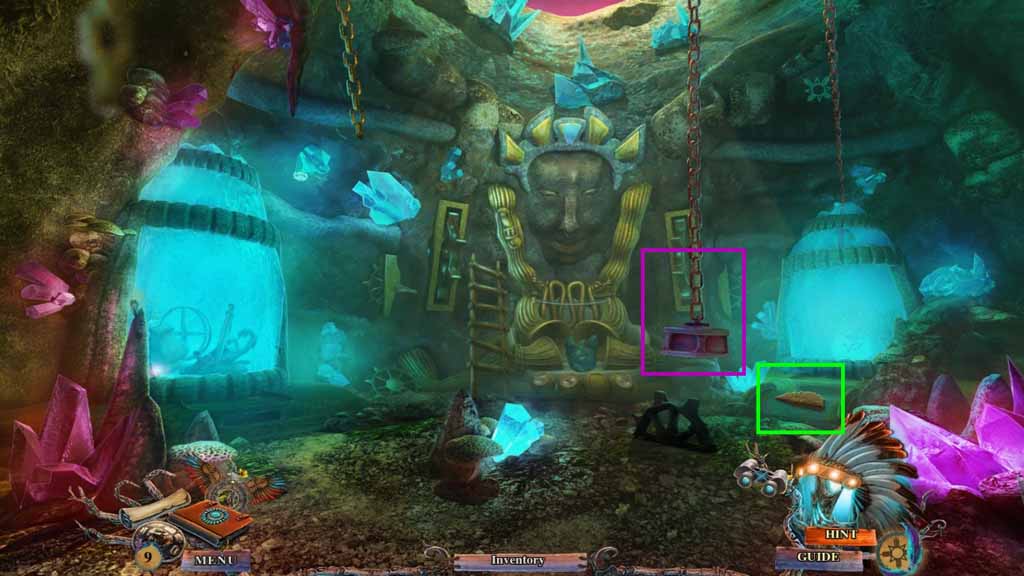
- Place the heavy weight onto the chain on the far right.
- Collect the shrine door key.
- Move down once.
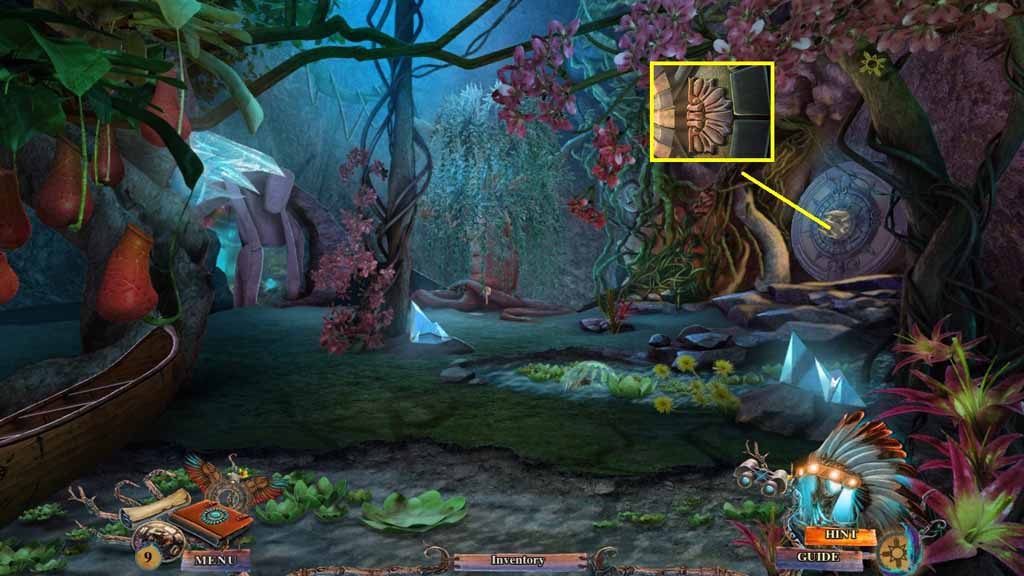
- Insert the shrine door key into the door.
- Enter the doorway.
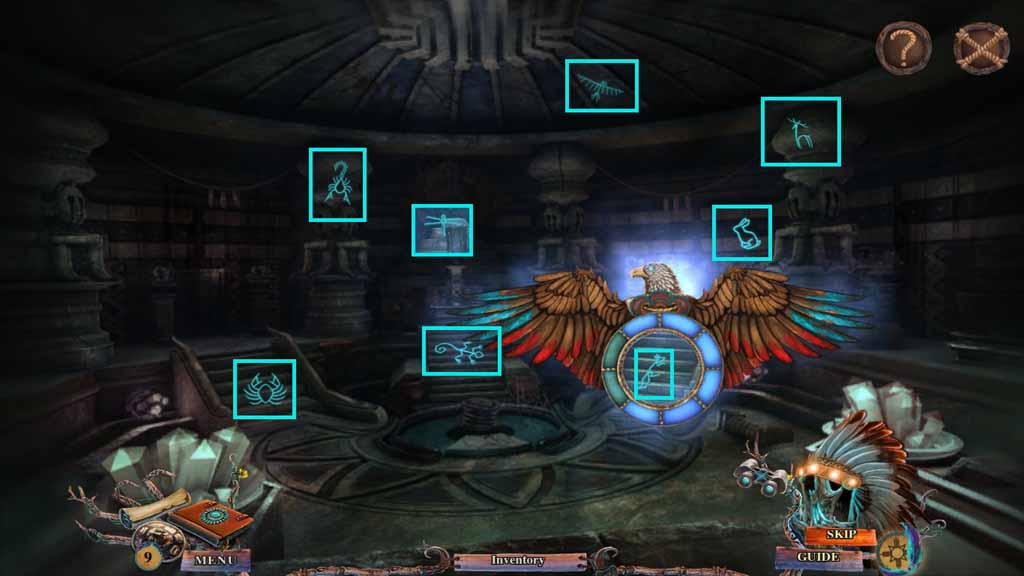
- Use the amulet to locate the symbols.
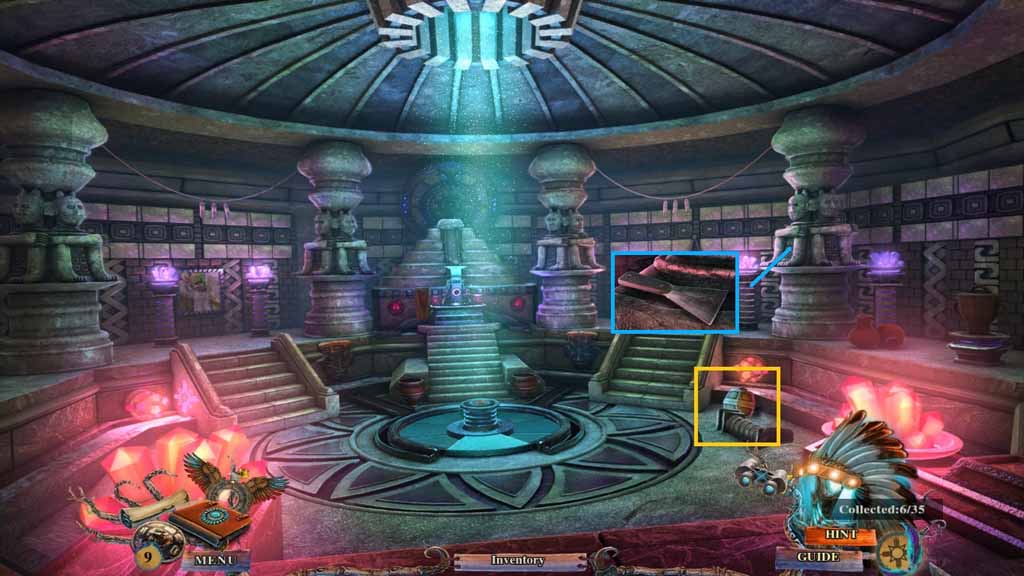
- Collect the heavy weight.
- Collect the scraper.
- Move down once.
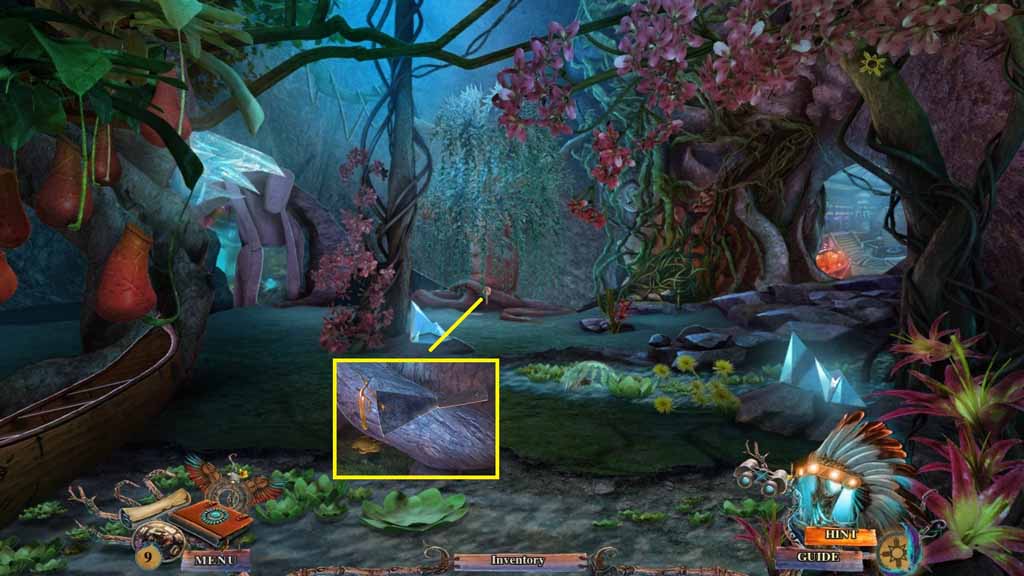
- Use the scraper to collect the sap.
- Move to the left.
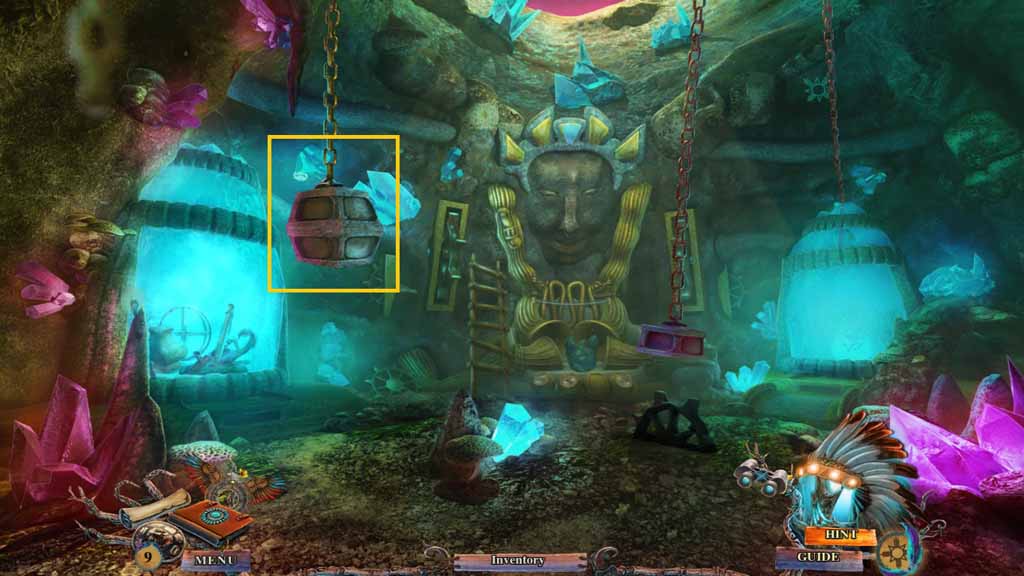
- Place the heavy weight onto the chain on the left.
- Click the hidden objects area.
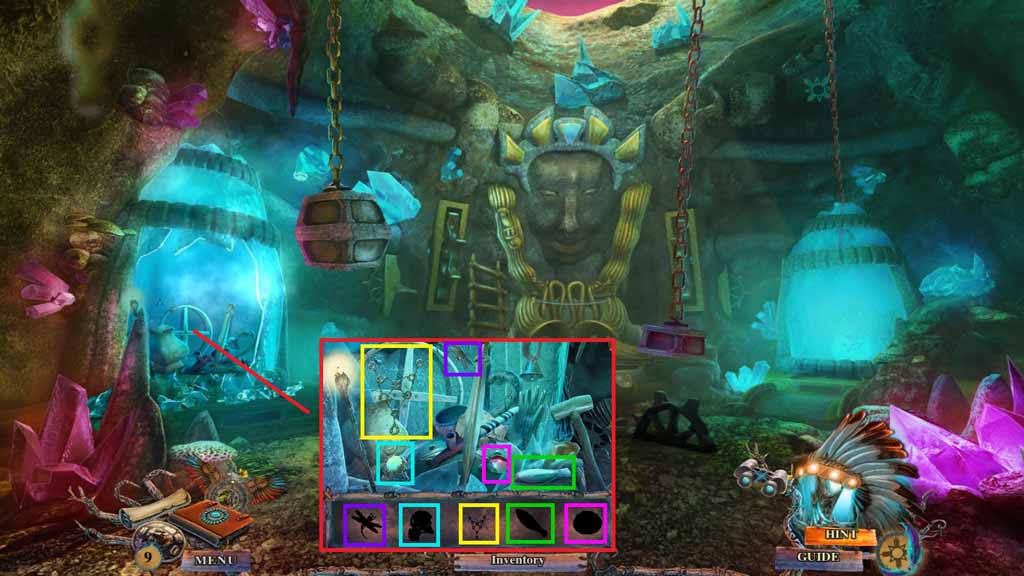
- Click the mini-hidden objects area.
- Find the silhouetted items.
- Collect the fountain crystal.
- Move down once and go to the right.
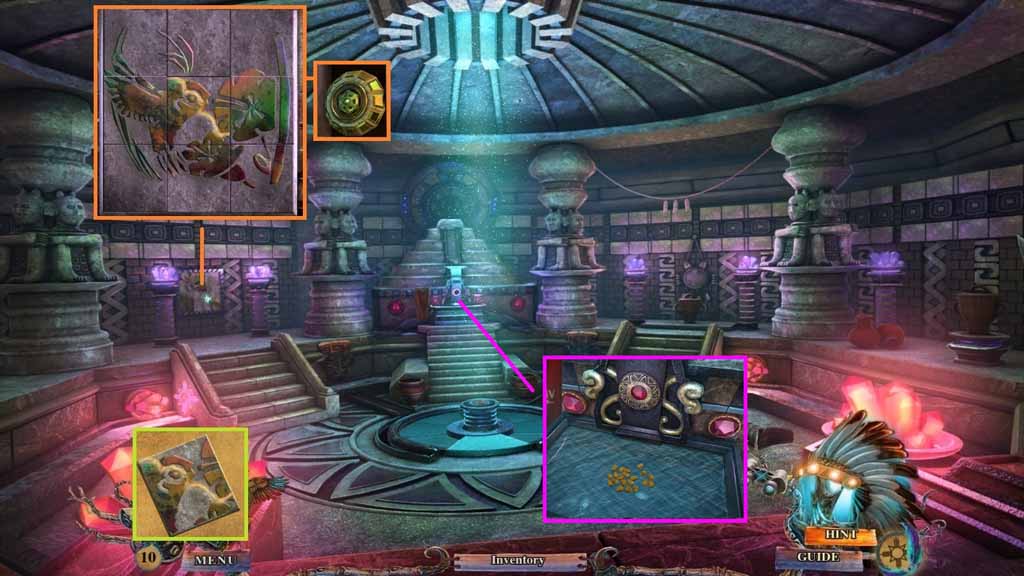
- Click the mosaic piece.
- Place the sap onto the mosaic piece and attach the 2 mosaic parts; collect the mosaic tile.
- Insert it into the mosaic to trigger a mini-game.
- Solve the game by restoring the mosaic.
- Collect the sarcophagus key.
- Insert the fountain crystal into the fountain.
- Collect the dried corn seeds.
- Move down once.
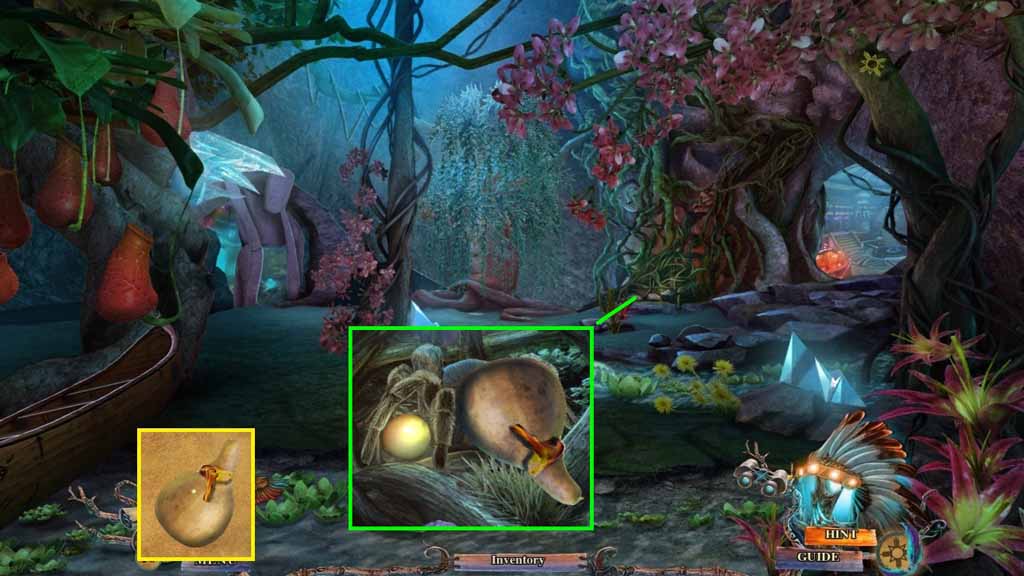
- Click the gourd two times.
- Insert the dried corn seeds into it and seal it using the sap.
- Collect the rattle.
- Use the stalagmite to clear the stone's and attempt to collect the orb.
- Use the rattle to scare the spider and collect the golden orb.
- Move to the right.
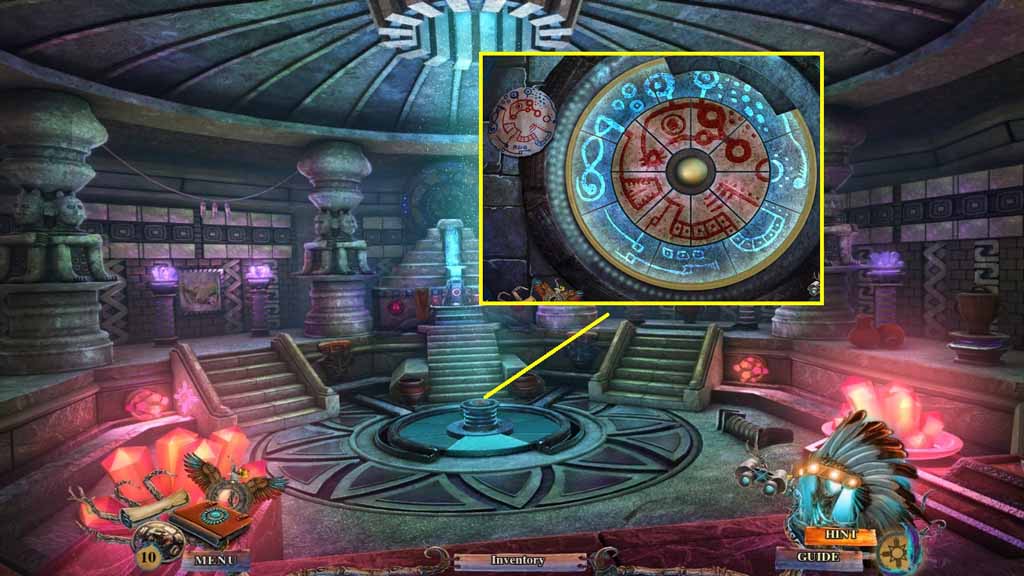
- Insert the golden orb into the floor to trigger a mini-game.
- Solve the game by adjusting the tiles so that the 2 rings create 1 image.
- Move into the Crypt.
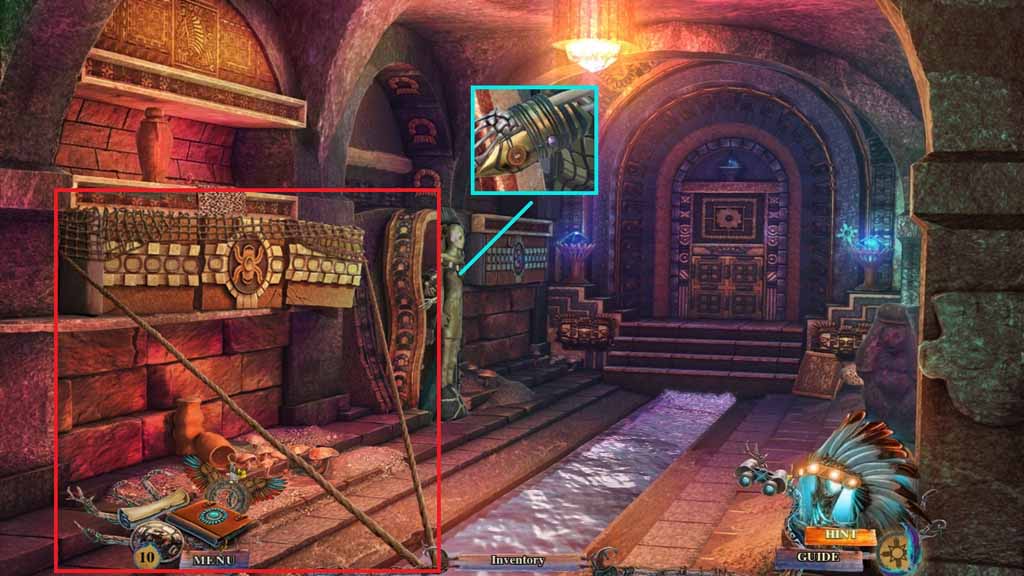
- Use the sarcophagus key to open the sarcophagus.
- Collect the golden arm bracer.
- Use the fishing net to dislodge the stones.
- Click the hidden objects area.
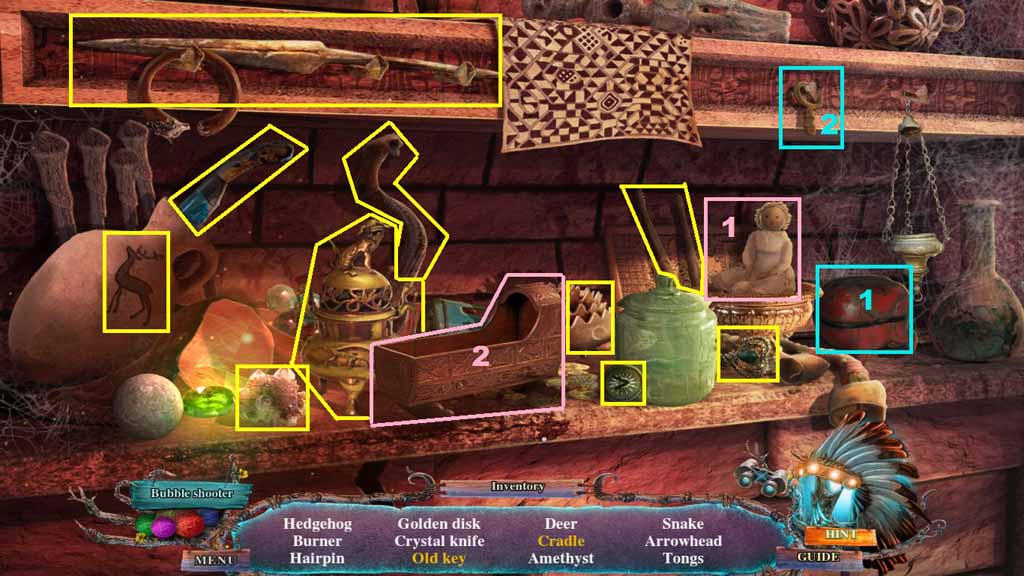
- Find the listed items.
- Click the container and collect the bottom half of the key; attach it to the other half and collect the old key.
- Select the baby doll and place it into the cradle; collect the cradle.
- Collect the golden disc.
- Move to the Resonating Cave.
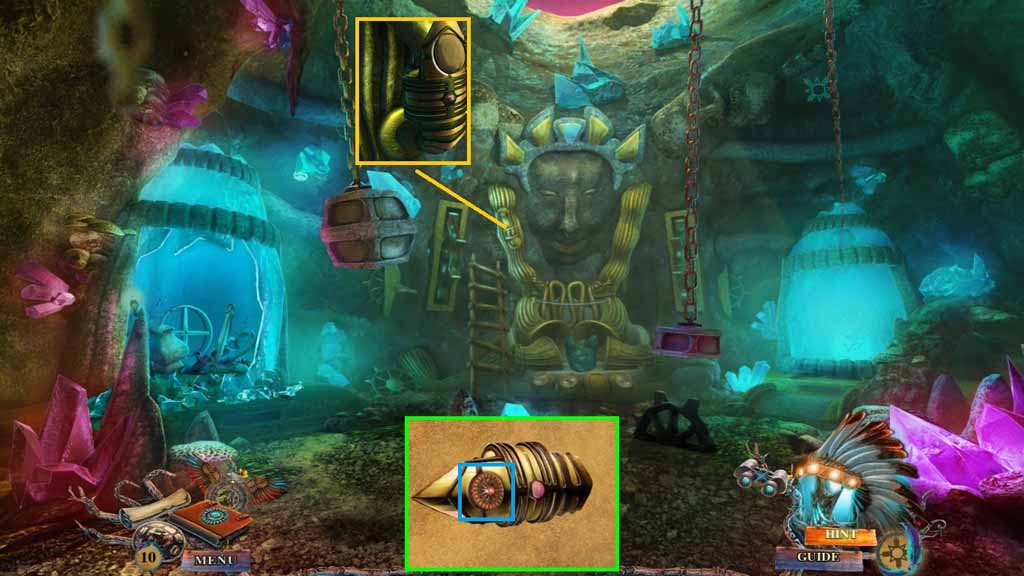
- Click the golden arm bracer and collect the 1/3 stone tokens and the golden arm bracer.
- Place the arm bracer onto the broken pipe.
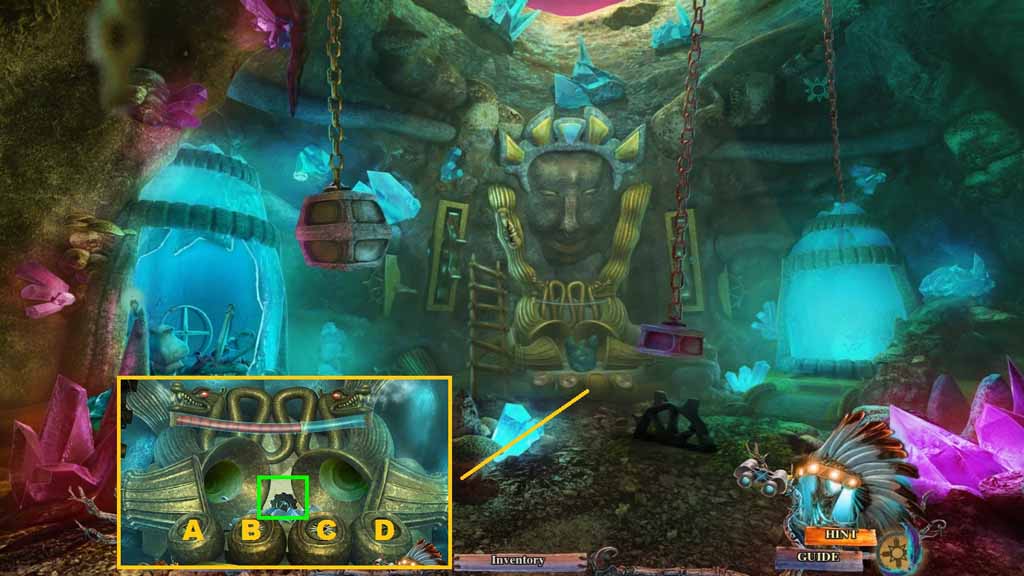
- Insert the golden disc onto the statue to trigger a mini-game.
- Solve the game by moving the liquid to the mark.
- Use the following sequence to solve.
- Part one: D – B – C – B
- Part two: C – C – B – C – B – C – B
- Collect the token.
- Move to the Crypt.
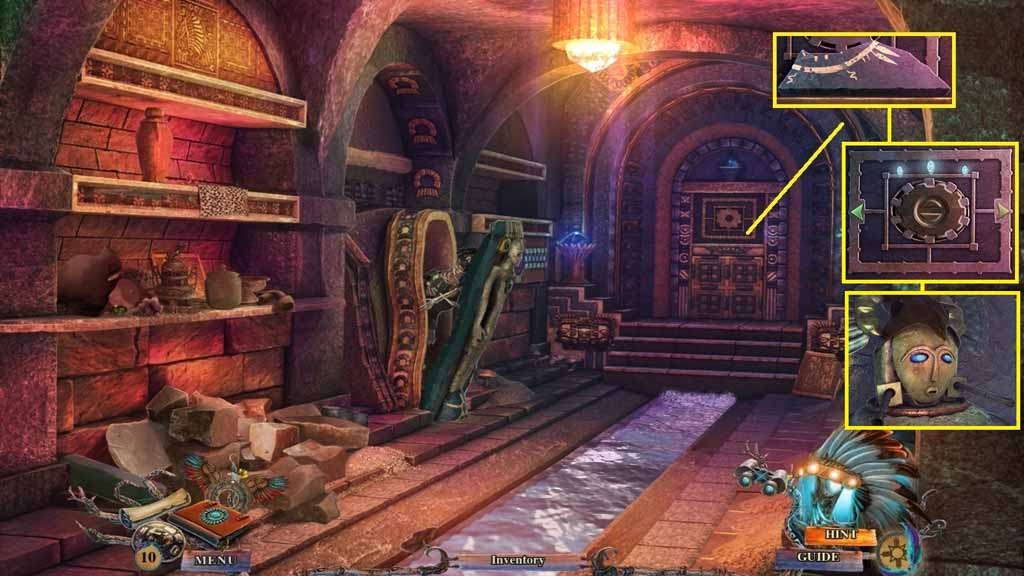
- Collect the story tile.
- Place the token into the door to trigger a mini-game.
- Solve the game by turning the knob correctly.
- Use the following sequence to solve:
- Left 3x’s – right 2x’s – left 4x’s
- Collect the eye.
- Move down once.
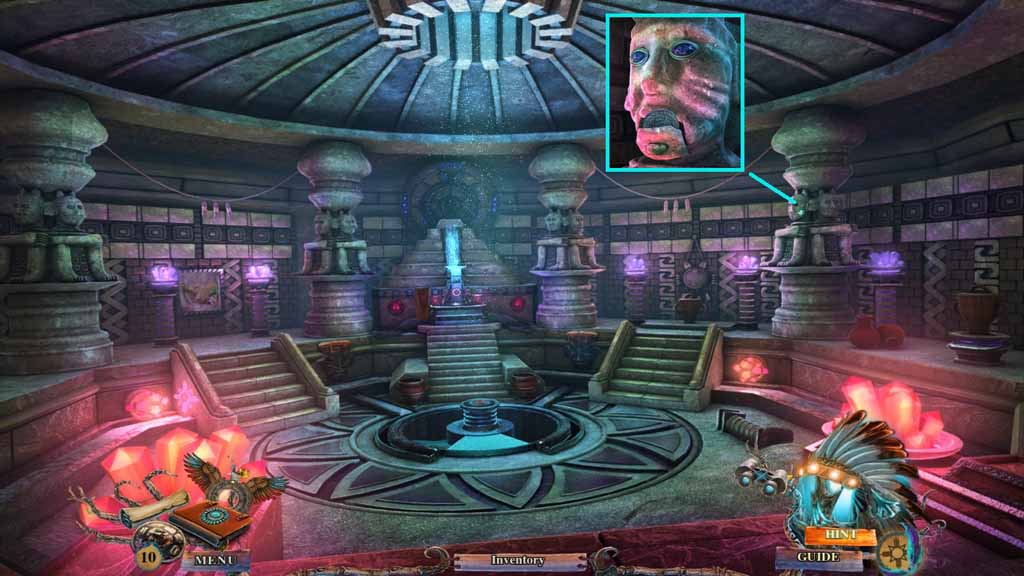
- Insert the eye into the statue.
- Collect the altar key.
- Move to the Lake Shore.
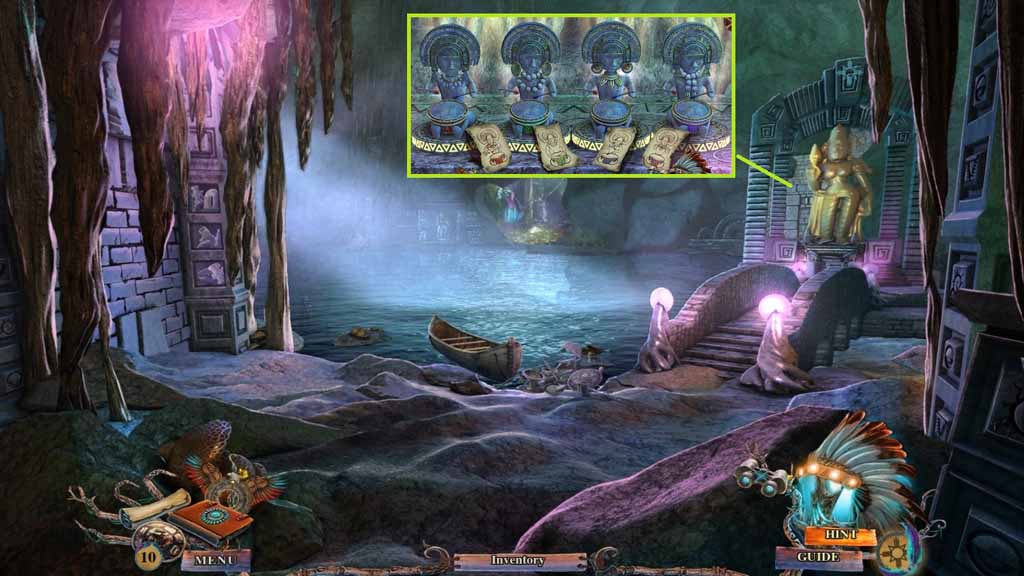
- Insert the altar key into the altar.
- Adjust the pieces of the statue until it resembles to the example in the diary.
- Move to the Pyramid Entrance.
Comments will load when you reach this part of the walkthrough.