
Chapter Four: Teepee
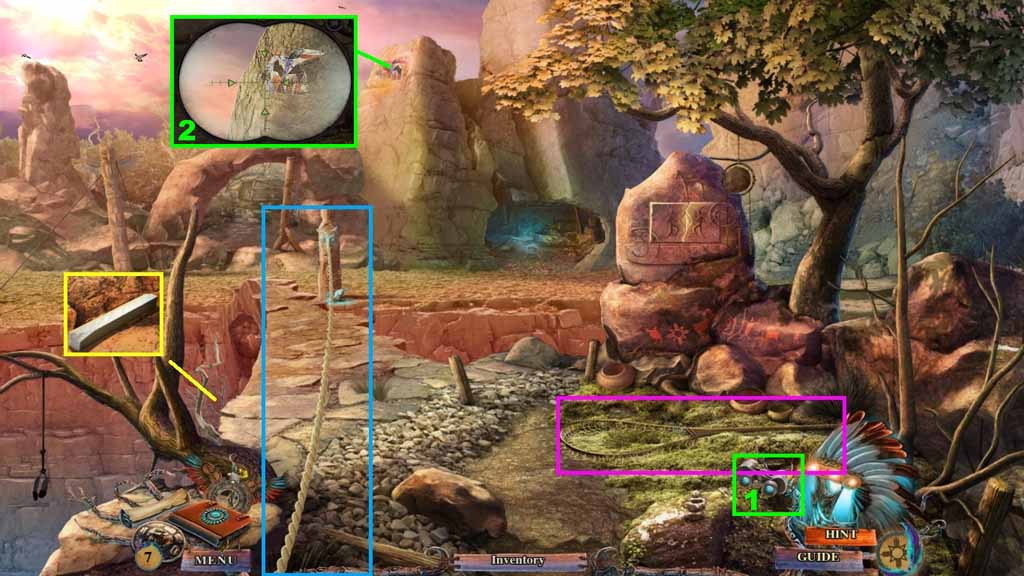
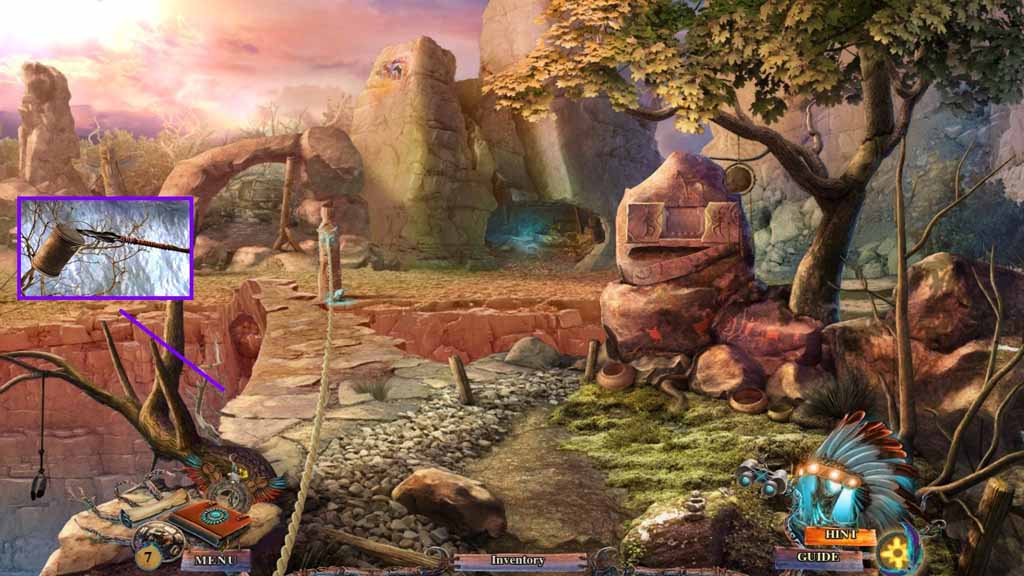
- Collect the torn landing net.
- Collect the chalk.
- Look through the binoculars to trigger a mini-game.
- Each of the arrows must turn green to get the correct focus.
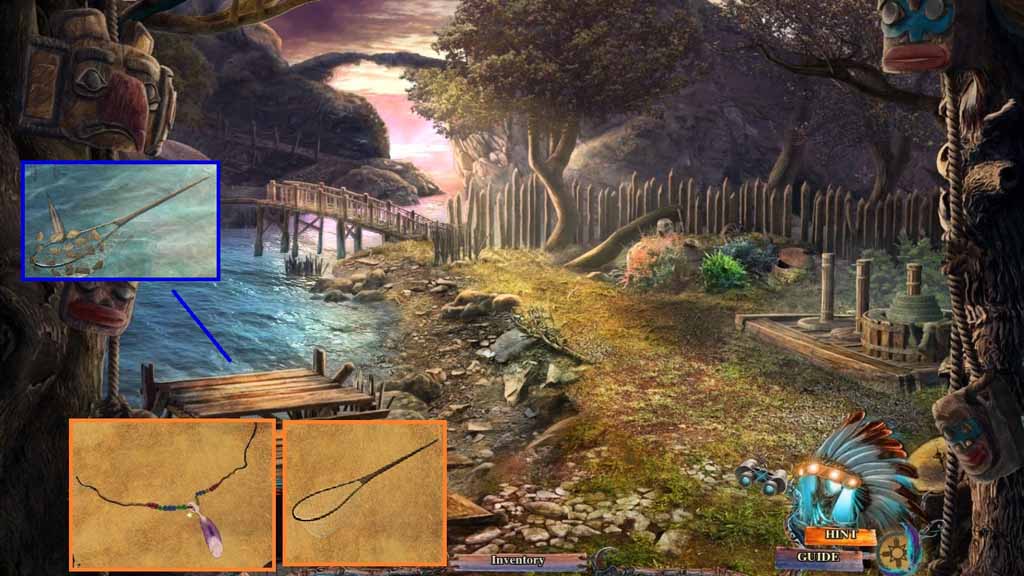
- Toss the lasso across the bridge 2 times.
- Move ahead.
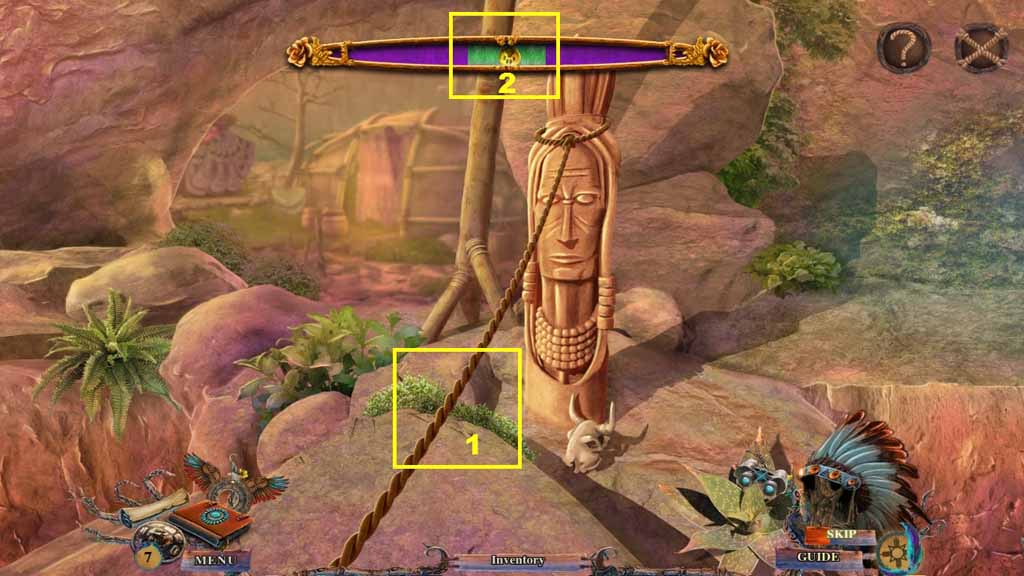
- A mini-game will trigger.
- Solve the game by clicking the rope when the ball moves through the green area.
- Complete this task 3 times.
- Move ahead.
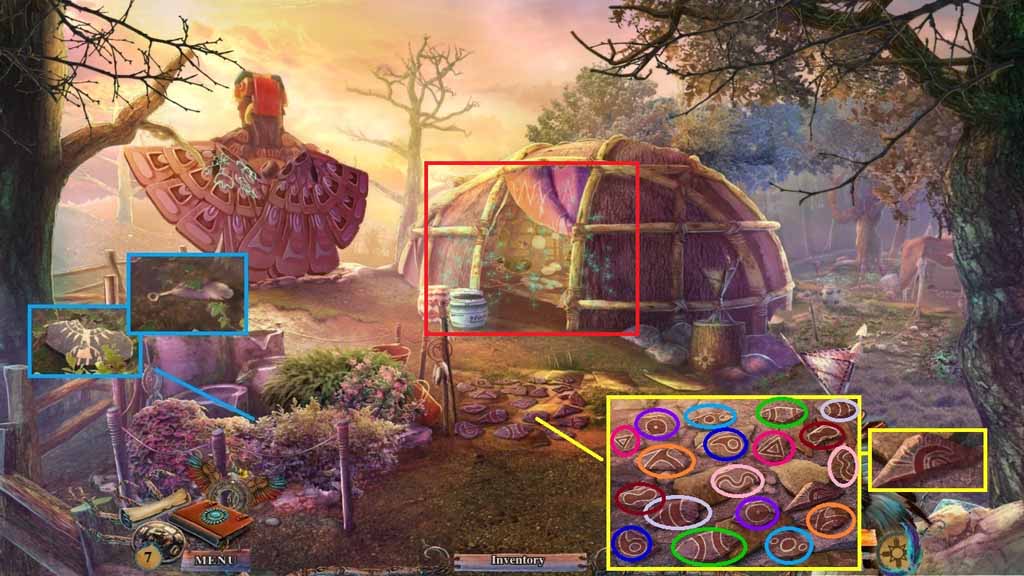
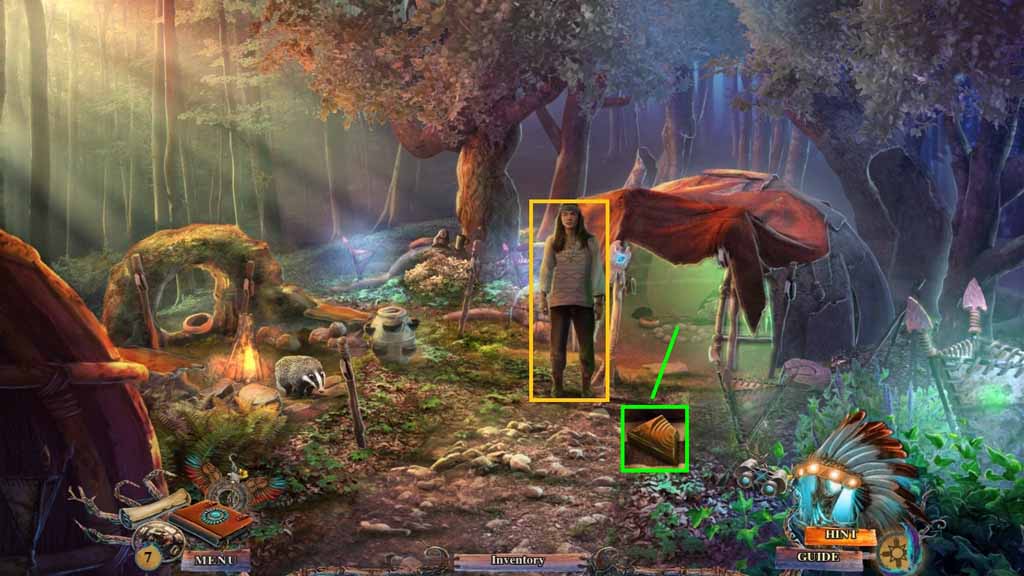
- Collect the story tile.
- Click the shrubs until you uncover and collect 1 / 2 silver feathers.
- Click the mini-game.
- Solve the game by finding the matching pairs.
- Collect the stone piece.
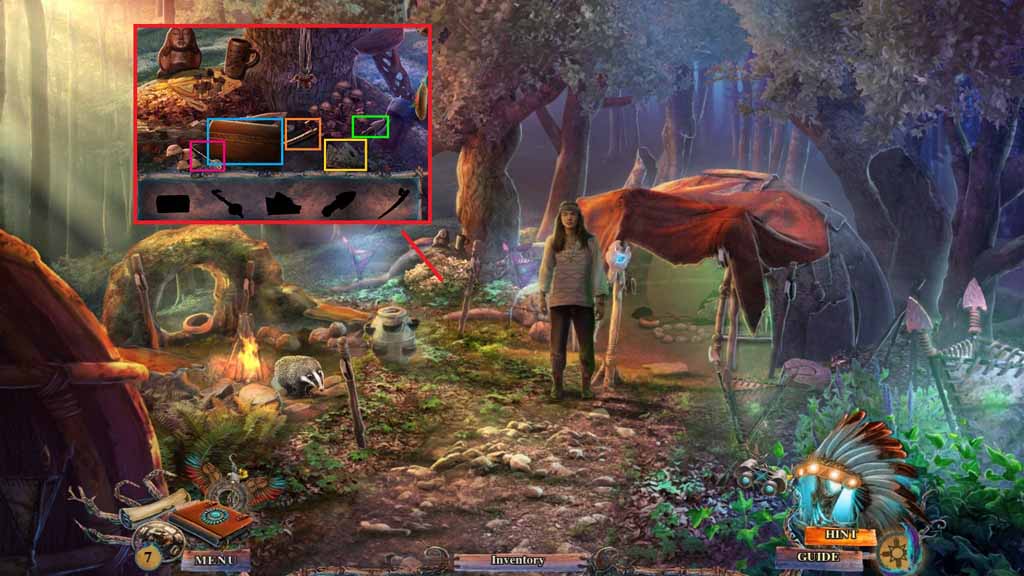
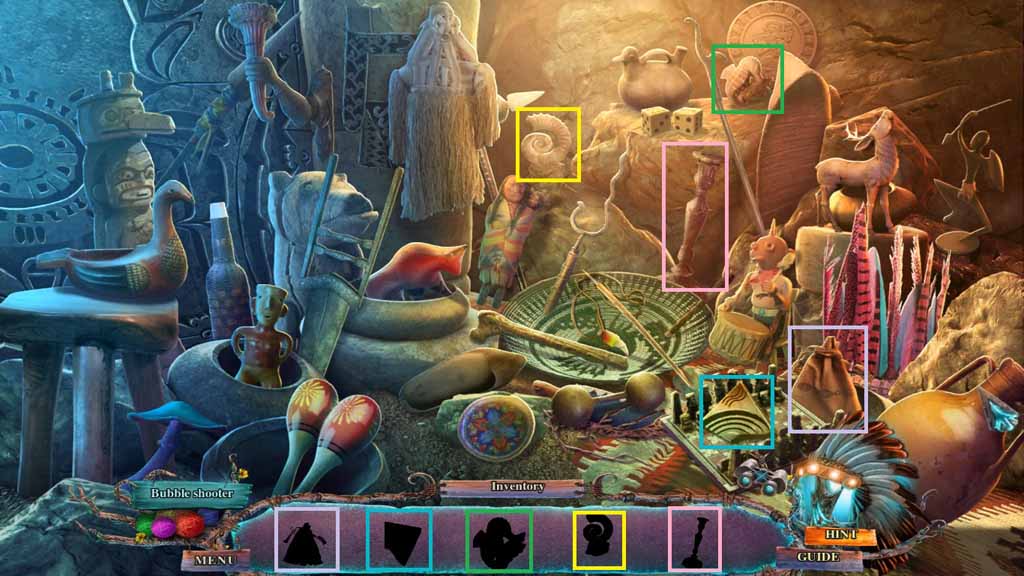
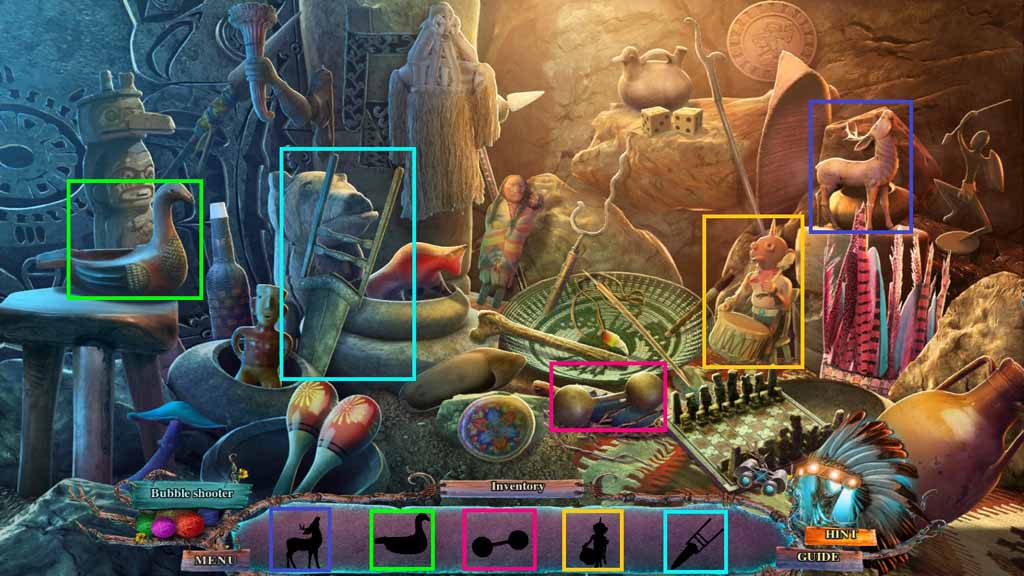
- Click the hidden objects area.
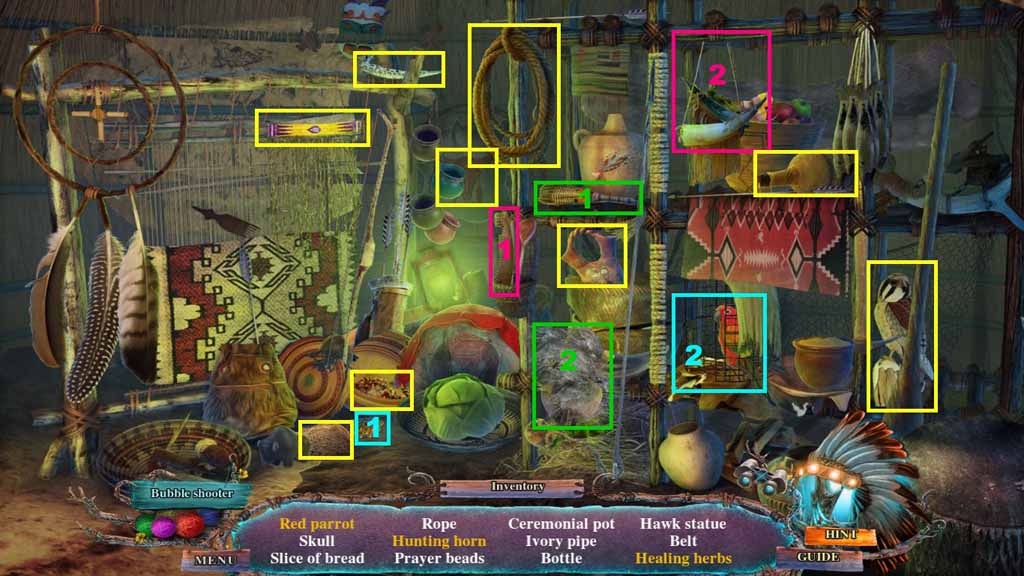
- Find the listed items.
- Select the bird seed and give it to the bird; collect the red parrot.
- Select the saw and use it to collect the hunting horn.
- Select the feather and use it to clear the cobwebs; collect the healing herbs.
- Collect the bread.
- Move ahead.
- Speak to Jesse.
- Collect the broken key.
- Click the leaves to trigger a hidden objects area.
- Find the silhouetted items.
- Collect the small chest.
- Move down 2 times.

- Click the stone fragment and place the stone piece onto it.
- Collect the carved stone symbol and place it onto the rock to trigger a mini-game.
- Solve the game by moving the tiles to create unbroken strings of colored segments.
- Collect the bead necklace.
- Move down once.
- Click the bead necklace three times; collect the 2/2 silver feathers, the necklace beads and the sinew rope.
- Click the torn landing net and use the sinew rope to fix it.
- Collect the landing net.
- Toss the bread into the water and catch the fish using the landing net.
- Move to the left and then to the right.
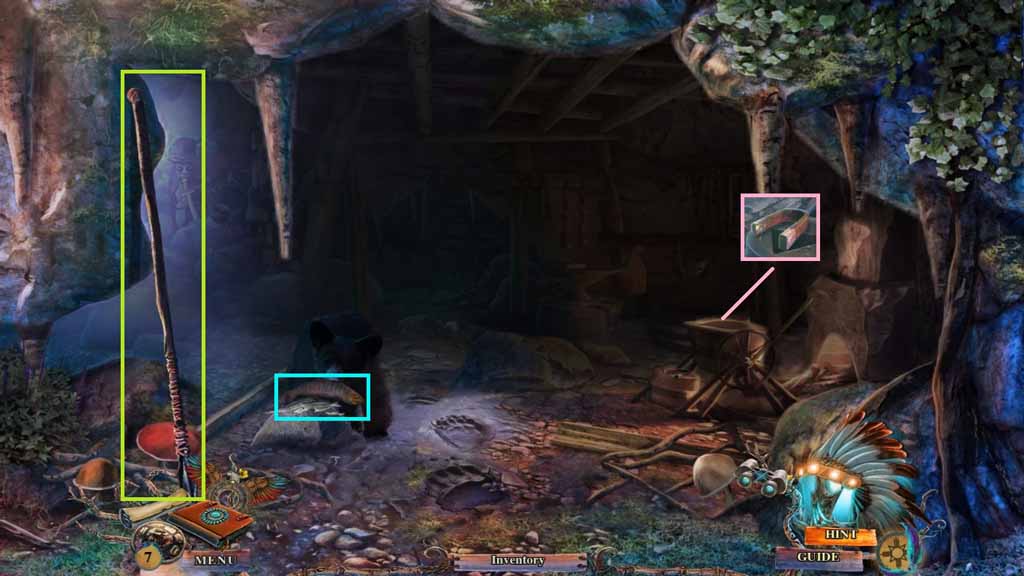
- Toss the fish into the cave.
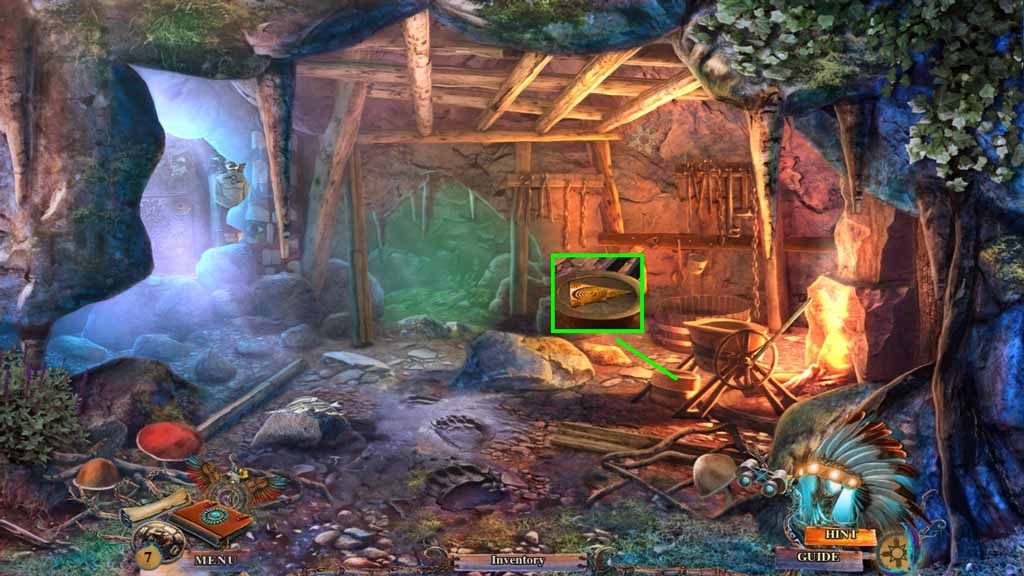
- Collect the spear.
- Collect the magnet.
- Move down once.
- Use the spear to collect the tin can.
- Move ahead once.

- Click the small chest two times and collect the bear and eagle tiles.
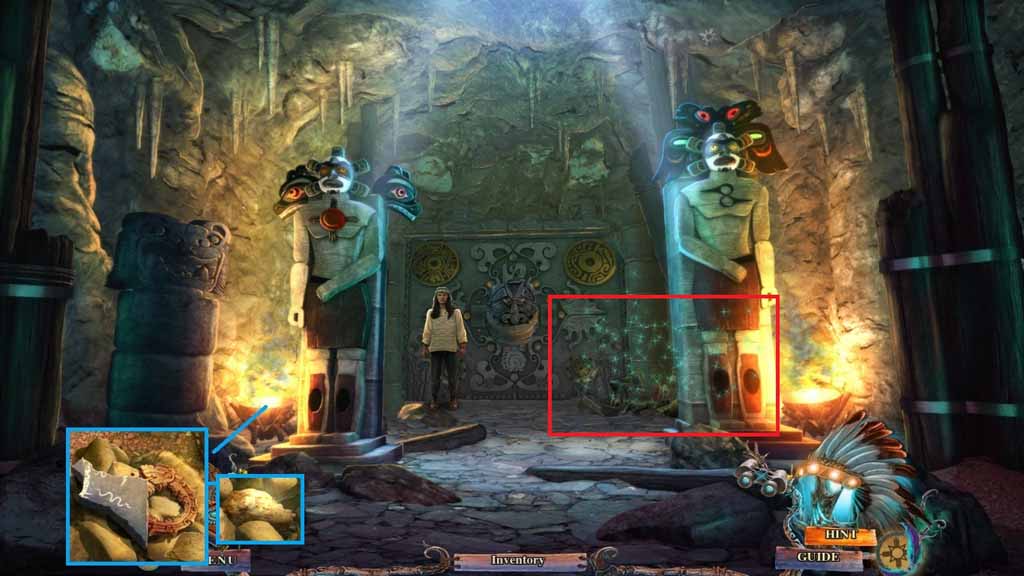
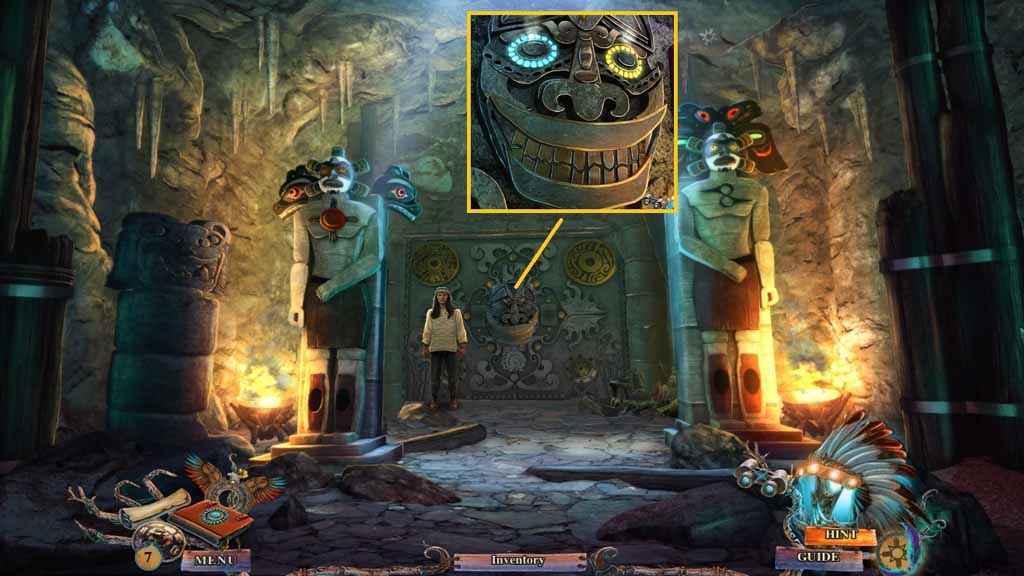
- Insert the bear and eagle tiles into the amulet.
- Use the amulet on the totem pole and click the four symbols.
- Collect the mortar.
- Place the silver feathers onto the totem pole.
- Collect the pestle and the ear corn.
- Move ahead.
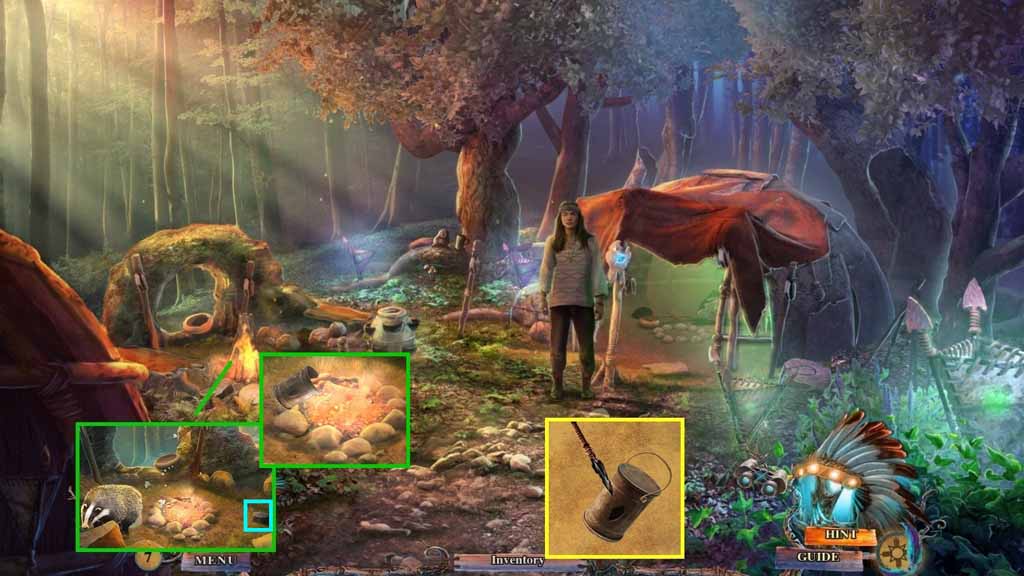
- Toss the ear of corn onto the fire.
- Click the tin can and use the spear to pierce it; collect the pierced tin can.
- Collect the coal and a glowing ember using the pierced tin can.
- Move to the Bear’s Cave.
- Use the glowing ember to ignite the fire.
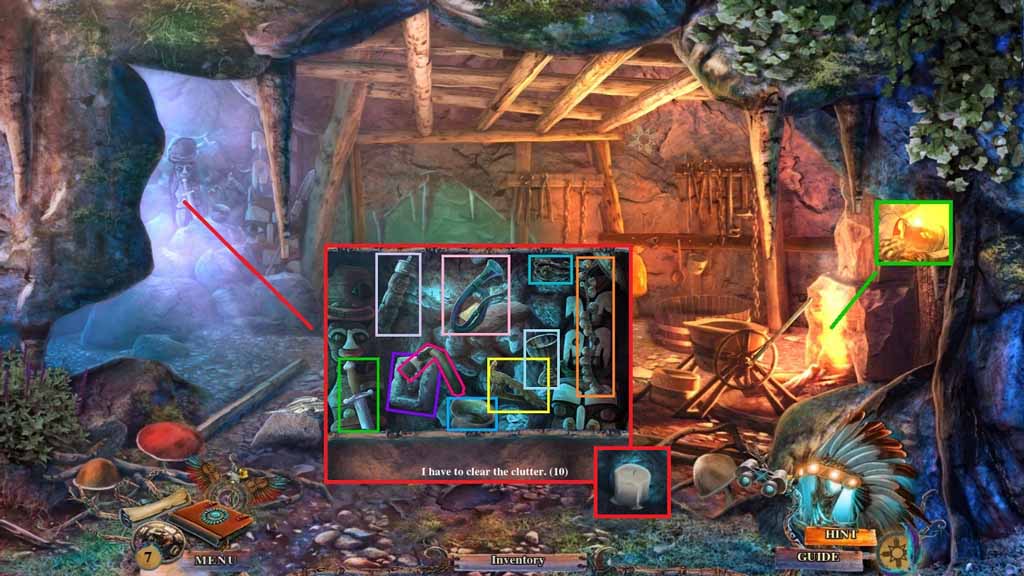
- Click the mini-hidden objects area.
- Find the items based on the clues.
- Collect the candle.
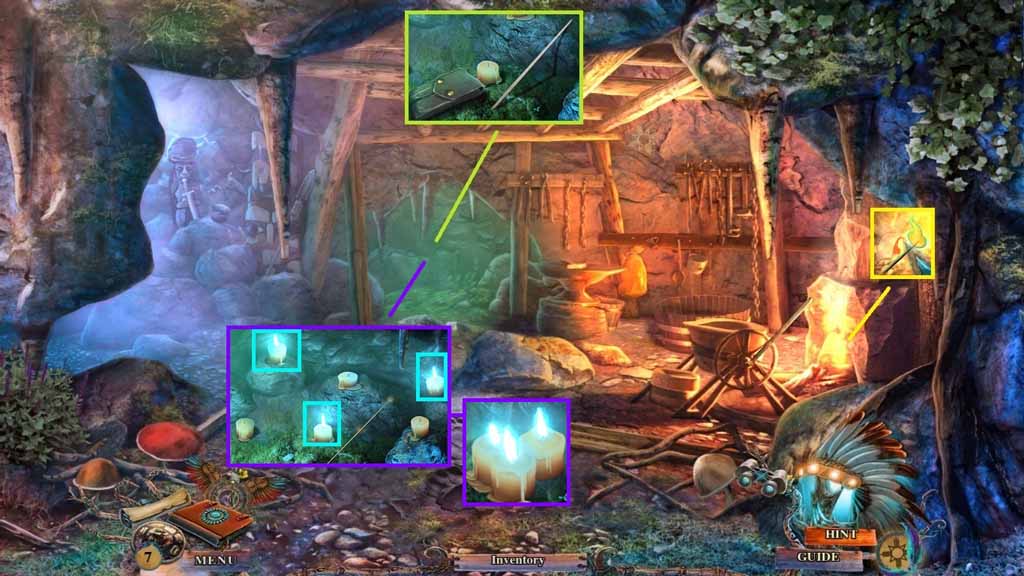
- Collect the pouch and taper.
- Place the taper into the fire to collect the lit taper.
- Place the candle down and light the candles using the lit taper.
- Collect the blue candles.
- Move to the shaman’s teepee.

- Give Jesse the blue candles.
- Collect the blue stone.
- Arrange the tiles according to the code from the bear cave.
- Click the box and collect the dynamite stick.
- Move down once.
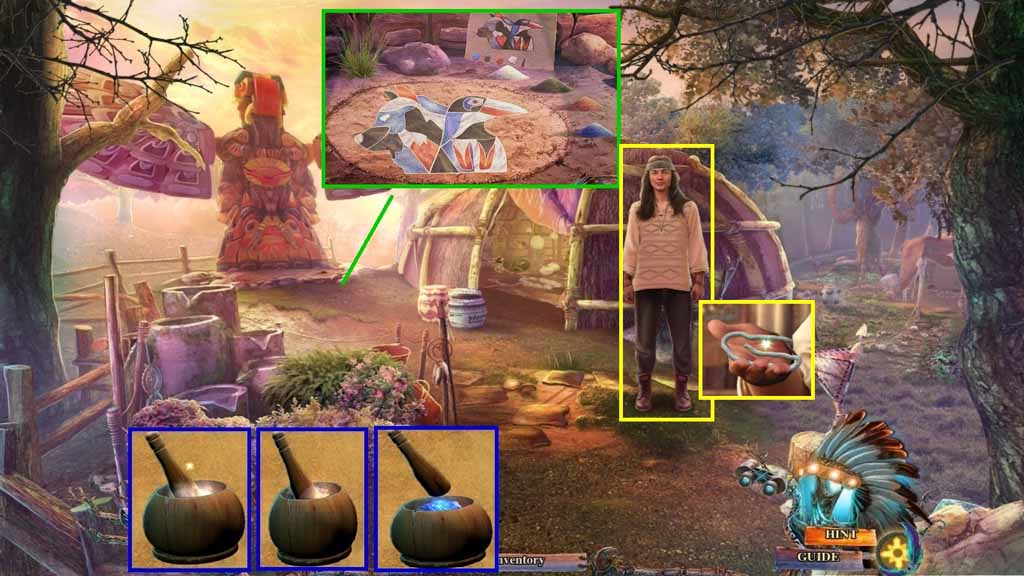
- Click the mortar and place the pestle into it.
- Crush the chalk to create the white powder.
- Crush the coal to create the black powder.
- Crush the blue stone to create the blue powder.
- Place the blue, black and white powders onto the sand to trigger a mini-game.
- Solve the game by coloring the drawing as shown in the example from the journal.
- Collect the wick.
- Move to the Bear’s Cave.
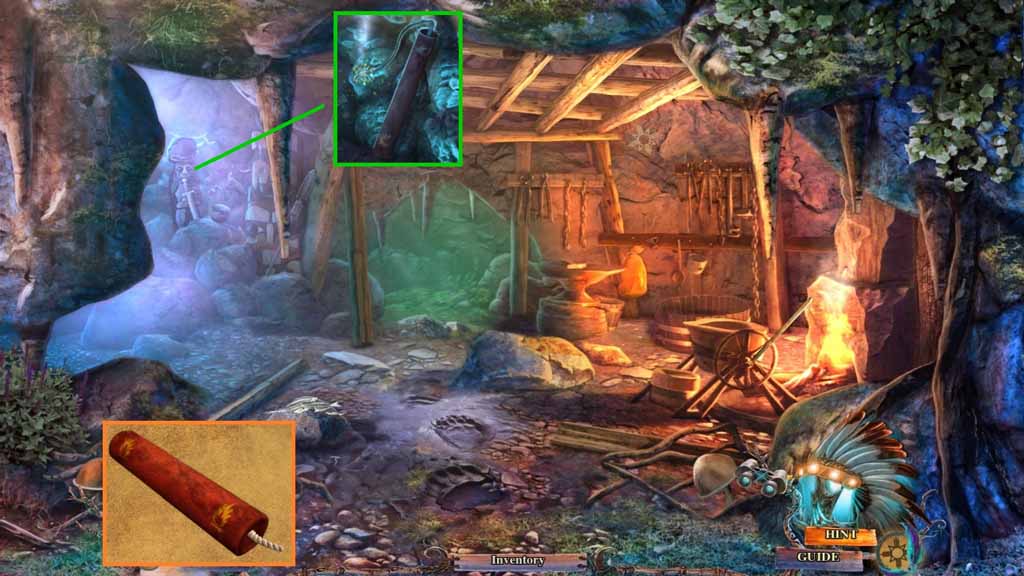
- Click the dynamite stick and insert the wick.
- Collect the dynamite; insert it into the rocks and ignite it using the lit stick.
- Move to the left.
- Collect the story tile and the 1/2 altar pieces.
- Drag and drop the stones and collect the gold nugget.
- Click the hidden objects area.
- Find the silhouetted items.
- Collect 2 / 2 broken keys.
- Move down once.
- Place the broken key into the mold.
- Place the golden nugget into the crucible and click the crucible.
- Collect the golden key.
- Move to the left.
- Insert the golden key into the gate to trigger a mini-game.
- Solve the game by matching the upper and bottom teeth.
- Move ahead.
Comments will load when you reach this part of the walkthrough.