

Chapter Three: Inside the Bailey Court
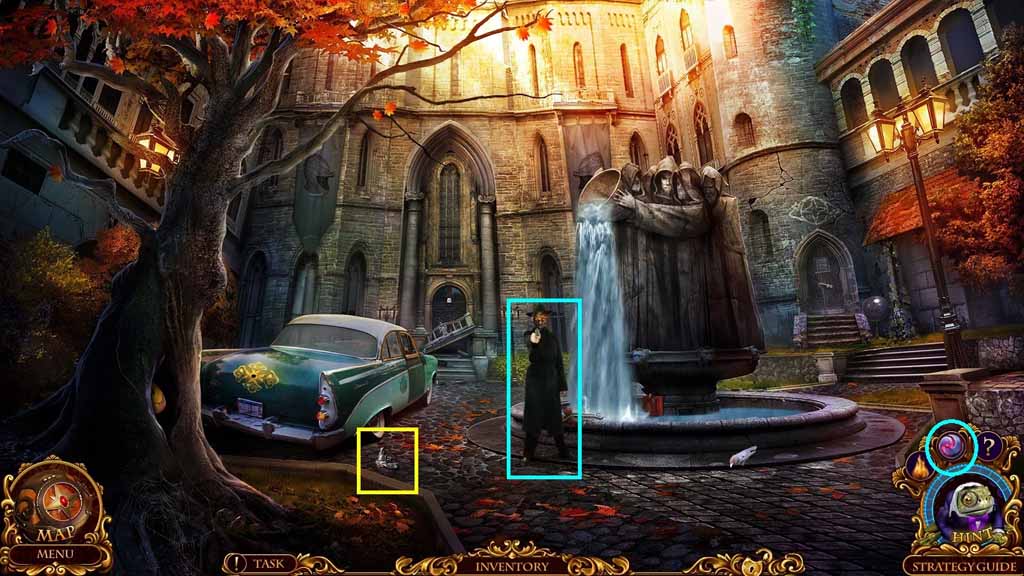
- Select the ability of hypnosis to use on the agent.
- Speak to the agent and collect the 1 / 5 super key.
- Collect the unloaded revolver.
- Move to the Post Office.
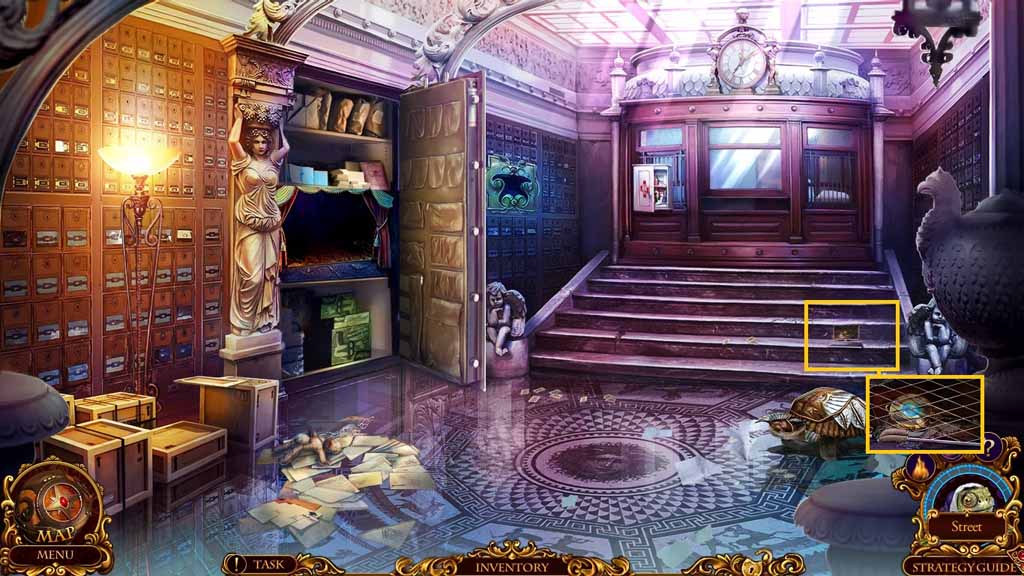
- Click the grate.
- Select the multi-tool and use it to remove the wire.
- Collect the mystical lens.
- Move down once.
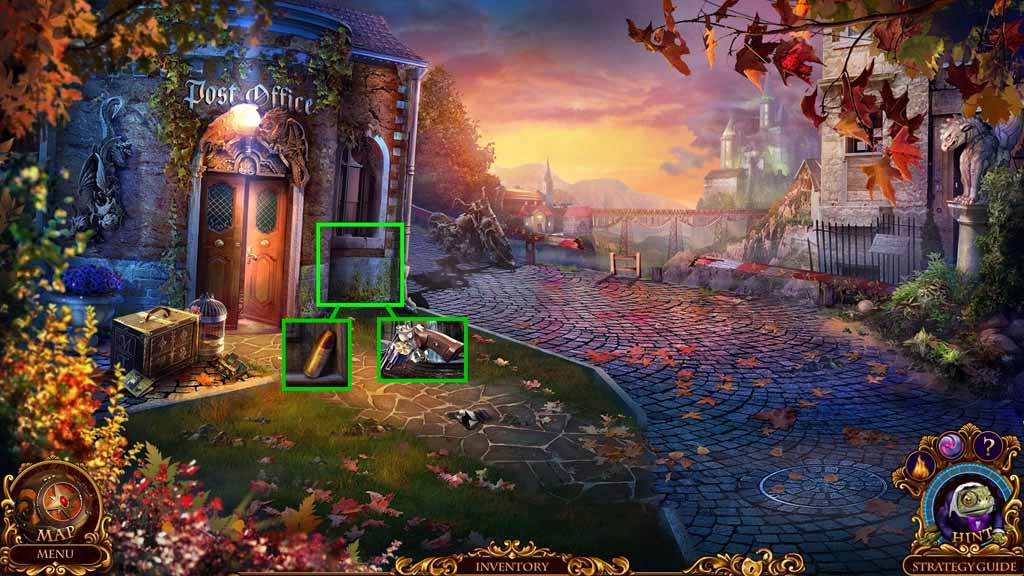
- Select the mystical lens and use it to zoom into the secret cache.
- Collect the 5 / 5 bullets and collect the loaded revolver.
- Move to the Railway Platform.
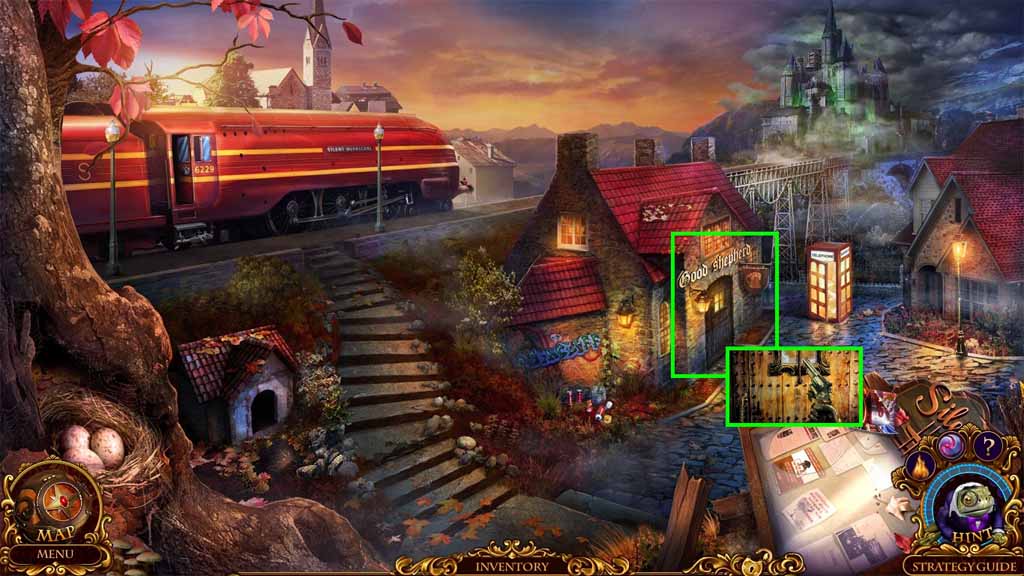
- Click the bar.
- Select the loaded revolver to move inside the bar.
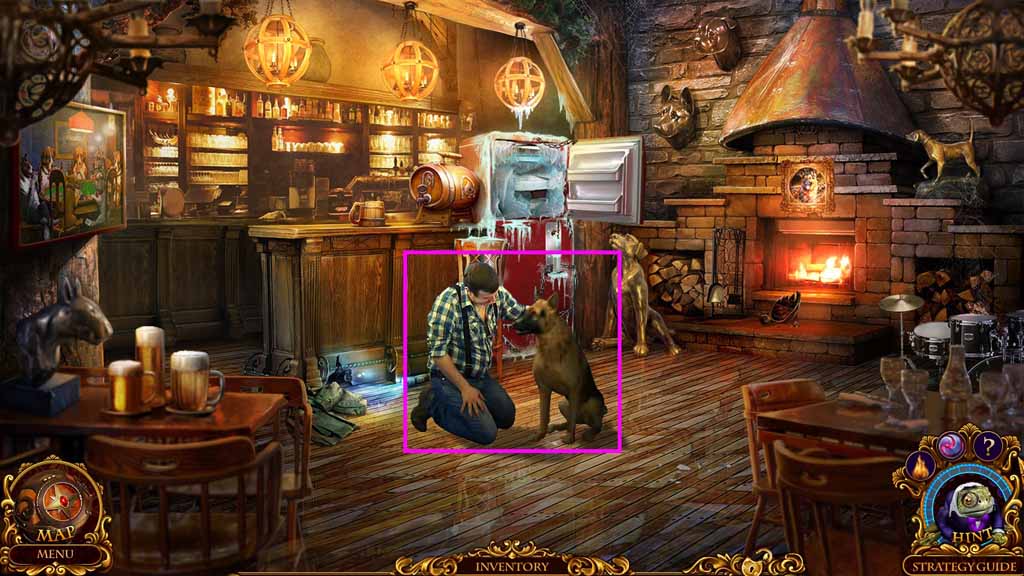
- Give Jasper his dog.
- Speak to Jasper and collect the Eye of Horus.
- Move down 2 times.
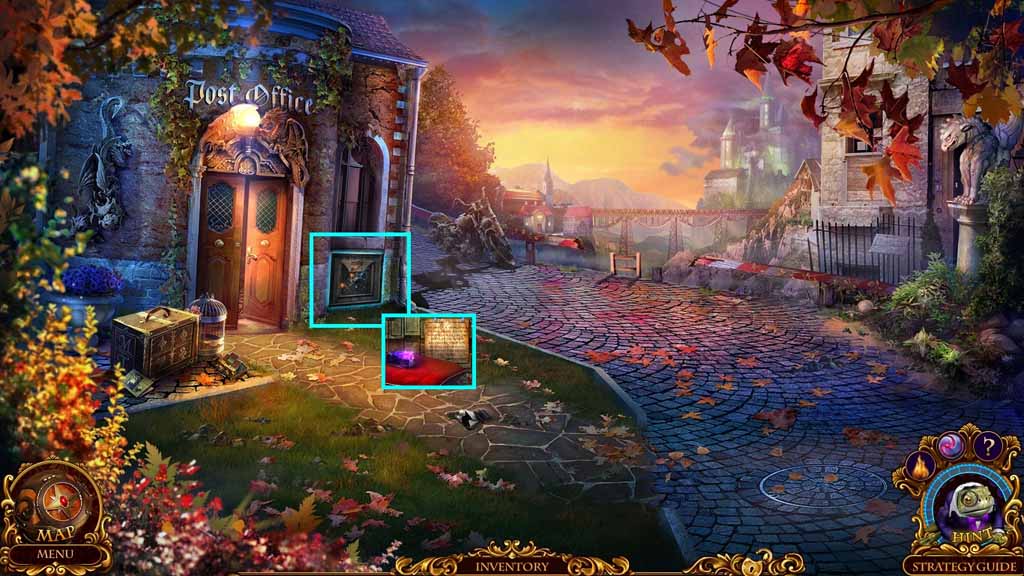
- Click the secret compartment and insert the Eye of Horus.
- Collect the 1 / 4 Morpheus’ Artifact and read the note.
- Move to the Railway Platform.
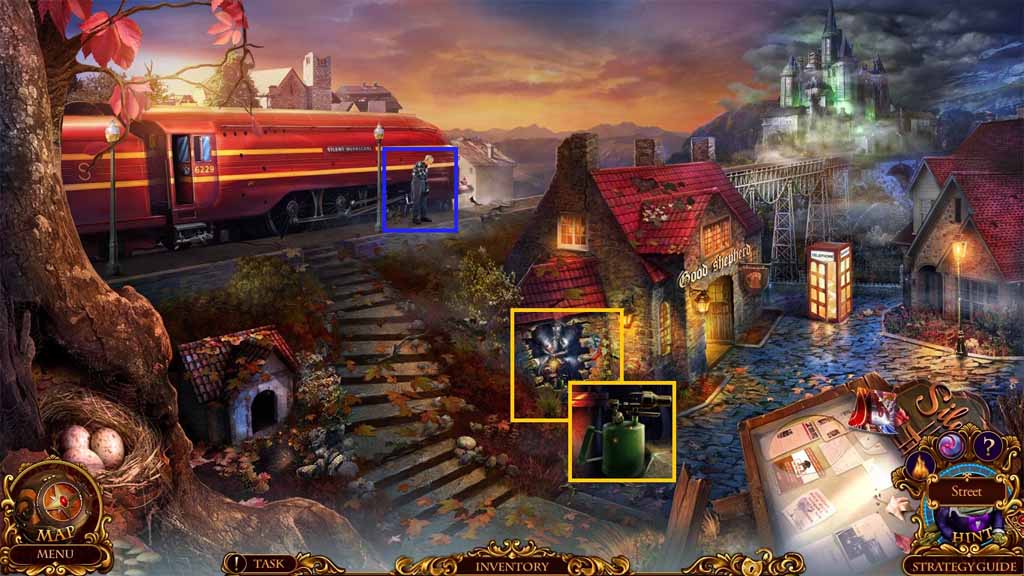
- Click the broken wall; collect the welding torch.
- Speak to the engineer; collect the cane.
- Move down once.
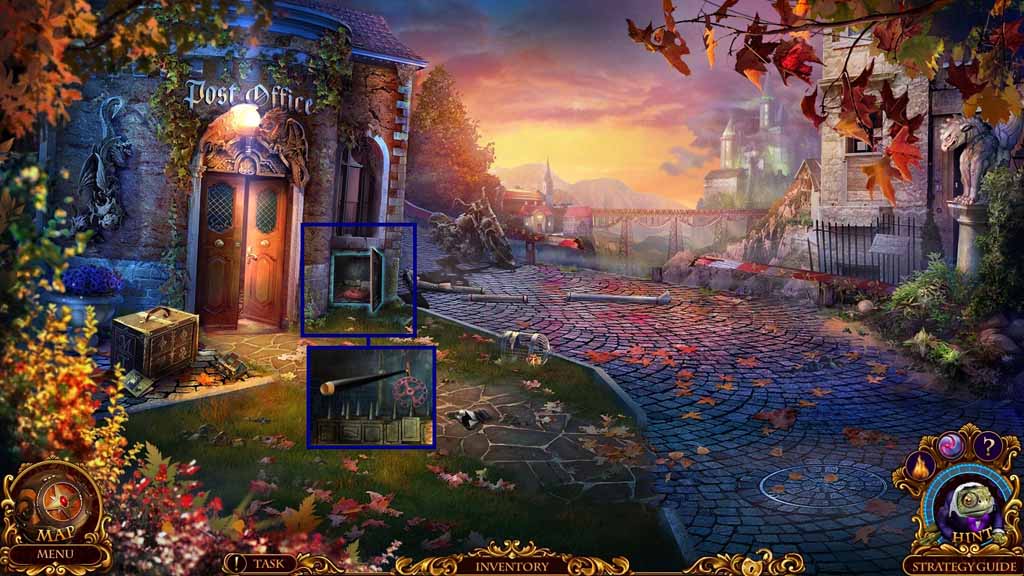
- Click the compartment; insert the cane.
- Collect the valve.
- Move to the Railway Platform.
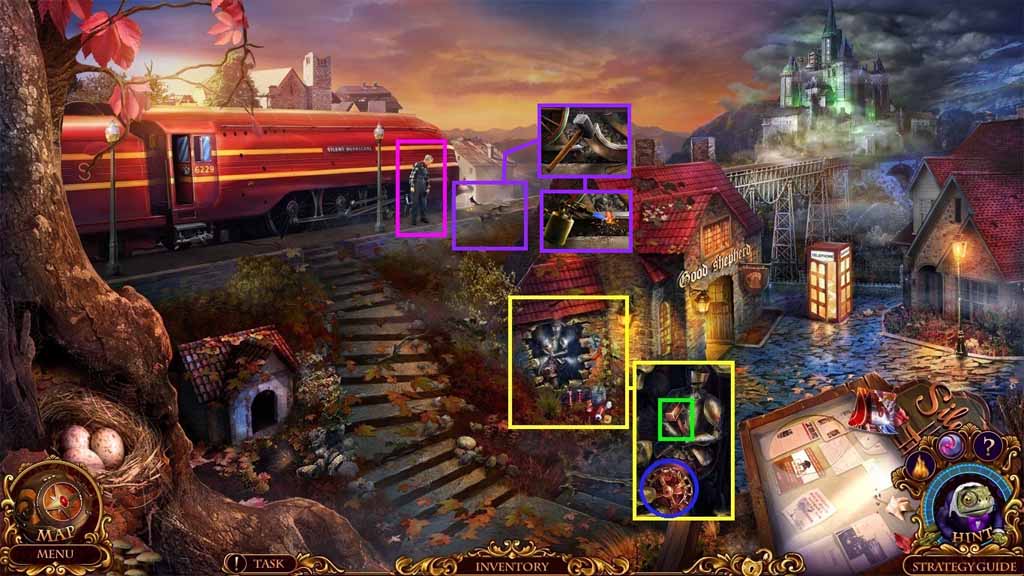
- Click the broken wall.
- Attach the valve onto the pipe and click it; collect the sledgehammer.
- Click the rails.
- Select the sledgehammer and use it to straighten the rails.
- Select the welding torch and use it to weld the metal together.
- Speak to the engineer.
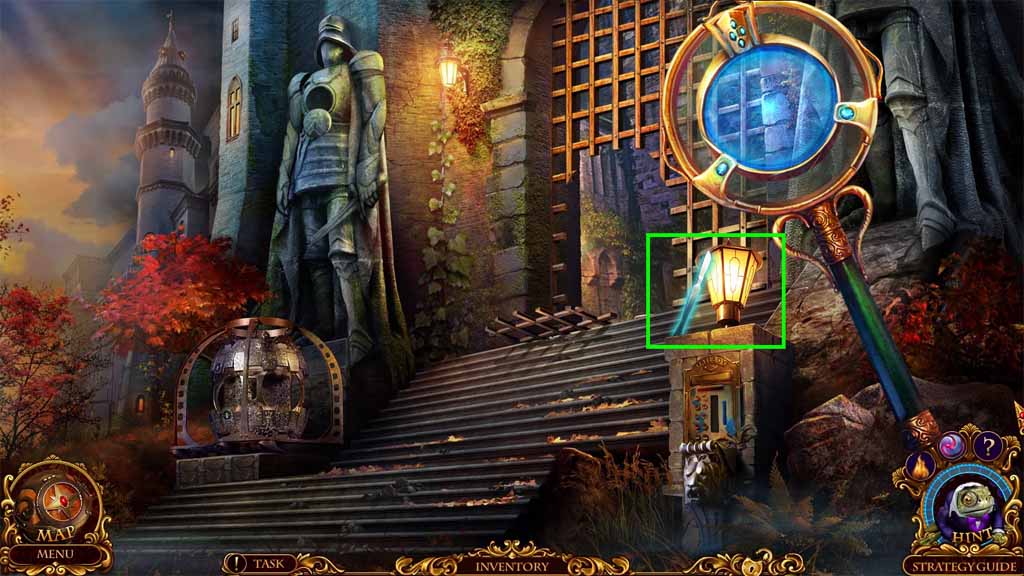
- Select the mystical lens to uncover the scalpel; collect the scalpel.
- Move ahead.
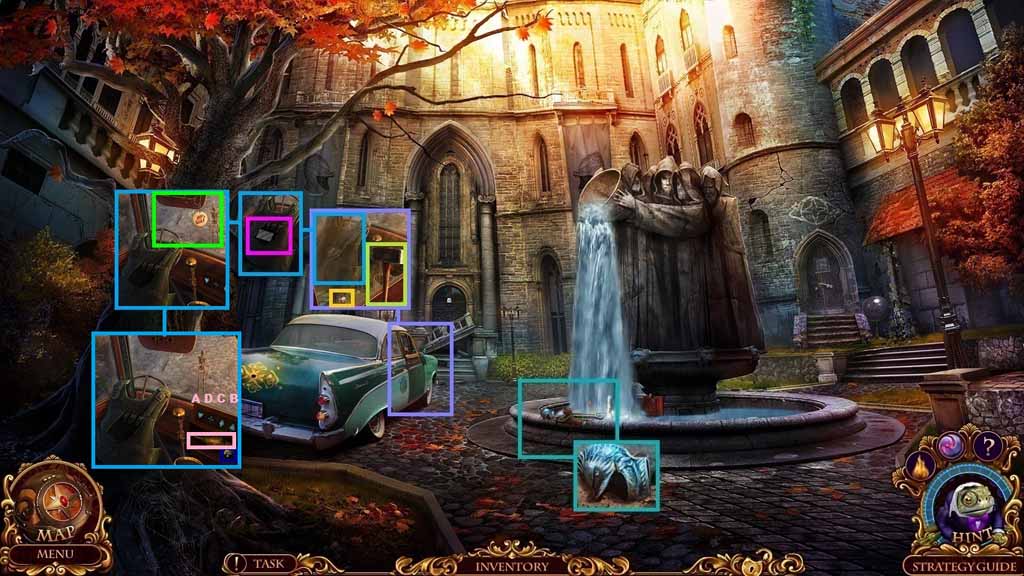
- Click the fountain; collect the helmet amulet.
- Click the front of the car.
- Select the sledgehammer to smash the window.
- Click the button and open the door.
- Select the scalpel to slice the backpack; collect metal plate.
- Click the skeleton and collect the trunk key.
- Click the buttons in ABC order and collect the oil can and the turtle amulet.
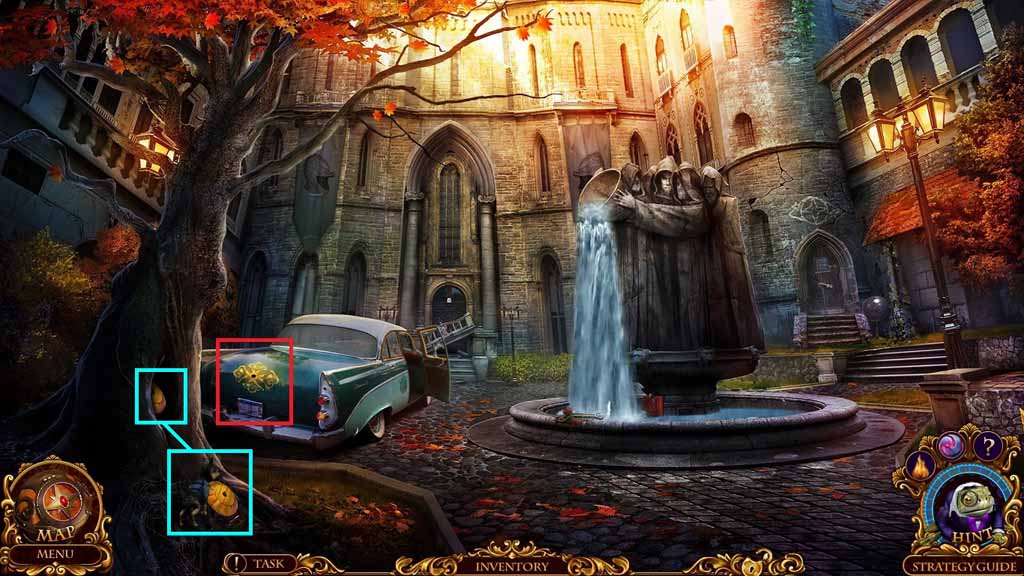
- Click the trunk; insert the trunk key and click the lever.
- Select Elf to move into the tree hole; collect the barrel lid.
- Click the hidden objects area.
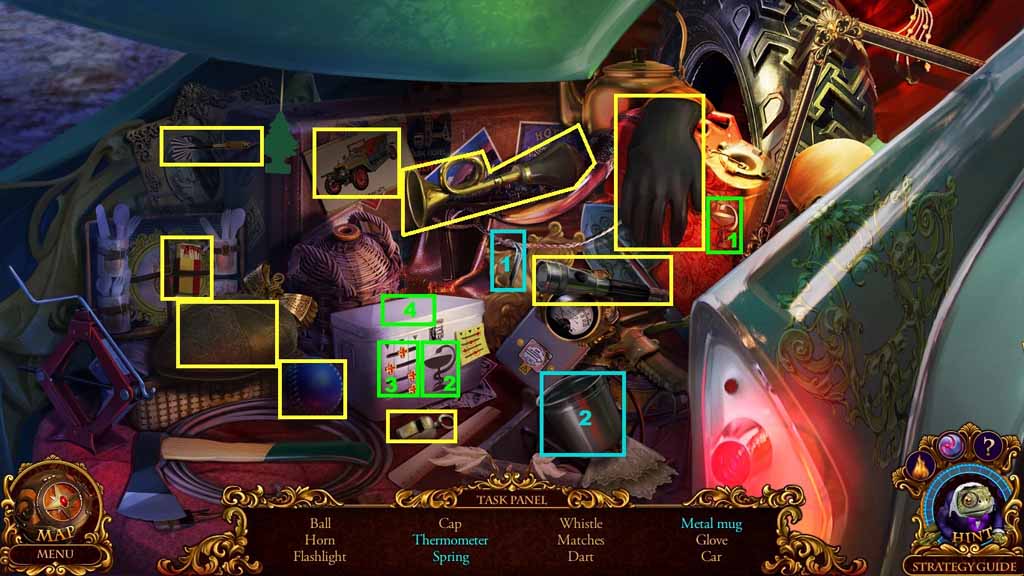
- Find the listed items.
- Select the Cup of Aesculapius and insert it into the box, adjust the slides per the attached note and collect the thermometer and the spring.
- Select the handle and attach it to the cup; collect the metal cup.
- Collect the rubber glove.
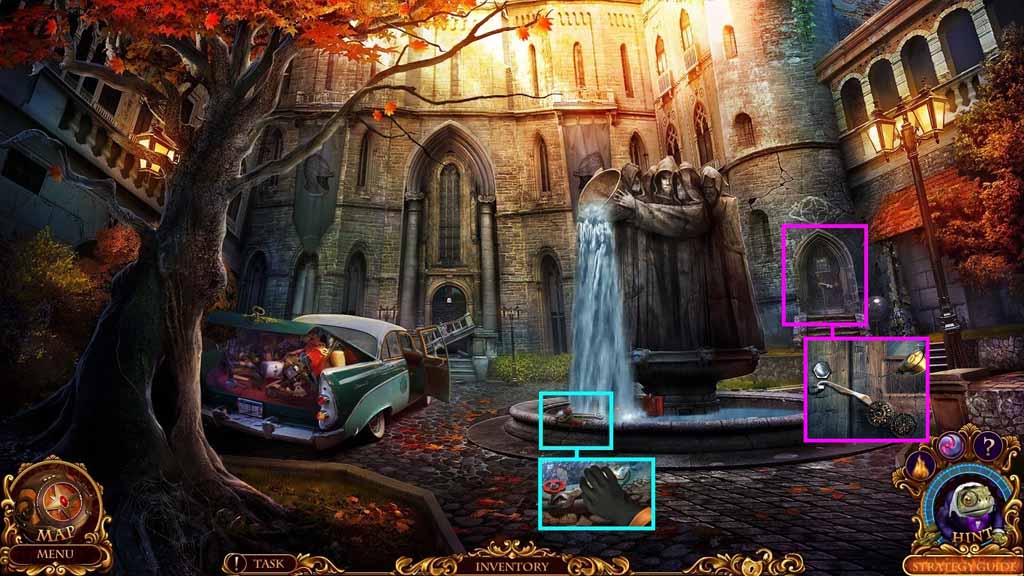
- Click the fountain.
- Select the rubber glove to collect the wrench.
- Click the door.
- Select the wrench to remove the bolt and pour the oil can over the gears to open the door.
- Move into the Tower.
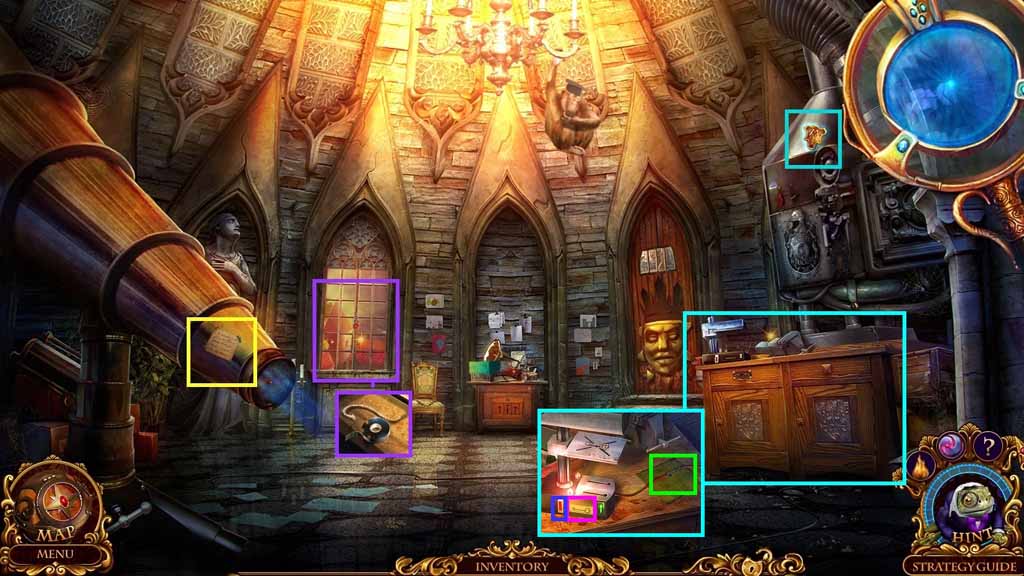
- Select the mystical lens to uncover the amulet; collect the amulet.
- Read the note.
- Click the window; collect the electrical tape and the fuse.
- Click the dresser and use the electrical tape to fix the wire.
- Insert the metal plate into the device.
- Click the correct key shape as shown and click the button and collect the window key.
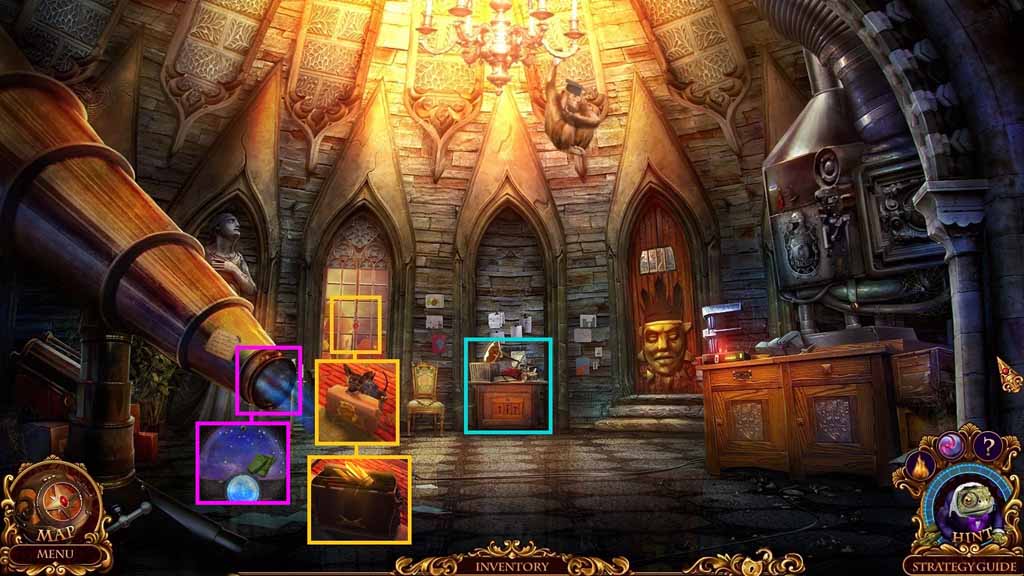
- Click the window; insert the window key and click it.
- Select Elf to move through the window and insert the amulet into the niche.
- Collect the 1 / 2 sun crown.
- Click the table; collect the rag.
- Click the telescope and clean the lens using the rag.
- A mini-game will trigger.
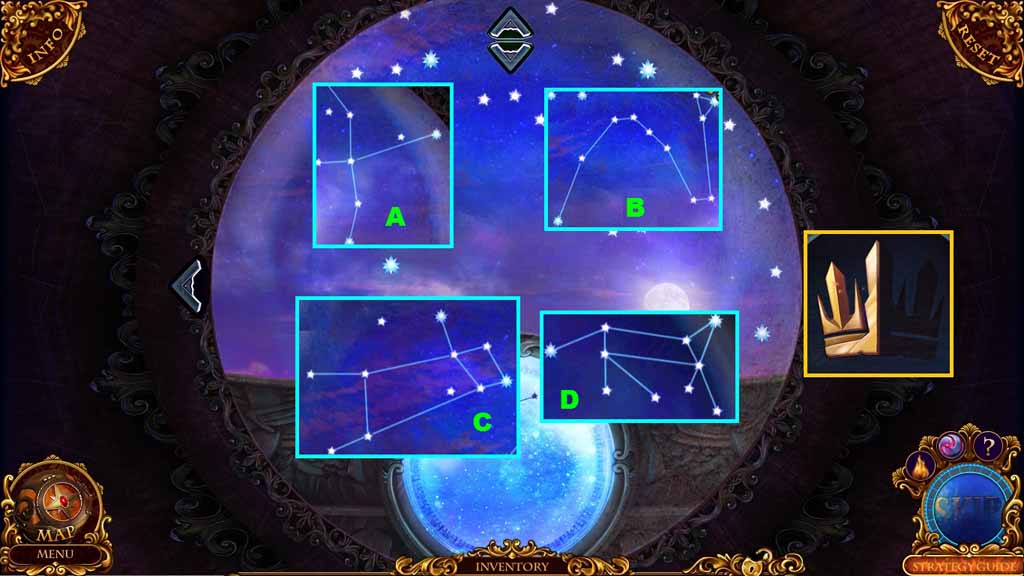
- Solve the mini-game by correctly identifying the constellations.
- Collect the 2 / 2 sun crown.
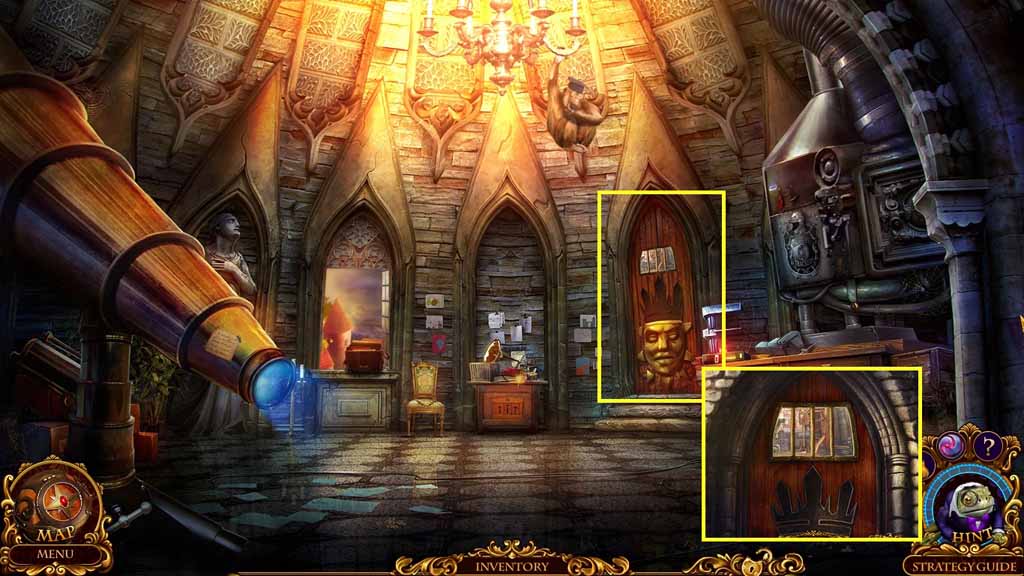
- Click the door.
- Look through the window and insert the 2 sun crowns.
- Move into the Tower Attic.
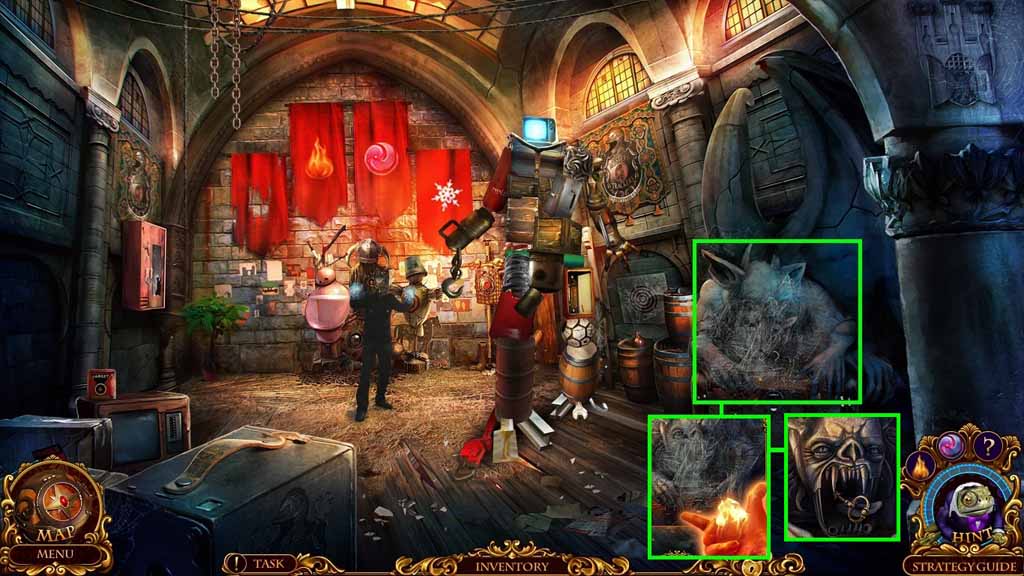
- Click the gargoyle.
- Select the pyro kinesis to clear the cobwebs.
- Collect the star key.
- Move down once.
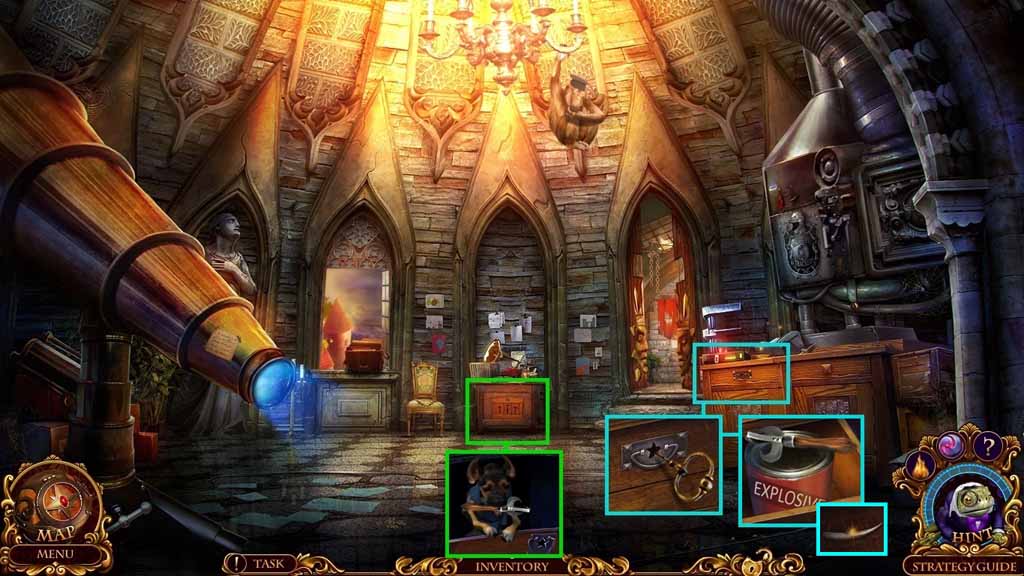
- Click the dresser and insert the star key and click it once.
- Click the table in the rear and insert the star key.
- Select Elf to go into the drawer and collect the can opener.
- Click the dresser.
- Select the can opener and use it to open the can; collect the jar with gunpowder and the 1 / 2 gargoyle keys.
- Move down once.
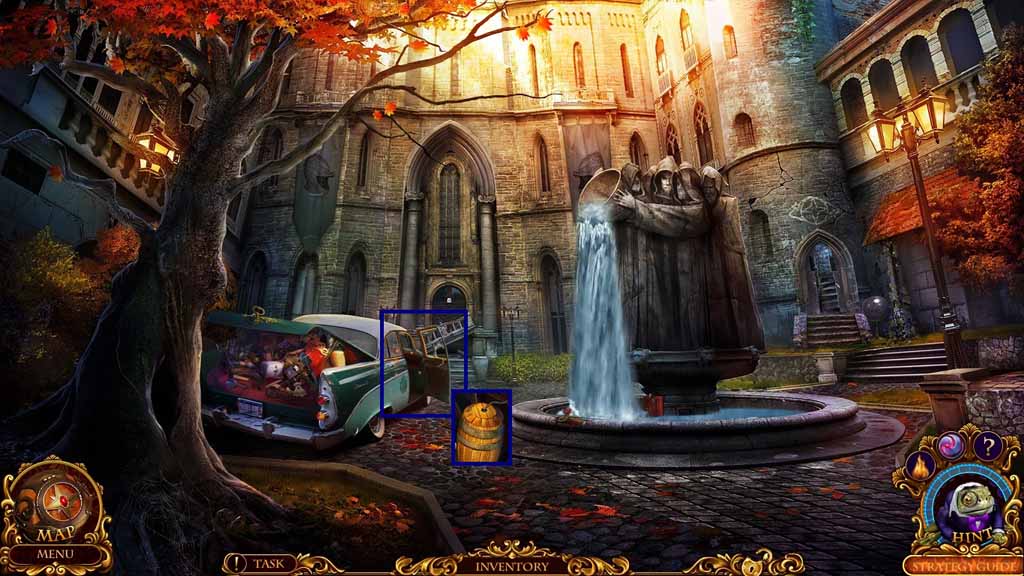
- Click the front of the car.
- Insert the jar with gunpowder, the barrel lid and the fuse into the barrel.
- Collect the barrel with gunpowder.
- Move to the Tower Attic.
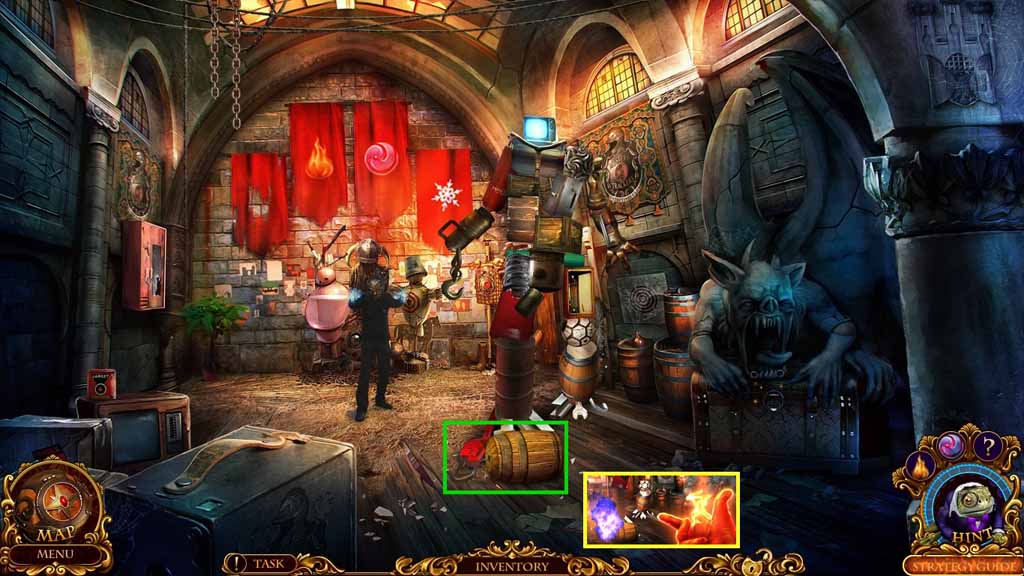
- Place the barrel with gunpowder down.
- Select the pyro kinesis to ignite the barrel.
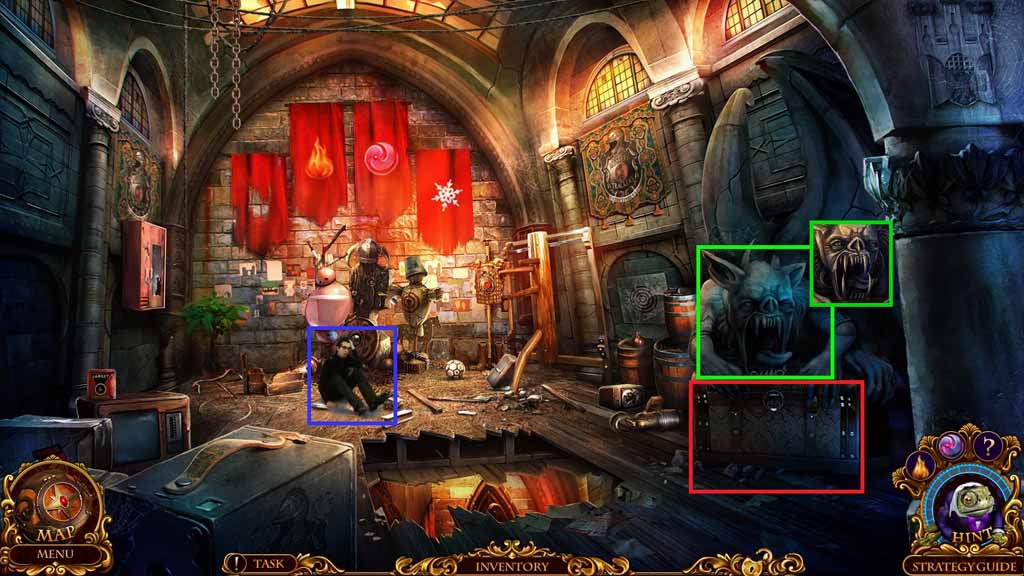
- Select the hypnosis ability to use on the agent; speak to him.
- Collect the 2 / 5 super keys and the 2 / 2 gargoyle fangs.
- Click the gargoyle and insert the 2 gargoyle fangs.
- Click the hidden objects area.
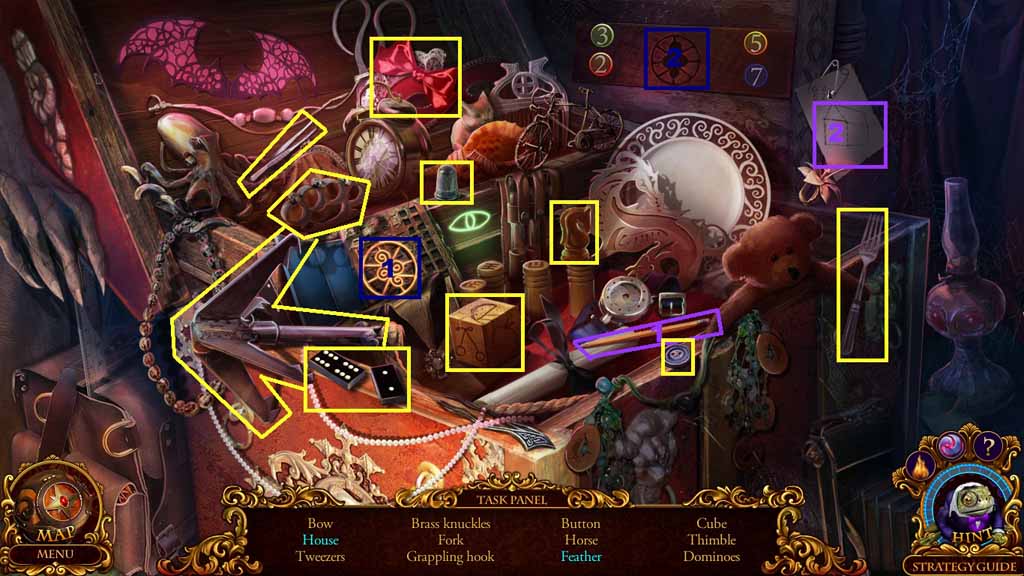
- Find the listed items.
- Select the pencil to complete the drawing; collect the house.
- Select the amulet and insert it into the niche; click the number circles so that the top numbers are both 0 and the left lower circle is 5 and the right left circle is 2 and collect the feather.
- Collect the grappling hook.
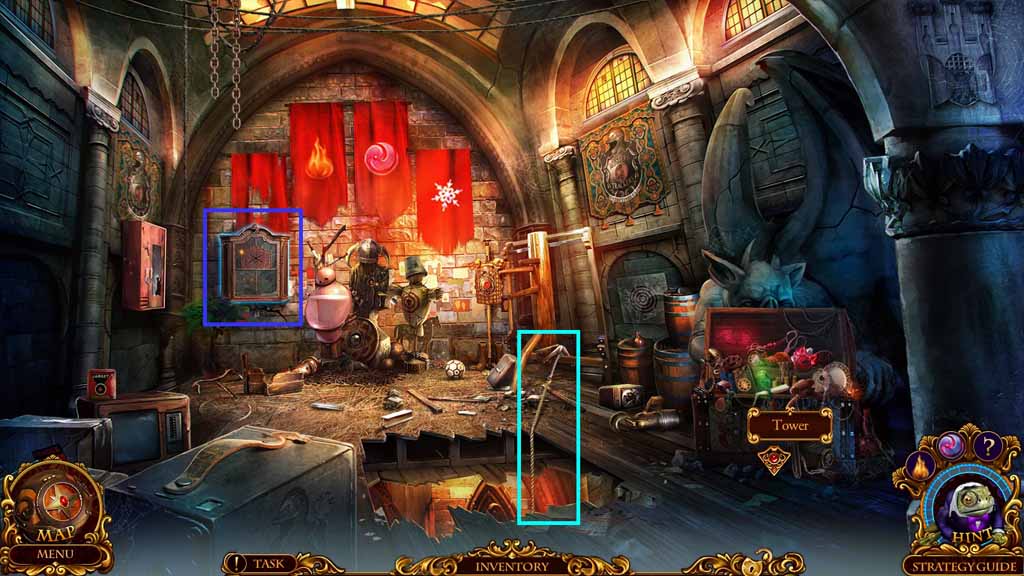
- Select the mystical lens to uncover the cabinet.
- Attach the grappling hook to the gap in the floor.
- Move down the rope.
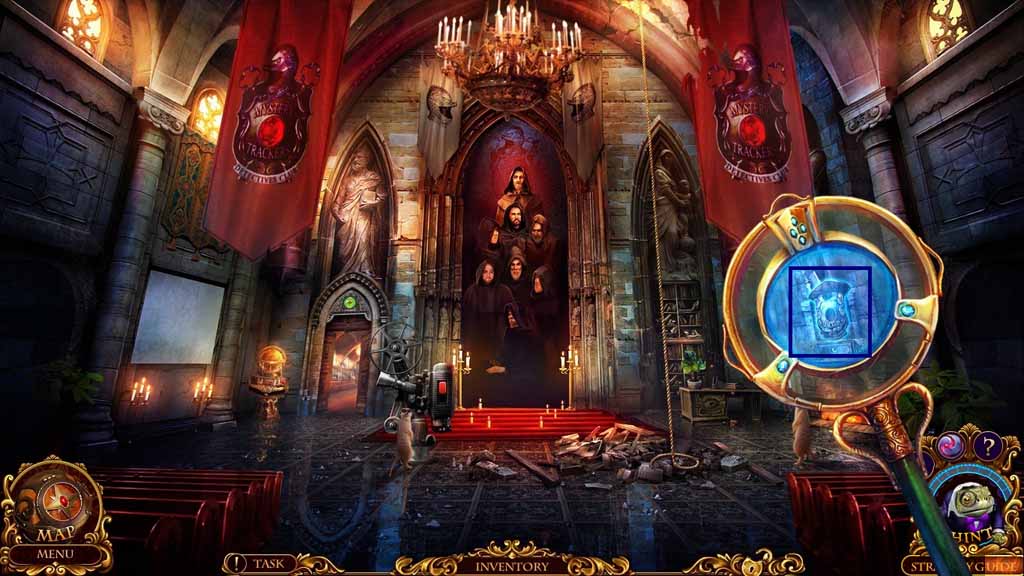
- Select the mystical lens to uncover the armor.
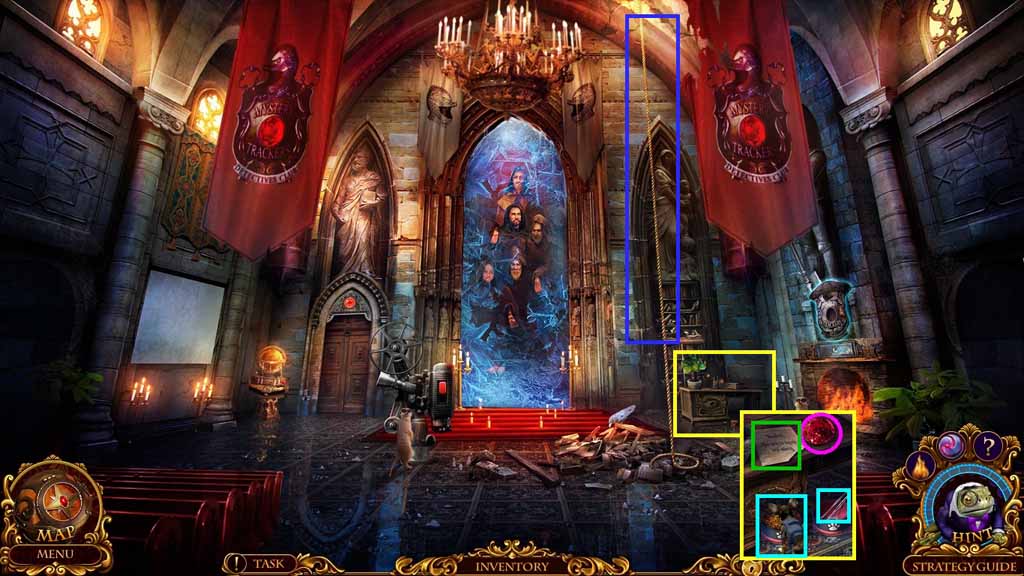
- Click the desk.
- Collect the ruby and read the note.
- Select Elf to send him to the bowl to collect the long tongs.
- Move up the rope.
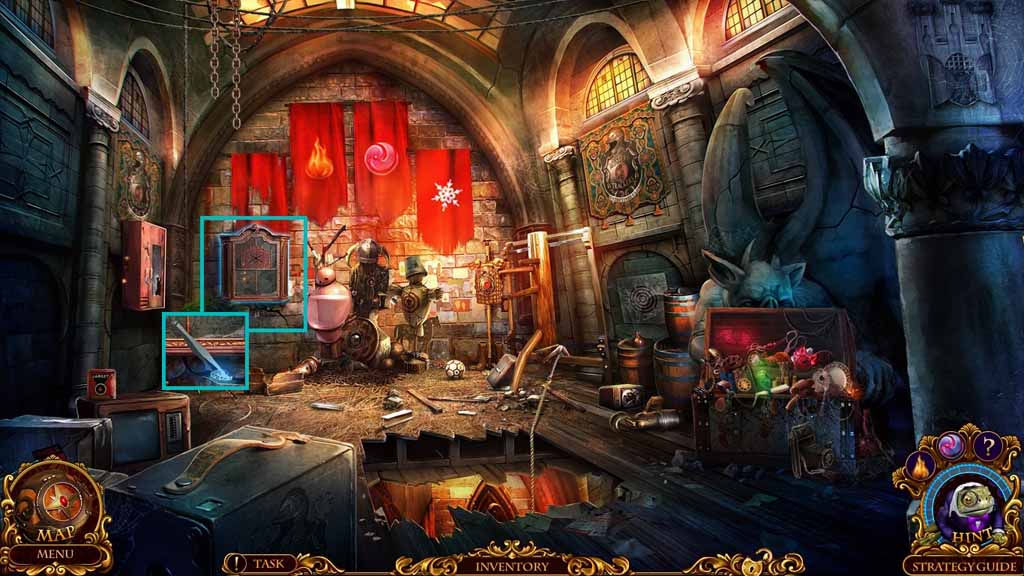
- Click the cabinet.
- Select the long tongs to collect the energy capsule.
- Move down the rope.
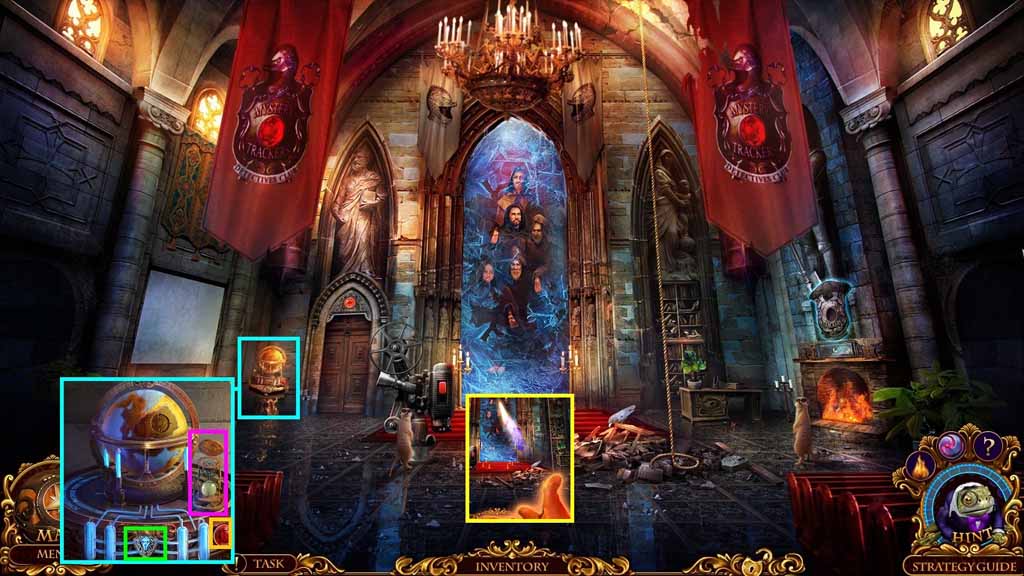
- Click the globe and insert the energy capsule.
- Click the button.
- Insert the turtle amulet onto the top of the hourglass and collect the key amulet part.
- Select the pyro kinesis to ignite the tapestry.
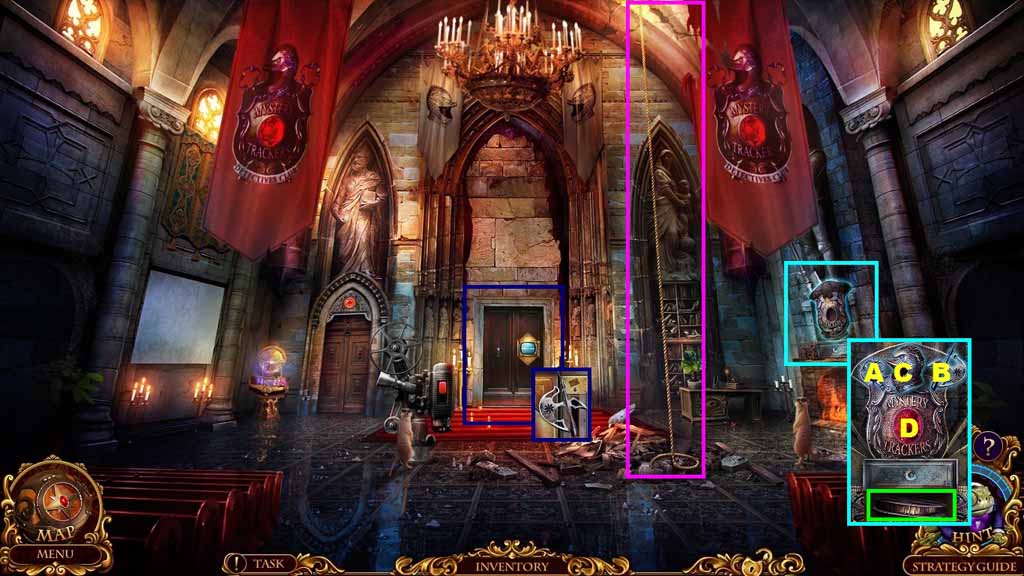
- Click the door to collect the key amulet part.
- Click the armor.
- Insert the 2 key amulet parts, the ruby and the helmet amulet.
- Click the amulets in ABC order; collect the film.
- Move up the rope.
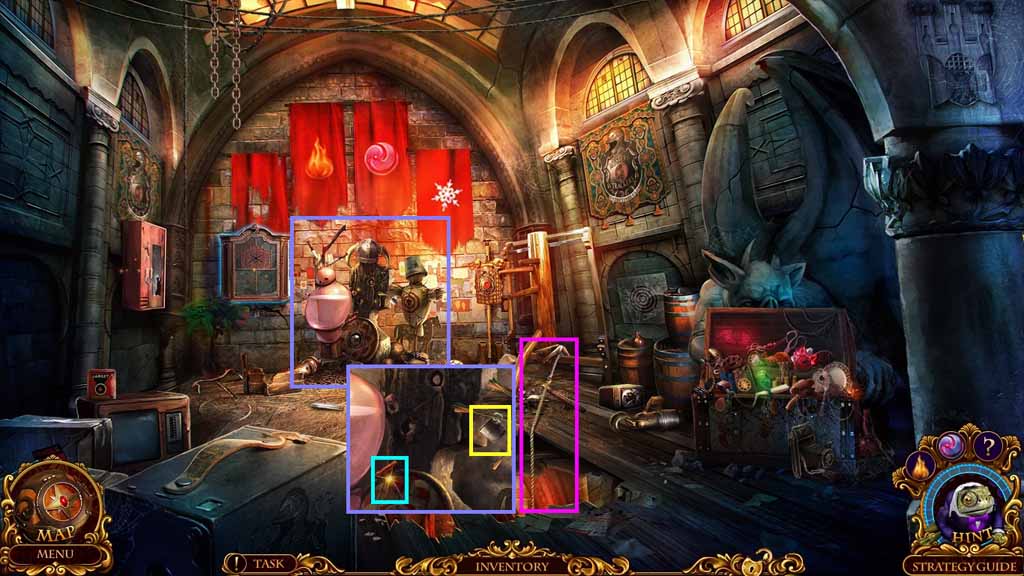
- Click the training stand; collect the cork screw and the mug.
- Move down the rope.
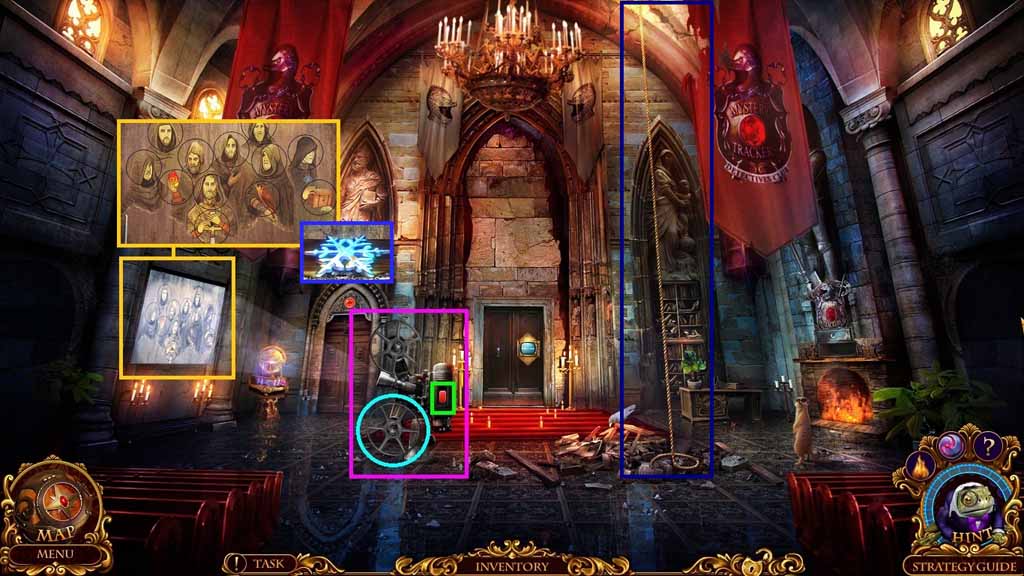
- Insert the film into the projector and push the button.
- Zoom into the screen to trigger a mini-game.
- Solve the puzzle by switching the pieces to create a completed picture.
- Collect the snowflake.
- Move up the rope.
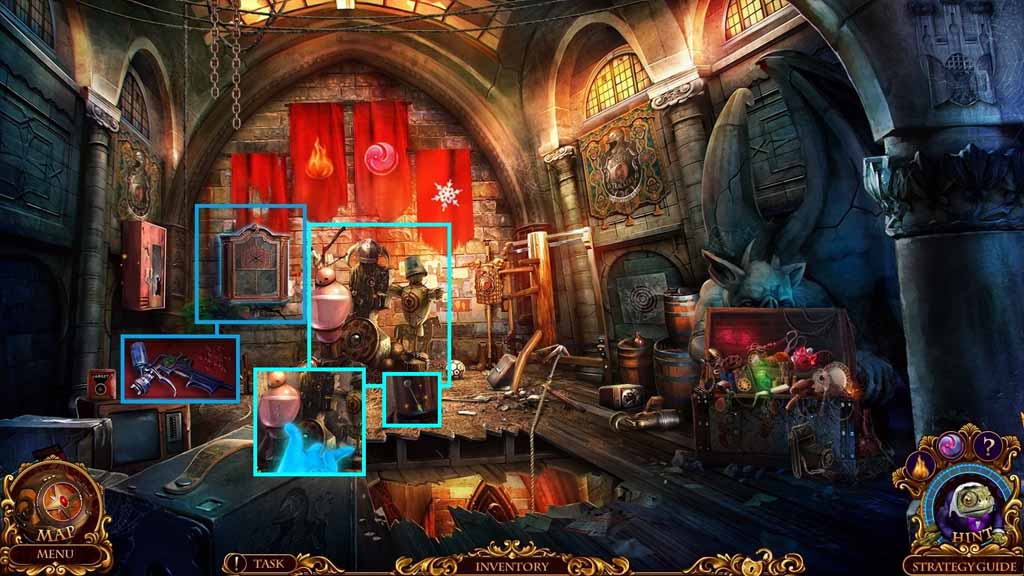
- Click the cabinet and insert the snowflake; collect the gun.
- Collect the ability for freezing.
- Click the training stand.
- Select the freezing ability to freeze the water and collect the 1 / 2 clock hand.
- Move to the Bailey.
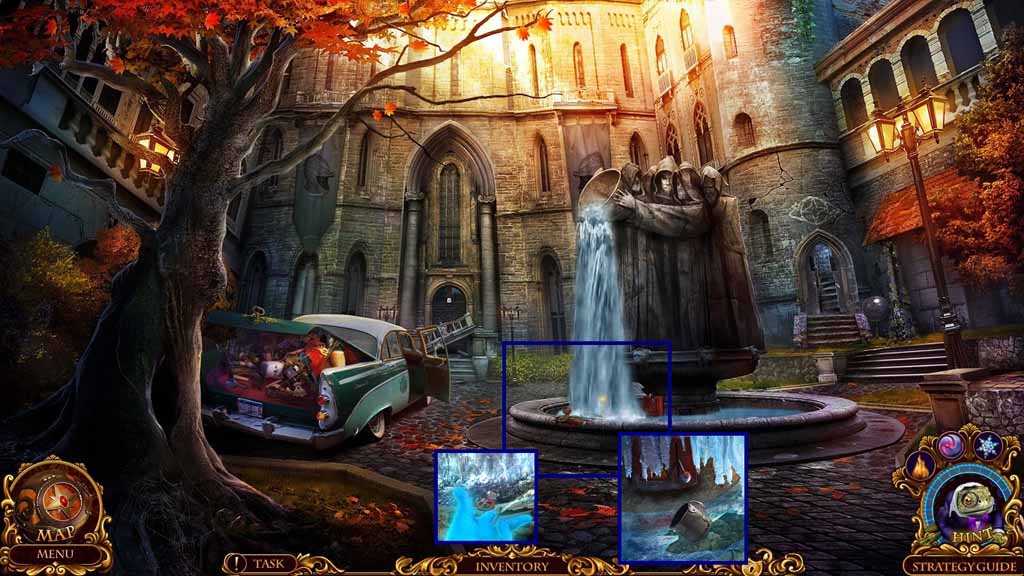
- Click the fountain.
- Select the freezing ability to freeze the water.
- Click the icicles to crack the ice.
- Click the switch and place the mug into the water; collect the mug with water.
- Move to the Main Hall.
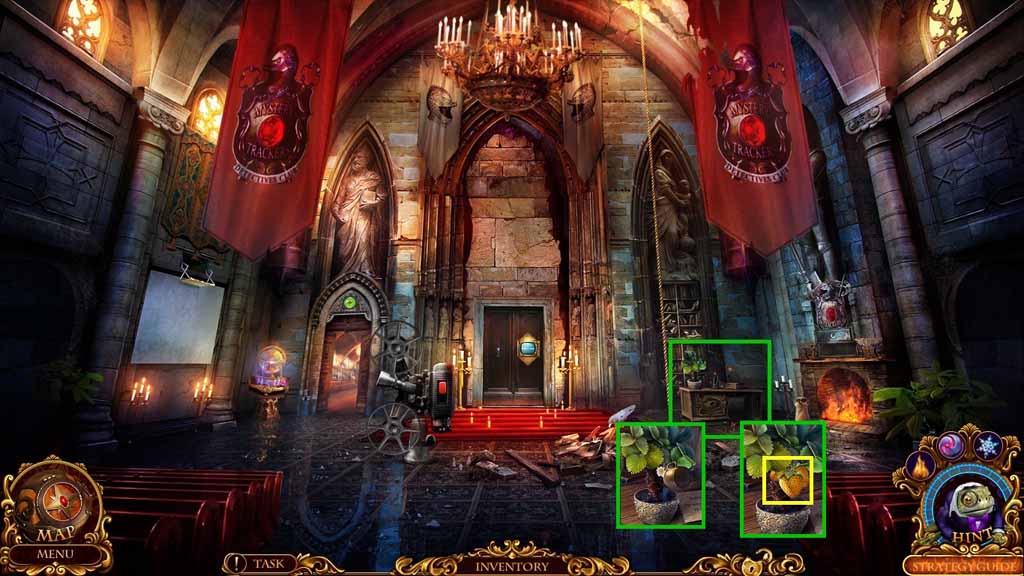
- Click the desk.
- Pour the mug with water onto the plant and collect the fruit.
- Move into the Library.
Comments will load when you reach this part of the walkthrough.