
Chapter 5: The Cure
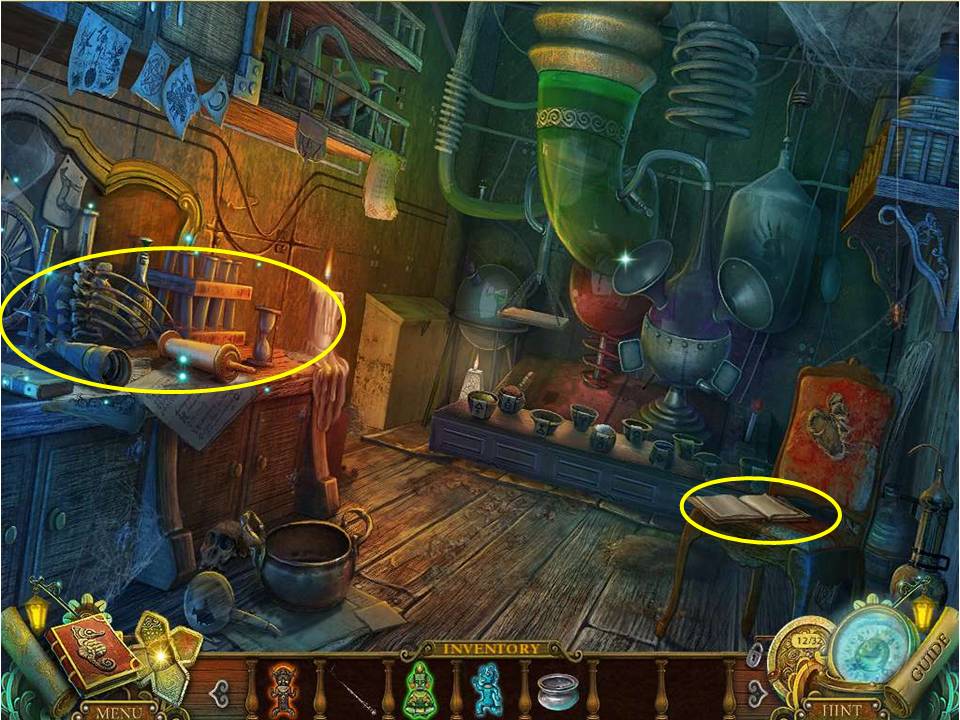
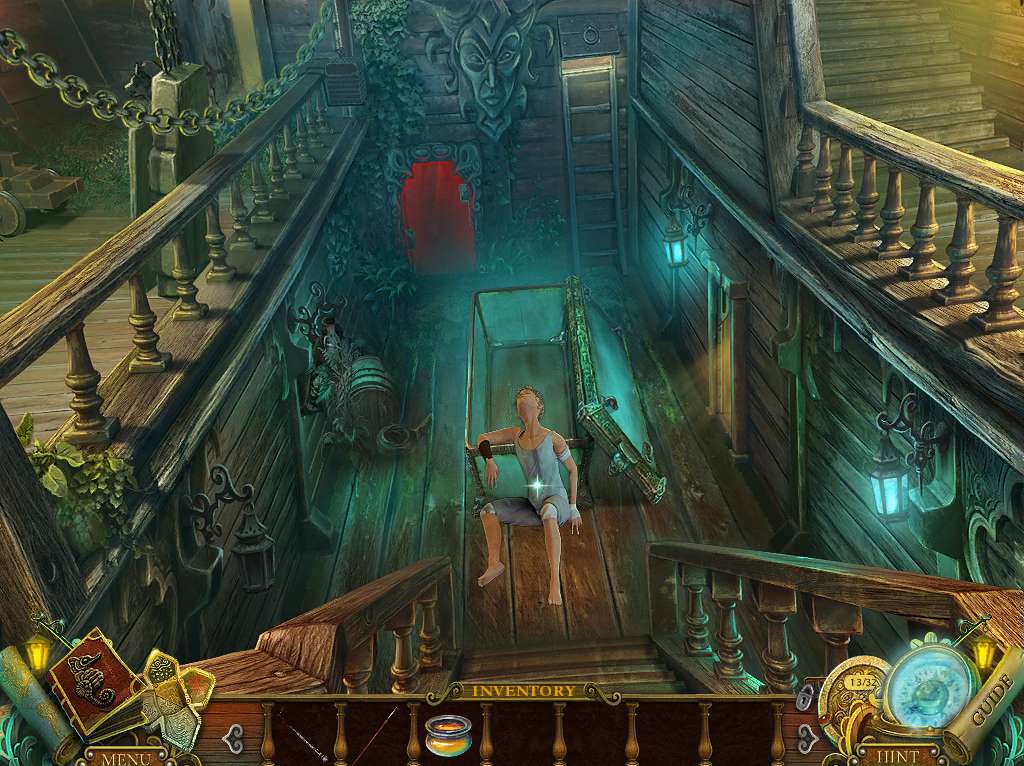
- Click on the HOA puzzle to the boy’s left to initiate it.
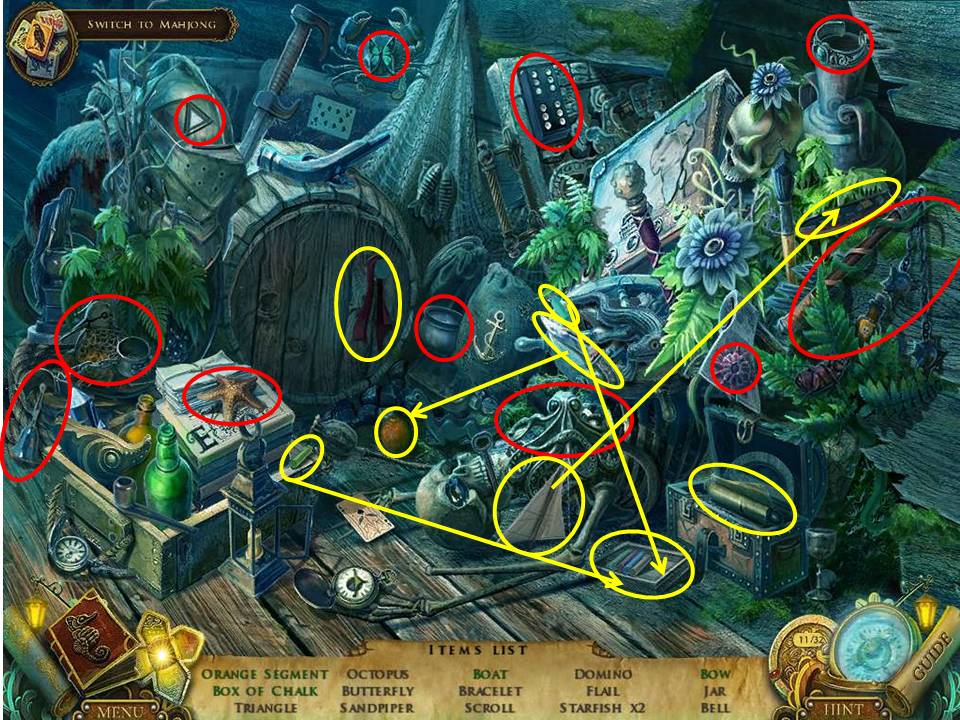
- Collect the items circled in red, then the multi-move items circled in yellow.
- Click on the plate to release and capture the hummingbird.
- Click twice on the ribbon to free and collect it.
- Open the small chest to retrieve the scroll.
- Slice the orange a couple of times with the knife to get a segment.
- Place the two chalk pieces into the box.
- Place the sail on the boat to turn it into a sailboat.
- When finished take the GLASS JAR and proceed down the steps.
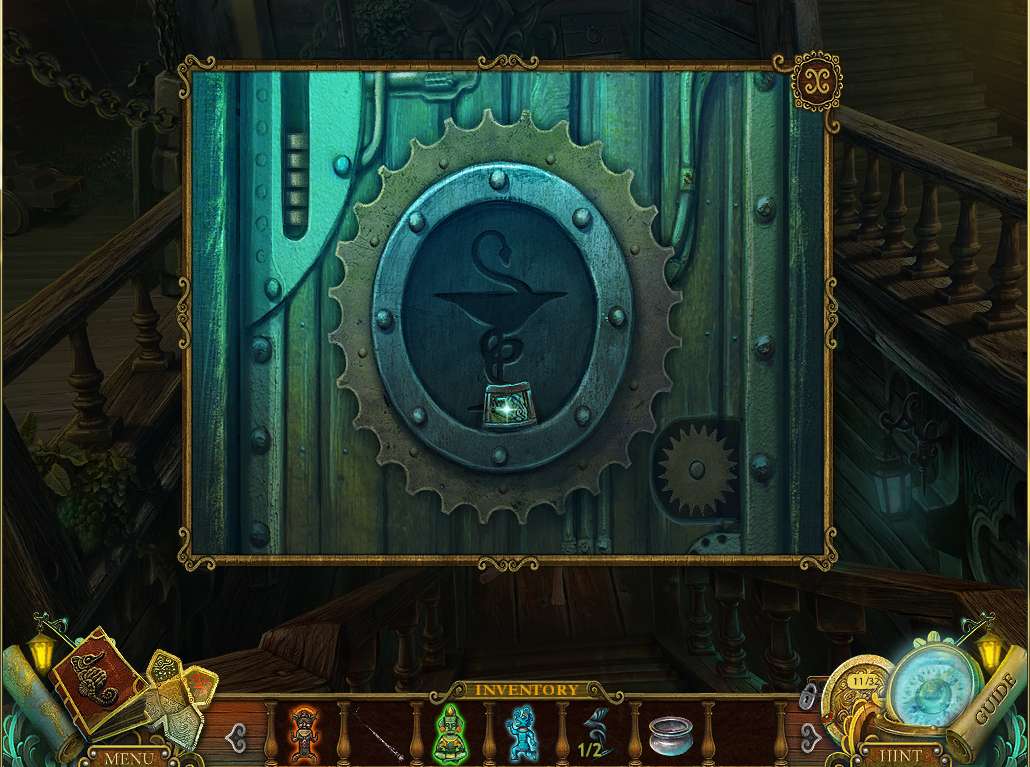
- Zoom in on the door to the right and take the calendar piece.
- Move to the far end and climb up the ladder to the middle deck.
- Click on the HOA to the left to initiate it.
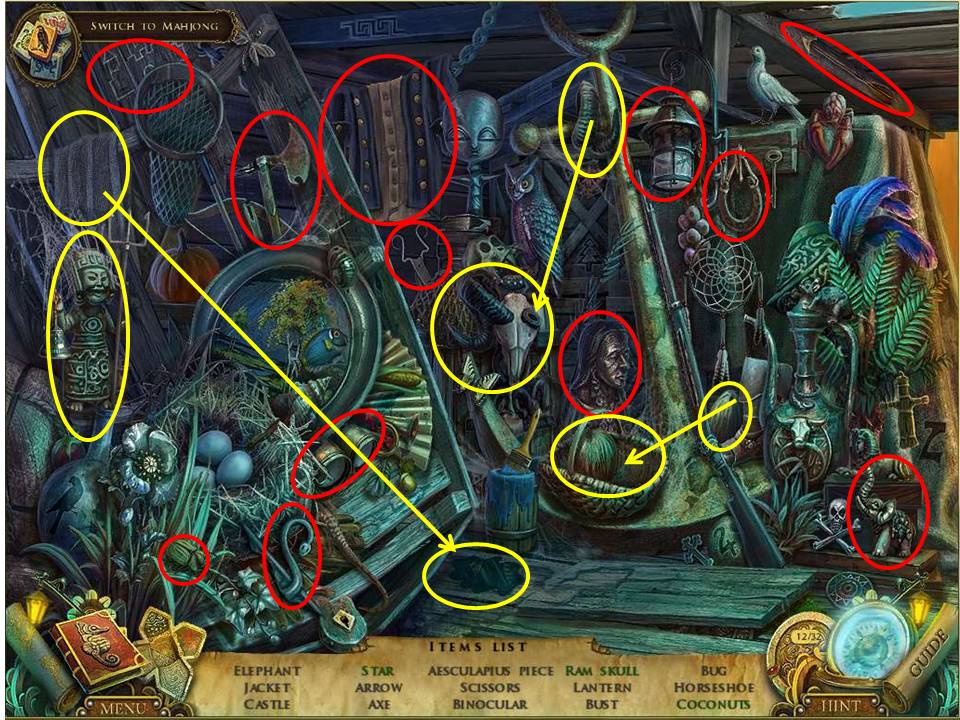
- Collect the items circled in red.
- Those circled in yellow require multiple moves.
- Click on the statue to release and capture the hummingbird.
- Toss the coconut into the basket to get the full allotment of coconuts.
- Give the stain a good clean with the rag to find the star.
- Return the horn to the skull to pick up the ram skull.
- Take the AESCULAPIUS SIGN.
- Go back down the ladder.
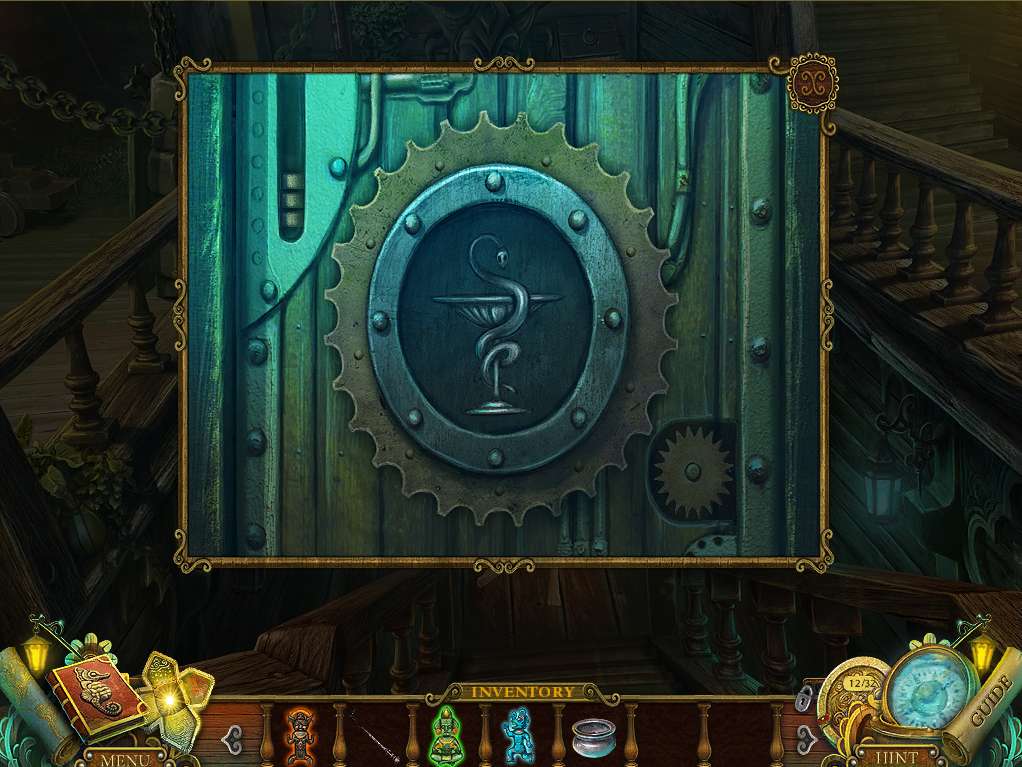
- Zero in again on the door to the right and insert the AESCULAPIUS SIGN.
- Enter the doorway.
- This is the infirmary? Looks like Golden Staph heaven! Zoom in on the chair, glance through the book, and note the stitching concealing something sewn into the chair.
- Zero in on the HOA puzzle to the left.
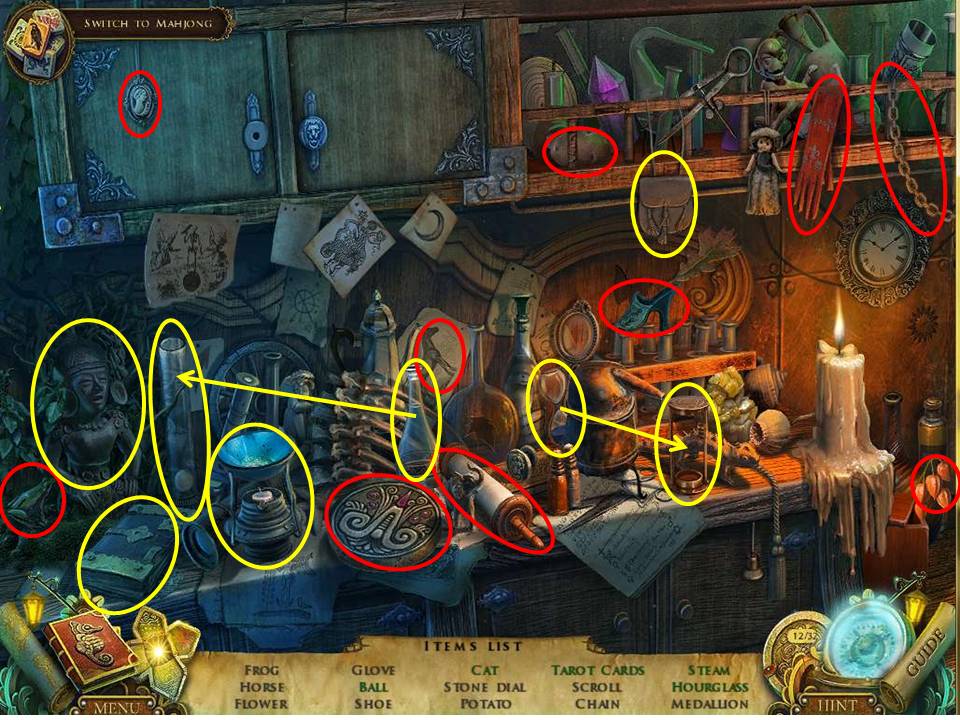
- Click on the HOA to the left to initiate it.
- Collect the items circled in red.
- Those circled in yellow require multiple moves.
- Click on the statue to release and capture the hummingbird.
- Flip through the book a few times to acquire the picture of the cat.
- Turn on the burner to create steam.
- Combine the glass bowls with the frame to complete the hourglass.
- Empty the contents of the bottle into the beaker to make the ball float to the top.
- Open the pouch to find the tarot cards.
- When complete, receive the STONE DIAL and return to the sarcophagus.

- The object of the puzzle is to turn all four dials so that the points match up to their identical colors markers on the door.
- The purple, green and red dials each turn ¼ turn for every click.
- The pink one however only makes ¼ turn for every click.
- Each one also controls the actions of certain other dials.
- When it’s all said and done though, the solution is pretty simple – maybe the developers missed a loophole.
- Click on the purple dial three times.
- Then click on the pink dial seven times. Bingo – door opens!
- Through you go – does the red glow mean you’re heading to hell?
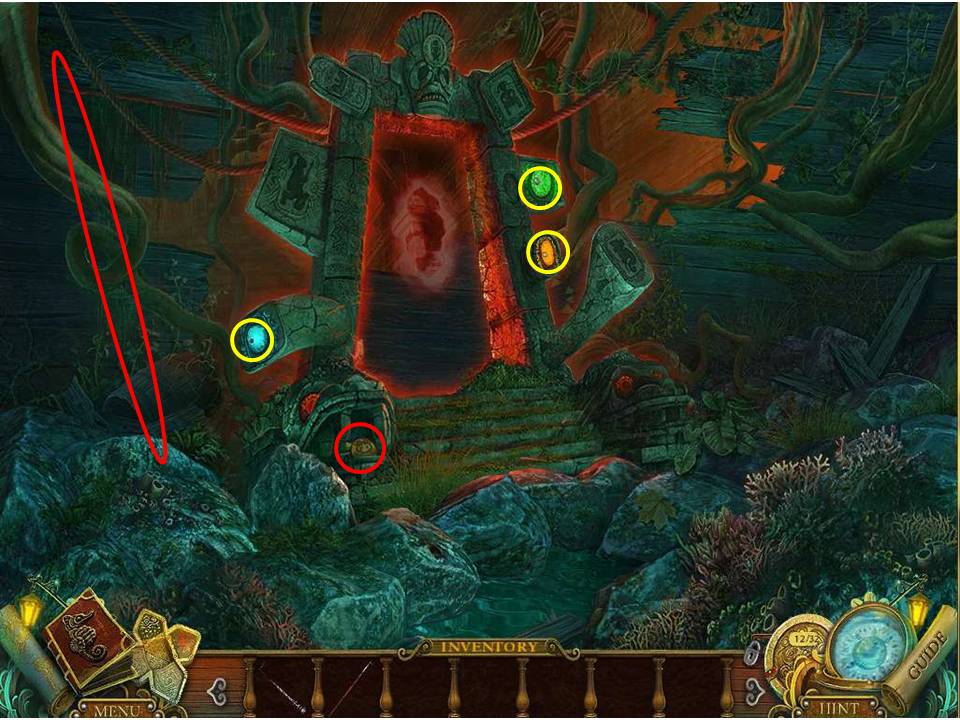
- Take the BOAT HOOK to the left.
- Place the three STATUETTES from inventory into their appropriate positions on the idol.
- Take the calendar piece and the YELLOW DUST that appear at the base to the left.
- Head back to the infirmary.
- Zero in on the weird-looking contraption in the background.
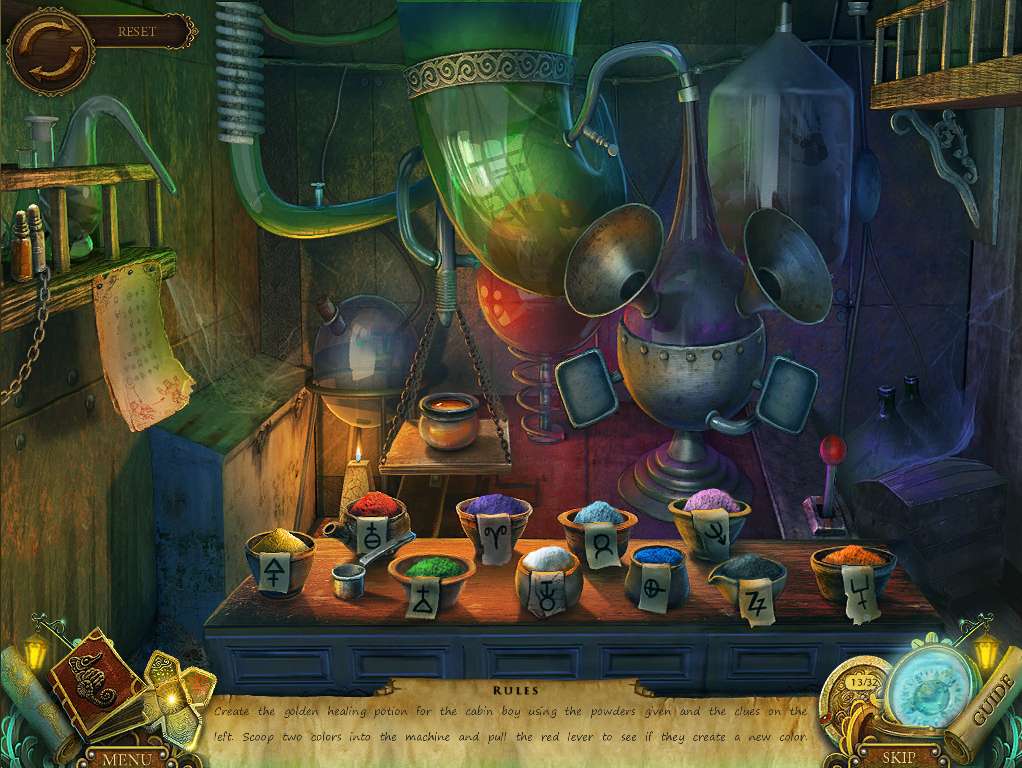
- Place the YELLOW DUST and the GLASS JAR on it to initiate the puzzle.
- The aim is to mix the ingredients appropriately in order to create the antidote for the poor boy outside, using the clues pinned to the shelf on the left.
- The powders have to be dropped into the two funnels, using the scoop, and mixed using the lever to the right.
- There are seven steps to the solution, noting that the first color given in every pairing goes to the left funnel, the other to the right.
- When each pairing is mixed, click on the glass jar and it will automatically deposit the contents into one of the empty containers.
- So here are the steps – Mix the blue and white powders, then yellow and red, yellow and light blue, blue and orange, green and red, light blue and gray, and finally pink and purple.
- When complete, take the HEALING POTION and return to the sarcophagus.
- Give the HEALING POTION to the boy and receive the WIND GOD AMULET from him.
Comments will load when you reach this part of the walkthrough.