

Chapter Three: The Lumberjack’s Pet
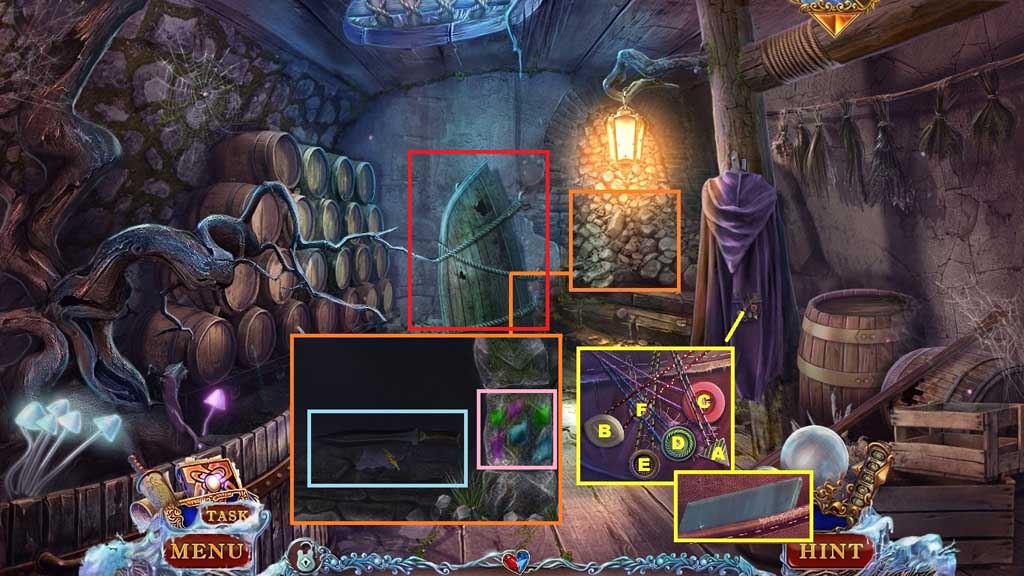
- Click the rocks.
- Click the buttons in ABC order; collect the stained glass shard and insert it into the
- Arrange the pieces as shown in the stone diagram.
- Collect 1 /9 puzzle pieces and the knife; select the knife to collect the rope.
- Click the hidden objects area.
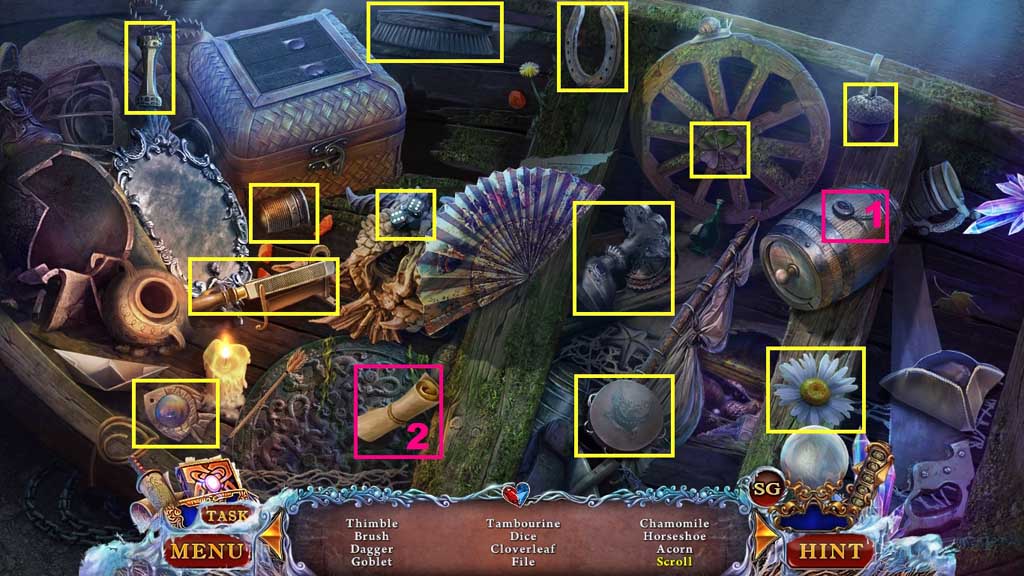
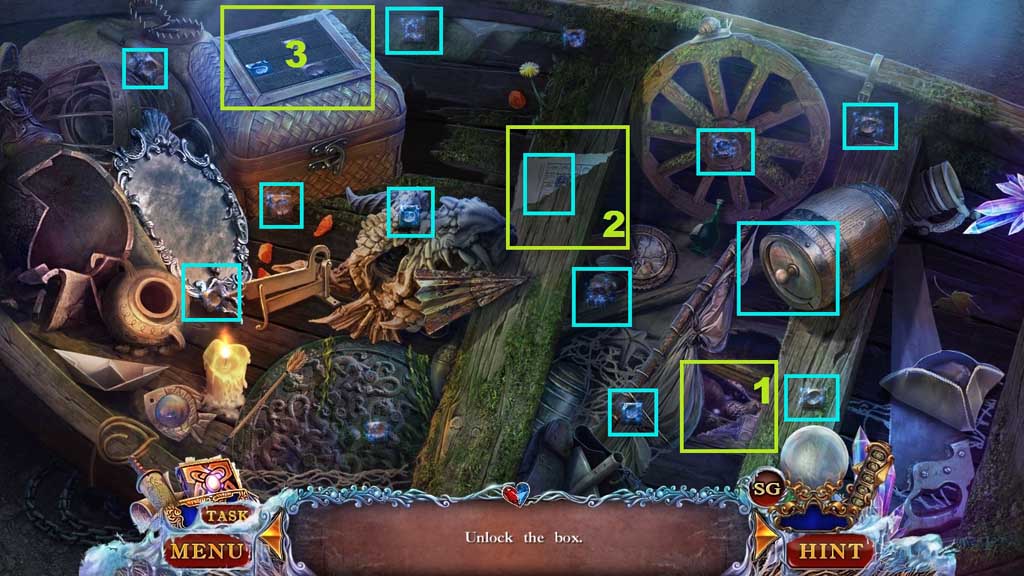
- Find the items.
- Select the seal and place it onto the scroll; collect the scroll.
- Collect the glowing pieces and place them onto the chest.
- Collect the hook.
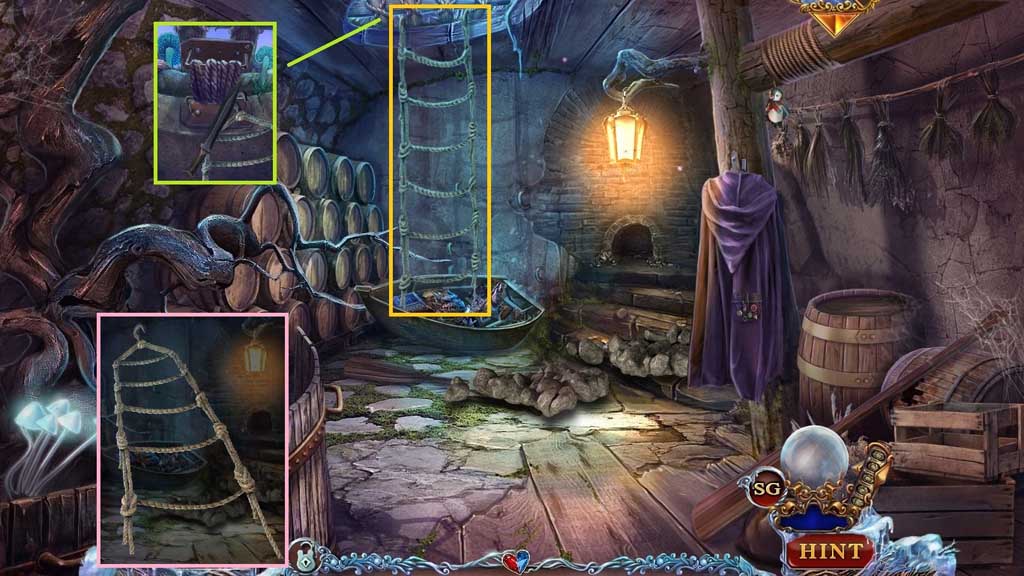
- Select the rope and the knife and the hook to create the rope ladder and place it into the hole in the ceiling.
- Select the knife to slice the ties.
- Move up the ladder.
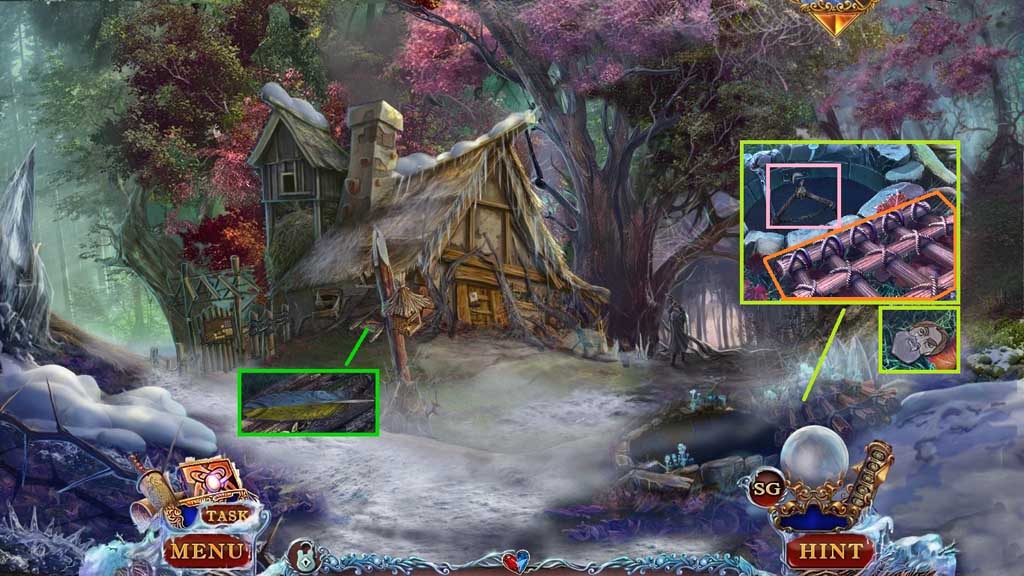
- Collect 1 /3 feathers.
- Collect the rope ladder.
- Click the cover.
- Collect 2/ 9 puzzle pieces.
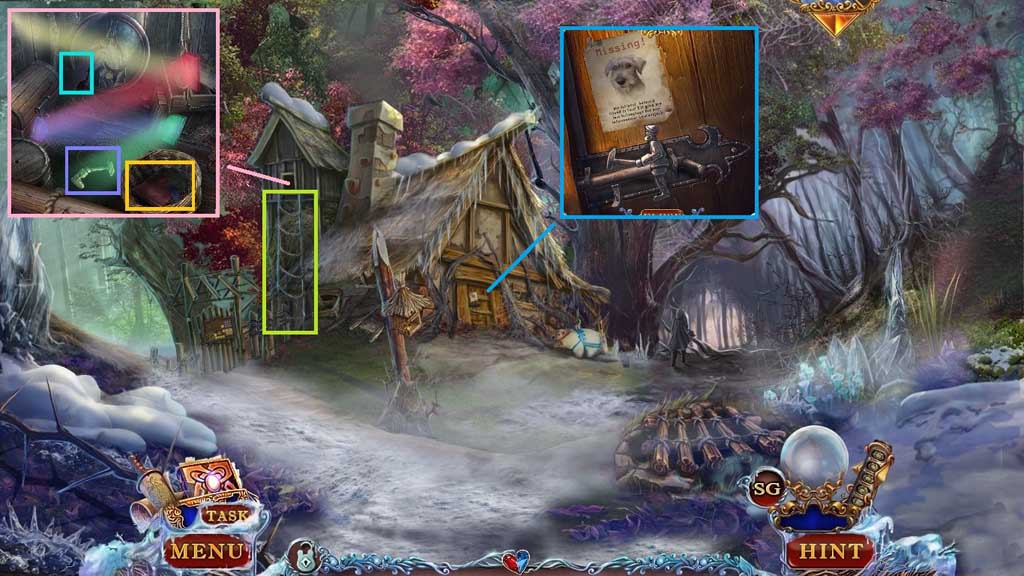
- Place the rope ladder into the window.
- Select the pieces from the basket and place them to direct the light.
- Collect the toy arm and 3 /9 puzzle pieces.
- Attach the toy arm.
- Read the poster.
- Click the latch and enter the doorway.
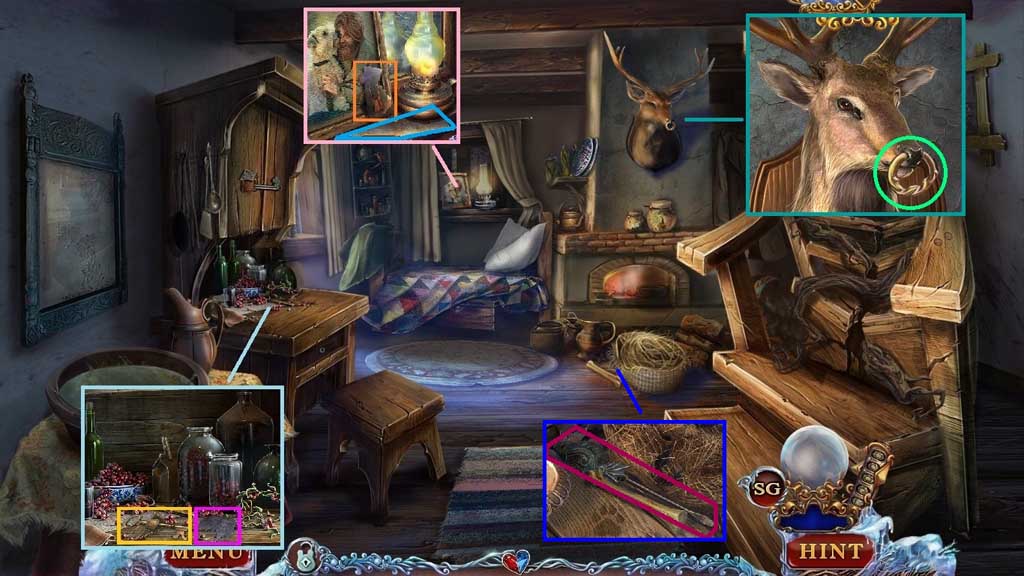
- Collect 4 /9 puzzle pieces and the birdhouse key.
- Collect the handsaw blade and 5 /9 puzzle pieces.
- Click the ring.
- Collect the screwdriver.
- Move down once.
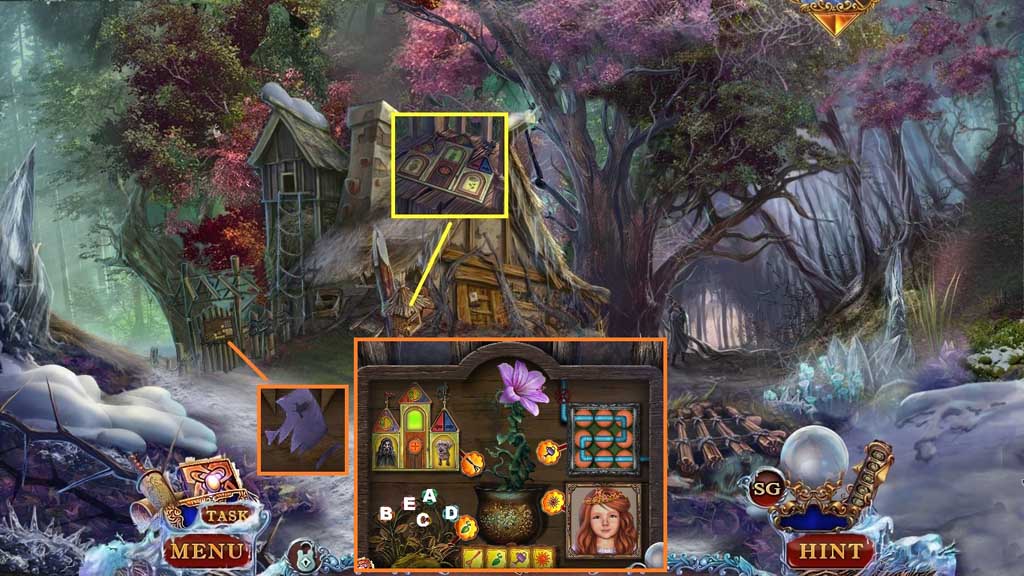
- Insert the birdhouse key; collect the gate fragment.
- Collect 6 /9 puzzle pieces and insert the gate fragment to trigger a mini game.
- Solve the game by following the prompts for the quads of the board.
- Create the matches and click the (+) button.
- Align the pipes correctly.
- Click the flowers in ABC order.
- Reassemble the image correctly.
- Click the tokens.
- Move to the left.
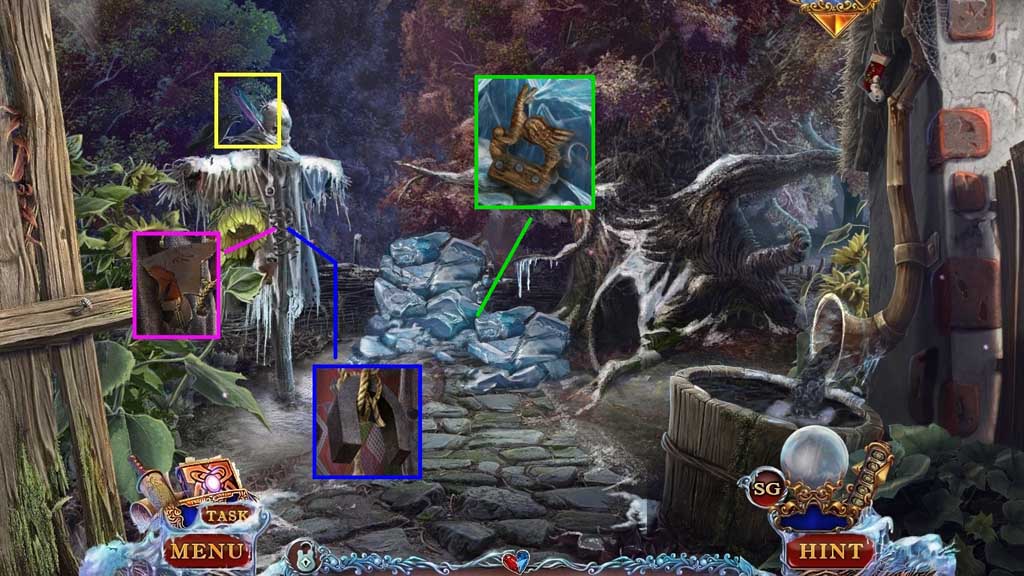
- Collect 2 /3 feathers.
- Collect 7 /9 puzzle pieces.
- Click the laces; collect the magnet.
- Collect the handsaw handle.
- Move down once and move ahead.
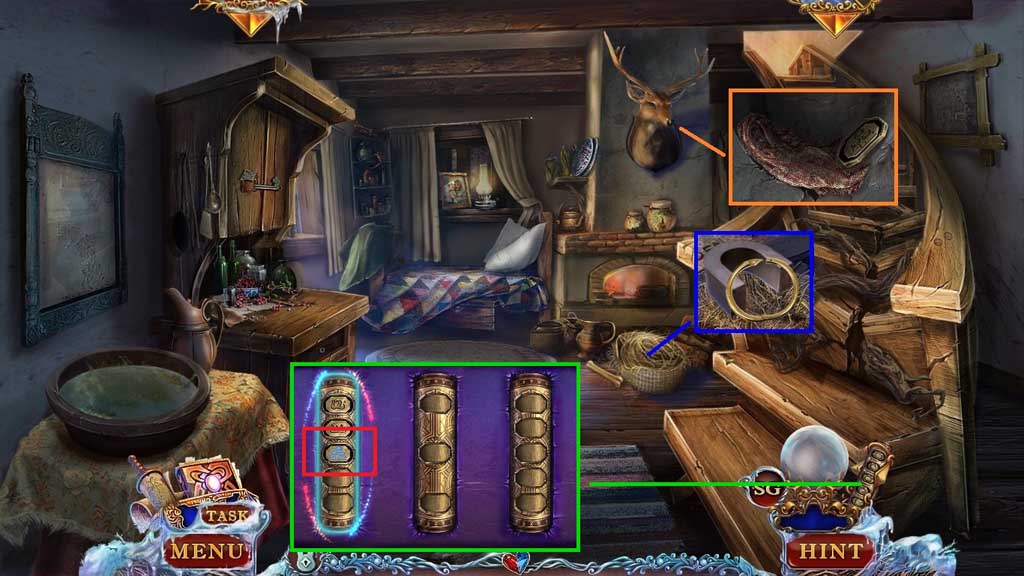
- Select the magnet to collect the nose ring and place it into the nostrils.
- Collect the rag and the rune.
- Click the history scroll.
- Click the glowing rune to trigger a hidden objects area.
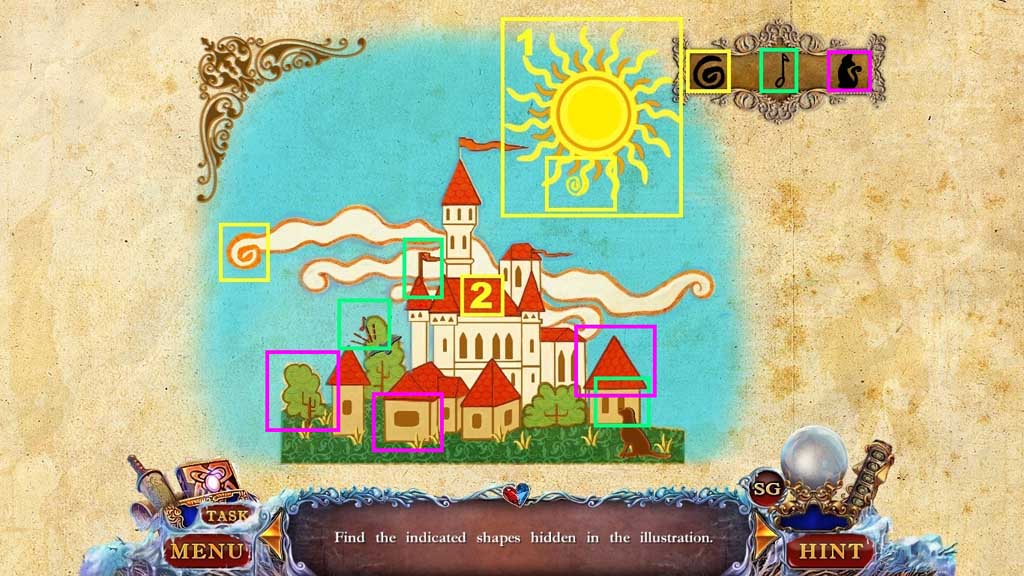
- Find the items.
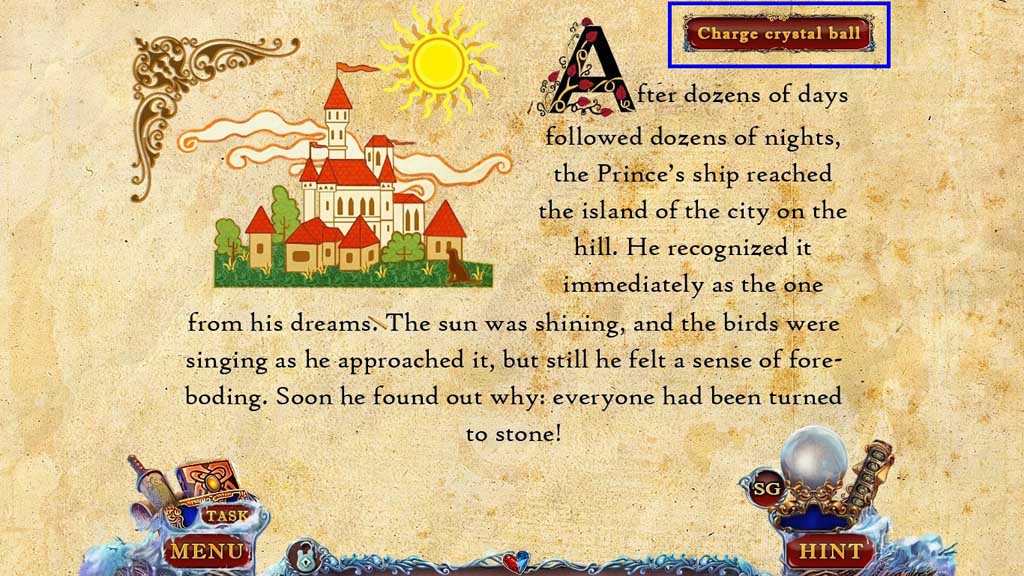
- Click the charge the crystal ball button.
- Move down once and go to the left.
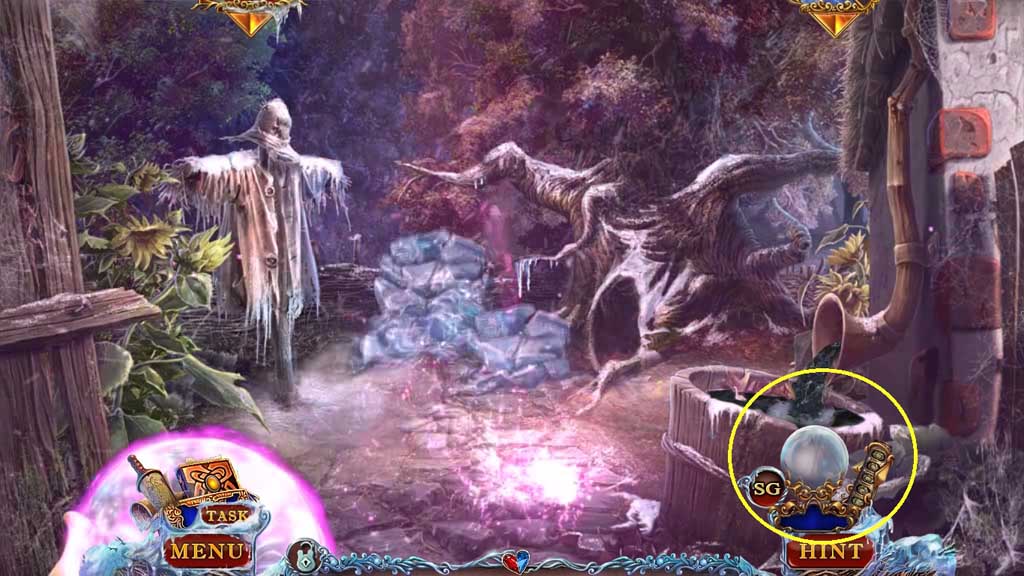
- Select the crystal ball to remove the obstruction.
- Move ahead.
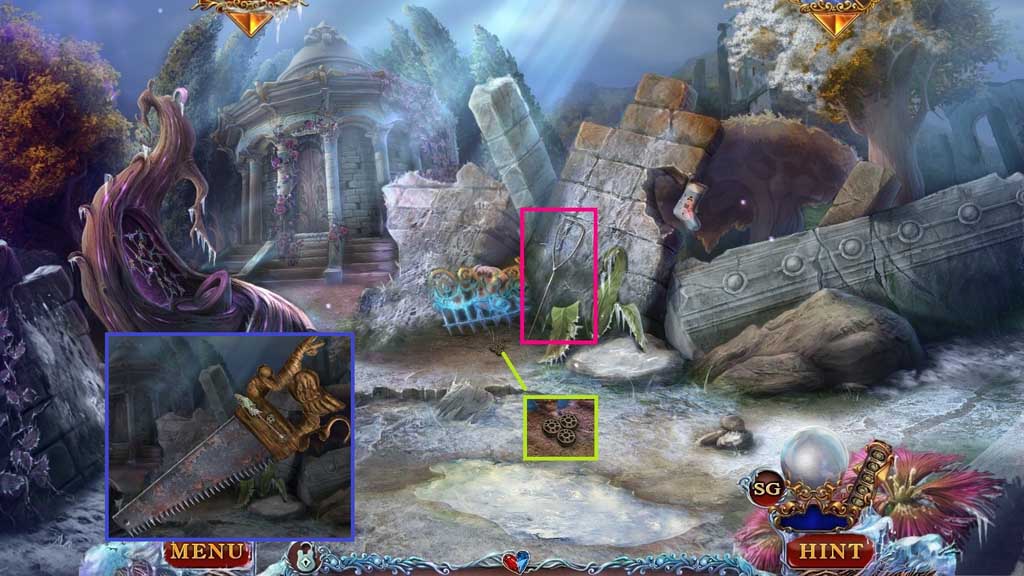
- Collect the bolts.
- Select the handsaw blade and attach the handsaw handle along with the bolts; use the screwdriver to secure and collect the handsaw.
- Collect the landing net pole.
- Move down 2x’s and move ahead.
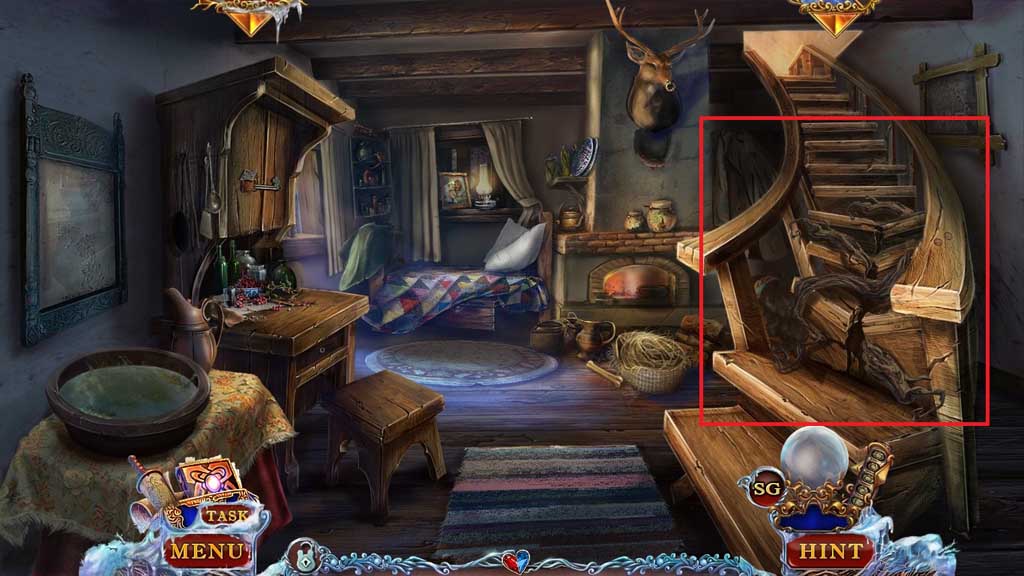
- Select the handsaw and use it on the stairs to trigger a hidden objects area.
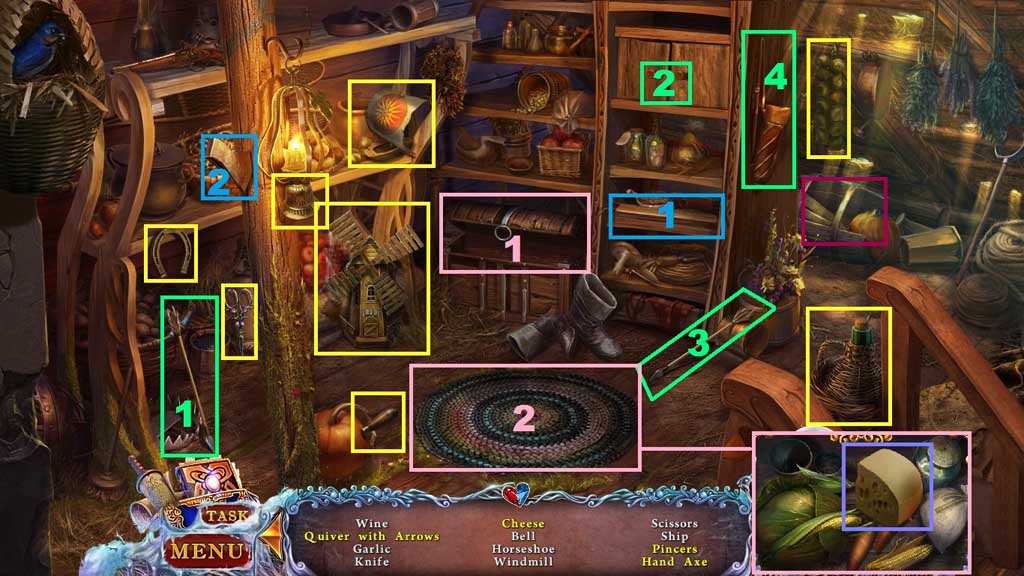
- Find the items.
- Collect the net.
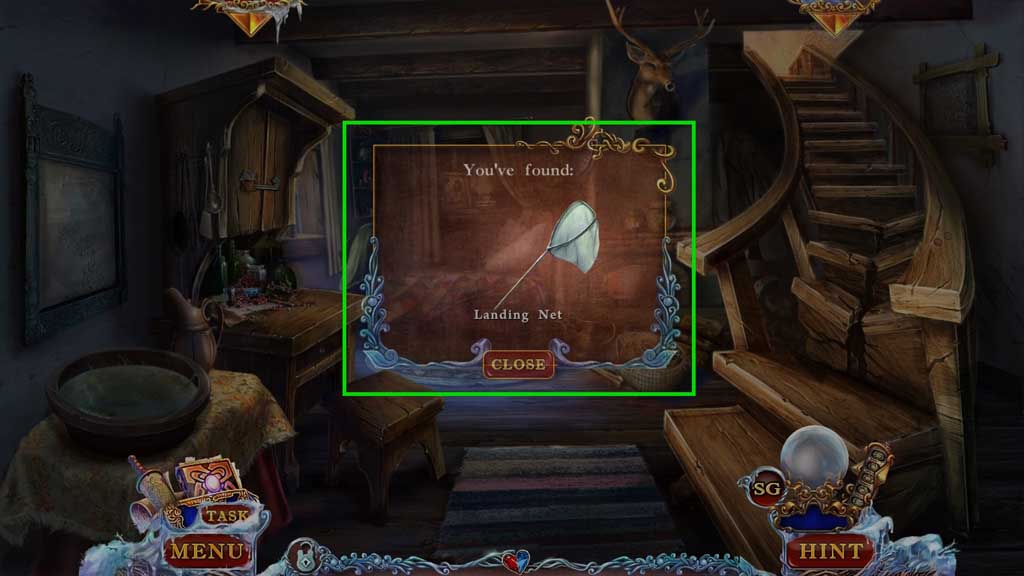
- Select the landing net pole and the net to create and collect the landing net.
- Move down once and go to the left.
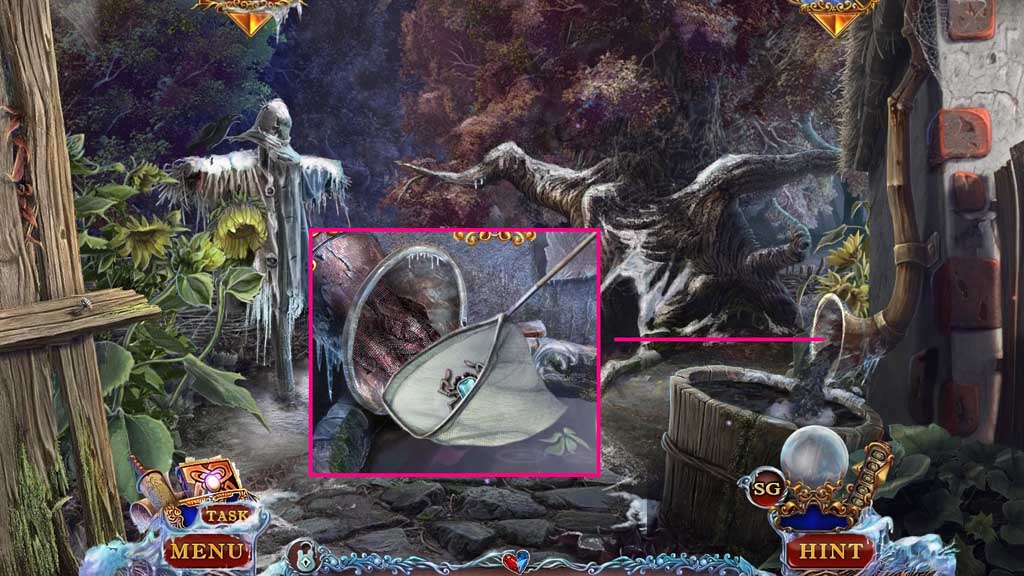
- Select the rag to plug the pipe and stop the flow.
- Select the landing net to collect the spider figurine.
- Move ahead.
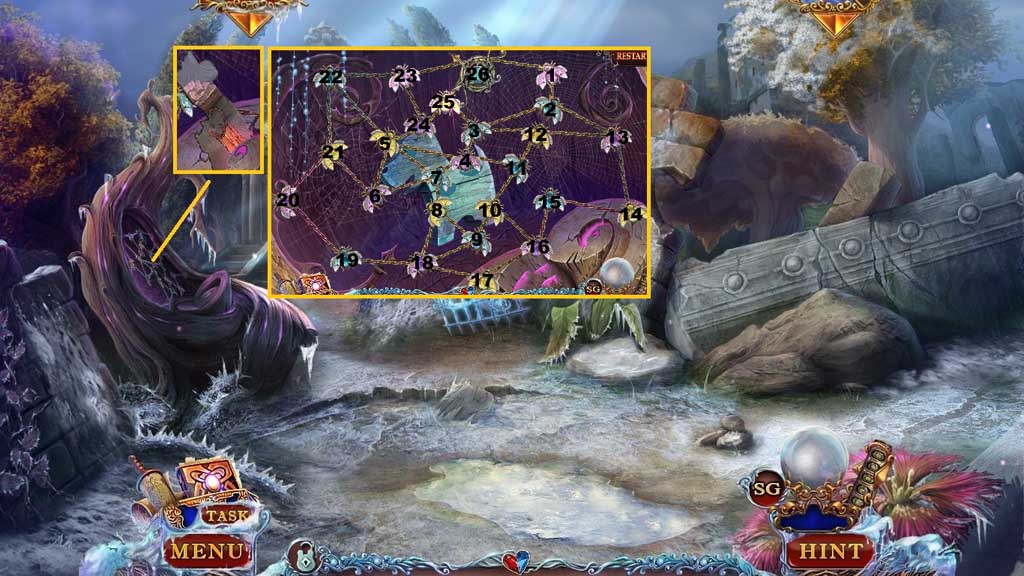
- Collect 8 /9 puzzle pieces and insert the spider figurine to trigger a mini game.
- Solve the game by guiding the spider to capture the flies along the path without crossing the same segment twice.
- Collect the dog figurine.
- Move down 2x’s and move ahead once.
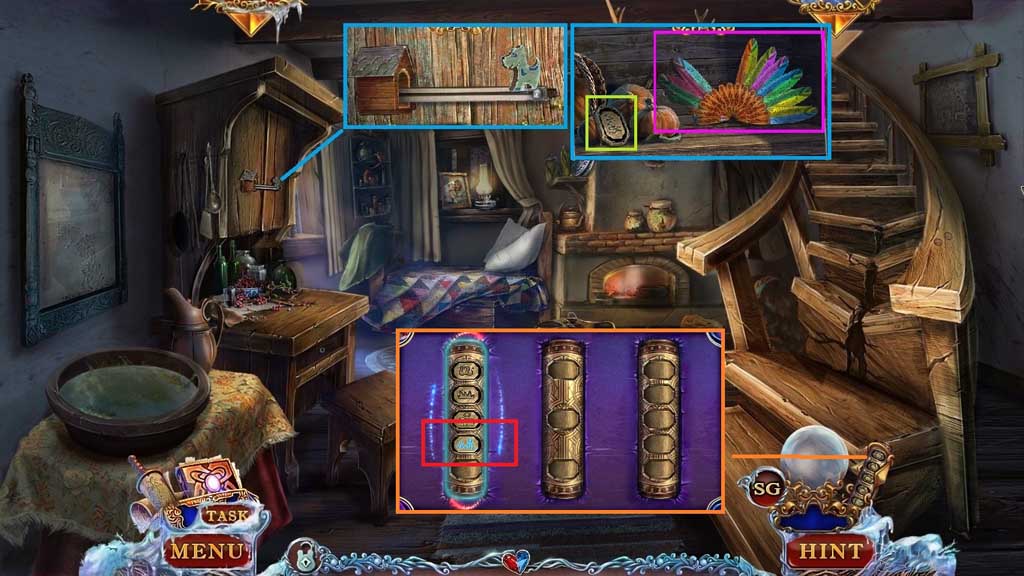
- Attach the dog figurine.
- Collect the rune and the broken fan.
- Click the history scroll and click the glowing rune to trigger a hidden objects area.
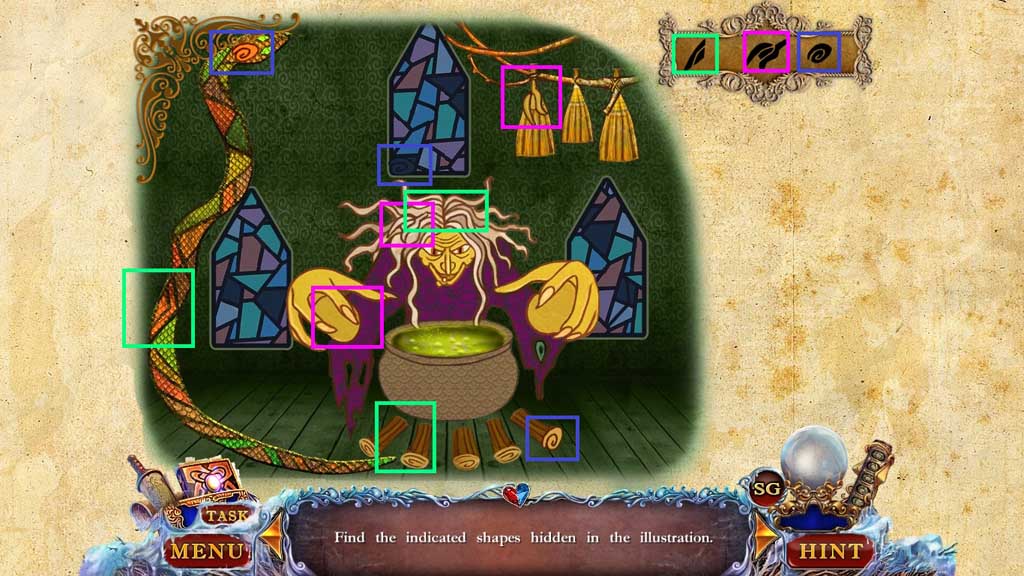
- Find the items.
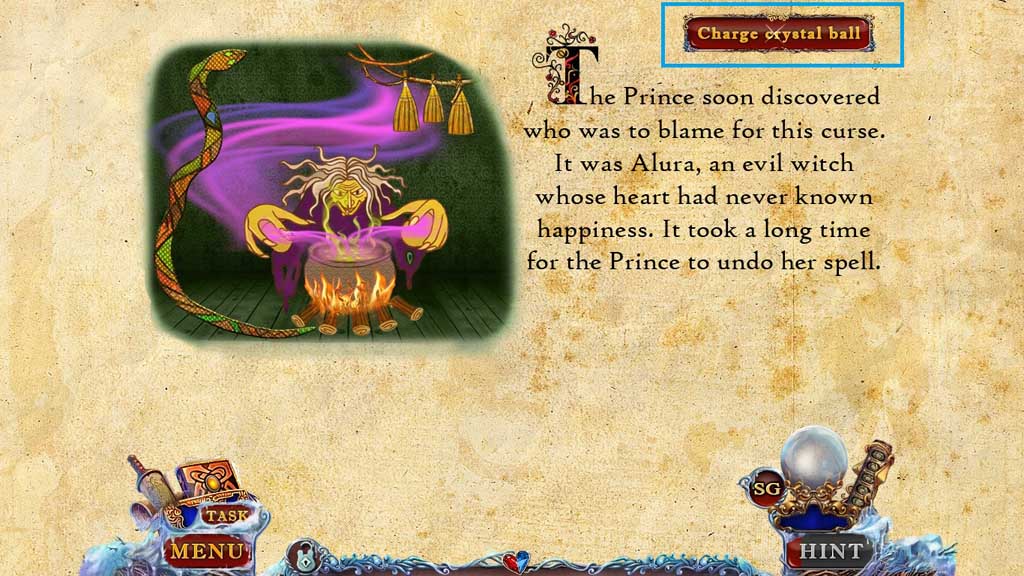
- Click the charge the crystal ball button.
- Move down once, go to the left and move ahead one time.
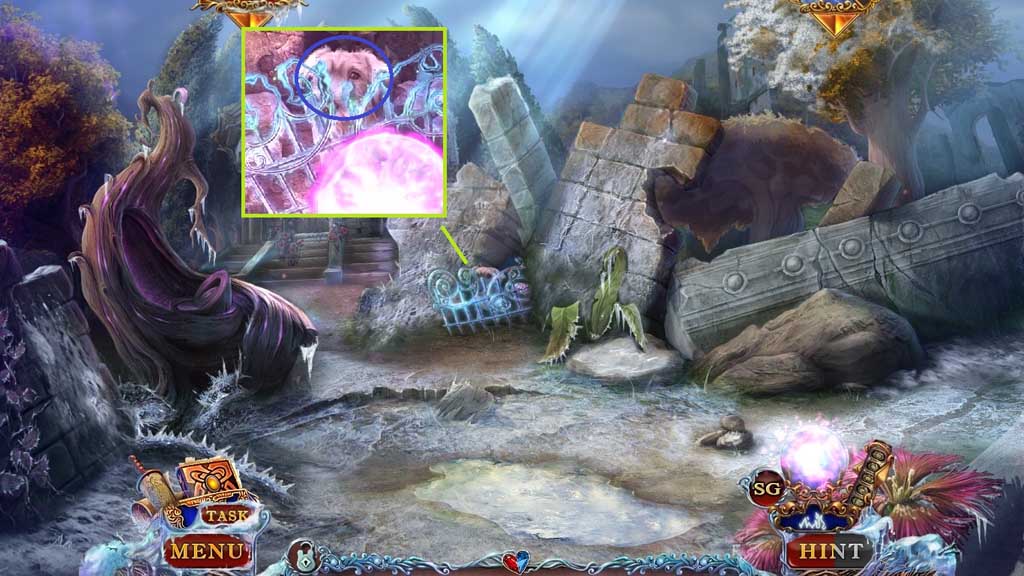
- Select the crystal ball to break the barrier.
- Collect the lumberjack’s pet.
- Move down 2x’s.
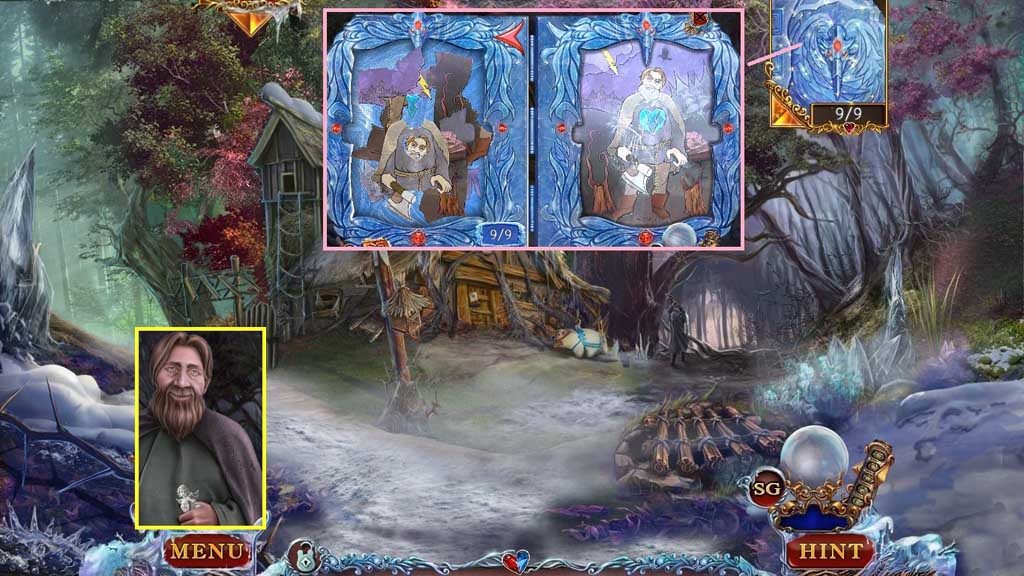
- Set the lumberjack’s pet free.
- Collect 9/ 9 puzzle pieces.
- Click the icy book and reassemble the image.
- Collect 1 /2 angels.
- Move to the pathway on the right.
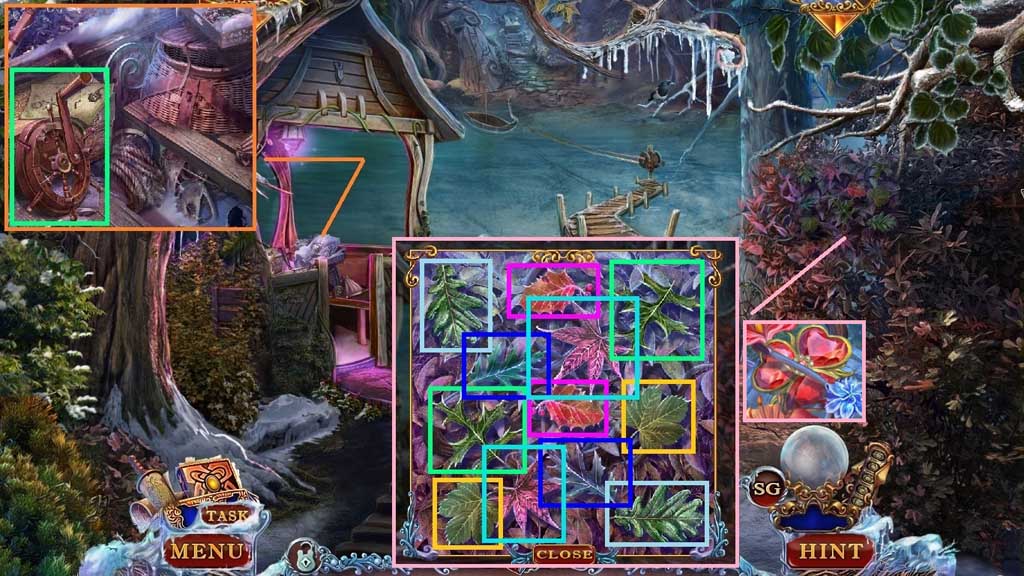
- Zoom into the shed; follow the diagram and place the pieces onto the rim.
- Collect the wheel lever.
- Zoom into the bush and select the matching pairs.
- Collect the tiara flower and the raven’s left wing beneath it.
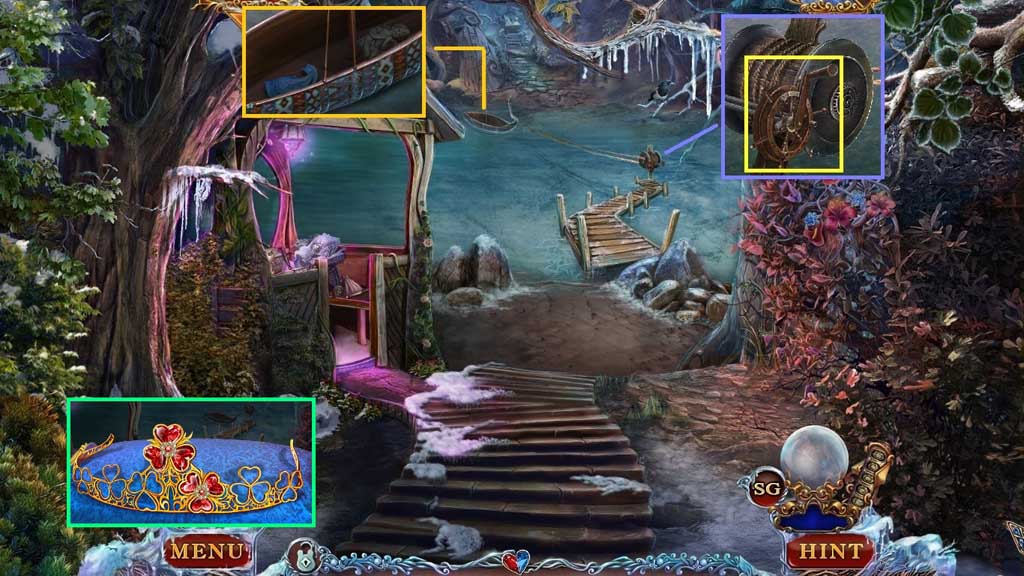
- Insert the tiara flower into the tiara.
- Attach the wheel lever and click it once.
- Collect the raven’s right wing and 2 /2 angels.
- Move down once, go left and ahead once more.
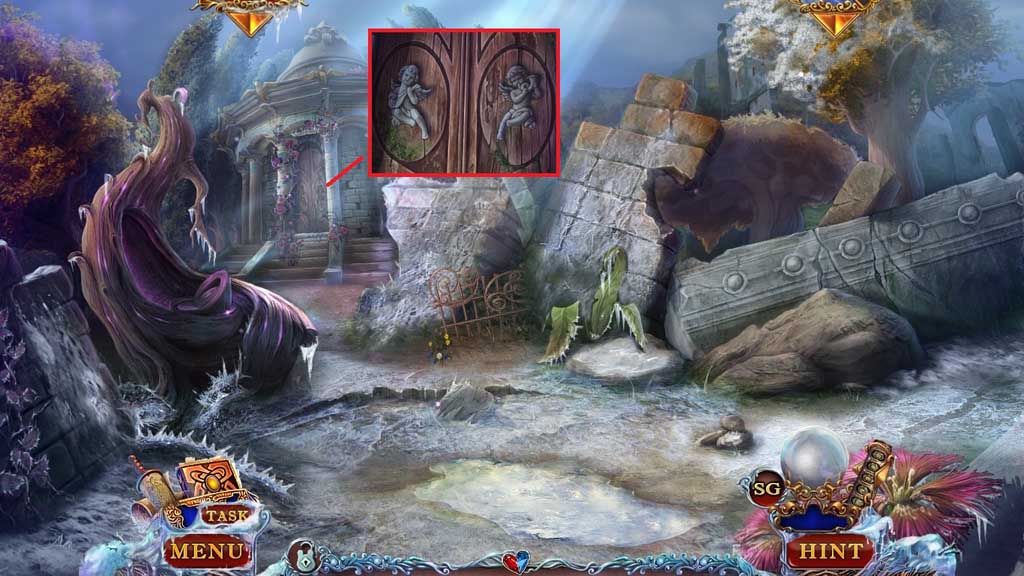
- Insert the 2 angels.
- Click the hidden objects area.
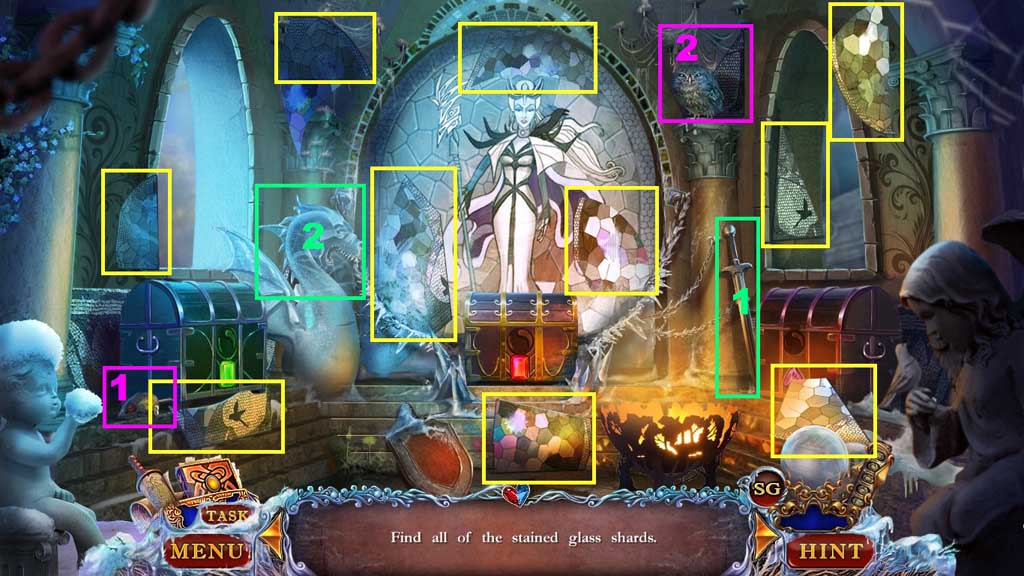
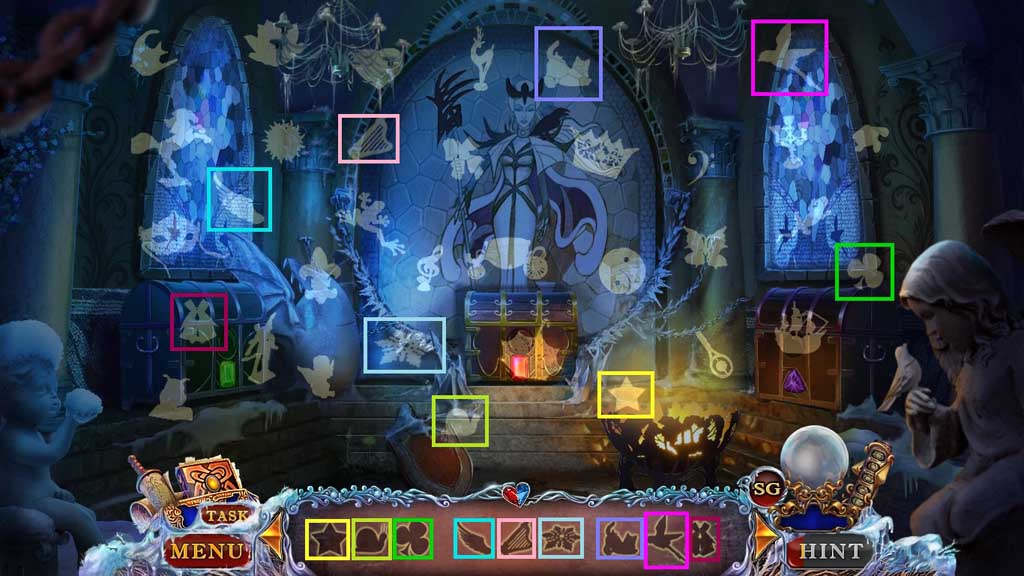
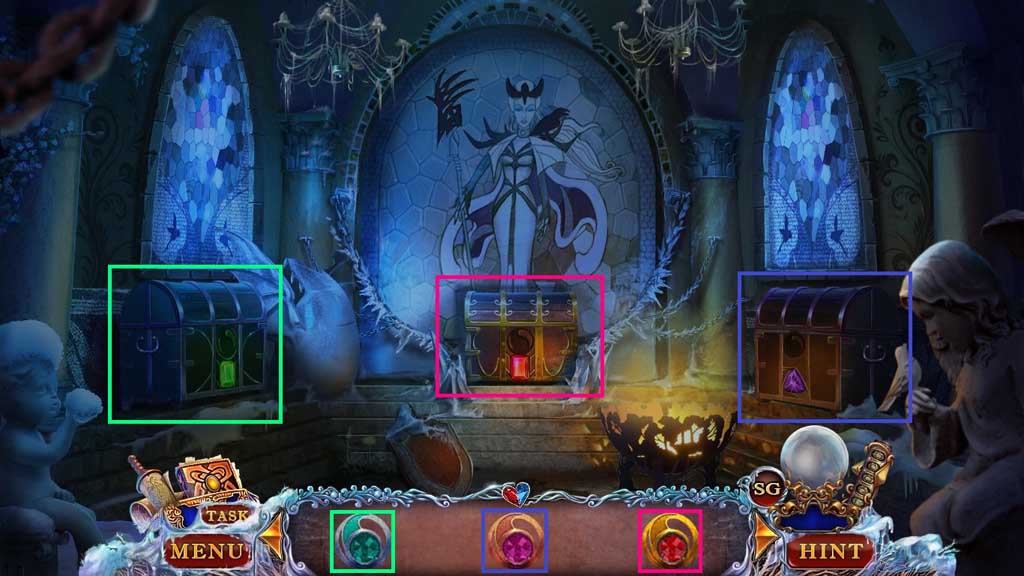
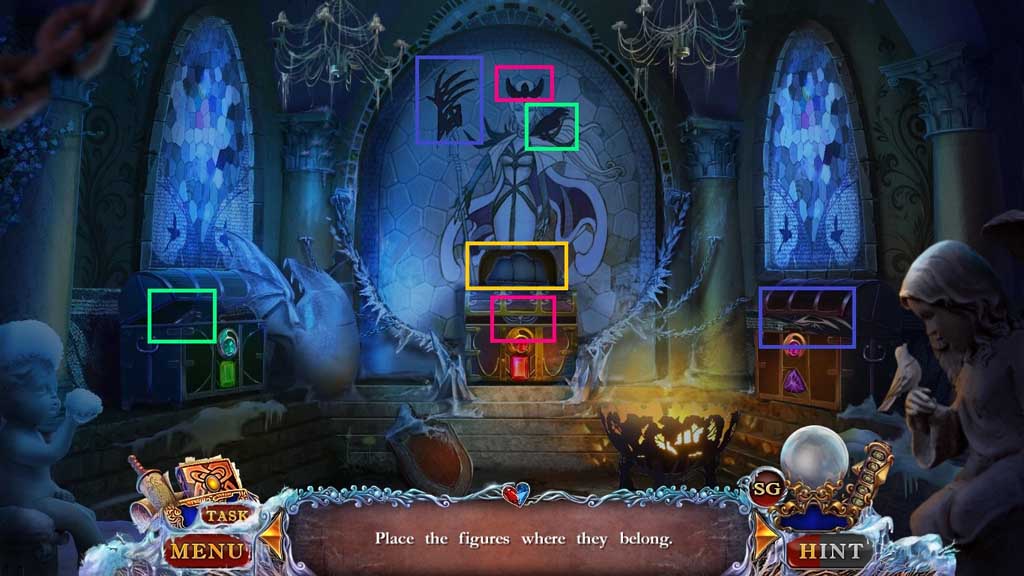
- Find the items.
- Collect the sail.
- Move down 2x’s and go to the right.
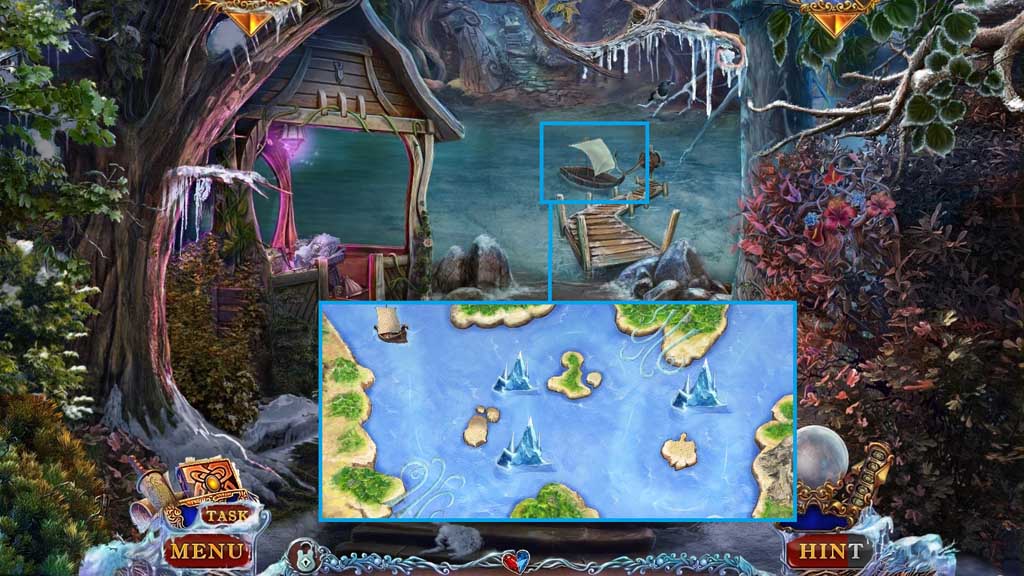
- Place the sail onto the boat frame and click the water to trigger a mini game.
- Solve the game by guiding the ship past the obstacles on the path.
- Move ahead.
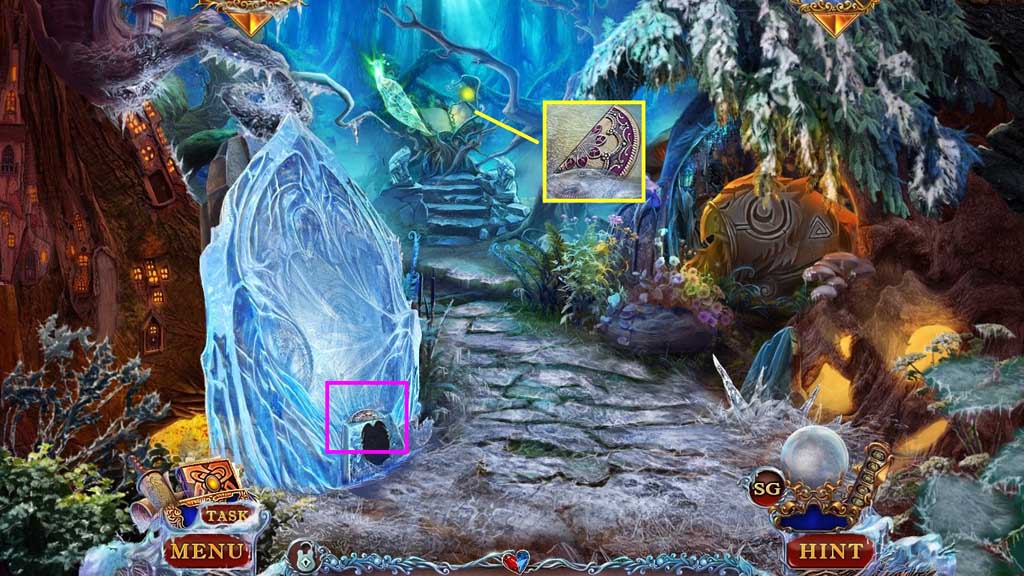
- Collect 1 /2 box parts.
- Collect 2 /2 box parts.
- Move down once.
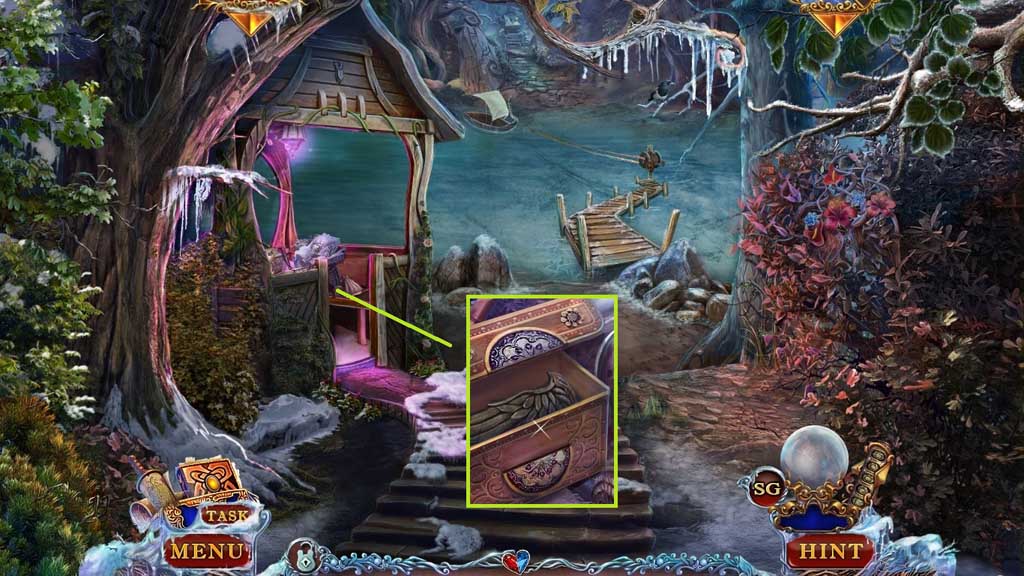
- Zoom into the shed; insert the 2 box parts.
- Collect the owl wing.
- Move ahead.
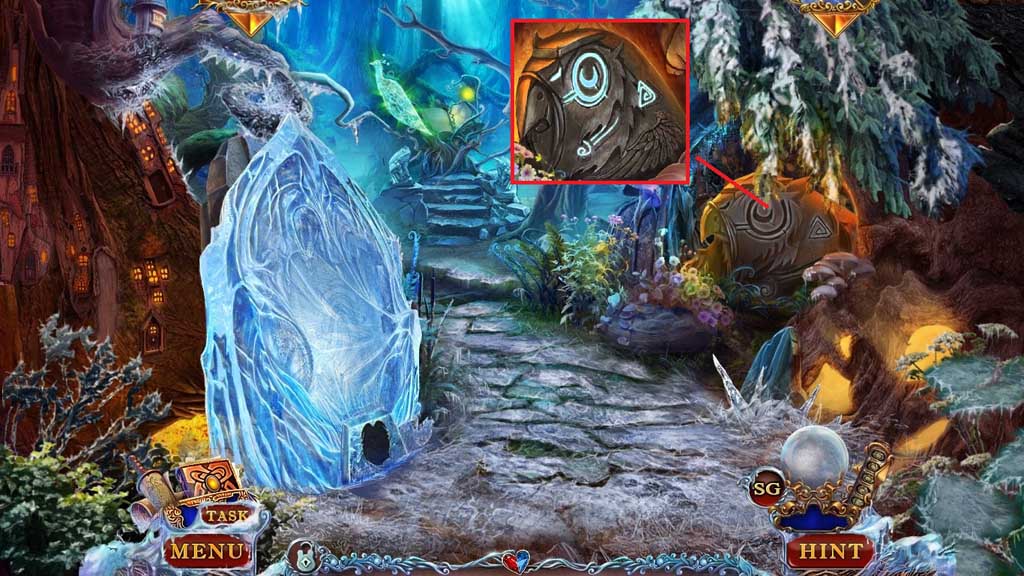
- Attach the owl wing to trigger a hidden objects area.
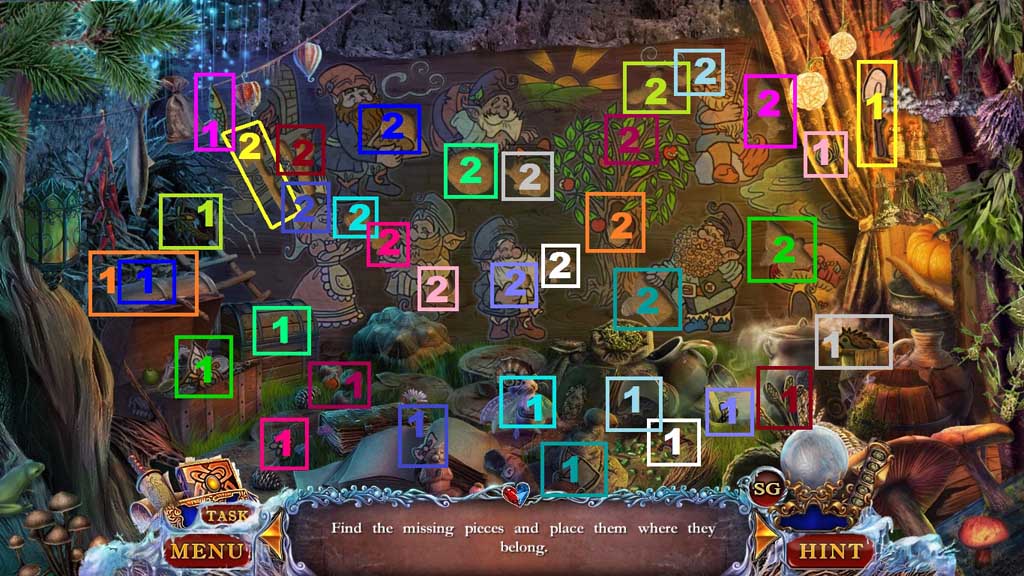
- Find the items.
- Collect the broken ice raven.
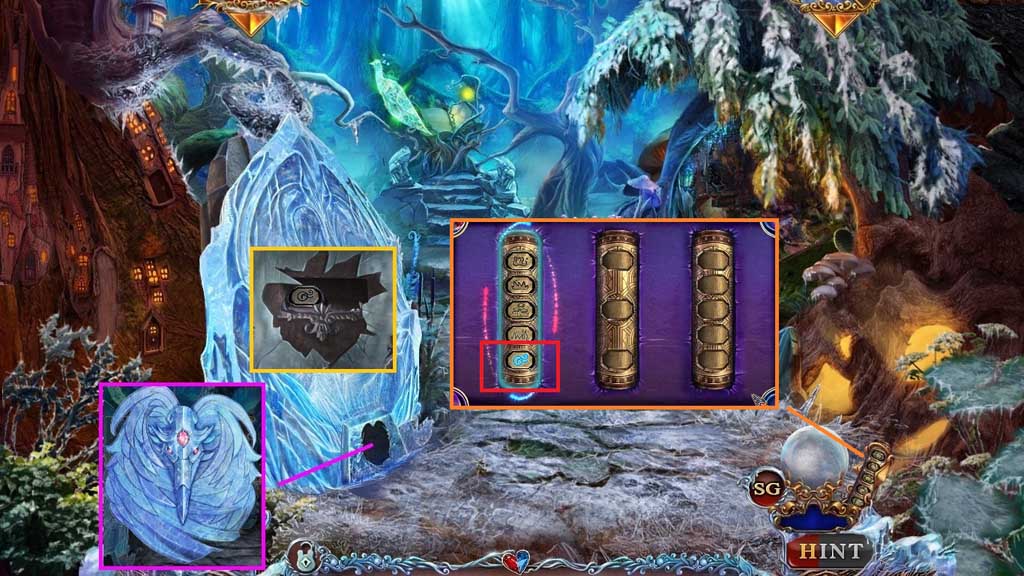
- Select the broken ice raven and attach the ravens left and right wings; collect the ice raven and place it into the slot.
- Collect the rune.
- Select the history scroll and click the glowing rune to trigger a hidden objects area.
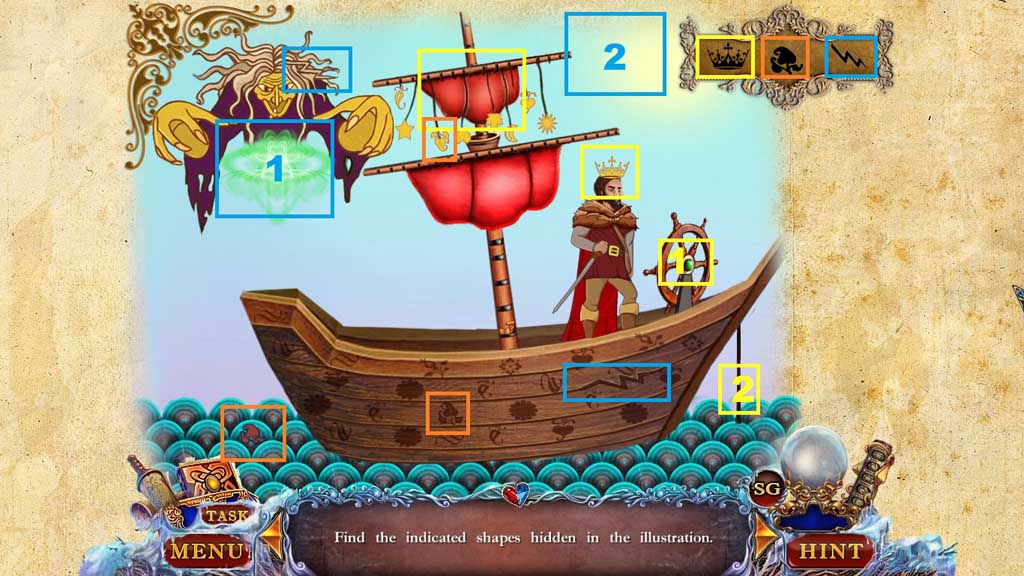
- Find the items.
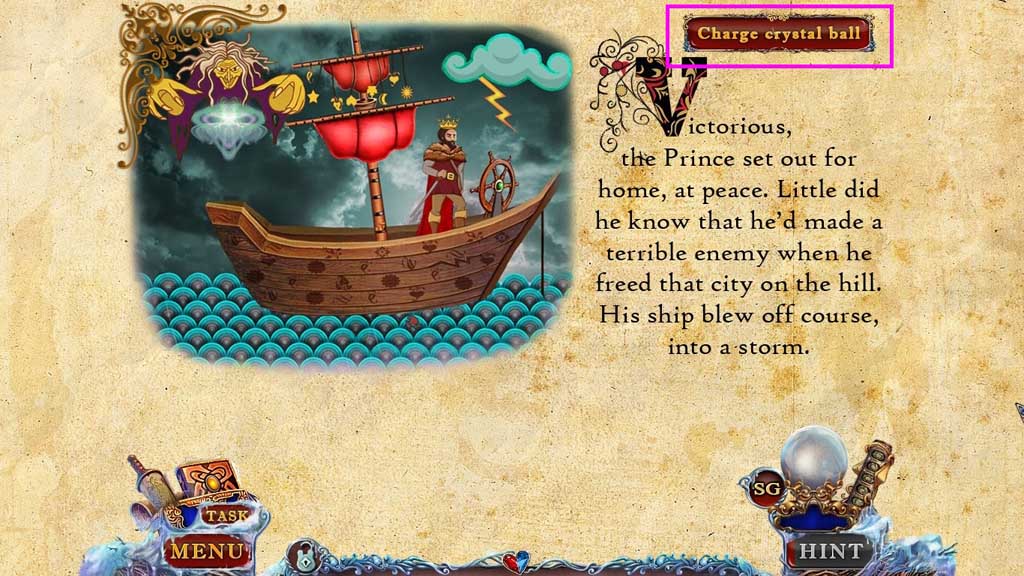
- Click the charge the crystal ball button.
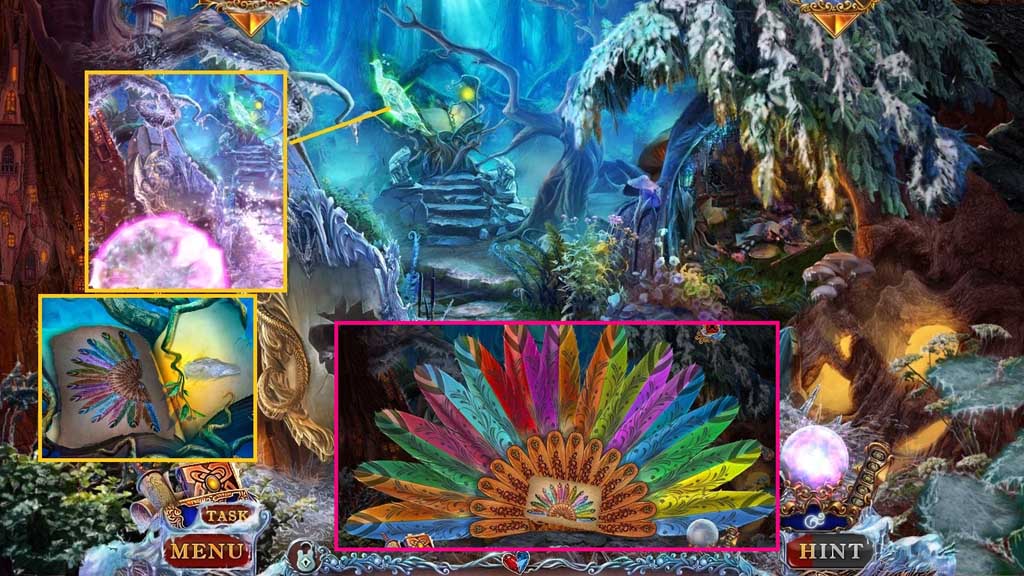
- Select the crystal ball to use on the icy peacock.
- Collect the clue and 3 /3 feathers.
- Select the broken fan and attach the 3 feathers to trigger a mini game.
- Solve the game by arranging the feathers correctly.
- Move down 2x’s and move ahead.
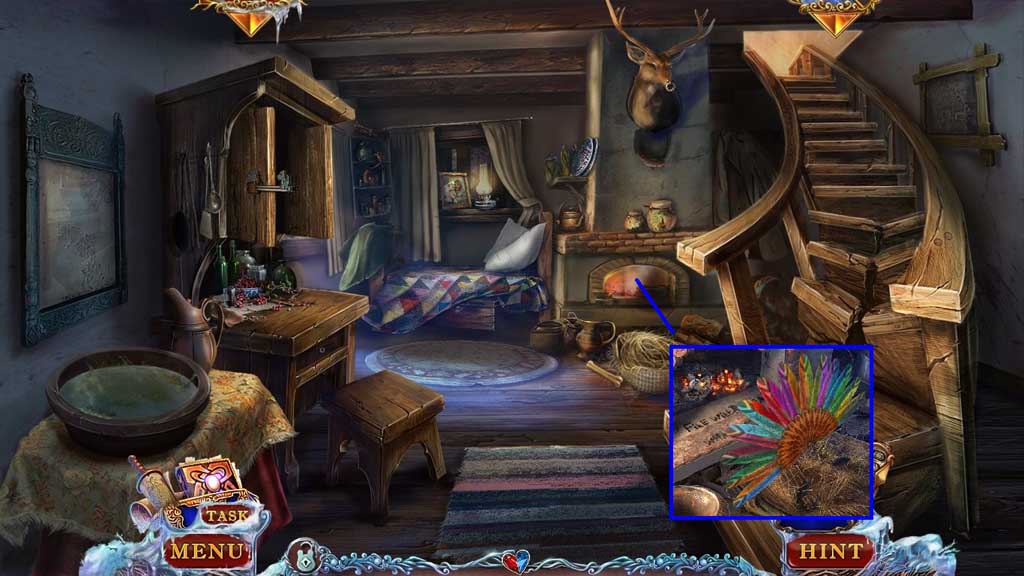
- Select the fan to fan the flames.
- Move to the Book.
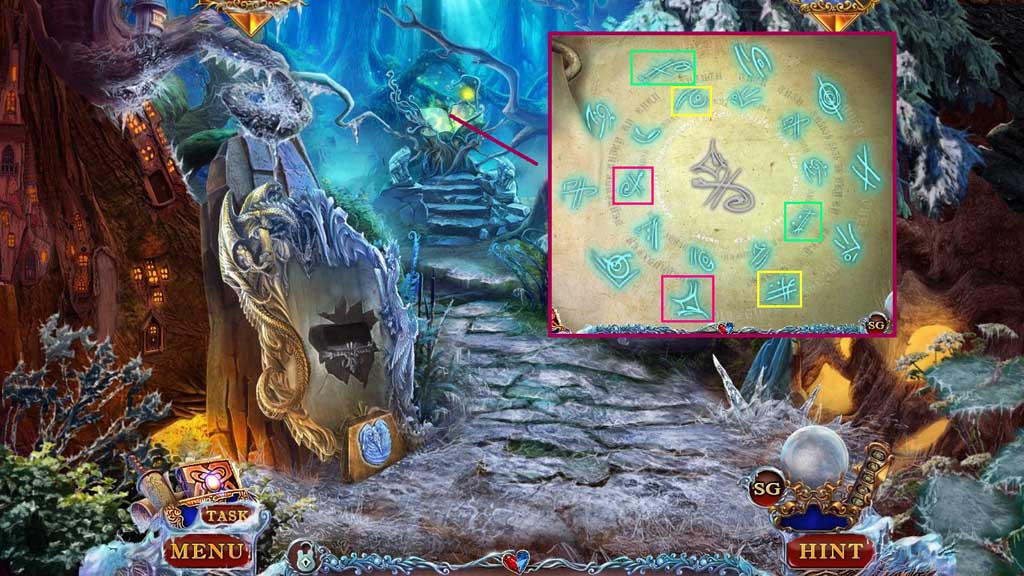
- Click the book.
- Click the rune shapes that create the rune in the center.
-
Move ahead.
Comments will load when you reach this part of the walkthrough.