

Chapter Two: Meet the Dwarf
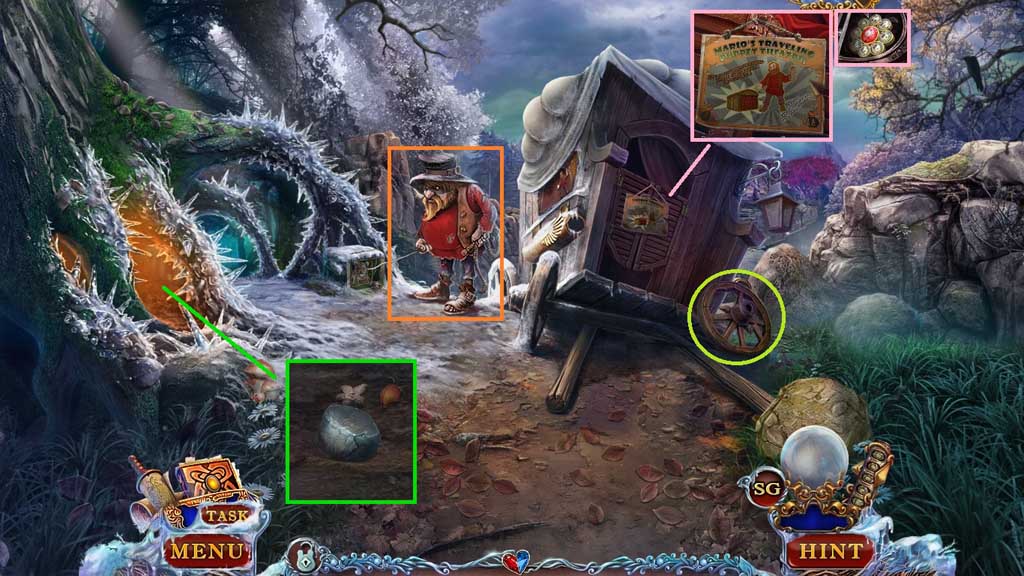
- Speak to the Dwarf.
- Zoom into the cavernous hole.
- Collect 1 /7 puzzle pieces.
- Collect the stone.
- Collect the wheel.
- Examine the sign; collect the brooch.
- Move to the left.
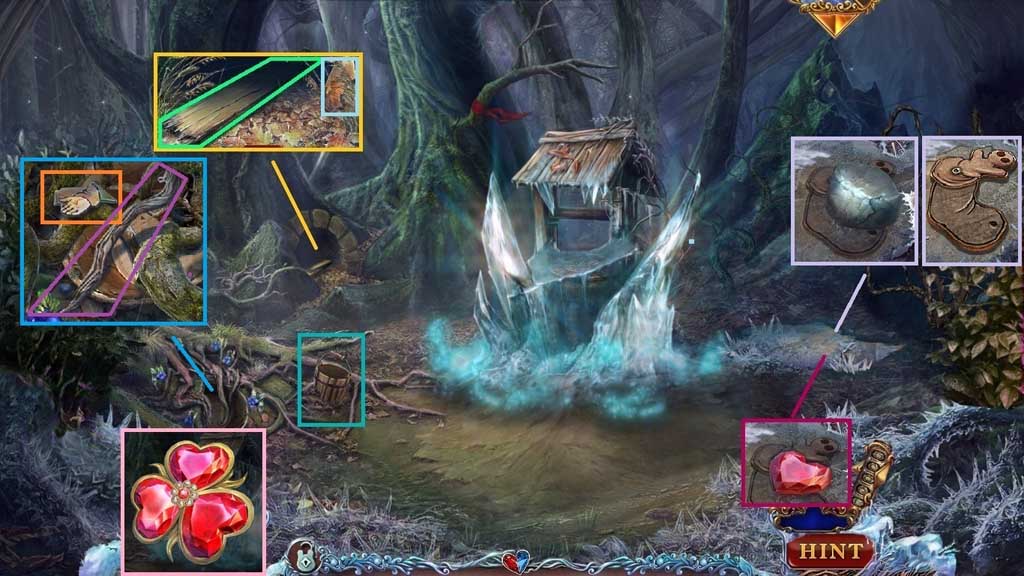
- Collect 2 /7 puzzle pieces and the stick.
- Collect the wood plank and 3/ 7 puzzle pieces.
- Collect the broken bucket.
- Collect 3 /3 hearts.
- Select the broken tiara and place the 3 hearts and the brooch onto it to create the tiara flower.
- Select the stone to collect the figure’s arm.
- Move down 2x’s.
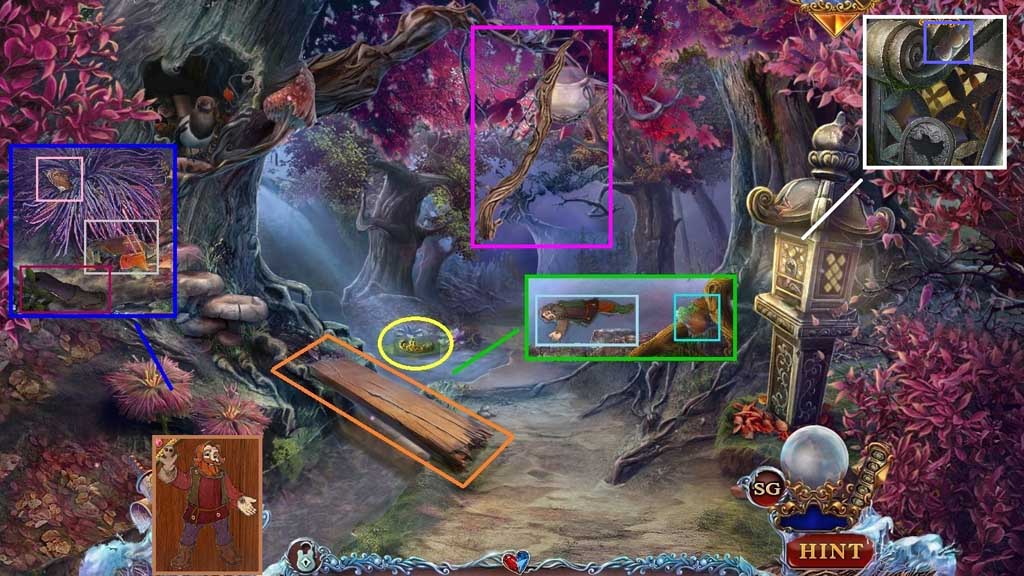
- Select the stick to collect the tiara and place the tiara flower onto it.
- Collect 4/ 7 puzzle pieces and the broken figurine.
- Place the wooden plank across the stream.
- Collect 5 /7 puzzle pieces, figure’s leg and 1 /3 wooden tokens.
- Select the broken figurine and attach the figure’s leg and arm; collect the theatre figurine.
- Select the stick to collect the open lantern.
- Collect 6 /7 puzzle pieces.
- Move ahead.
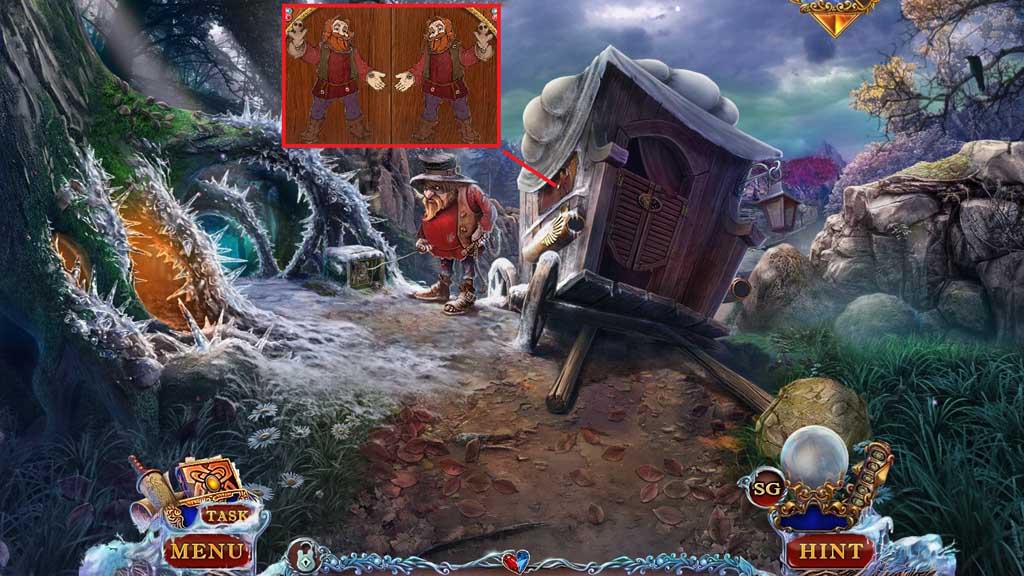
- Place the theatre figurine into the side of the carriage and adjust the head and limbs as shown in the figure.
- Click the hidden objects area.
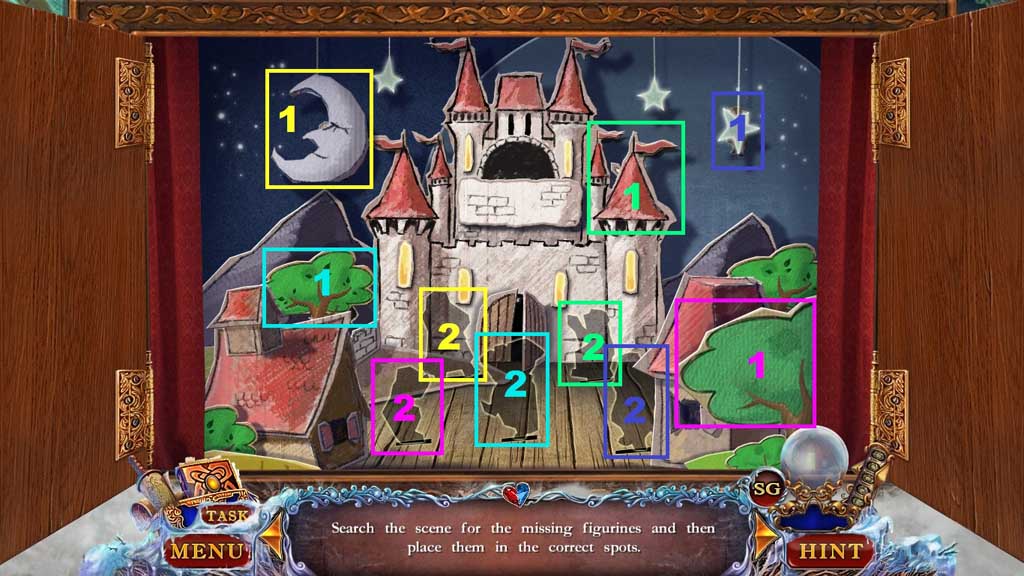
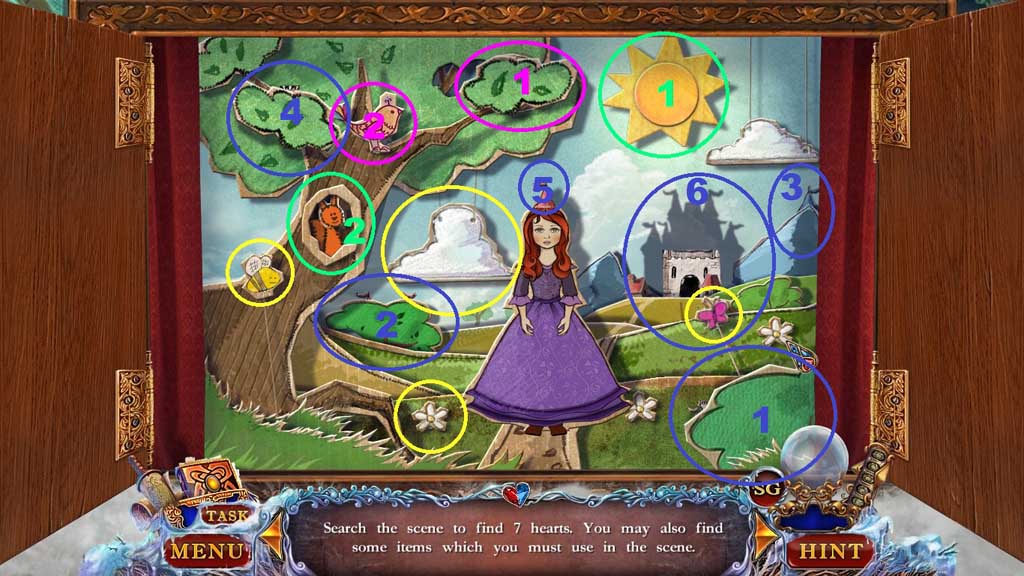
- Find the items and place them correctly into the scene.
- Collect 7 /7 puzzle pieces.
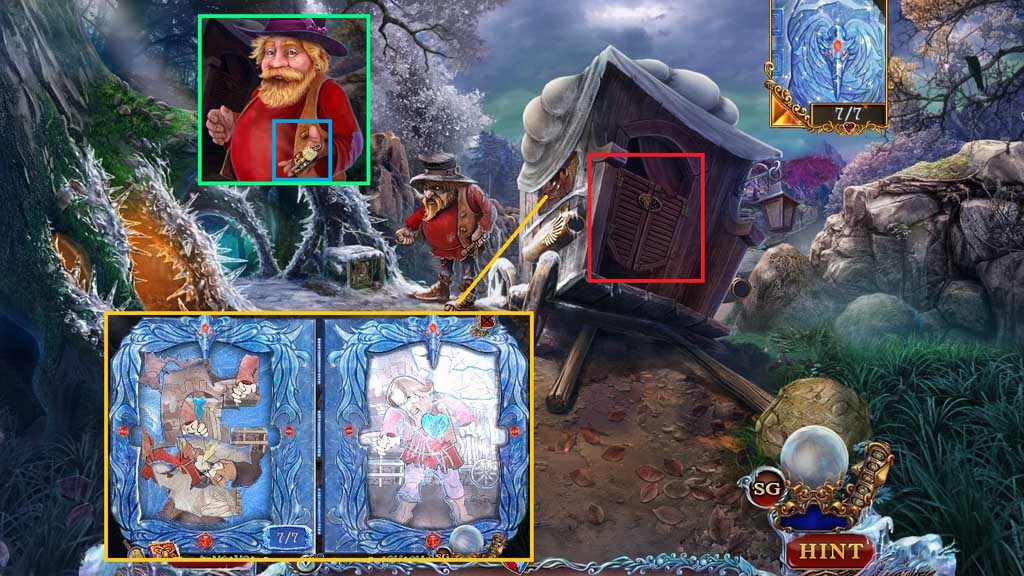
- Click the icy book.
- Restore the image.
- Collect the cage key and the mask.
- Attach the mask to trigger a hidden objects area.
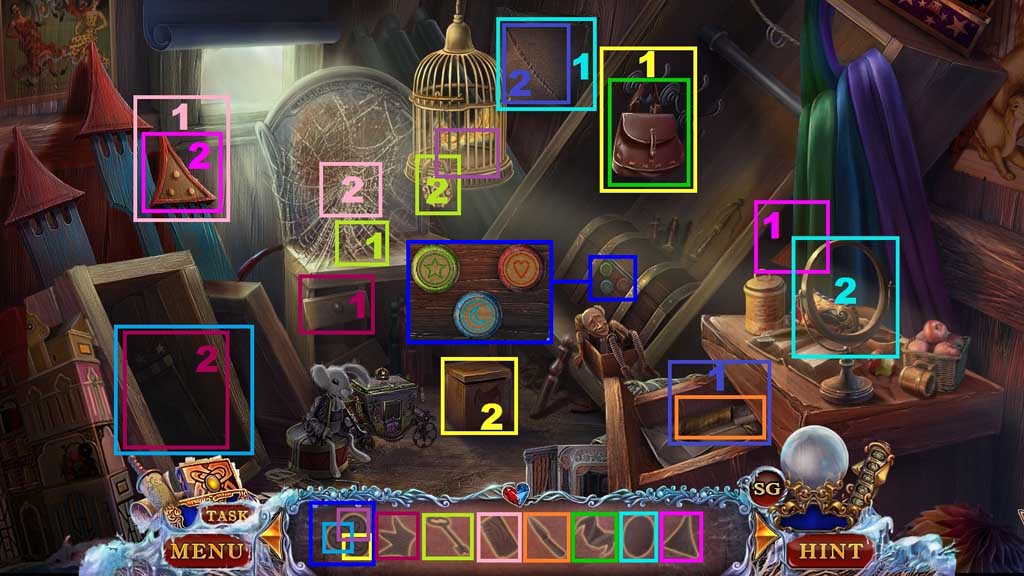
- Find the items.
- Collect the rune.
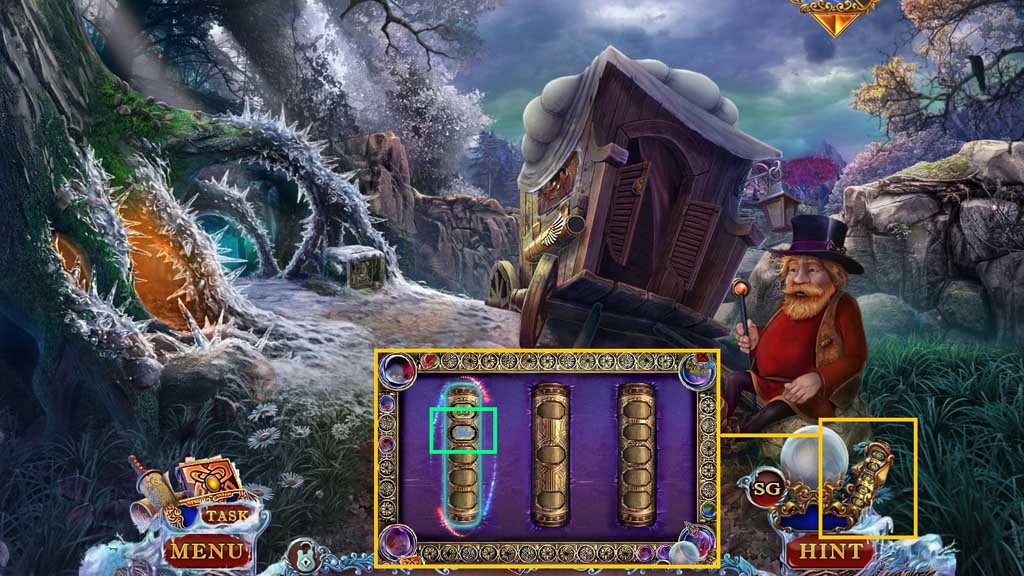
- Click the history scroll.
- Click the glowing rune.
- A hidden objects area will trigger.
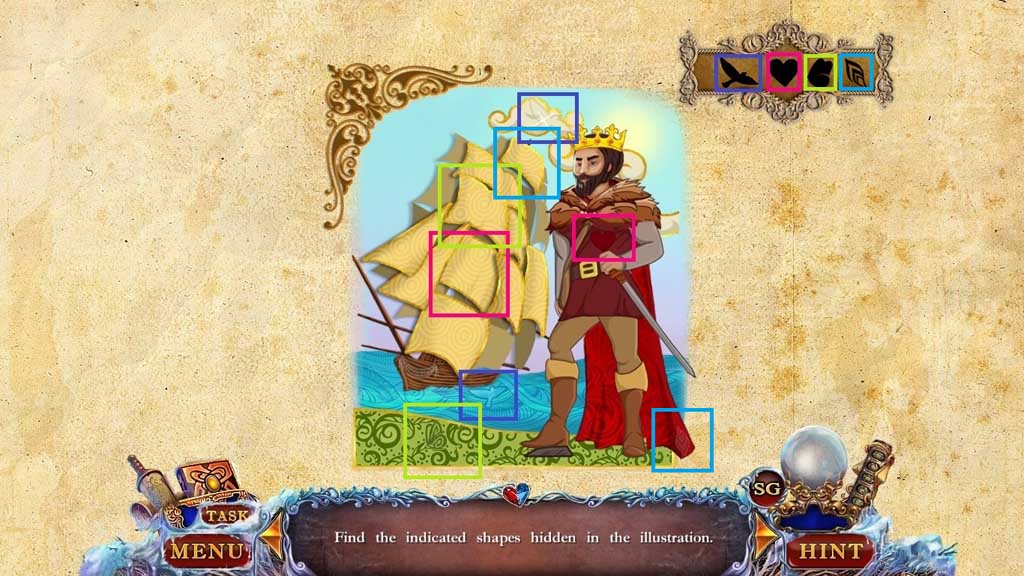
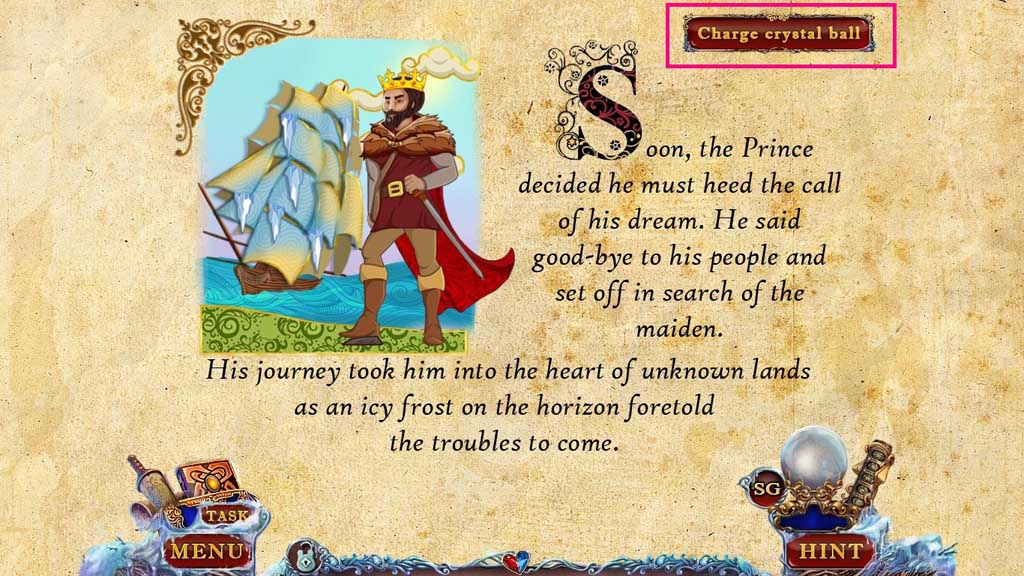
- Find the items.
- Click the charge crystal ball button.
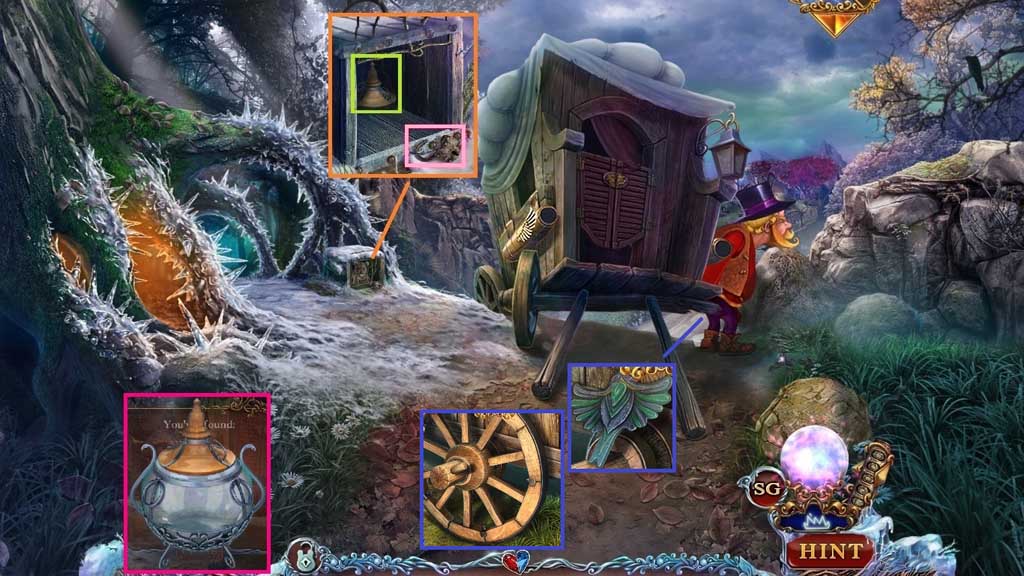
- Insert the cage key; collect the lantern lid.
- Select the open lantern and attach the lantern lid; collect the empty lantern.
- Collect the bird figurine.
- Attach the wheel.
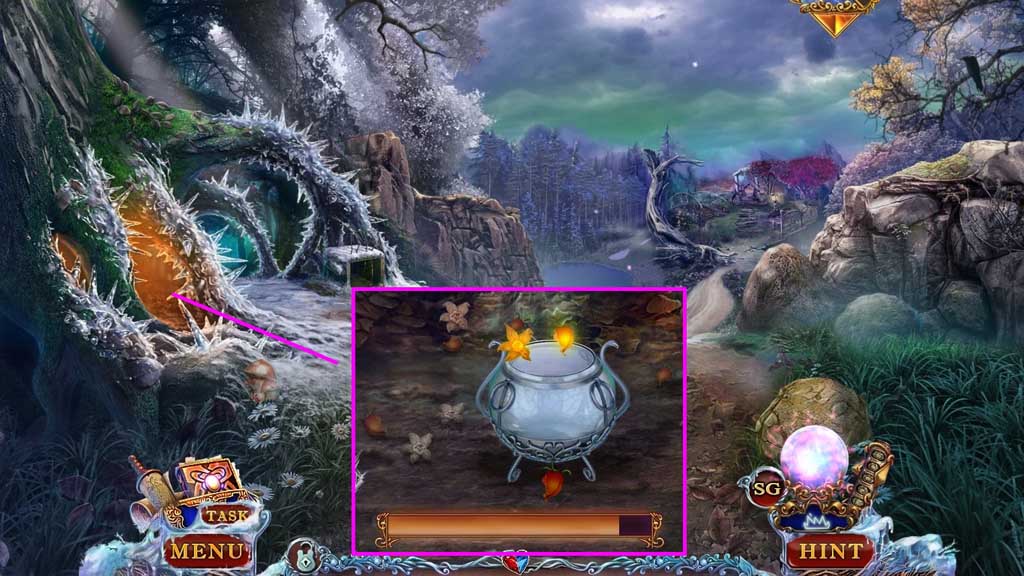
- Zoom into the cave and place down the empty lantern.
- Move the lantern to collect the lighted seeds until the bar is full.
- Collect the lantern.
- Move to the left.
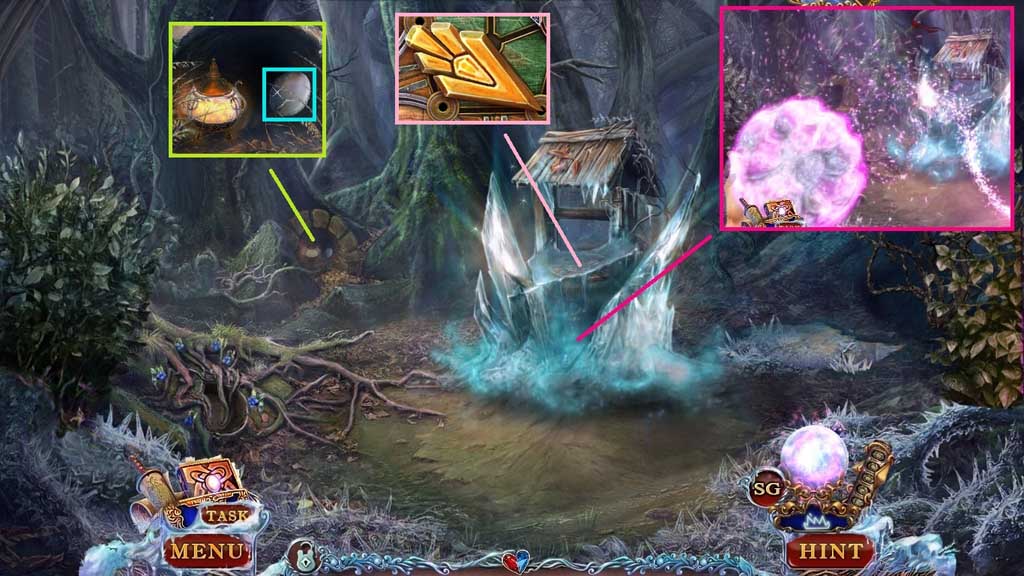
- Place the lantern into the cavernous area; collect the lens.
- Select the crystal ball to break the spell.
- Collect the lantern key.
- Move down 2x’s.
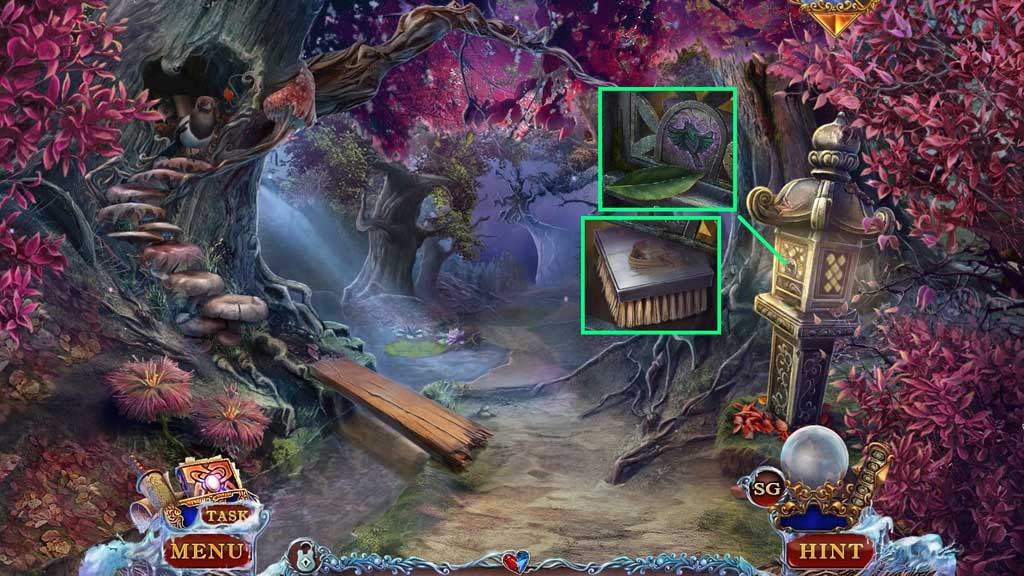
- Click the leaf; insert the bird figurine.
- Collect the brush.
- Move to the Well.
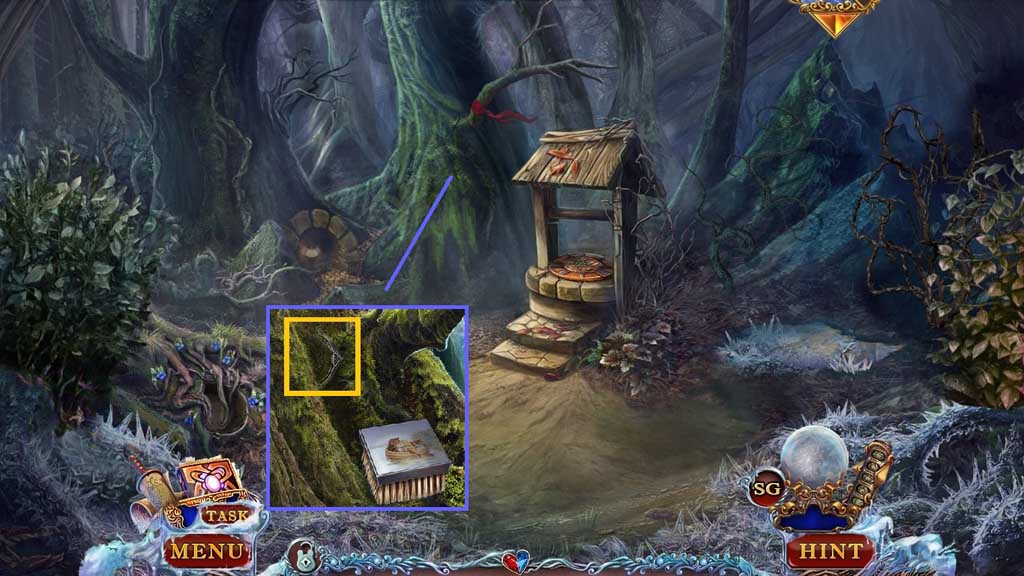
- Select the brush to scrub the moss.
- Collect 2 /3 wooden tokens.
- Move down one and forward once more.
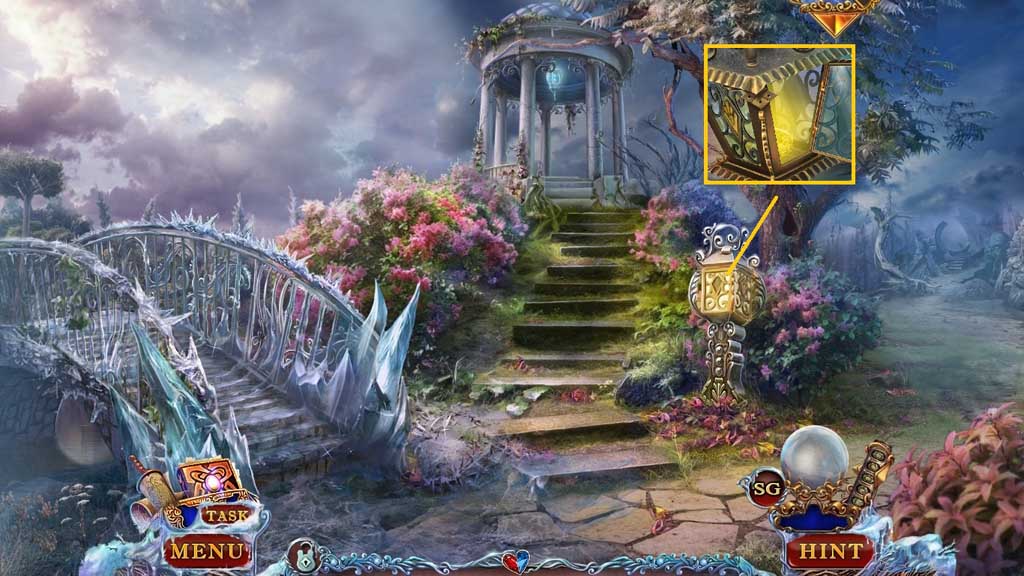
- Insert the lantern key.
- Click the door and collect the yellow stone.
- Move to the right.
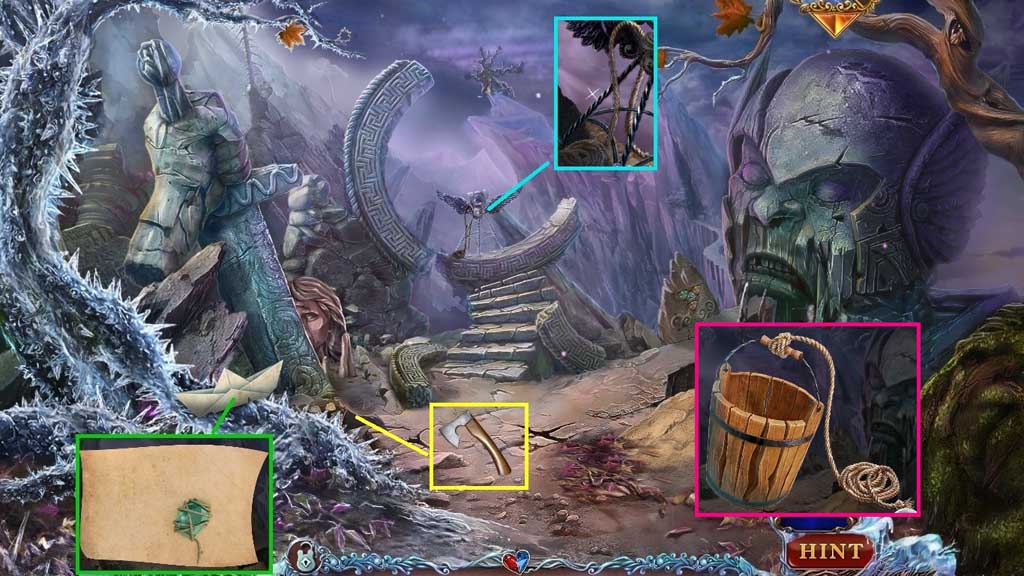
- Collect the paper boat and click it several times; collect the eye.
- Click the stones; collect the axe.
- Collect the rope and attach it to the broken bucket to collect the empty bucket.
- Move to the Well.
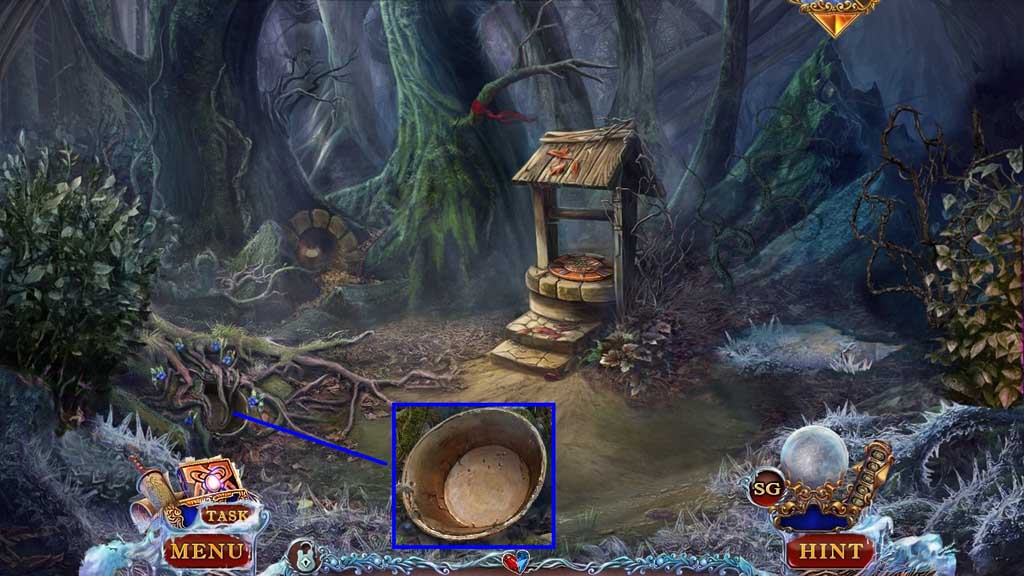
- Select the axe to cut the vines; collect the bowl and moon.
- Move to the Warrior.
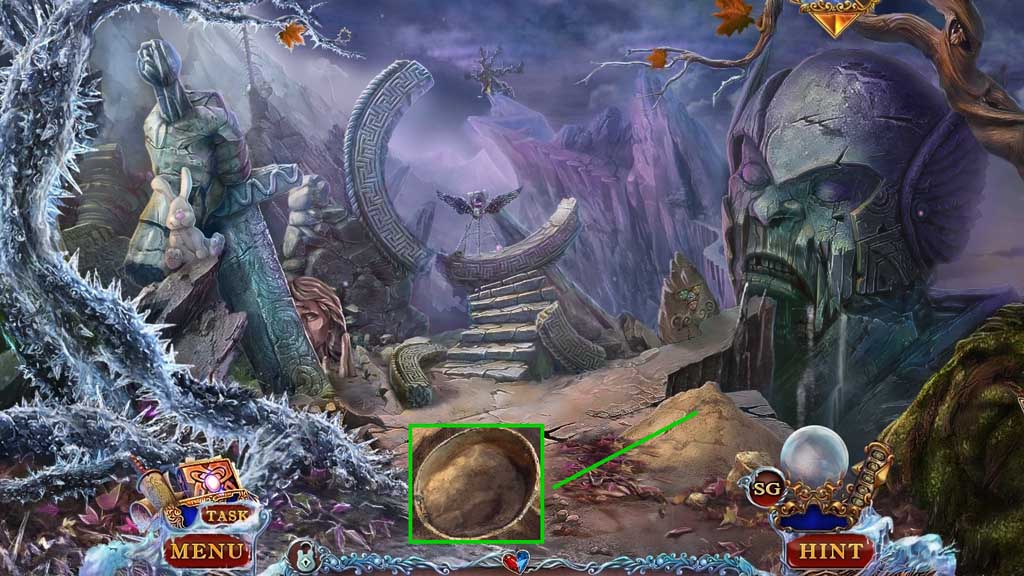
- Select the bowl to collect the bowl of sand.
- Collect 1 /2 colored tile.
- Move down once.
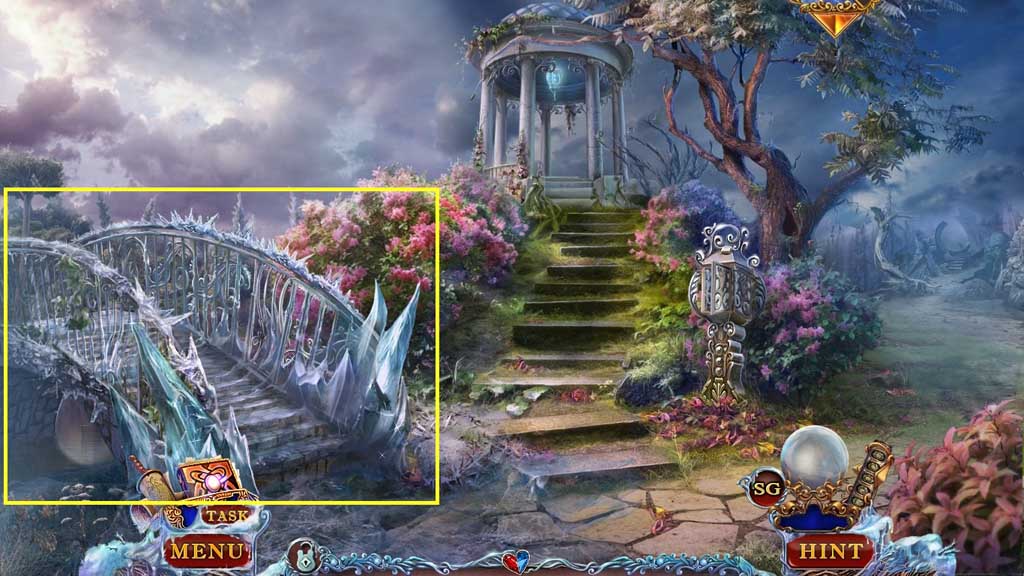
- Select the bowl of sand to pour onto the icy bridge.
- Move to the left.
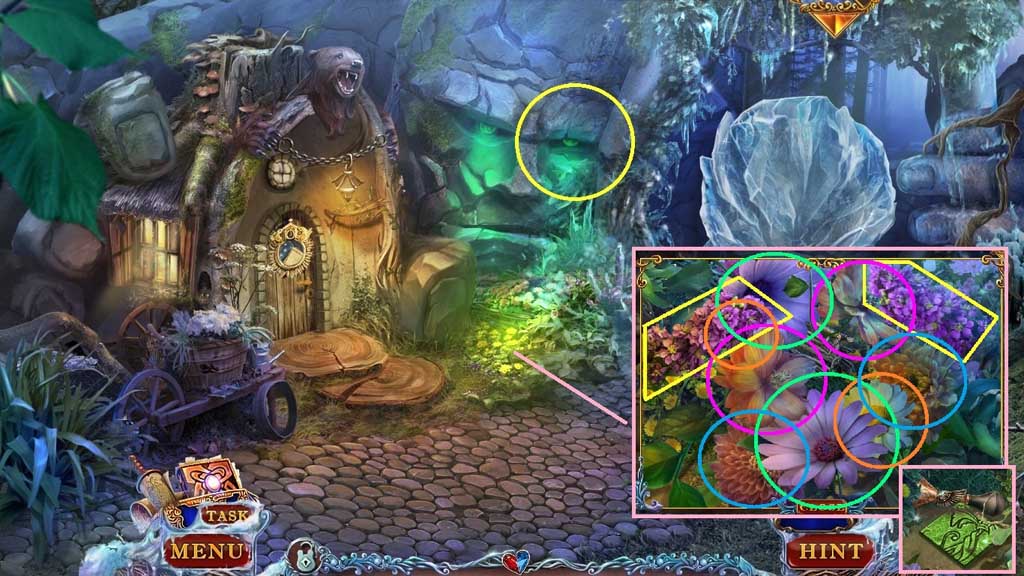
- Insert the eye.
- Click the flowers to trigger a mini game.
- Solve the game by clicking the flower pairs.
- Collect 2 /2 colored tiles and the horn.
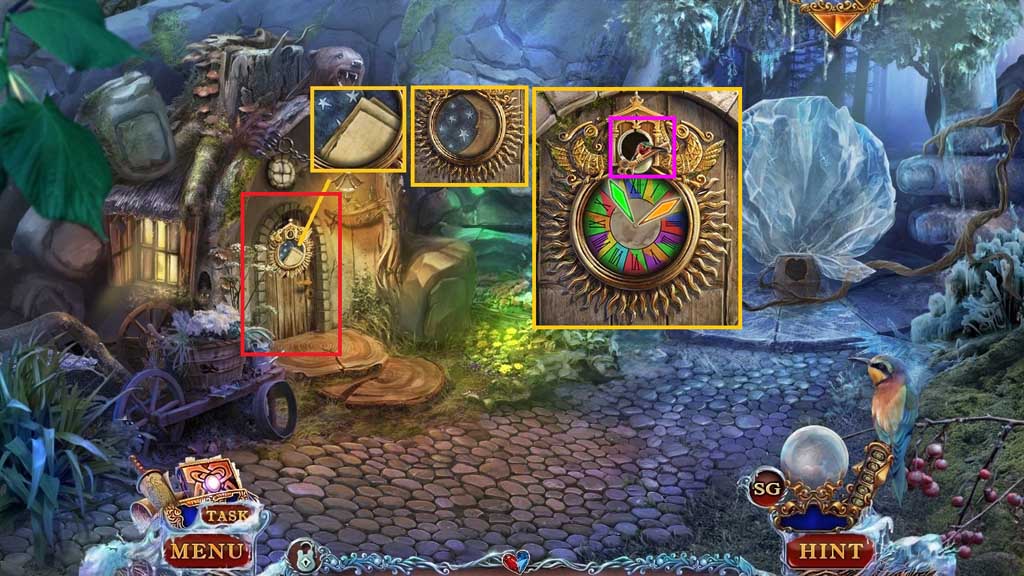
- Read the note and insert the moon.
- Set the clock as shown.
- Collect the key and insert it into the lock to trigger a hidden objects area.
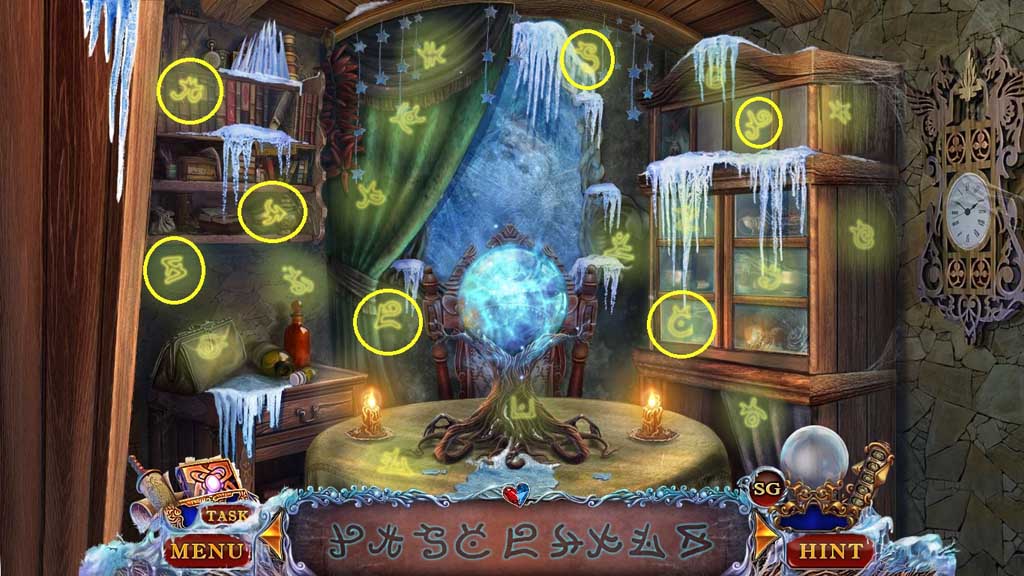
- Find the items.
- Collect the ice raven.
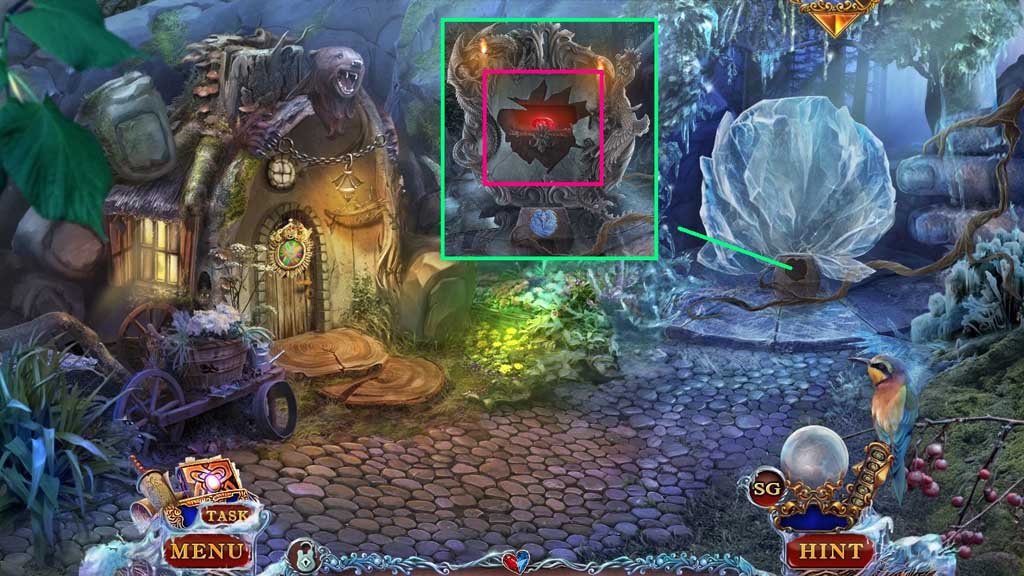
- Insert the ice raven.
- Collect the red stone.
- Move down once.
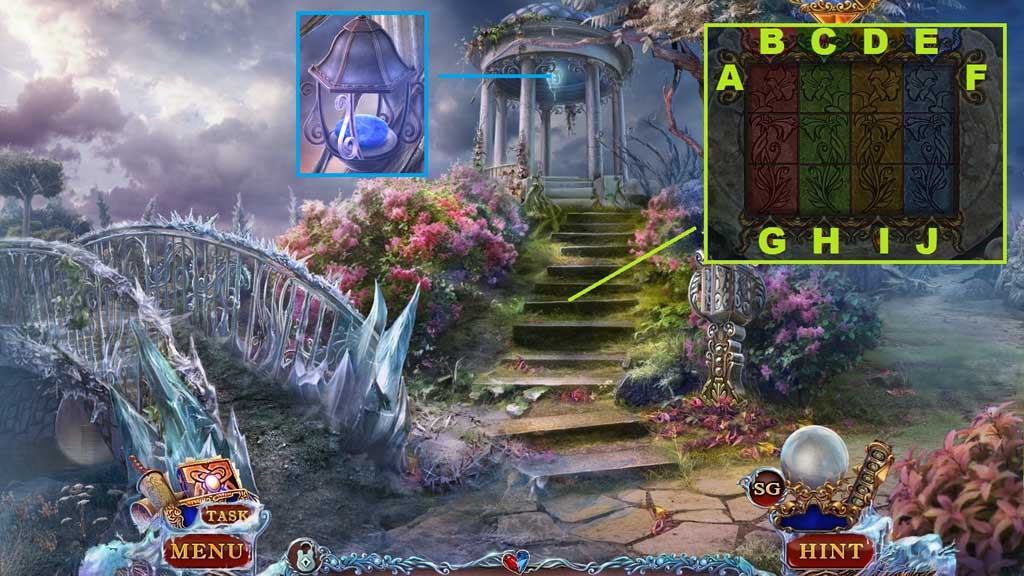
- Zoom into the steps.
- Insert the 2 colored tiles to trigger a mini game.
- Solve the game by arranging the tiles into their color matched columns.
- Use the following sequence to solve: A – B – F – G – F – F –C –A –B – C – C –D – E –A – A – H- A – A – A – B – A – G – A – A
- Collect the blue stone.
- Move down 2x’s.
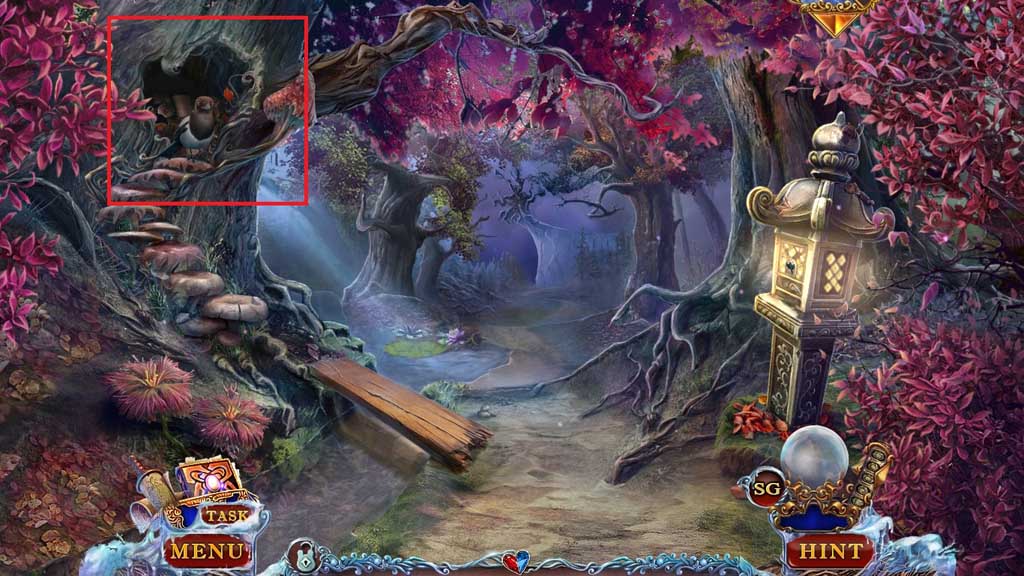
- Select the horn to use on the bird and trigger a hidden objects area.
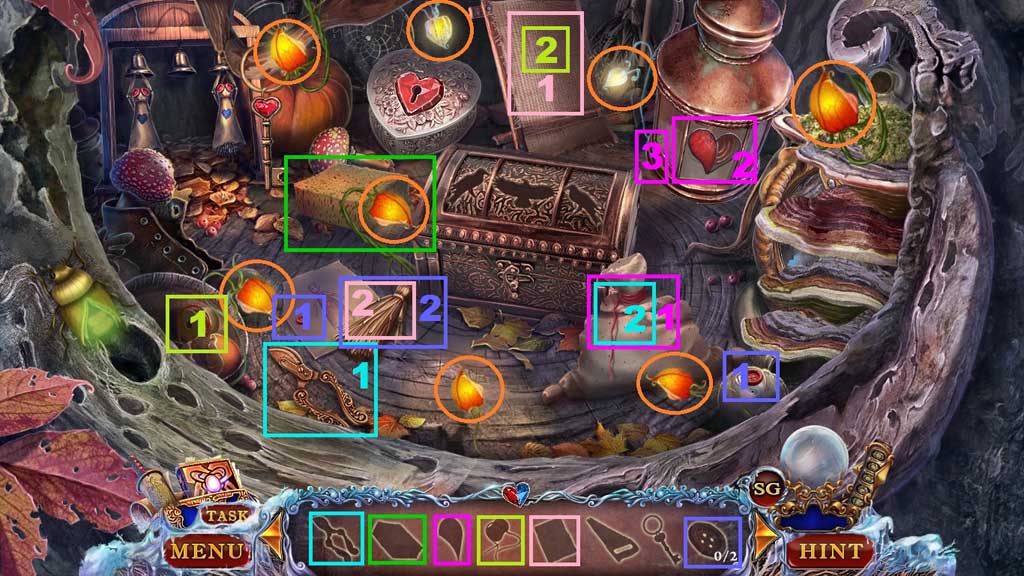
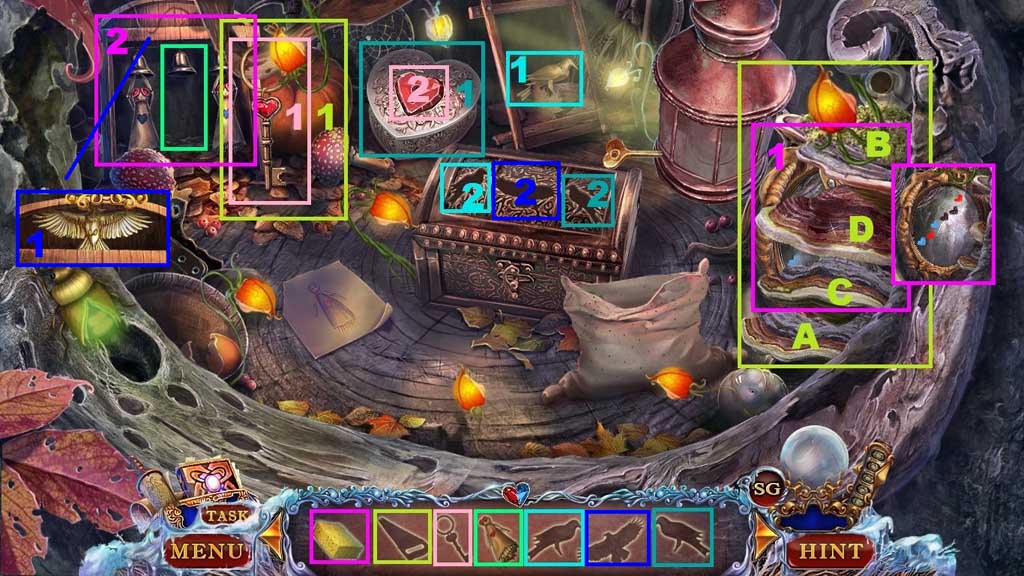
- Find the items.
- Collect 3/ 3 wooden tokens.
- Move to the Well.
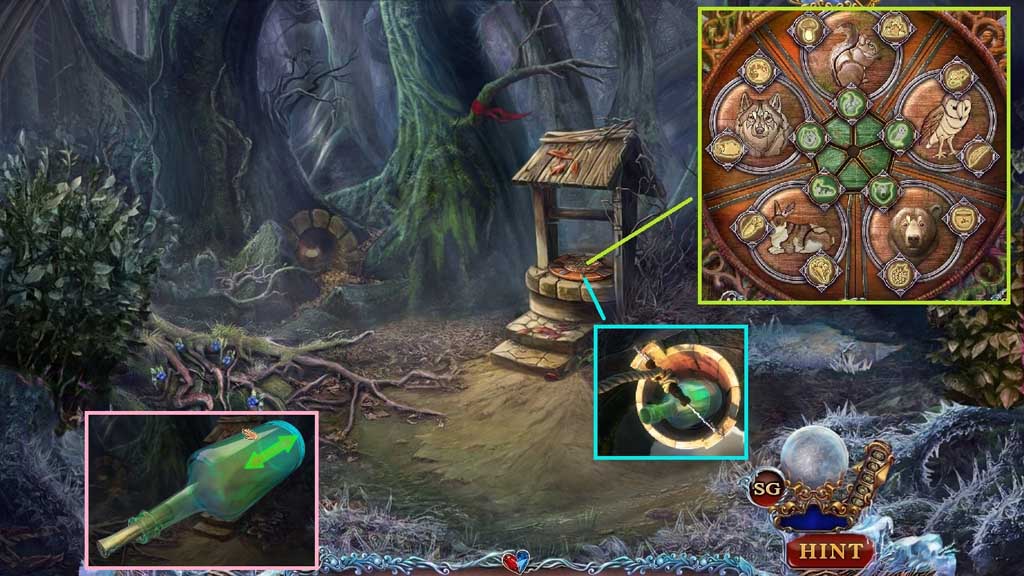
- Click the well cover and insert the 3 wooden tokens to trigger a mini game.
- Solve the game by arranging the tokens correctly based on the animal traits.
- Select the empty bucket to collect the bottle with scroll.
- Click and drag the bottle; collect the bottle with scroll.
- Move to the Warrior.
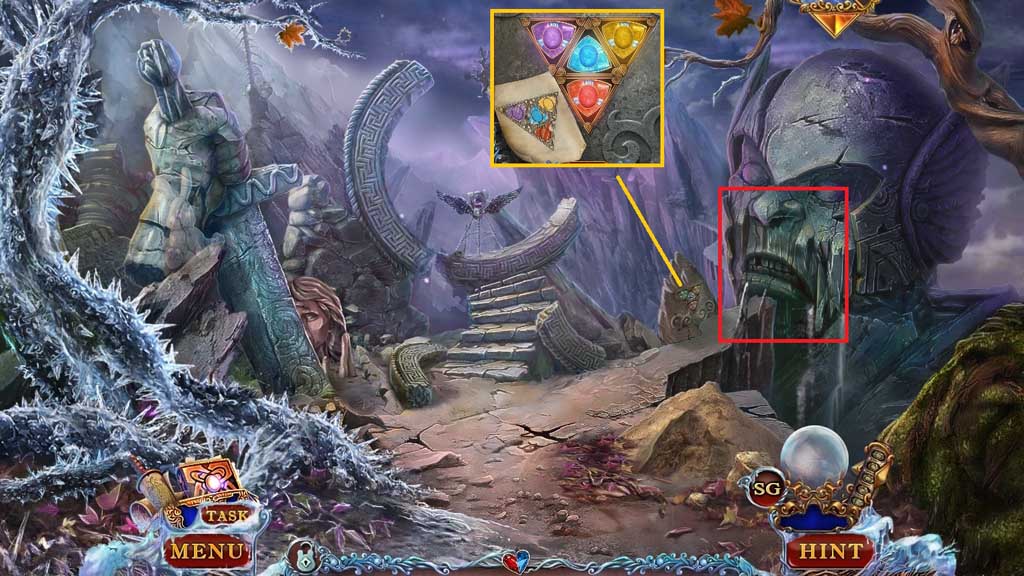
- Insert the red – yellow and blue stones.
- Adjust the triangles as shown to trigger a hidden objects area.
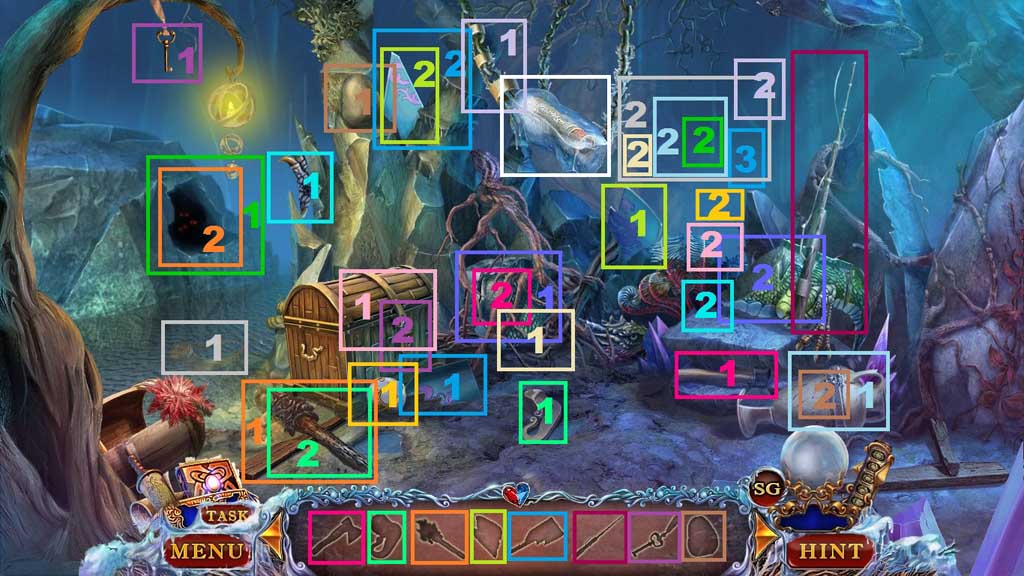
- Find the items.
- Collect the broken spyglass.
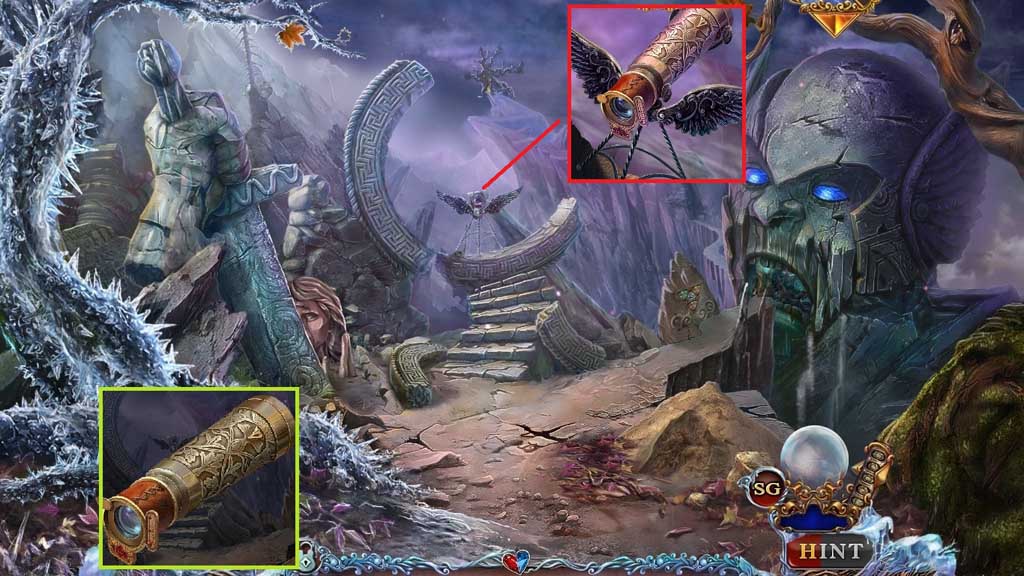
- Place the lens onto it to collect the spyglass.
- Attach the spyglass onto the stand and click it once to trigger a hidden objects area.
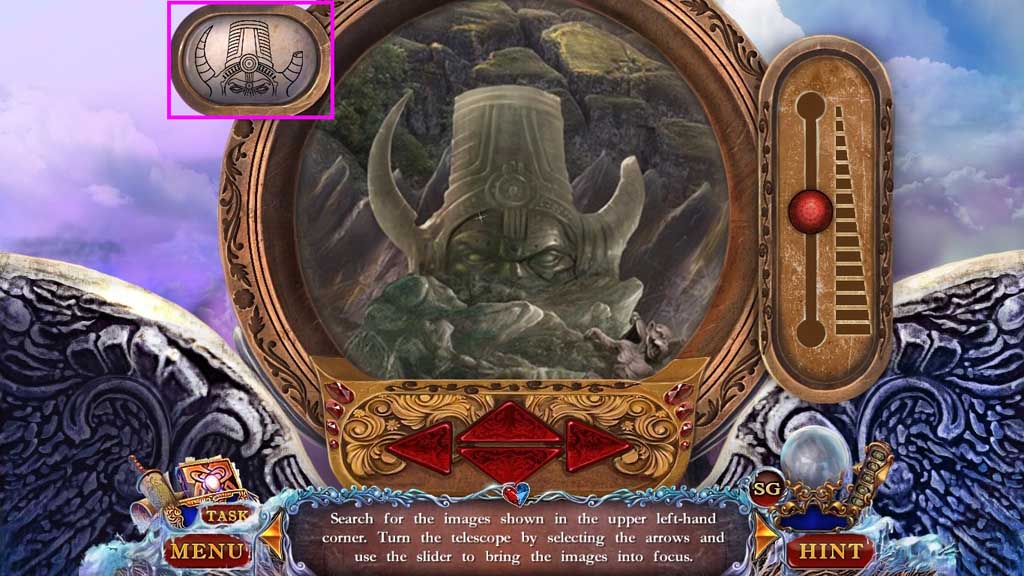
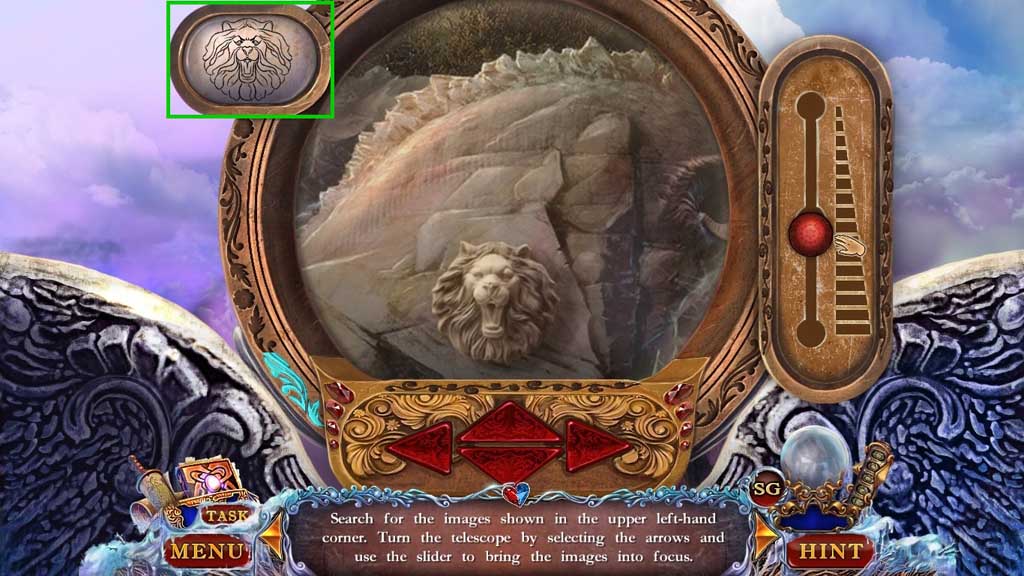
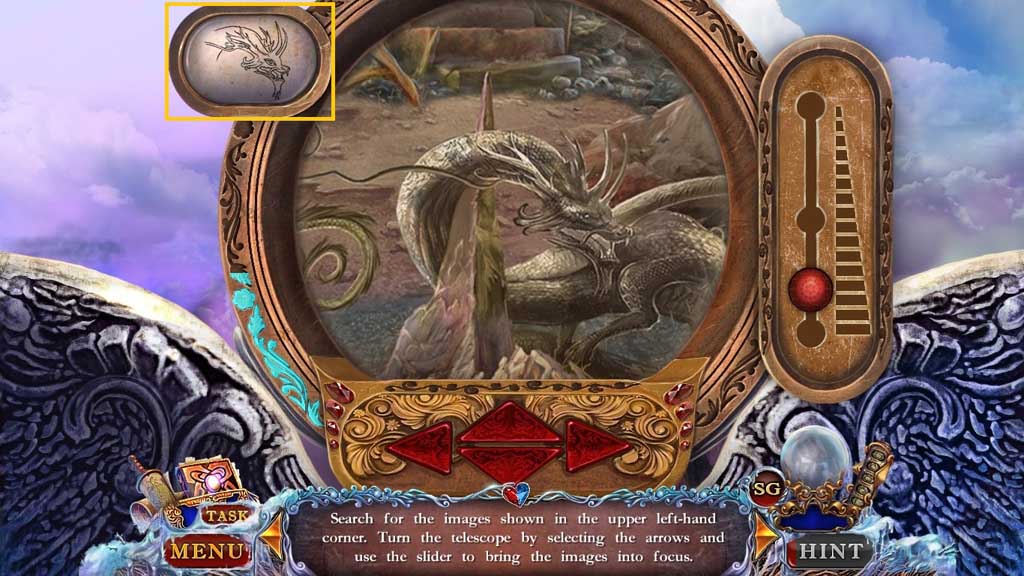
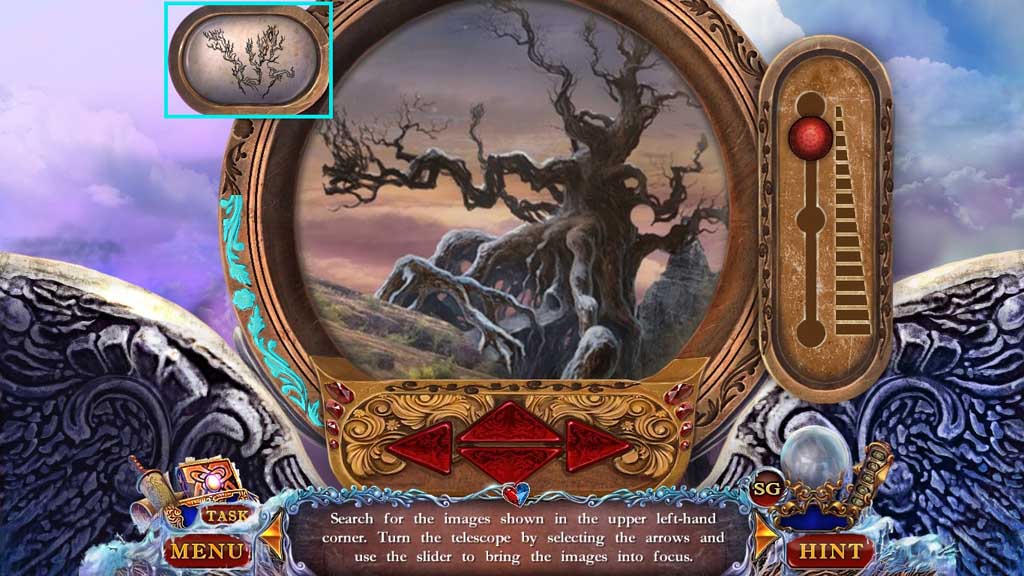
- Find the images and adjust the focus to clarify them.
Comments will load when you reach this part of the walkthrough.