

Chapter Two: The Desert Rose
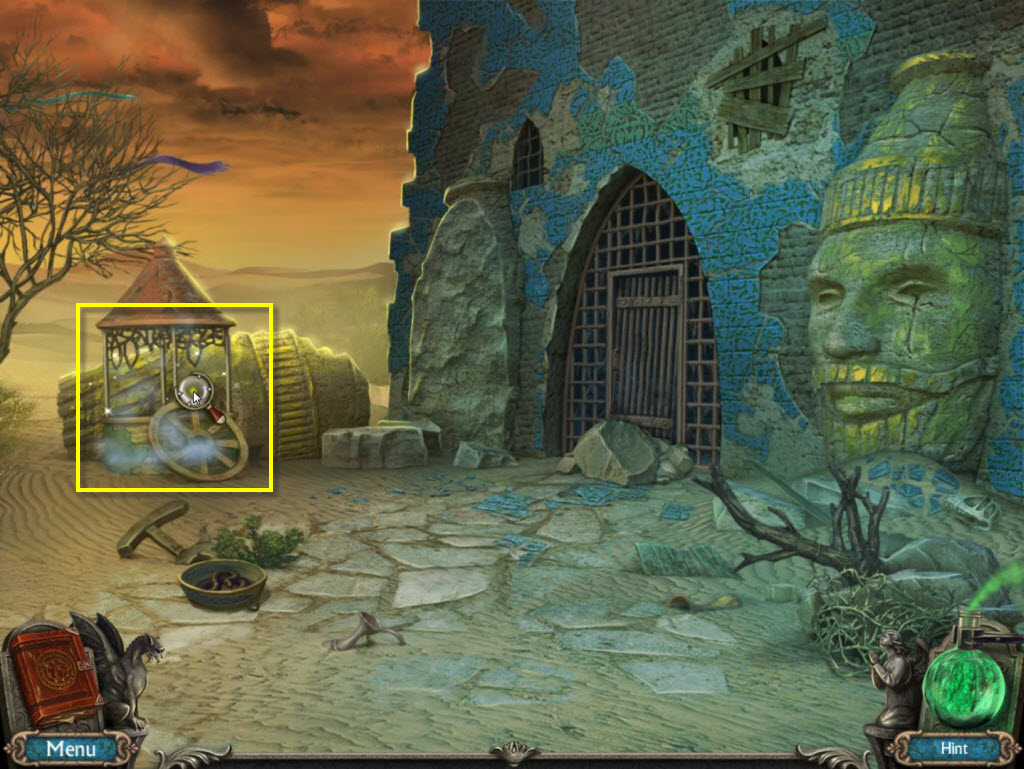
- Go to the right into the desert.
- Click on the sparkles to play the HOG.
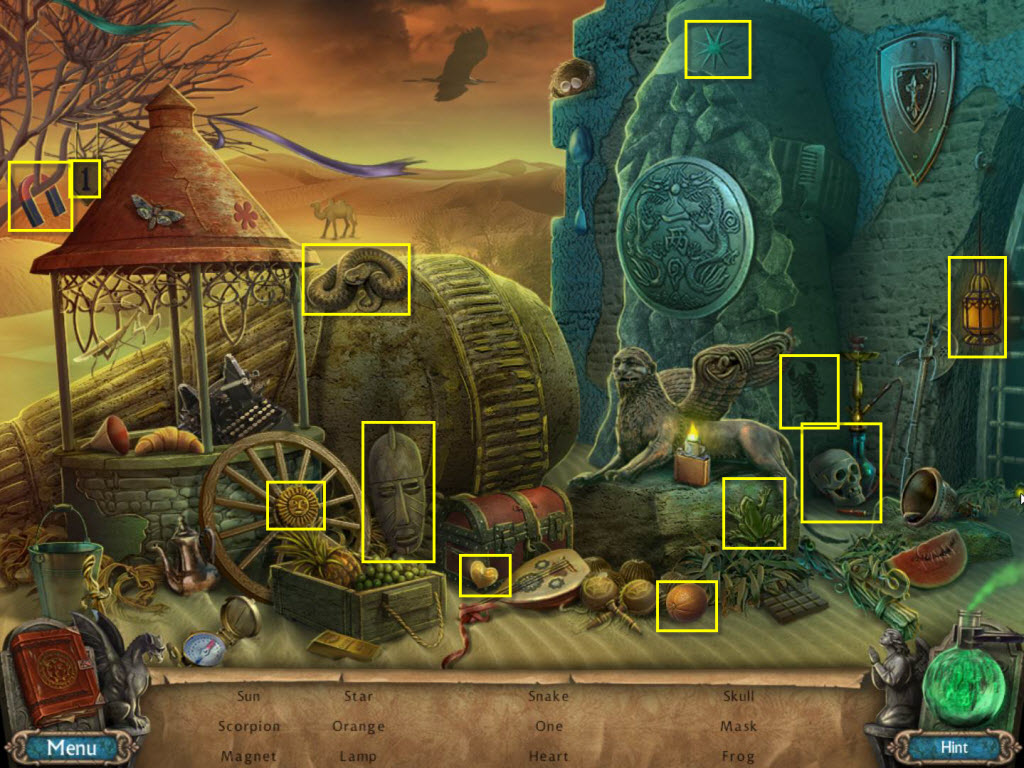
- Find all the items on the list.
- You will receive the Heart.
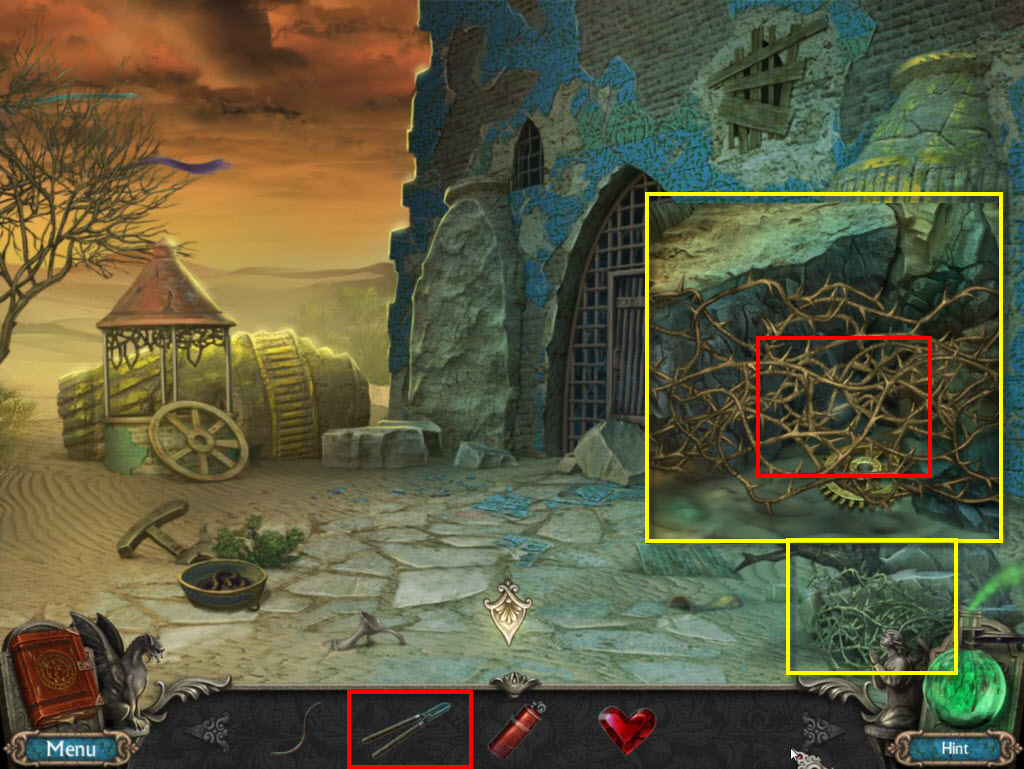
- Click to zoom in on the thorns on the right.
- Use the Pruning Shears on the thorns.
- Take the Gear.
- Go back two screens.
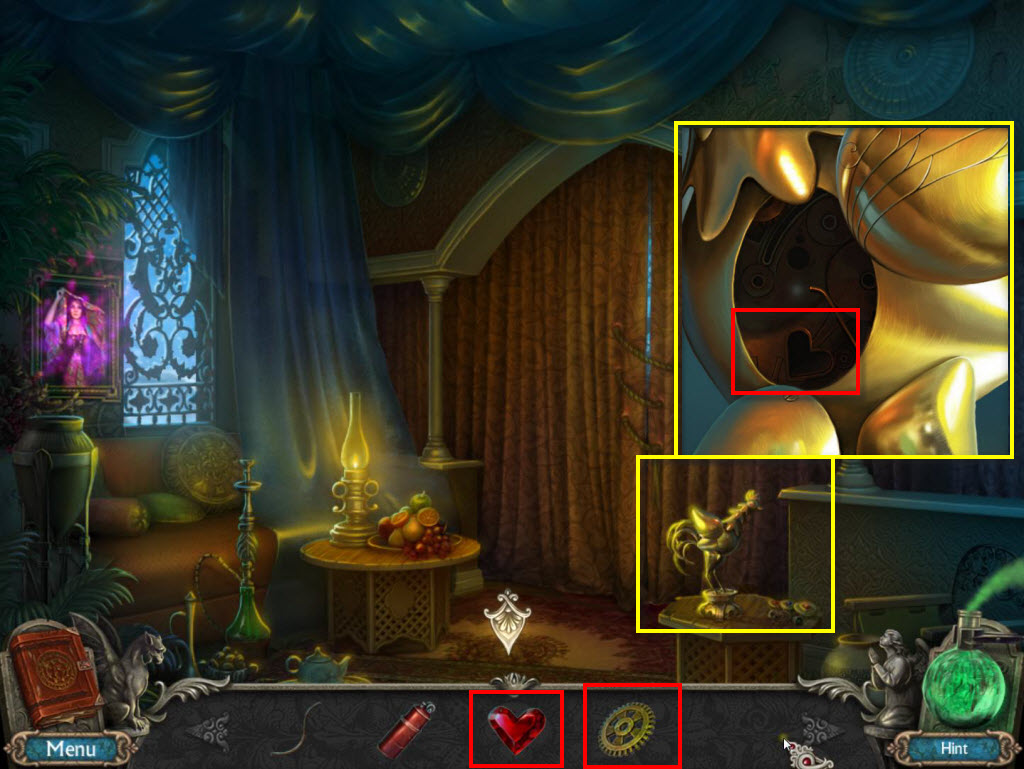
- Click to zoom in on the rooster.
- Use the Heart on the rooster.
- Use the Gear on the rooster.
- Go back three screens and then forward to the gallery.
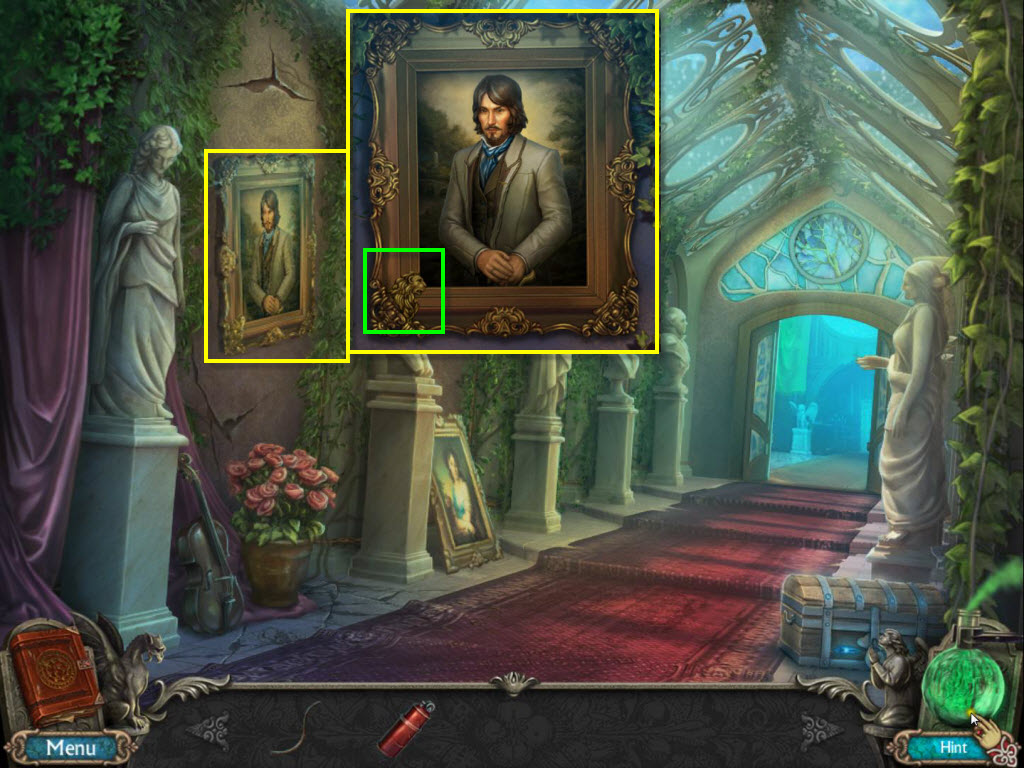
- Click to zoom in on the portrait.
- Take the Golden Head.
- Return to the Alchemy Lab.
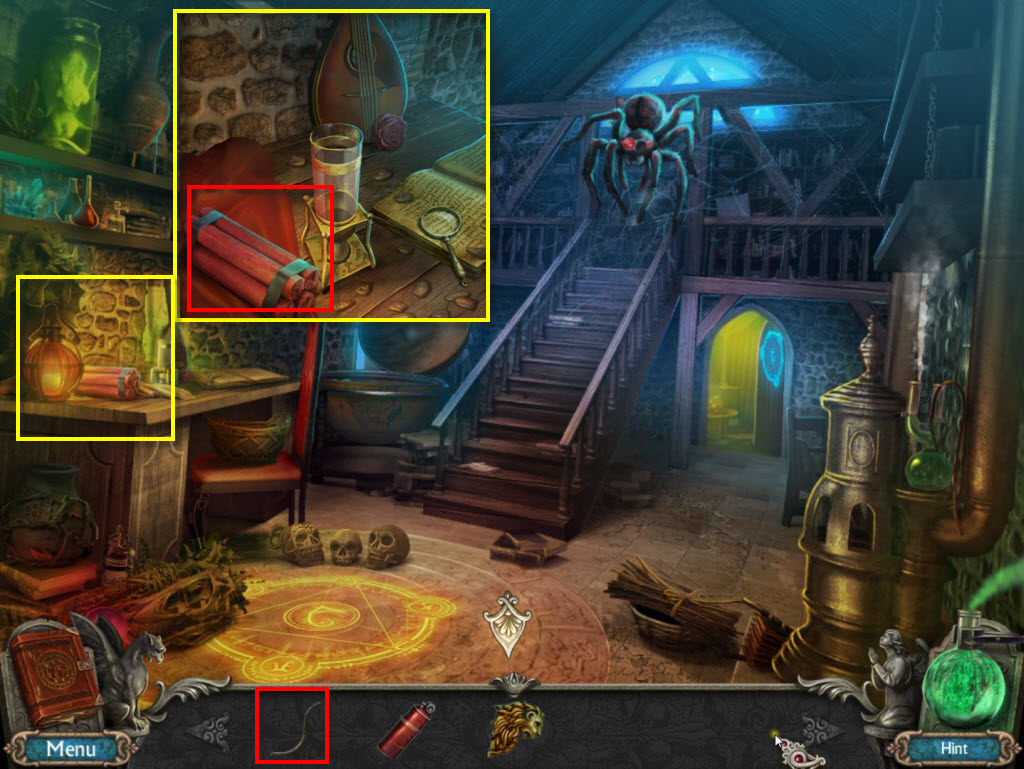
- Click to zoom in on the desk on the left.
- Use the Rope on the Dynamite.
- You will receive the Dynamite.
- Return to the painting and go to the desert.
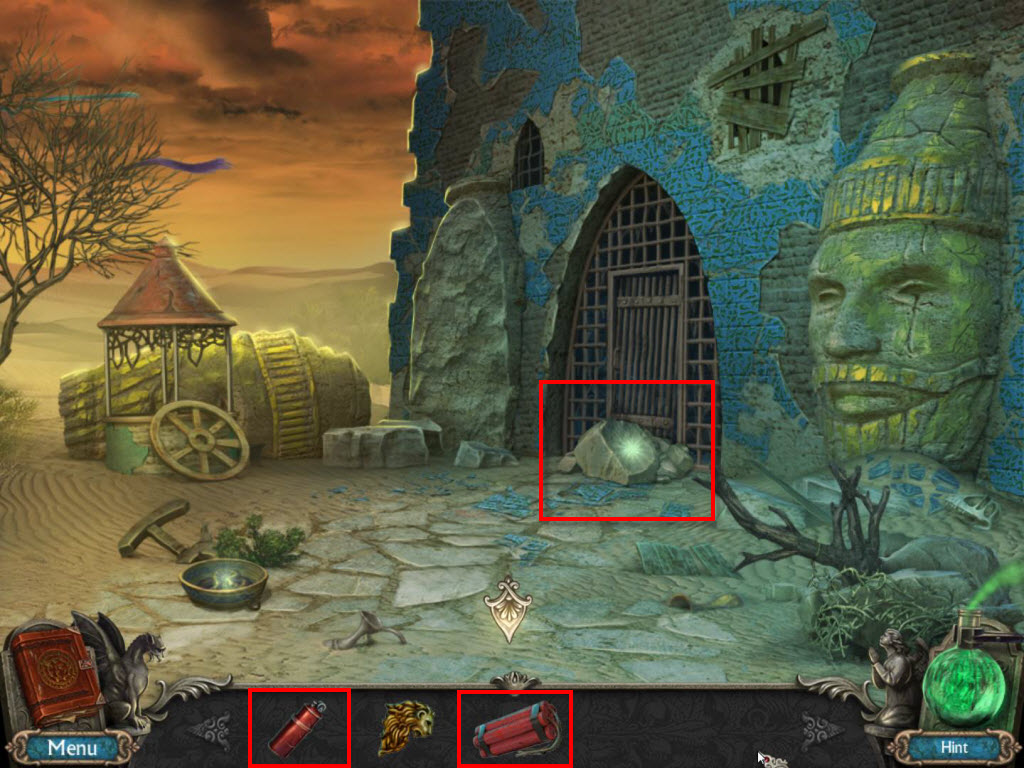
- Click to zoom in on the rocks.
- Use the Dynamite on the rocks.
- Use the Lighter on the Dynamite.
- Enter the dungeon.
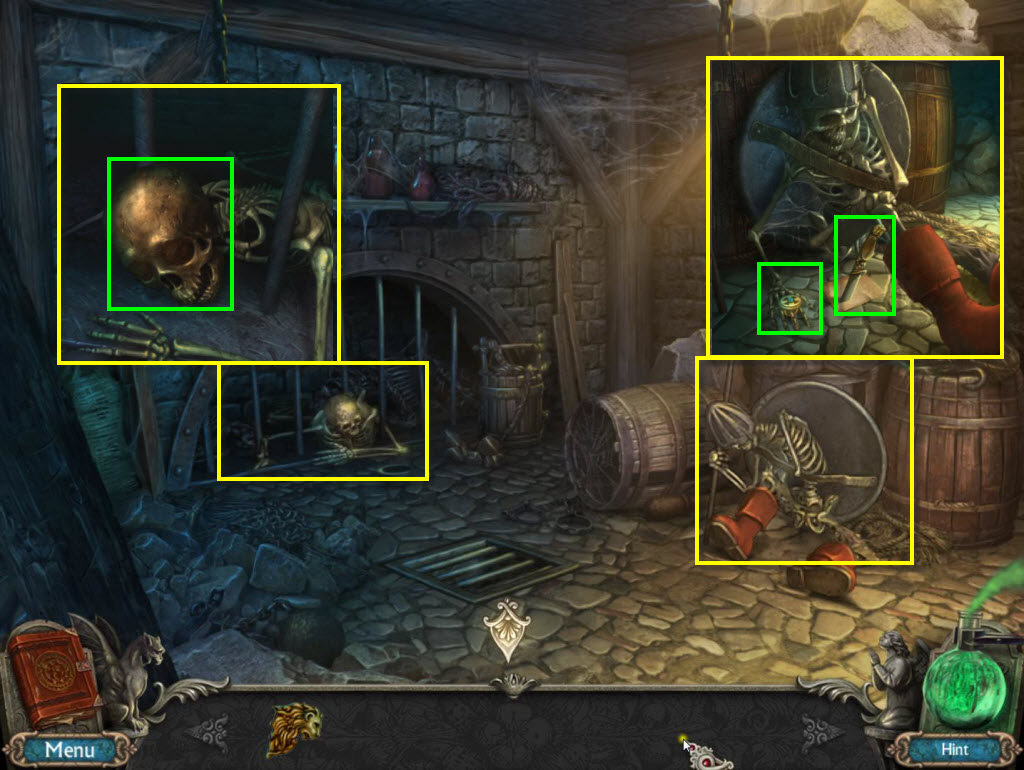
- Click to zoom in on the skeleton on the right.
- Take the Knife and the Ring.
- Click to zoom in on the skeleton on the left.
- Take the Bronze Skull.
- Go back three screens.
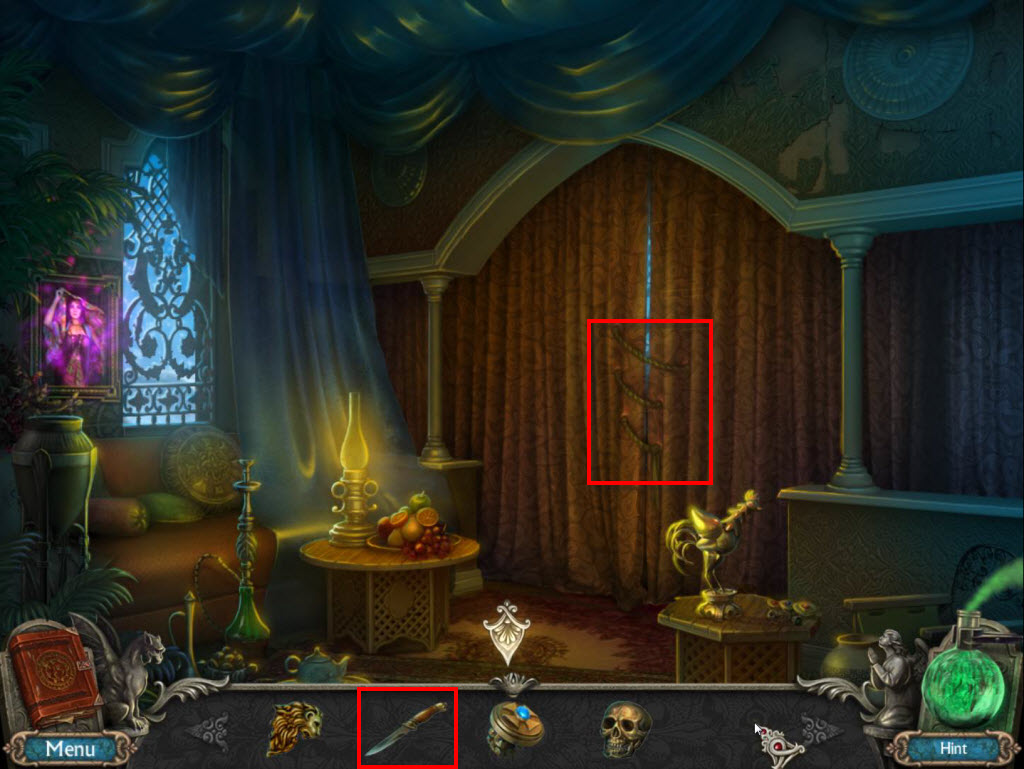
- Use the Knife on the rope holding the curtains shut.
- Click on the sparkles to play the hidden object scene.
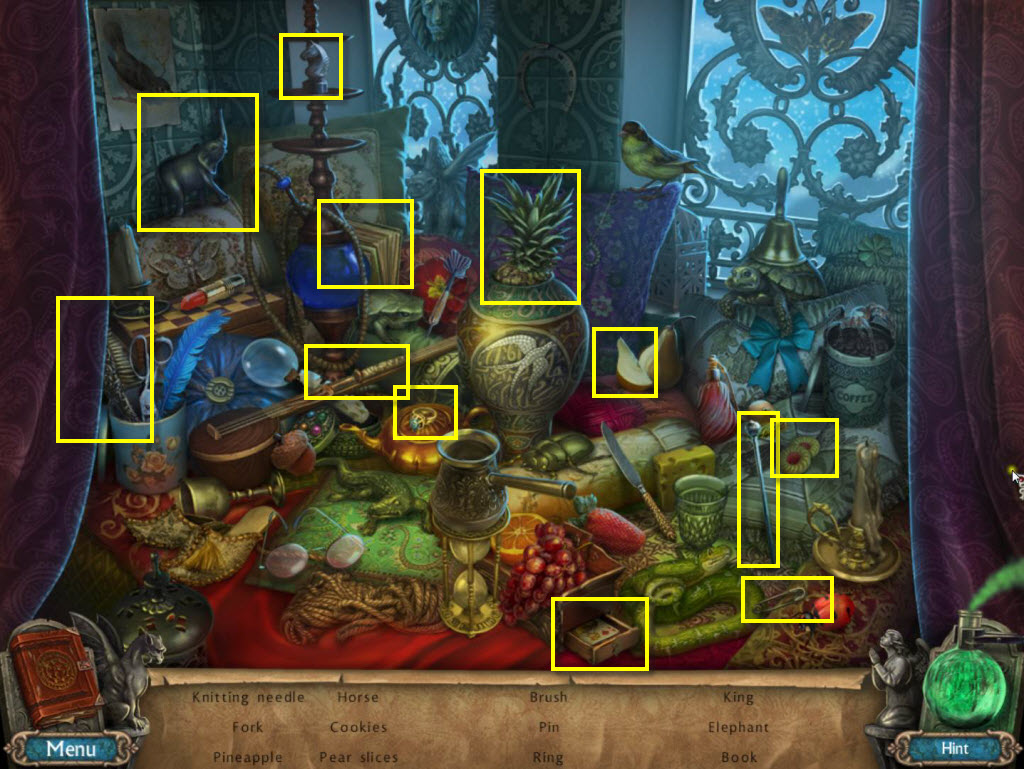
- Find all the items on the list.
- You will receive the Knitting Needle.
- Go back three screens and then enter the Gallery.
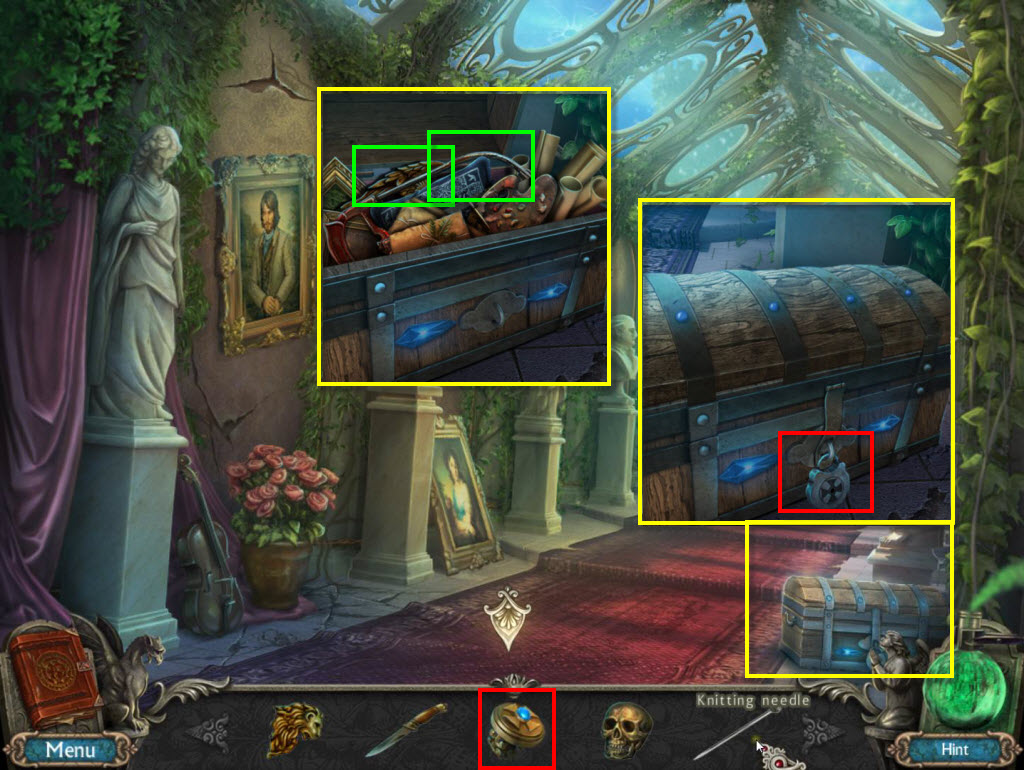
- Click to zoom in on the chest.
- Use the Ring on the lock.
- Take the Hacksaw and the Golden Wing.
- Return to the Secret Passage
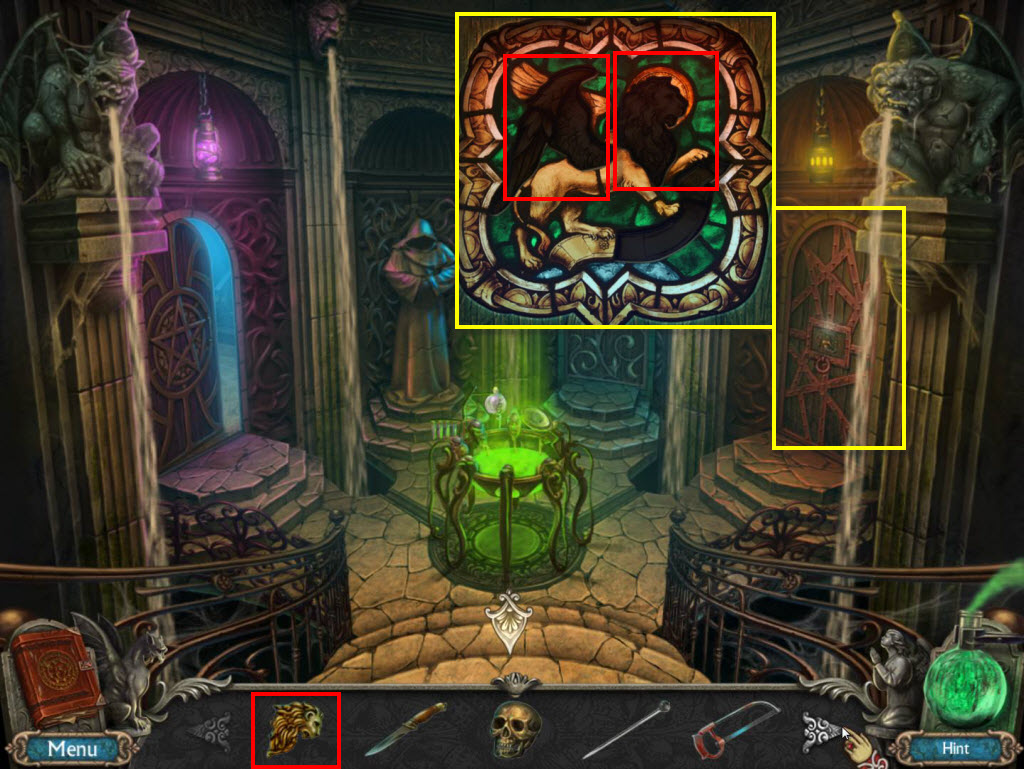
- Click to zoom in on the door on the right.
- Use the Golden Head and the Golden Wing on the door.
- Return to the dungeon.
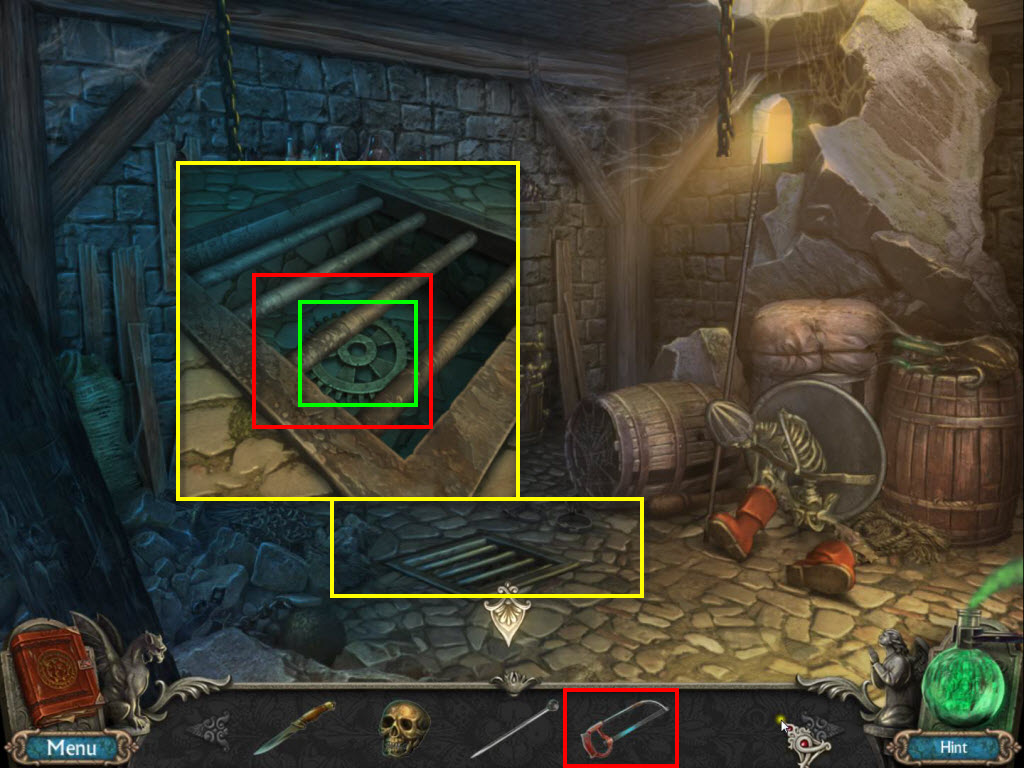
- Click to zoom in on the grating on the floor.
- Use the Hacksaw on the bars.
- Take the Gear.
- Go back two screens.
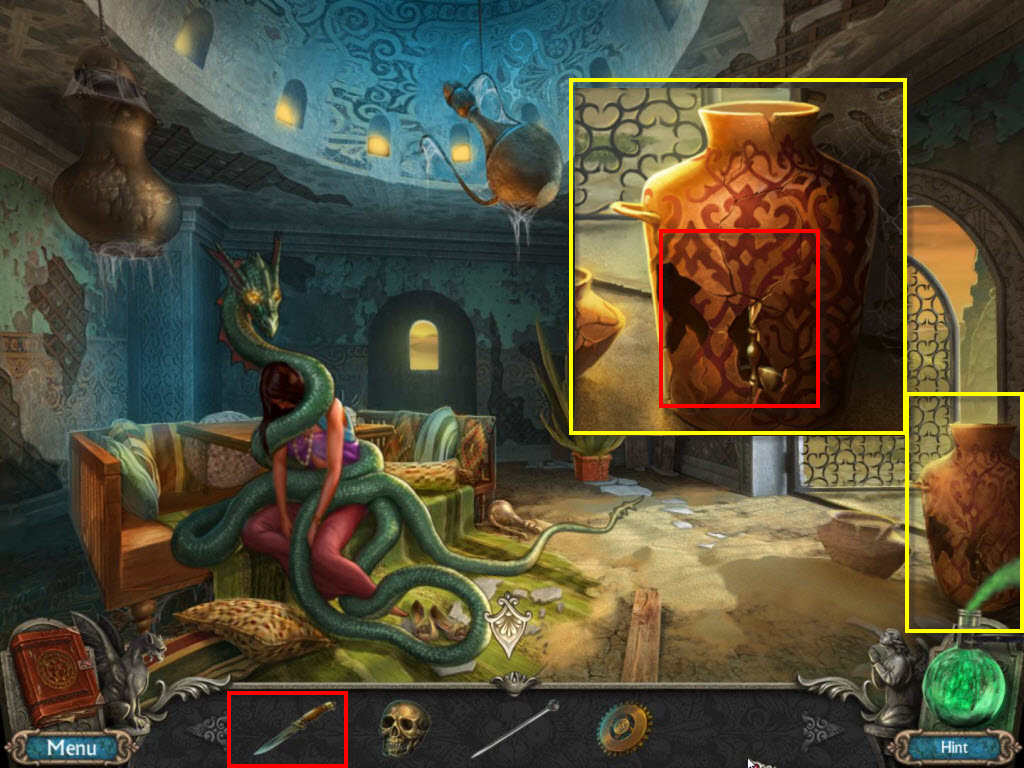
- Click on the jug on the right to zoom in.
- Use the Knife on the jug to smash it.
- Take the Gear and the Bronze Candle.
- Go back one screen.
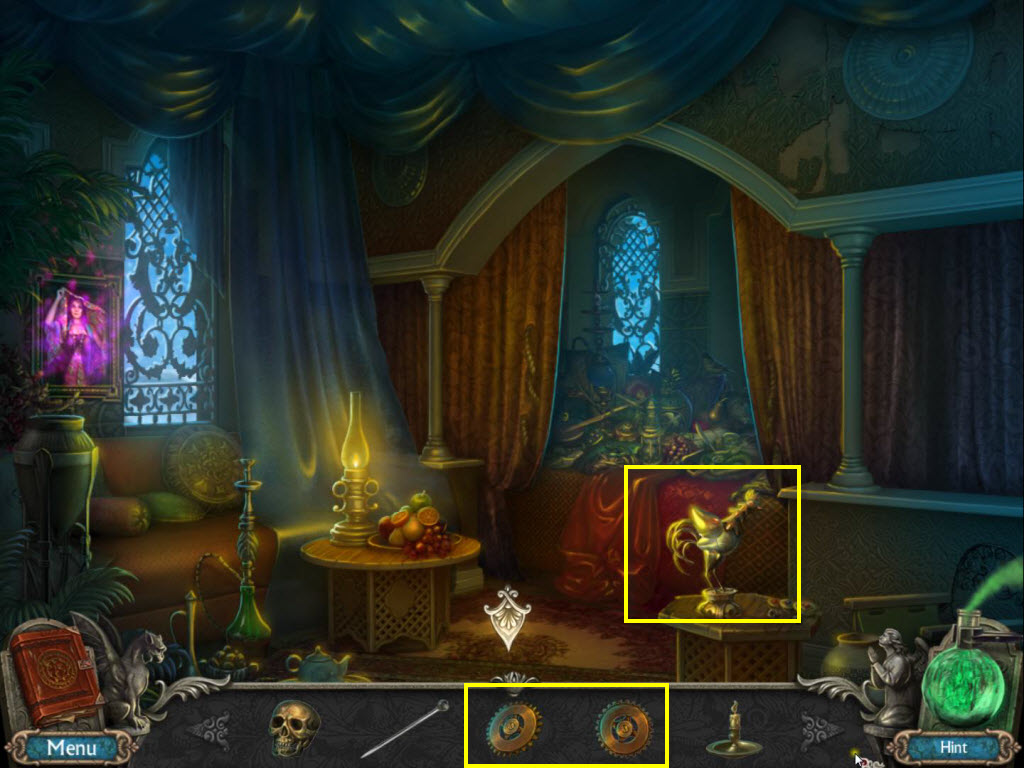
- Click to zoom in on the rooster.
- Use the two gears on it.
- You will receive the Mechanical Rooster.
- Go into the painting.
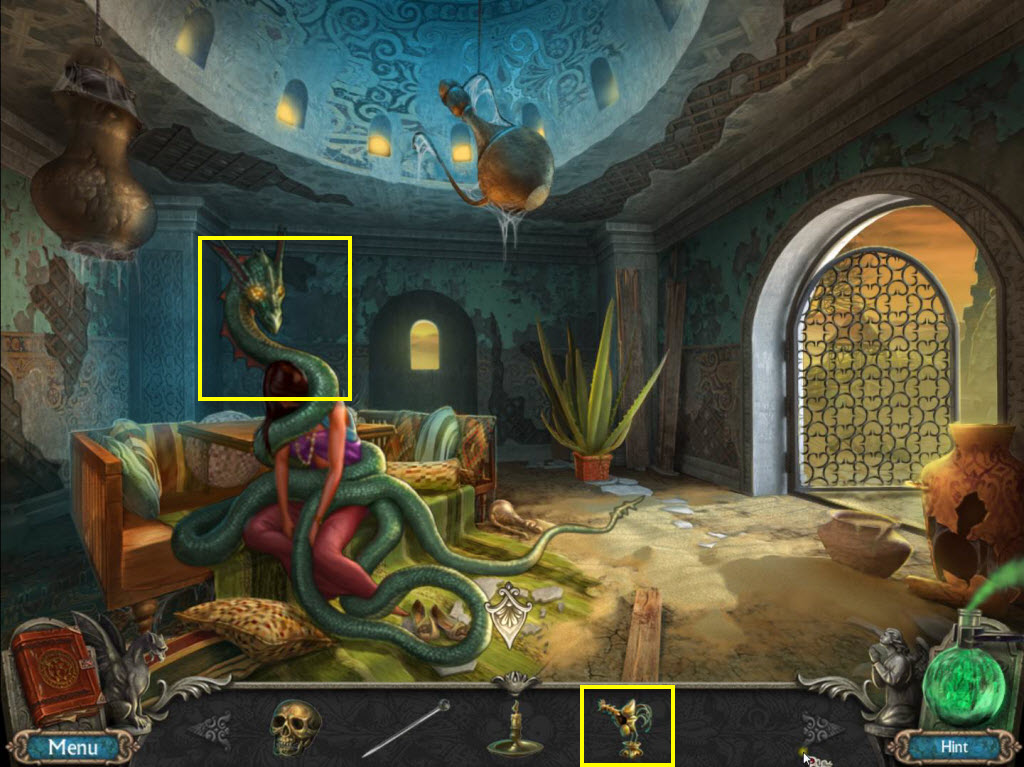
- Use the Mechanical Rooster on the Basilisk.
- Speak to the woman and you will receive the Basilisk Ruins, Key, and Essence of Love.
- Return to the Secret Passage.
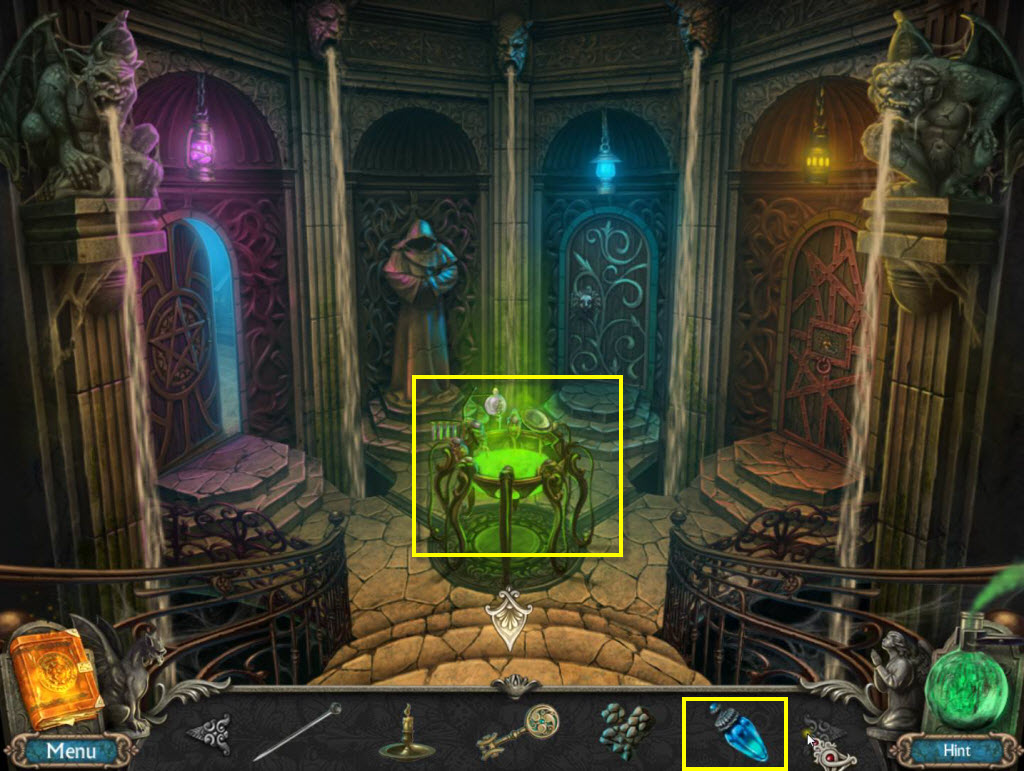
- Click on the boiler to zoom in.
- Use the Essence of Love on the green water.
- You will receive the Seal.
- Go to the Hall.
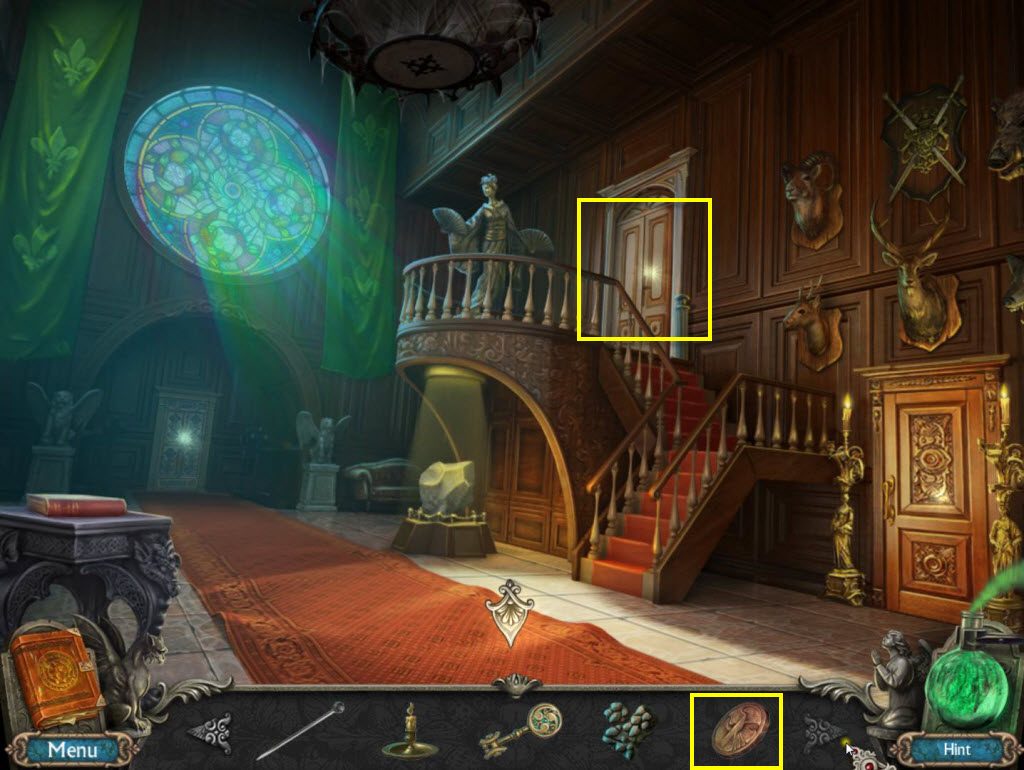
- Click to zoom in on the door at the top of the stairs.
- Use the Seal on the Door.
- Enter the Winter Garden.
Comments will load when you reach this part of the walkthrough.