

Chapter 3: Inside the Hotel
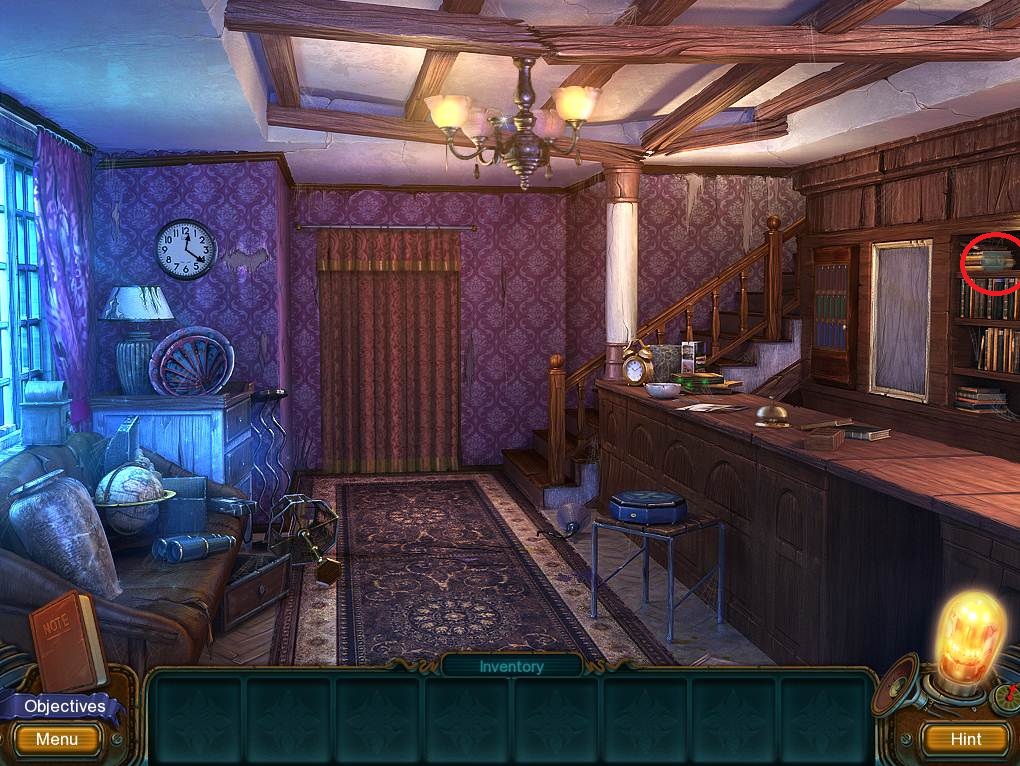
- Pick the LAMP.
- Zoom into the couch to trigger an HOS
.
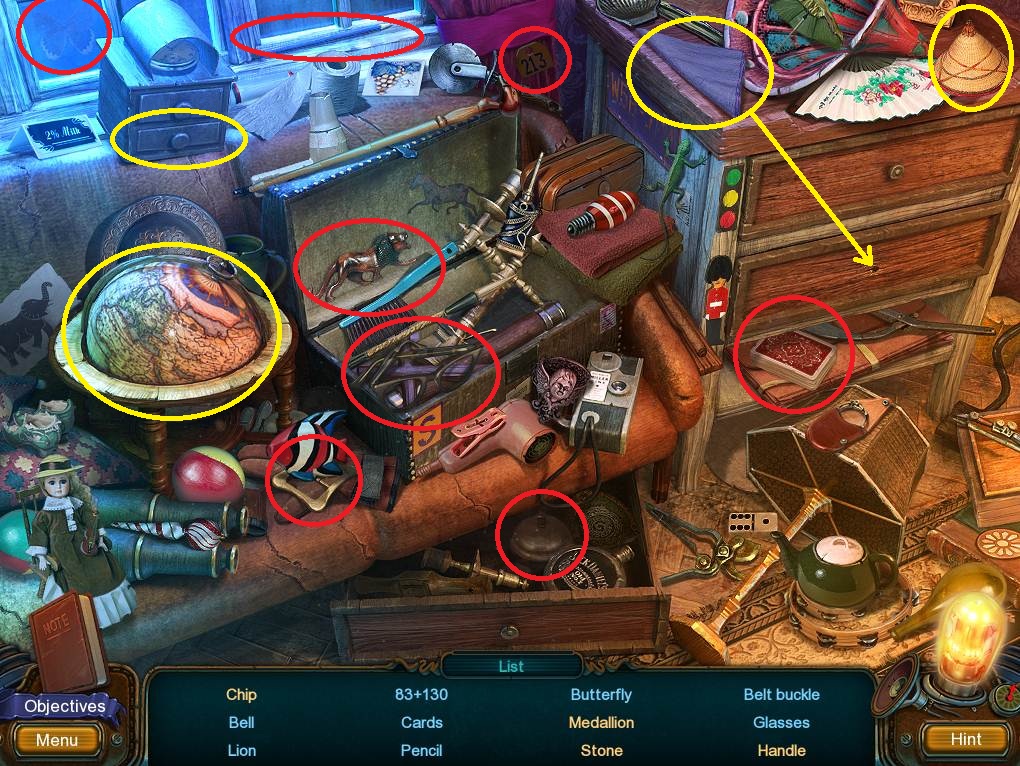
- First, click on the globe and place the land pieces in their correct position. Now spin the globe to find the CHIP.
- Move the cone to reveal the MEDALLION.
- Move the handkerchief to uncover a door knob; place the knob on the drawer, grab the HANDLE, and close the drawer.
- Open the smaller drawer to find the STONE.
- Find the remaining items to receive the HANDLE FOR MUSIC BOX.
- Zoom into the music box, use the HANDLE in your inventory, and then pick up the SWITCH.
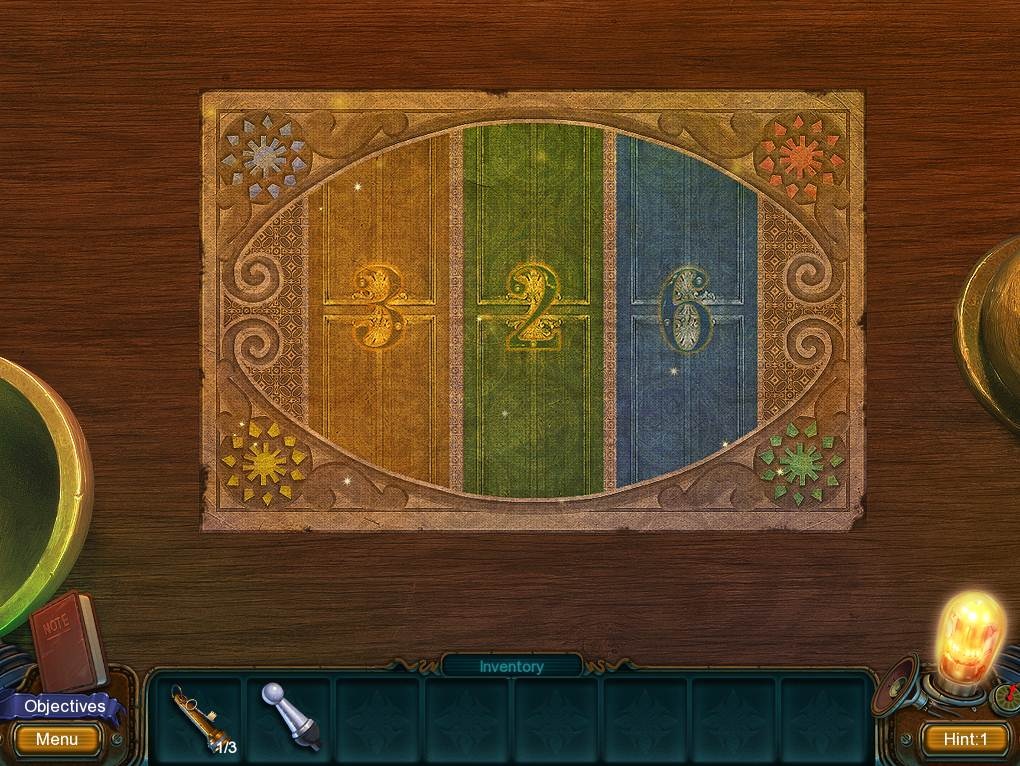
- Access the bar and arrange the pieces to reveal the code 326.
- Click on the shelf, and then open the book to get the NUMBERED KEY.
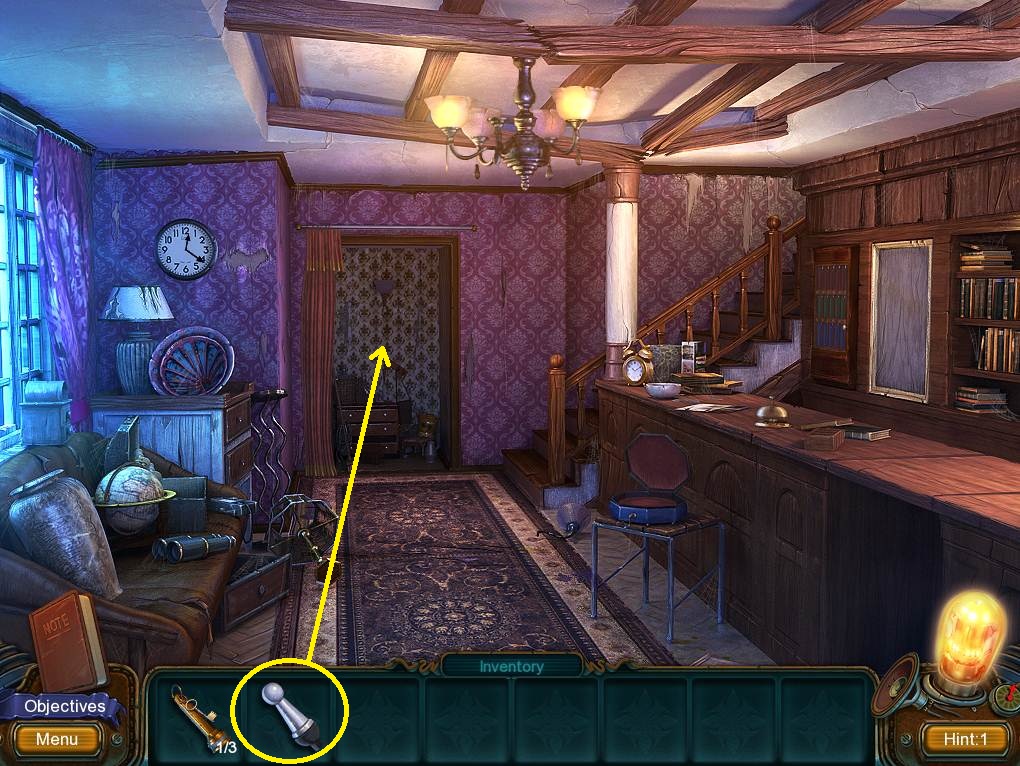
- Open the curtain and zoom in.
- Place the SWITCH in the hole, then zoom in again to access an HOS.
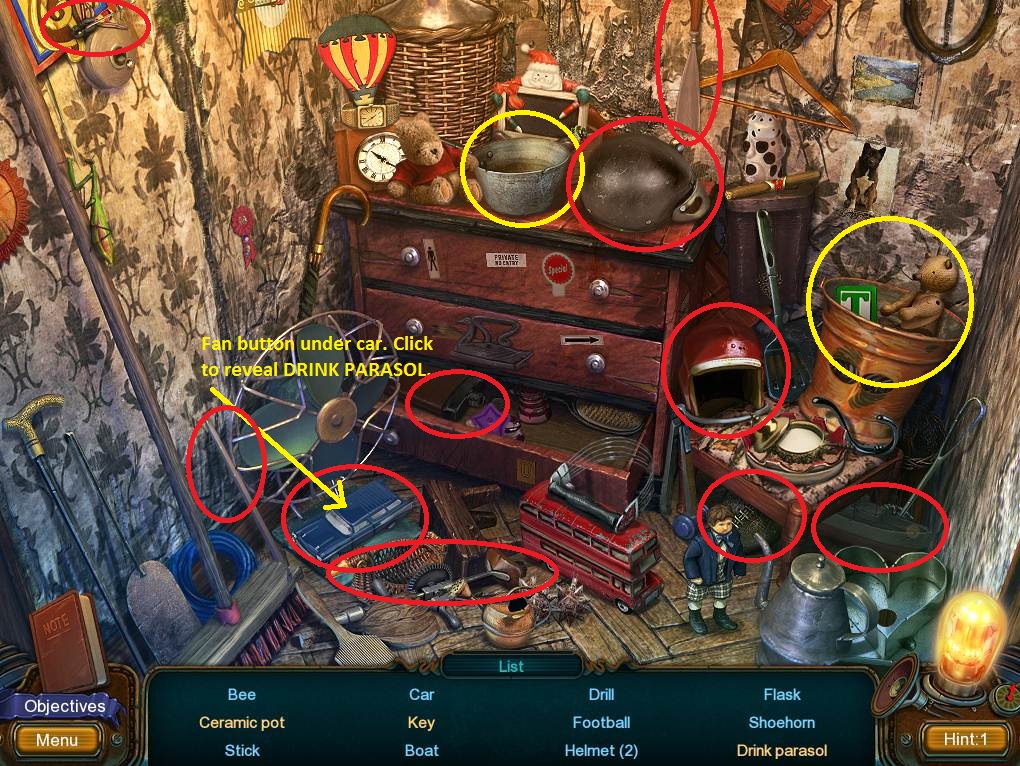
- Shake the bucket several times to find the CERAMIC POT.
- Move the pan to get the KEY.
- Collect the CAR; this will reveal the fan button.
- Press the fan button to get the DRINK PARASOL.
- Grab the remaining items to receive the second NUMBERED KEY.
- Go up the stairs, grab the LONG CANE, and then return back downstairs.
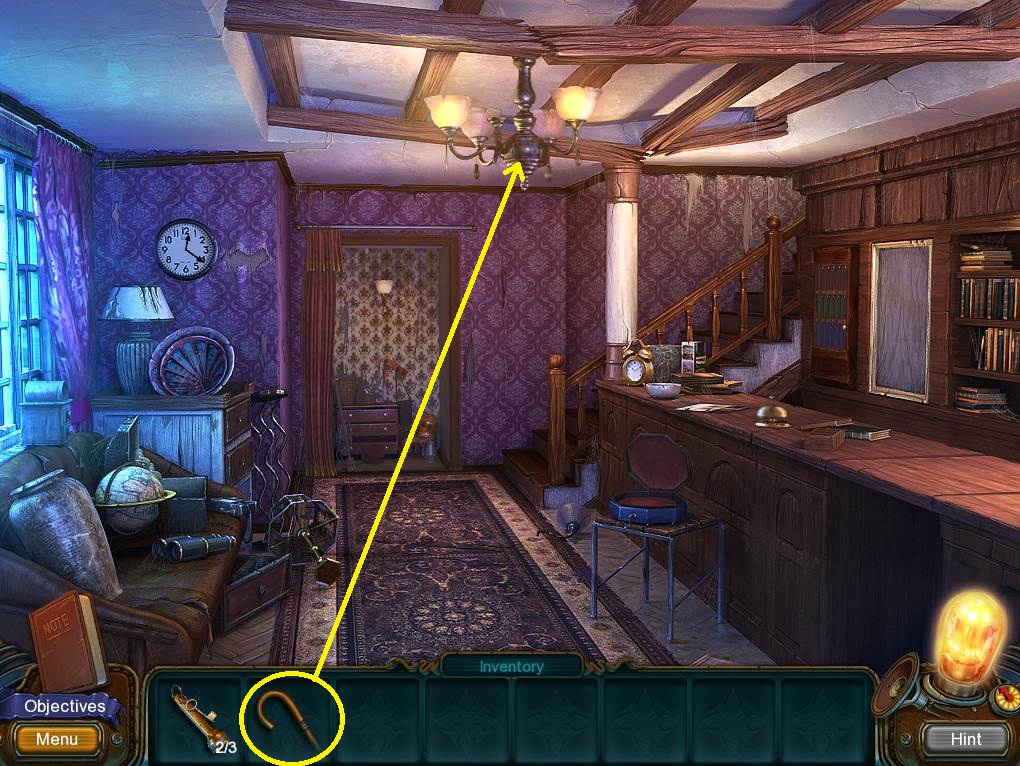
- Zoom in to the light, and then use the LONG CANE to knock the third NUMBERED KEY down.
- Collect the NUMBERED KEY.
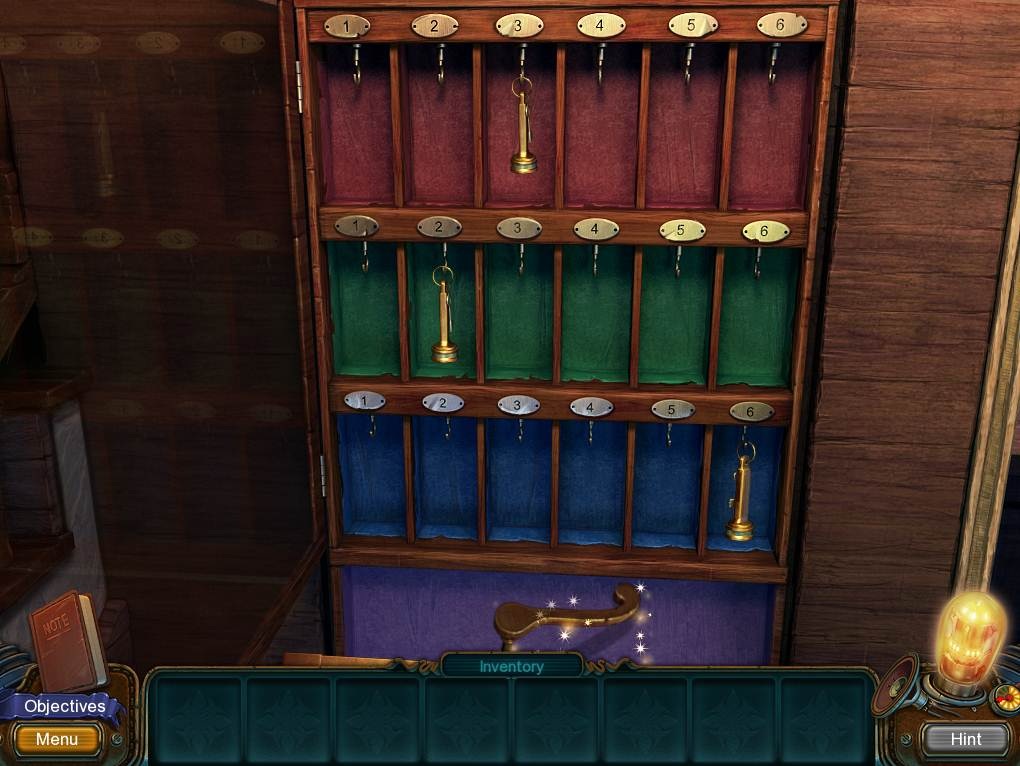
- Open the panel and zoom in.
- Use the screenshot to hang the three NUMBERED KEYS in the proper arrangement.
- Pick up the DOOR HANDLE, and go back up the stairs.
- Place the door handle on the door and go into the bedroom.
- Click on the TV to receive more storyline.
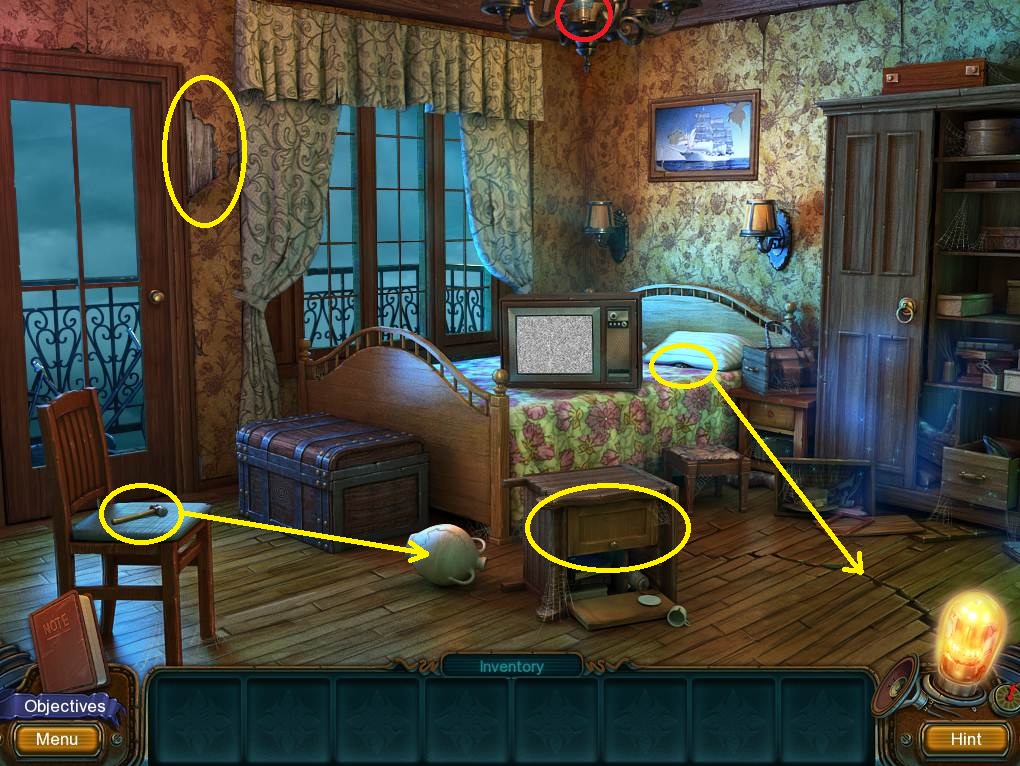
- Zoom into the nightstand and move the file to collect the STRANGE DISKS.
- Access the pillow and pick up the CHOPSTICK.
- Use the HAMMER to smash the pot.
- Zoom in on the smashed pot and move around the broken pottery to find the second STRANGE DISKS.
- Click on the wall where the wallpaper is peeled away (by the door), and then grab the third STRANGE DISKS.
- Pick up the LAMP.
- Zoom into the crack in the floor and use the CHOPSTICK to get the fourth STRANGE DISKS.
- Accessing the wardrobe will activate an HOS.
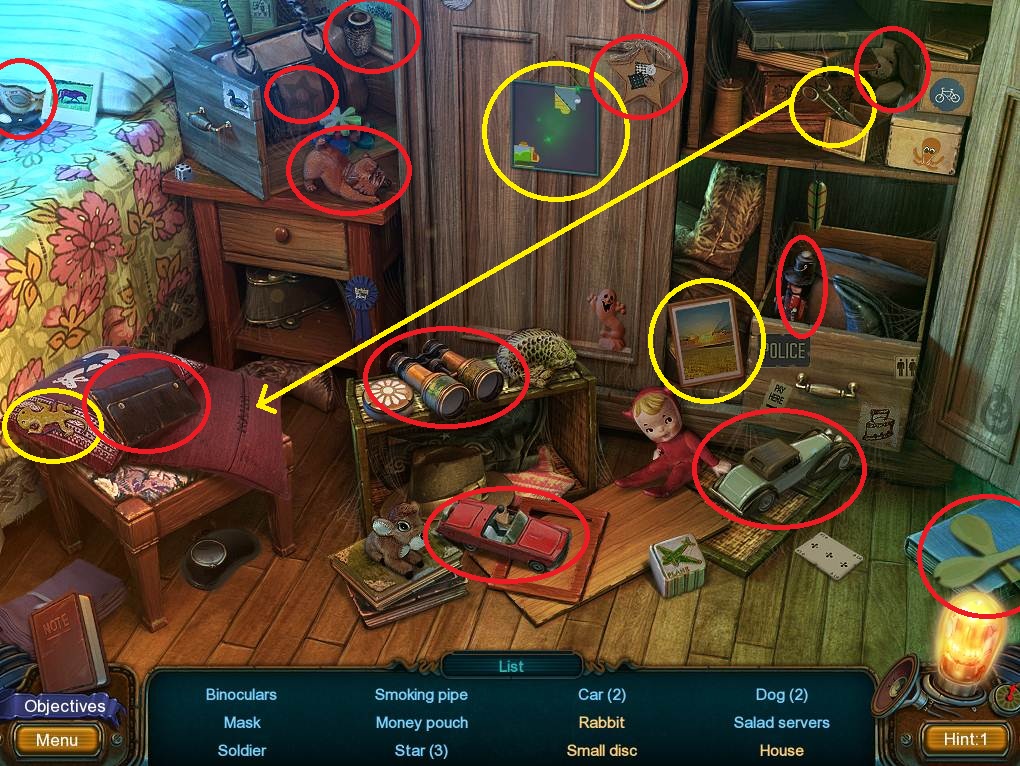
- First click on the PUZZLE, then assemble and collect it.
- Move the painting to uncover the RABBIT.
- Use the scissors to cut open the solid red pillow and find the DISK.
- Move the lizard to reveal the STAR.
- Gather the remaining green items to get the final STRANGE DISKS.
- Click on the chest and place the five STRANGE DISKS in the lock.
- Using the screenshot, rotate the disks into place. Use the order 5, 3, 1, 4, and 2.
- Zoom into the open trunk and pick up the LONG ROPE LADDER.
- Exit the bedroom to the balcony.
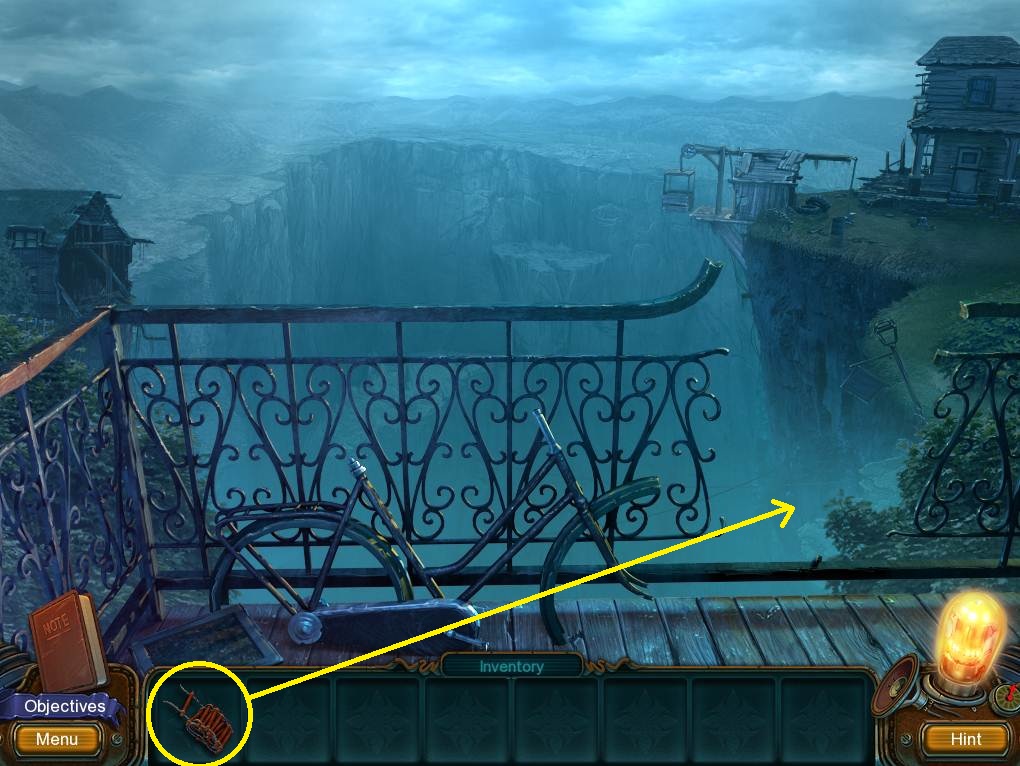
- Hand the LONG ROPE LADDER over the balcony and climb down.
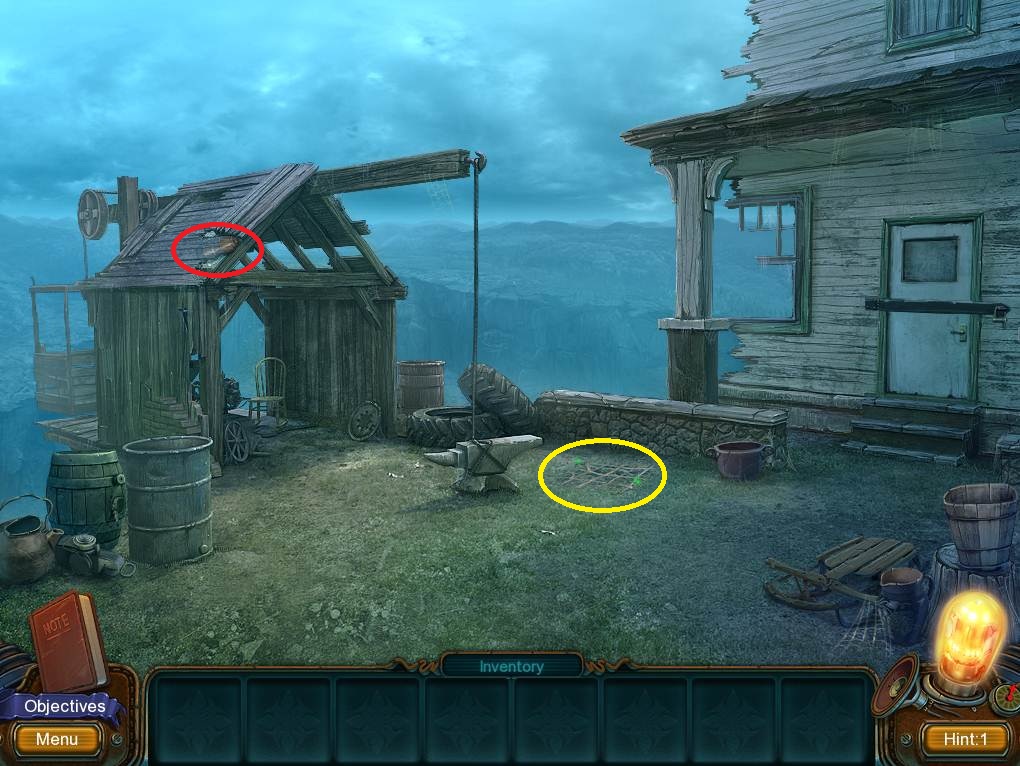
- Grab the LAMP.
- Click on the pile of sticks near the anvil and remove them in top down order; collect the CORKSCREW.
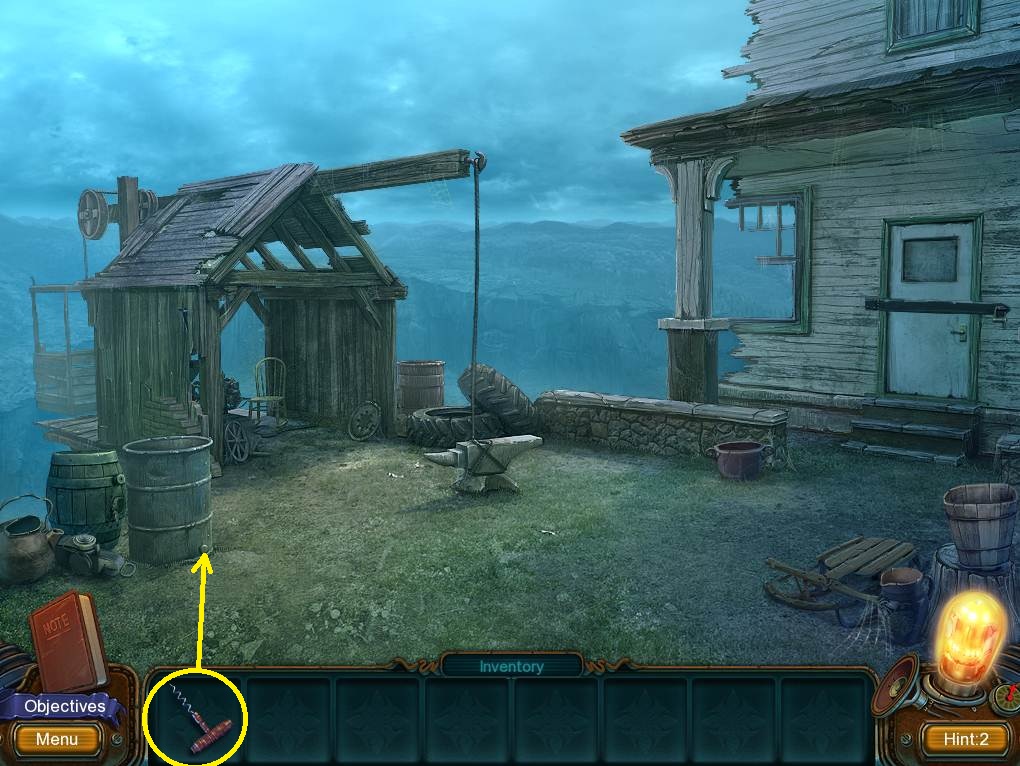
- Zoom into the bottom of the cask; use the CORKSCREW to remove the cork, then zoom into the top and pick up the HAMMER.
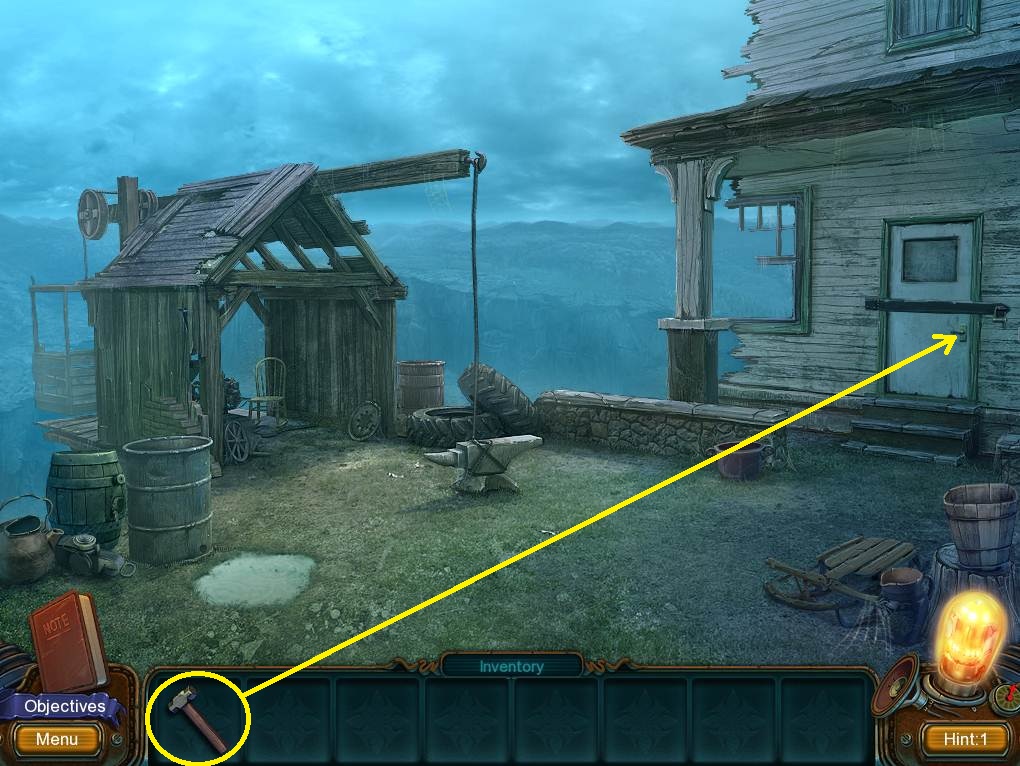
- Click on the door, and then use the hammer to remove the lock and enter the building.
- Click on the drum to trigger an HOS.
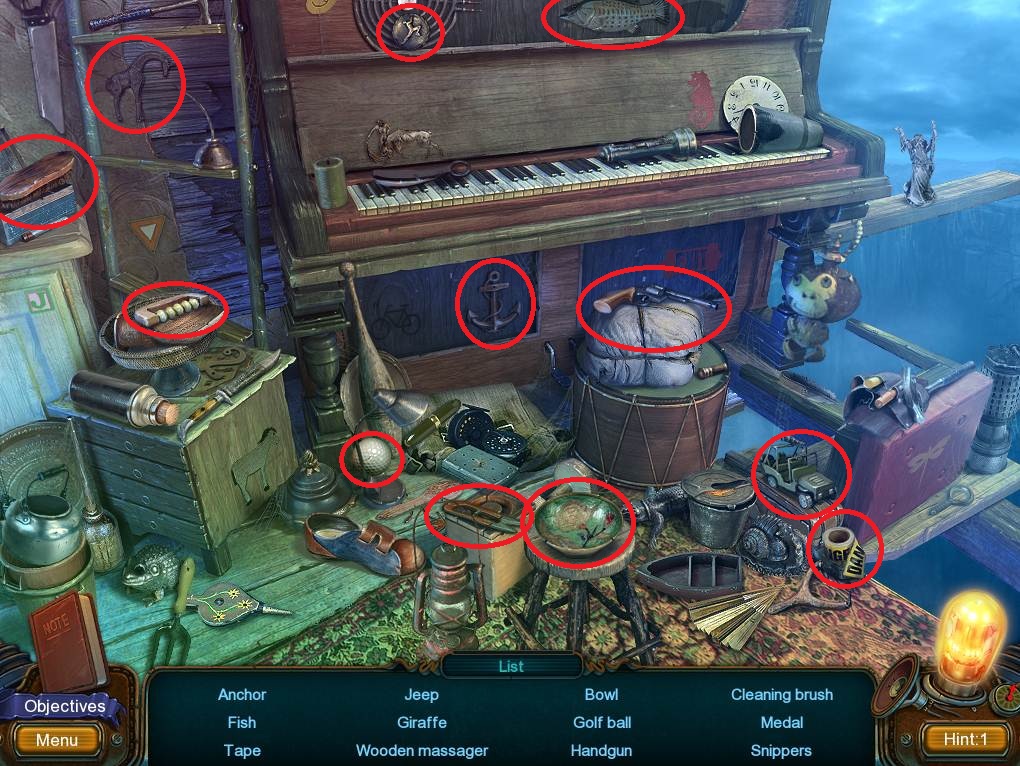
- This one only has green items, so pick them all up in order to receive the SNIPPERS.
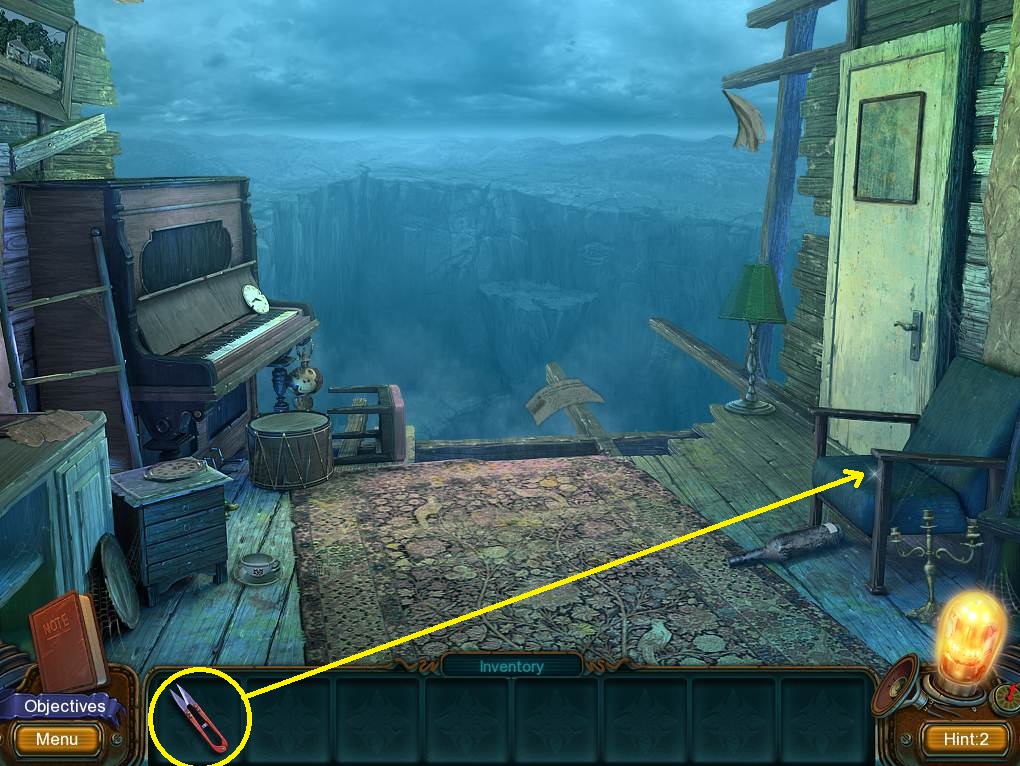
- Zoom into the chair and use the SNIPPERS to open the tear in the chair and grab the PIECE OF WIRE FROM SOFA.
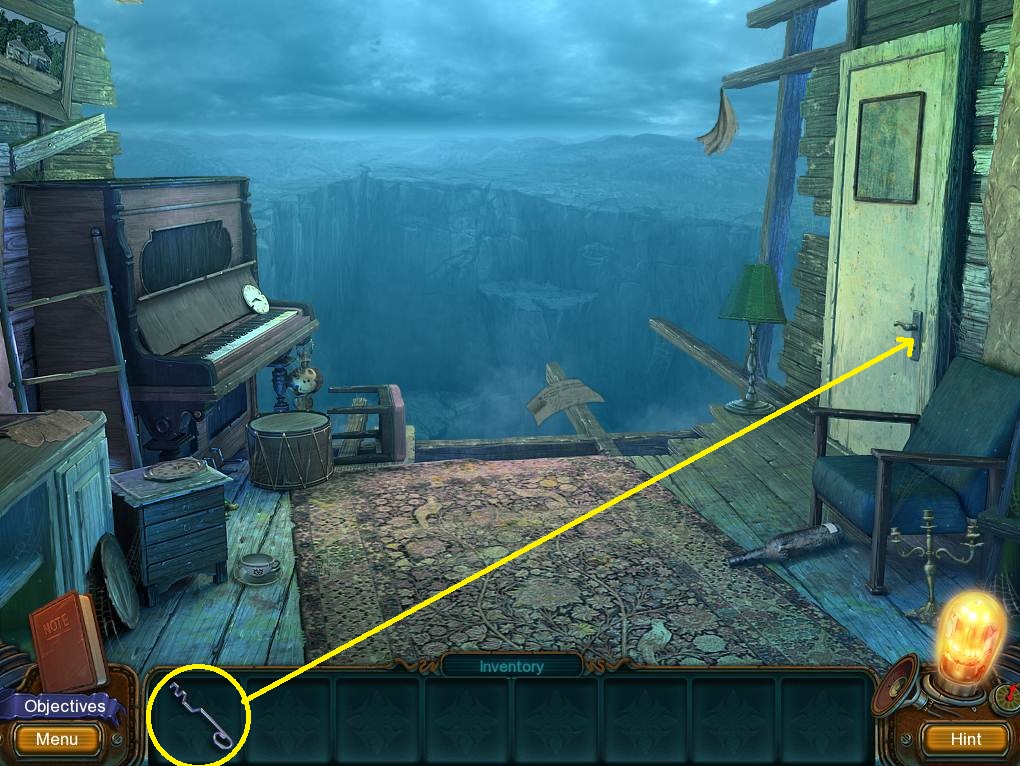
- Place the piece of wire from sofa into the door, and then spin the dials in this order: 1, 1, 2, 3, and 3.
- Enter the kitchen.
- Zoom into the counter to trigger an HOS.
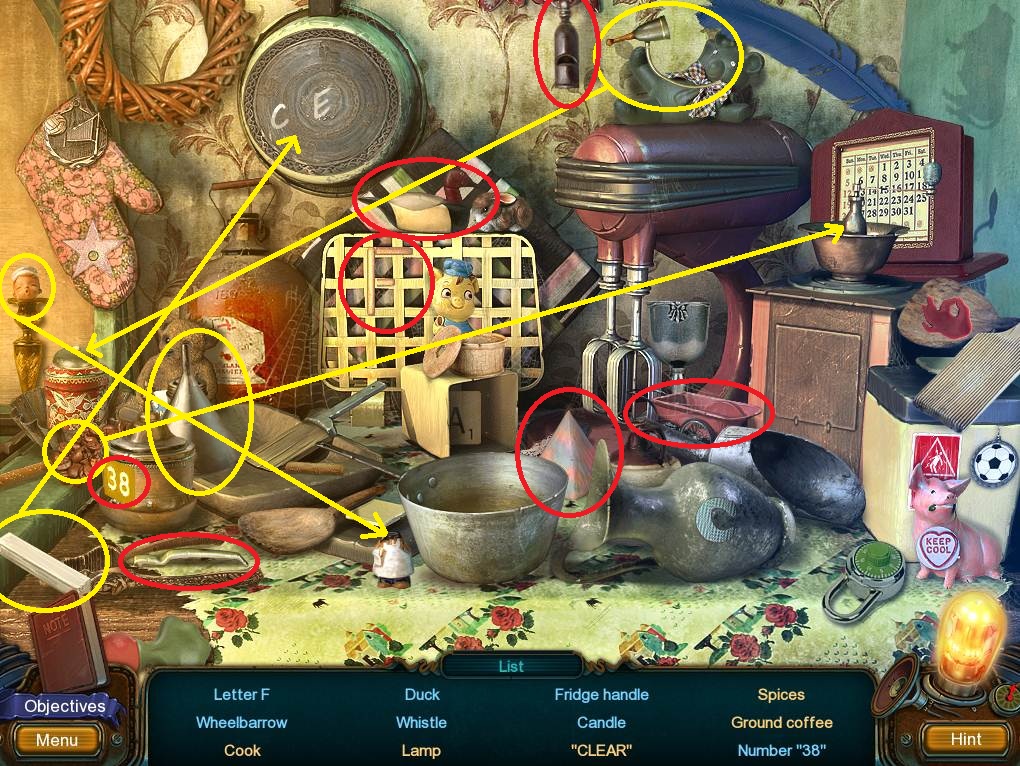
- Put the beans into the grinder to get GROUND COFFEE.
- Use the chalk on the pan to spell CLEAR.
- Put the lamp head on the base to get the LAMP.
- Put the head on the COOK.
- Move the funnel to find the SPICES.
- Gather the remaining items to receive the FRIDGE HANDLE.
- Put the fridge handle on the fridge, then open it to trigger an HOS.
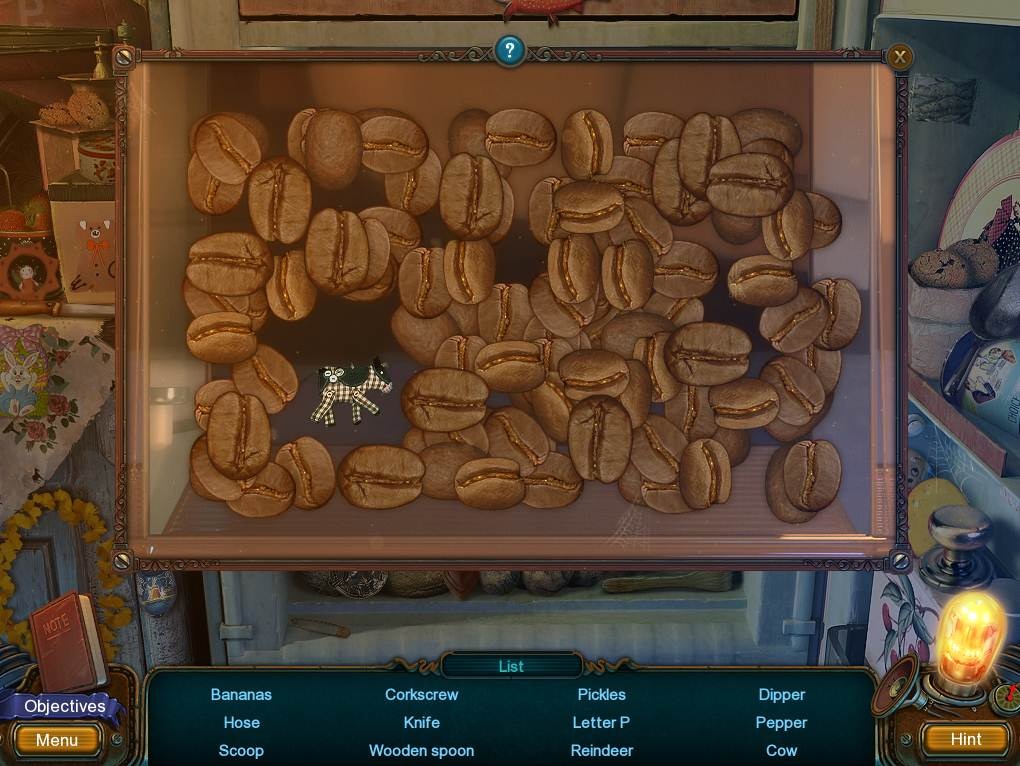
- Zoom into the icebox and move the beans around to find the COW.
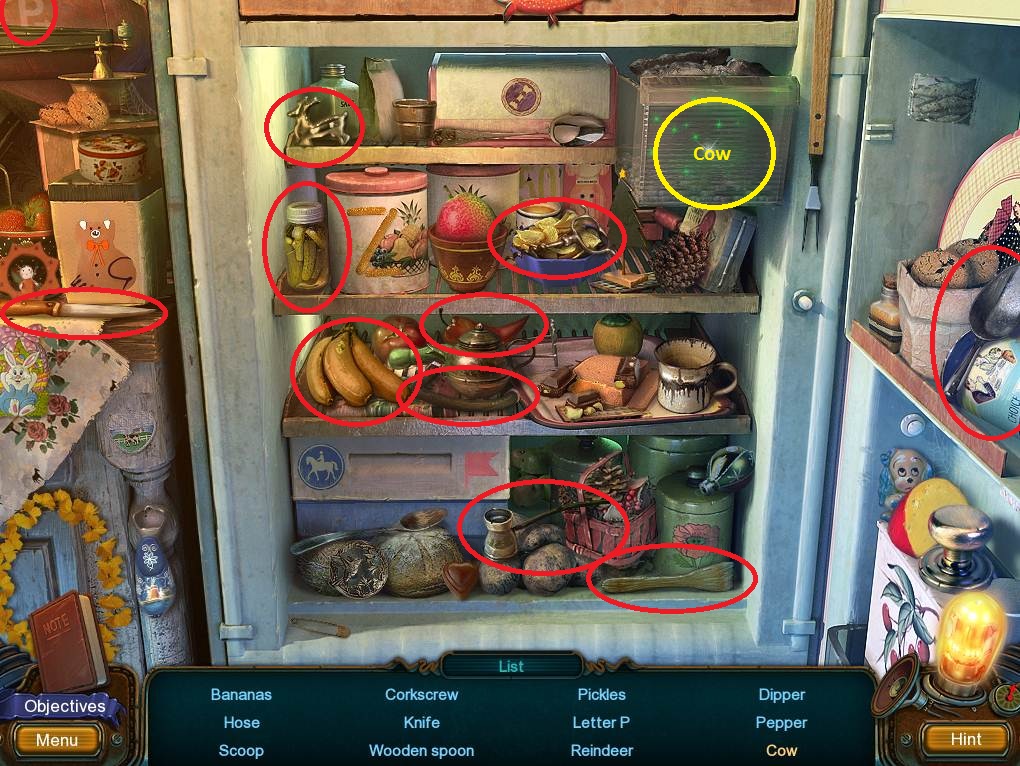
- Gather the rest of the items to receive the SEALED HOSE.
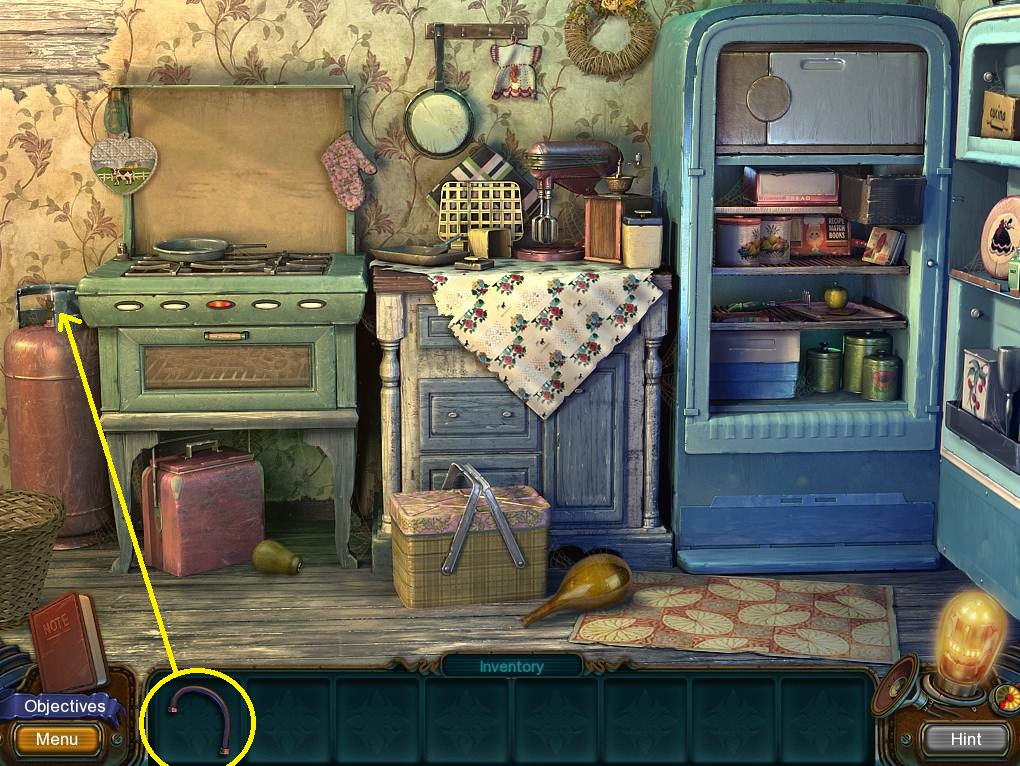
- Zoom into the tank and place the SEALED HOSE.
- Zoom into the stove button and spin it.
- Open the oven door to pick up the GEARS.
- Exit the building and go into the elevator shack.
- Clicking on the shelf will trigger an HOS.
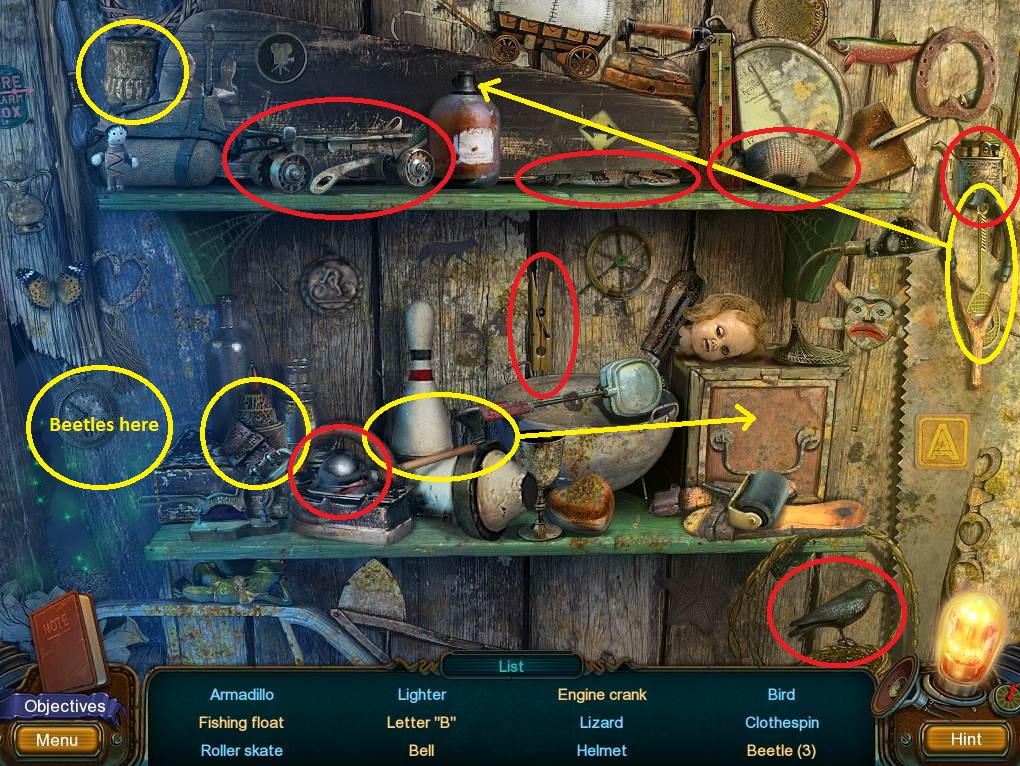
- Zoom into the clock; shake the wood and the ticket to get the first BEETLE to run back and forth.
- You’ll need to catch the BEETLE while it’s running round.
- Shake the lead and the knot to find the second BEETLE and the plank to find the third.
- Move the belt to find the BELL.
- The axe can be used to open the box which has the ENGINE CRANK.
- Use the net to get the FISHING FLOAT out of the bottle.
- Move the cup to get the B.
- Gather the rest of the items to receive the ENGINE CRANK.
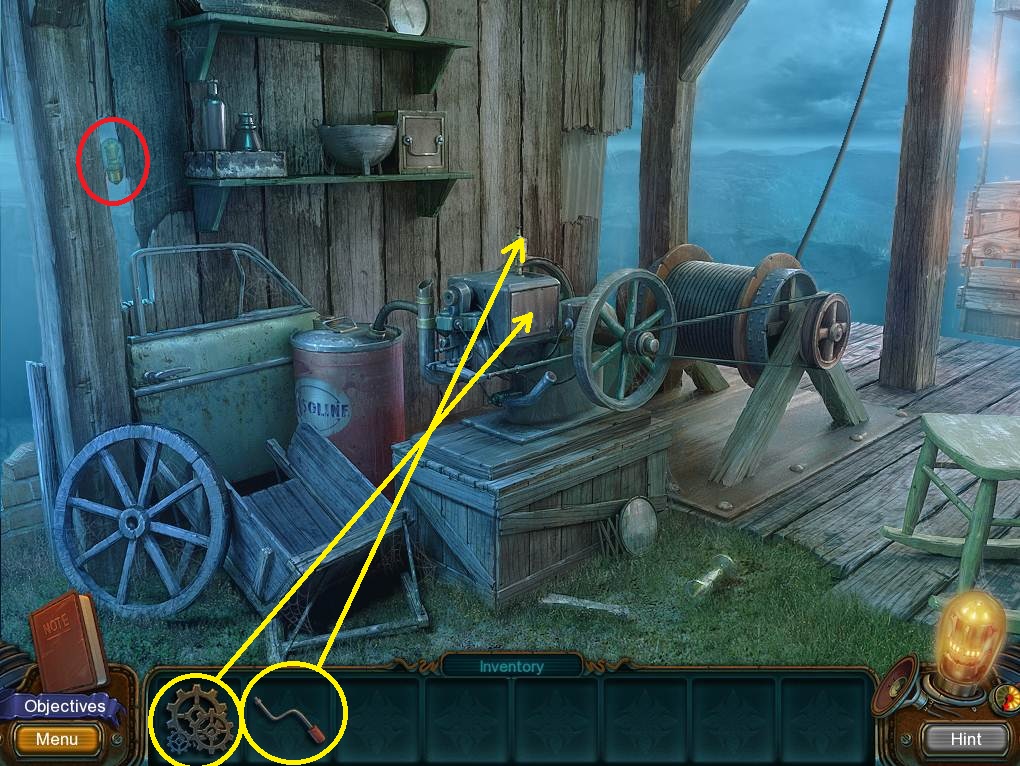
- Pick up the next LAMP.
- Put the ENGINE CRANK where it goes and spin it.
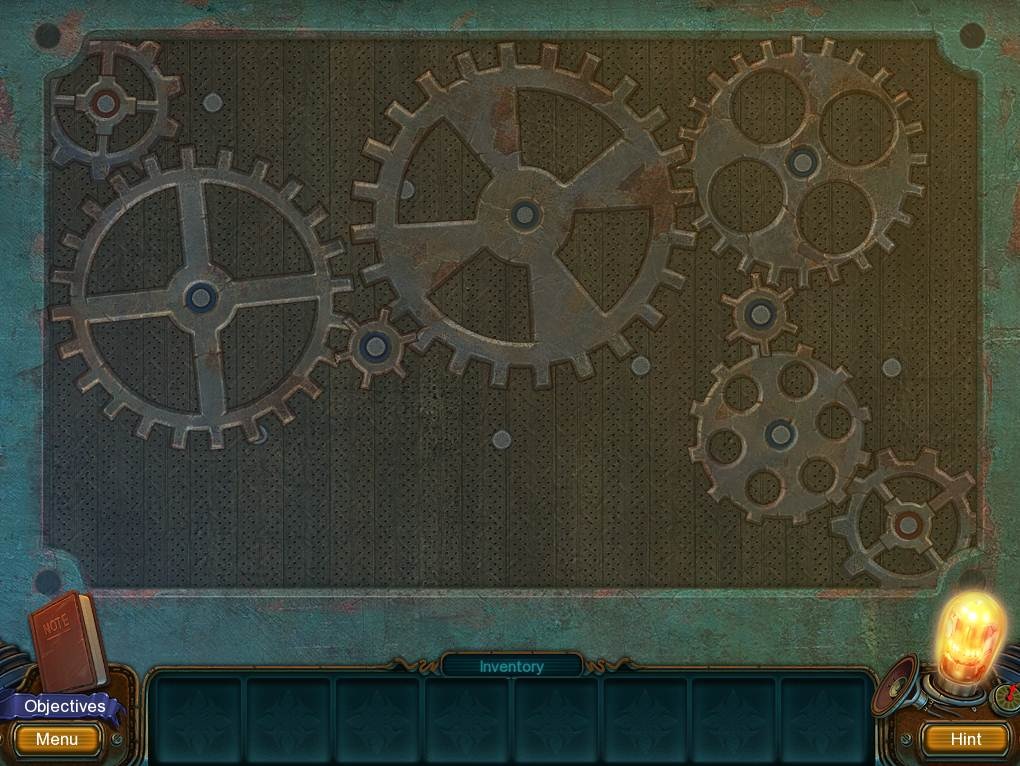
- Zoom into the engine and place the GEARS.
- Arrange them as shown in the screen shot.
- Enter the elevator.
Comments will load when you reach this part of the walkthrough.