
Chapter Four: Laboratory
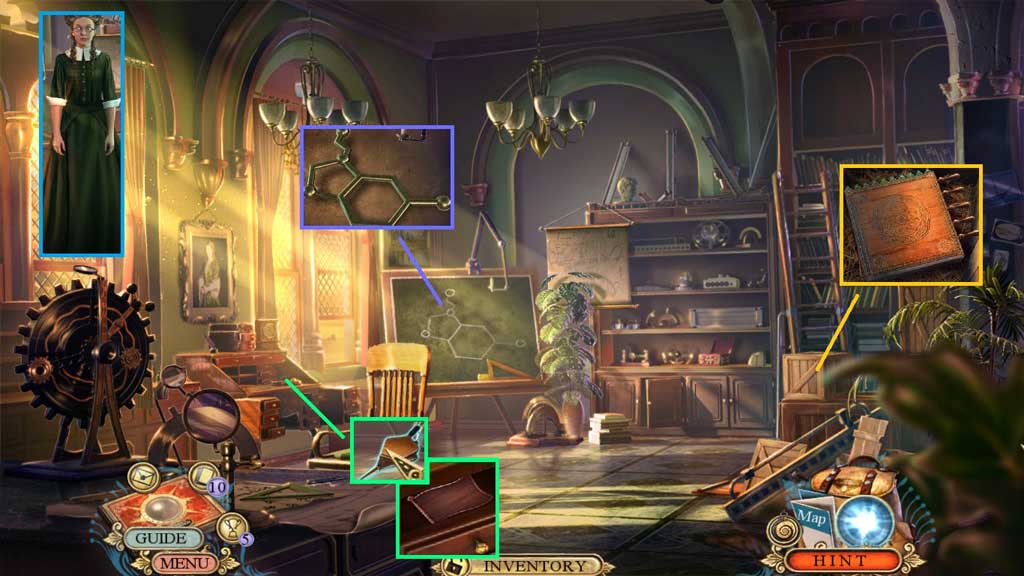
- Speak to Helen.
- Select the chalk to complete the molecular drawing.
- Select the model and move it to the board; click it 2x’s.
- Collect 1 /2 molecular models.
- Zoom into the crate; insert the roller handle.
- Collect the bellows.
- Place the small weight onto the scale; collect the showcase inlay.
- Move down once.
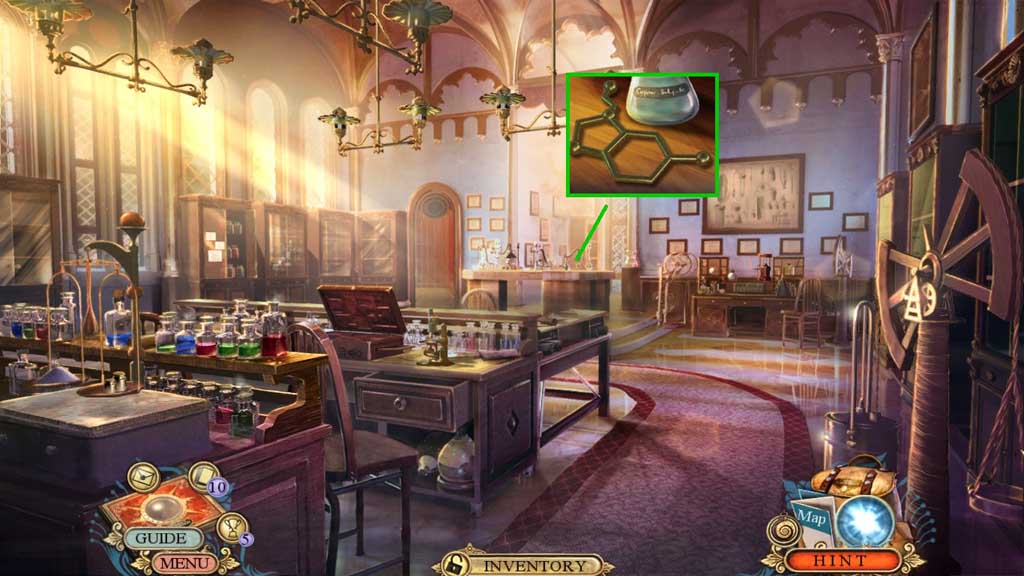
- Collect 2/2 molecular models.
- Move down once.
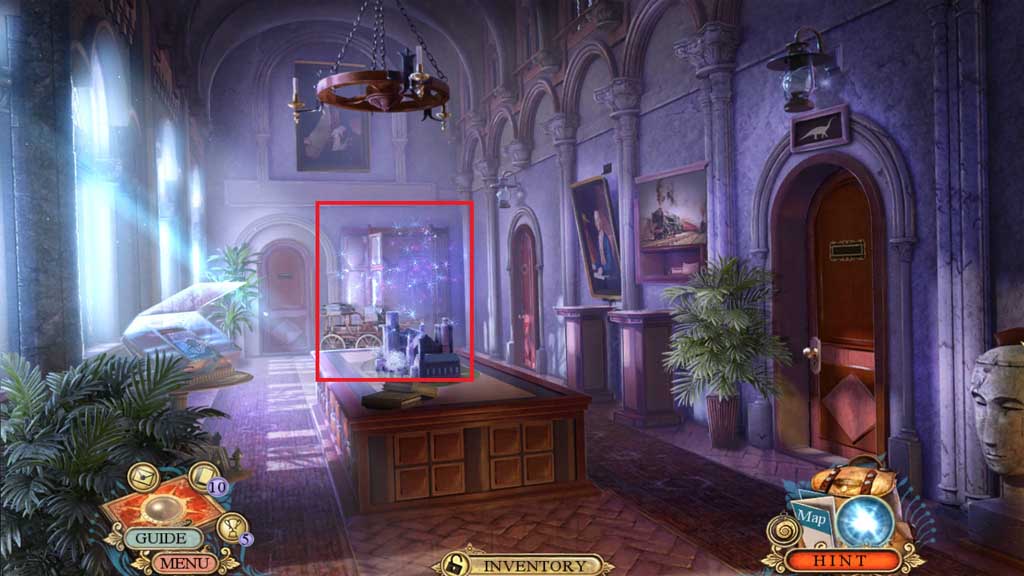
- Insert the showcase inlay to trigger a hidden objects area.
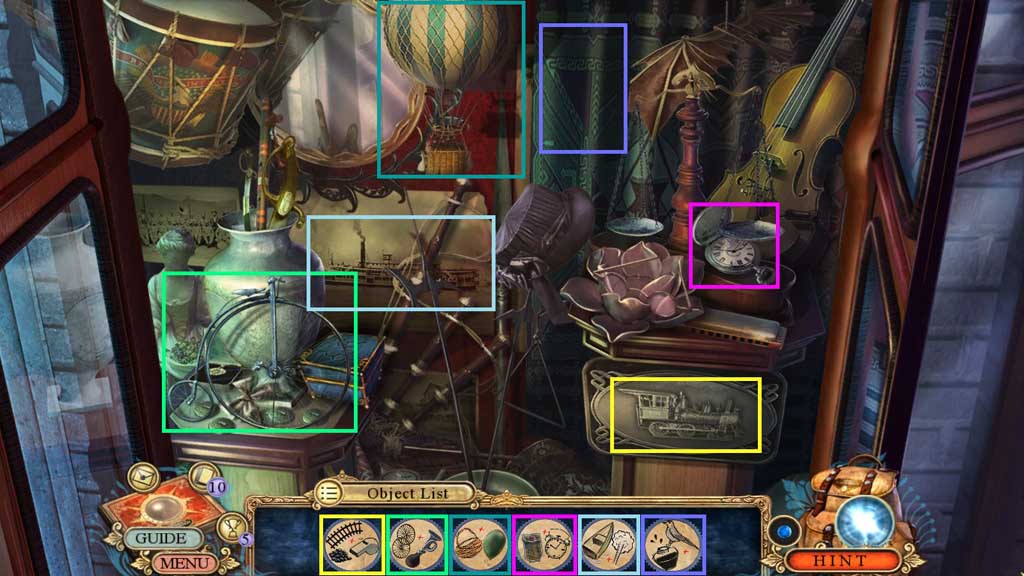
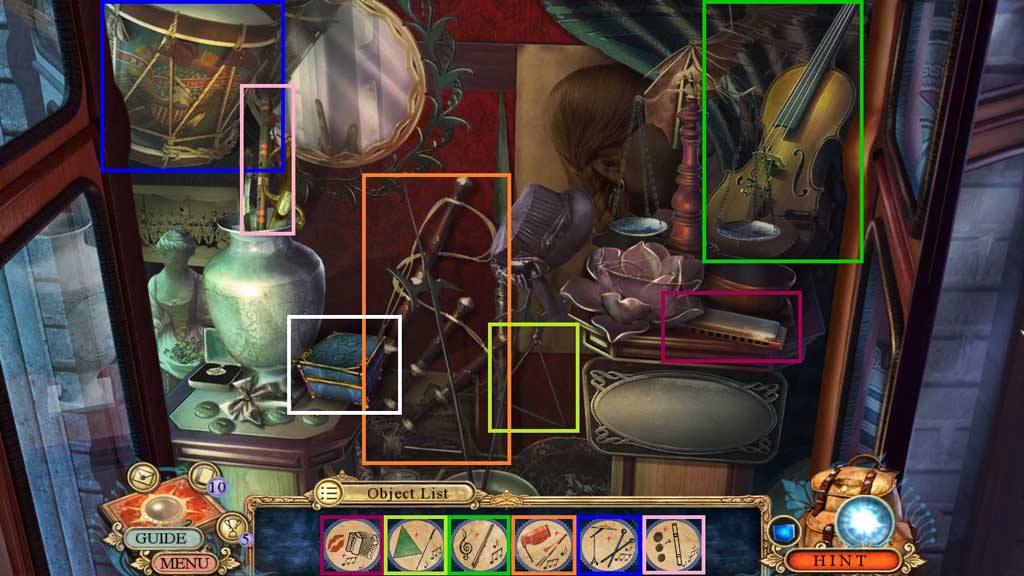
- Find the items.
- Collect the decorated chest.
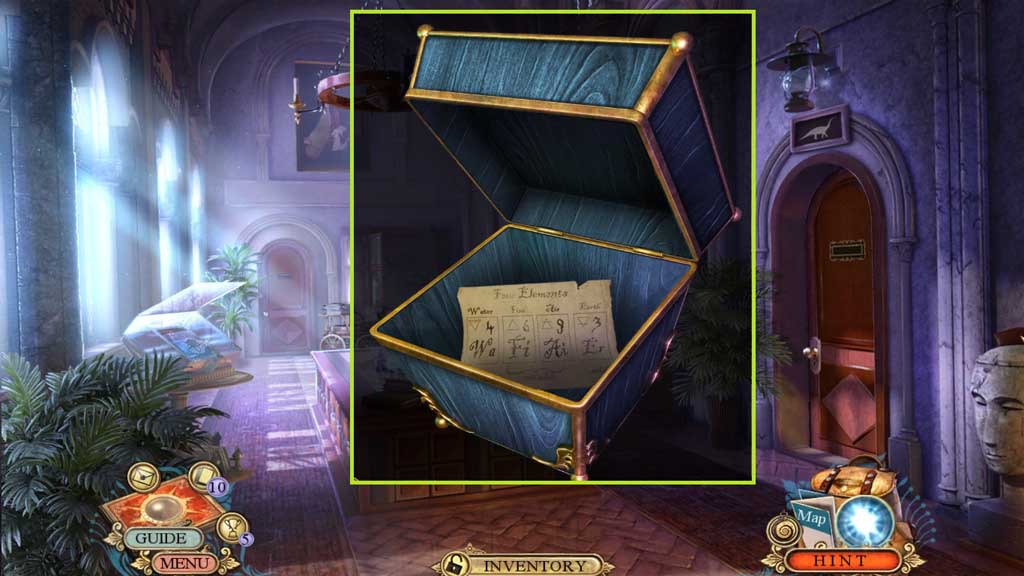
- Click the decorated chest.
- Insert the 2 molecular models; collect the element list.
- Move ahead.
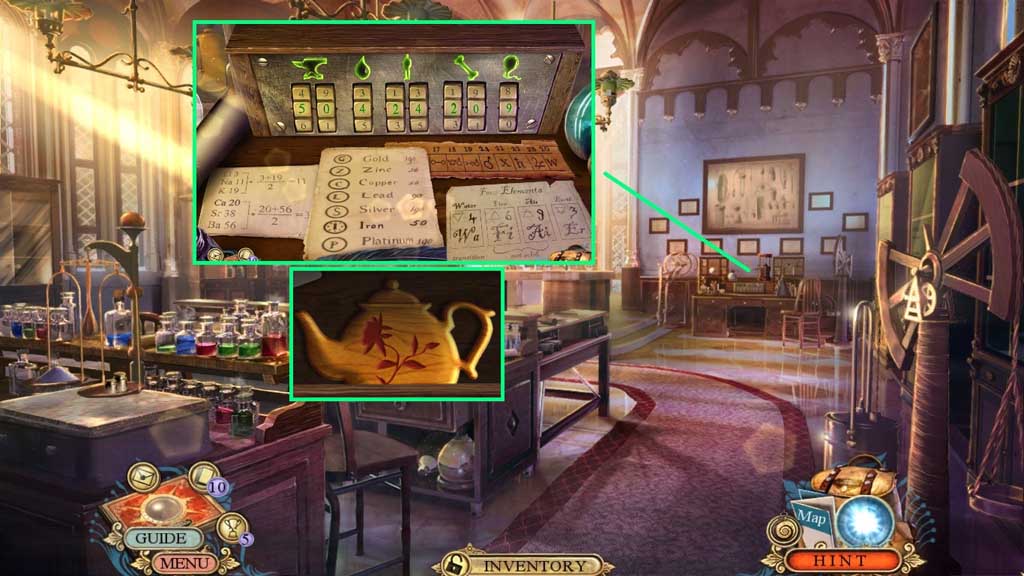
- Place down the element list to trigger a mini game.
- Solve the game by entering the correct number combinations to create the elements.
- Use the following pattern to solve: 50 – 4 – 24 – 20 - 9
- Collect 2/2 wooden tea sets.
- Move to Helen’s Residence.
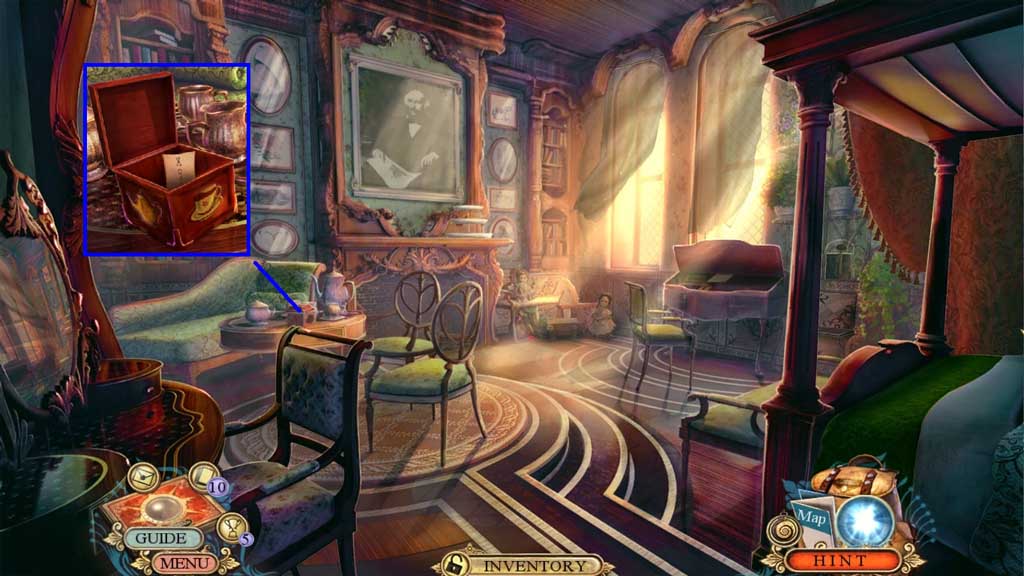
- Insert the 2 wooden tea sets; collect the lockbox drawing.
- Move to Helen’s Laboratory.
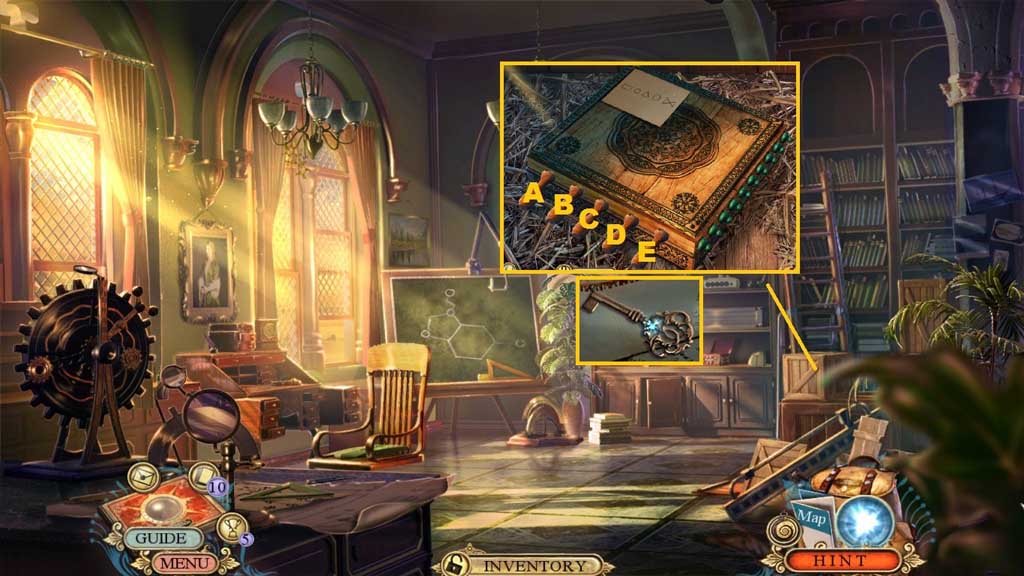
- Zoom into the crate and place down the lockbox drawing to trigger a mini game.
- Solve the game by aligning the handles according to the diagram.
- Use the following sequence to solve:
- C – D – C – E – C – A – C – B
- Collect the natural history key.
- Move to the Cloister.
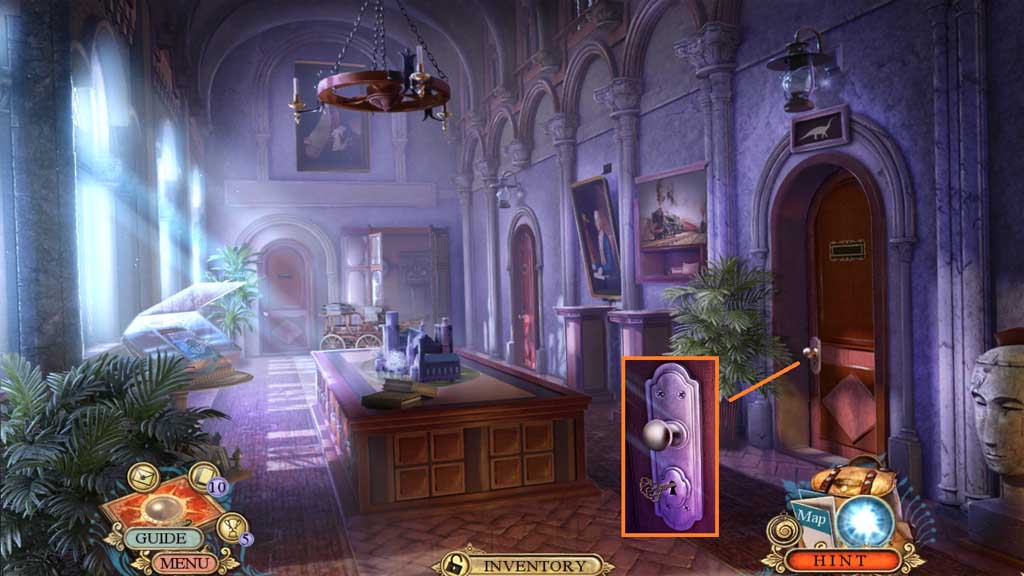
- Insert the natural history key and click it once.
- Move into the Natural History Laboratory.
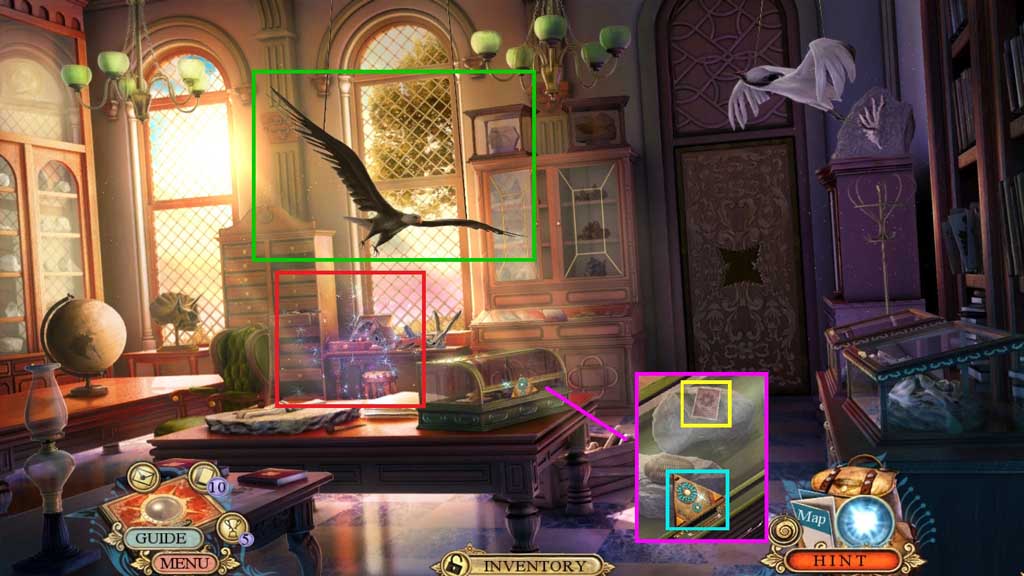
- Click the bird figure.
- Collect the triangle and click the glass case open.
- Collect the fact card.
- Click the hidden objects area.
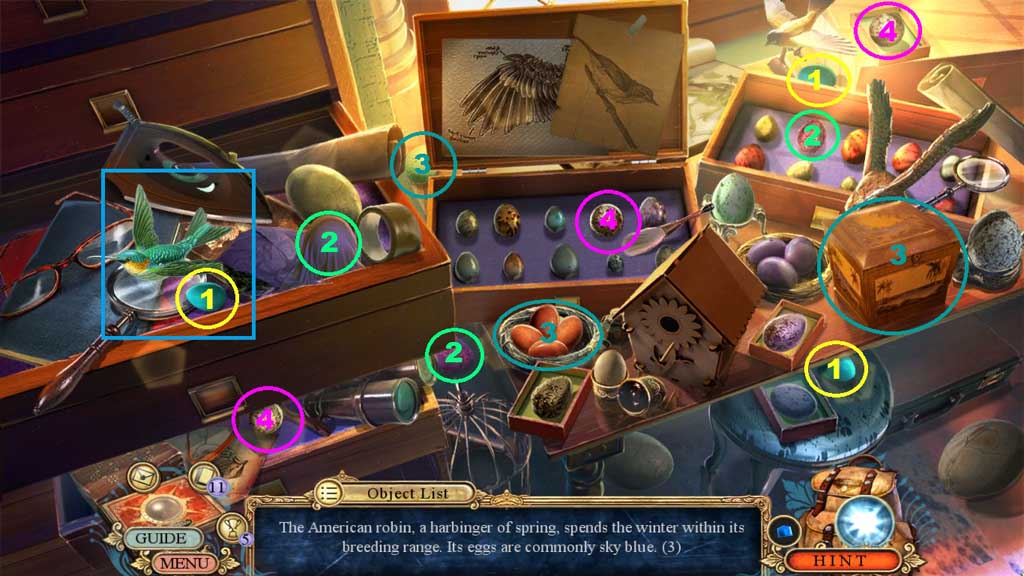
- Find the items based on the clues.
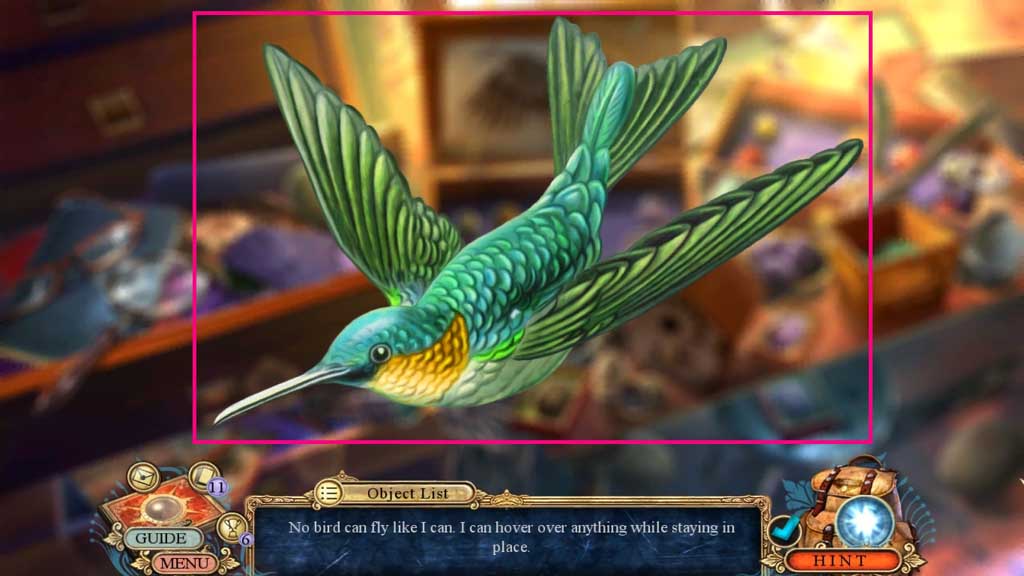
- Collect the hummingbird.
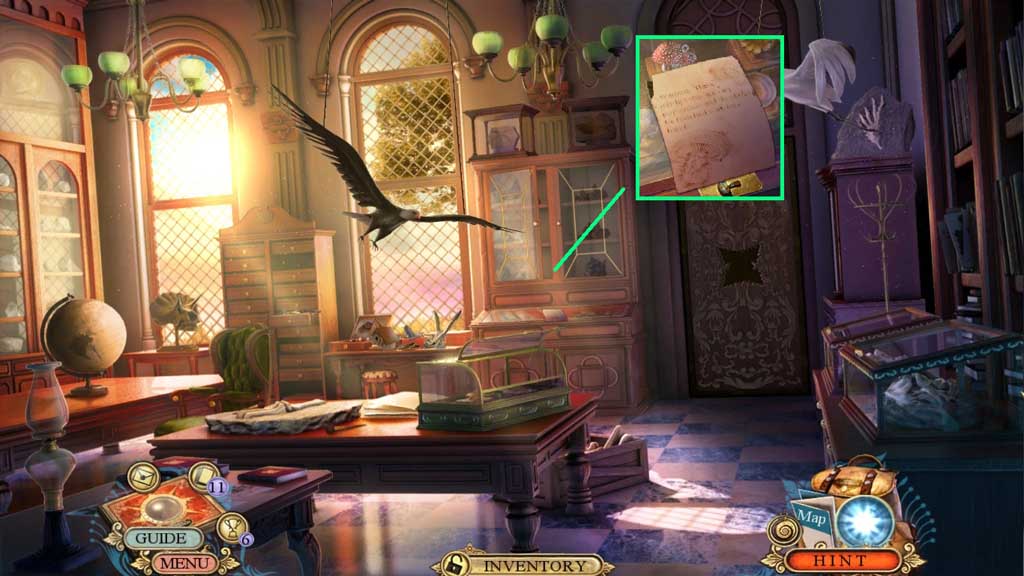
- Collect the note and 3 /3 old photographs.
- Click the glass case open.
- Move down once.
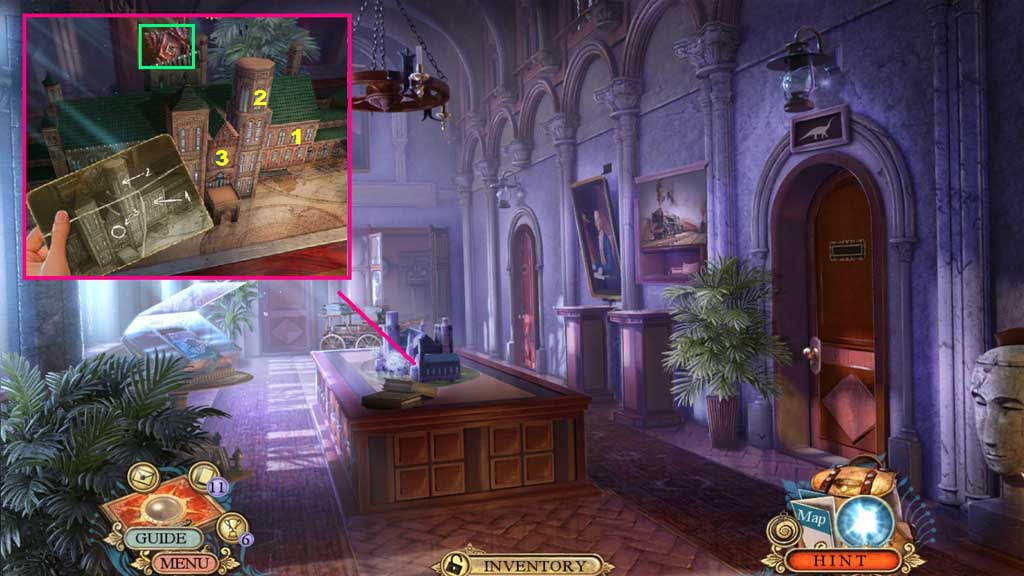
- Place the old photograph near the model.
- Click the 3 windows as shown in the diagram.
- Collect the wooden décor.
- Move to the Natural History Lab.
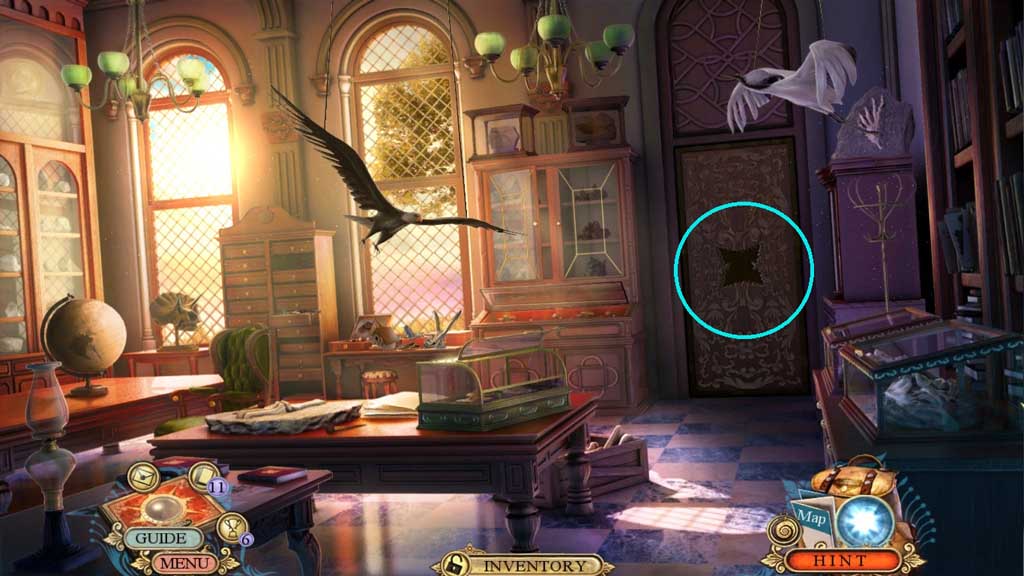
- Insert the wooden décor.
- Move ahead.
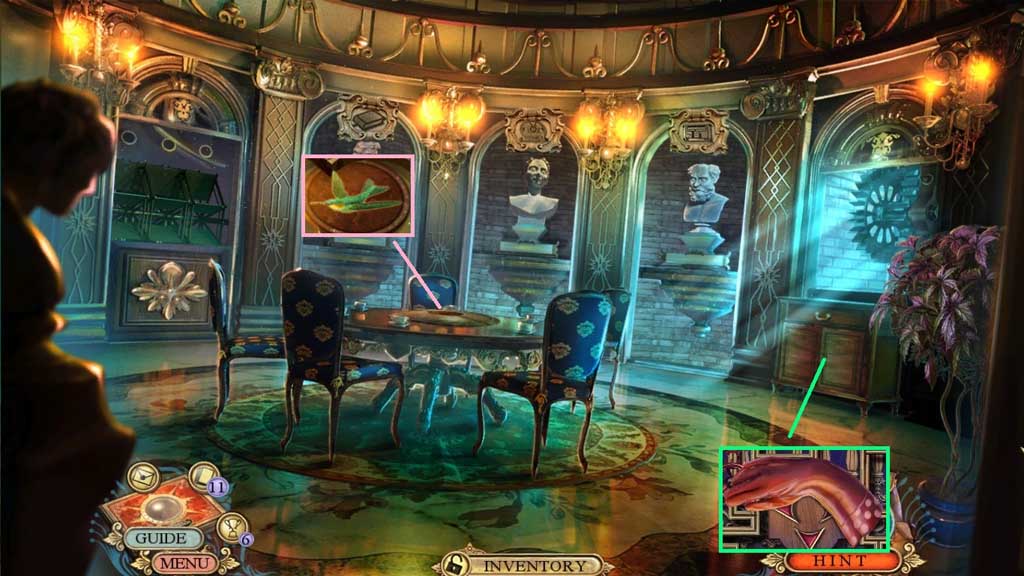
- Click the cabinet door; collect the mushroom glove.
- Insert the hummingbird into the center of the table.
- Move down once.
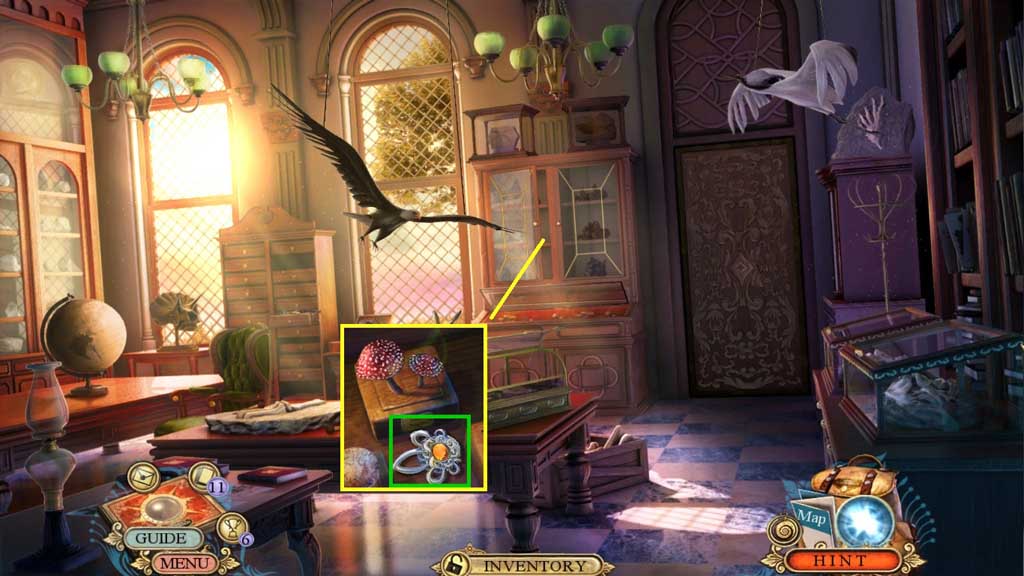
- Select the mushroom glove to collect the book pattern.
- Move down once.
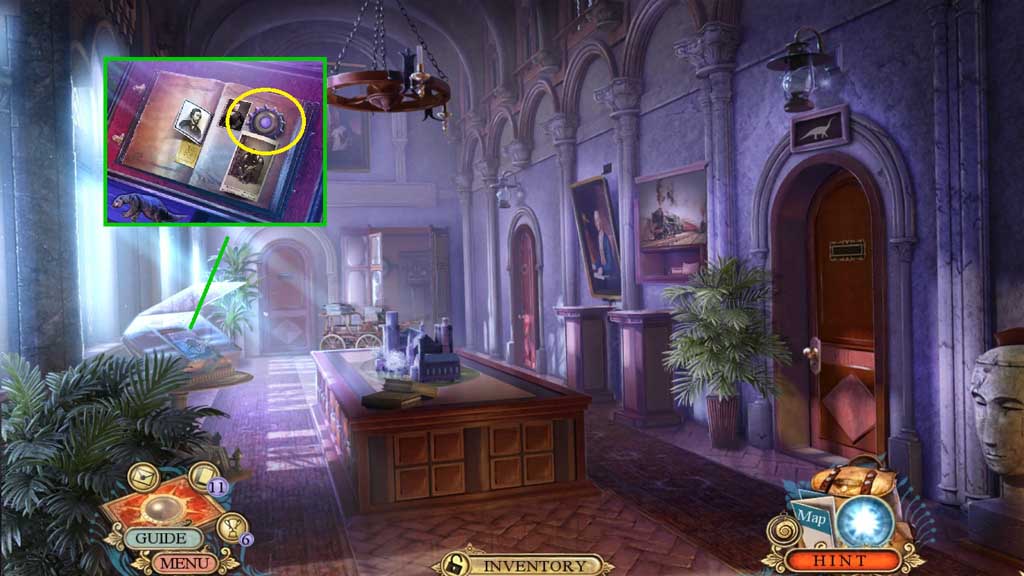
- Insert the book pattern.
- Collect the cog.
- Move to the Meeting Room.
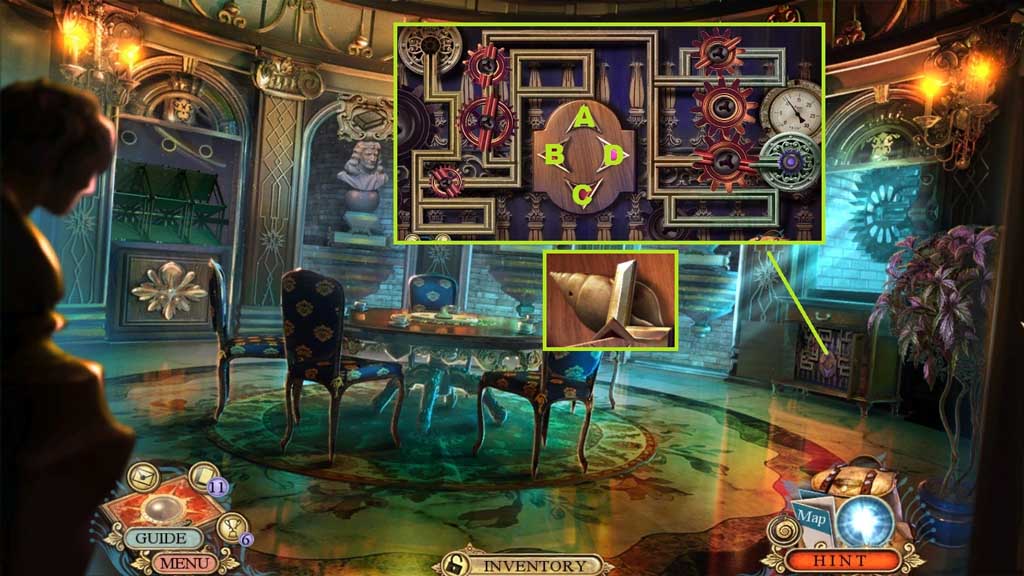
- Insert the cog to trigger a mini game.
- Solve the game by moving the cog from one side of the maze to the other.
- Use the following solution to solve: C –D – C – B – C – D – C – B – A x 2 – D – A x 3 – D – C – B – C – B – A – D – C – D – A – D – C – B x 2 – C x 2 – D x 2 – C – B – A – B – A – D
- Collect the letter L and the shell fossil.
- Move down once.
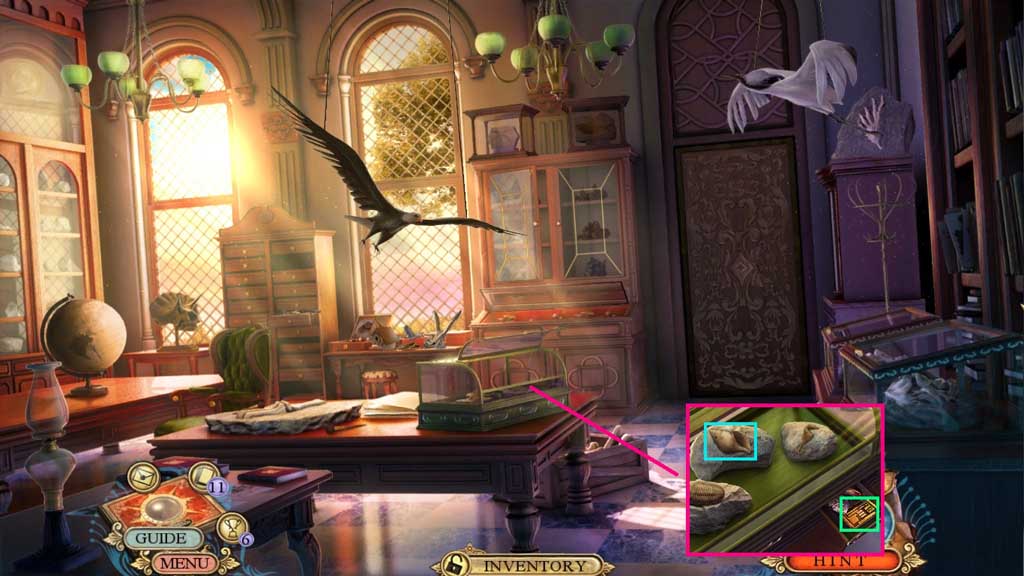
- Insert the shell fossil.
- Click the items aside; collect the registry plate.
- Move ahead.
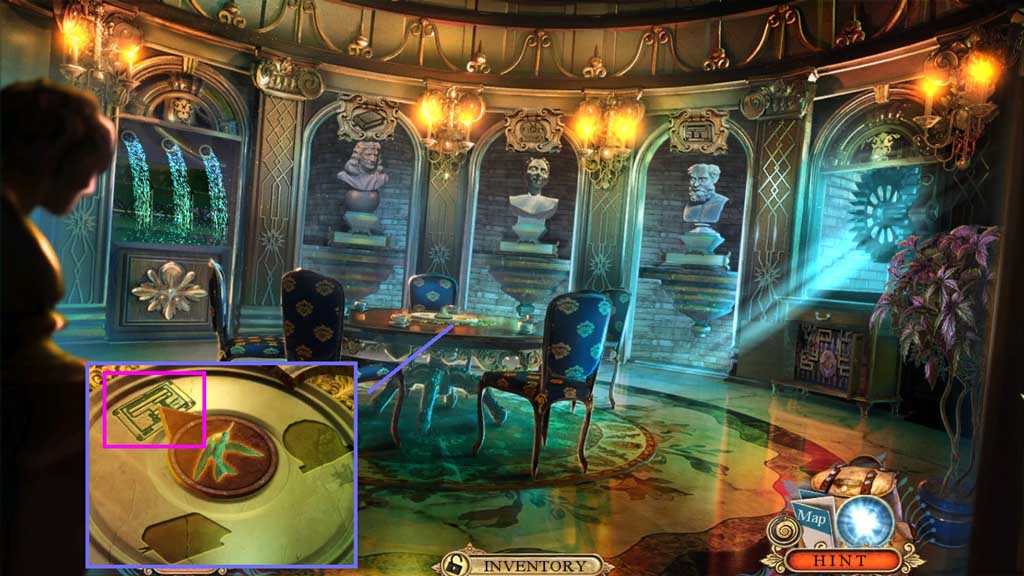
- Place the registry plate.
- Move into the Registry.
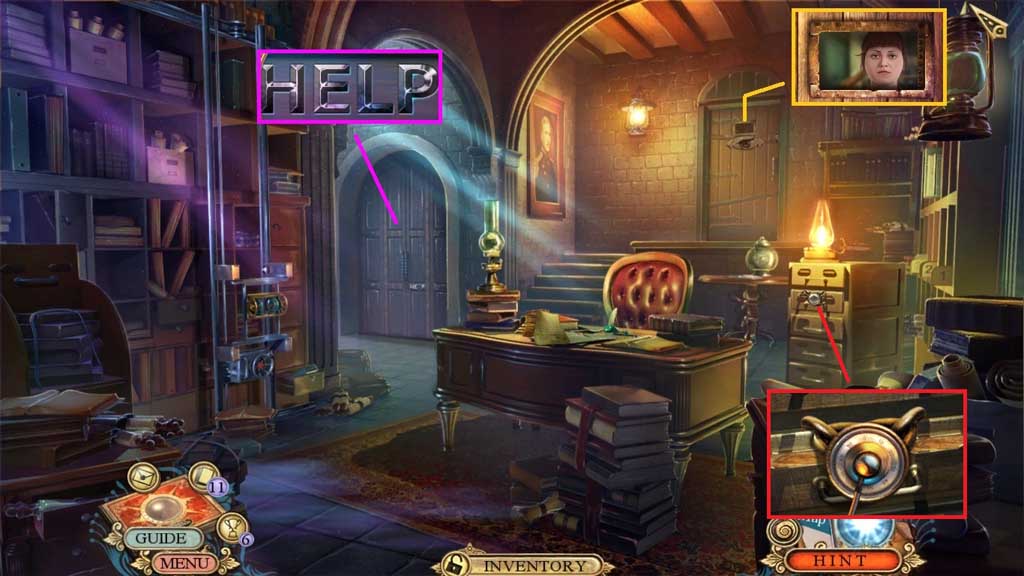
- Click the panel.
- Insert the letter L.
- Place the stethoscope and click it 4x’s to trigger a hidden objects area.
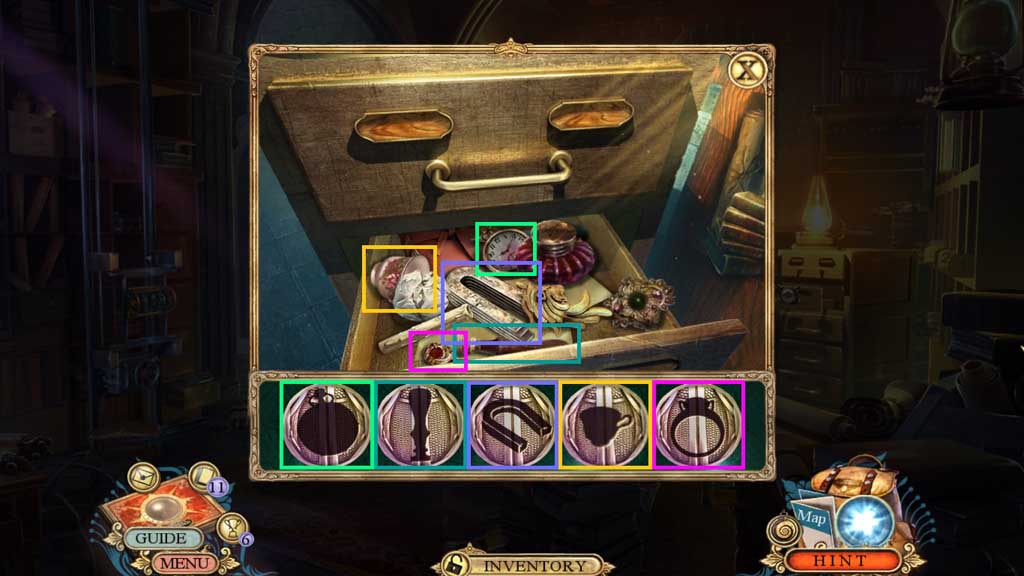
- Find the items.
- Collect the magnet.
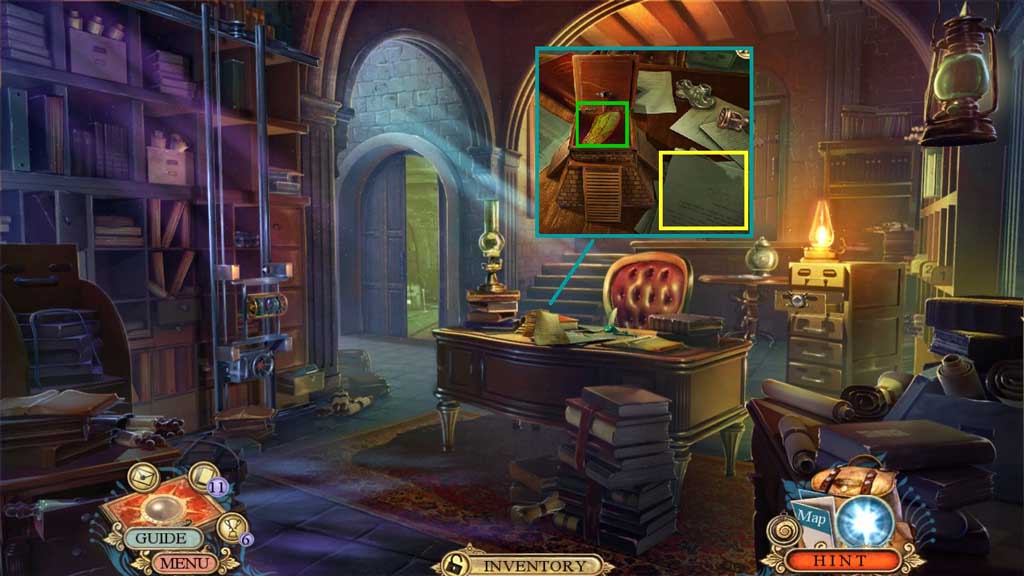
- Collect the note and insert the triangle.
- Collect the mechanical wing.
- Move ahead.
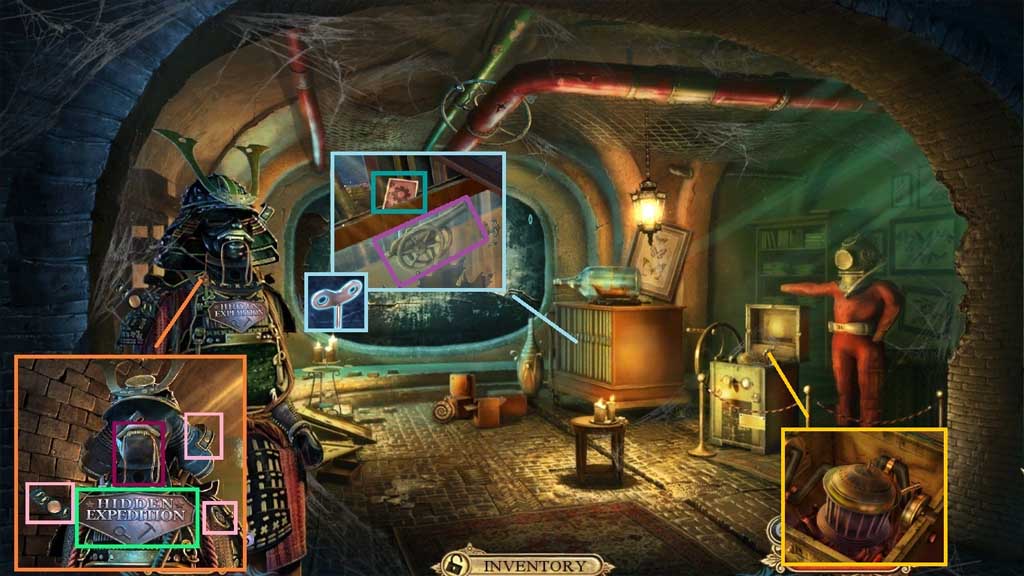
- Collect the H.E.L.P. crest; click the 3 parts.
- Collect the leather string.
- Click the cabinet; collect the fact card.
- Select the magnet to collect the small cannon.
- Click the right arrow and click the cabinet.
- Select the magnet to collect the wind up key.
- Select the bellows to remove the cobwebs; collect 1 /3 Atlantis parts and the hose.
- Move down once.
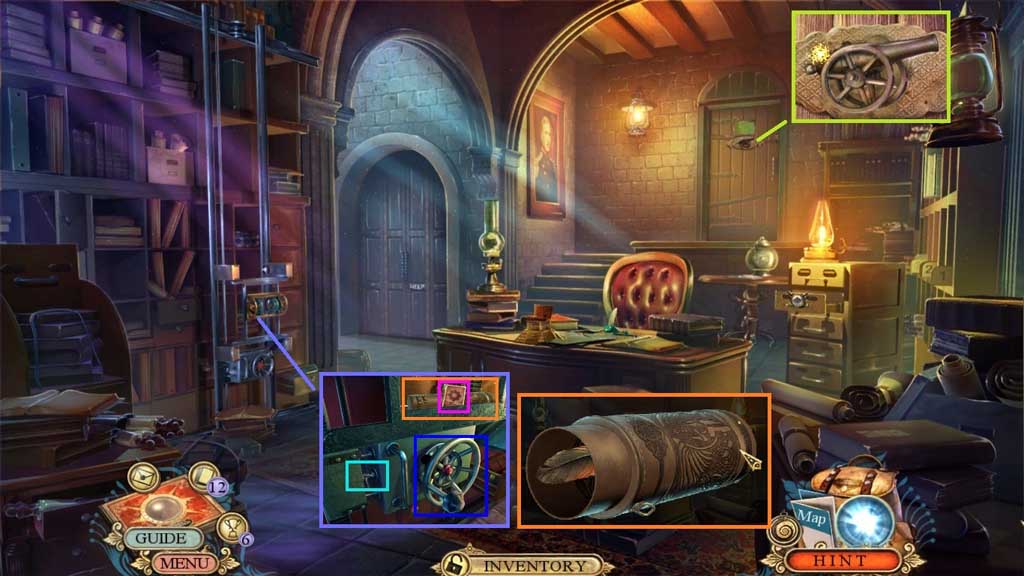
- Insert the small cannon.
- Attach the hose and the leather string; click the valve.
- Collect the fact card and the leather tube.
- Click the leather tube and collect the quill.
- Move to the Inventions Room.
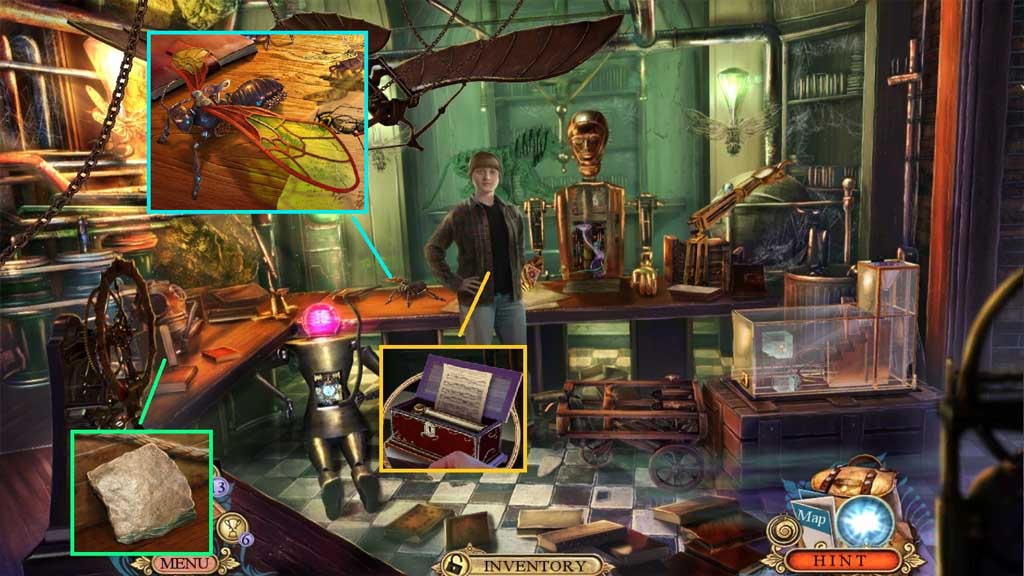
- Select the music box to give the Sarah; collect Sarah’s song.
- Collect the stone slab.
- Insert the wind up key and attach the mechanical wing.
- Collect the insect.
- Move to the Repository.
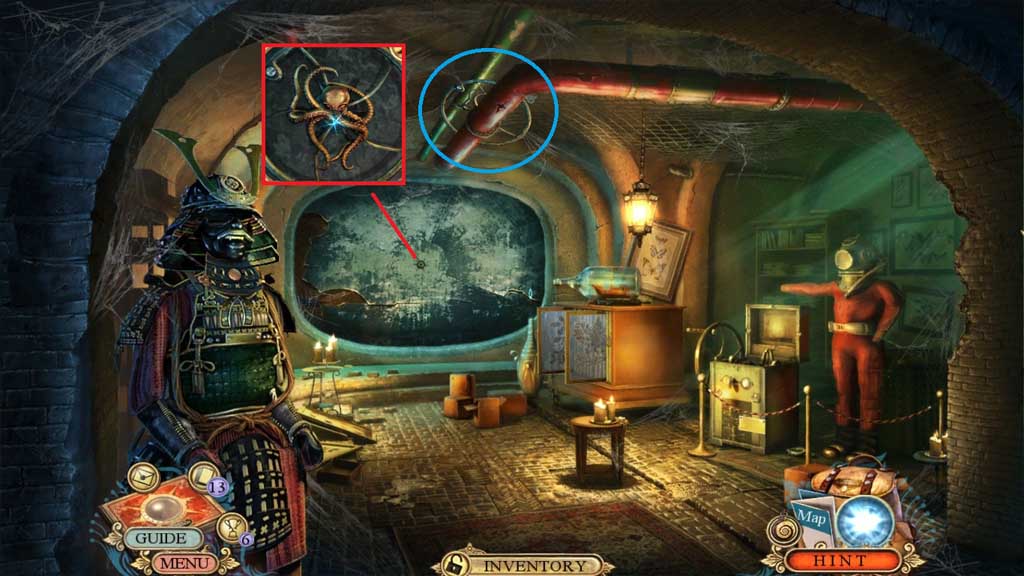
- Select the insect to collect the valve.
- Attach and click the valve to trigger a hidden objects area.
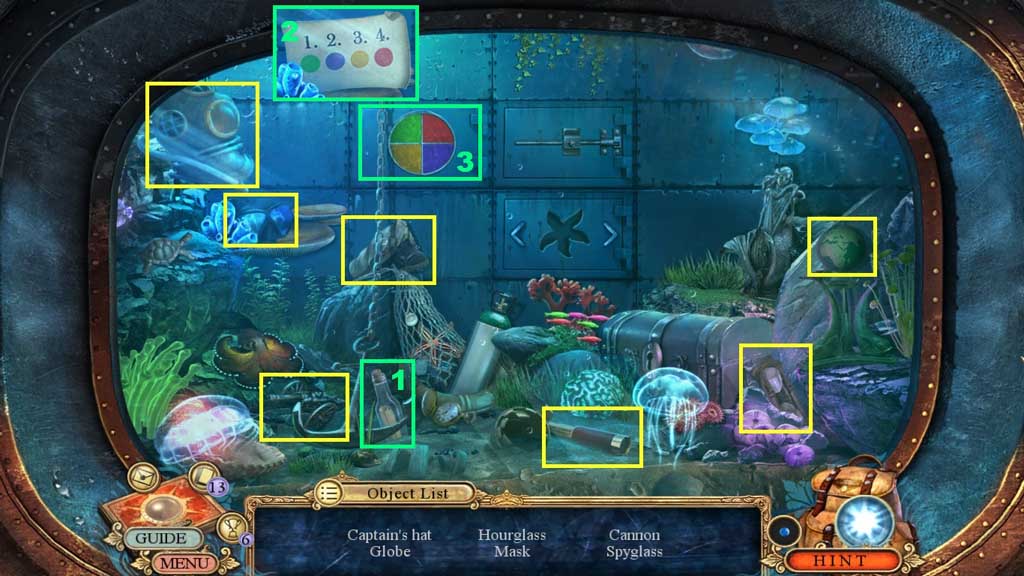
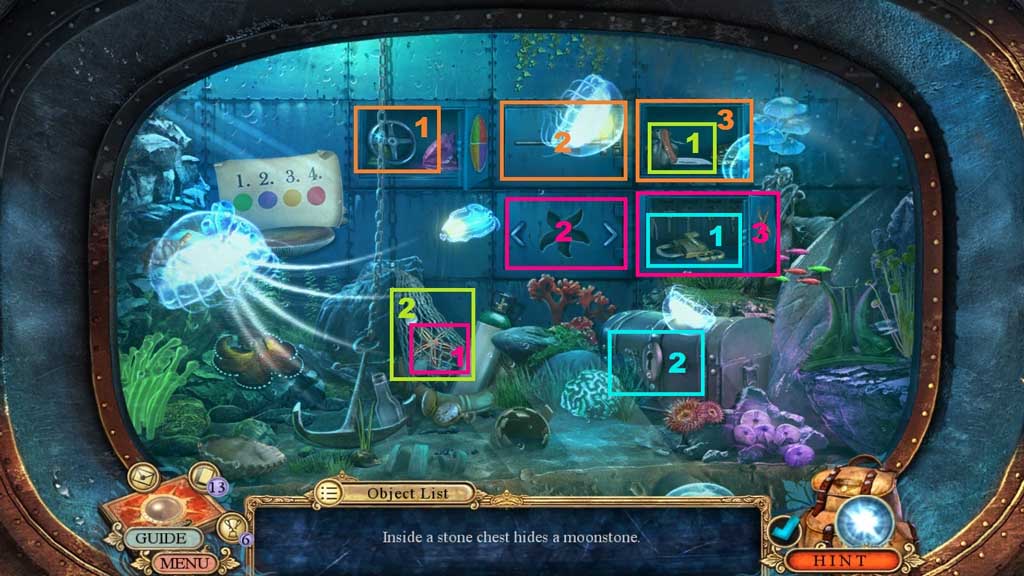
- Find the items.
- Collect the shell.
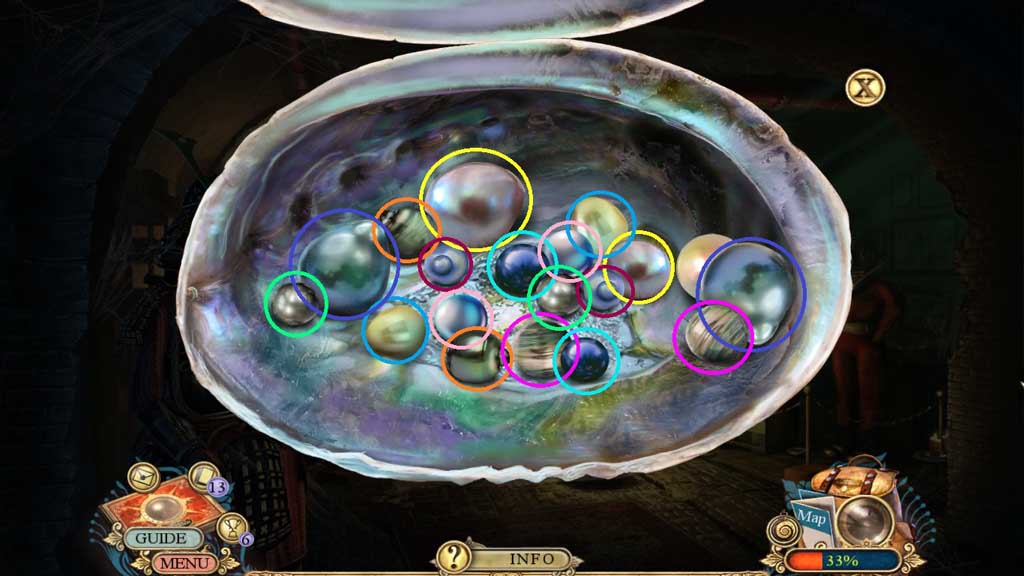
- Click the shell open to trigger a mini game.
- Solve the game by matching the pearls until there is only one remaining.
- Receive the pearl and the sharp shell.
- Move to the Inventions Room.
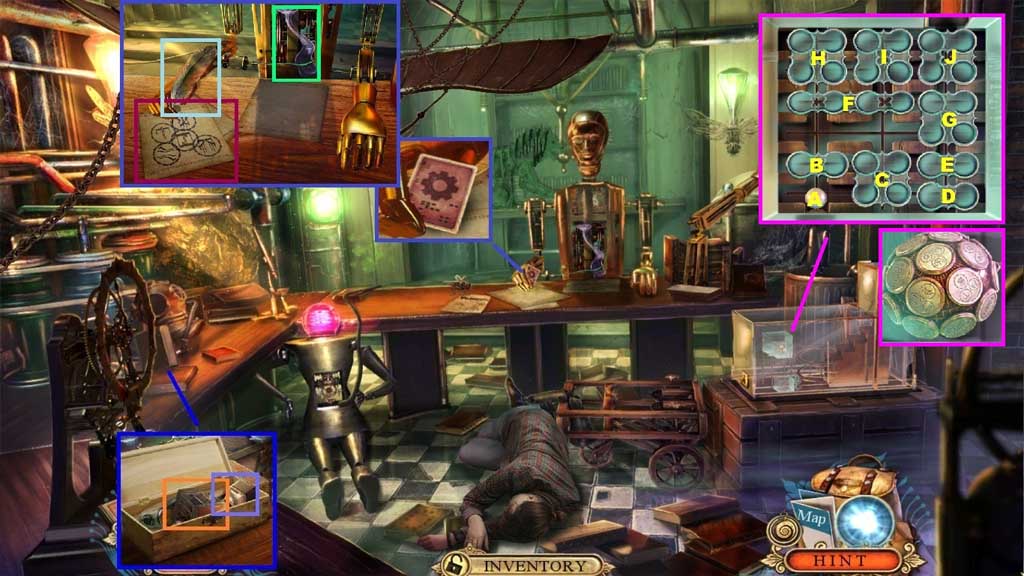
- Select the sharp shell to slice the ropes.
- Click the box; collect 2/ 3 Atlantis parts and the ink bottle.
- Collect the fact card.
- Select the quill to write on the paper.
- Click the up arrow and select the ink bottle and pour it into the tube.
- Collect the symbols.
- Place the pearl into the glass box to trigger a mini game.
- Solve the game by sliding the tiles to move the pearl to the exit on the upper right.
- Use the following solution to solve: B – up , B – right , A – up , C – left, E – left, D – left, G – down , F – right , A – up , B – left, F –down , A – right, B – up , B – right, H – down, I – left, J – left, A – up
- Collect the sphere.
- Move to the Meeting Room.
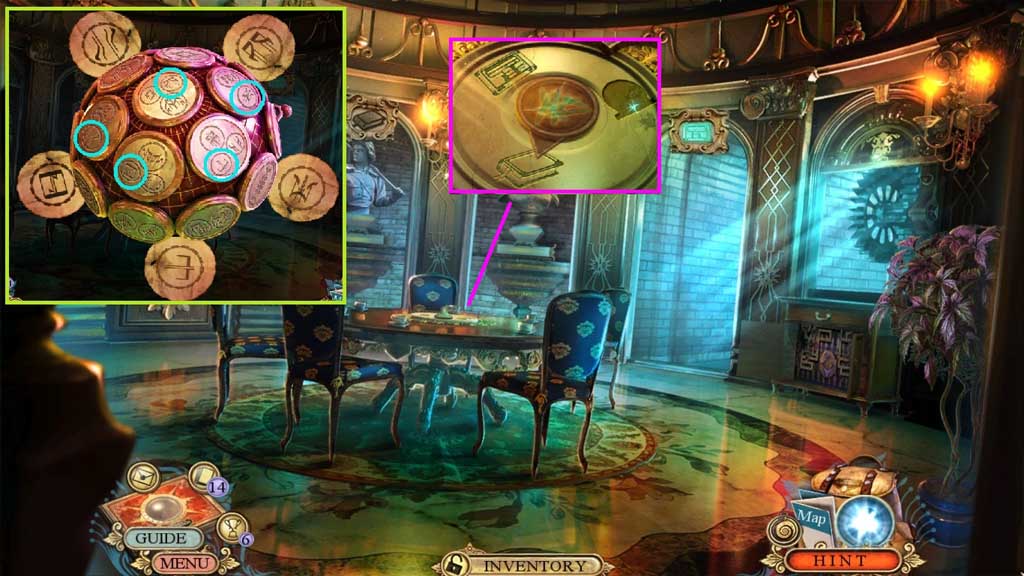
- Place the symbols onto the sphere to trigger a mini game.
- Solve the game by clicking the 5 symbols.
- Collect the book symbol and insert it into the center of the table.
- Move to the Library.
Comments will load when you reach this part of the walkthrough.