

Chapter 5 The Lab
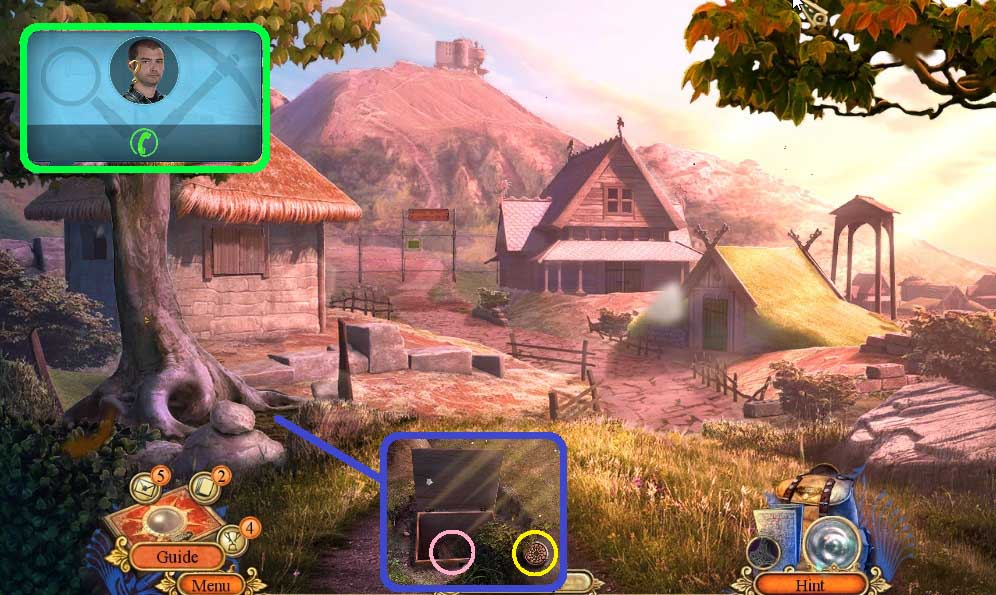
- Answer the phone.
- Collect the miniature shield.
- Select the shovel to uncover & open the box; collect the rotating segment.
- Move to the Village Hall.
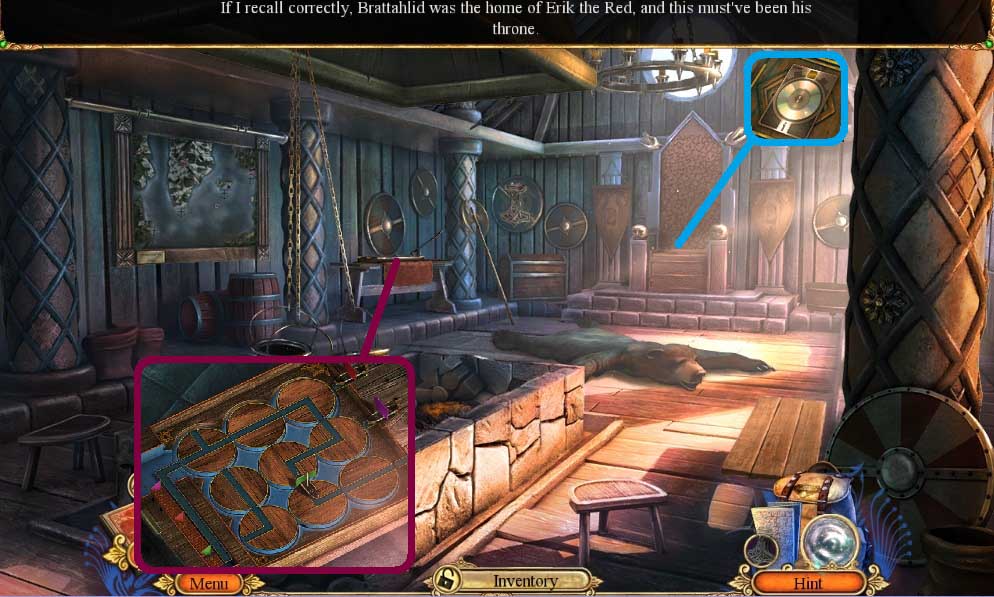
- Click the seat; collect the fact card.
- Insert the rotating segment to trigger a mini game.
- Solve the game by aligning the segment correctly.
- Collect the church key.
- Move down once.
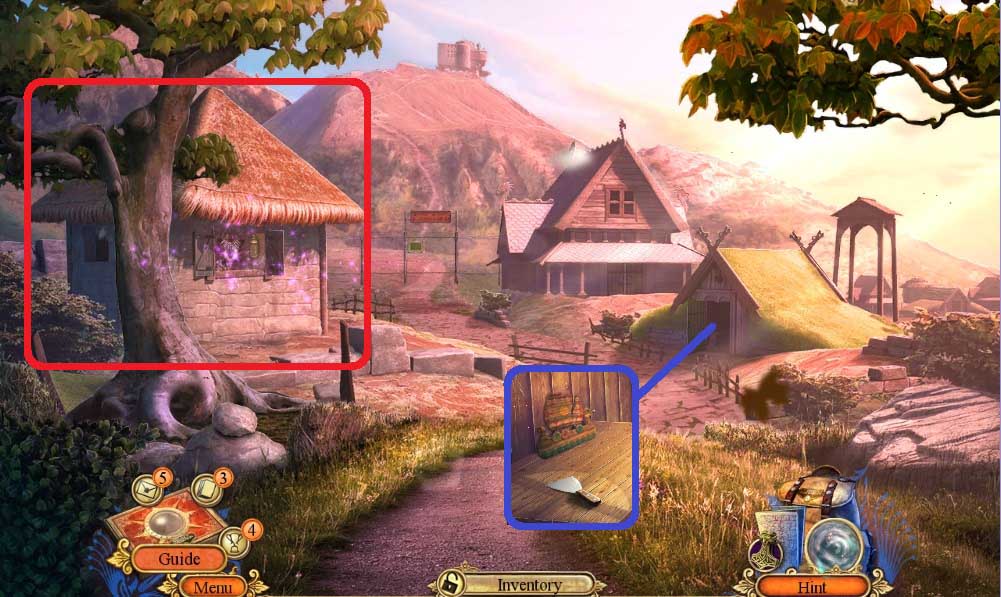
- Insert the church key.
- Collect the putty knife & wooden ship.
- Use the putty knife to trigger a hidden objects area.
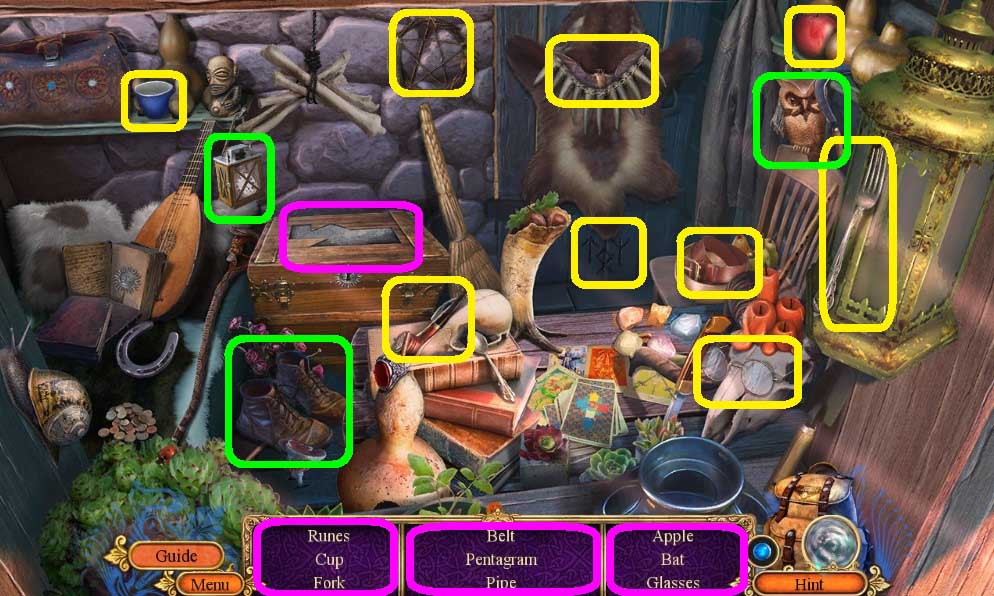
- Find the items.
- Collect the bracelet.
- Move to the Village Hall.
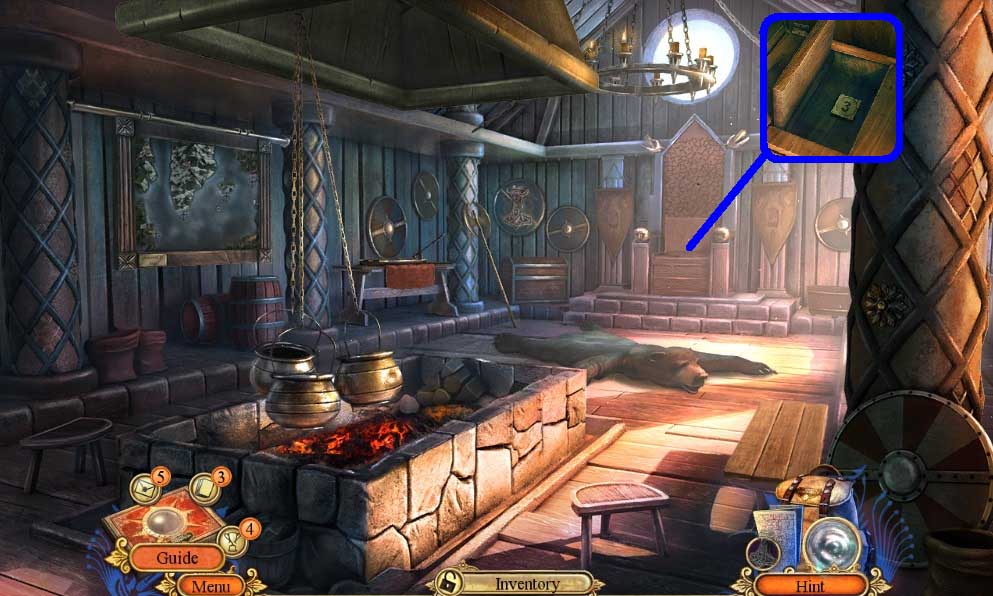
- Insert the bracelet; collect the gate button.
- Move down once.
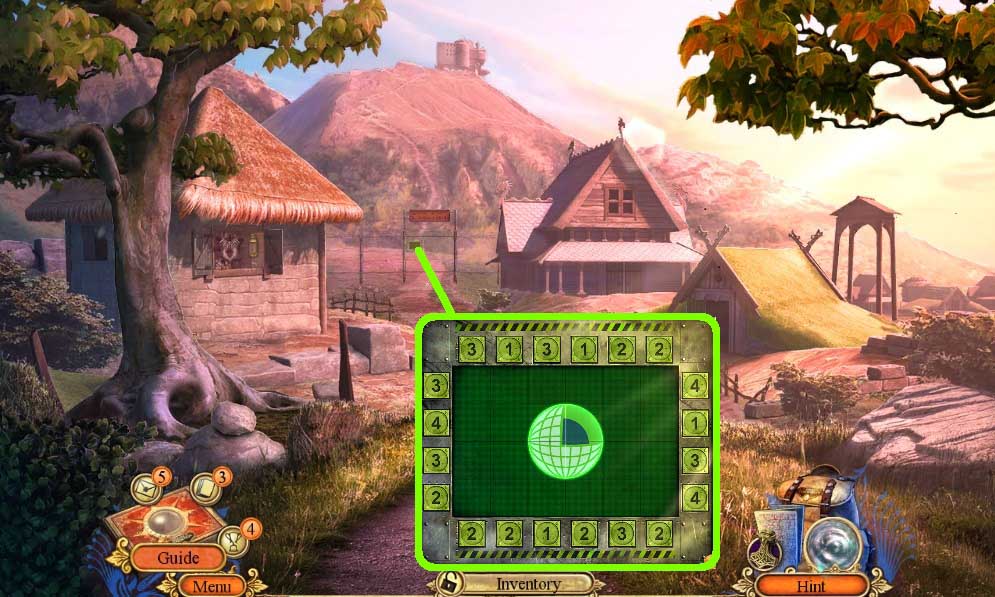
- Attach the gate button to trigger a mini game.
- Solve the game by assembling the logo.
- Enter the gate.
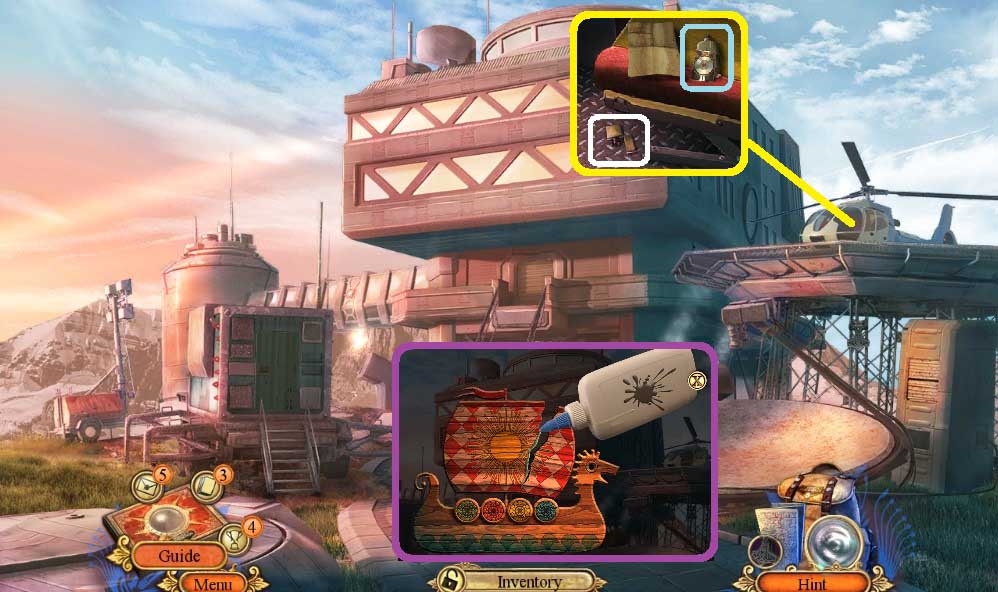
- Click the helicopter door.
- Collect the lighter.
- Examine the note; collect the fact card & glue.
- Attach the miniature shield and use the glue on the wooden ship.
- Collect the ship emblem.
- Move to the Village Hall.
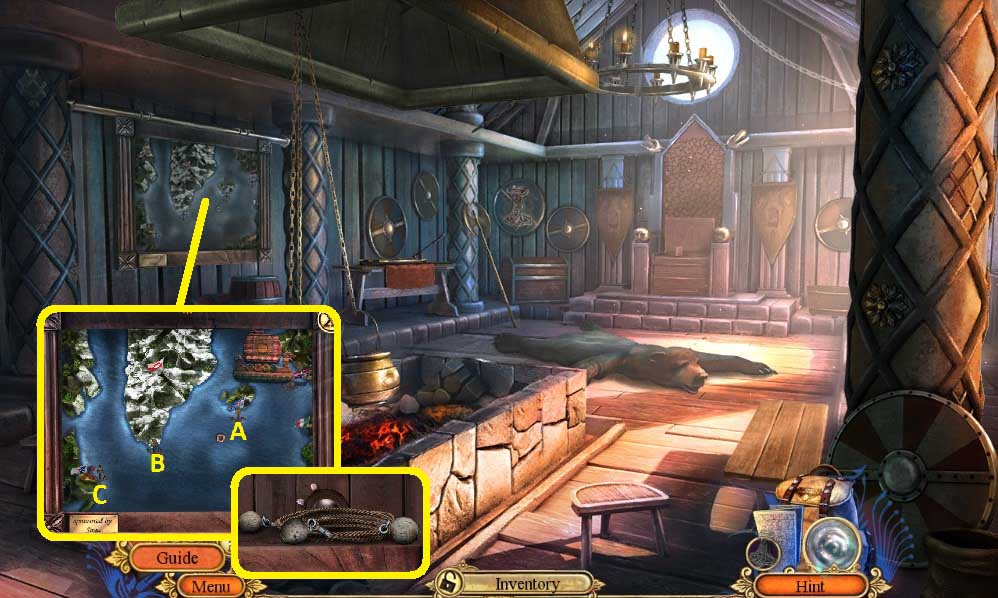
- Attach the ship emblem; click the anchors in ABC order.
- Collect the bolas & sensor.
- Move to the Facility Entrance.
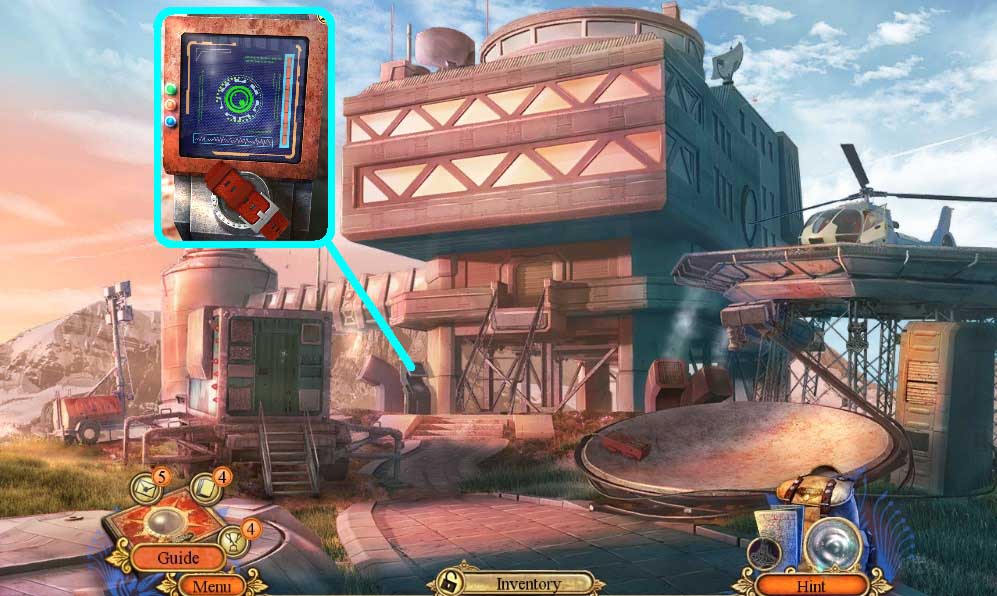
- Attach the sensor and insert Sven’s ID watch.
- Move into the SAGA facility.
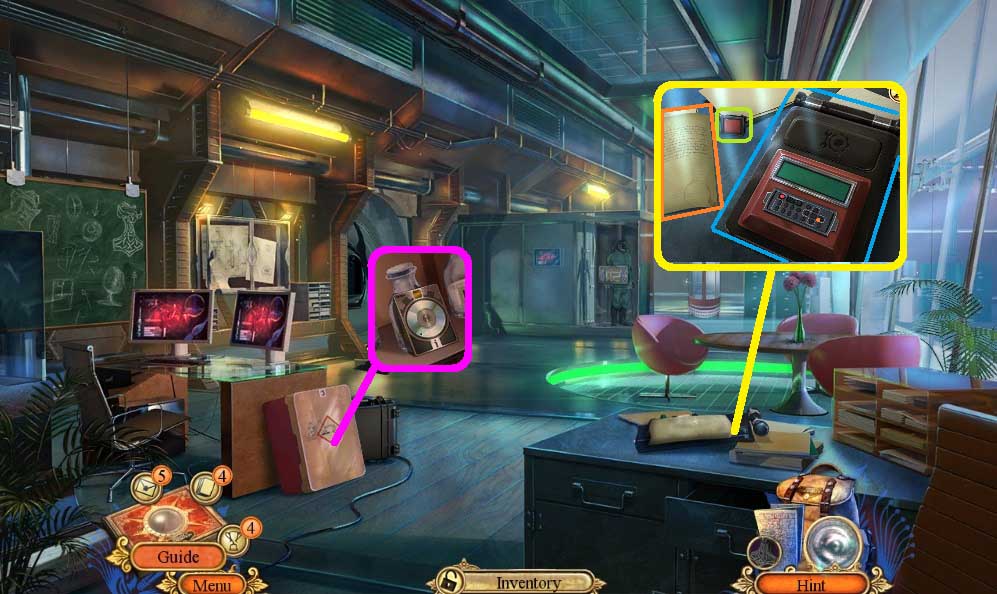
- Examine the note.
- Collect the broken code breaker & switch.
- Click the case; collect the fact card & sulfur.
- Move down once.
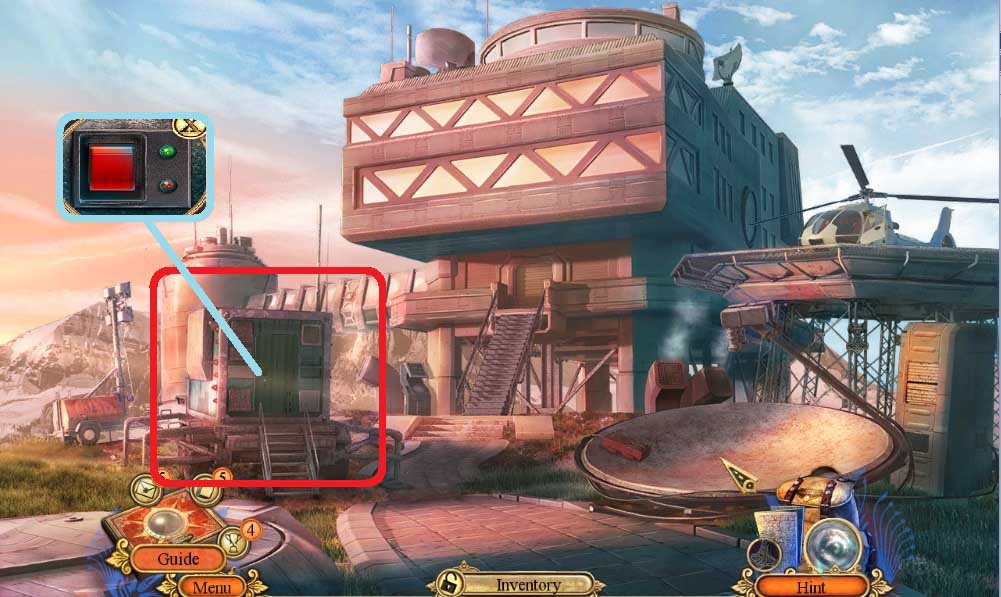
- Attach & click the switch to collect the hidden objects area.
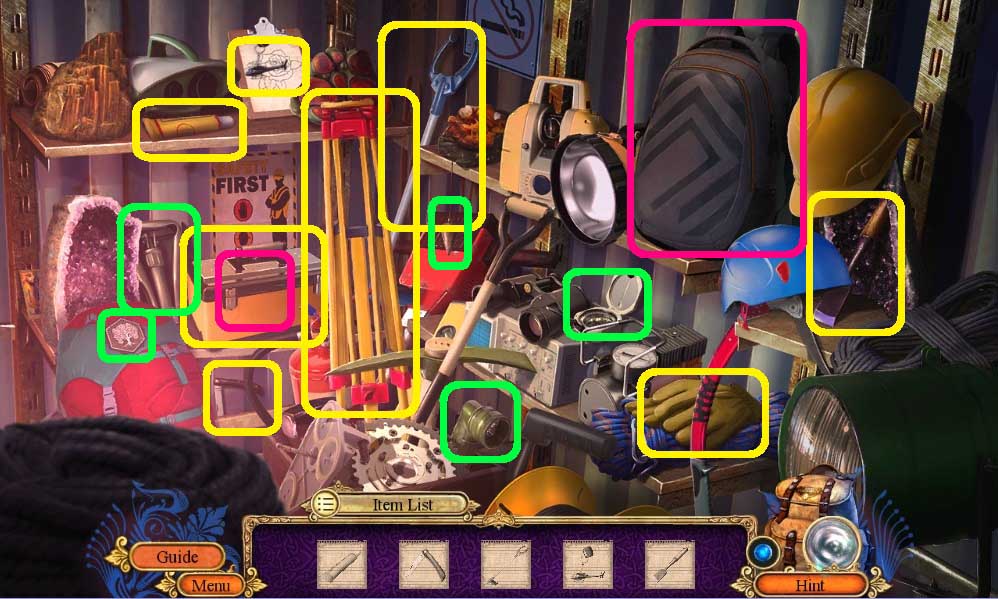
- Find the items.
- Collect the grabber tool.
- Enter the SAGA Facility and into the glass tunnel.
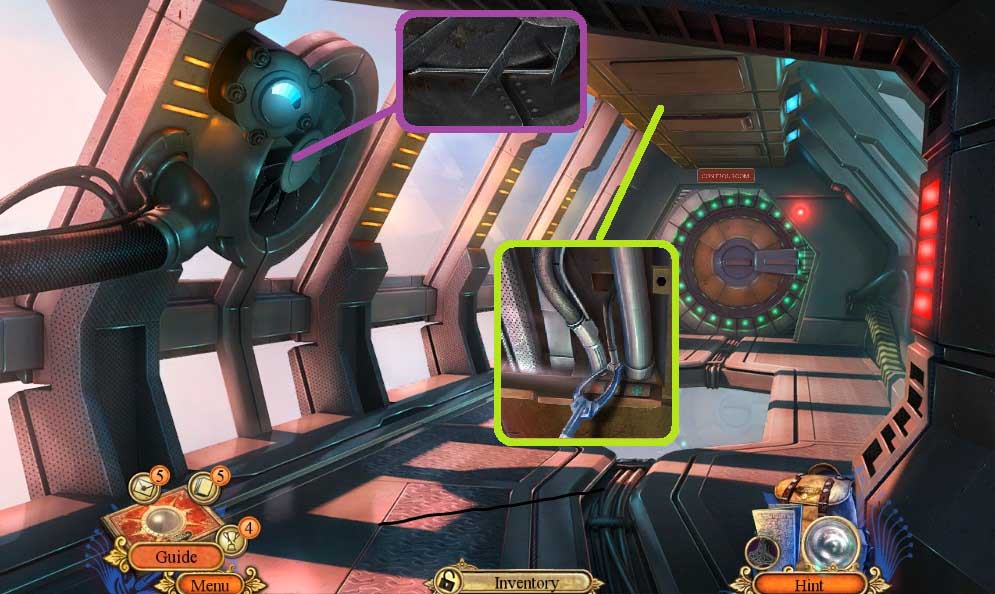
- Use the grabber tool 2x’s.
- Collect the crowbar.
- Move down once.
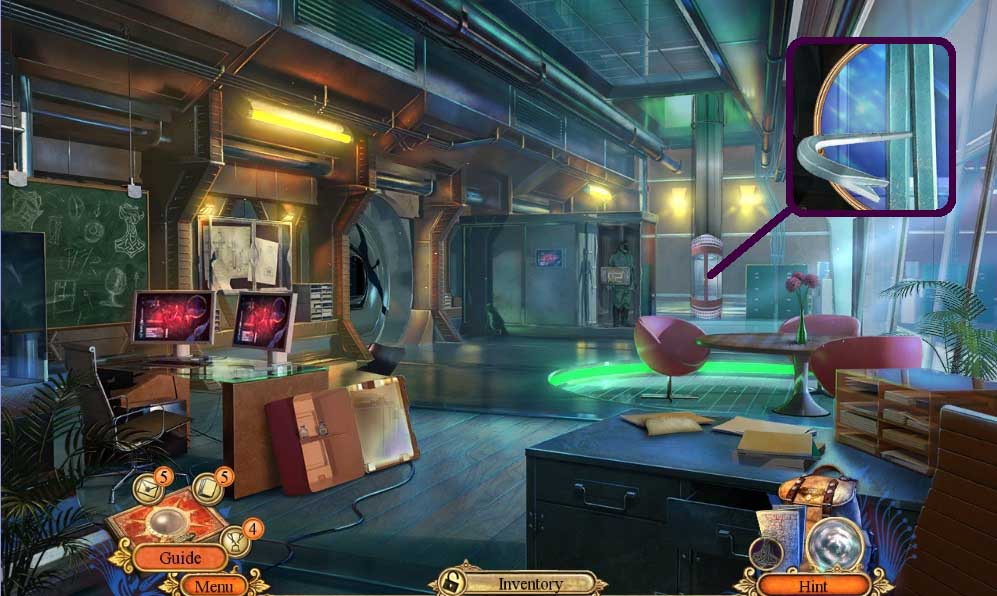
- Use the crowbar to open the doors.
- Move up.
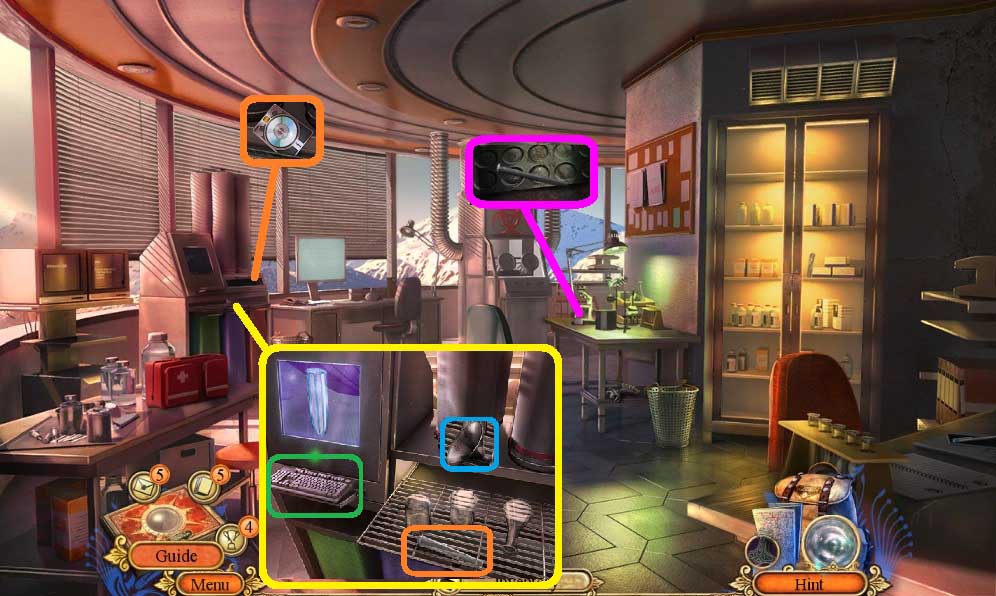
- Collect the fact card.
- Click the drawer; collect the funnel.
- Place the dirty vial.
- Click the keyboard.
- Click the door; collect the clean vial.
- Collect the screw.
- Move down once.
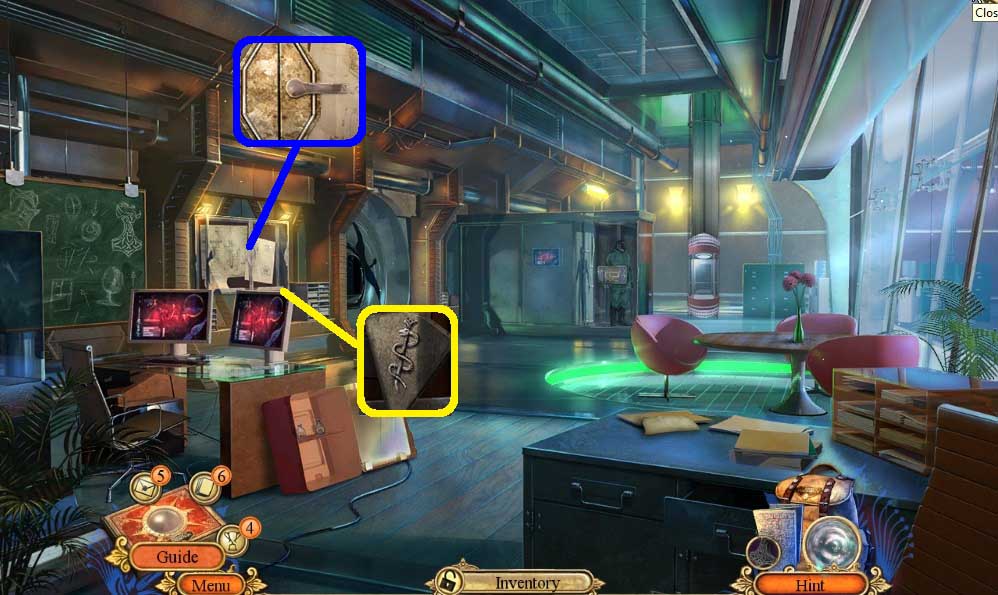
- Insert the screw; collect the handle.
- Collect the Asclepius symbol.
- Move to the Lab.
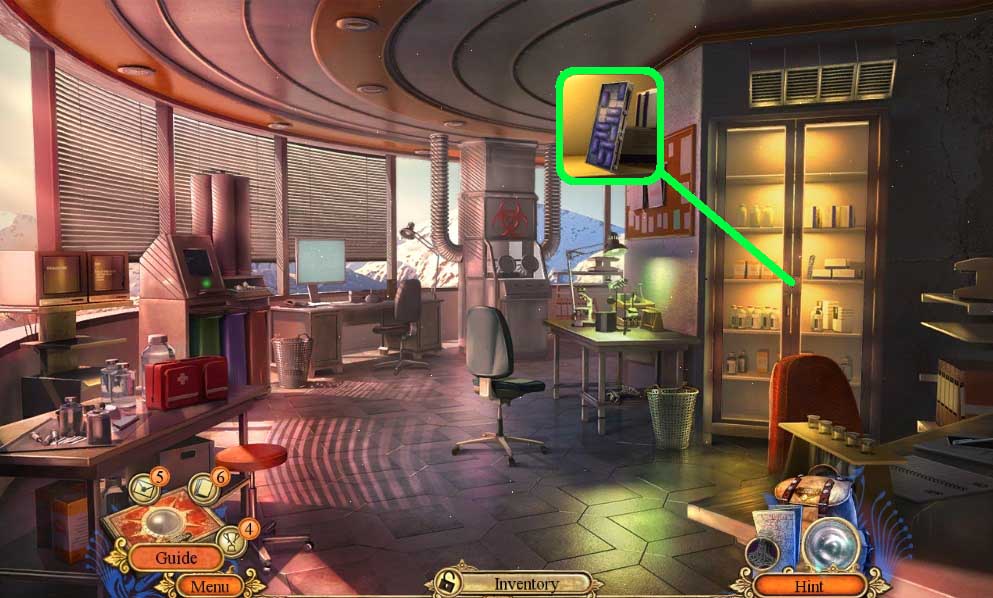
- Insert the Asclepius symbol; collect the fuses.
- Move down once.
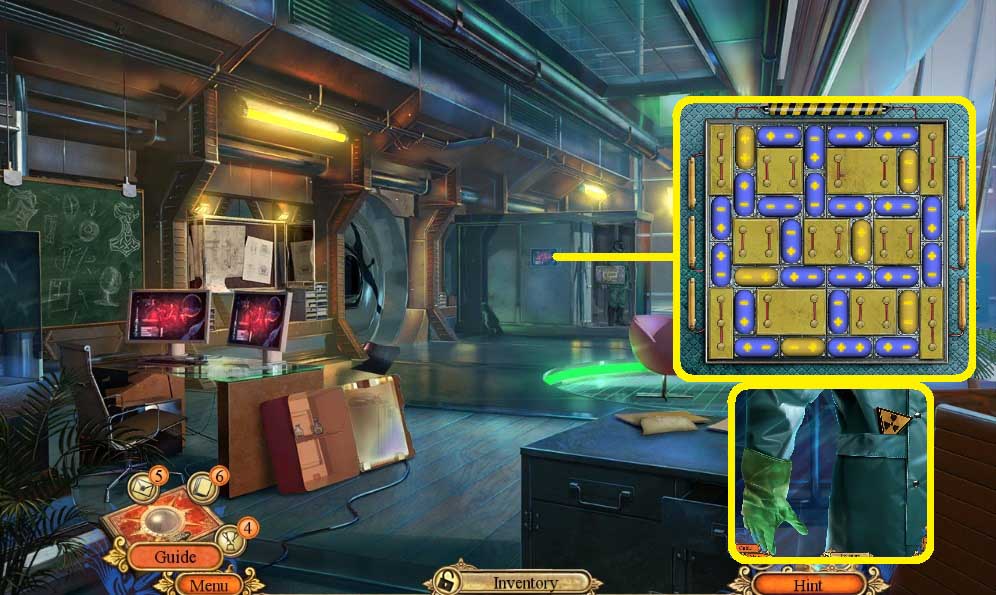
- Insert the fuses to trigger a mini game.
- Solve the game by connecting the tiles correctly.
- Collect the hazard symbol & rubber glove.
- Move to the Lab.
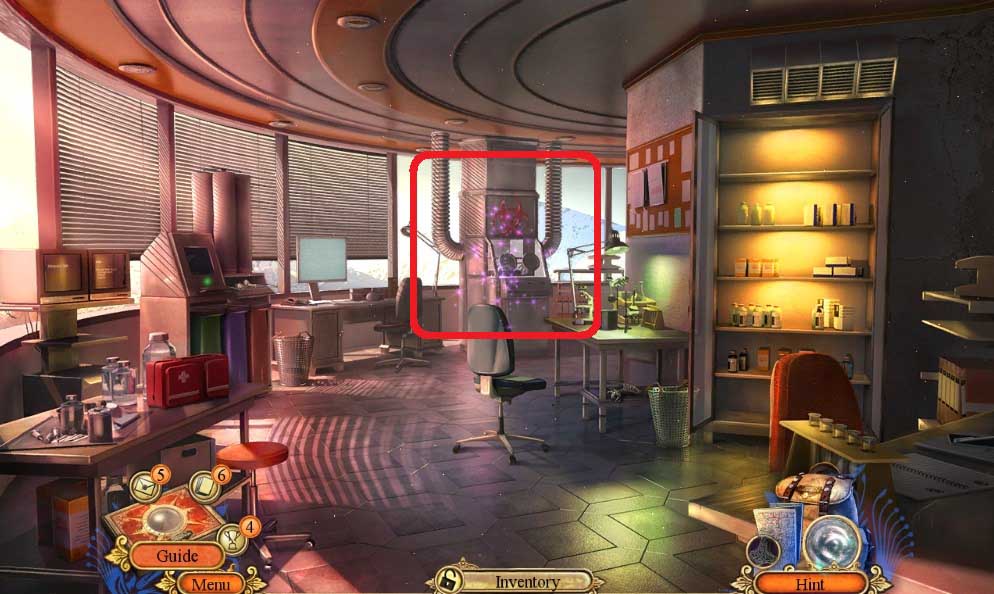
- Use the rubber glove to trigger a hidden objects area.
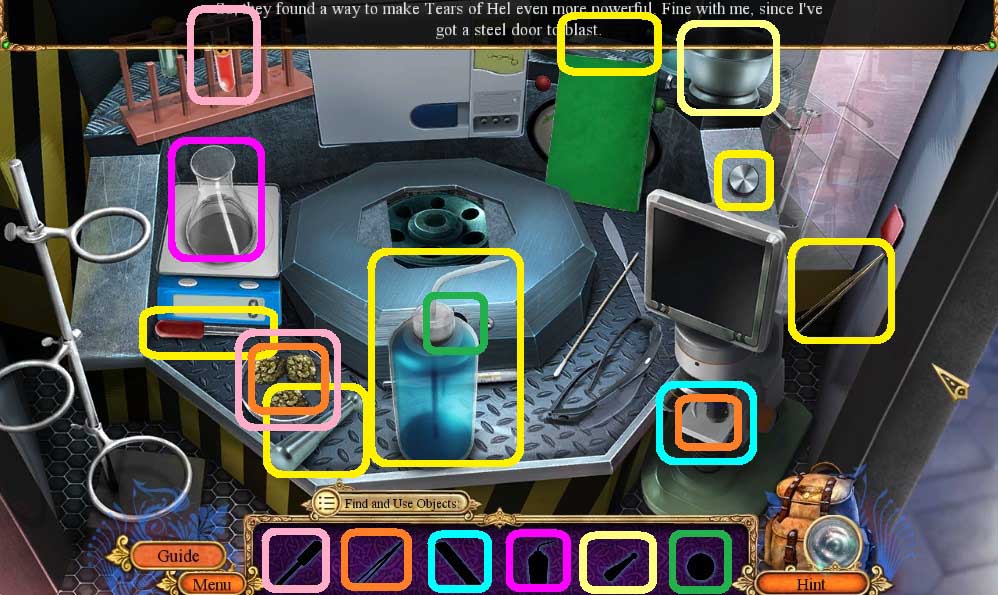
- Find the items.
- Collect the tears of Hel.
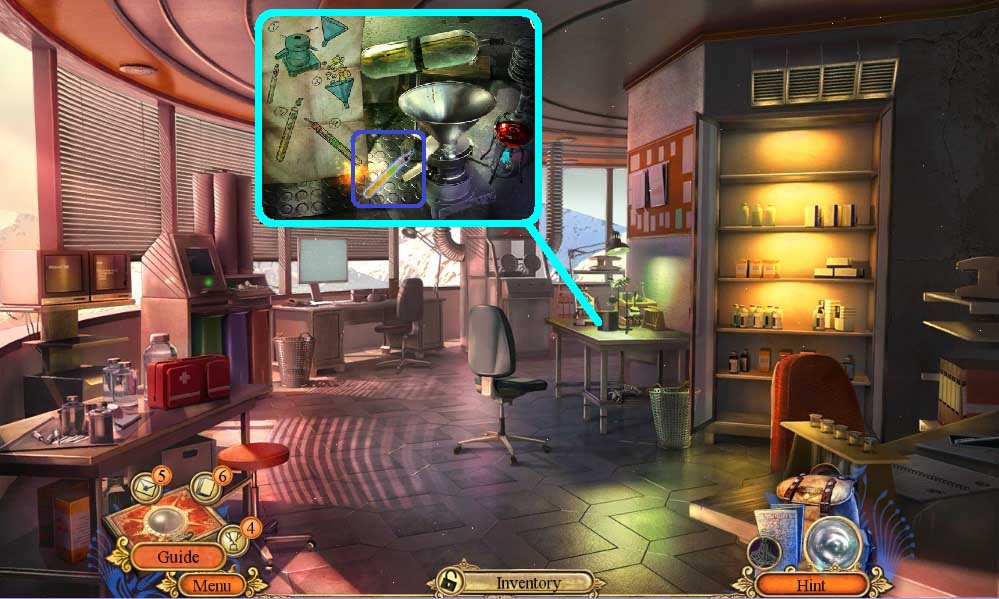
- Place the clean vial & the funnel; pour in the sulfur.
- Use the tears of Hel in the vial; insert the stopper.
- Move to the Glass Tunnel.
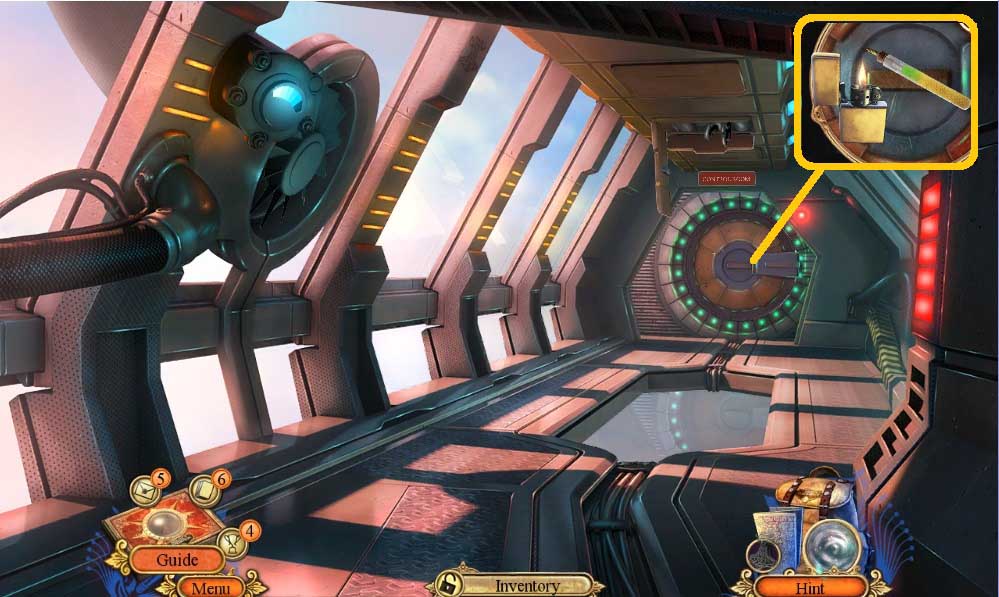
- Use the bomb and ignite it using the lighter.
- Move into the Control Room.
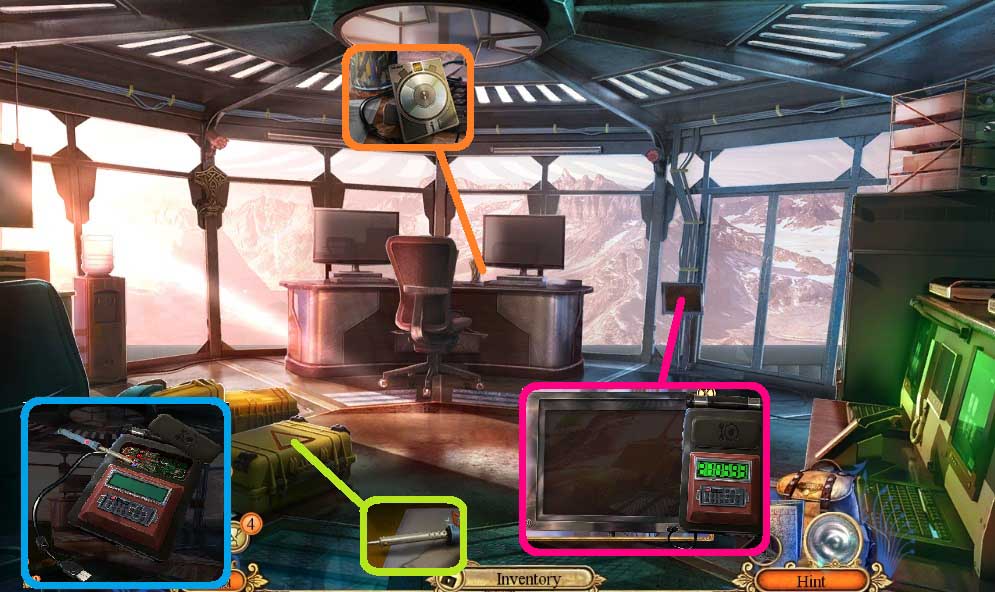
- Collect the fact card & cable.
- Insert the hazard symbol; collect the soldering iron.
- Click the broken code breaker cover & attach the cable.
- Use the soldering iron to repair the code breaker and place it onto the monitor.
- Move to the Underground Chamber.
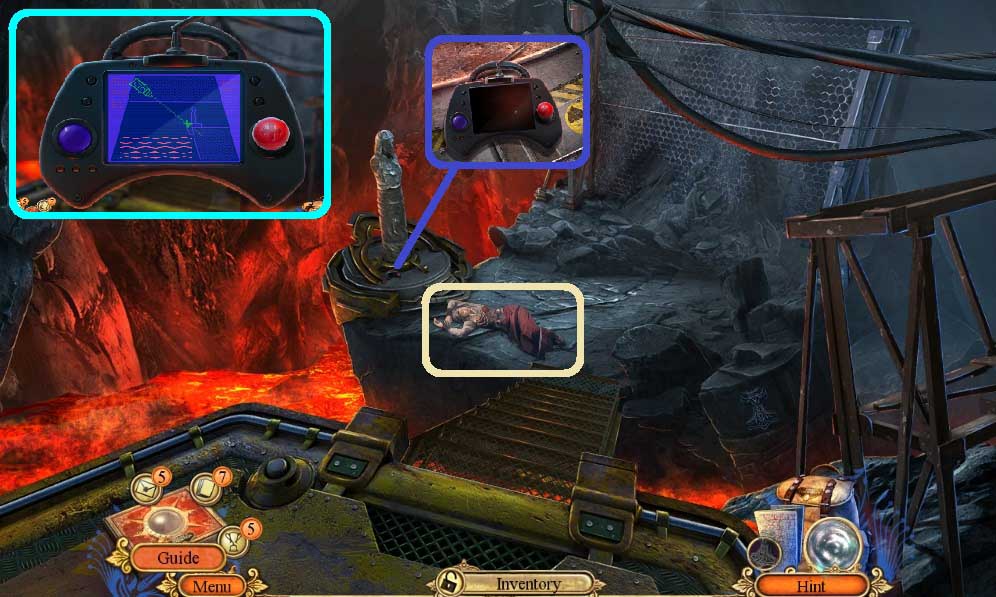
- Toss the bolas.
- Collect the drill remote & use it on the scene.
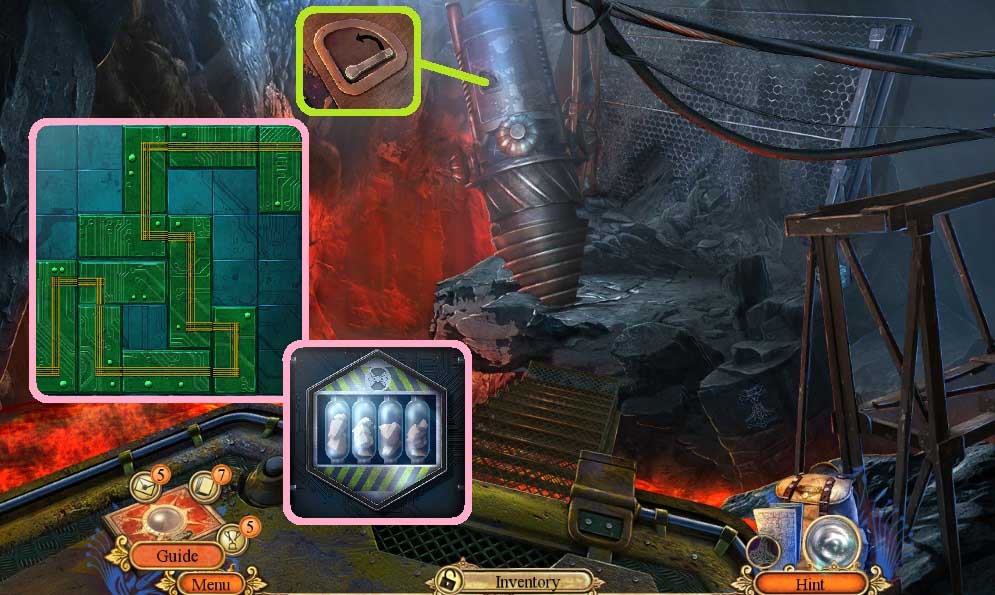
- Attach the handle to trigger a mini game.
- Solve the game by sliding the squares correctly to connect the wires.
- Click the Tears of Hel.
- Congrats! You have successfully completed the main game of Hidden Expedition: Midgard's End C.E.
Comments will load when you reach this part of the walkthrough.