Chapter Eight: The Portal
- Click anywhere in the cabin and the book of fire will prompt a search for 5 more runes – they are located on the ship’s deck, roof, chapel yard, the office and the second floor room.
- Once the book of fire is lit return to the ship’s deck and use the book on the cabin doorway
- Click on the portal and take the CASTLE AMULET and use the BOATHOOK to get the NET
- Click on the chest and take the SCRAPER, zoom in on the hatch to take the BOLT
- Go to the backyard
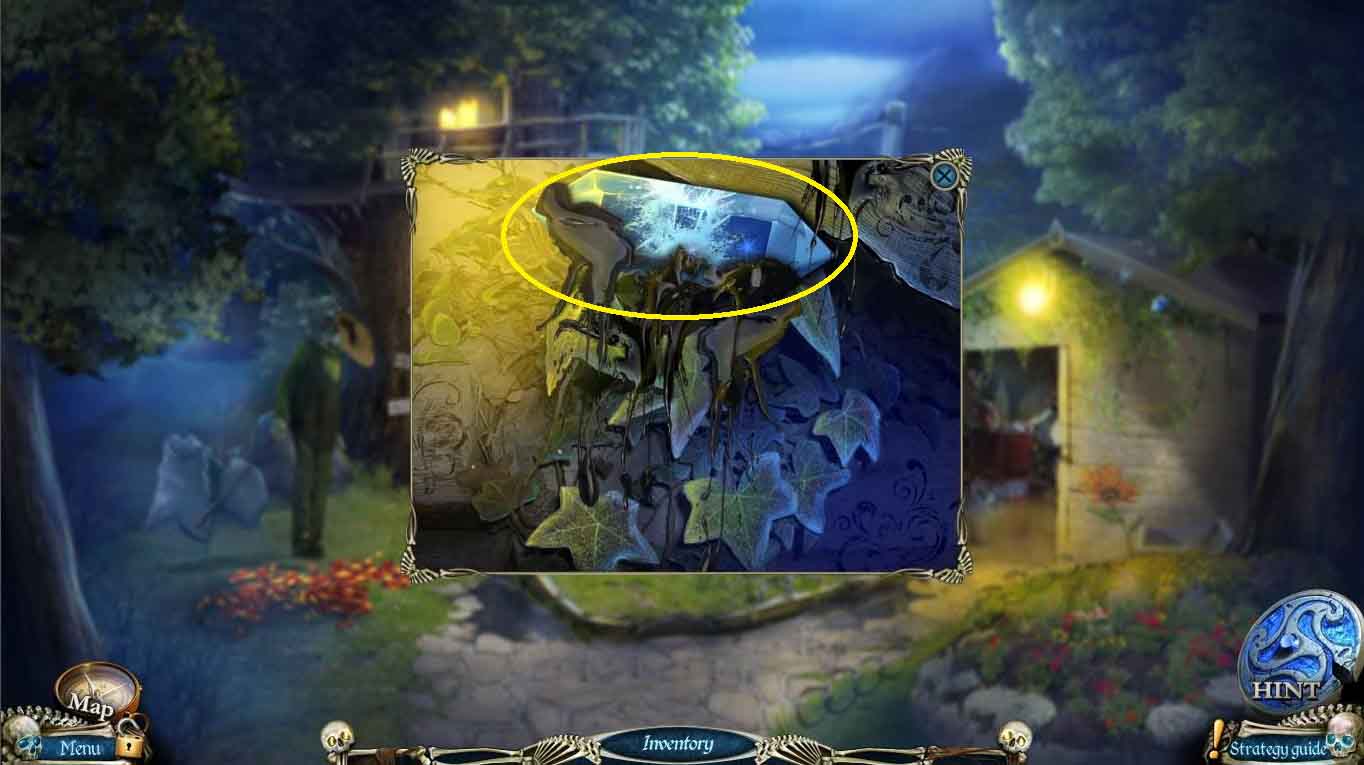
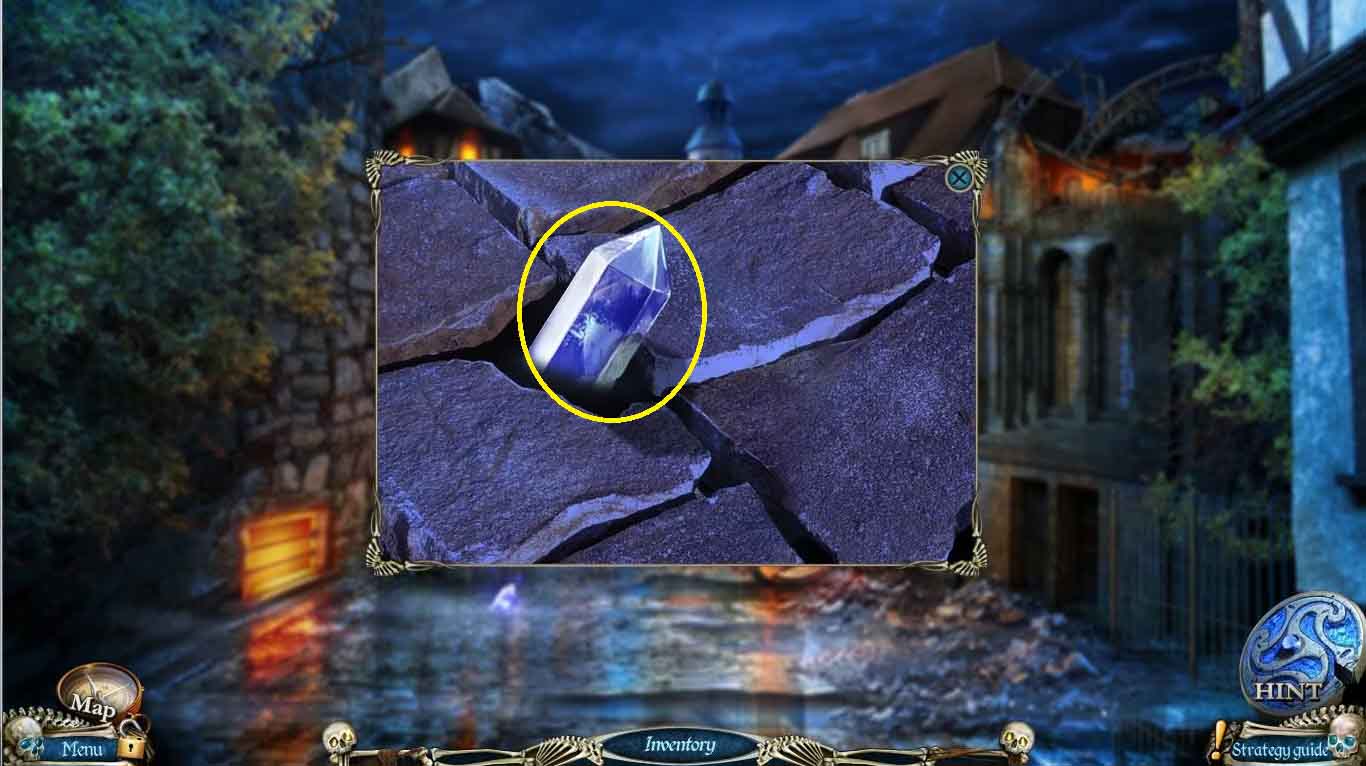
- Click on the roof of the shed and use the SCRAPER to get the CRYSTAL 2/5
- Go to the office
- Click on the cabinet and the BOLT to open the latch and unlock a hidden object scene
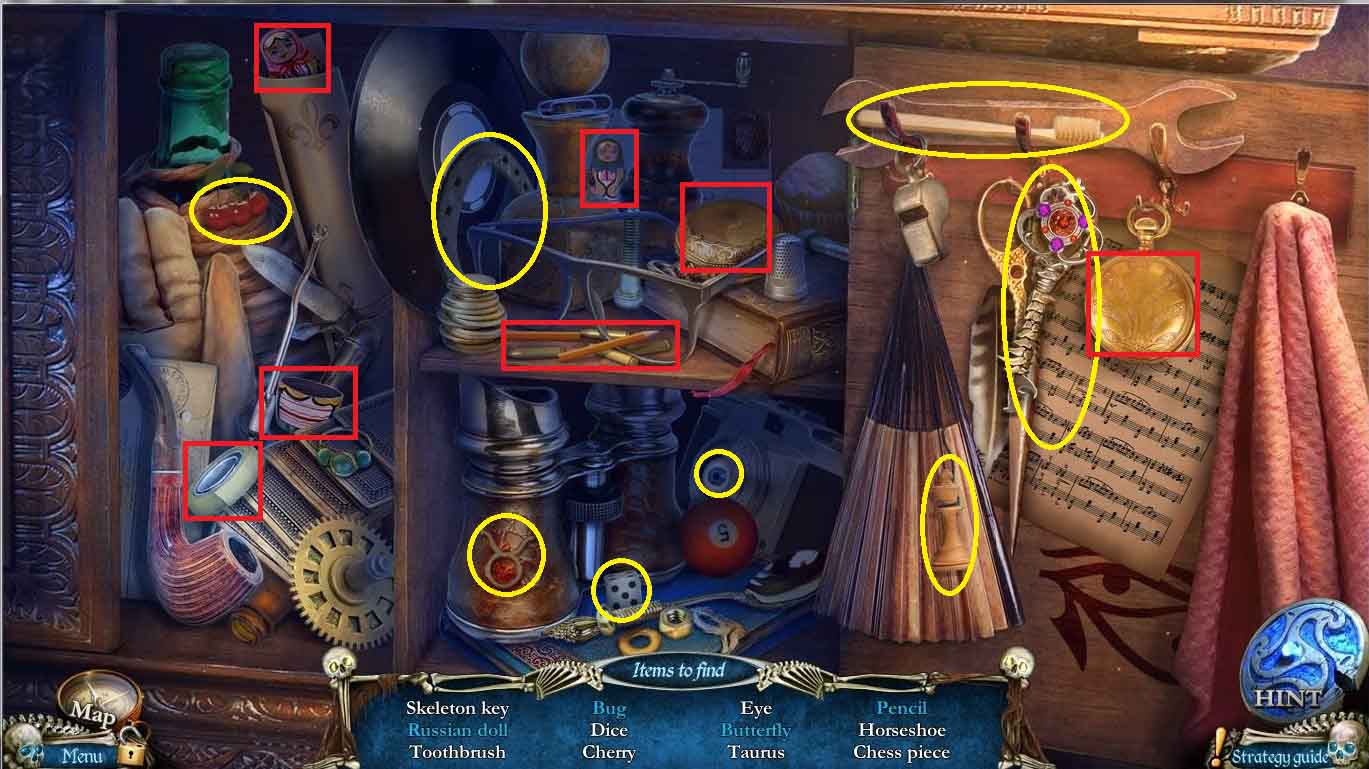
- Find all items listed
- Open the two pocket watches to find the bug and butterfly, use the tape to assemble the pencil and nest the dolls to get the Russian doll.
- Go to the cabin
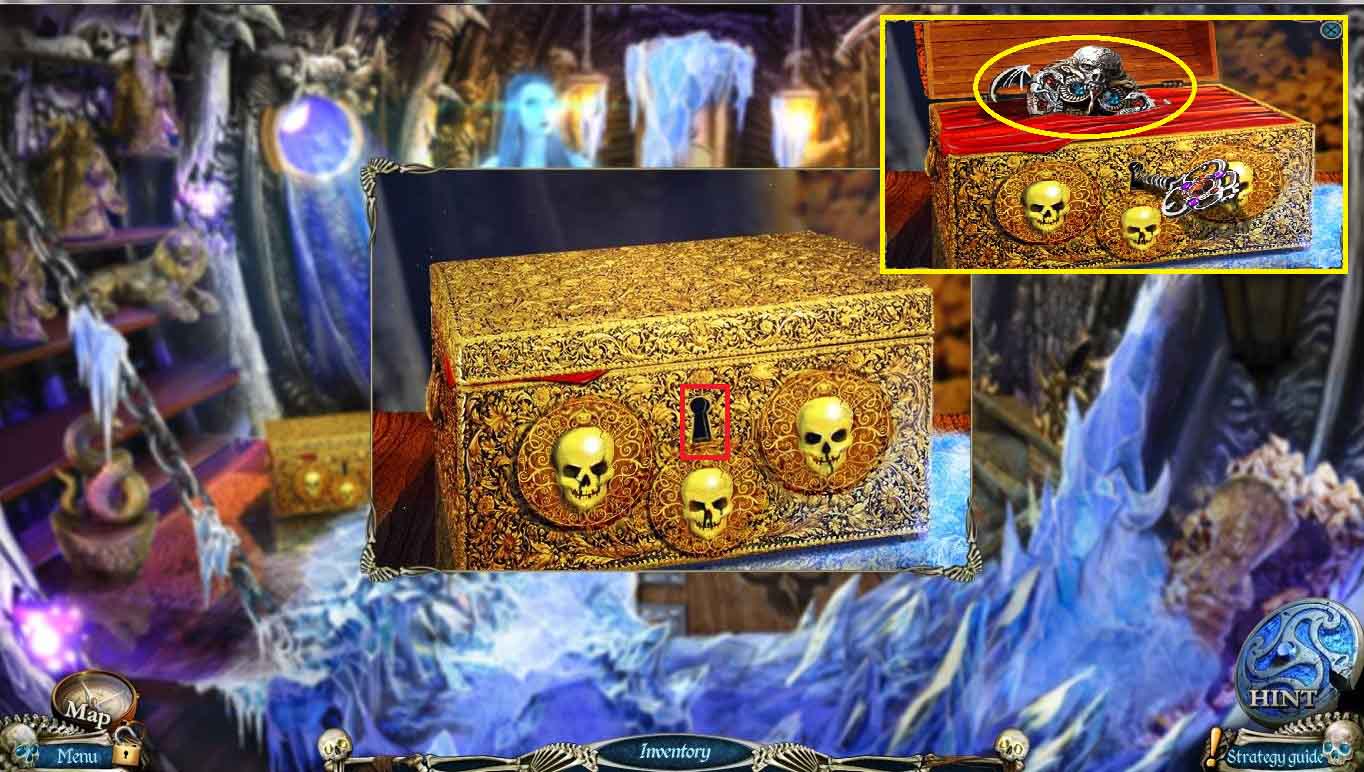
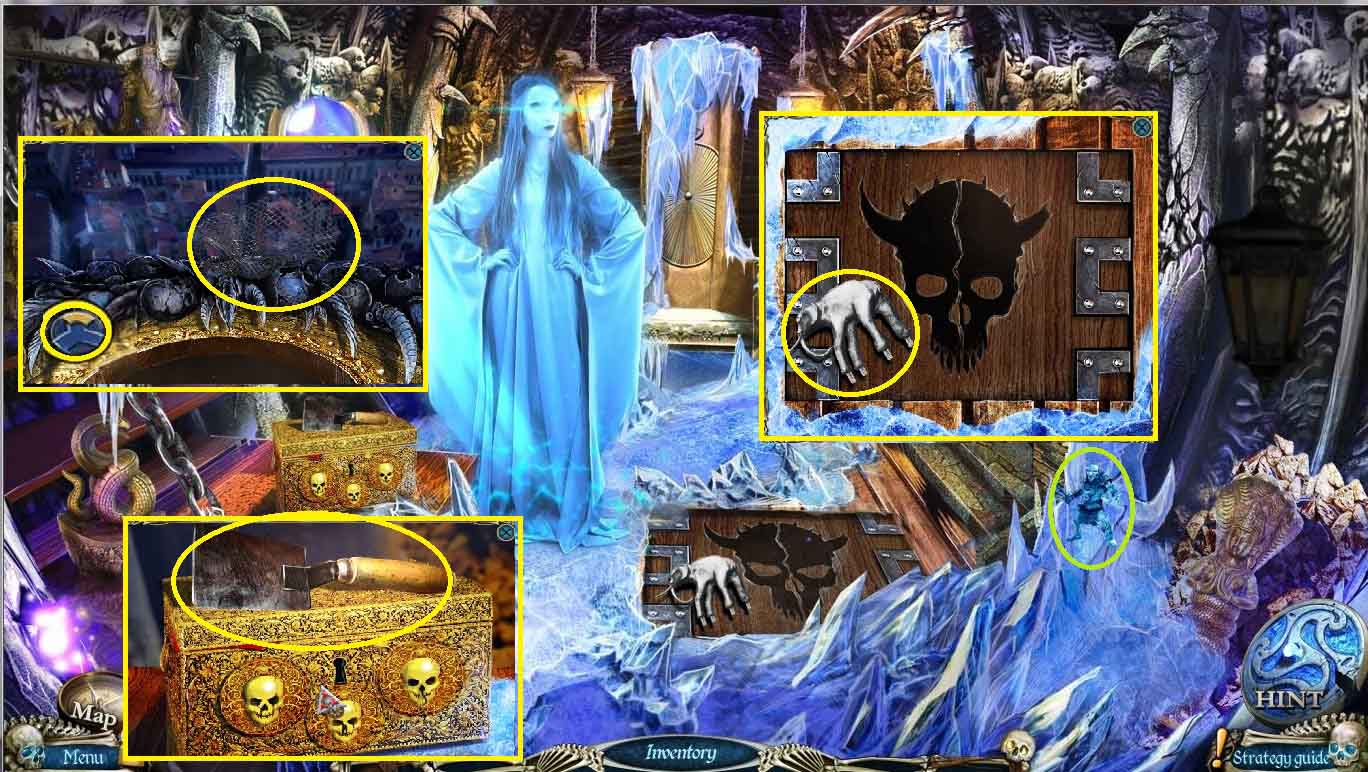
- Click on the chest and use the BONE KEY to unlock and take the MEDALLION OF THE UNDEAD
- Go back to the roof and use the MEDALLION OF THE UNDEAD to calm the skeletons
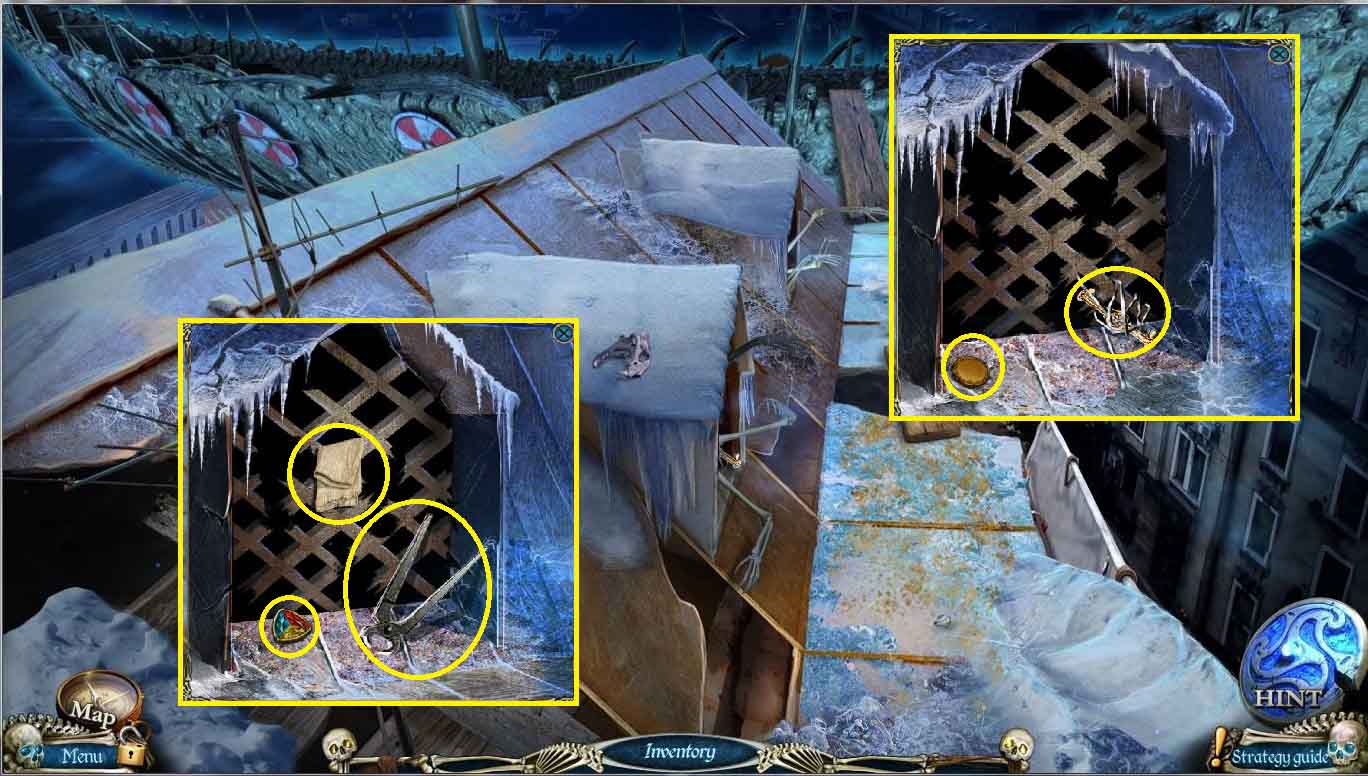
- Zoom in on the near window and take the YELLOW CRYSTAL 3/3 and use the CUTTERS to free the DRAWER HANDLE
- Click on the far window and take the RAG, COLORED CRYSTAL 2/3 and PLIERS
- Go back to the chapel yard
- Click on the crystal and use the PLIERS to take the CRYSTAL 3/5
- Go into the chapel
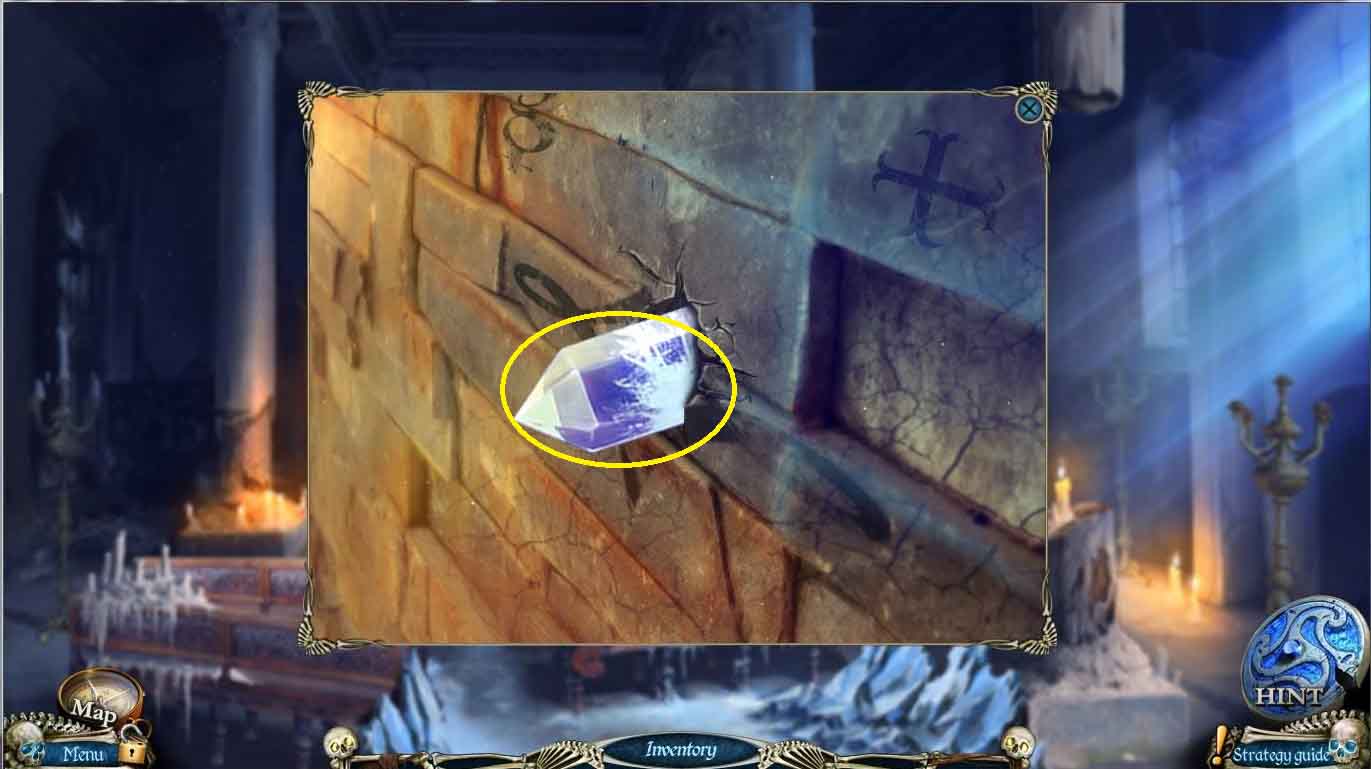
- Zoom in on and use the PLIERS to get the CRYSTAL 4/5
- Use the map to jump back to the souvenir shop
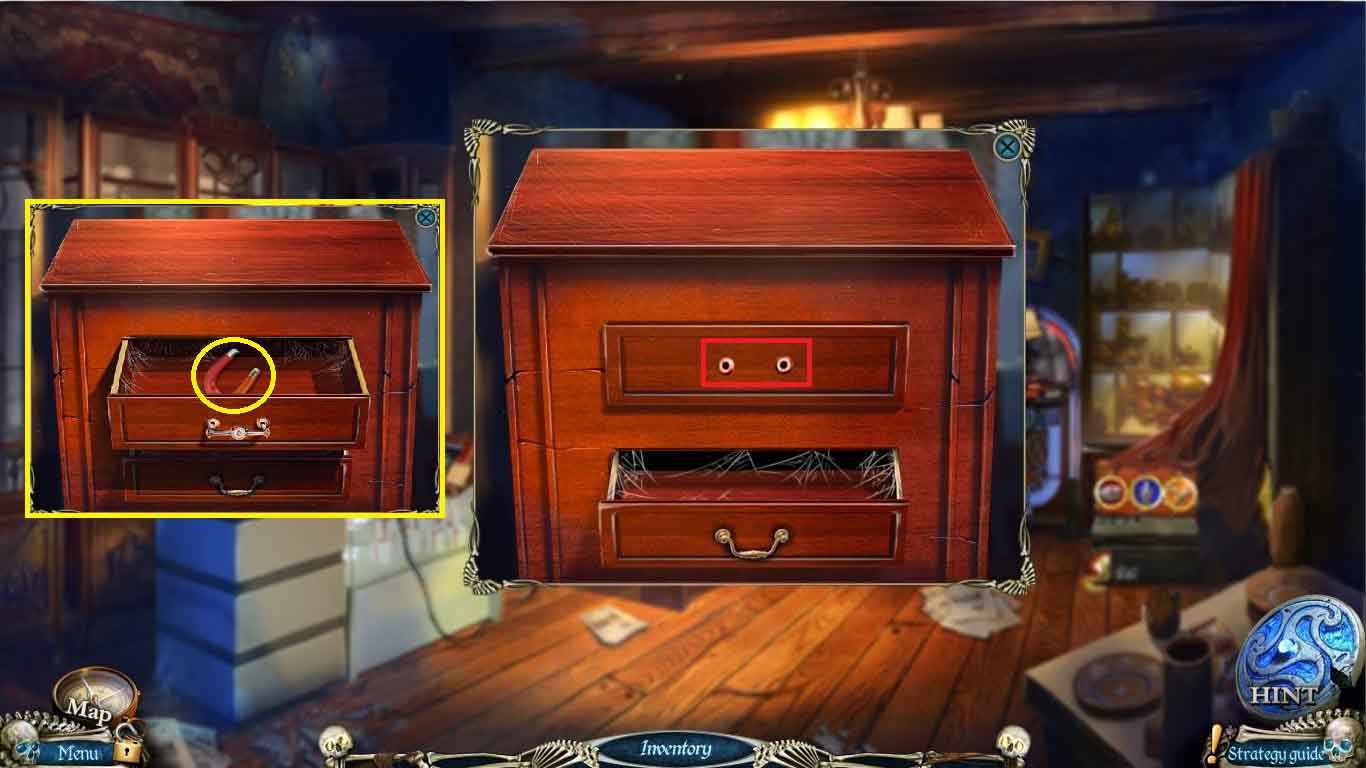
- Click on the chest of drawers and use the DRAWER HANDLE to open the top drawer and take the MAGNET
- Go to the office
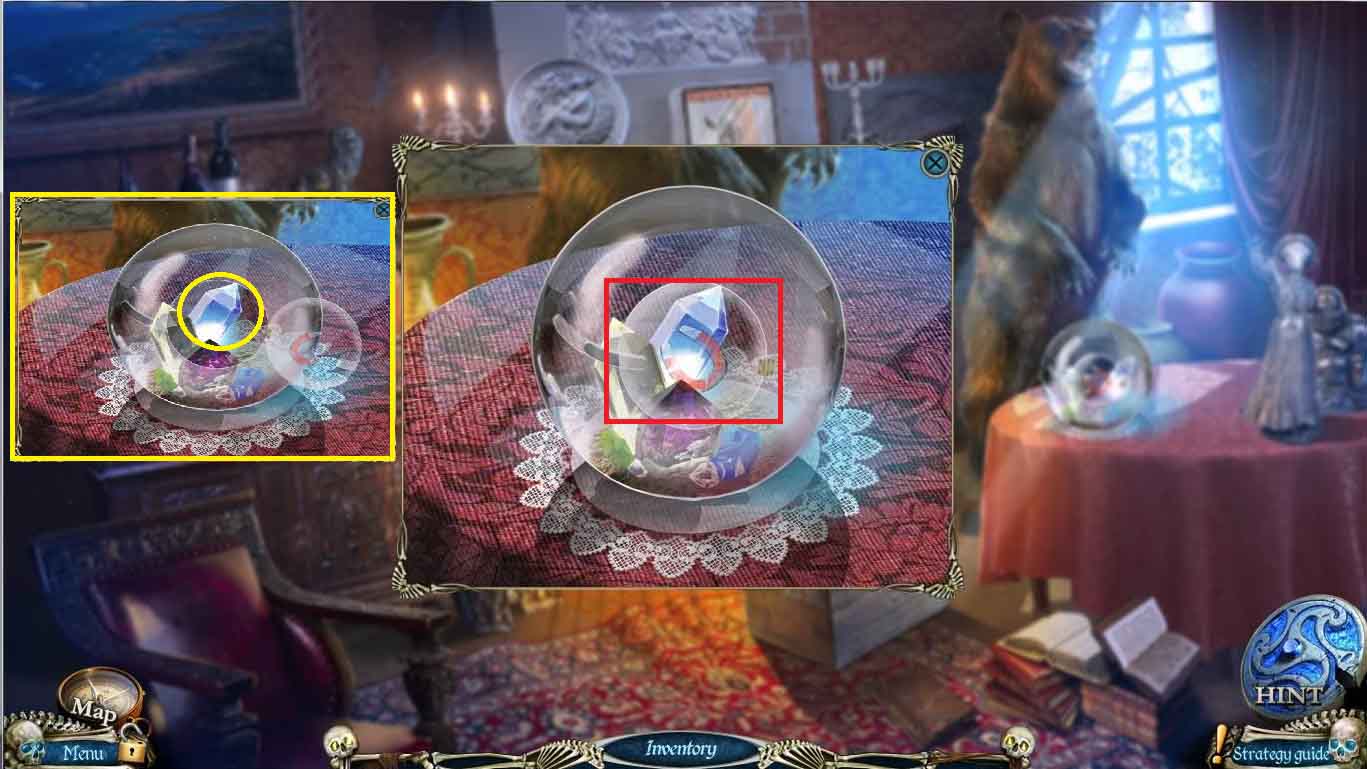
- Click on the globe on the table and use the MAGNET to open it and retrieve CRYSTAL 5/5
- Go back to the ship cabin
- Click on the doorway and put the 5 CRYSTALS on it to open the portal, go through to the bridge
- Click anywhere to trigger the bridge to raise up and the eyeballs will open
- Click on the eyeballs on the stick and cover them with the rag
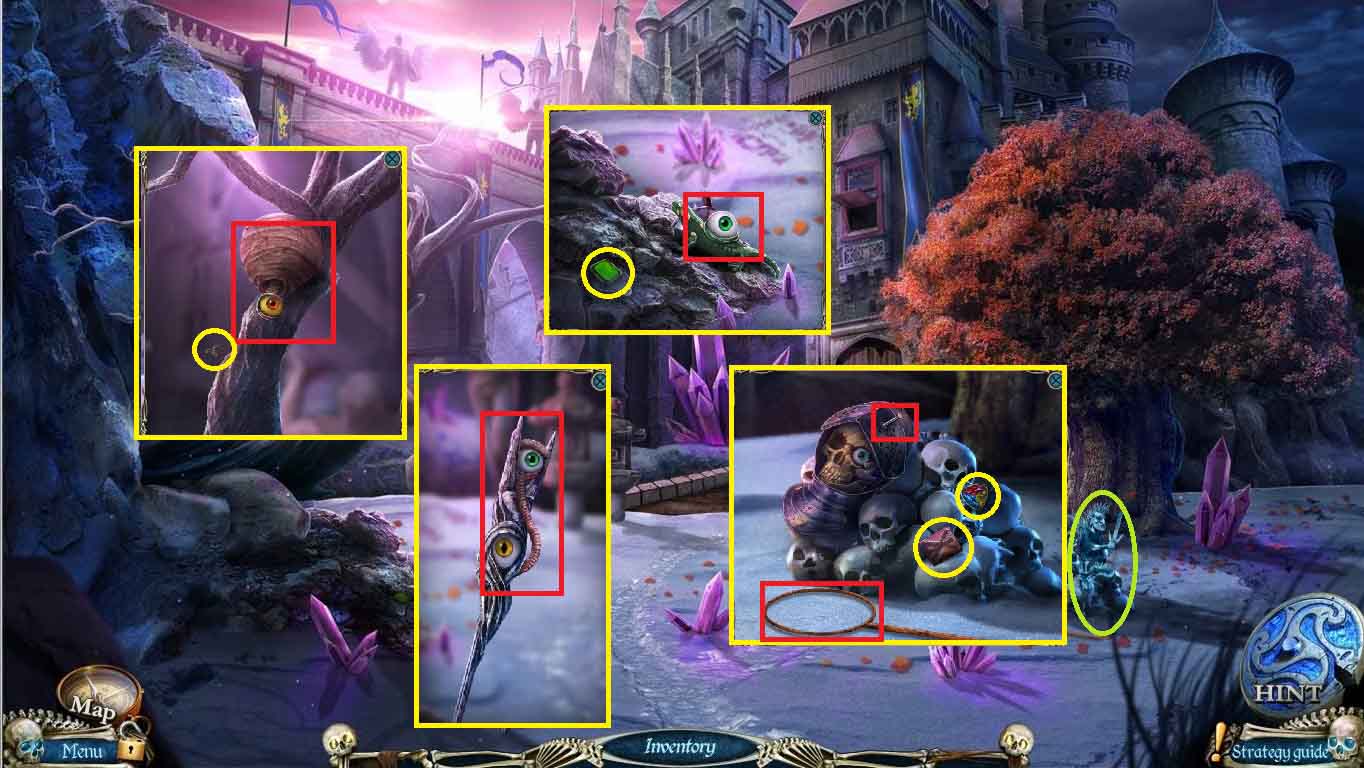
- Zoom in on the pile of skulls and take the MASK RUNE and COLORED CRYSTAL 3/3 and use the PLIERS to remove the nail from the helmet and cover the eye
- Use the NET on the handle to make a SCOOPNET
- Click on the beehive and use the SCOOPNET to knock it down and catch a BEE
- Click on the rocks and use the BEE to close the eye and take the GREEN CRYSTAL 3/3 and SKULL MASK PART
- Go back to the office
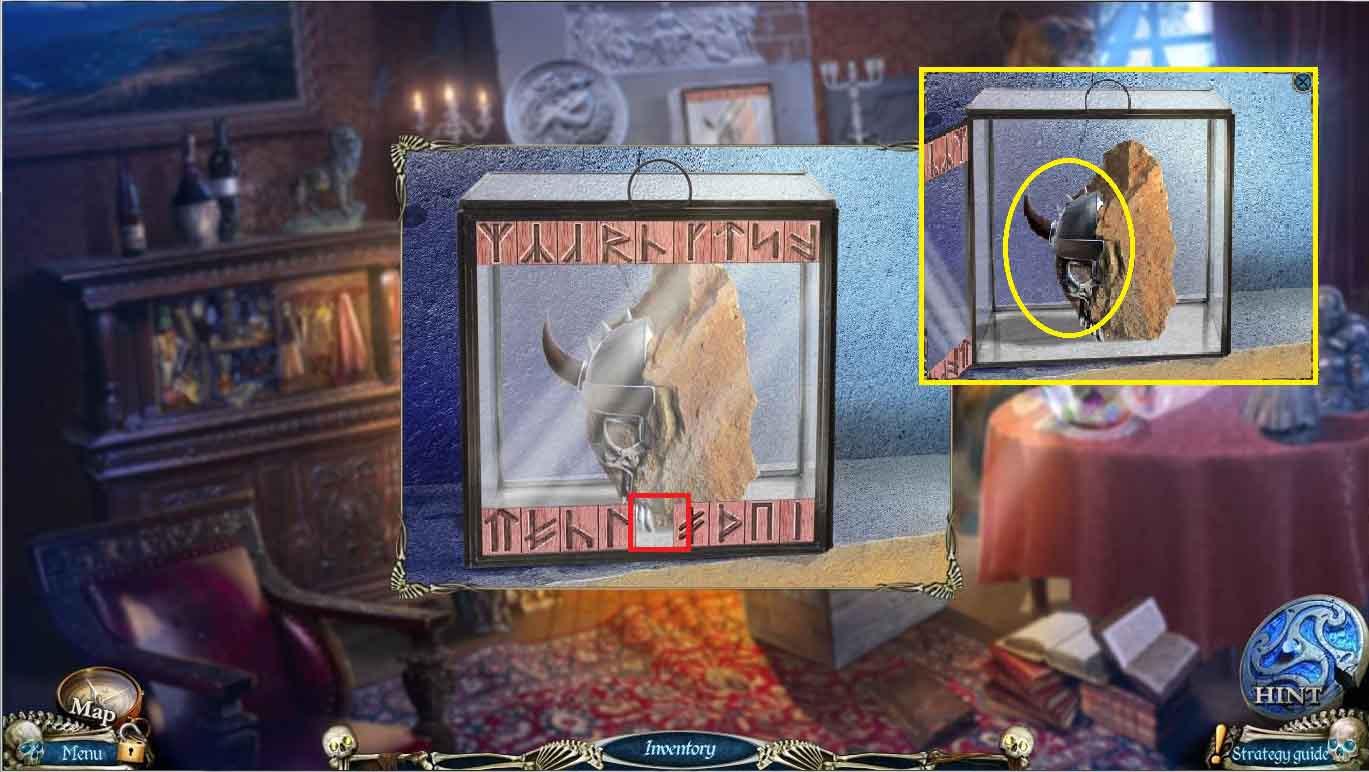
- Click on the display case on the mantel and use the MASK RUNE to open the case and take the SKULL MASK PART
- Use the map to jump back to the cabin
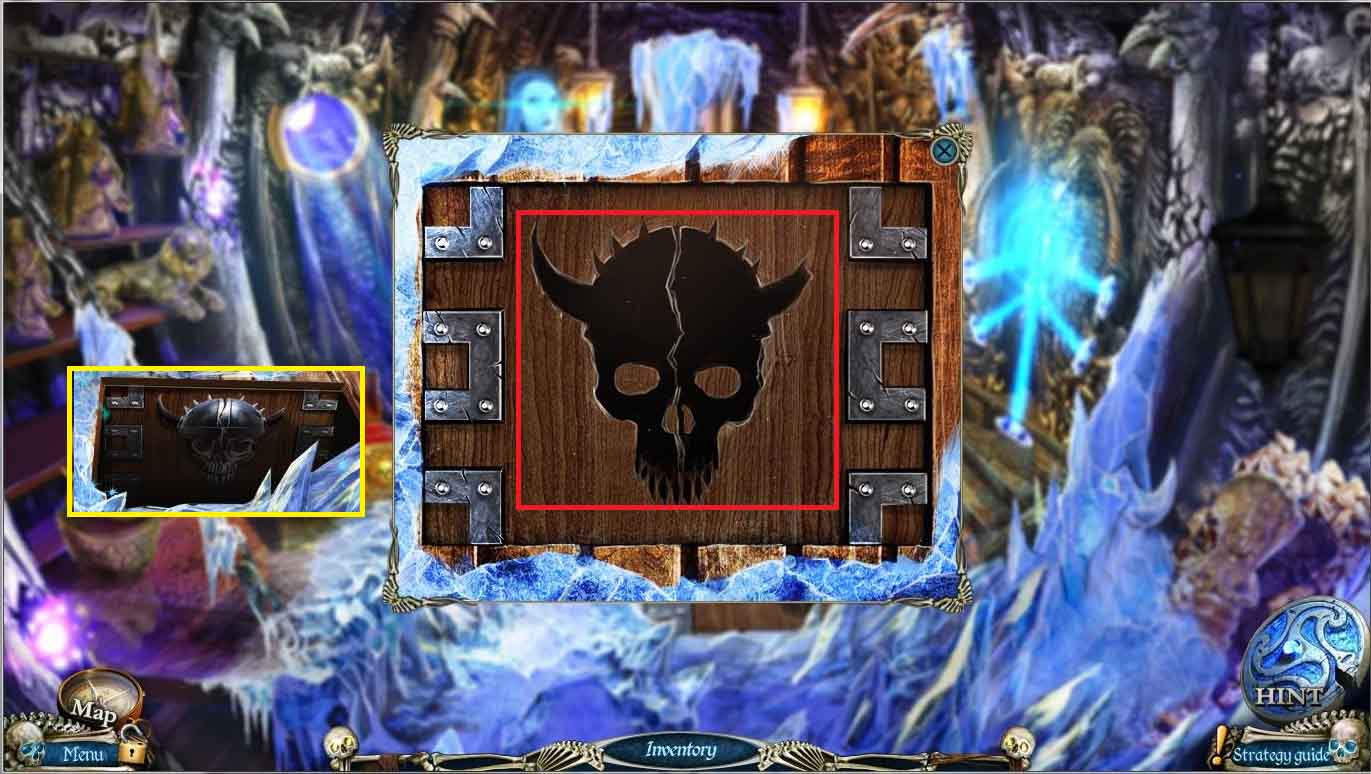
- Zoom in on the hatch and use the 2 SKULL MASK PARTS to unlock and open a hidden object scen
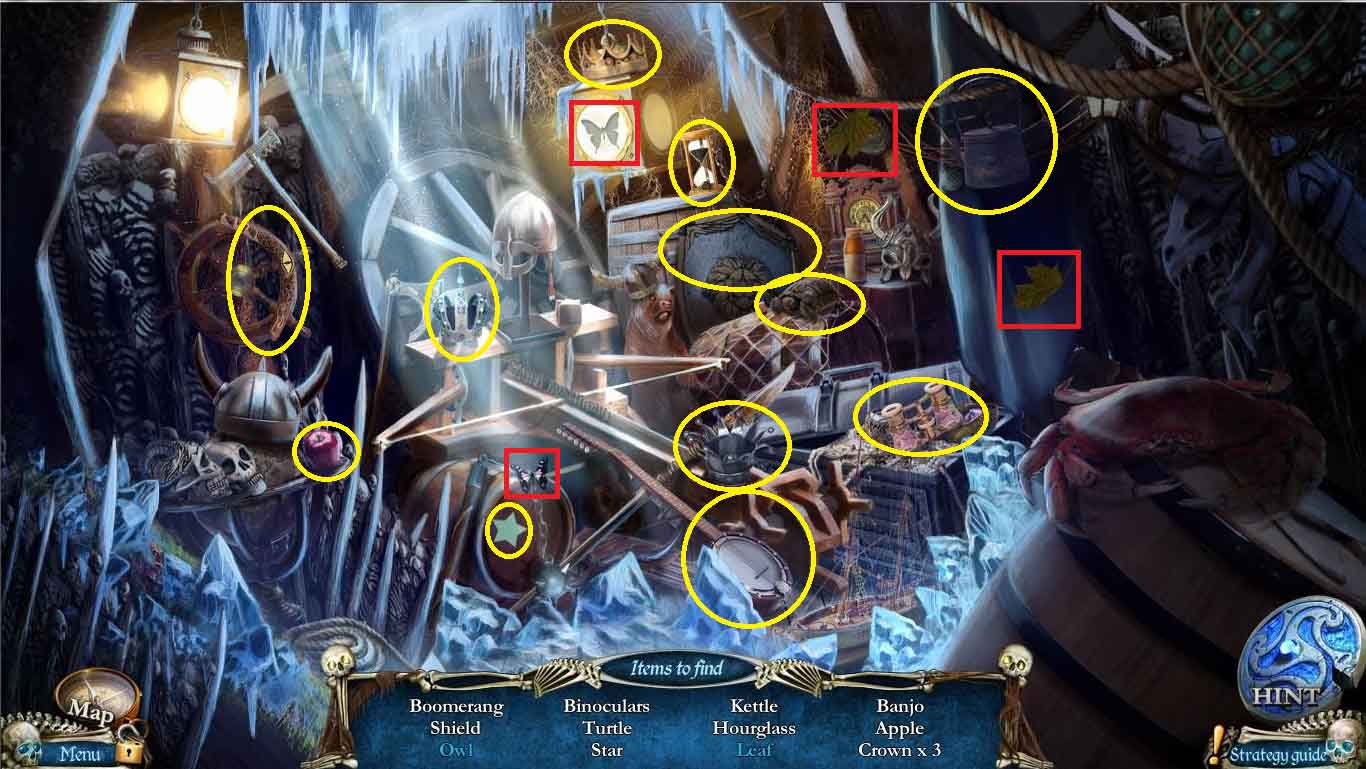
- Find all objects in the list
- Put the two half leaves together to make a leaf, put the butterfly on the lantern to open it and find the owl
- Go back to the bridge
- Click on the window and use the BOOMERANG to knock down the stick and use the RAVEN to get the CORK
- Go back to the deck and use the CORK on the barrel and take the BAS-RELIEF 2/2
- Use the map to jump back to the office
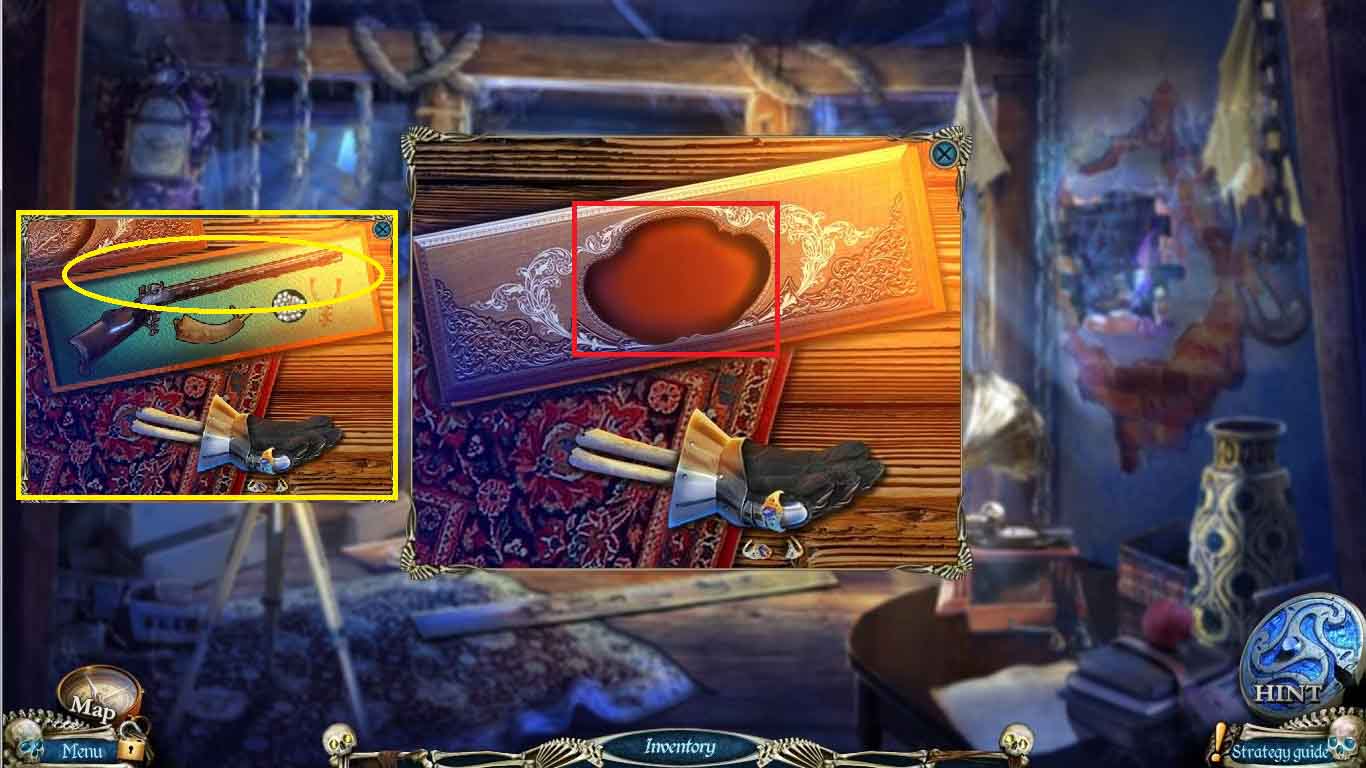
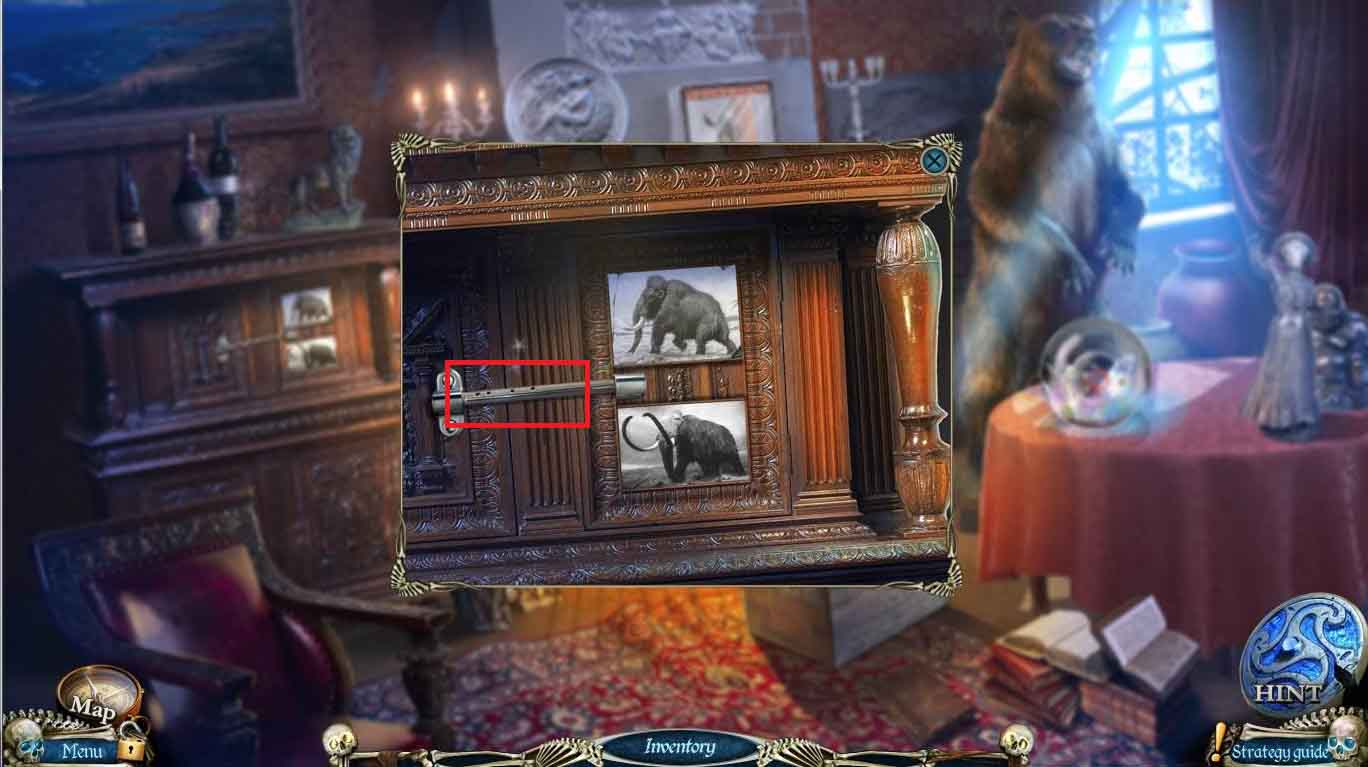
- Click on the case on the floor and place the two BAS-RELIEF on the lid, take the MUSKET
- Go back to the bridge
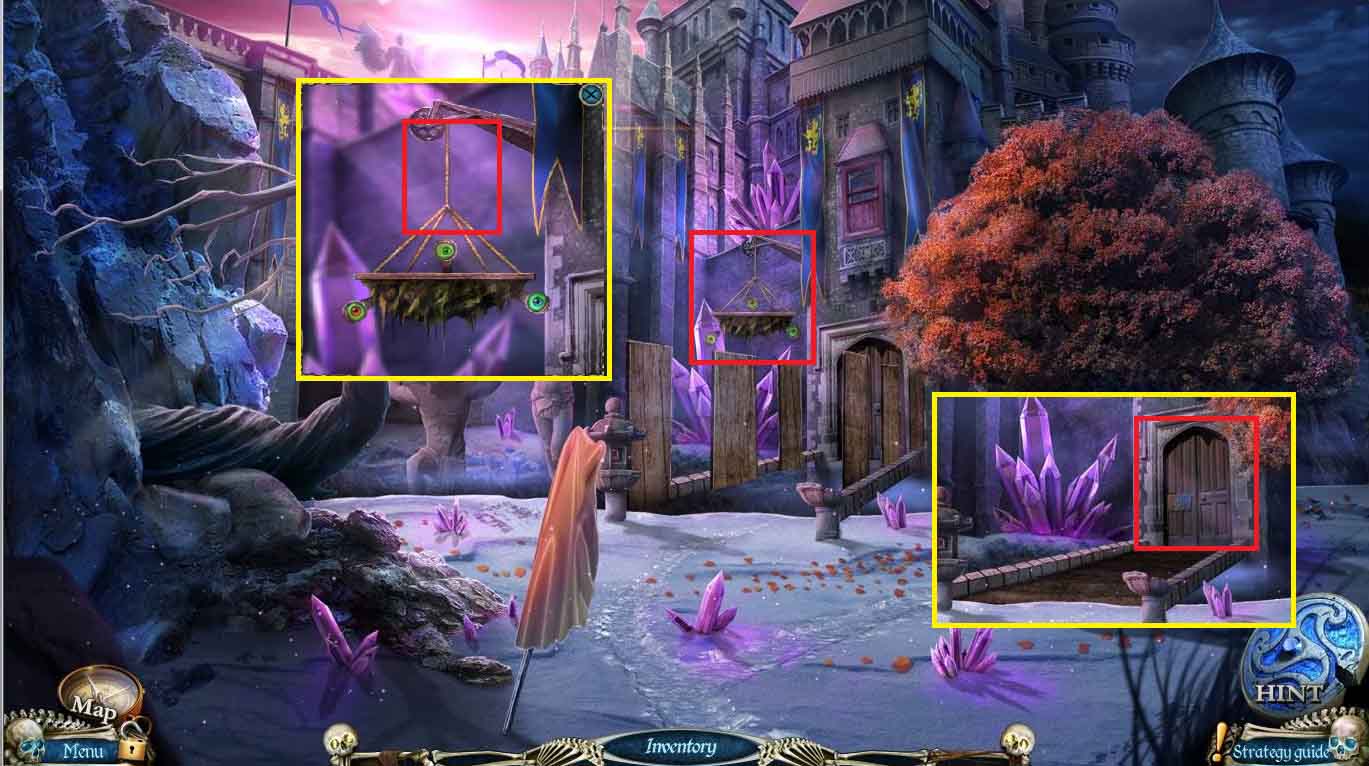
- Use the MUSKET on the hanging basket to remove the last of the eyeballs and lower the bridge
- Click on the castle door and place the two CASTLE AMULETS on the board to trigger the puzzle.
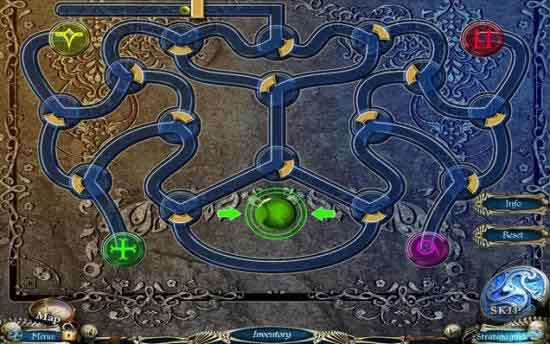
- The object is to guide all marbles to their appropriate colored locations. After each run the bumpers need to be reset as shown above.
- Enter the throne room
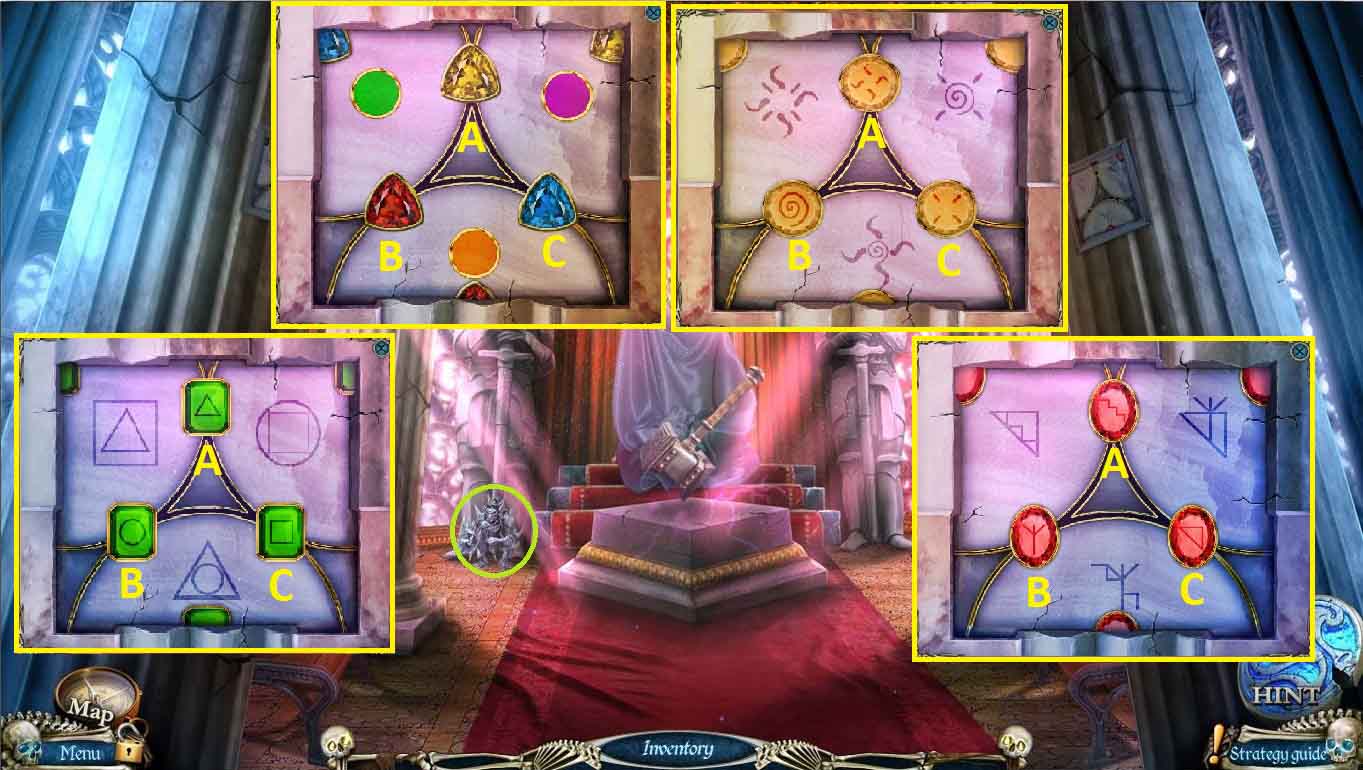
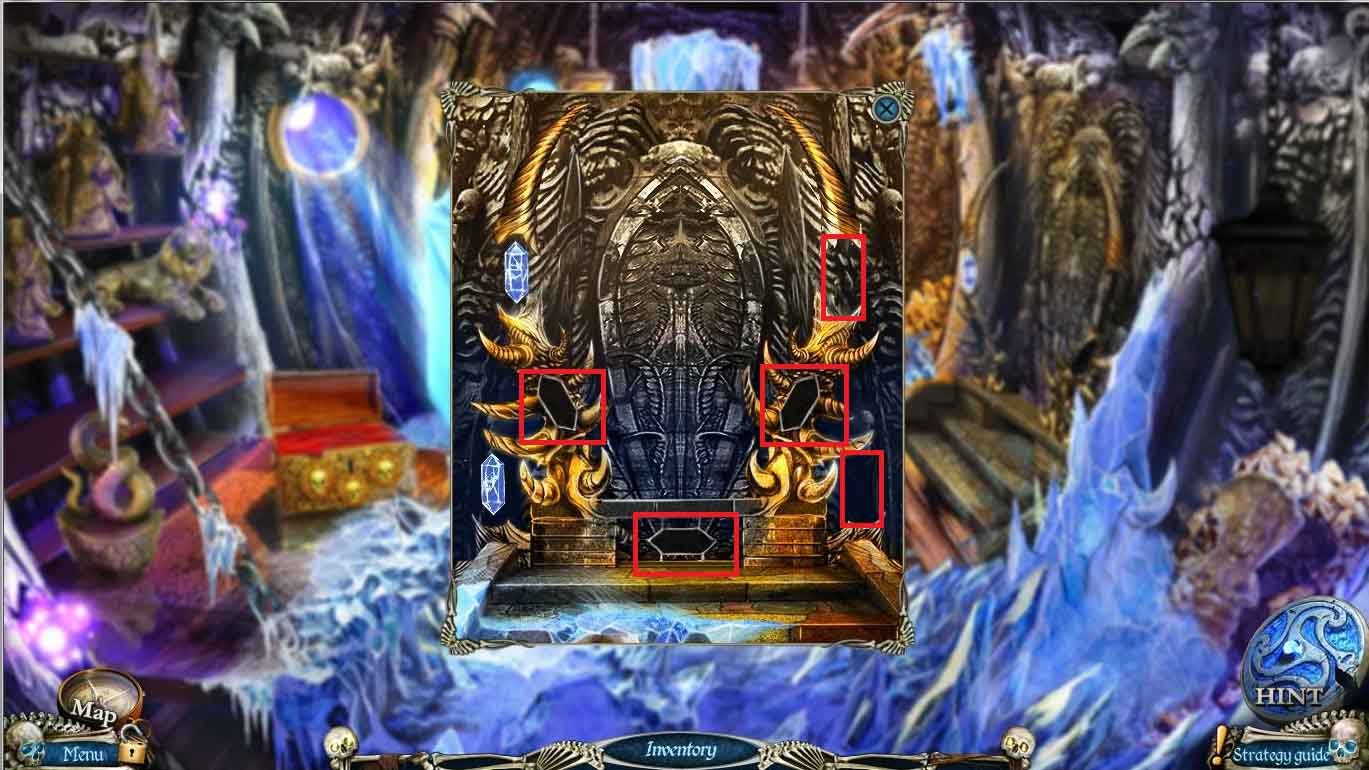
- Click on the first column to the right and place the RED CRYSTALS on the board. Rearrange to the correct spot by choosing:
- A, C, A, B, A, C, A, B
- Move to the next column to the left, place the YELLOW CRYSTALS and follow the same pattern
- Click on the next column to the left use the COLORED CRYSTALS and move in the same pattern
- Click on the furthest column to the left, place the GREEN CRYSTALS and follow the same pattern
- When the hammer raises, take the MAGICAL SAIL
- Go back to the cabin and give the MAGICAL SAIL to Hel and watch the cut scene as Hel frees the souls and Erlenbourg returns to a living city
Comments will load when you reach this part of the walkthrough.