
Chapter Seven : The Ship of Bones
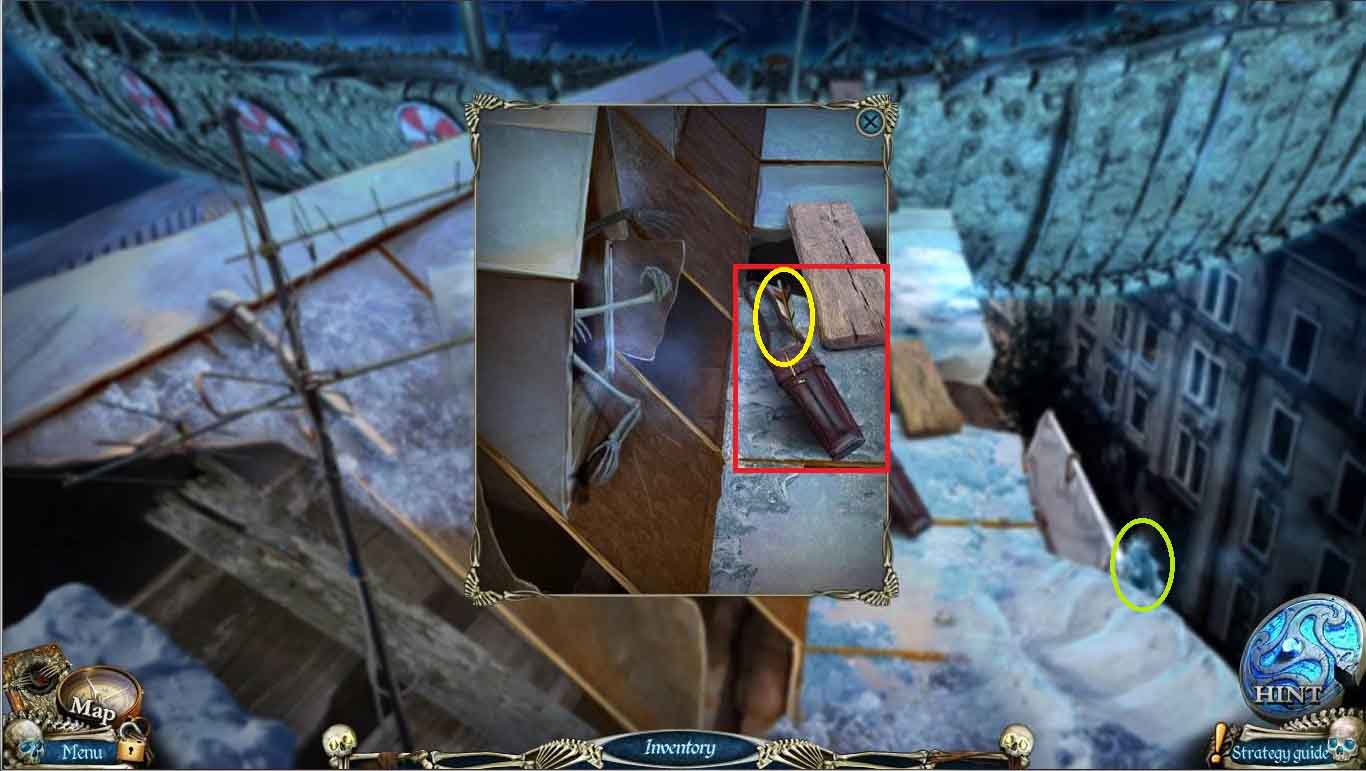
- Click on the quiver and use the boathook to move it closer
- Take the ARROW
- Go to the second floor room
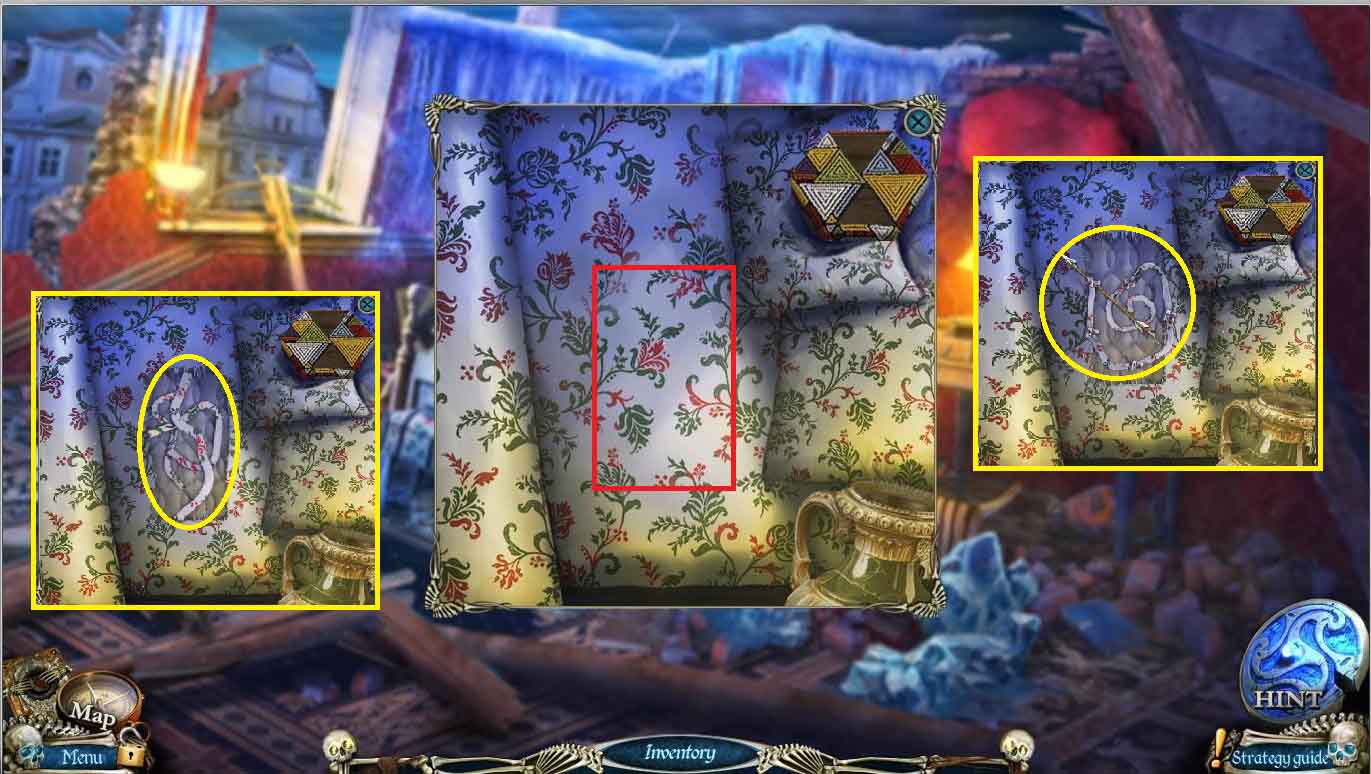
- Click on the bed and use the knife on the sheets to make a rope
- Place the arrow on the rope to make ARROW WITH ROPE
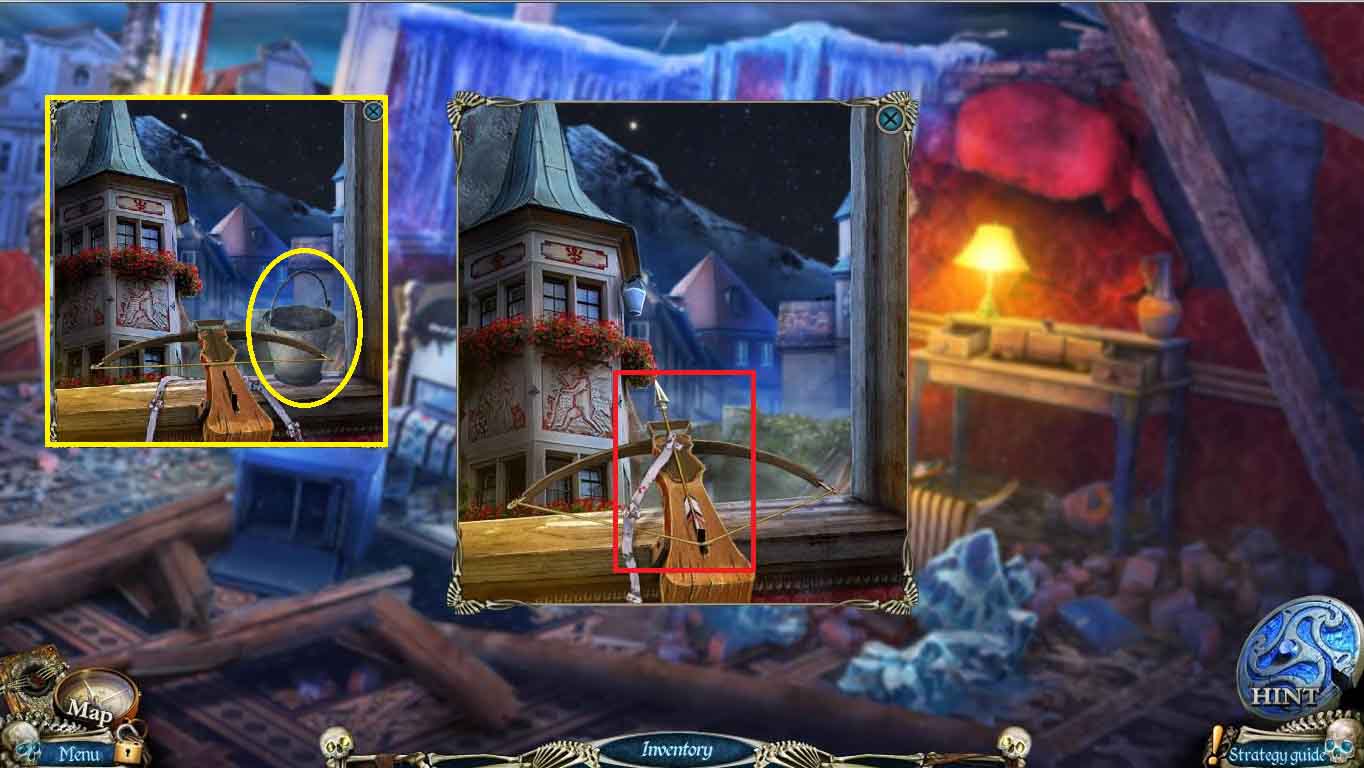
- Click on the crossbow and use the ARROW WITH ROPE to get the BUCKET
- Go to the garage
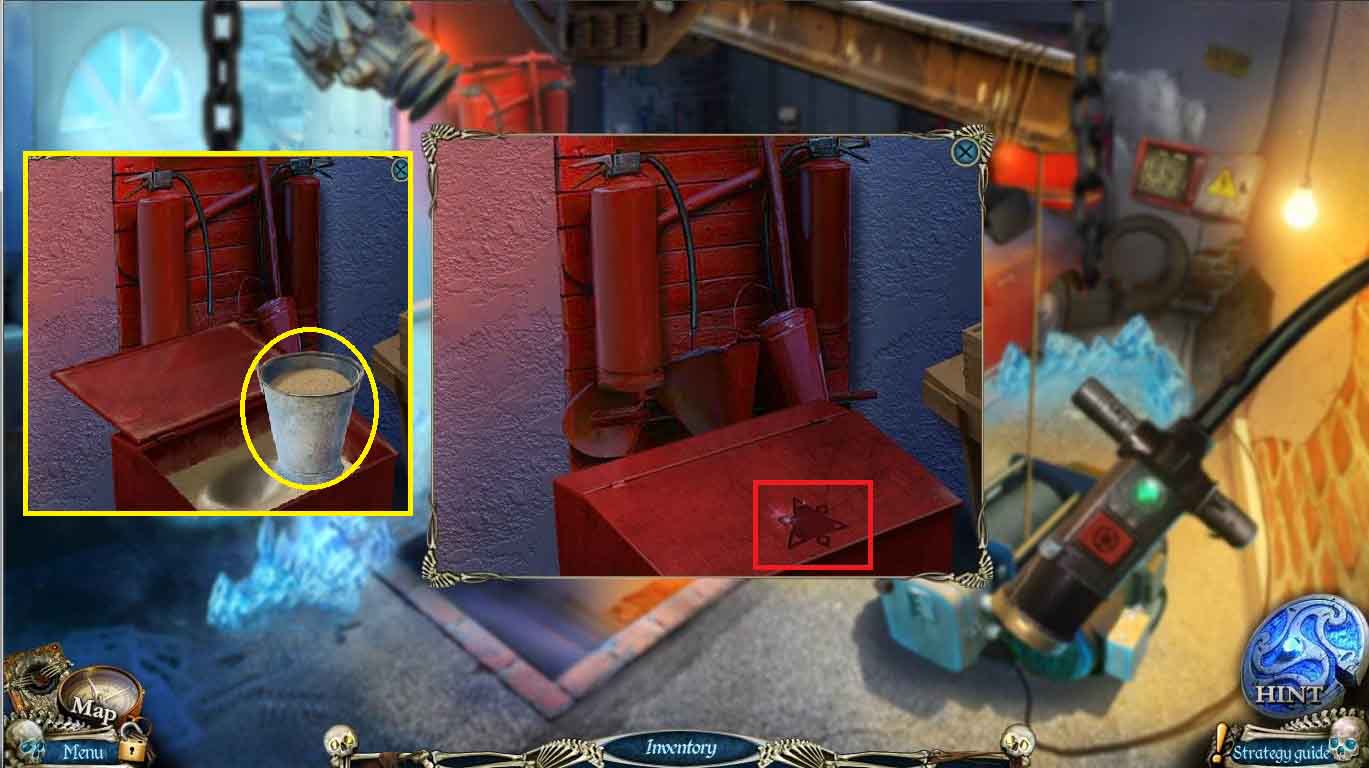
- Click on the tool box on the far side of the car and use the SANDCASTLE AMULET to open the lid
- Use the BUCKET in the sand to get a BUCKET WITH SAND
- Go to the chapel
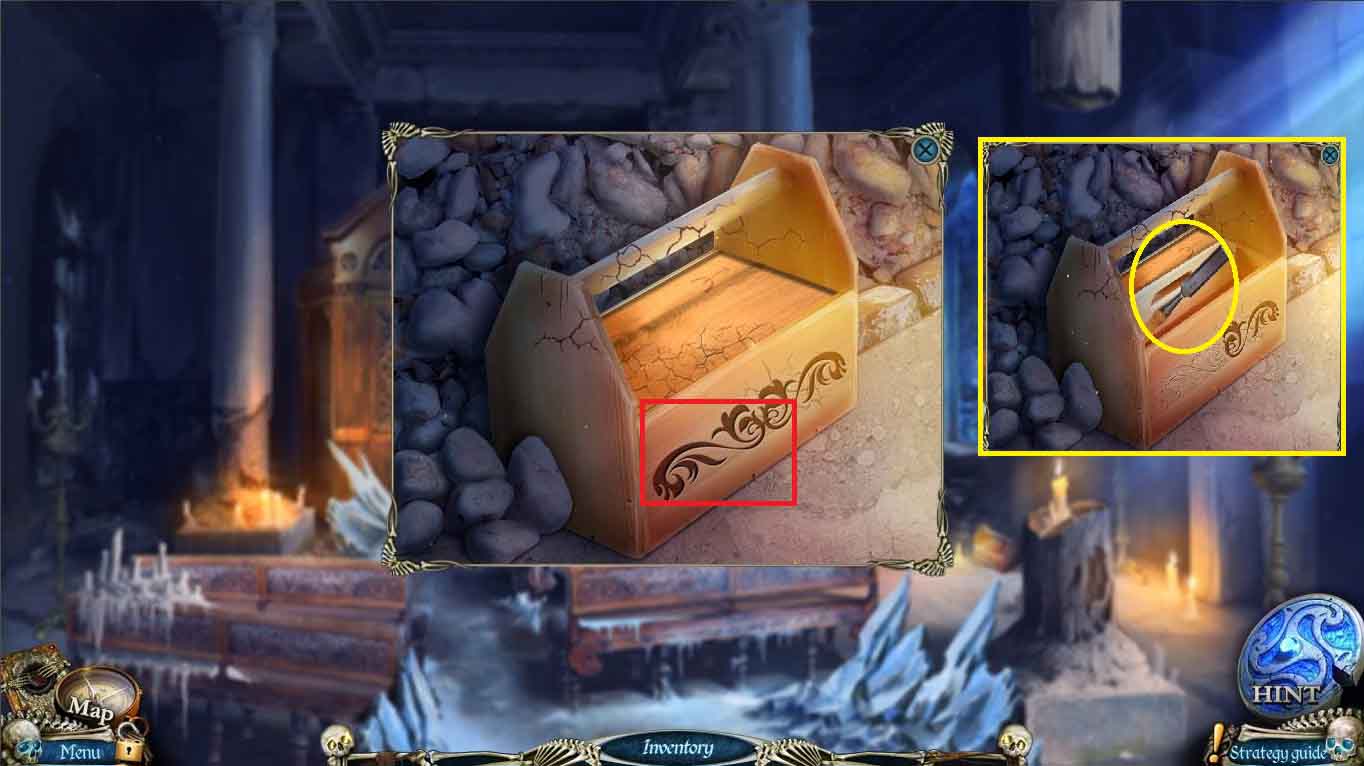
- Click on the toolbox on the right and use the WOODEN PART to unlock the box and take the CHISEL
- Go back to the roof
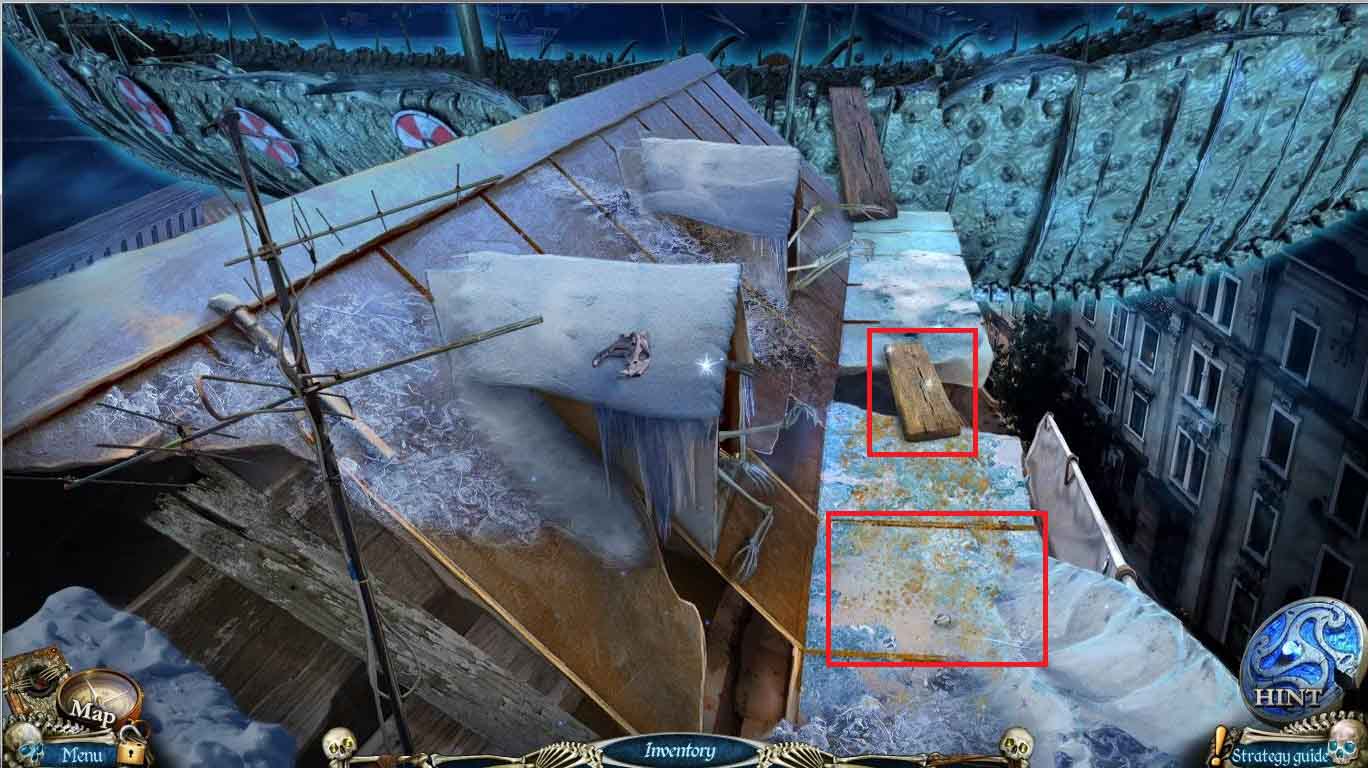
- Use the BUCKET WITH SAND on the icy roof to walk across towards the wooden board
- Click on the board to activate a puzzle
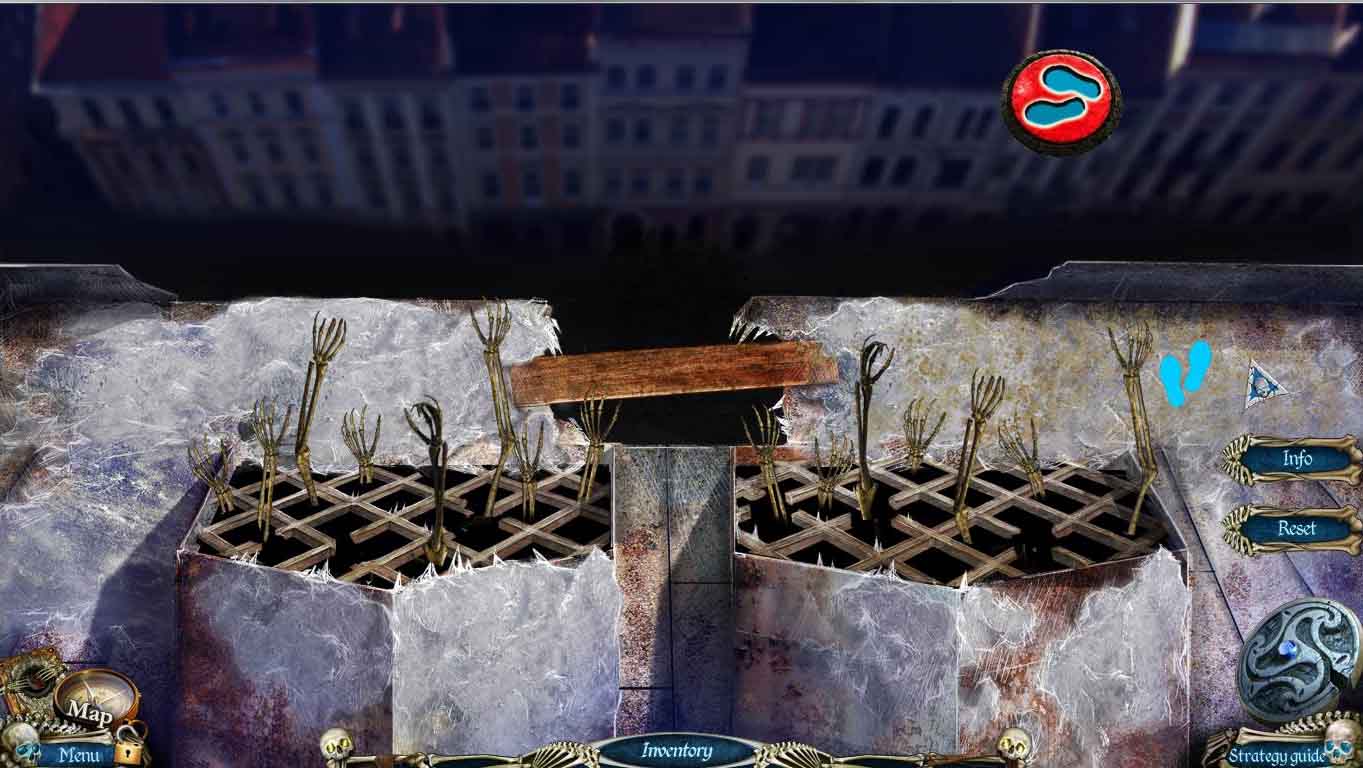
- The object of the game is to get across without a skeleton hand grabbing you.
- When the hands go down, click the foot symbol to advance one step.
- If a skeleton hand touches your footprint you reverse a step.
- When crossing the board in the middle you can only advance when the meter is in the green zone.
- Go across and enter the ship’s deck.
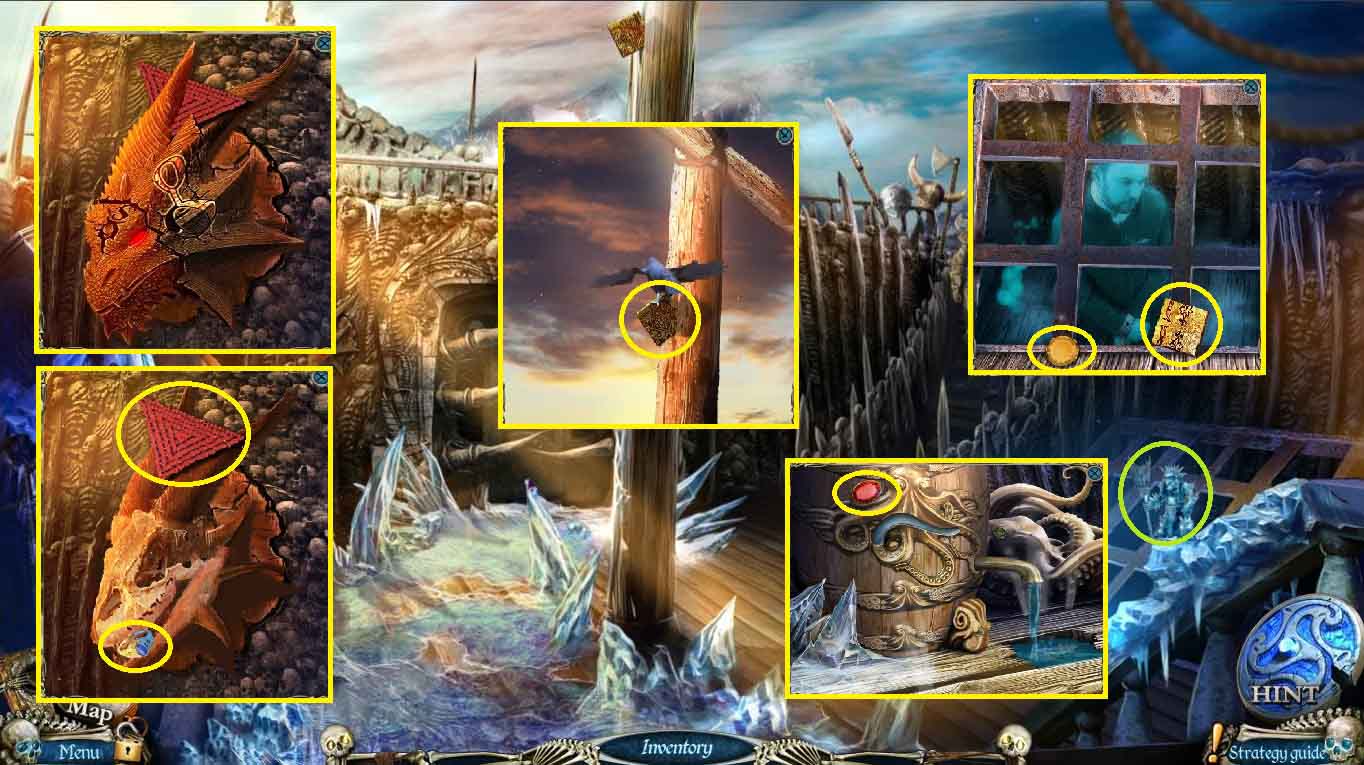
- Click on the mounted head on the left and use the chisel to get the RING and TRIANGLE 1/2
- Click on the pole and use the raven to get the OFFICE AMULET 2/3
- Click on the ship hold and take the YELLOW CRYSTAL 1/3 and the OFFICE AMULET 2/3
- Click on the barrel and take the RED CRYSTAL 3/3
- Go to the attic
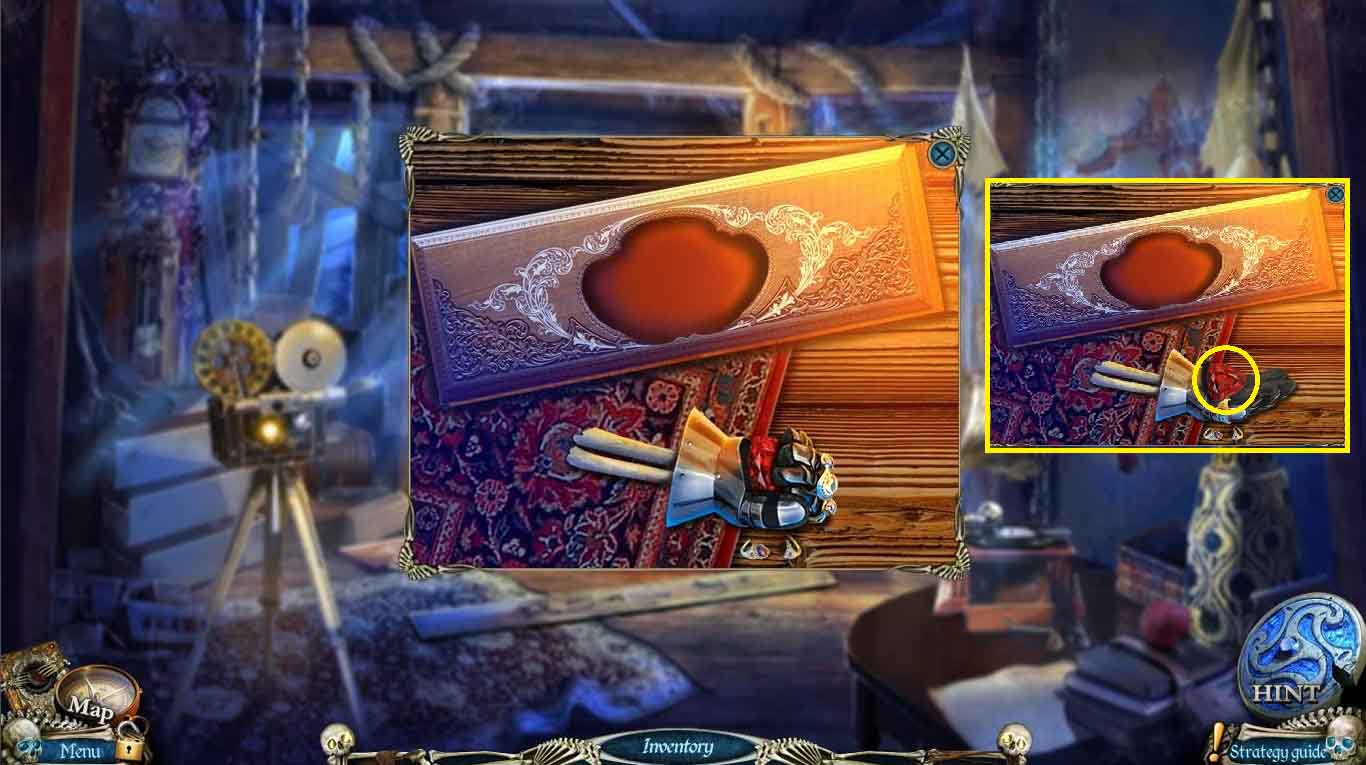
- Zoom in on the gauntlet and place the RING on the hand to get the GEM
- Go to the chapel yard
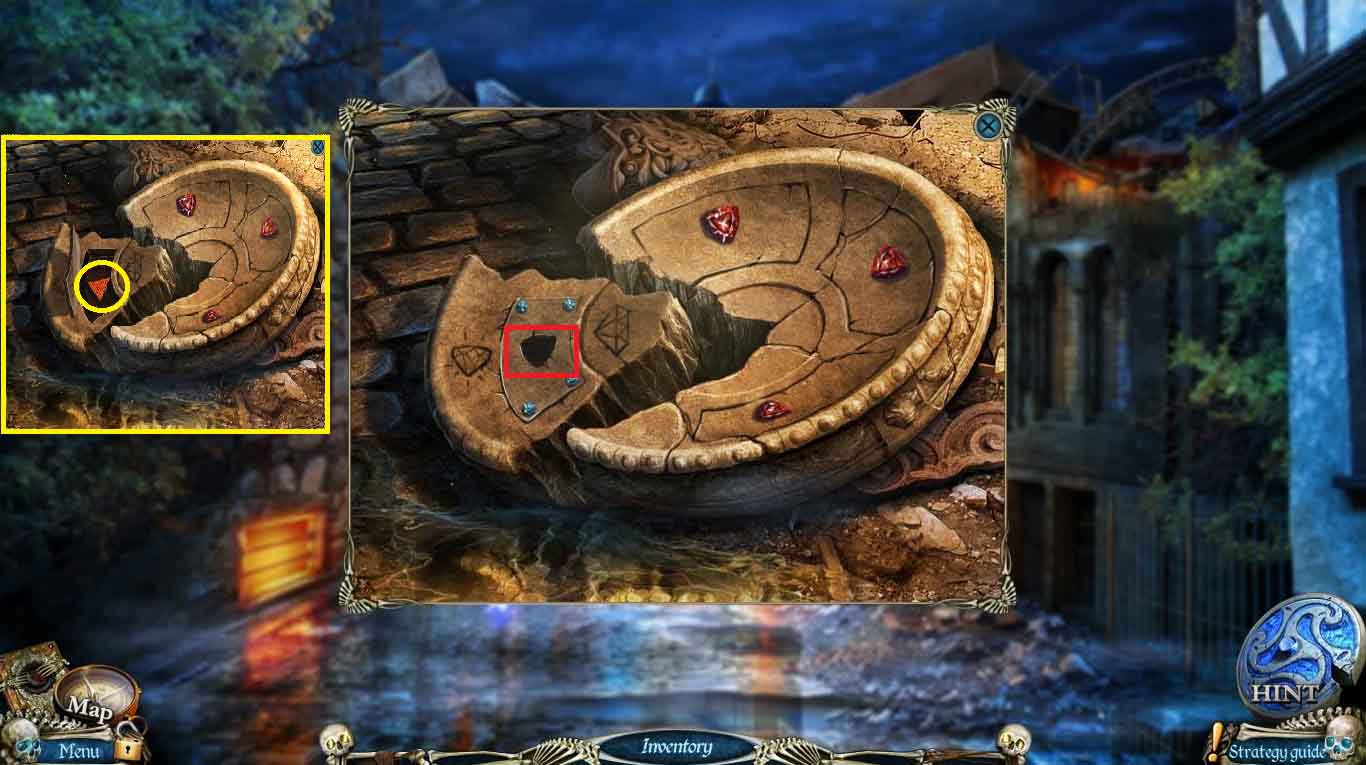
- Click on the disk and place the GEM in the slot to get the TRIANGLE 2/2
- Go to the second floor room
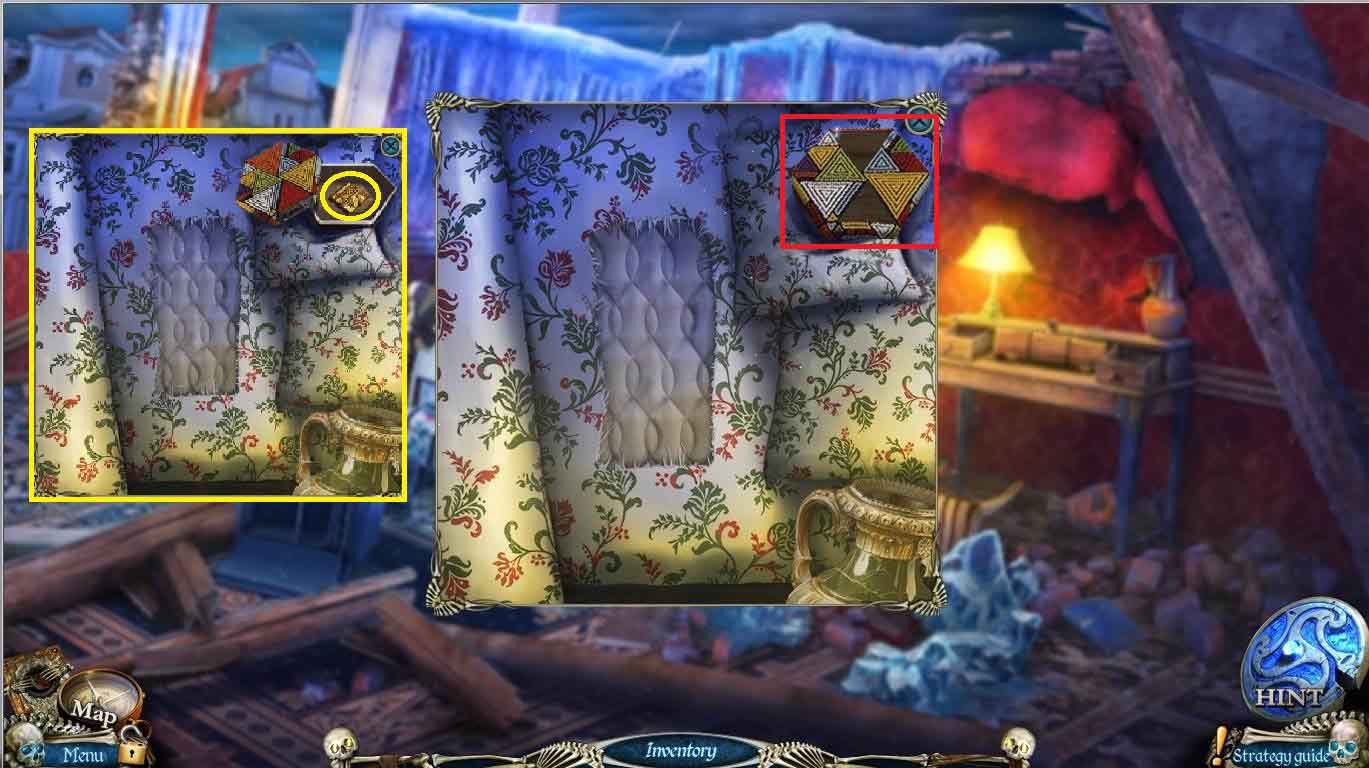
- Click on the bed and use the two TRIANGLES on the box and take the OFFICE AMULET 3/3
- Go to the museum
- Click on the door to the right and use the three OFFICE AMULETS to open a puzzle
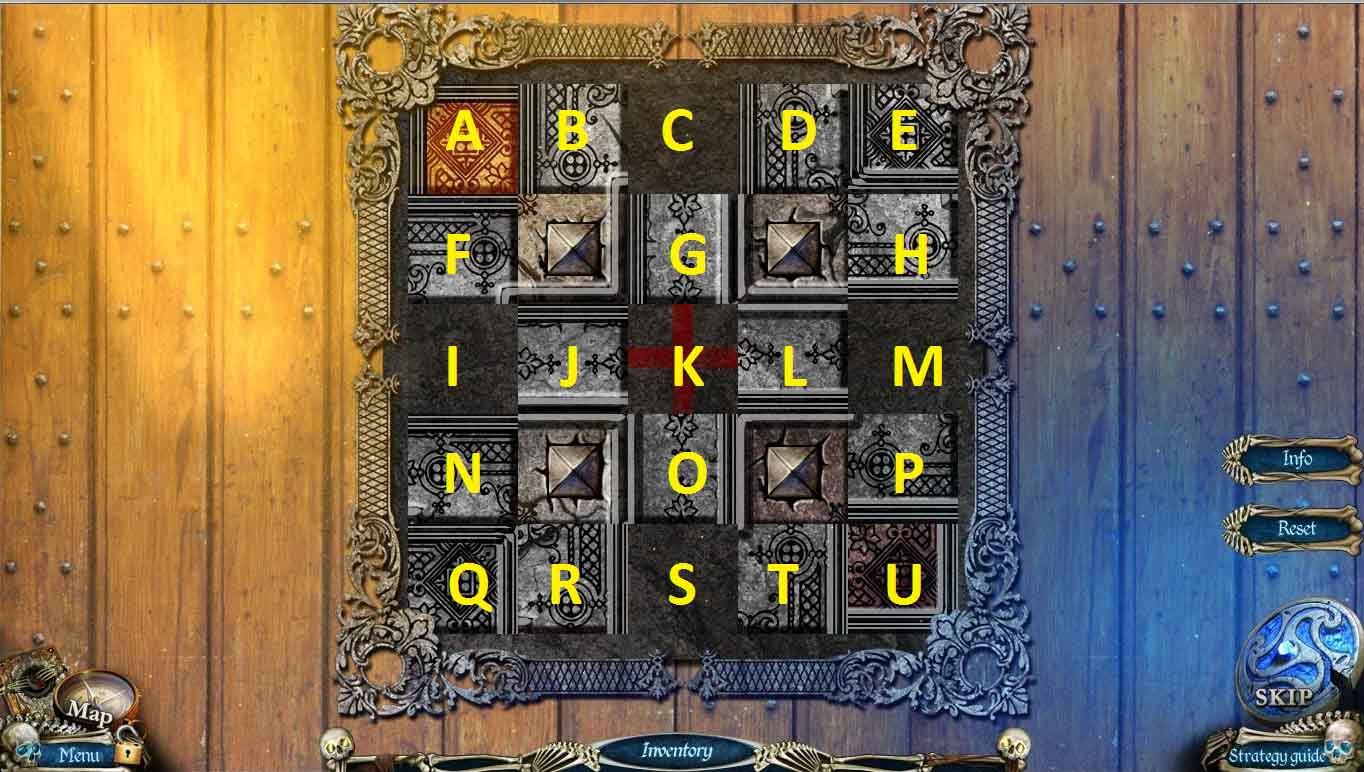
- Slide the tiles to complete the pattern with the following moves:
- L-M, J-L, O-S, F-O, G-F, B-I, O-B, D-J, S-G, R-K, Q-O, N-S, I-Q, F-N, J-F, K-I, G-J, E-G,
- H-C, M-D, L-E, P-K, E-L, D-P, C-M, G-H, K-E, O-D, S-C, L-G, M-K, T-O, U-S, P-T, H-U,
- K-P, E-M, O-L, S-K, T-O, D-E, C-D, G-C, K-G, O-R, L-T, M-S, J-O, I-H, O-M, F-O, N-L, Q-F,
- R-J, S-N, O-Q, J-S, L-I, S-J, T-L, Q-T, N-K, T-N, U-Q, P-R, M-O, L-S, K-T, G-U, O-G, S-P, G-M, J-S
- Go through to the office
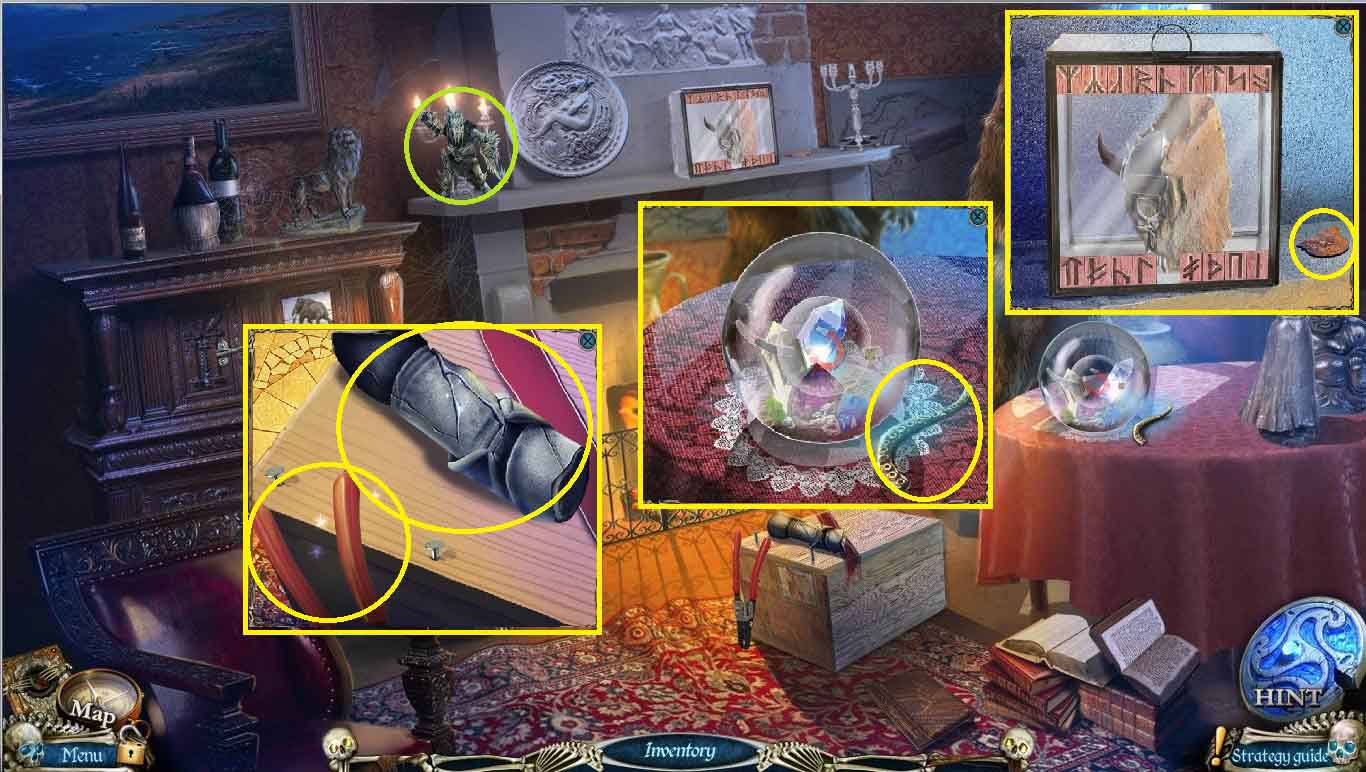
- Click on the crate and take the GUARD’S ARM and CUTTERS
- Click on the globe on the table to get the OCTOPUS TENTACLE
- Click on the glass display on the mantle and take the BAS-RELIEF ½
- Go back to the ship’s deck
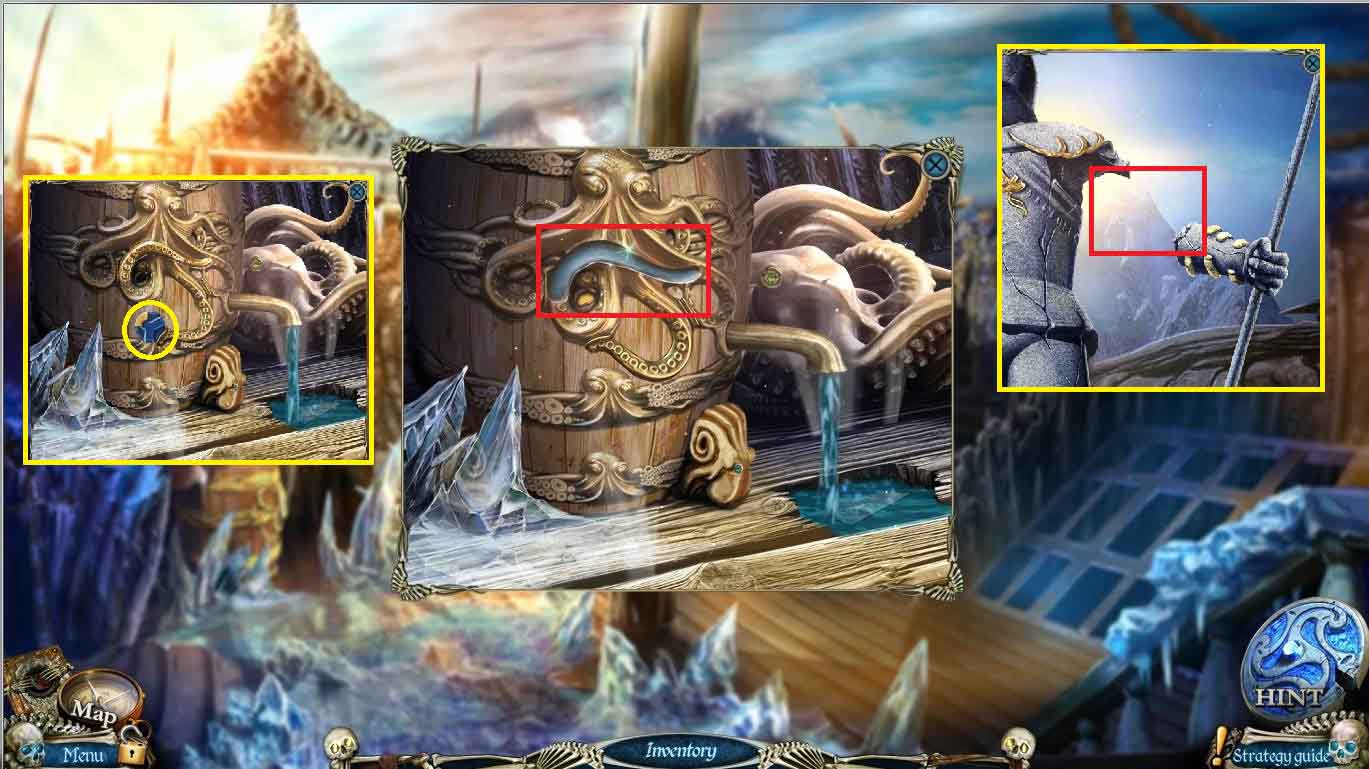
- Click on the barrel and use the OCTOPUS TENTACLE to get the CASTLE AMULET ½
- Click on the guard and use the GUARD’S ARM to open the passageway and find a hidden object scene
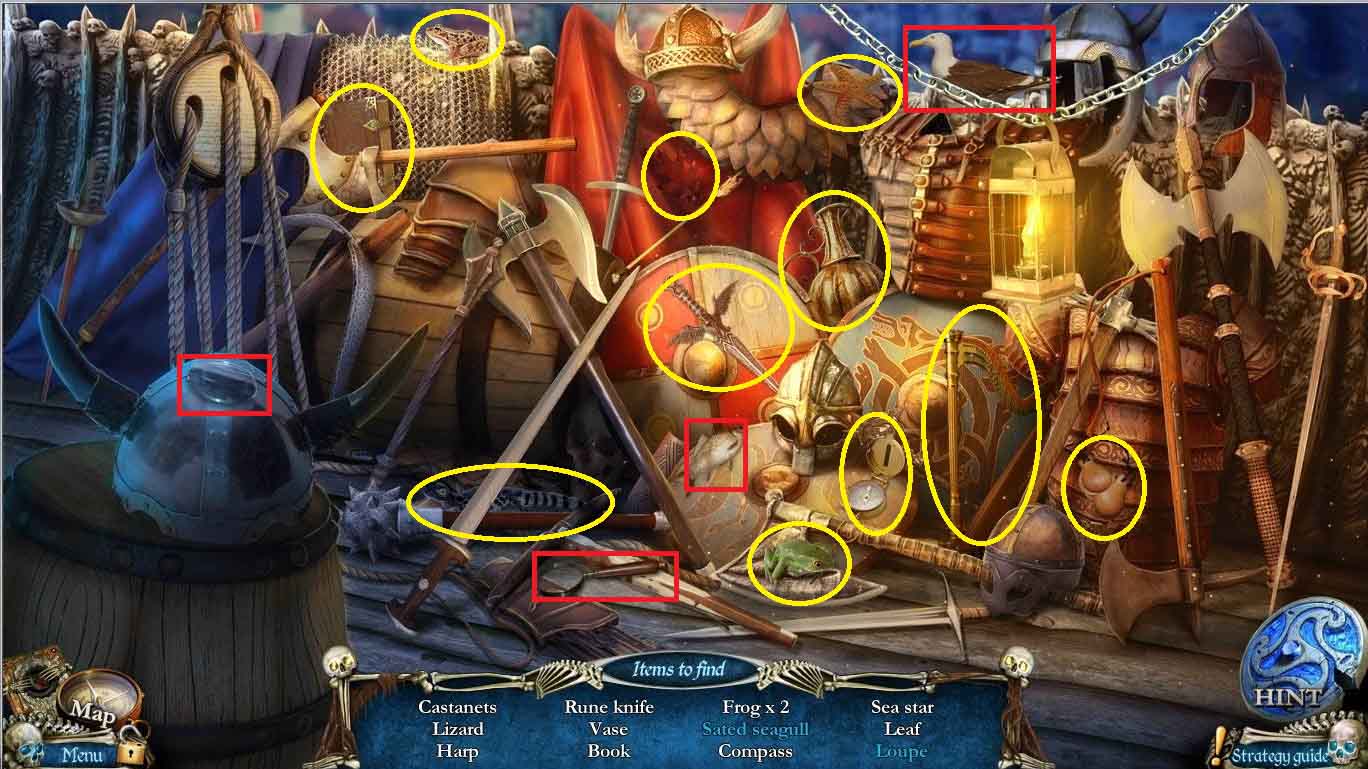
- Find all obejects in the list – feed the fish to the seagull to get a sated seagull and place the lens in the handle to get a loupe
- Go back to the attic
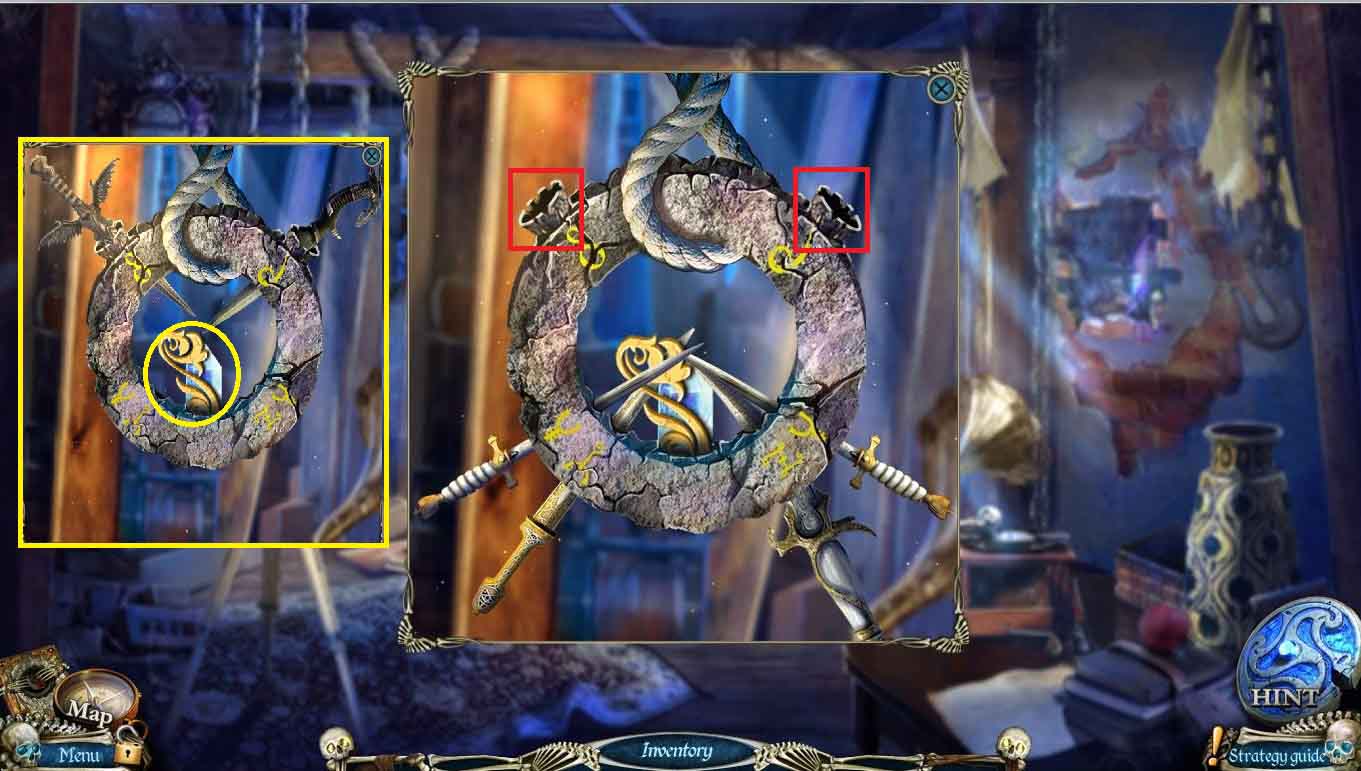
- Click on the disk and use the DAGGER and KNIFE to free the WOODEN PART and CRYSTAL 1/5
- Go back to the chapel
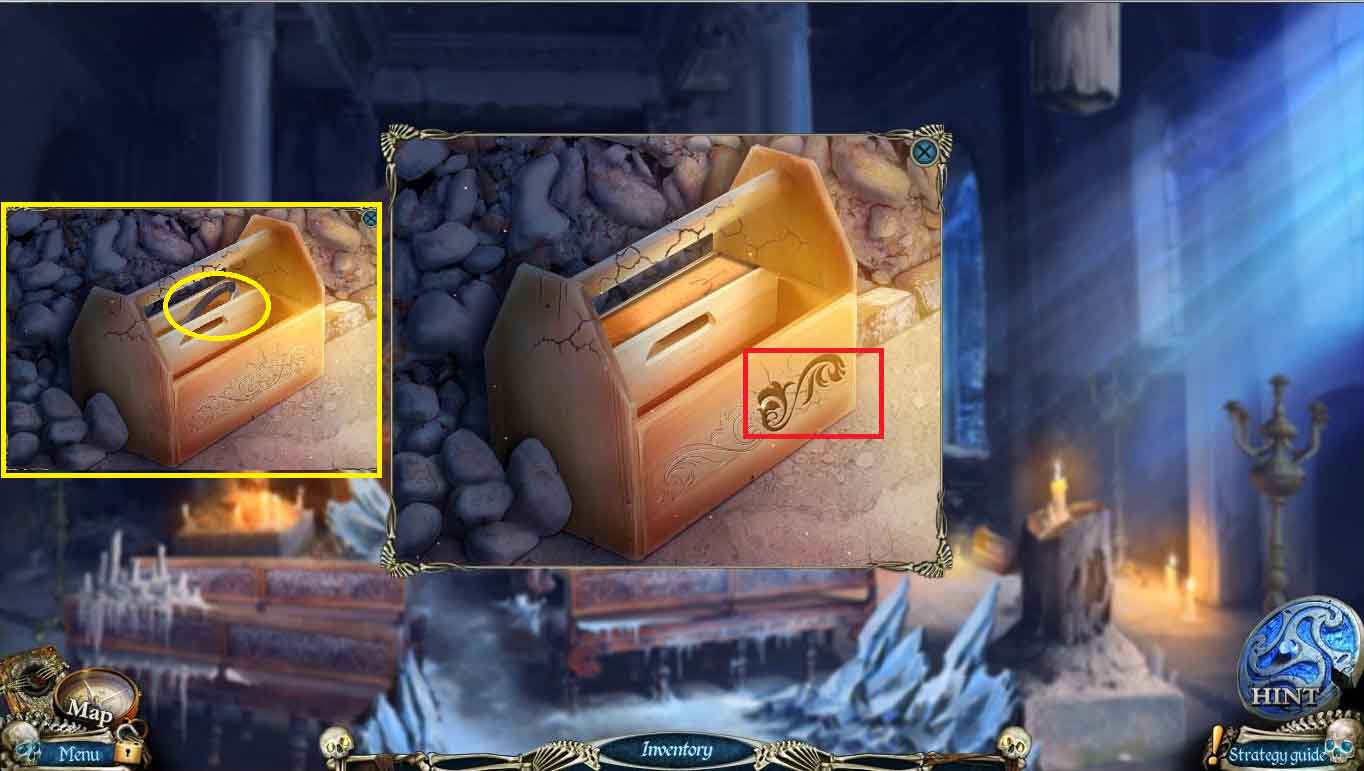
- Click on the toolbox and use the WOODEN PART to get the crowbar
- Go back to the office
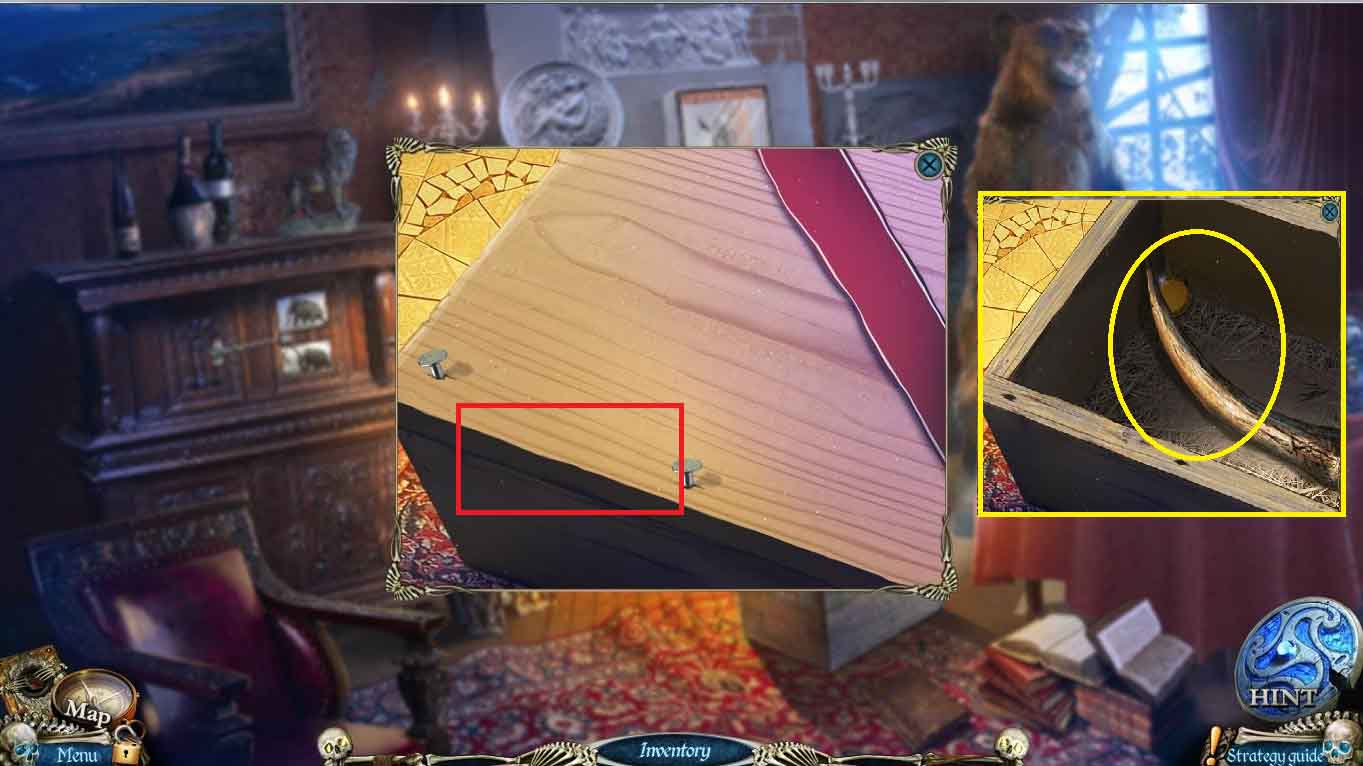
- Click on the crate and use the crowbar to get the TUSK
- Go back to the ship’s deck
- Click on the doorway and use the TUSK to trigger a puzzle.
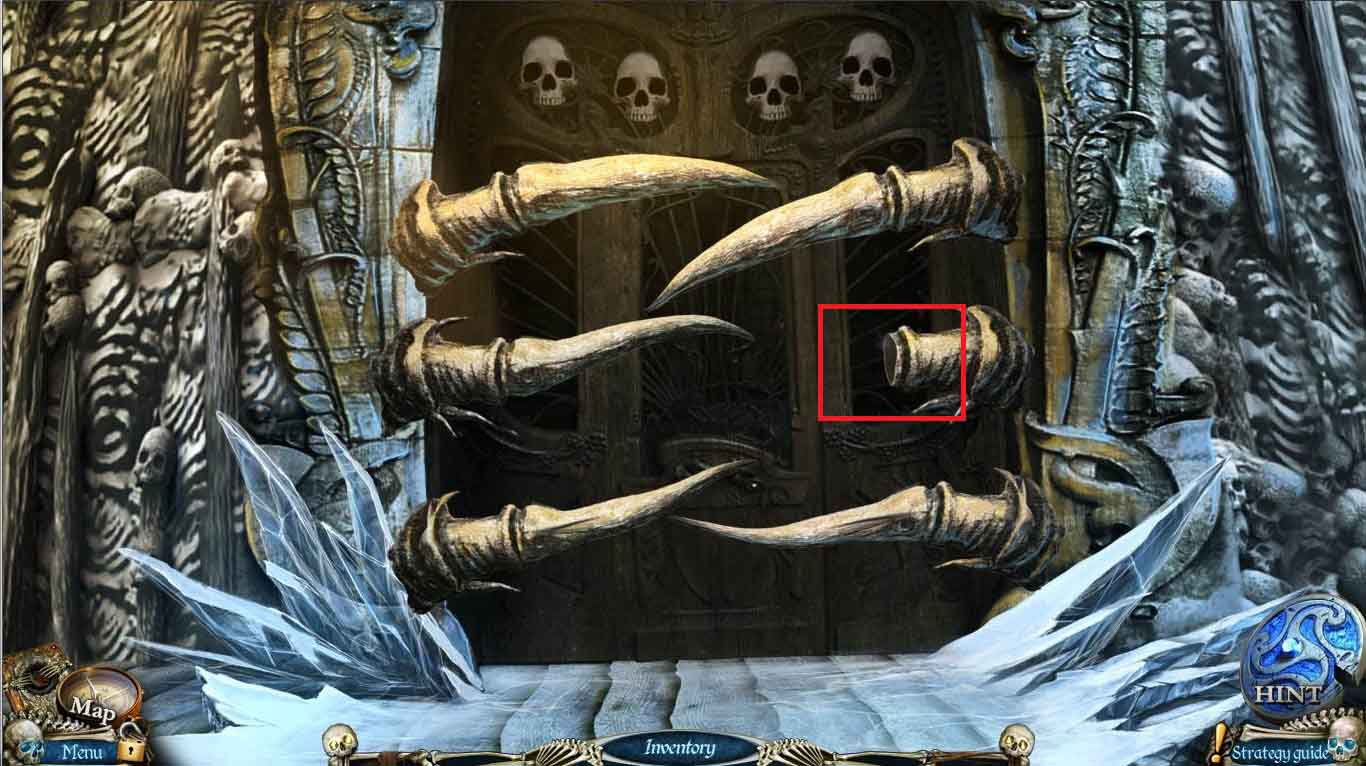
- They will light up randomly, follow the sequence and repeat it to open the access to the cabin
- Enter the cabin
Comments will load when you reach this part of the walkthrough.