
Chapter Four: Mural
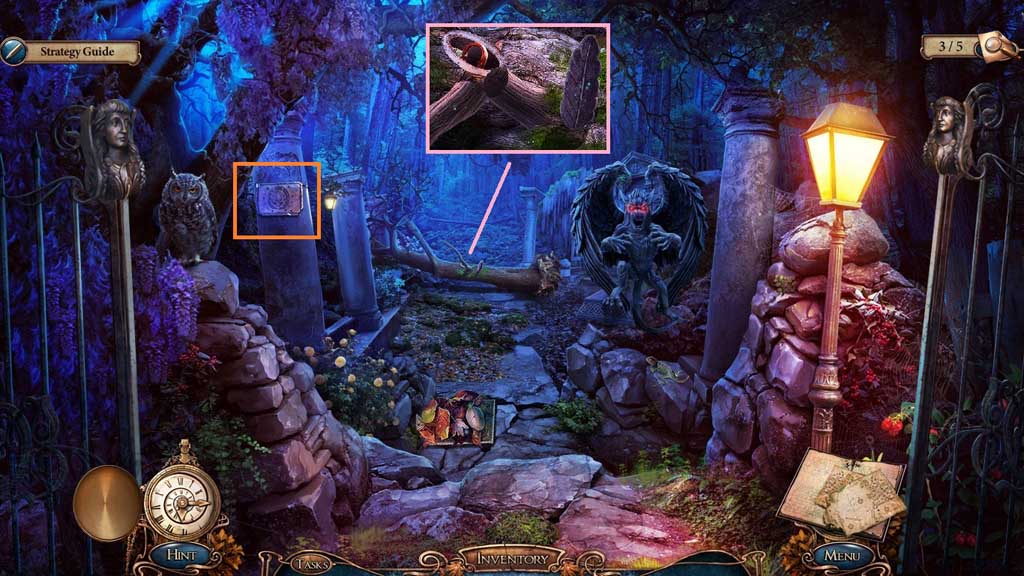
- Read the clue.
- Use the machete on the fallen branch; collect the stone feather, the massive key and the branch.
- Move down once.
- Insert the massive key.
- Attach the branch onto the rake; collect the rake and the nut amulet.
- Move ahead.
- Use the rake on the leaves and insert the nut amulet.
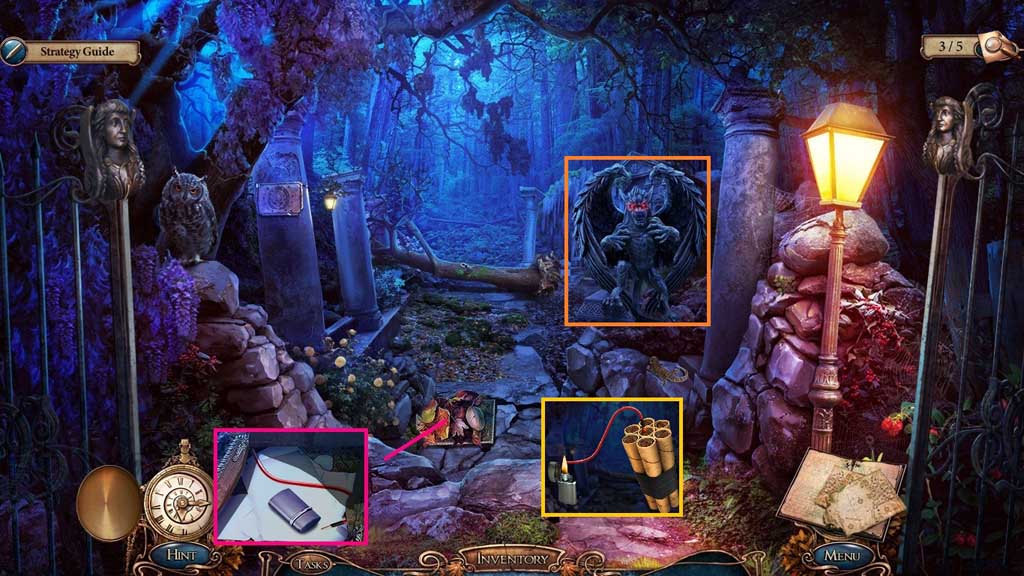
- Collect the fuse and lighter.
- Click the dynamite and attach the fuse; ignite it using the lighter to receive the explosives.
- Toss the explosives toward the demon.
- Move ahead.
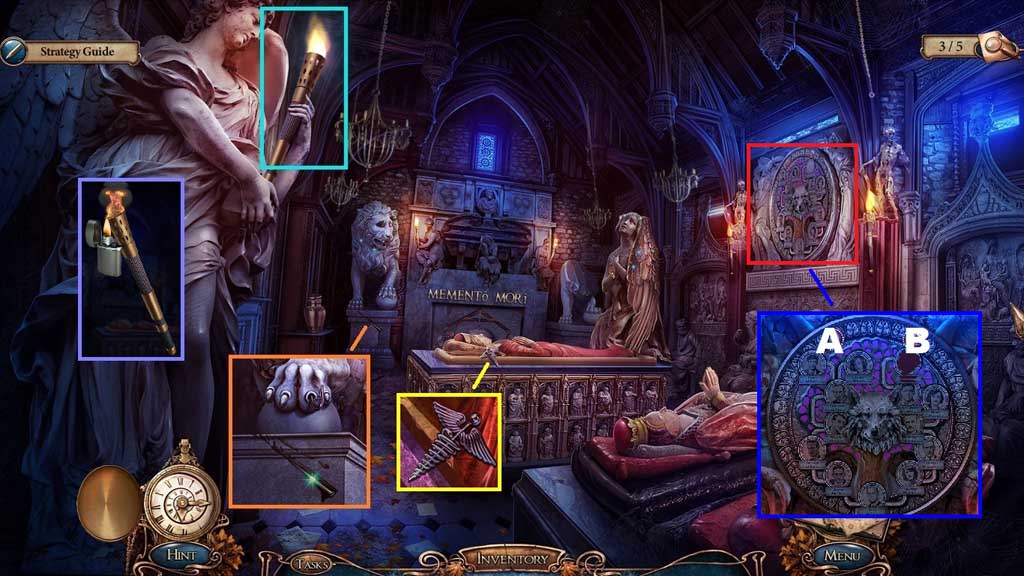
- Click the extinguished torch 2 times and use the vial of kerosene on it.
- Use the lighter to ignite it; collect the lit torch and place it into the holder.
- Collect the nail and the medicine amulet.
- Click the mini game.
- Solve the game using the clue you found on the road.
- Use the following solution: B – B – A – B – A – A
- Click the hidden objects area.
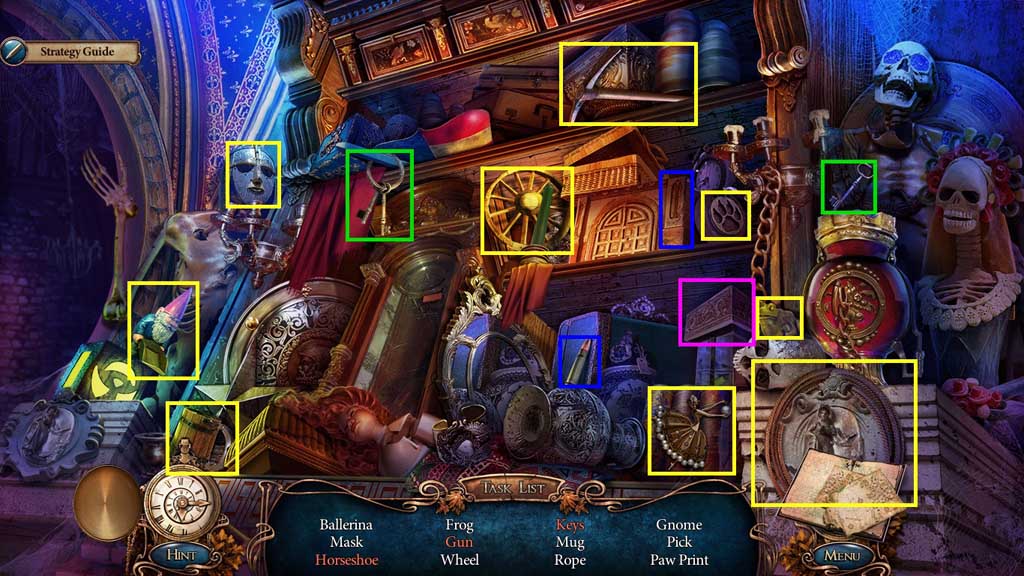
- Find the listed items.
- Click the box; collect the horse shoe.
- Select the bullet and place it into the groove; collect the gun.
- Select the key and place it with the others; collect the keys.
- Collect the pick.
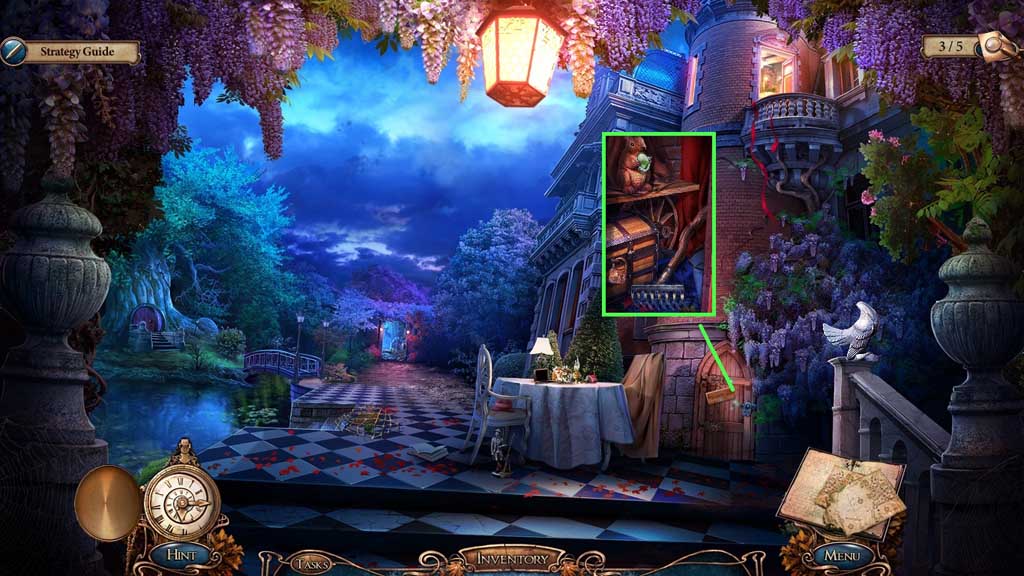
- Move to the Treehouse.
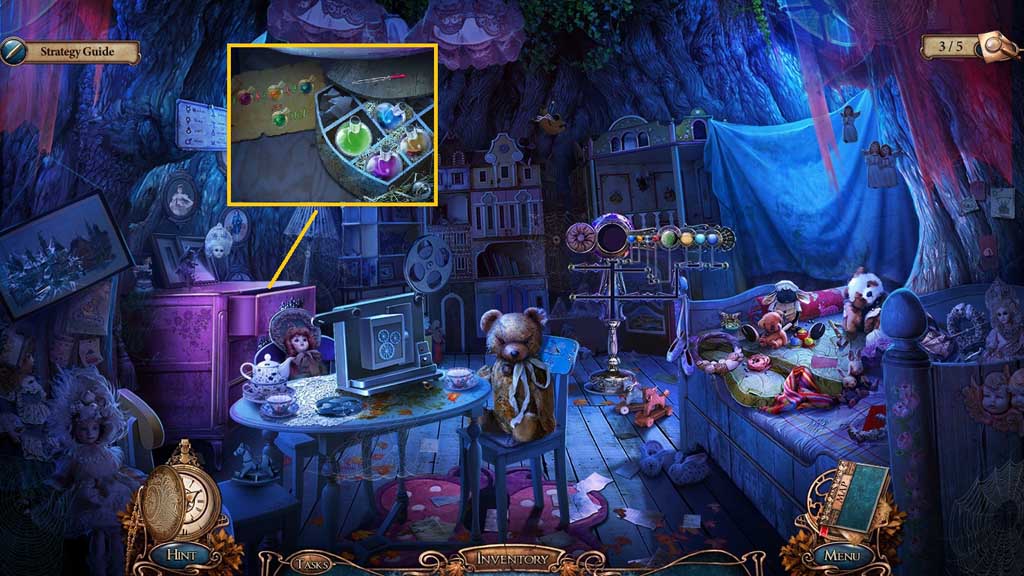
- Insert the medicine amulet; place the pipette down to trigger a mini game.
- Use the pipette to distribute the liquids based on the diagram.
- 1 – purple, 3 – yellow, 2 – blue
- Collect the hydrochloric acid and the pipette.
- Move down once.
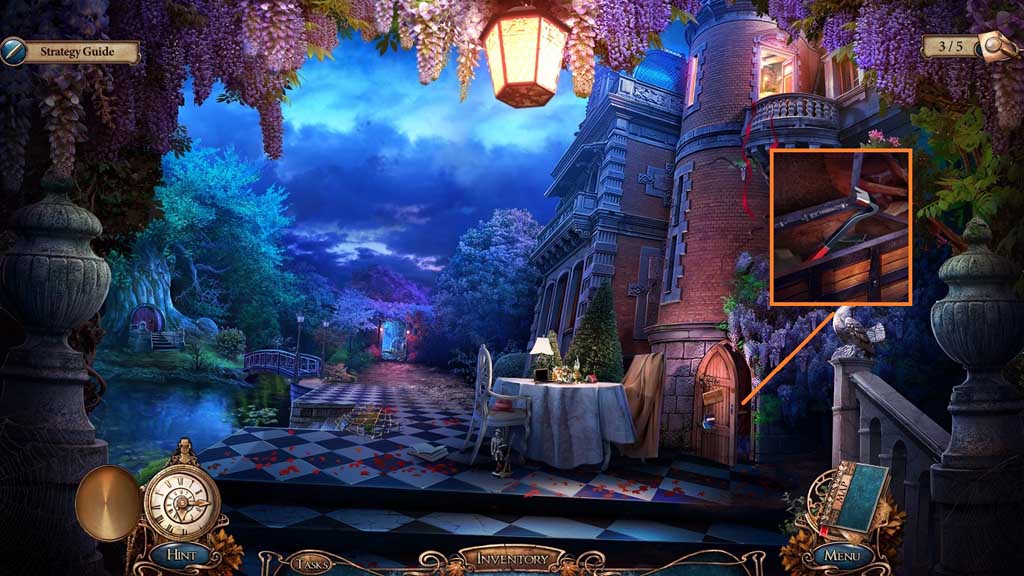
- Pour the hydrochloric acid onto the lock; collect the crowbar.
- Move to the Vault.
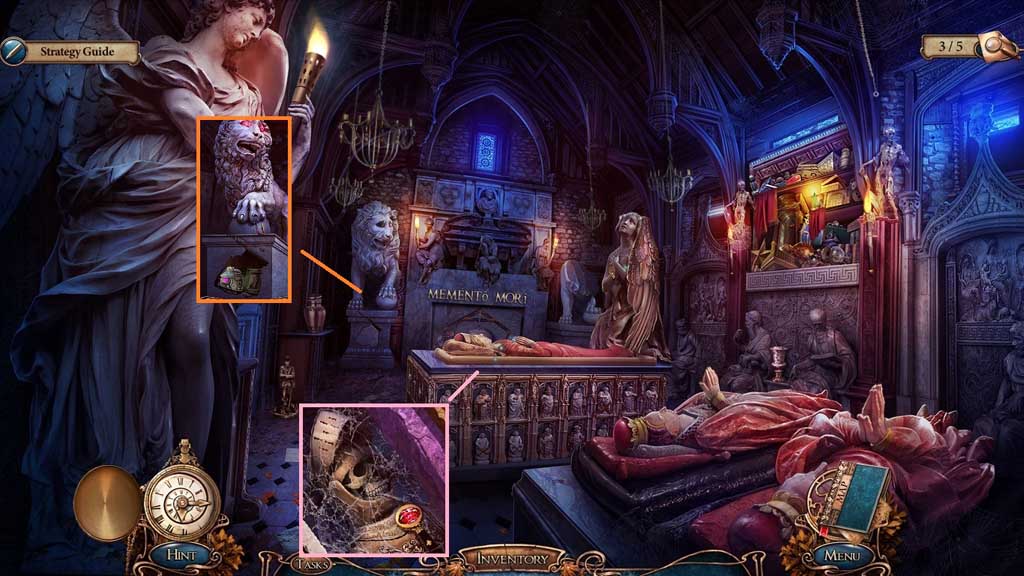
- Use the crowbar on the sarcophagus; select the nail to collect the ruby.
- Use the pick to break the pedestal.
- Place the ruby into the lion; collect the hook part, the man’s photo and 3 /4 mural pieces.
- Move down 2 times.
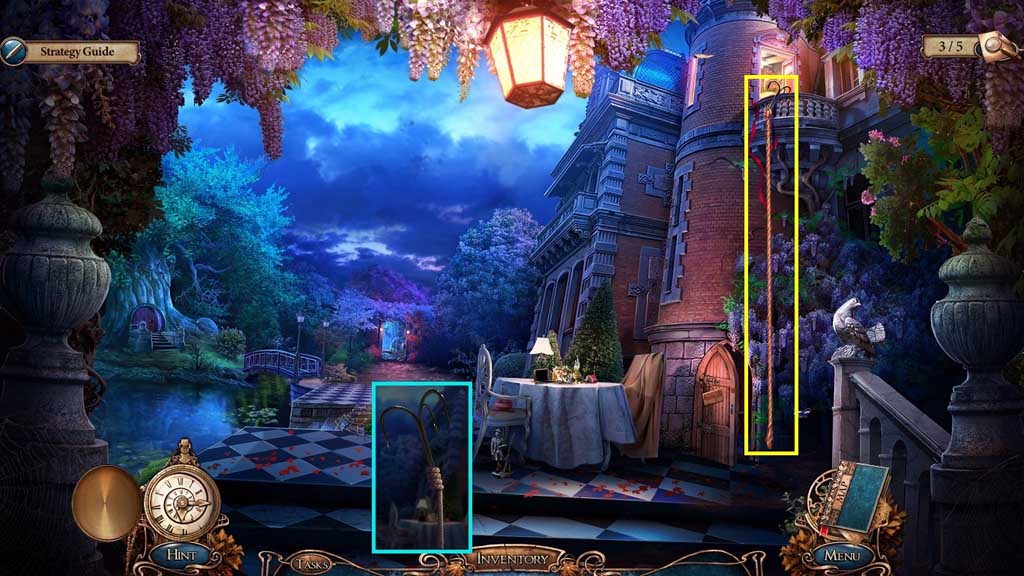
- Attach the 3 hook parts onto the rope to collect the grappling hook.
- Toss the grappling hook onto the balcony.
- Move to the right.
- Collect the camera lens, Elizabeth’s photo and the disclaimer clue.
- Hang the man’s photo along with the children’s and Elizabeth’s photos to trigger a mini game.
- Align the pictures correctly to solve the game.
- Collect the decorative book and the note amulet; insert the note amulet.
- Collect the screwdriver and use it to remove the screws; collect the cage lever.
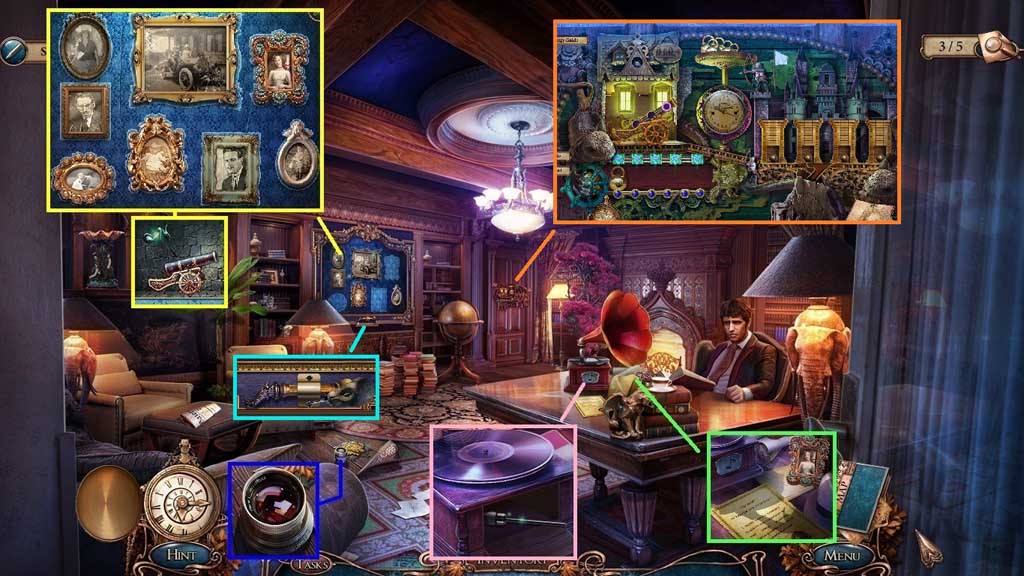
- Insert the decorative book to trigger a mini game.
- Solve the game by aligning the cannon correctly to shoot the 4 towers.
- Move ahead.
- Collect the clippers.
- Move to the Kennels.
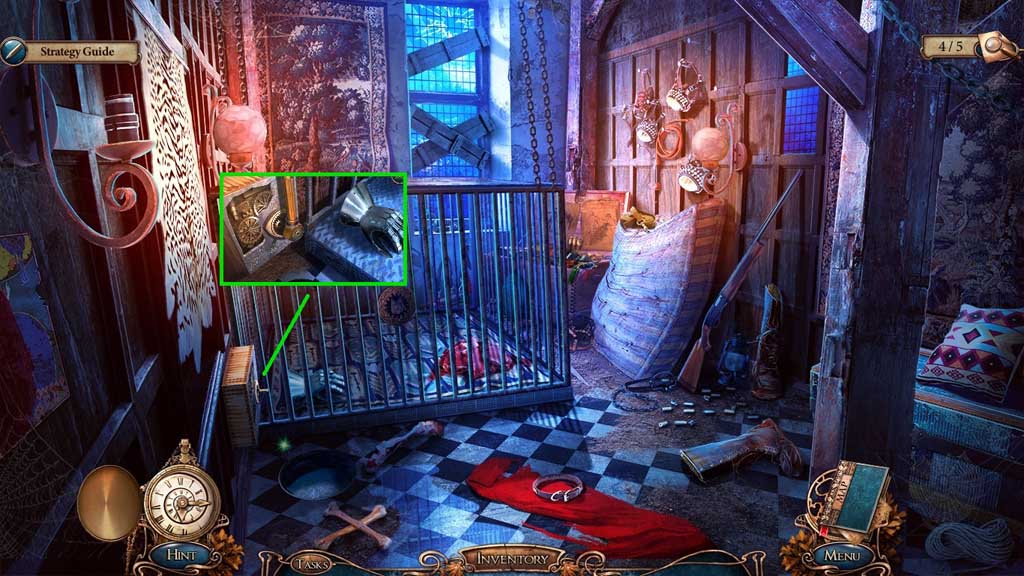
- Attach the cage lever and click it once.
- Collect the iron glove.
- Move down once.
- Use the clippers on the wire; collect the hilt.
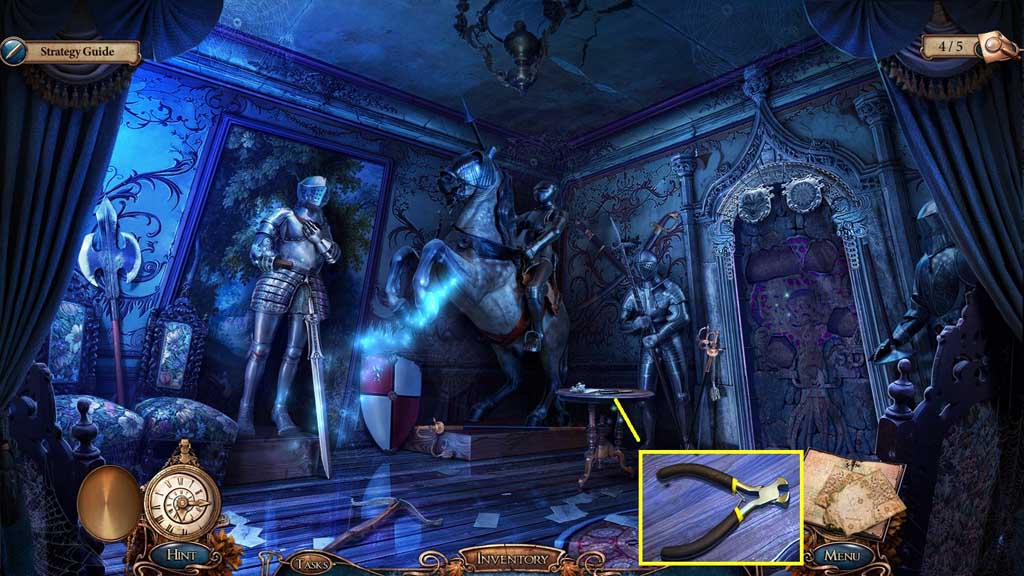
- Move to the Heraldic Armory.
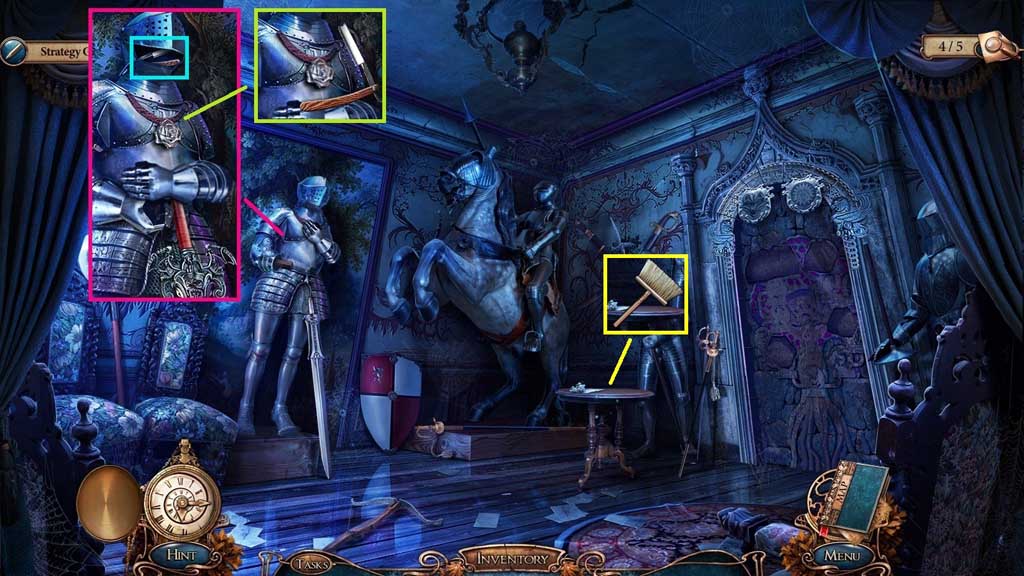
- Attach the iron glove and the hilt.
- Collect the straight razor and use it to cut the necklace.
- Collect the silver rose and the cord.
- Use the cord to fix the brush; collect the dust broom.
- Move to the Vault.
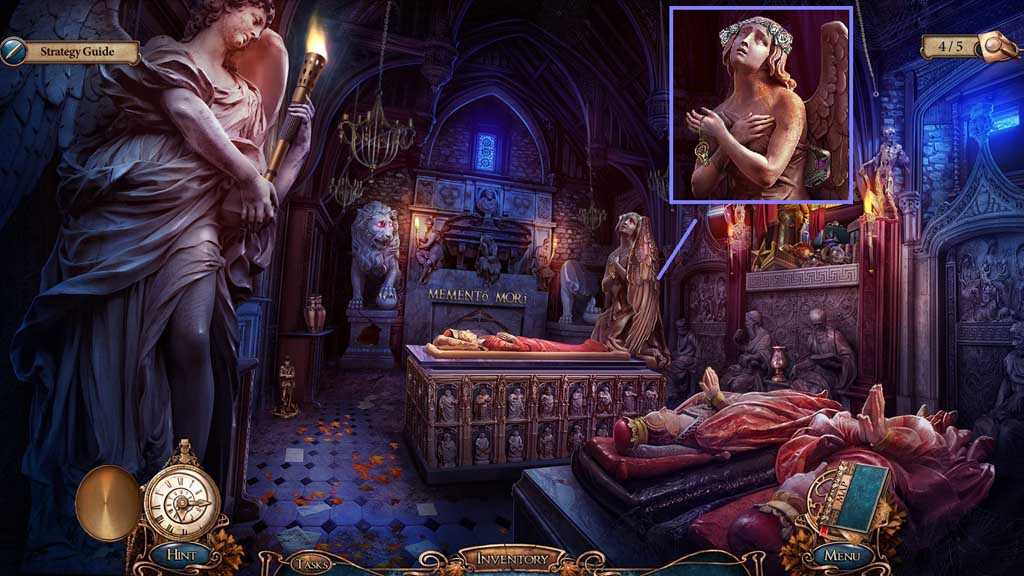
- Place the silver rose and the stone feather onto the angel; collect the light bulb and 4 /4 mural pieces.
- Move to the Study.
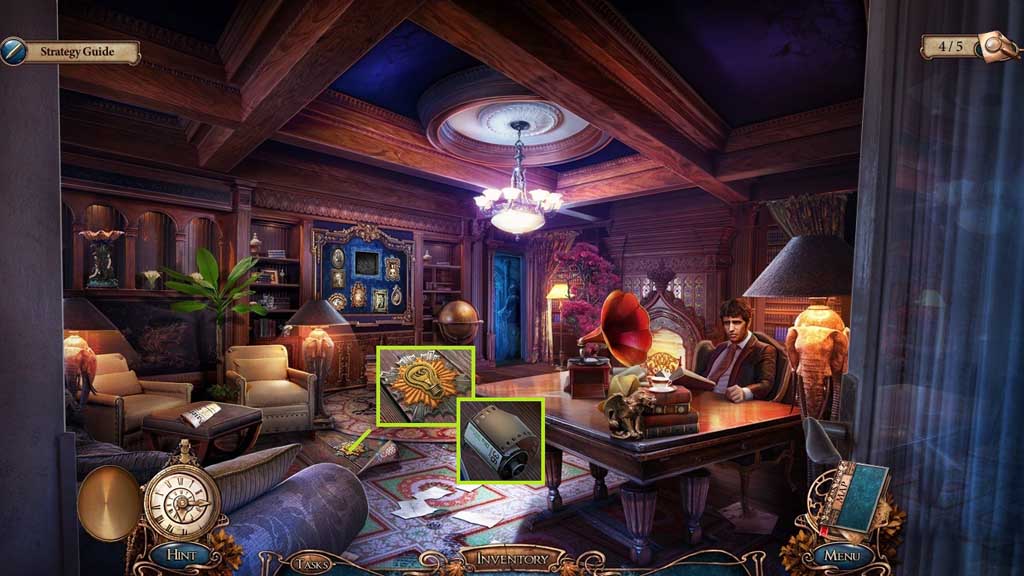
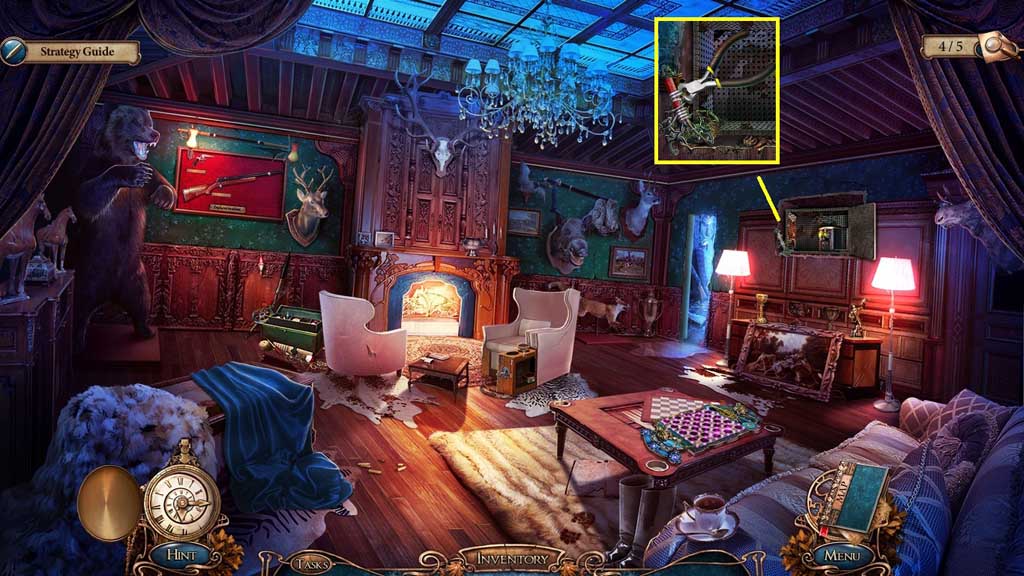
- Insert the light bulb; collect the film.
- Move ahead.
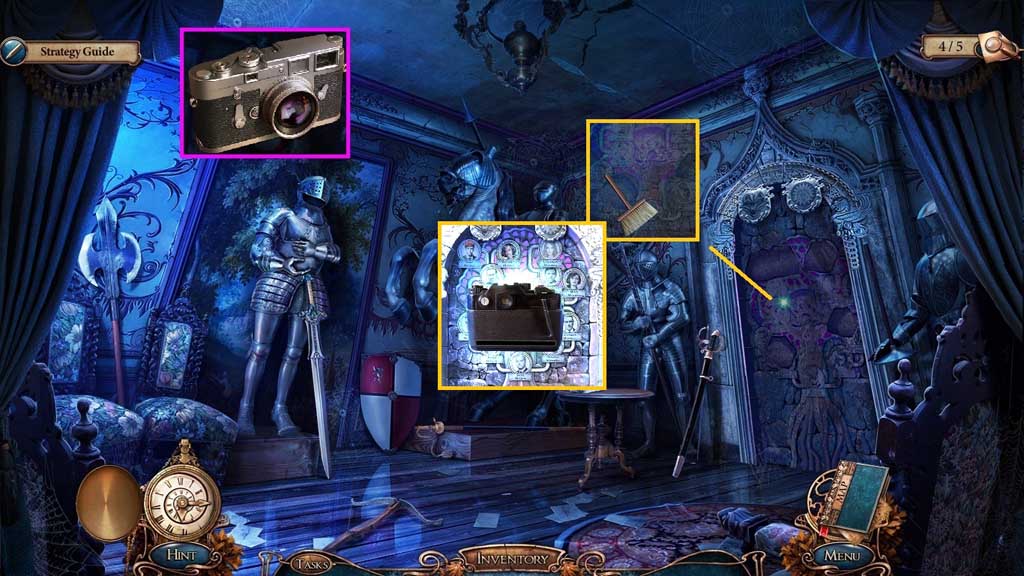
- Click the broken camera; attach the camera lens and the film.
- Collect the camera.
- Use the dust broom on the mural; place the mural pieces onto it.
- Select the camera to take a picture of it and receive the picture clue.
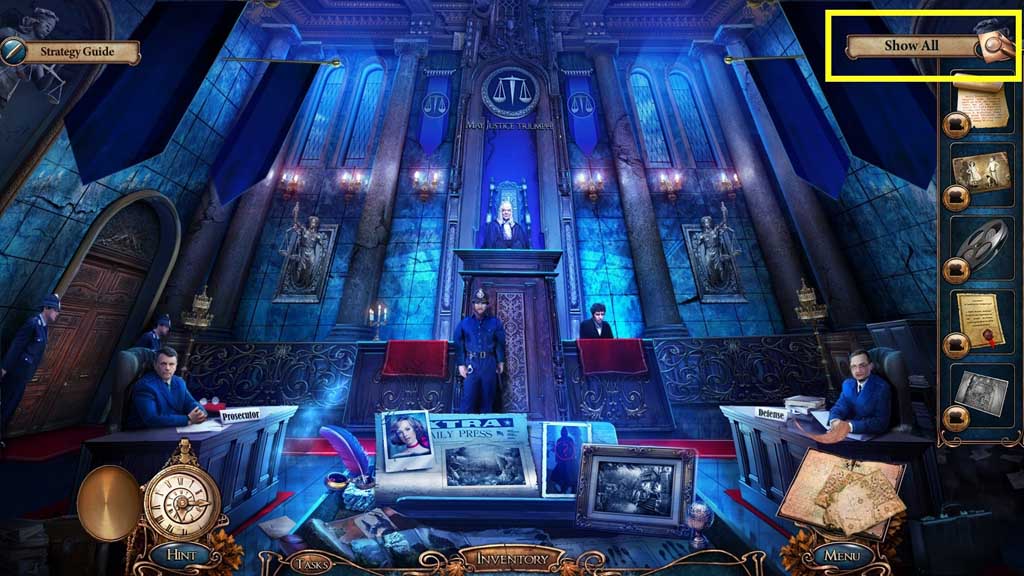
- Click the Show All button.
Comments will load when you reach this part of the walkthrough.