

Chapter Seven: Brandon
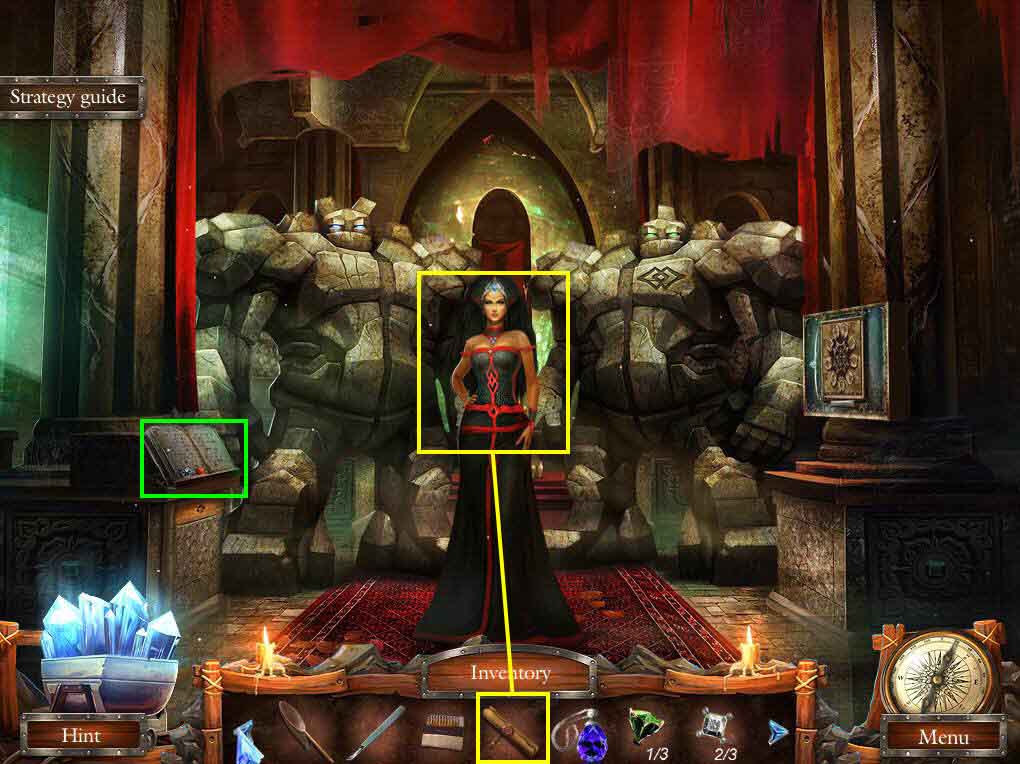
- Click on the chronicle to zoom in.
- Take the 1/3 TOPAZ and the MOLECULE.
- Use the LETTER on the Stone Queen.
- You will receive the LETTER OF POWERS.
- Go to the waterfall.
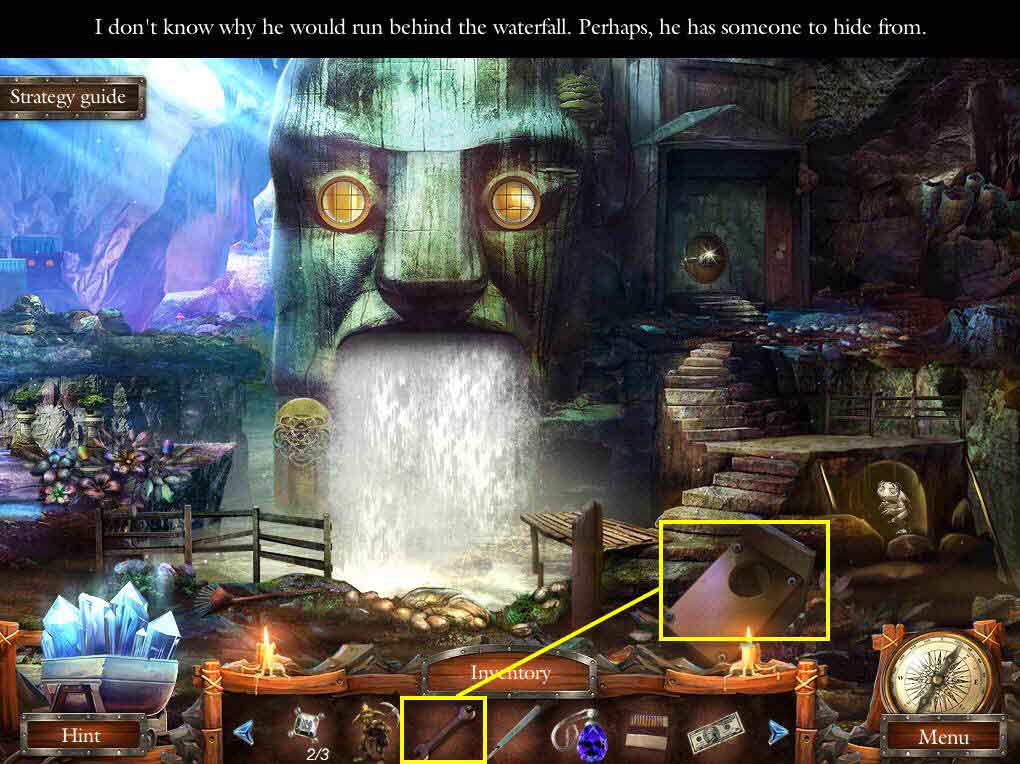
- Click on the starling-house to zoom in.
- Use the WRENCH on the nuts.
- Take the NUTS.
- Click to remove the lid.
- Take the HEAD.
- Go to the water tower.
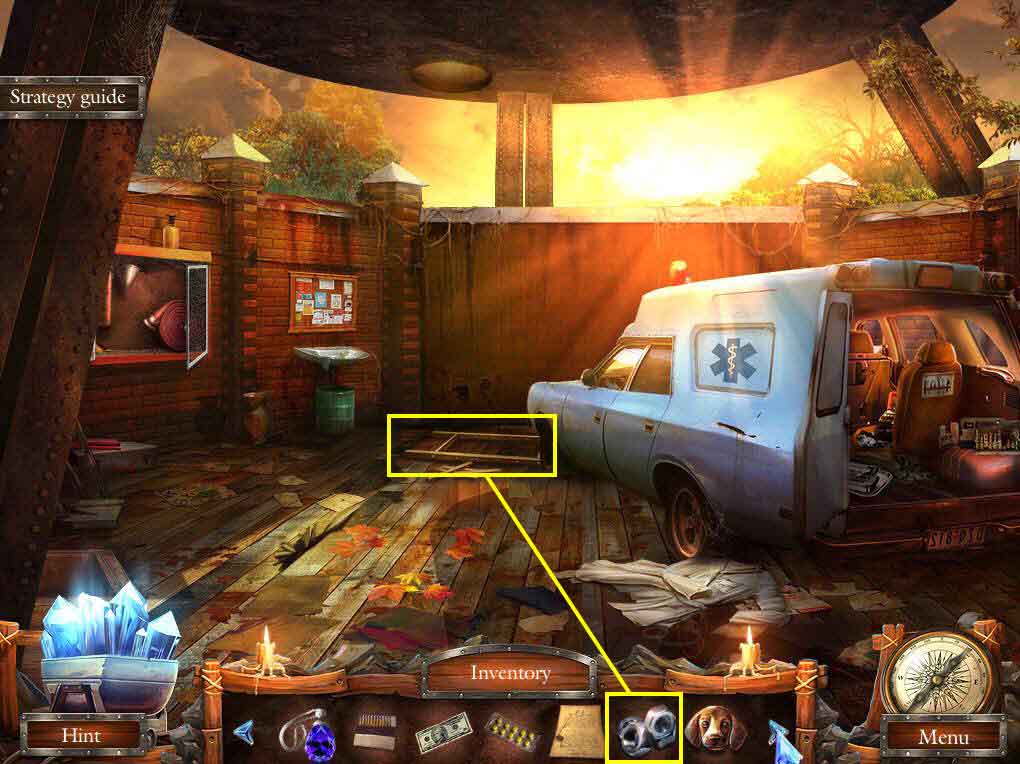
- Click on the ladder to zoom in.
- Use the NUTS on the floor.
- This will start a mini-game.
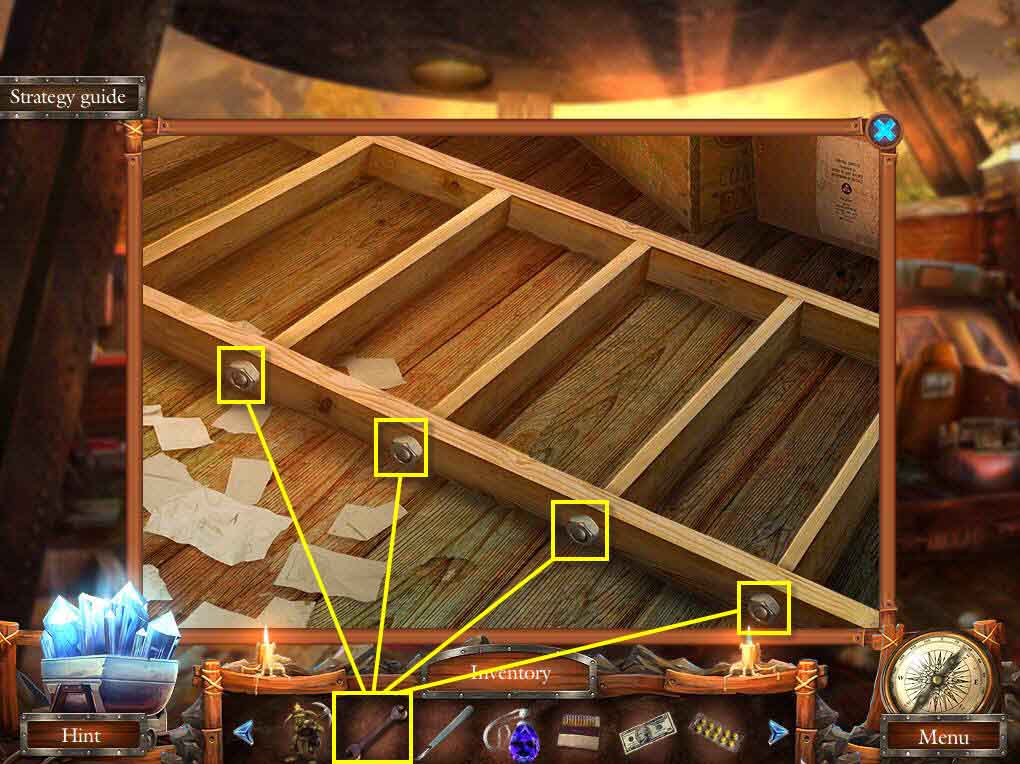
- The goal is to move the 4 boards into the correct position.
- Use the nuts on the bolts.
- Use the WRENCH on the nuts to tighten them.
- Take the LADDER.
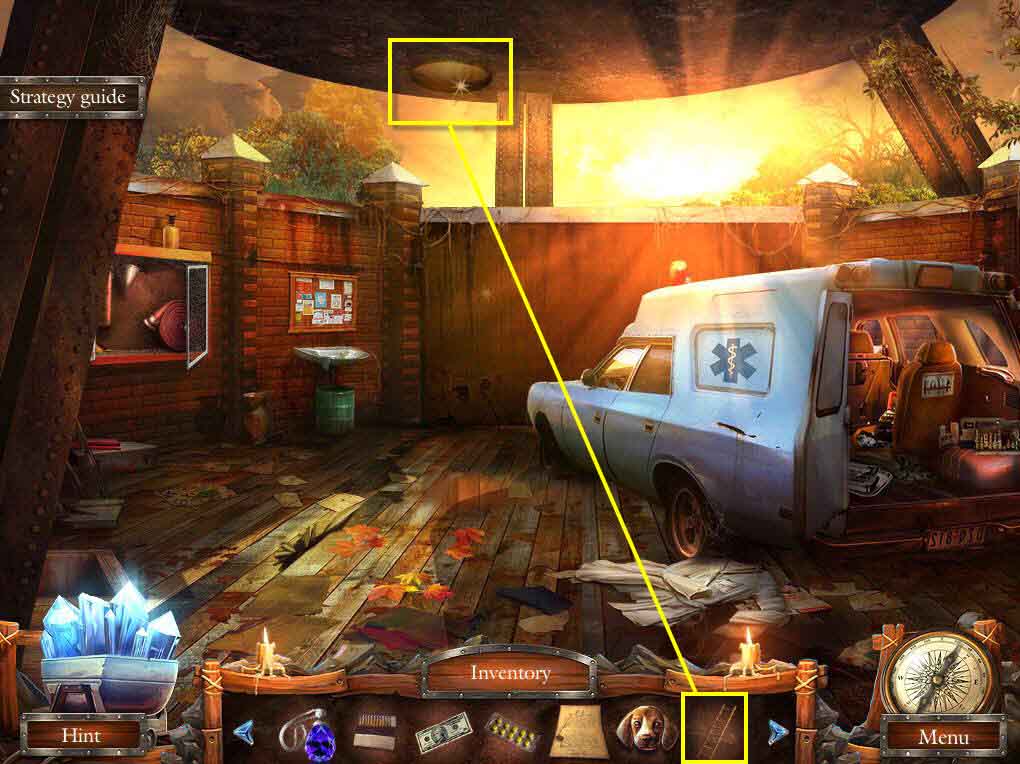
- Click on the manhole on the water tower to zoom in.
- Use the LADDER on the manhole.
- Go up the ladder.
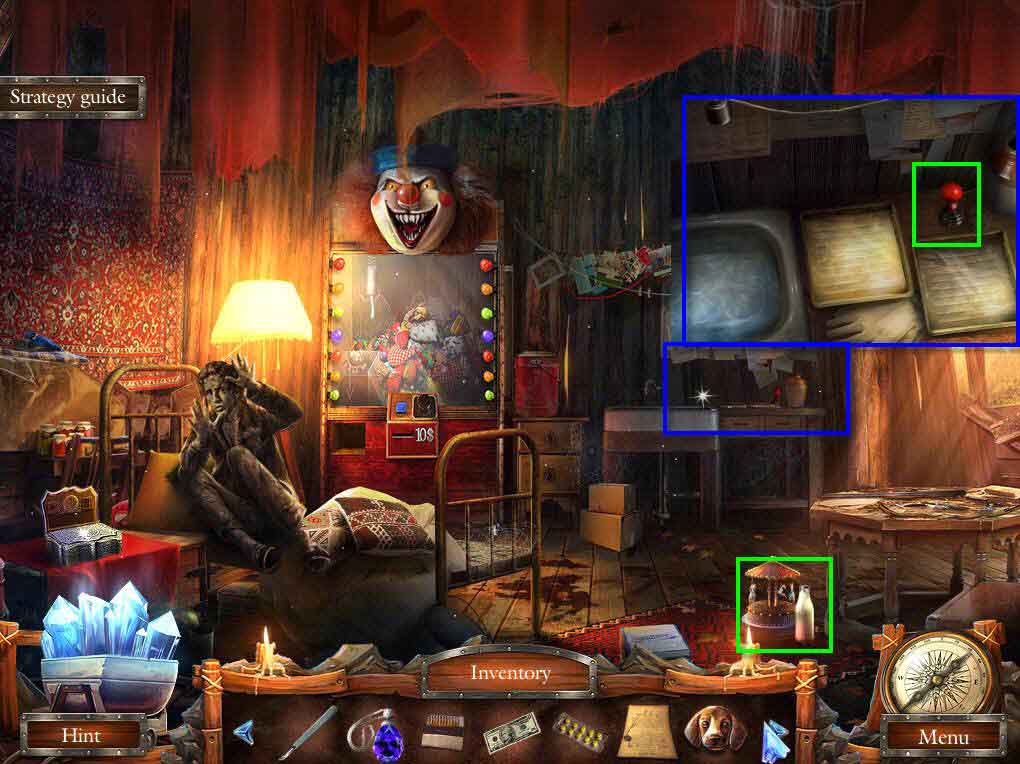
- Click on the carousel to zoom in.
- Take the MILK.
- Click on the dark room area to zoom in.
- Take the JOYSTICK.
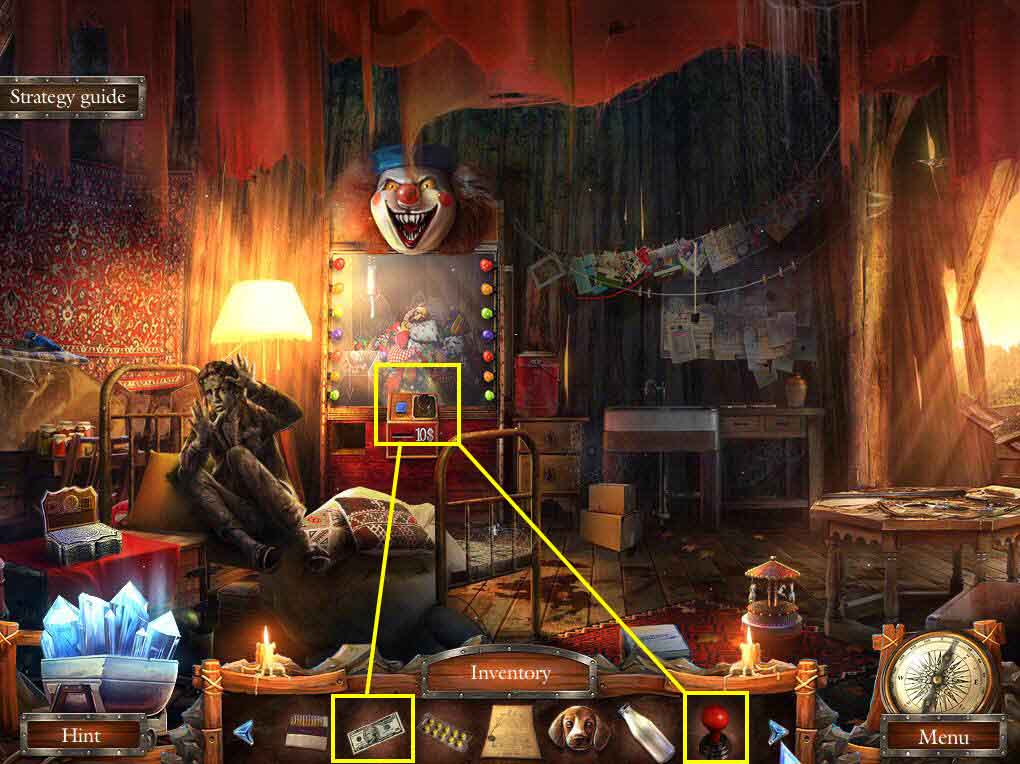
- Click on the device to zoom in.
- Use the JOYSTICK on the controls.
- Use the $10 DOLLARS on the slot.
- Click the right arrow twice.
- Click the up arrow twice.
- Click the button.
- Take the HEAD.
- Go back to the water fall.
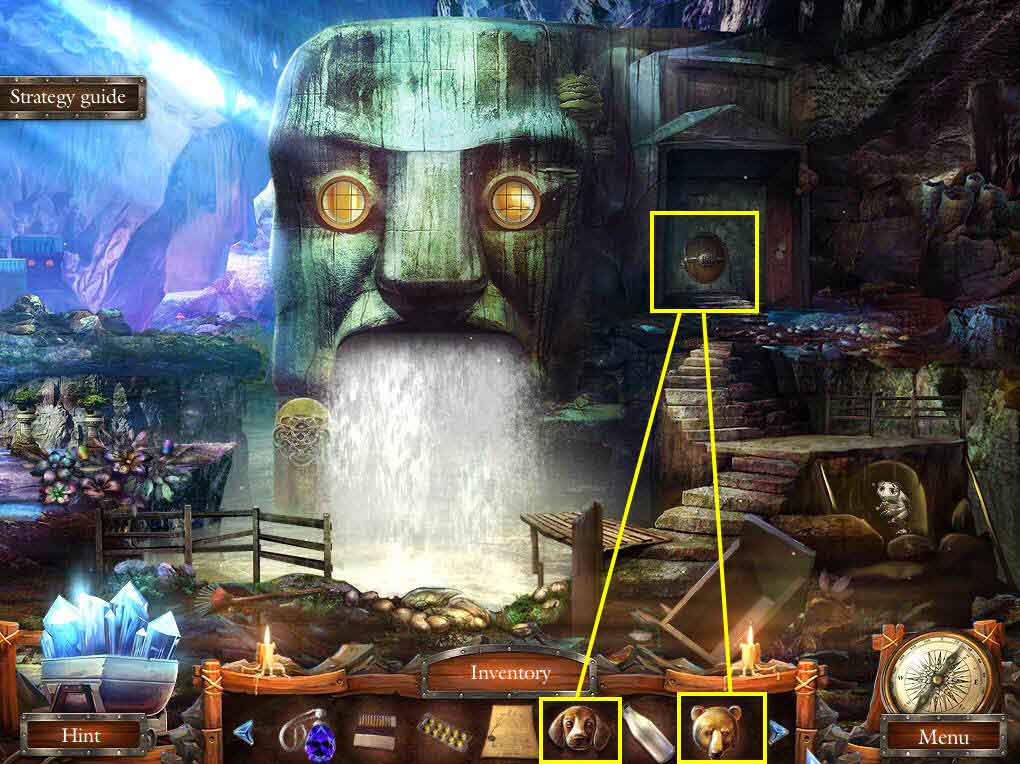
- Click on the door to zoom in.
- Use the 2 HEADS on the device.
- This will trigger a mini-game.
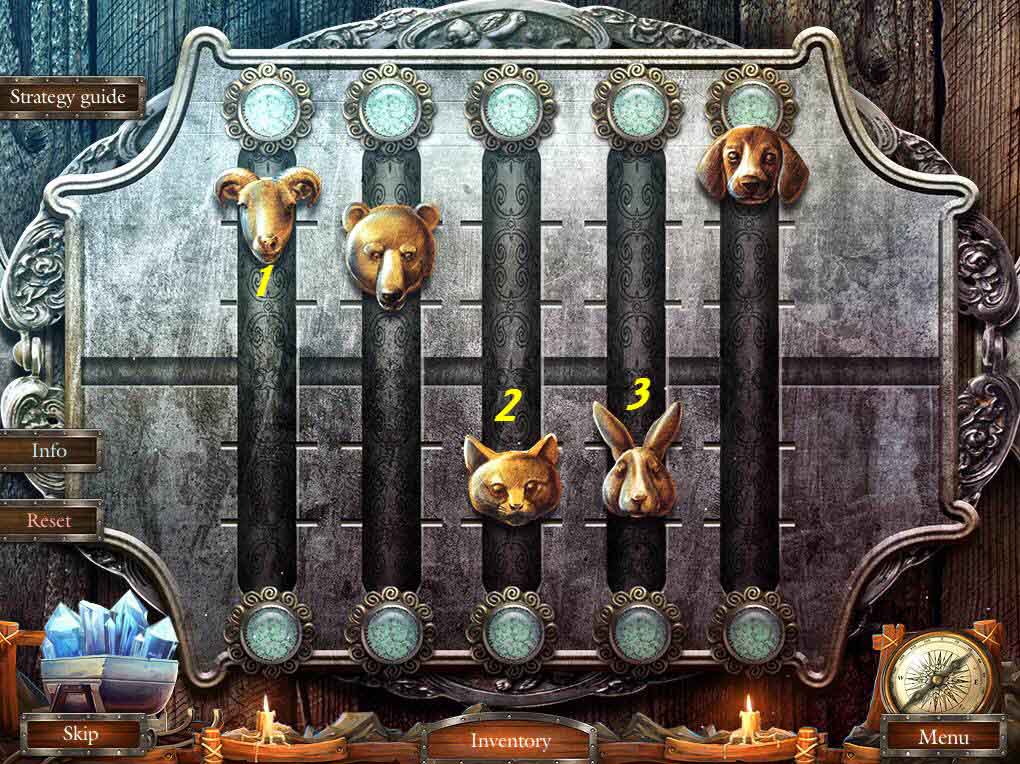
- The goal of the game is to drag the heads to the center line.
- When you move one head, the other one may move as well.
- Move the goat to the middle first, then the cat, and finally the rabbit.
- Go through the door.
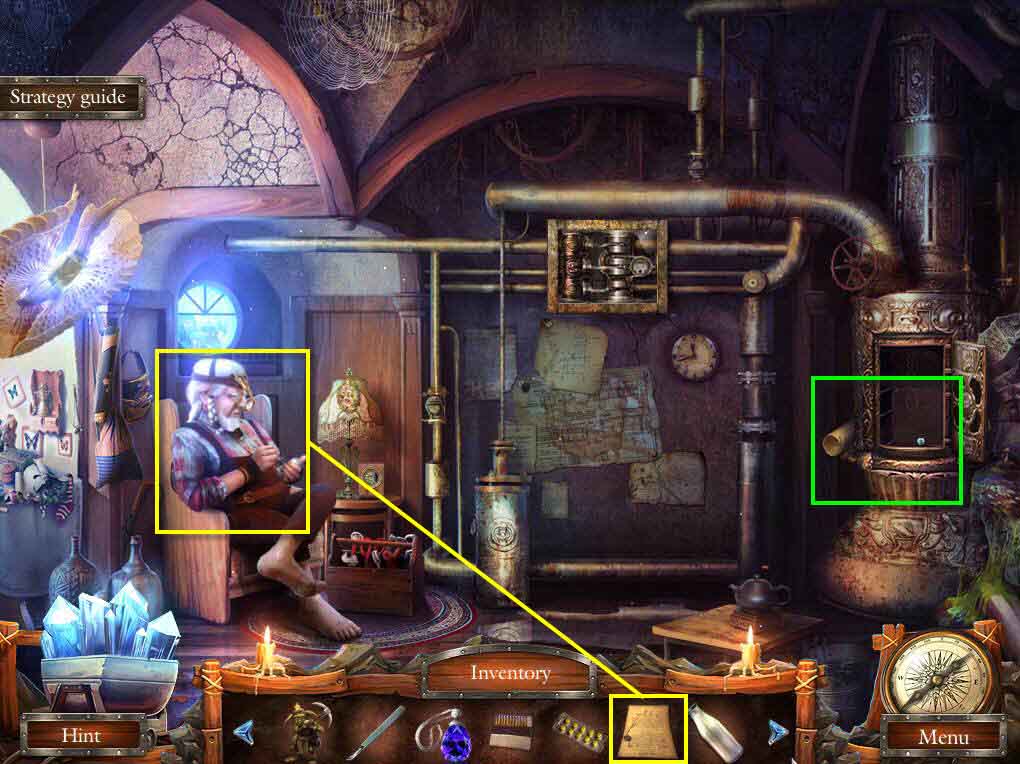
- Click on the halfling to talk to him.
- Use the LETTER OF POWERS on him.
- Click on the stove to zoom in.
- Read the instructions.
- Take the 1/4 STAR.
- Go to the Stone City.
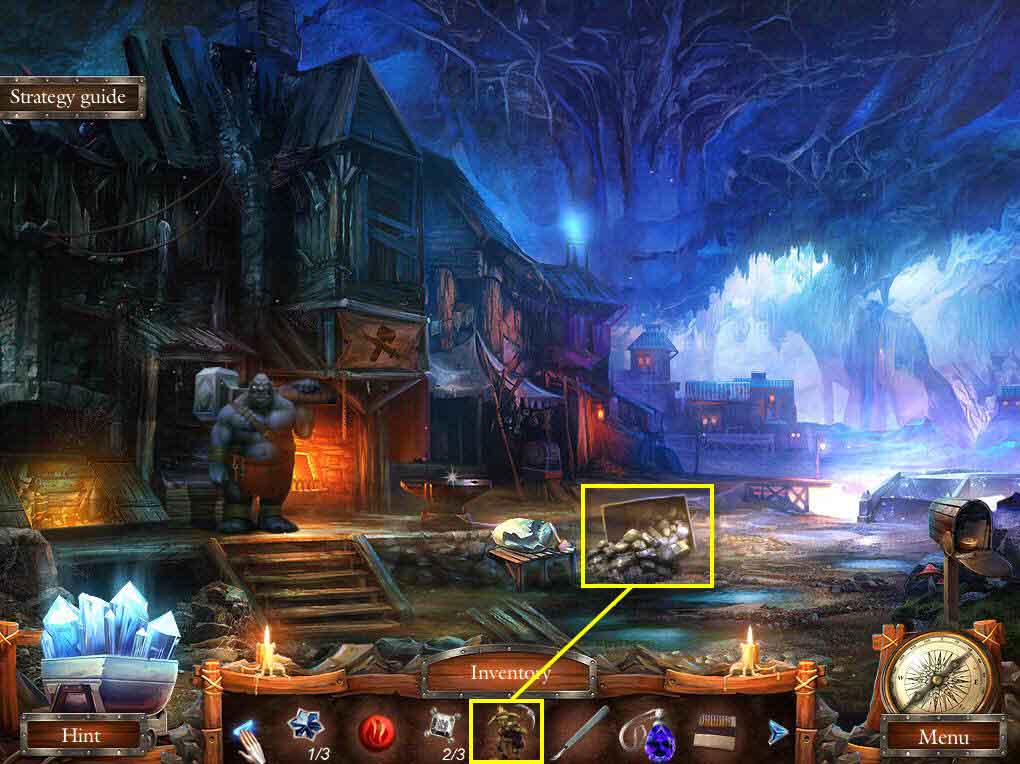
- Click on the overturned trolley to zoom in.
- Use the GOBLIN on the trolley.
- Take the COAL, CRUSHED WELDING MASK, and the 2/3 EMERALD.
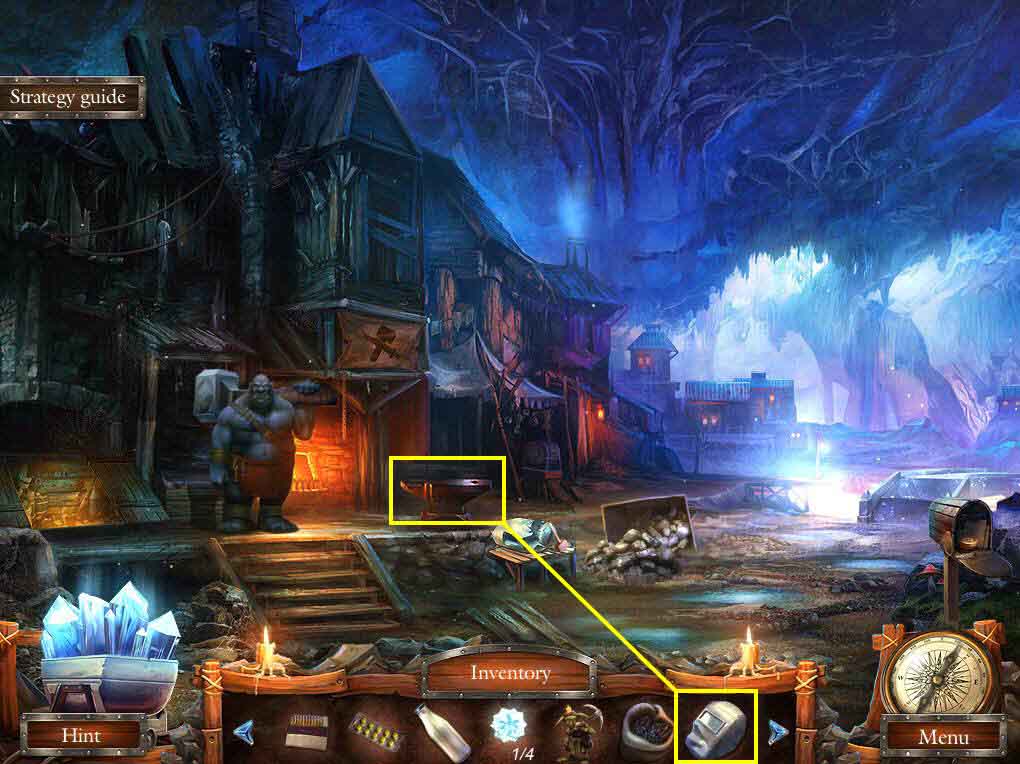
- Click on the anvil to zoom in.
- Use the CRUSHED WELDING MASK on the anvil.
- Take the WELDING MASK when the blacksmith is done.
- Go back to the halfling inside the waterfall.
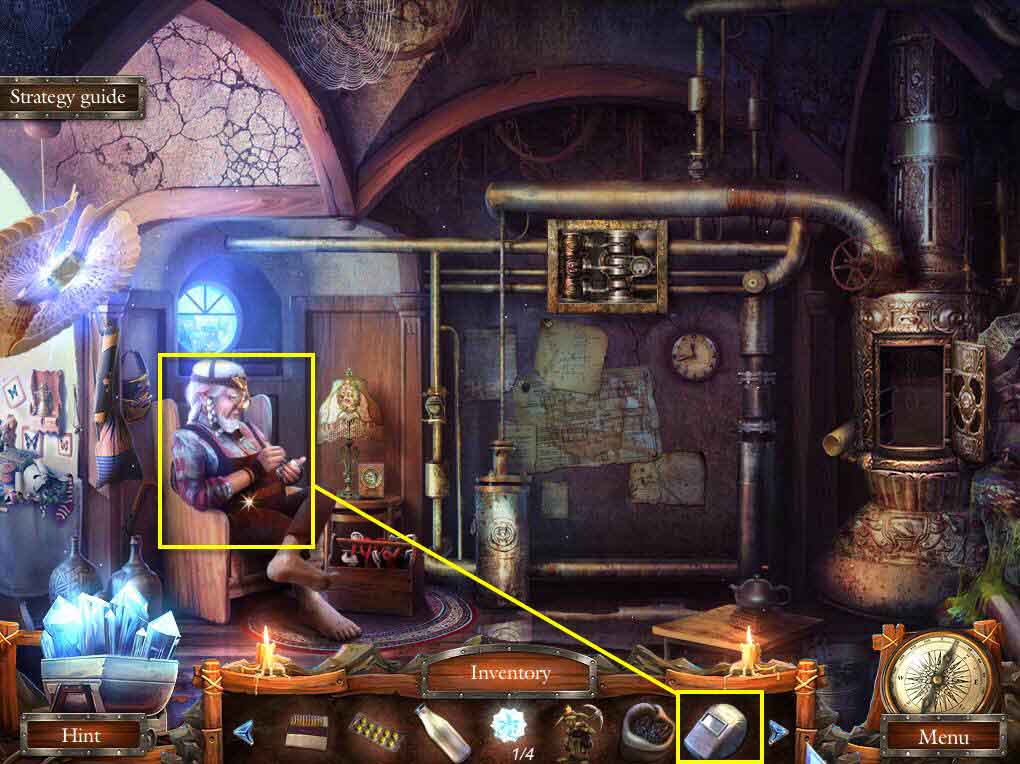
- Click on him to zoom in.
- Use the WELDING MASK on him.
- Click on the sparkles to play an HOS.
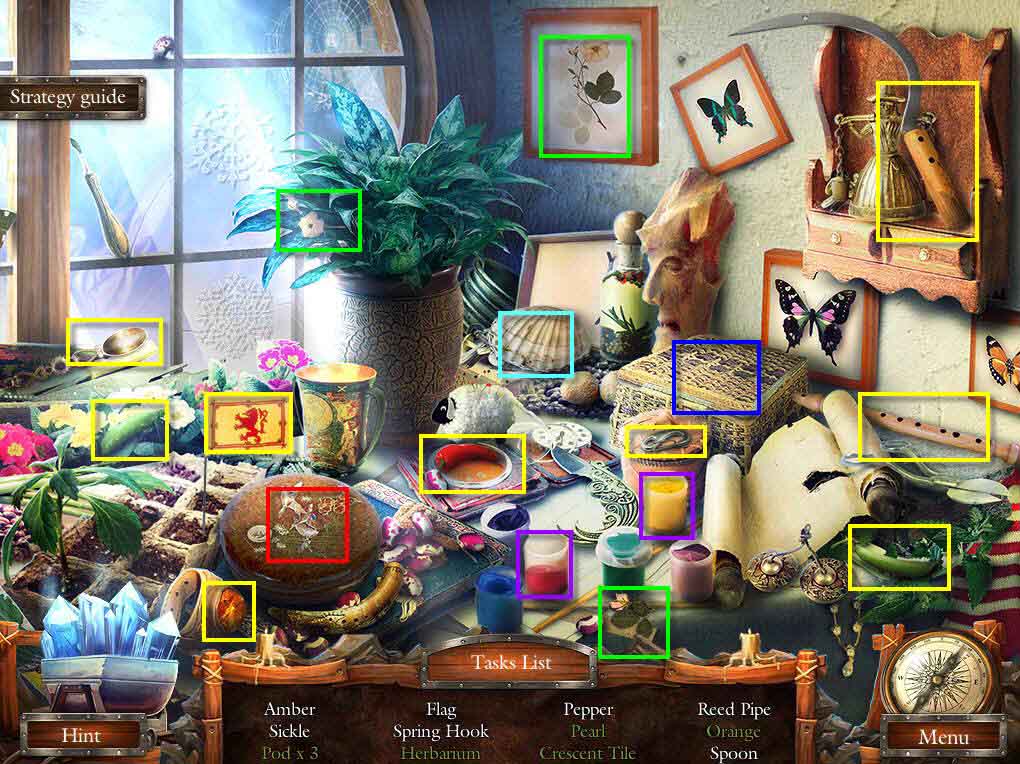
- Find all the items on the list.
- You will receive the CRESCENT TILE.
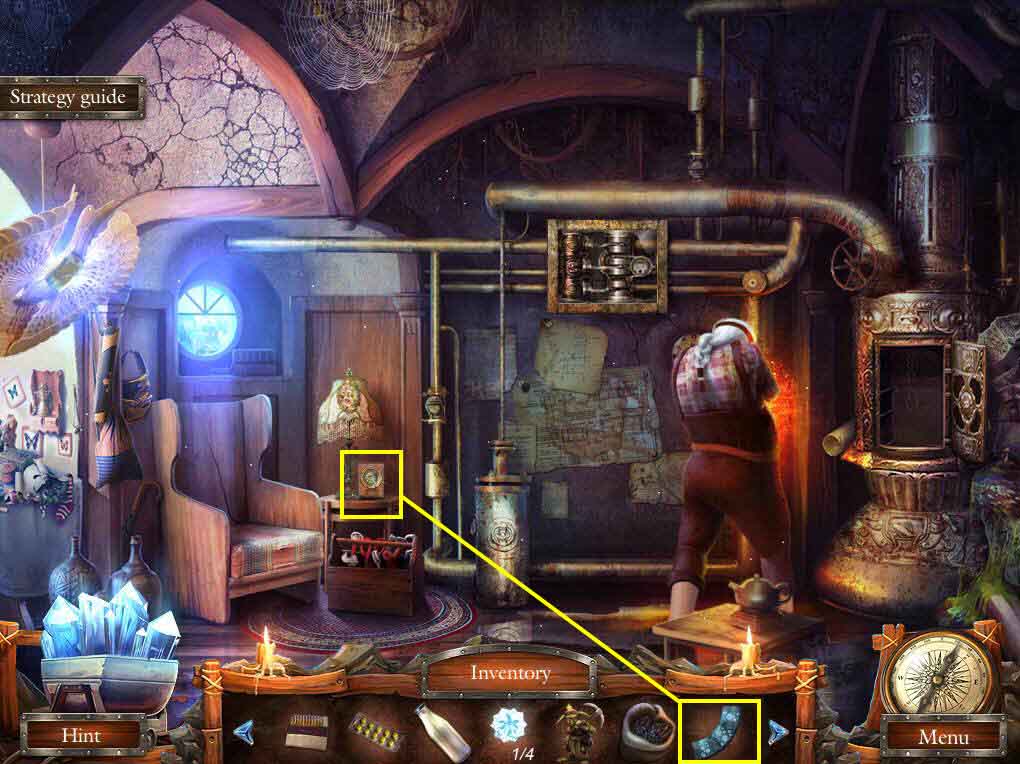
- Click on the calendar to zoom in.
- Use the CRESCENT TILE on the device.
- This will start a mini-game.
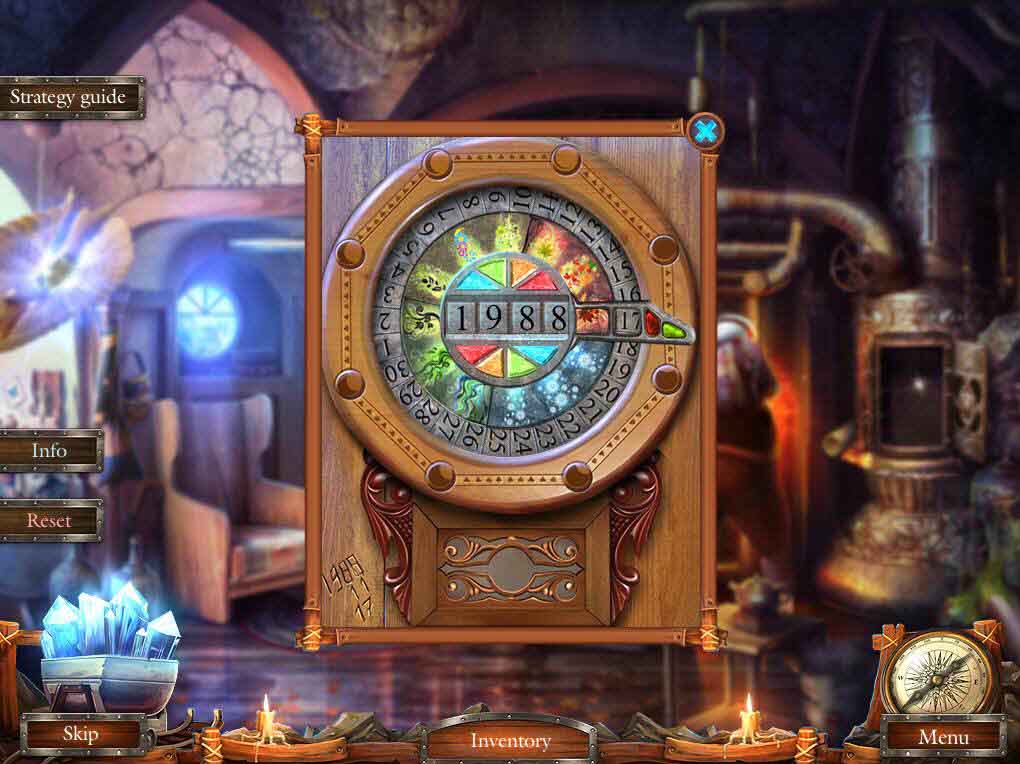
- Change the numbers to 1988.
- Now, move the seasons ring so the final bottom orange section is in the frame.
- Move the dial so that 17 is in the frame.
- See the screenshot for the solution.
- Click the green button.
- Take the 1/3 RUNE and the SERVANT'S STONE.
- Go to the water tower.
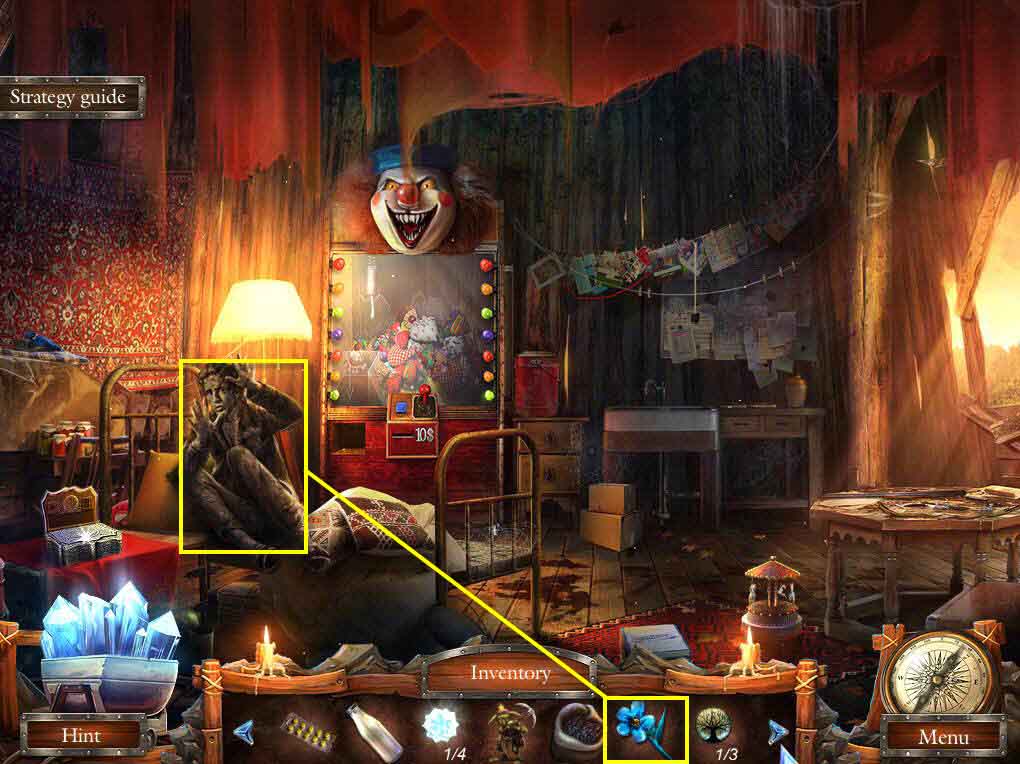
- Click on the servant to zoom in.
- Use the SERVANT'S Stone on him.
- You will receive the HEX KEY.
- Go back one screen.
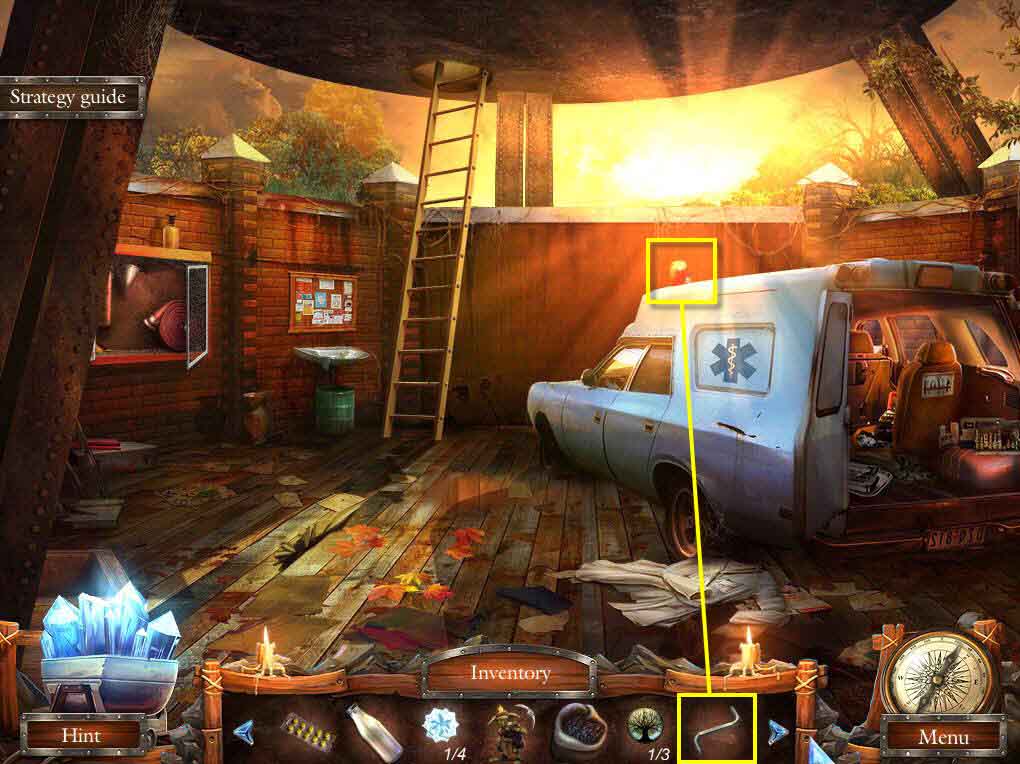
- Click on the emergency light on the ambulance to zoom in.
- Use the HEX KEY to get rid of the cover.
- Take the RED LIGHT BULB.
- Go back up the ladder.
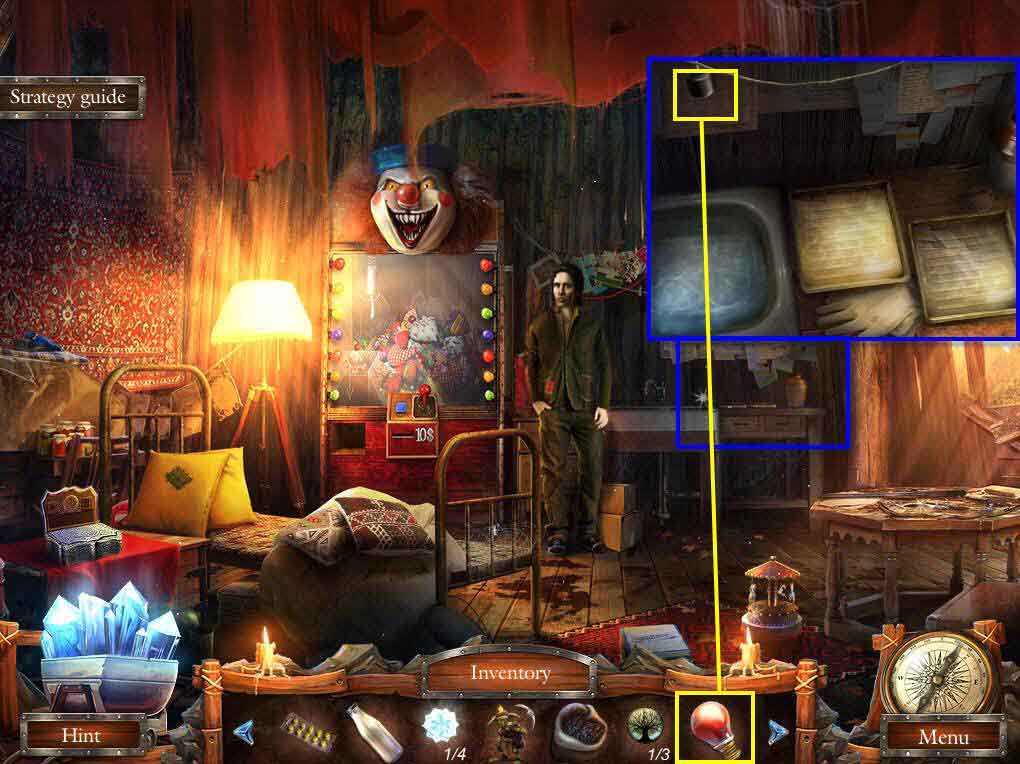
- Click on the dark room area to zoom in.
- Use the RED LIGHT BULB on the socket.
- Take the PHOTO.
- Go back two screens.
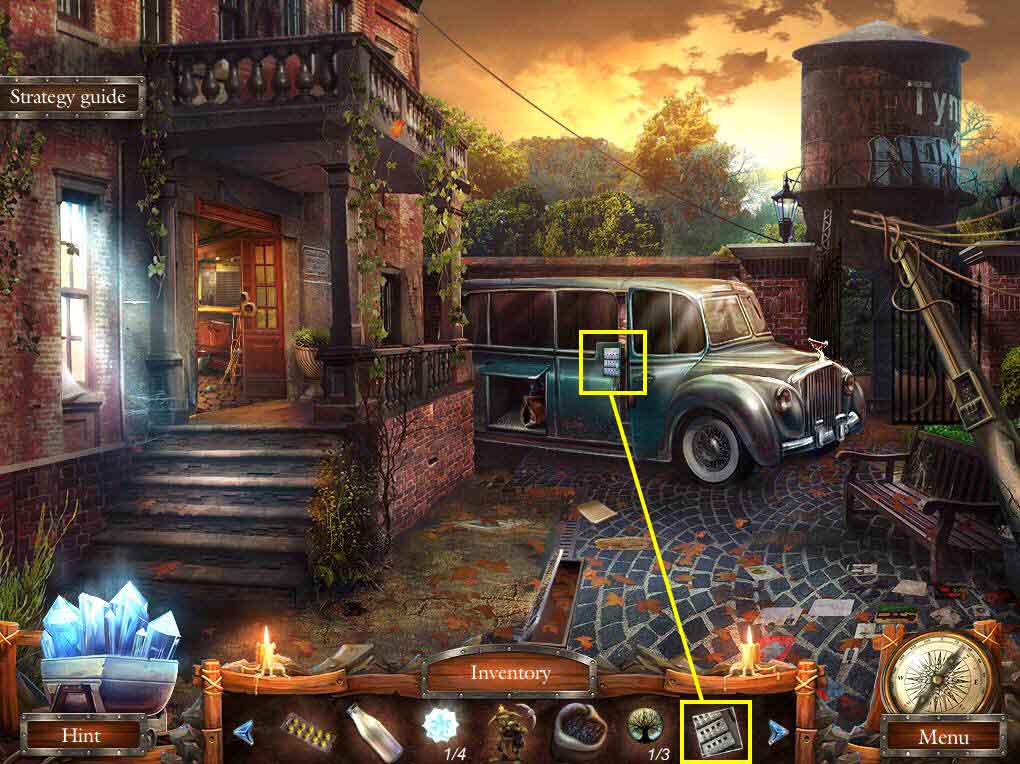
- Click on the lock on the van to zoom in.
- Use the PHOTO on the left.
- This will start a mini-game.
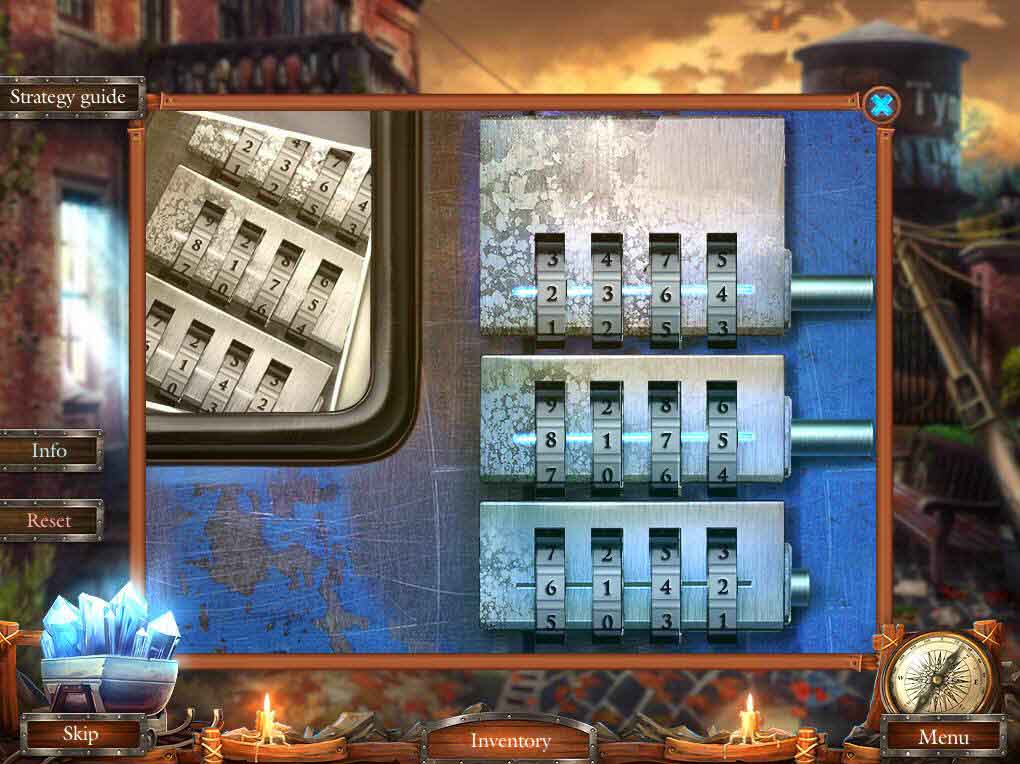
- The goal of the game is to input the right numbers for each lock by looking at the photo.
- For the first lock: 2, 3, 6, 4
- Second lock: 8, 1, 7, 5
- Third lock: 6, 1, 4, 2
- See the screenshot for the solution.
- Go inside the van laboratory.
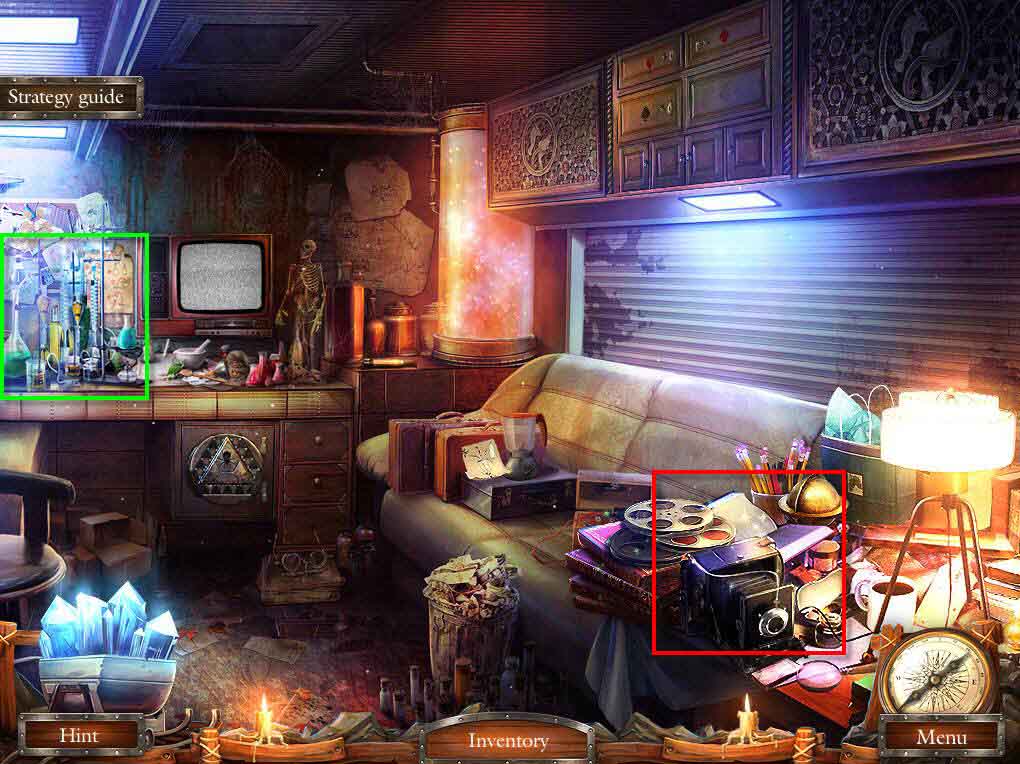
- Click on the chemistry set to zoom in.
- Take the TEST TUBE.
- Click on the sparkles to play an HOS.
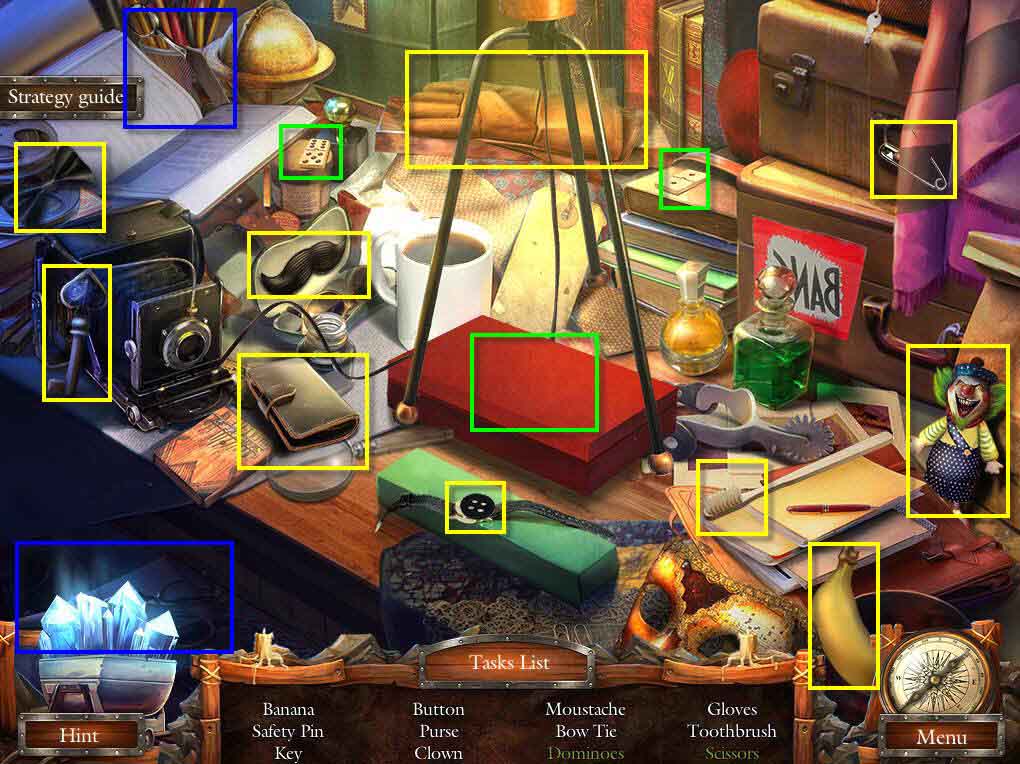
- Find all the items on the list.
- You will receive a SPADE KEY.
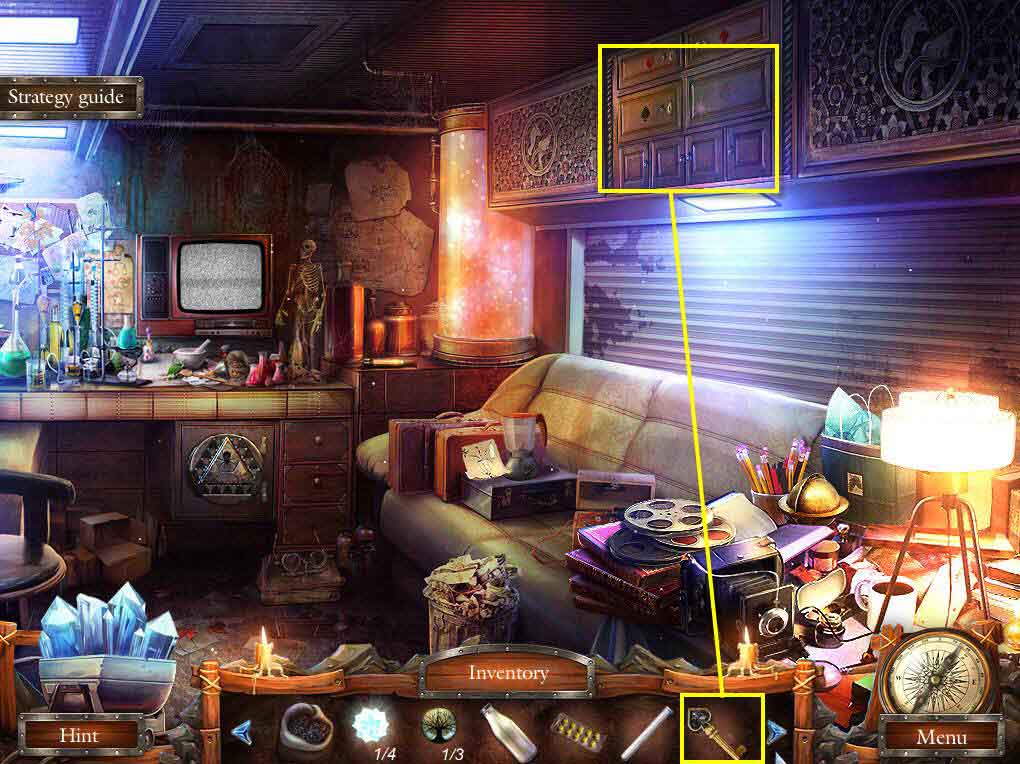
- Click on the overhead compartments to zoom in.
- Use the SPADE KEY on them to open it.
- Take the 2/3 RUNES and the FUEL.
- Go to the halfling by the waterfall.
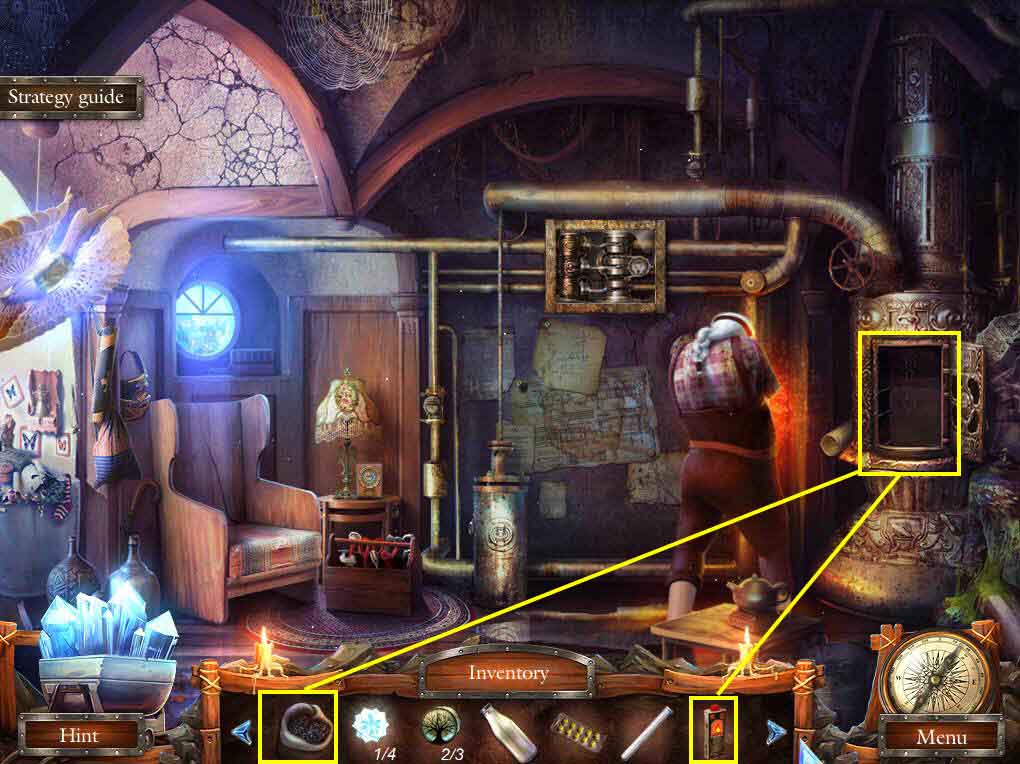
- Click to zoom in on the stove.
- Use the COAL, the FUEL, then the MATCHES on the stove.
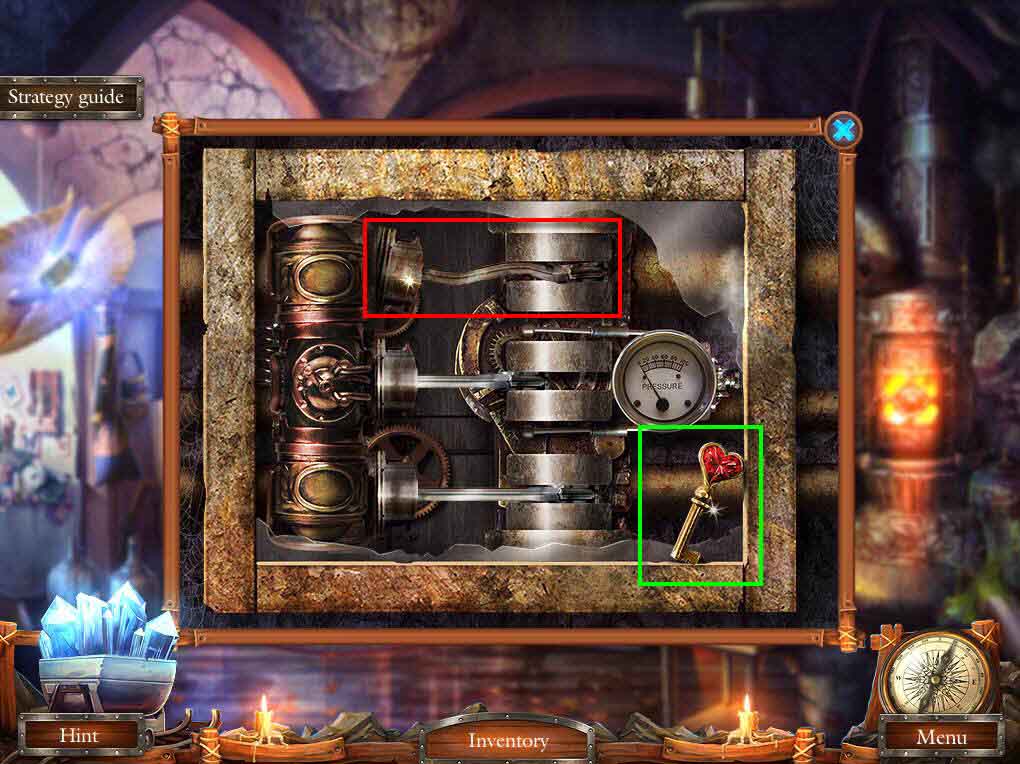
- Click to zoom in on the pump.
- Take the HEART KEY.
- Click to remove the bent piston.
- Go back to the van laboratory.
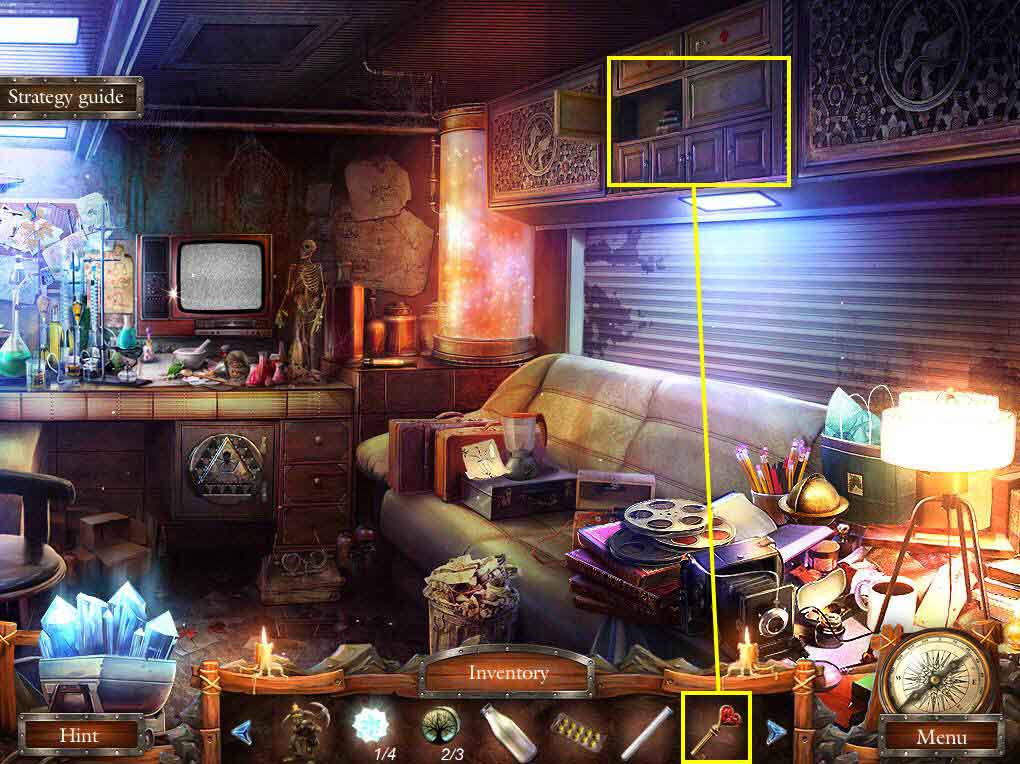
- Click to zoom in on the overhead compartments.
- Use the HEART KEY.
- Take the PISTON and the VALERIAN.
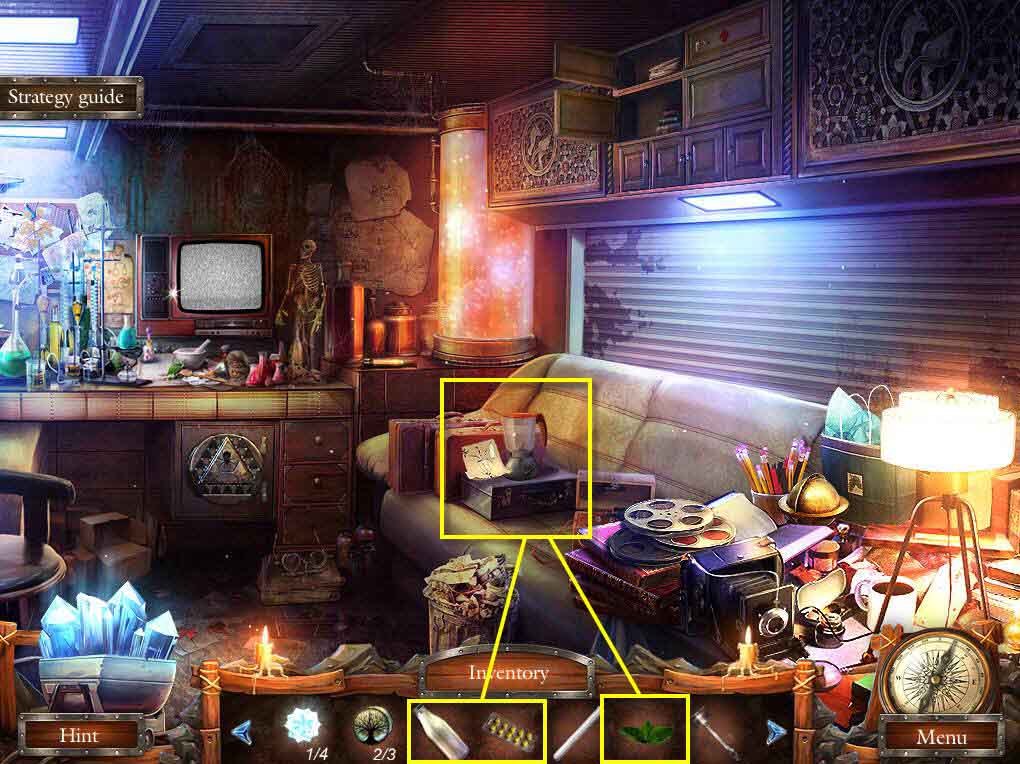
- Click on the mixer to zoom in.
- Click to remove the lid.
- Use the VALERIAN, the MILK, and the PILLS on the mixer.
- Click to put the lid back on.
- Click the button.
- Take the SLEEPING POTION.
- Go back to the halfling in the waterfall.
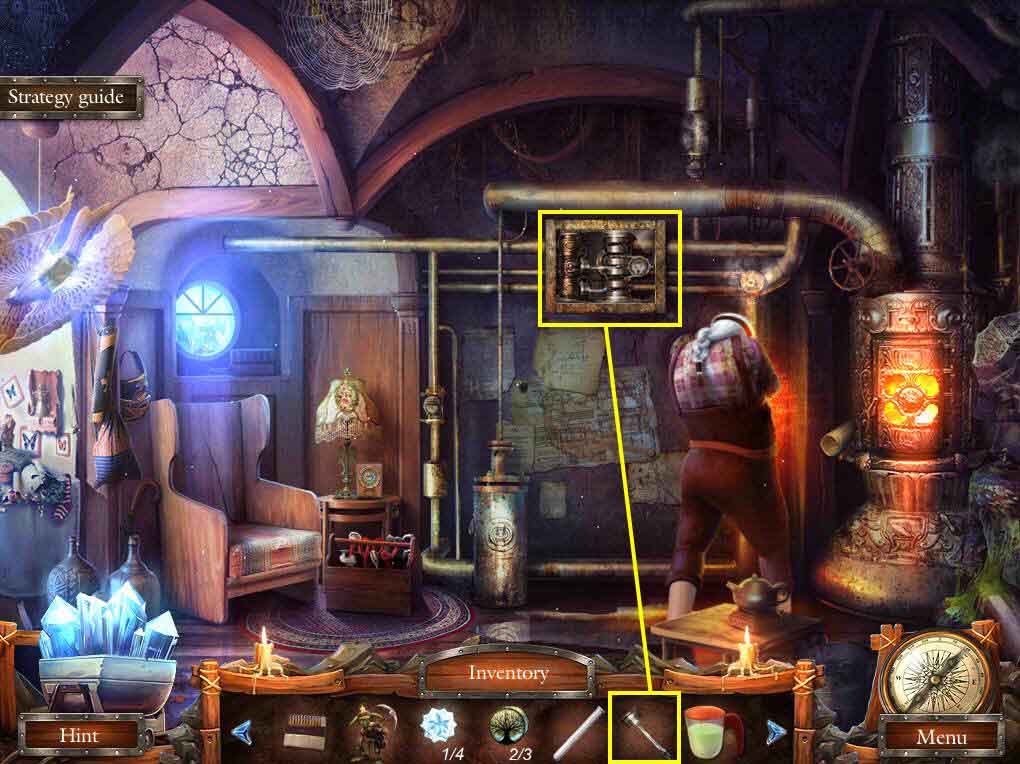
- Click on the pump to zoom in.
- Use the PISTON.
- You will receive the KNOWLEDGE AMULET.
- Go to the Stone Castle.
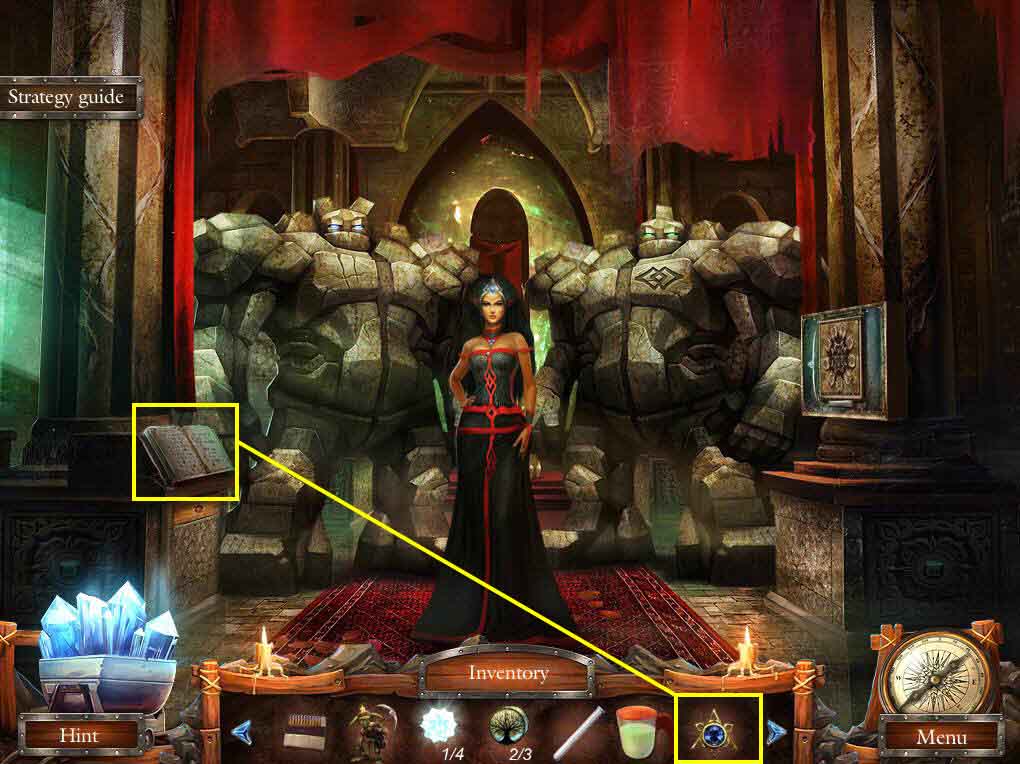
- Click to zoom in on the chronicle.
- Use the KNOWLEDGE AMULET on the slot.
- Take the 3/3 RUNES.
- Go to the waterfall.
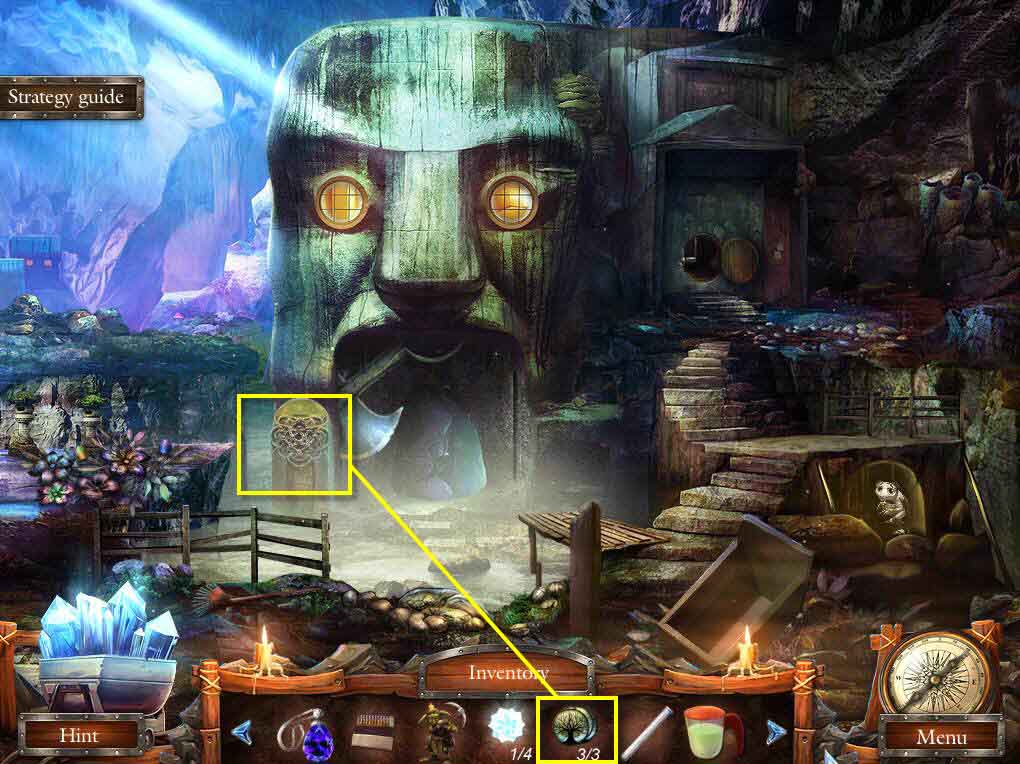
- Click on the rune area to zoom in.
- Use the 3/3 RUNES on the area.
- This will start a mini-game.
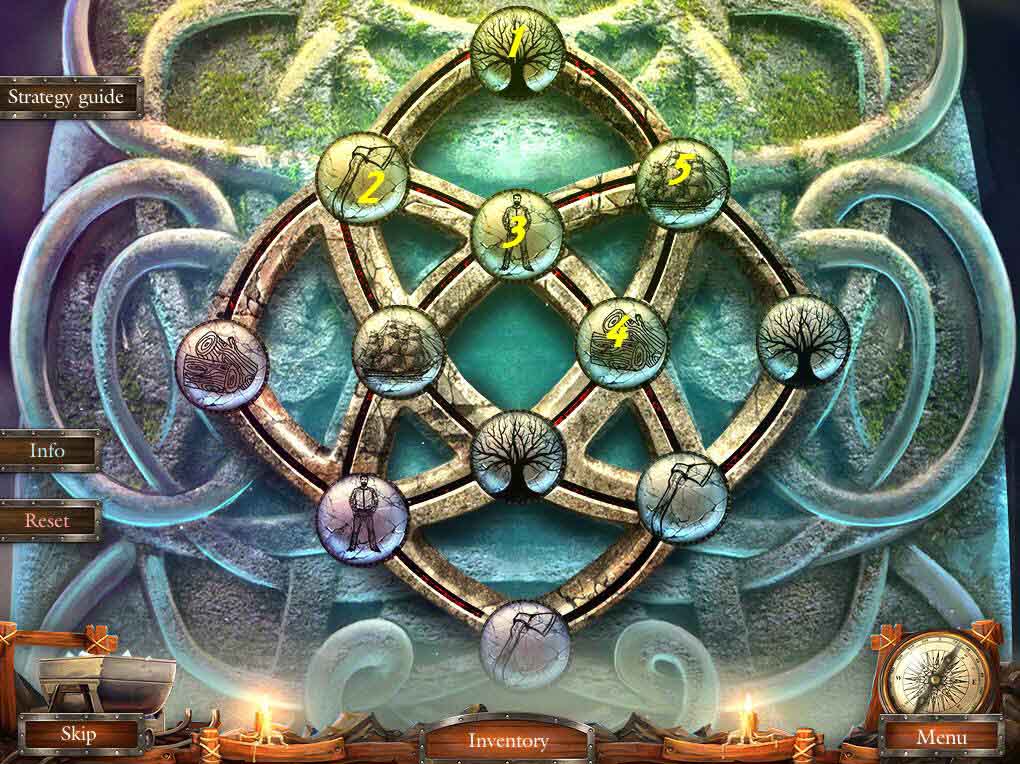
- The goal of the game is to click the right runes to get from the tree to the ship.
- Click the following: tree, axe, man, logs, and then ship.
- Go forward.
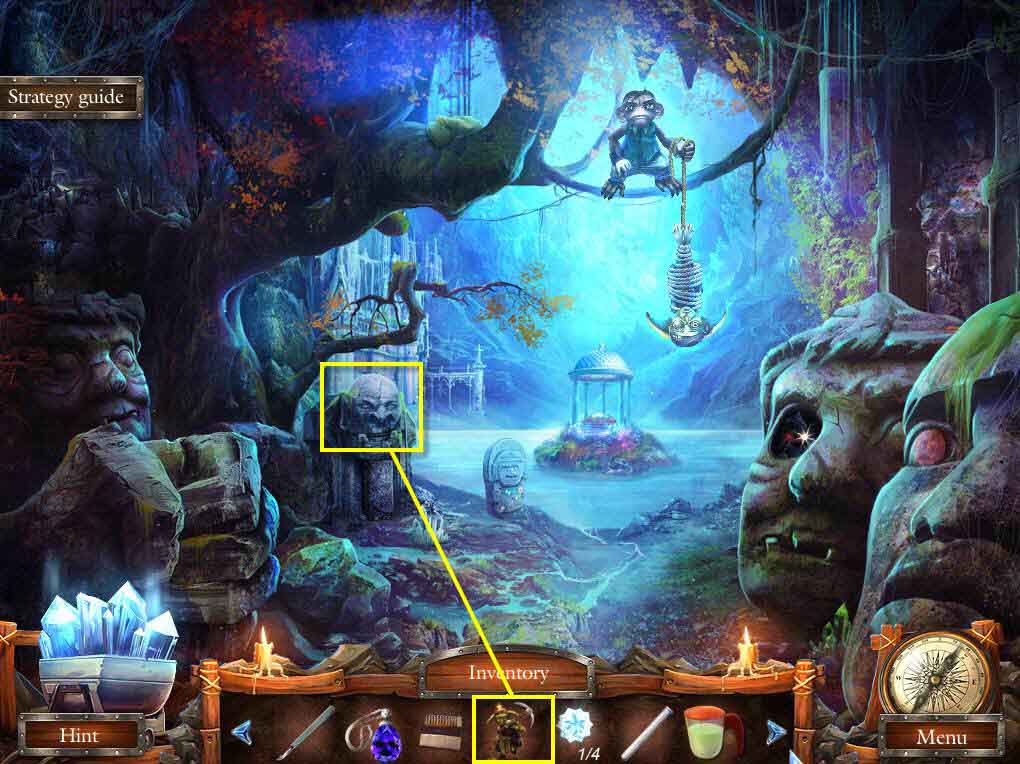
- Click to zoom in on the head.
- Use the GOBLIN on it.
- Take the 2/4 STAR and the DIAMOND KEY.
- Go back to the van laboratory.
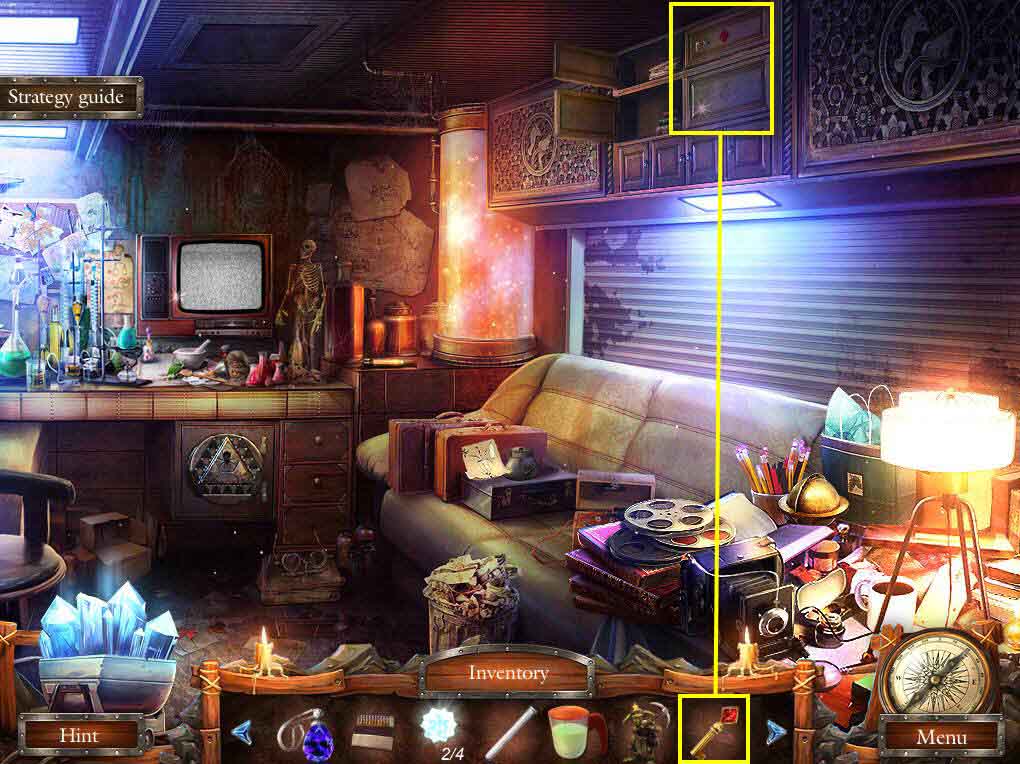
- Click on the compartments to zoom in.
- Use the DIAMOND KEY.
- Take the TOY HORSE and the RUBY HEART.
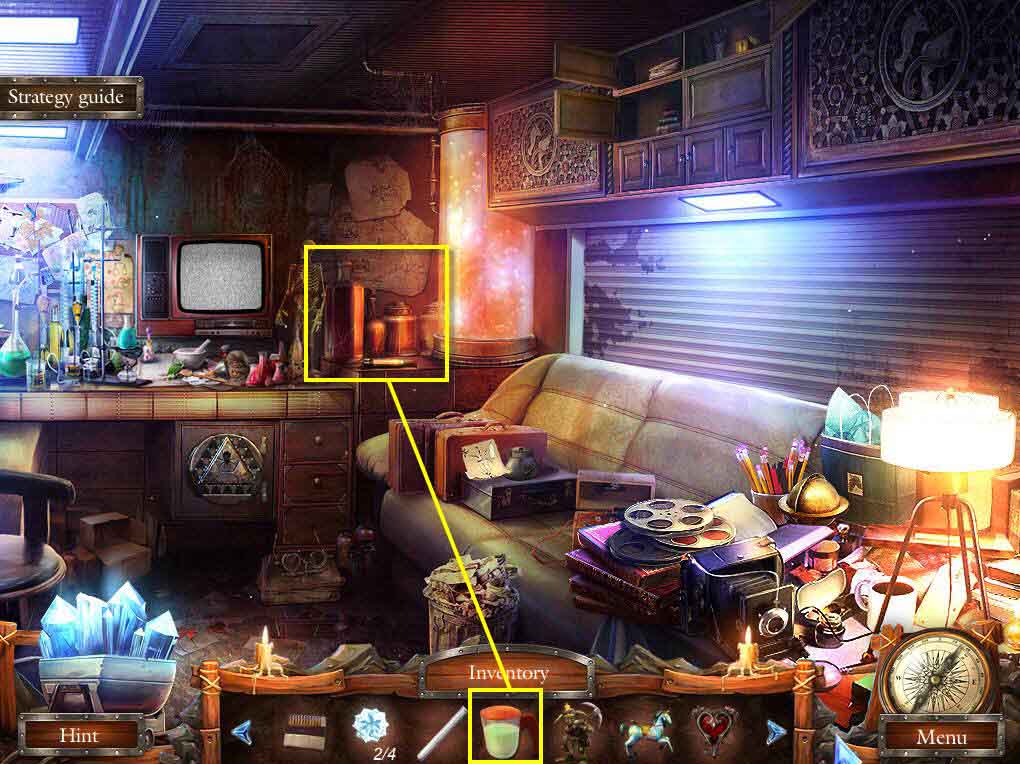
- Click to zoom in on the test tube.
- Use the SLEEPING POTION on the syringe.
- You will get the AMPOULE.
- Go back to the halfling in the waterfall.
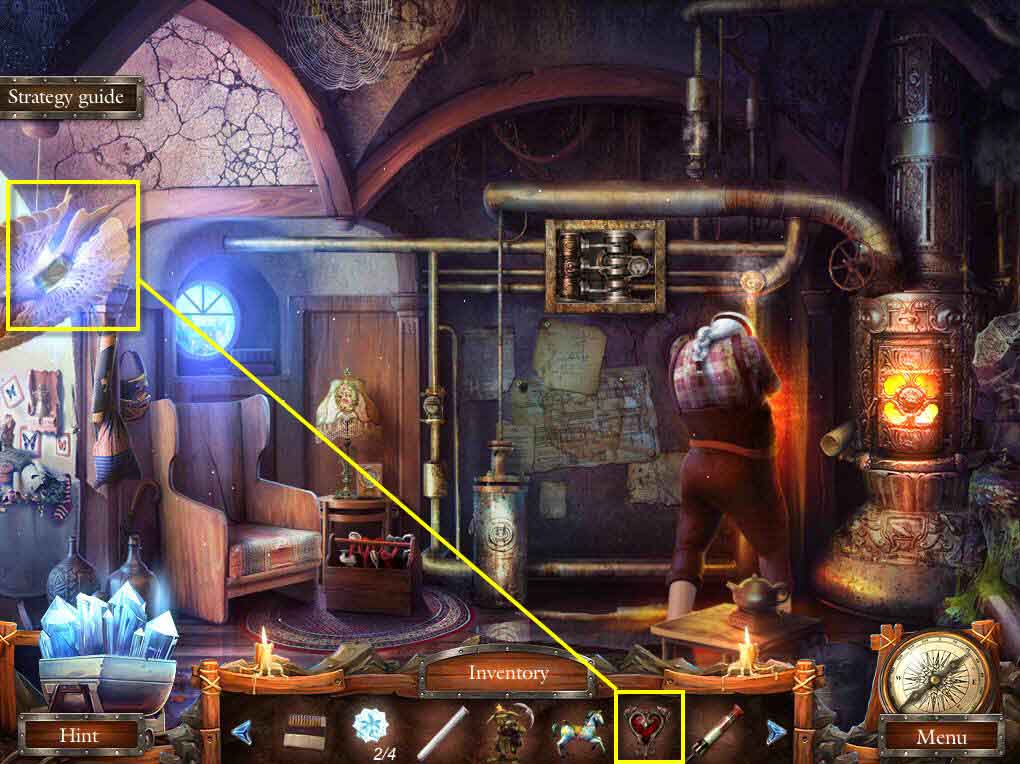
- Click to zoom in on the bird.
- Use the RUBY HEART on it.
- Take the CRYSTAL.
- Go to the inside of the water tower.
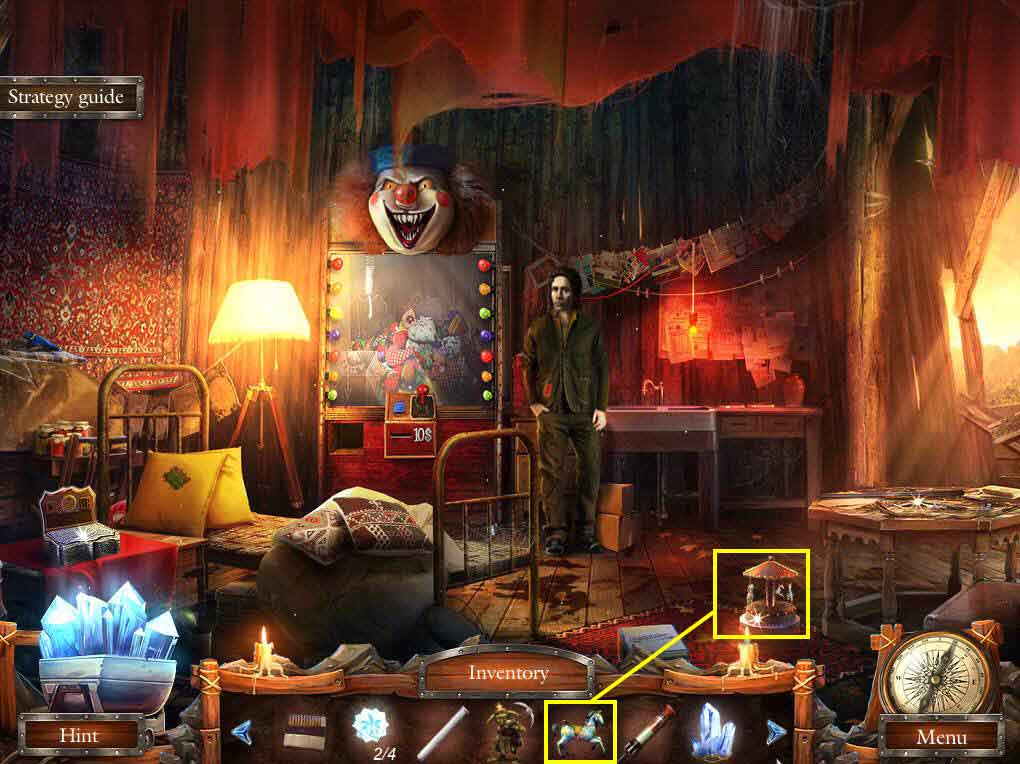
- Click to zoom in on the carousel.
- Use the TOY HORSE on it.
- Take the SLINGSHOT and the 3/4 STAR.
- Go back to the old city.
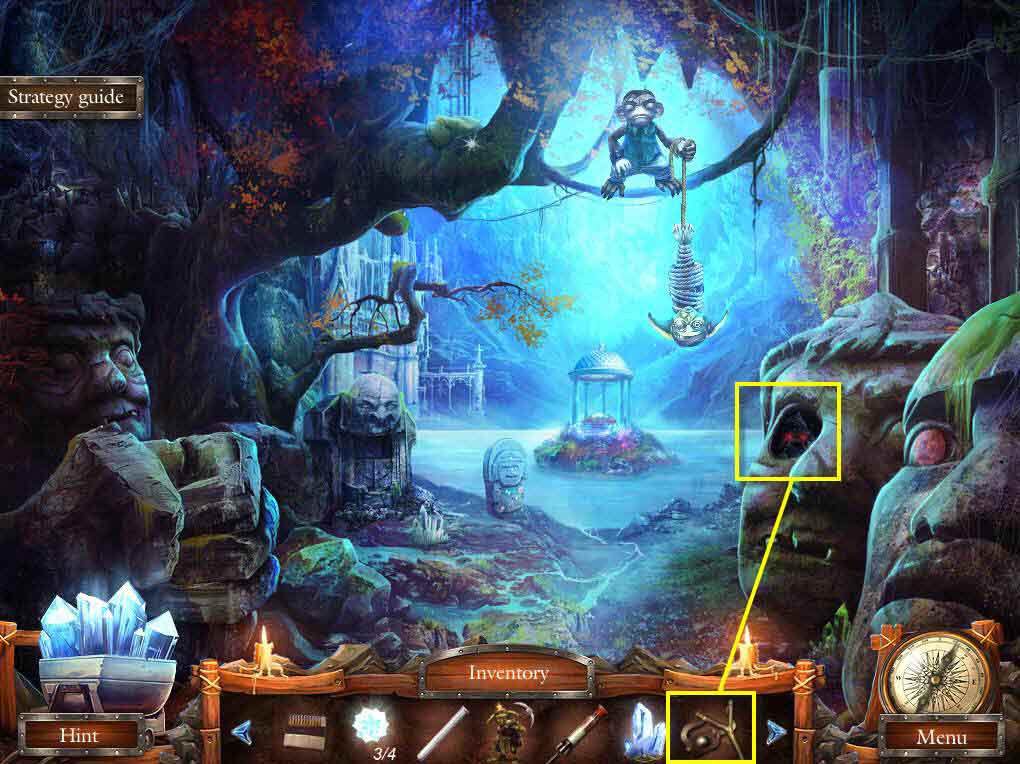
- Click to zoom in on the eye where the bat is.
- Use the SLINGSHOT on the bat.
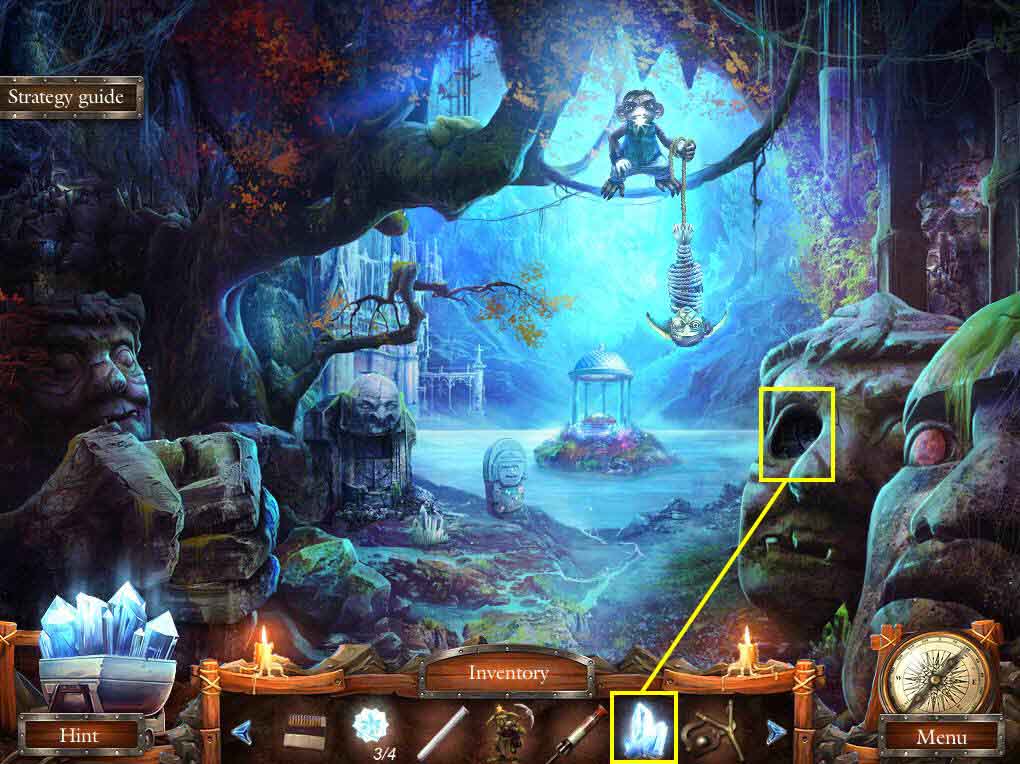
- Click to zoom back into the eye.
- Use the CRYSTAL on the eye.
- Click the sparkles to play the HOS.
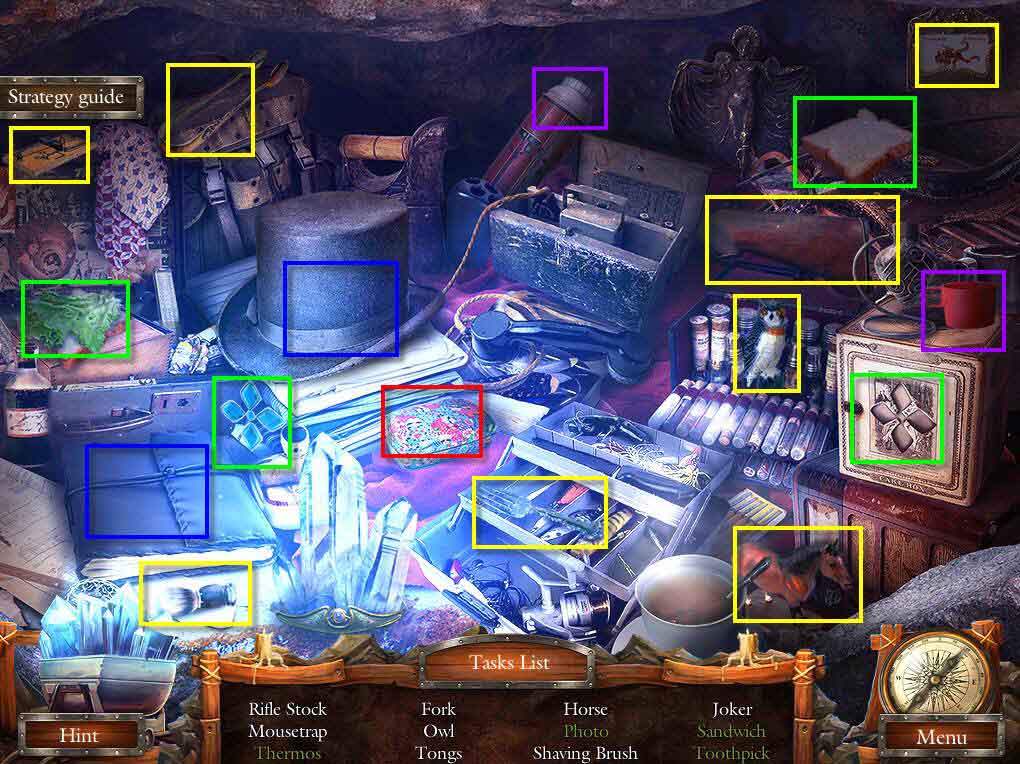
- Find the items on the list.
- You will receive the RIFLE STOCK.
- Go back to inside the water tower.
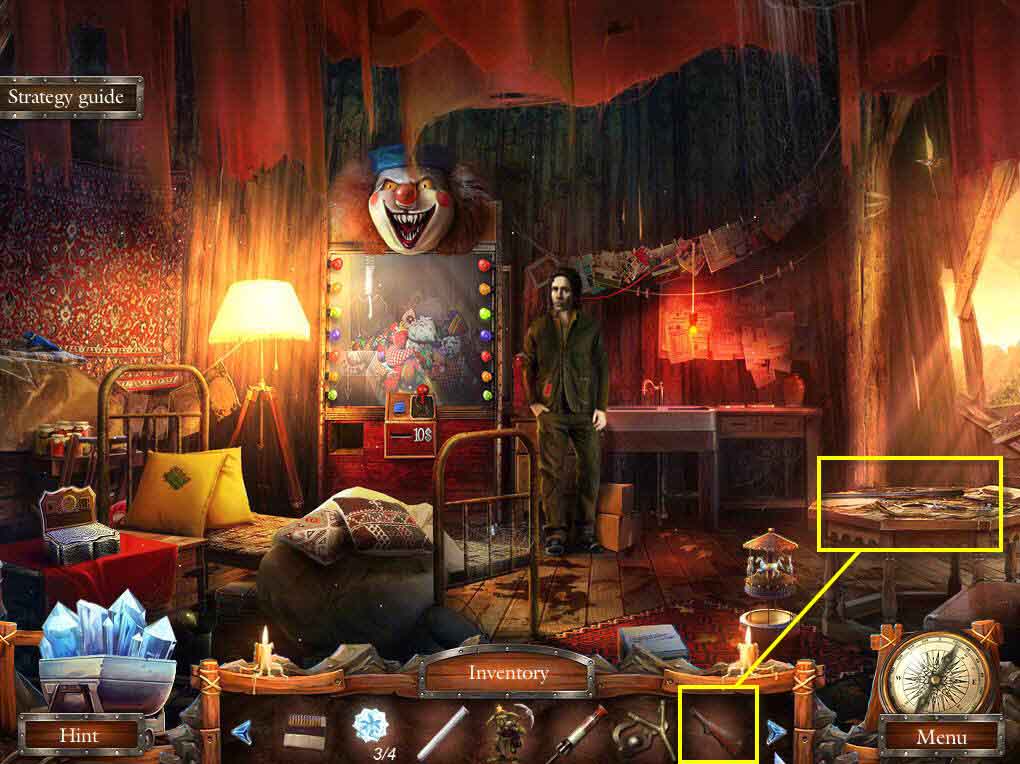
- Click on the rifle table to zoom in.
- Use the RIFLE STOCK on the table.
- This will start a mini-game.
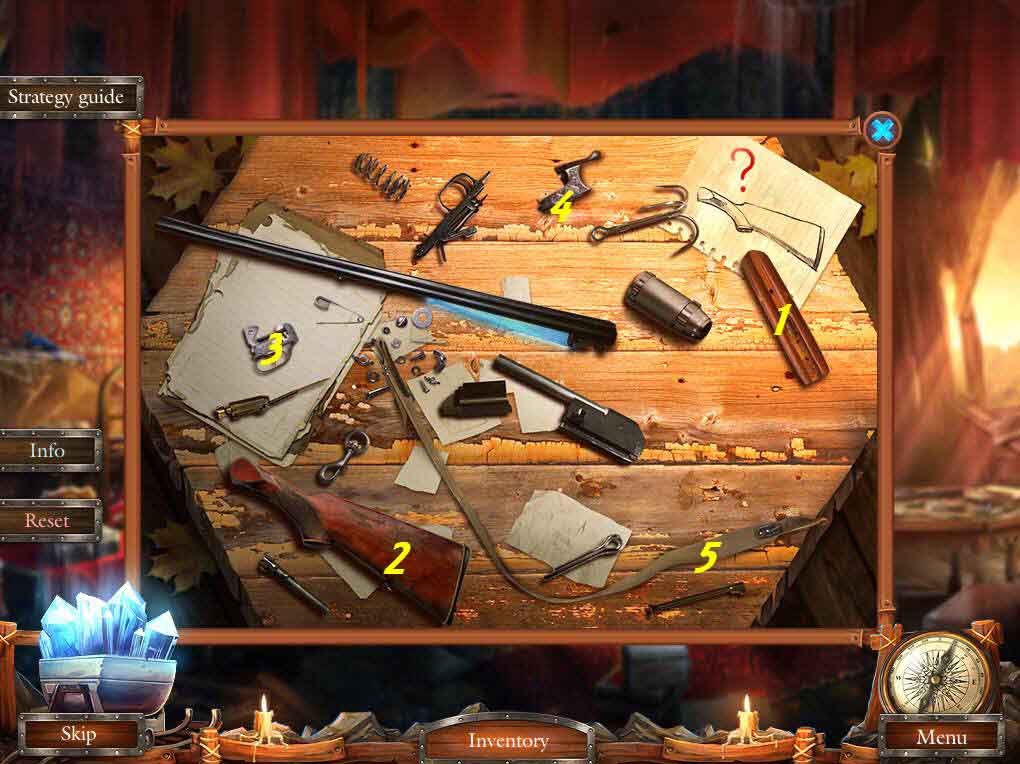
- The goal of the game is to build the rifle by placing the right parts in the right order.
- See the screenshot for the solution.
- Use AMPOULE on the rifle.
- You will get the RIFLE.
- Go back to the old city.
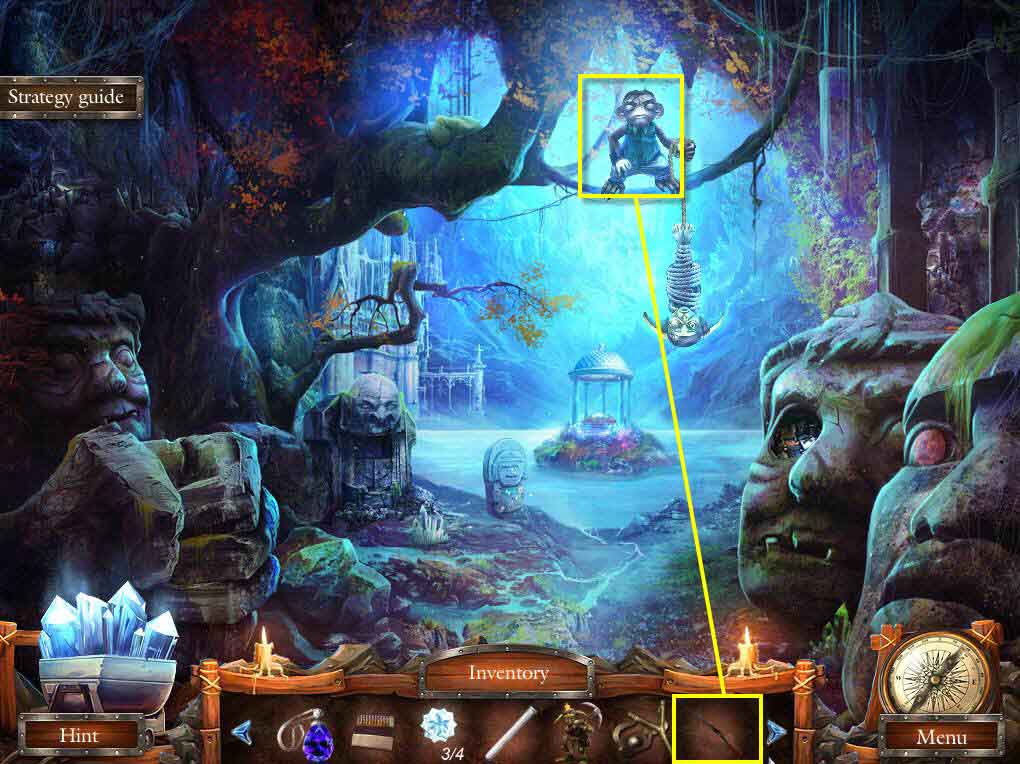
- Click on the monkey to zoom in.
- Use the RIFLE on him.
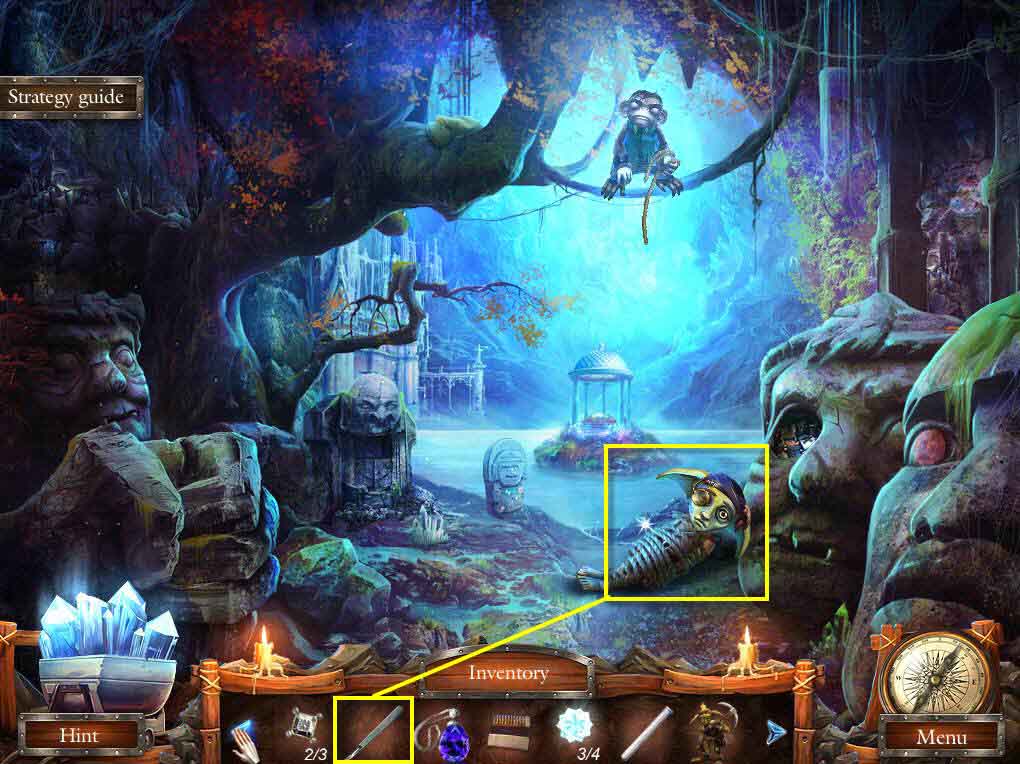
- Click to zoom in on the goblin.
- Use the SCALPEL on the rope to free him.
- You will receive the SPIDER AMULET.
- Go back to the van laboratory.
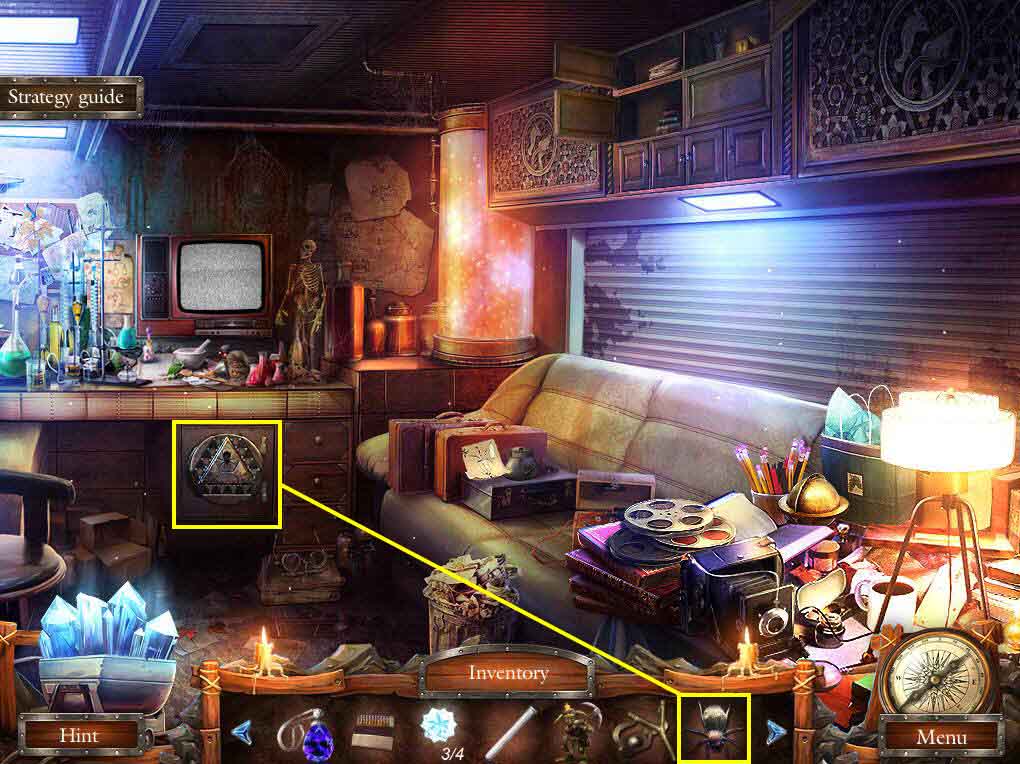
- Click to zoom in on the safe.
- Use the SPIDER AMULET on the slot.
- This will start a mini-game.
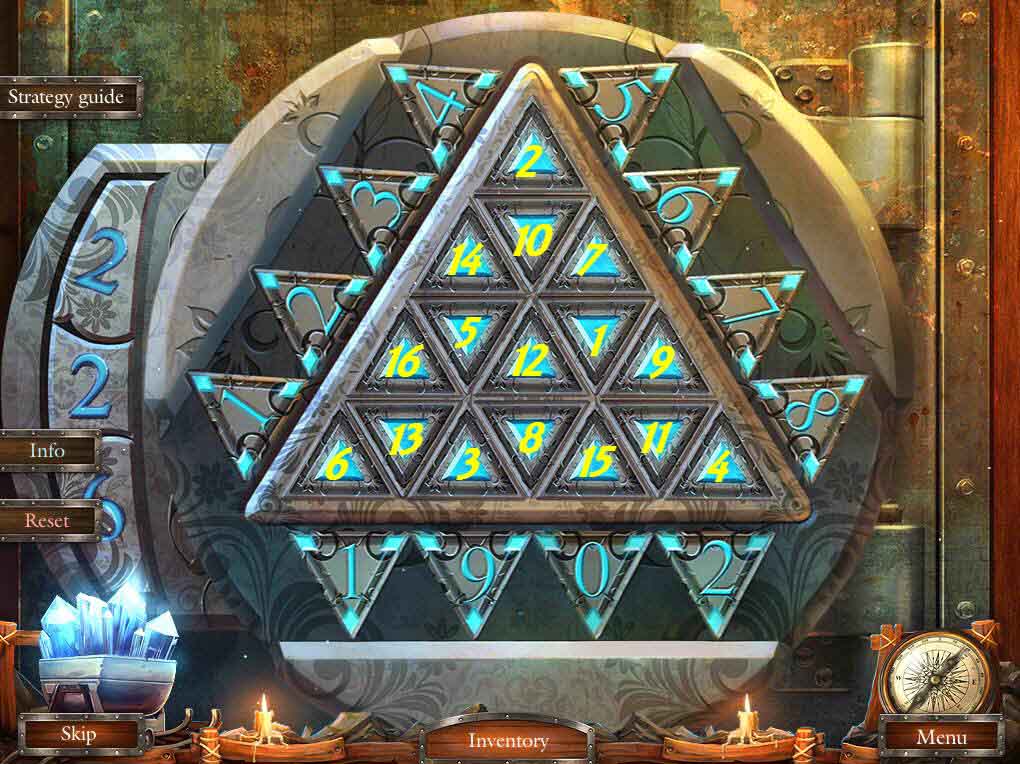
- The goal of the game is to select the right triangle.
- Check the numbers on the left and find the triangle that lights up those numbers.
- See the screenshot for the solution.
- Take the 4/4 STAR, the VIDEOTAPE, and the MUSIC SHEET.
- Go to inside the water tower.
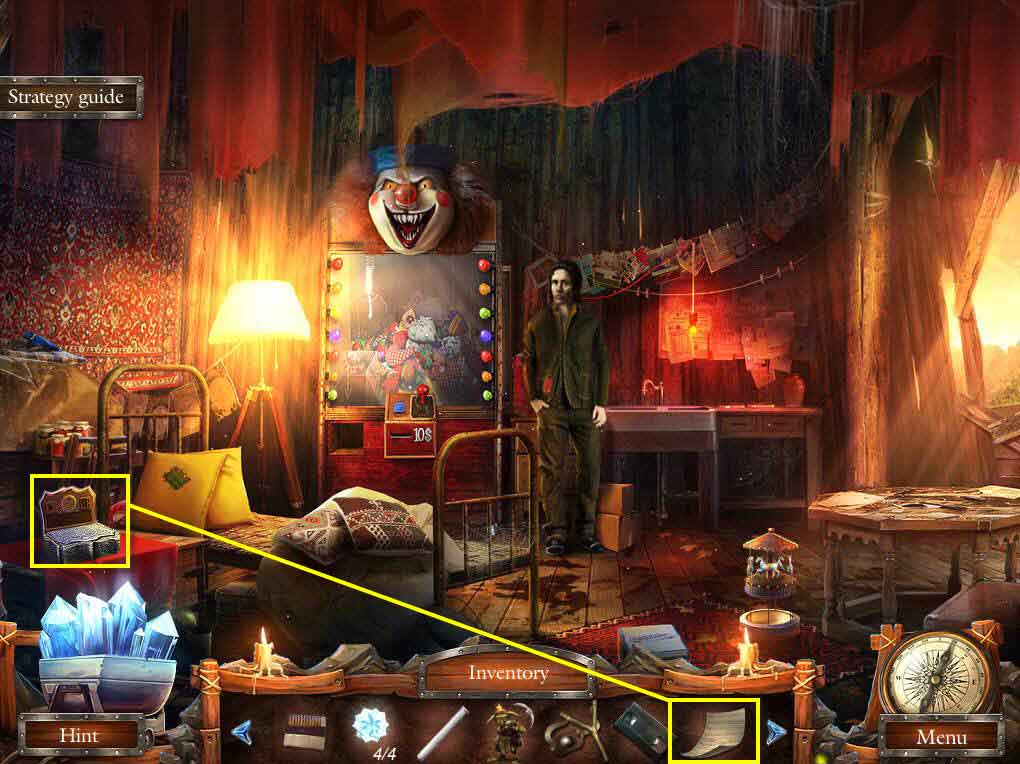
- Click on the music box to zoom in.
- Use the MUSIC SHEET on the box.
- This will start a mini-game.
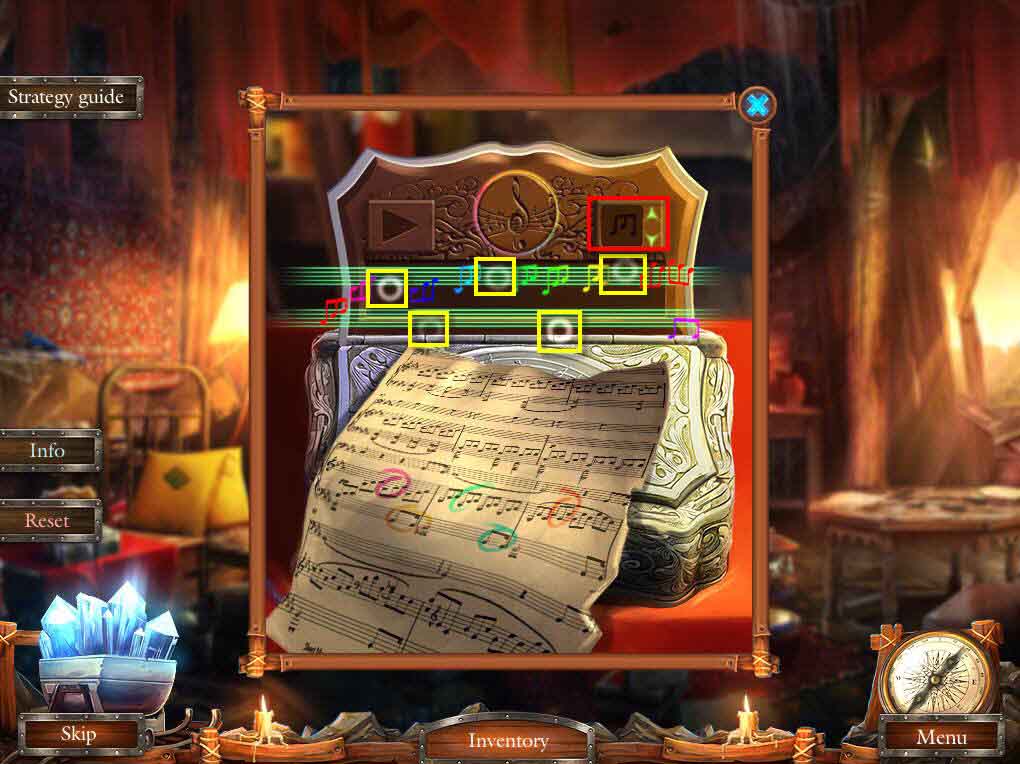
- The goal of the game is to find the missing notes on the colored line.
- The music sheet shows the missing notes circled.
- Click on the green arrows on the right to cycle through the notes.
- Once you find a missing note, click on it and drag it to the place where it's missing on the colored lines.
- Take the MUSIC BOX when done.
- Go back to the old city.
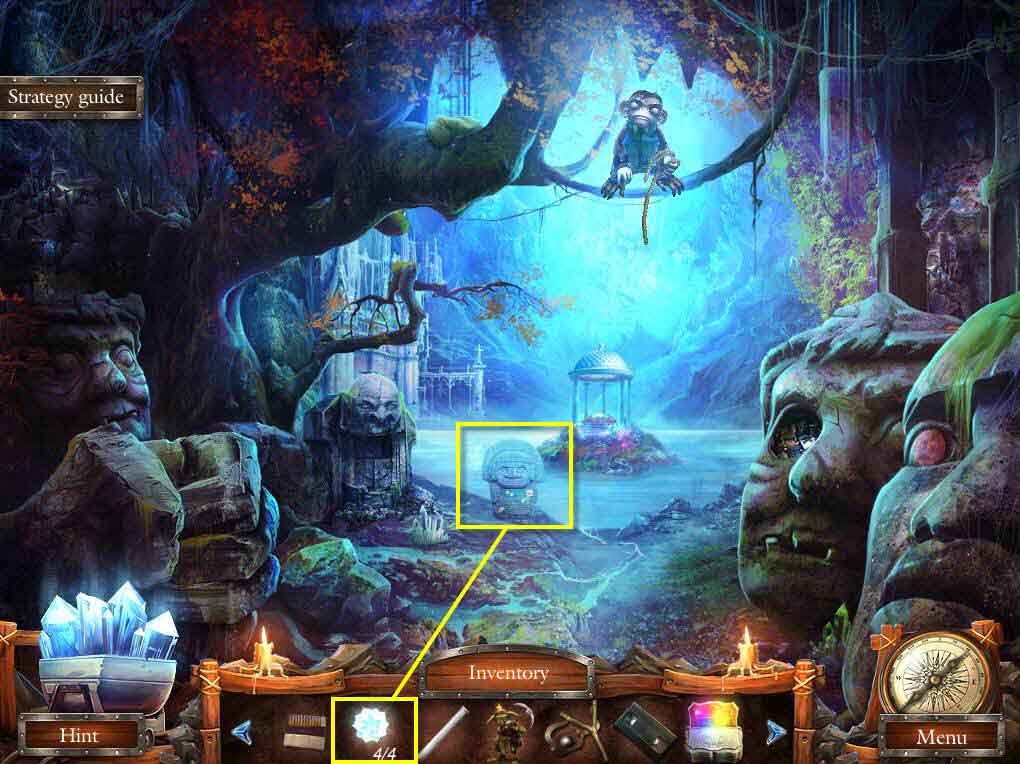
- Click on the octopus to zoom in.
- Use the 4/4 STARS on the slots.
- This will start a mini-game.
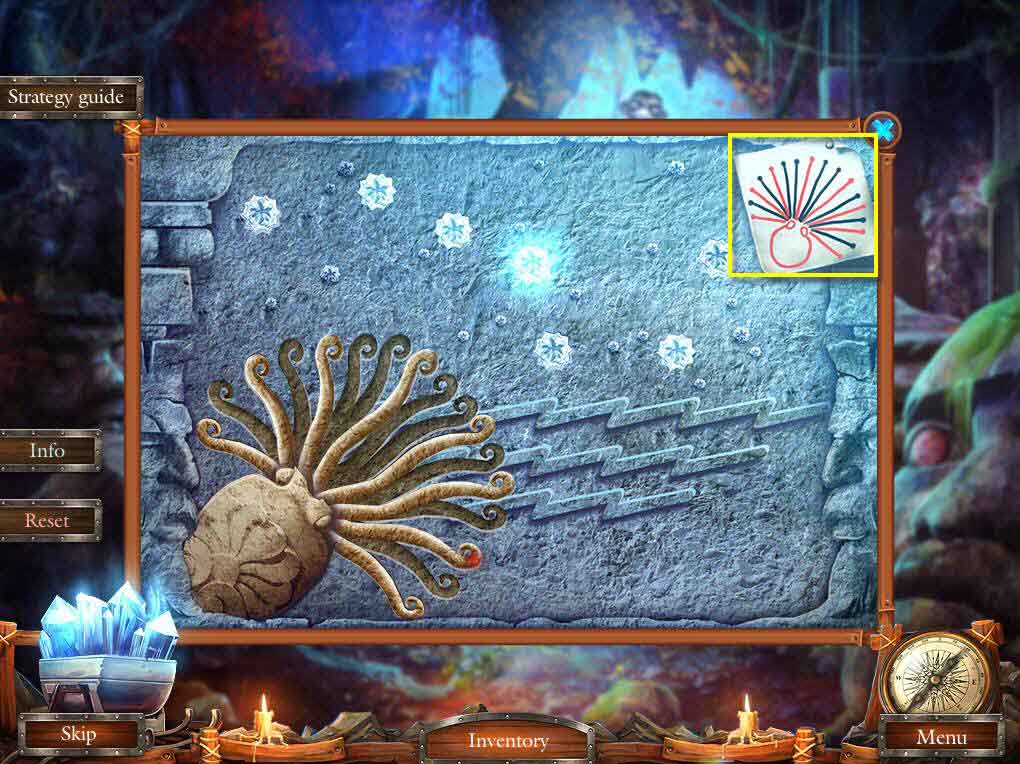
- The goal of the game is to move the tentacles so that they match the red lines from the clue in the upper right corner.
- When done, go forward.
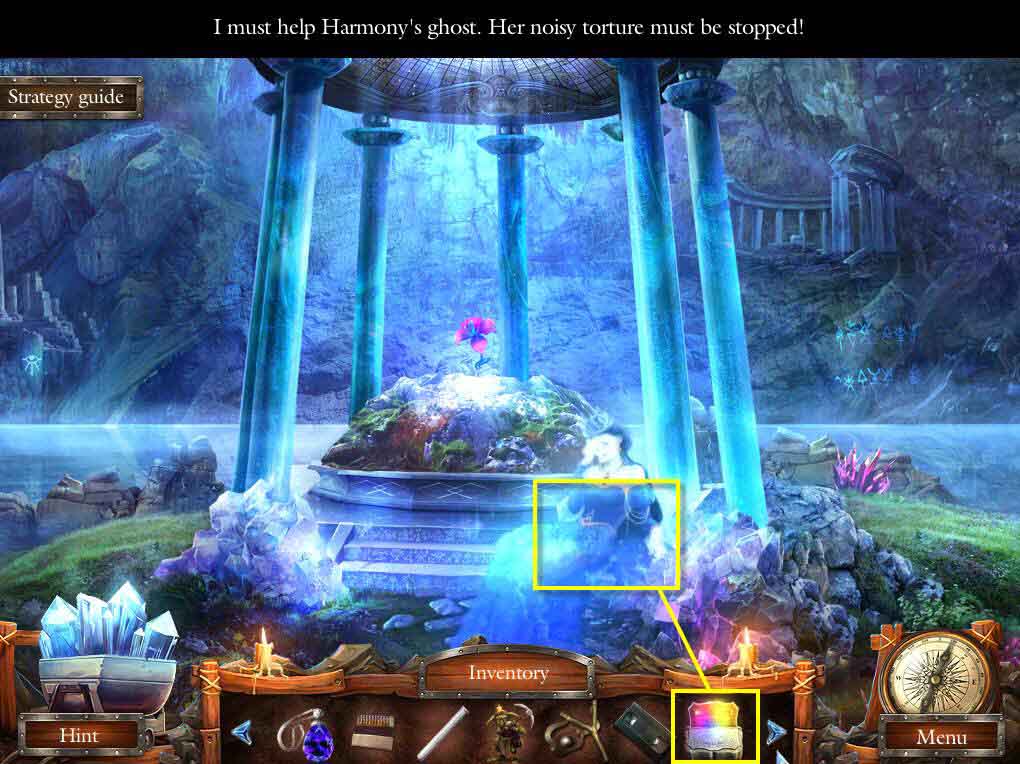
- Click to talk to the ghost.
- Click to zoom in on the the ghost.
- Use the MUSIC BOX on the shelf.
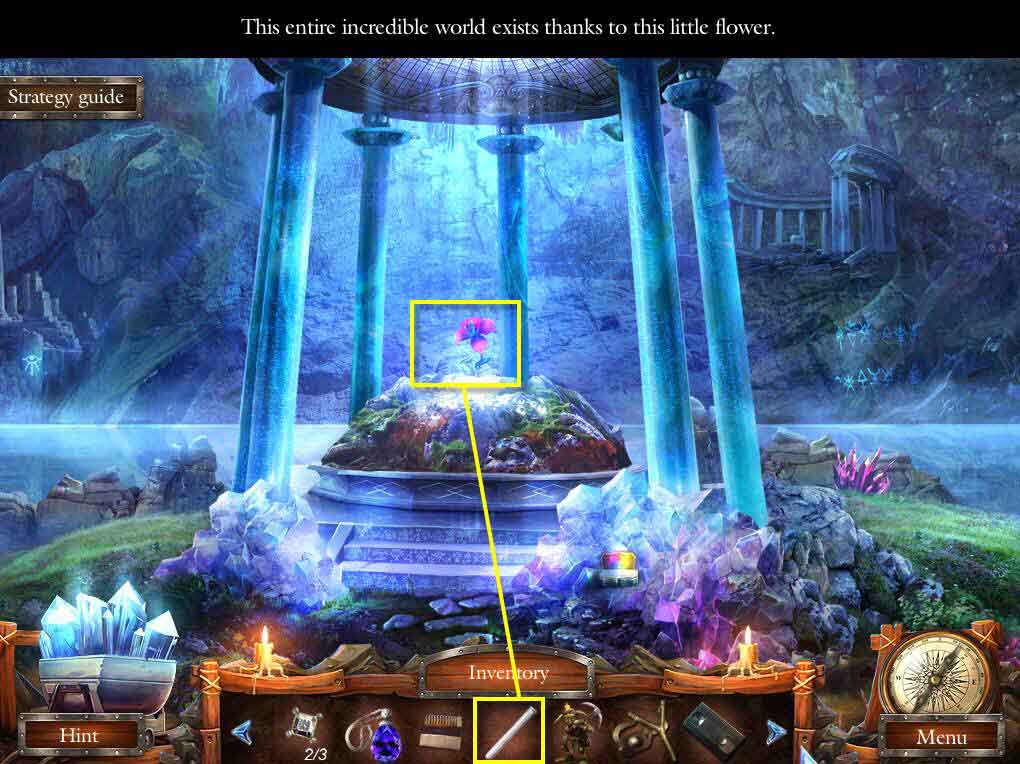
- Click to zoom in on the flower of life.
- Take the 2/3 TOPAZ that's at the base of the flower.
- Use the TEST TUBE on the flower.
- You will receive POLLEN.
- Go back to the van laboratory.
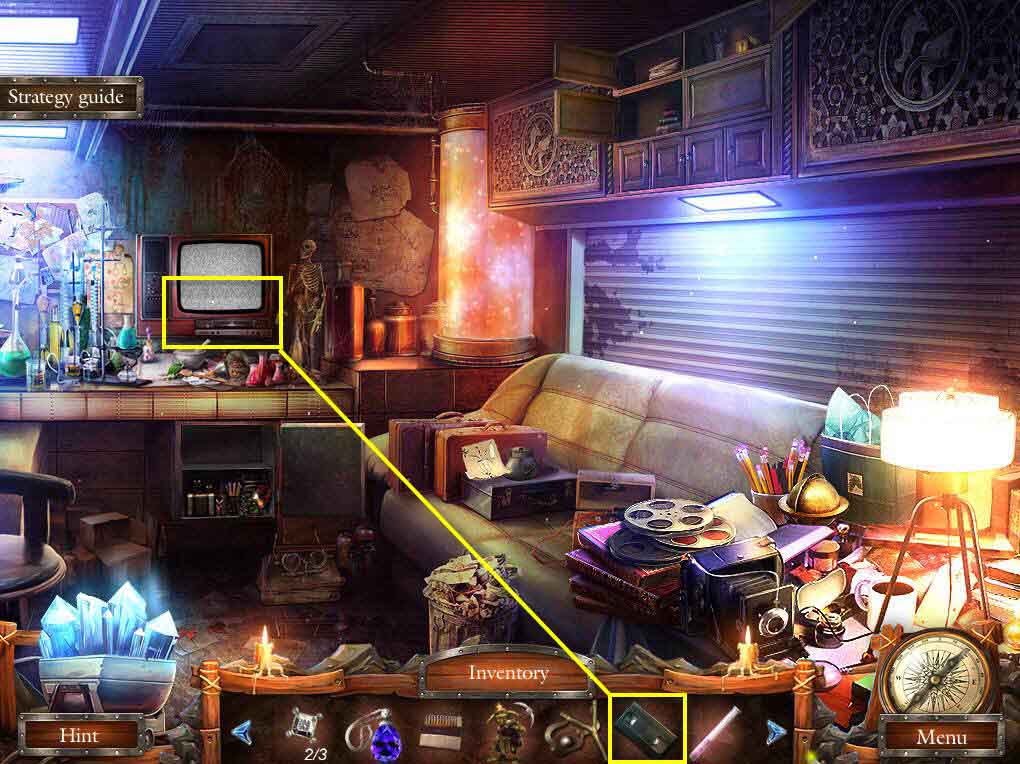
- Click on the chemistry area to zoom in.
- Use the VIDEOTAPE on the VCR.
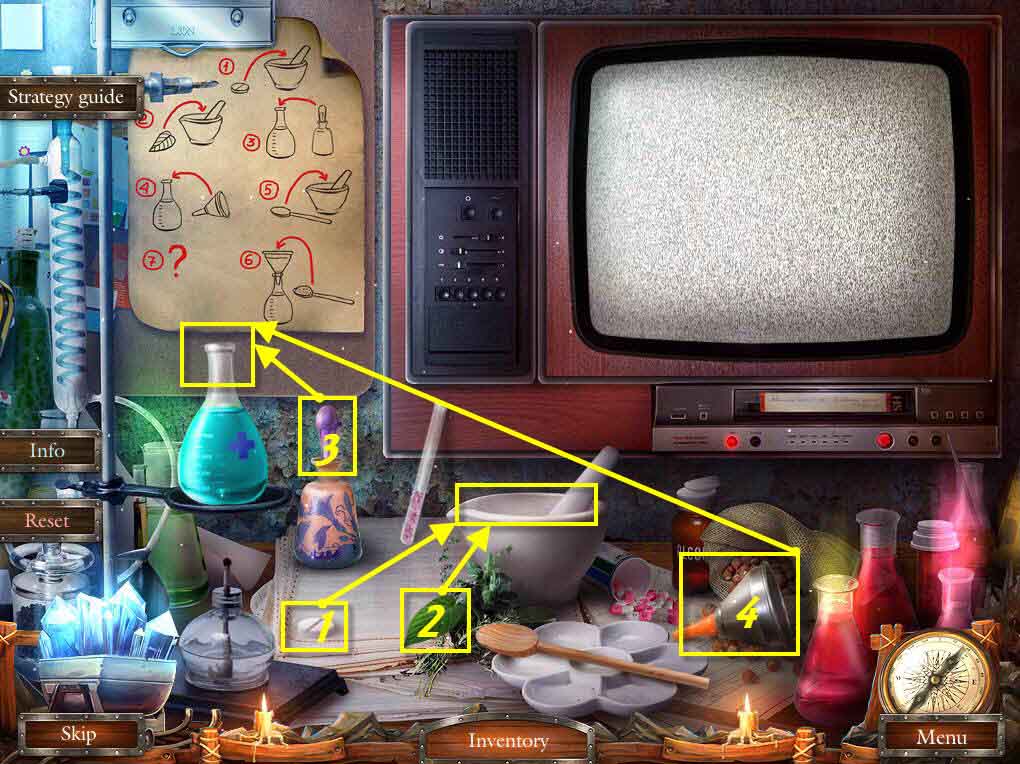
- Use the POLLEN on the table.
- Use the tablet on the mortar and pestle.
- Use the leaf on the mortar and pestle.
- Use the dropper on the flask.
- Use the funnel on the flask.
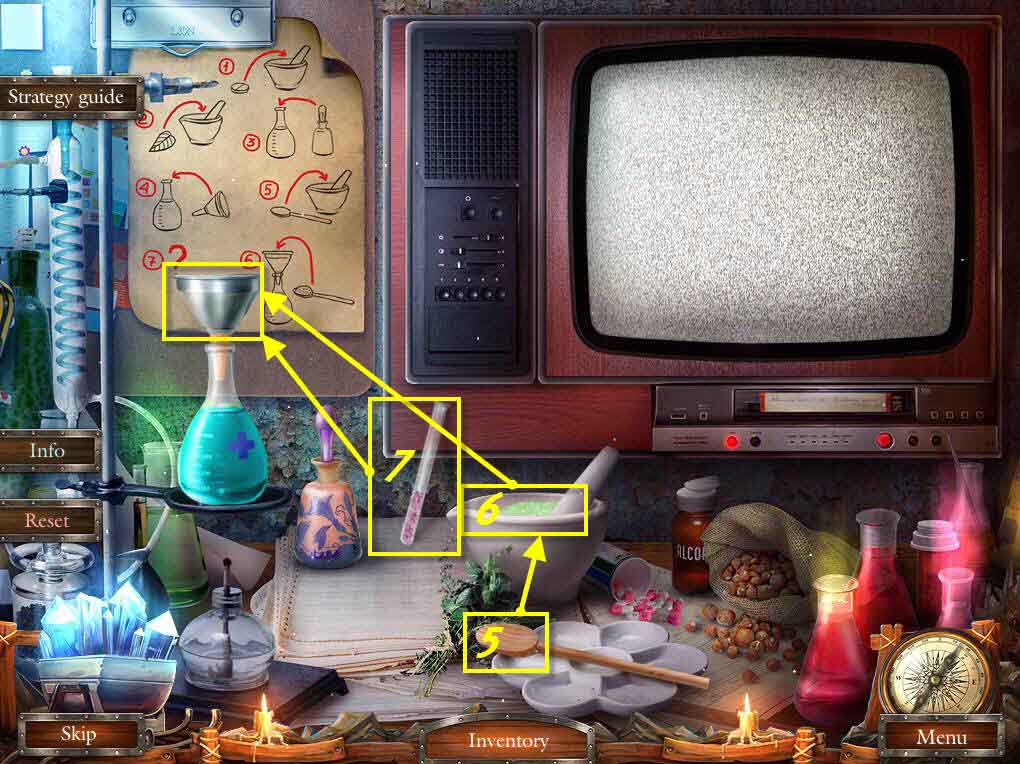
- Use the spoon on the mortar and pestle.
- Use the spoon on the flask.
- Use the pollen on the flask.
- Take the HEALING POTION.
- Go to the hospital hall.
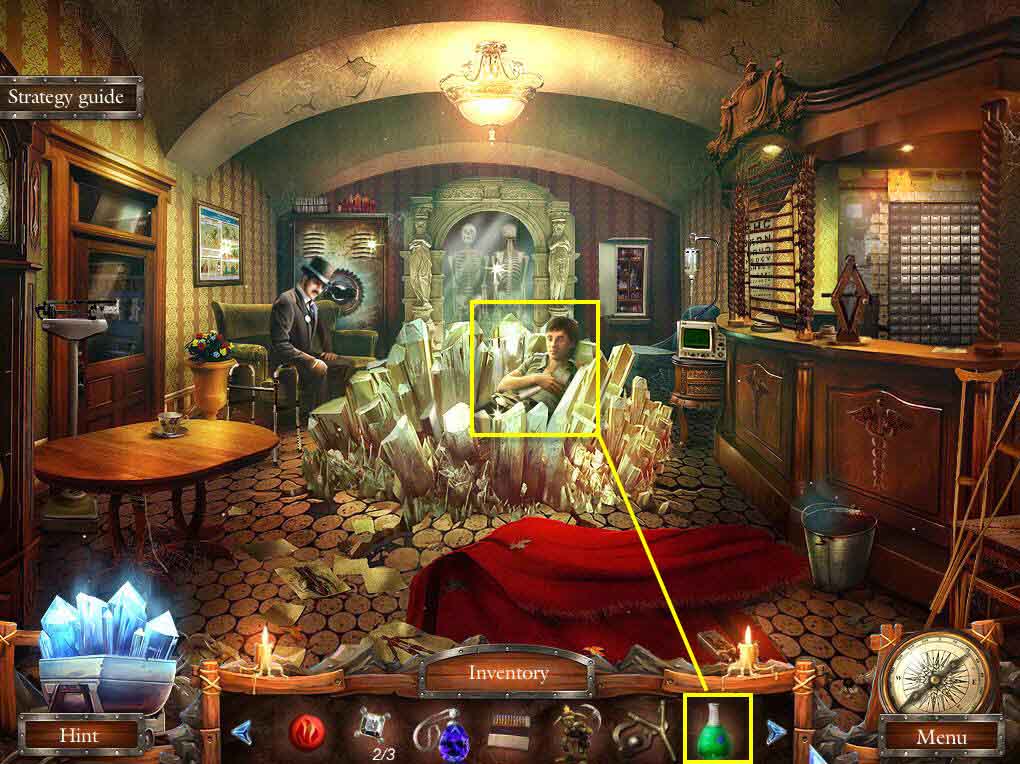
- Click on Brandon to zoom in.
- Use the HEALING POTION on him.
- Go back to the rotunda in the old city.
Comments will load when you reach this part of the walkthrough.