

Chapter 3 Who’s Howard?
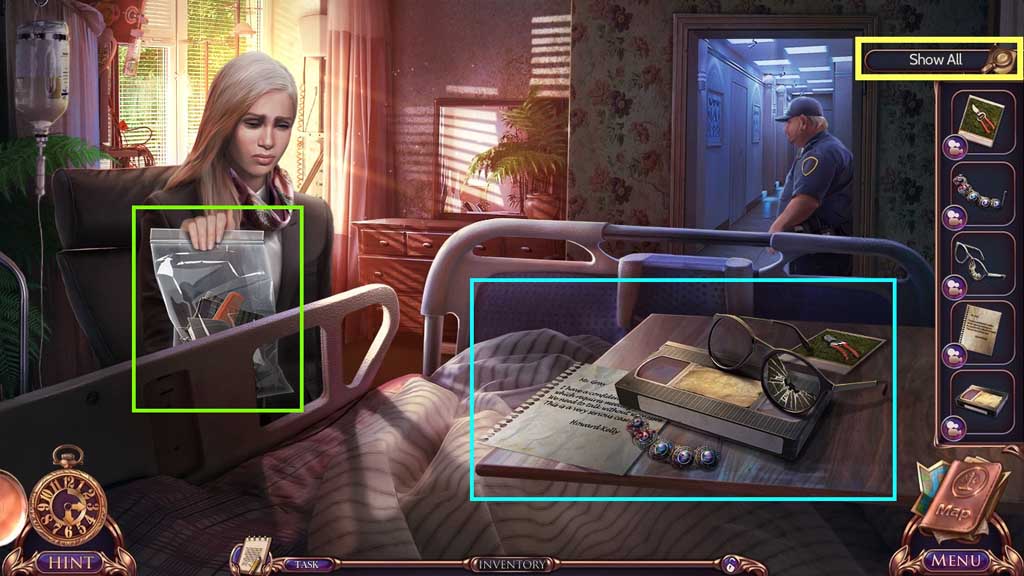
- Click “Show All” and zoom into the clues on the table.
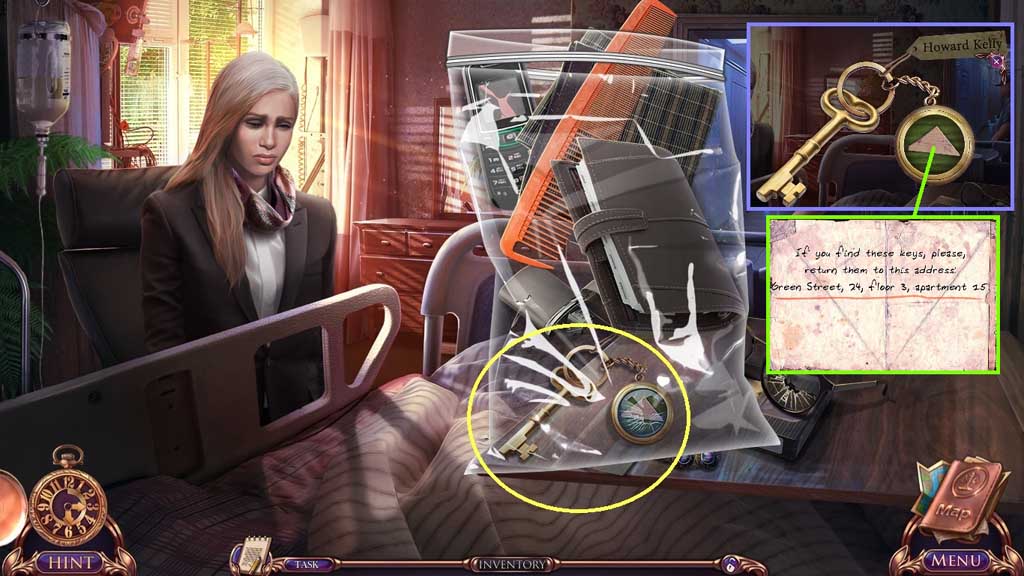
- Collect the bag to trigger a mini game.
- Solve the game by clicking the objects aside; collect Howard’s apartment key and zoom into it.
- Click the glass.
- Collect the note.
- Receive Howard’s room key.
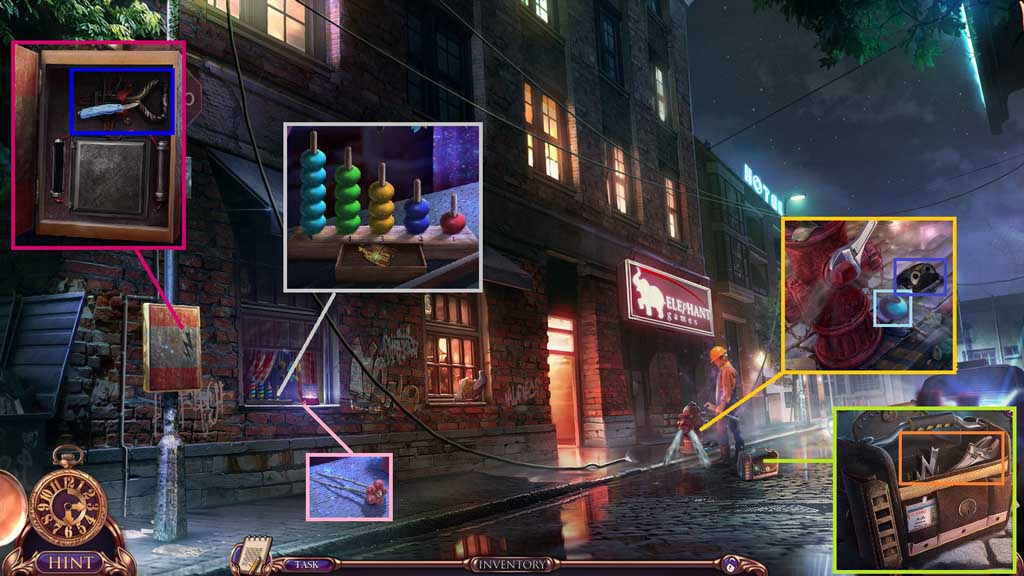
- Collect the hairclip and use it to collect the lightning key and the wrench.
- Select the wrench to collect the dirty wallet and the ring for pyramid.
- Insert the ring for pyramid to trigger a mini game.
- Solve the game by arranging the rings by color and quantity.
- Collect the statuette.
- Insert the lightning key.
- Select the multi tool to slice the tape; click the switch.
- Move to the left to the Porch.
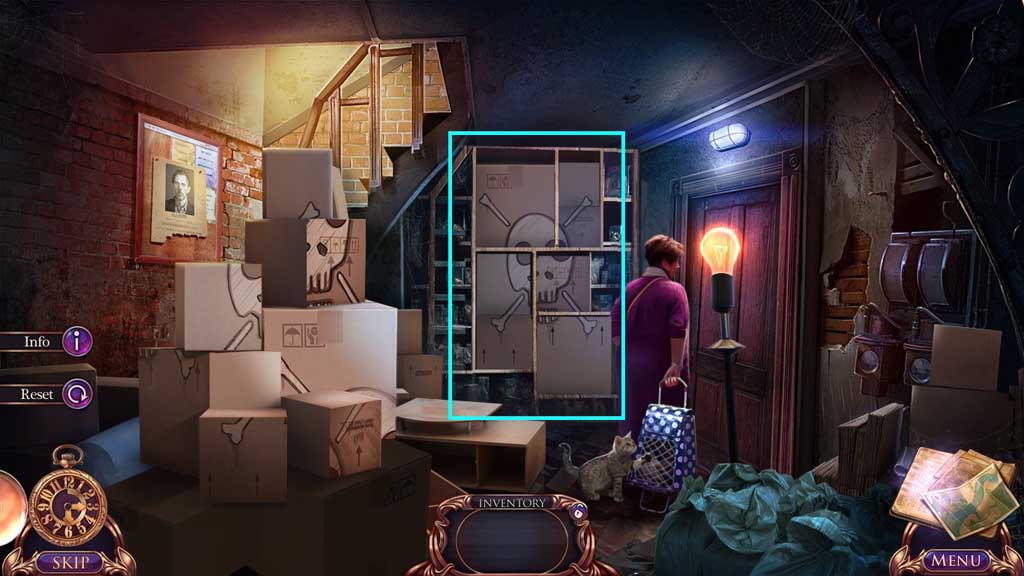
- A mini game will trigger.
- Solve the game by stacking the boxes correctly.
- Move to the left.
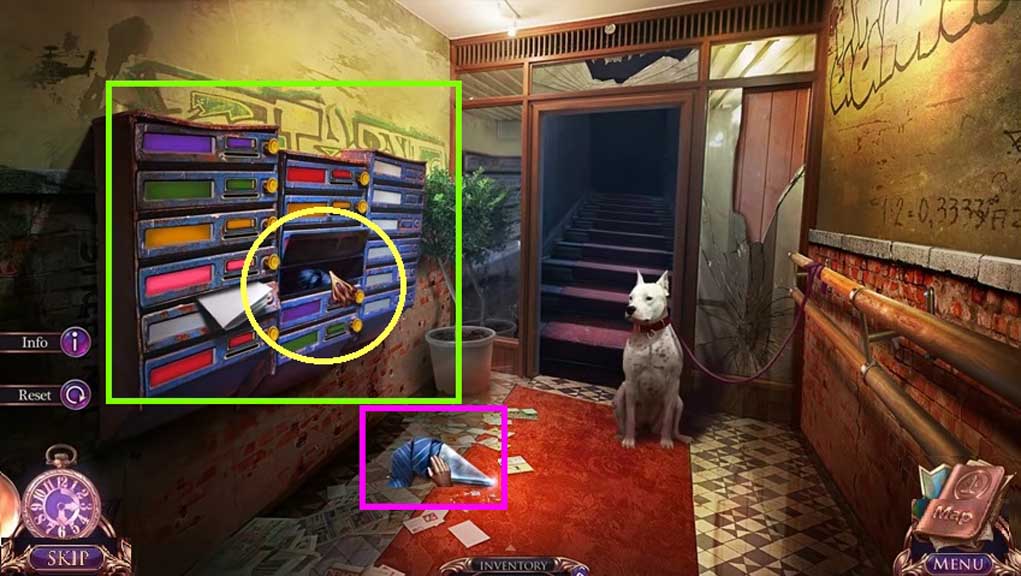
- A mini game will trigger
- Solve the game by matching the boxes.
- Collect the tie and use it to collect the glass shard.
- Move down once.
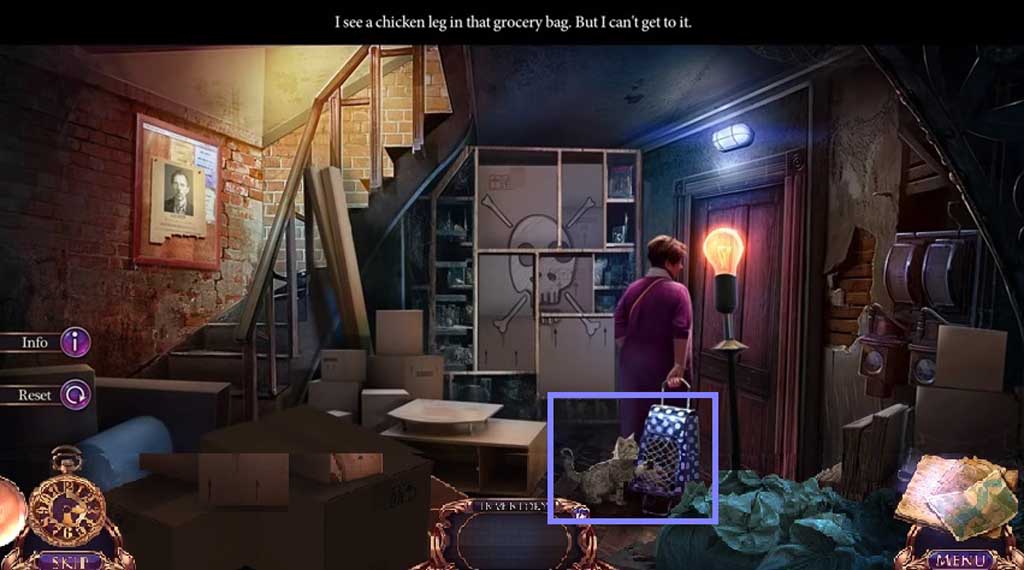
- Select the glass to slice the luggage.
- Collect the chicken leg.
- Move to the left.
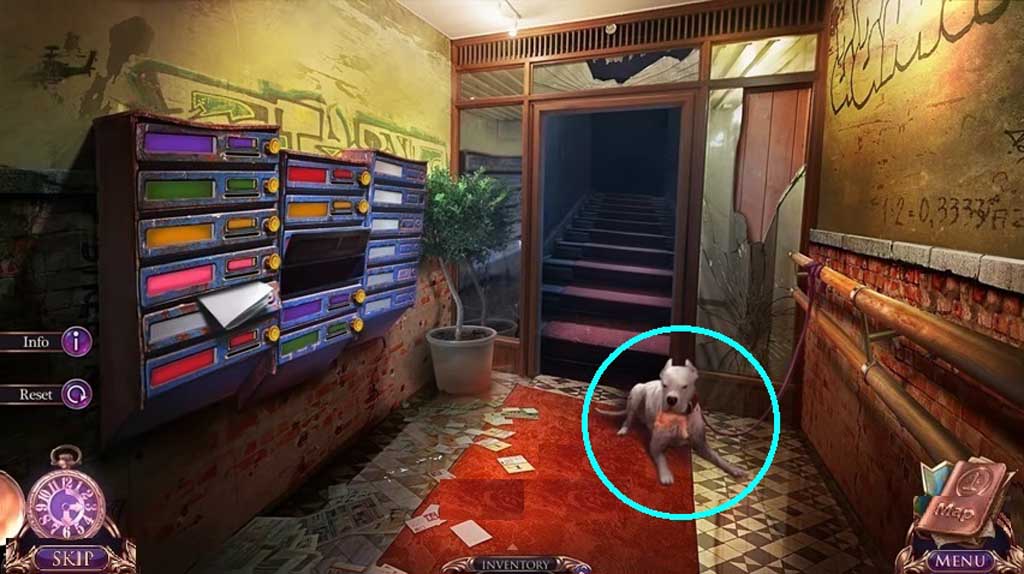
- Give the chicken leg to the dog.
- Move ahead.
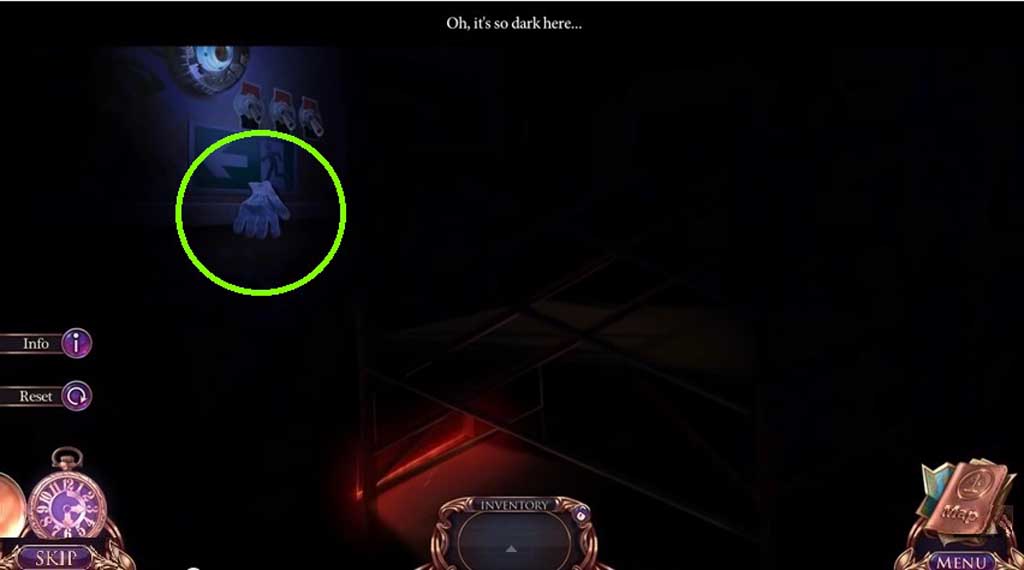
- Collect the glove.
- Move down 2x’s.
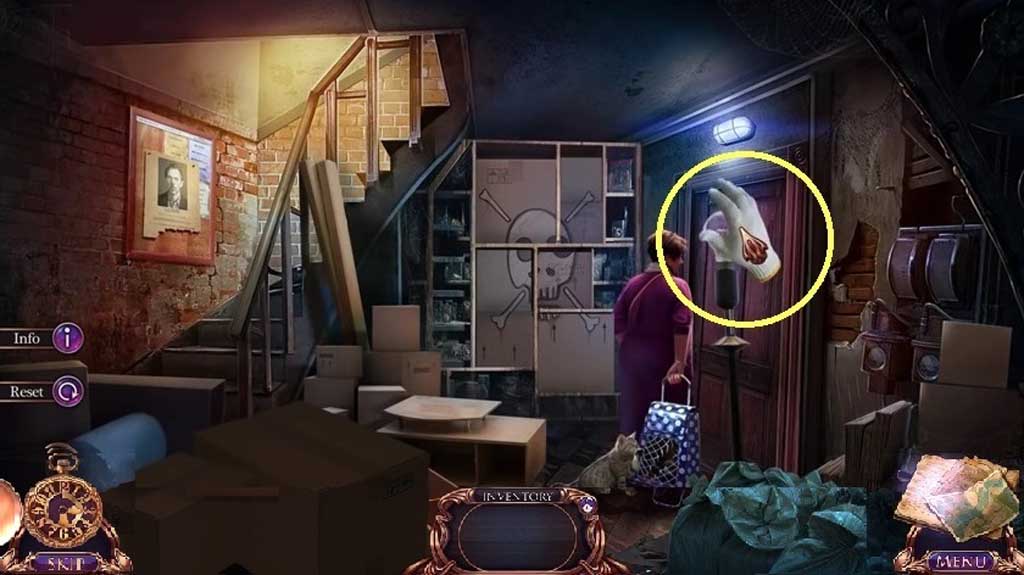
- Select the glove to collect the light bulb.
- Move to the left and ahead once.
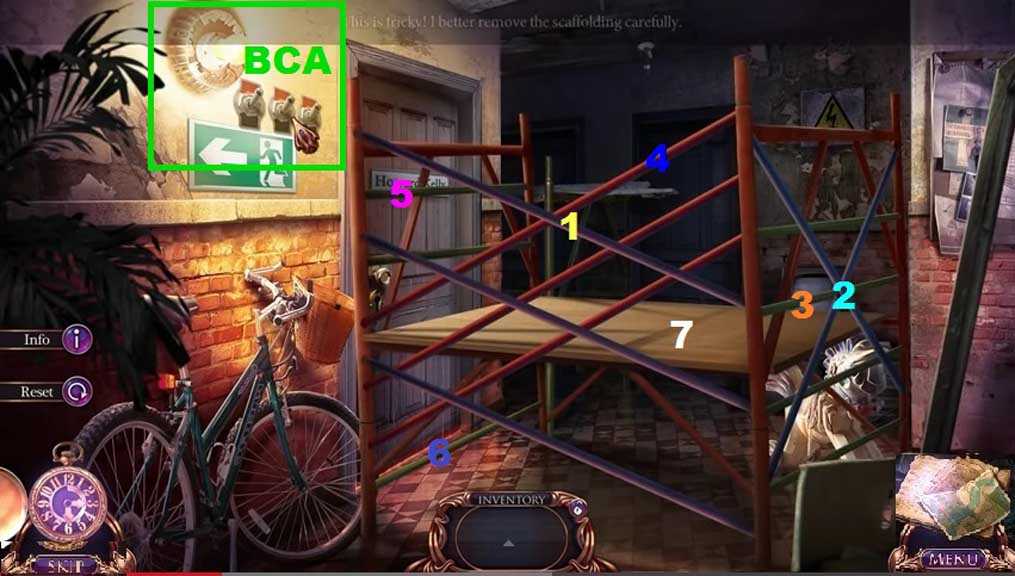
- Insert the light bulb to trigger a mini game.
- Solve the game by clicking the switches in the correct order, and then remove the scaffolding in the correct sequence.
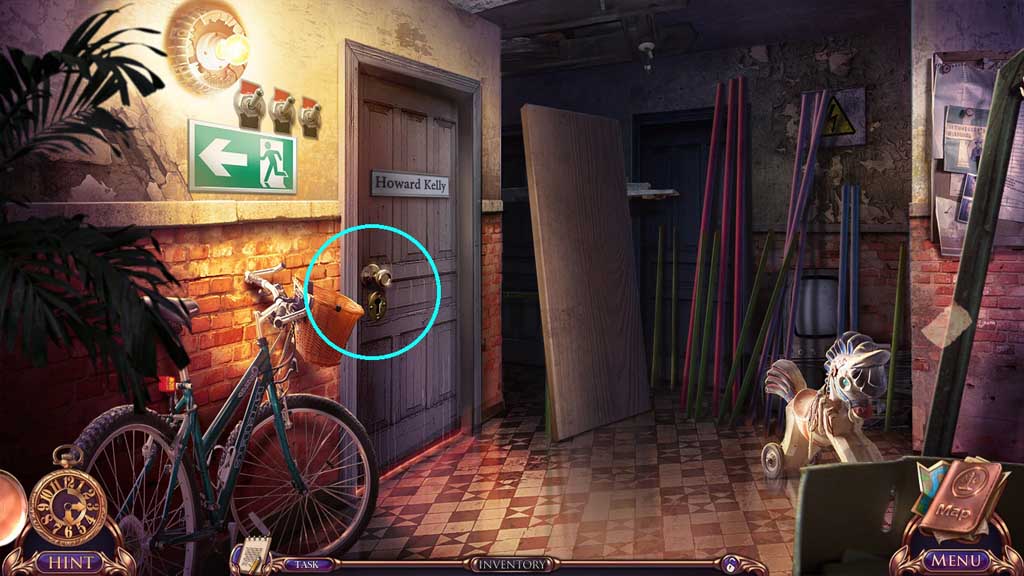
- Insert Howard’s Room key.
- Scroll to the right.
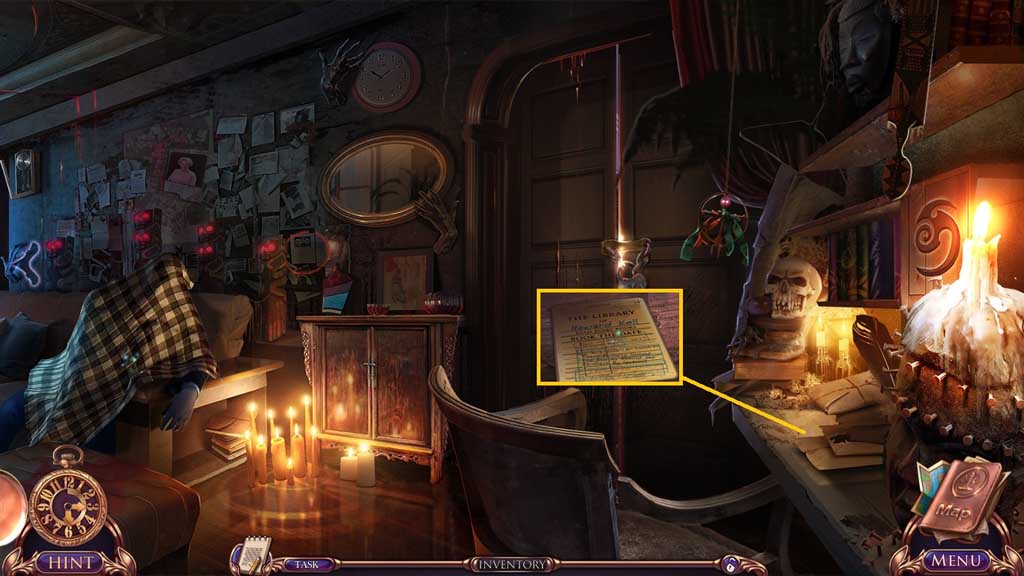
- Collect the library list and the dream catcher beneath it.
- Scroll to the left.
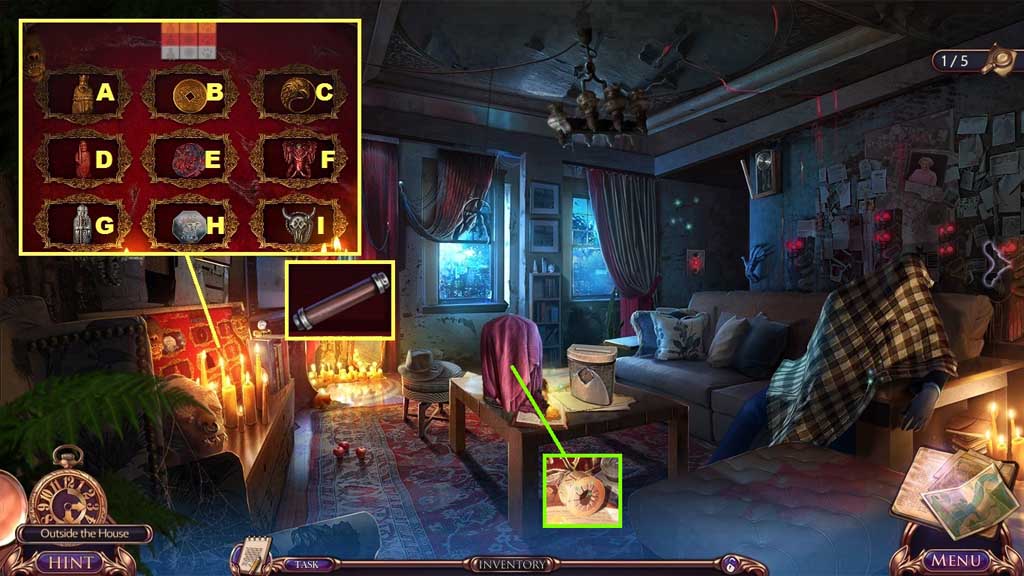
- Place the dream catcher, the ancient coin and the statuette to trigger a mini game.
- Solve the game by recreating the pattern on the top portion of the board.
- Solution: (G – D) (D –A) (E – B) (F – C) (H-F) (H-I)
- Collect the safety lock.
- Click the cloth aside; collect 1 /2 letter wheels.
- Move down once.
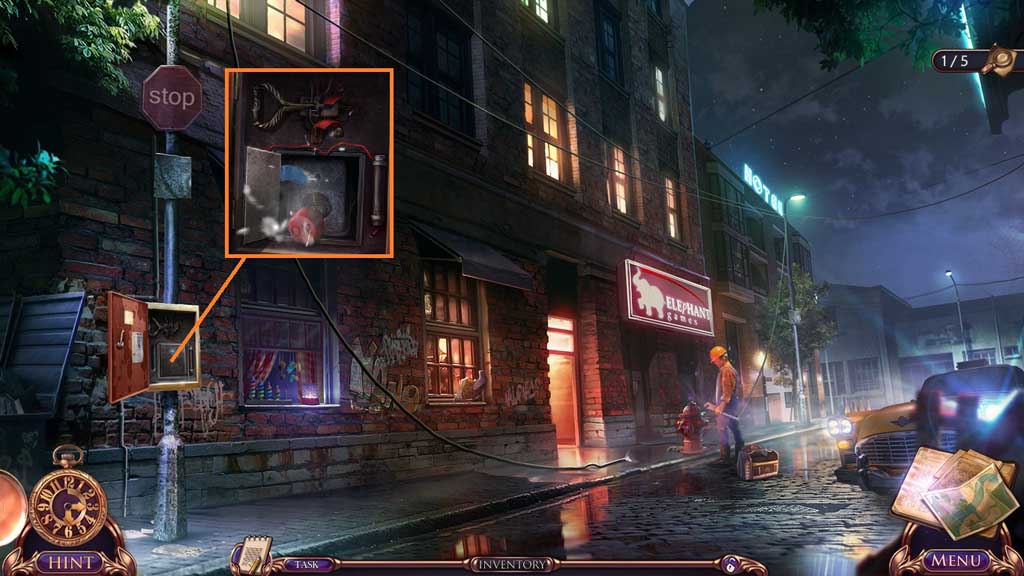
- Attach the safety lock.
- Select the multi-tool to short circuit the box.
- Collect the push button.
- Move ahead into the Living Room.
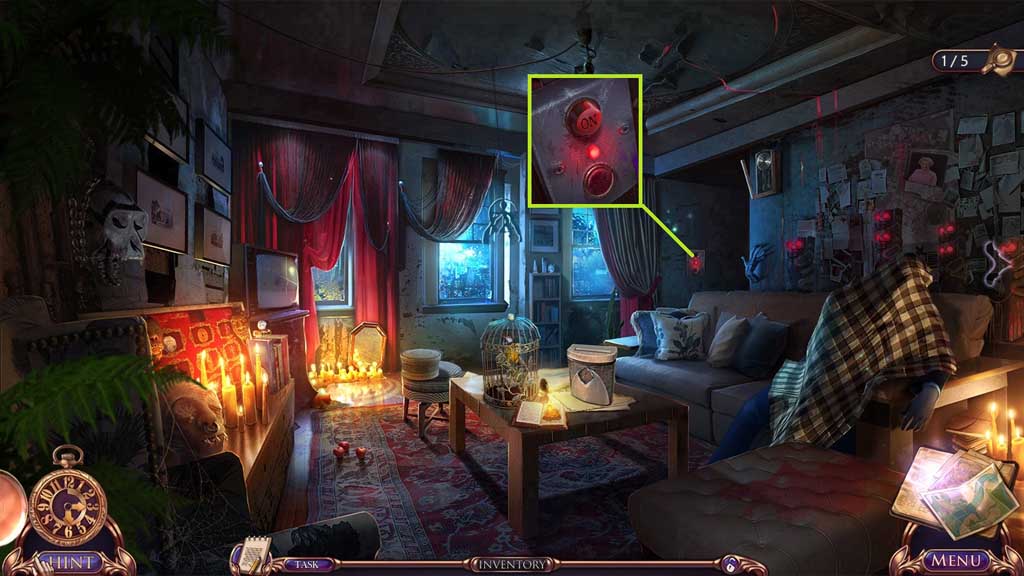
- Attach and click the push button.
- Move ahead to the Kitchen.
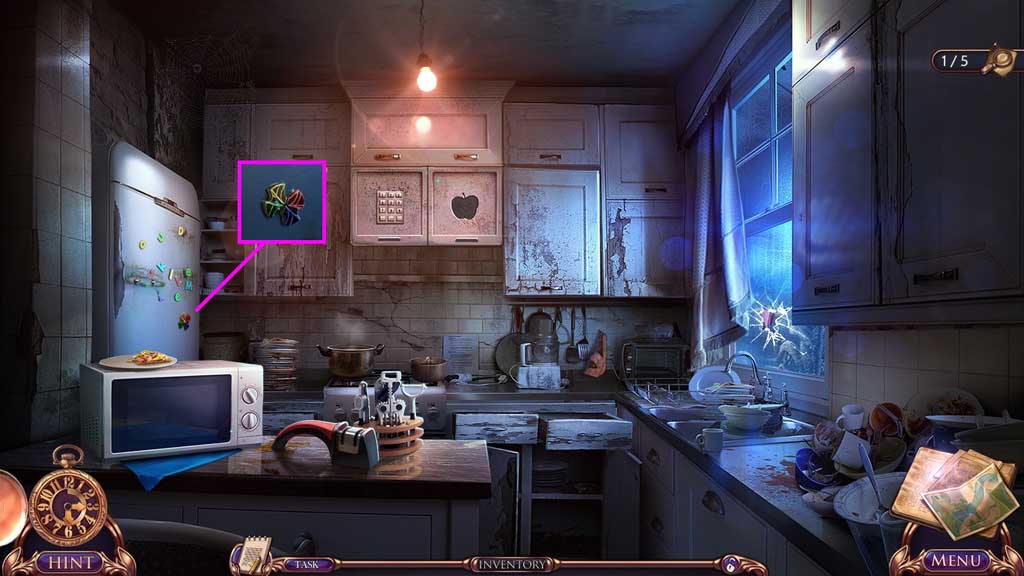
- Collect the briefcase disc.
- Move down once.
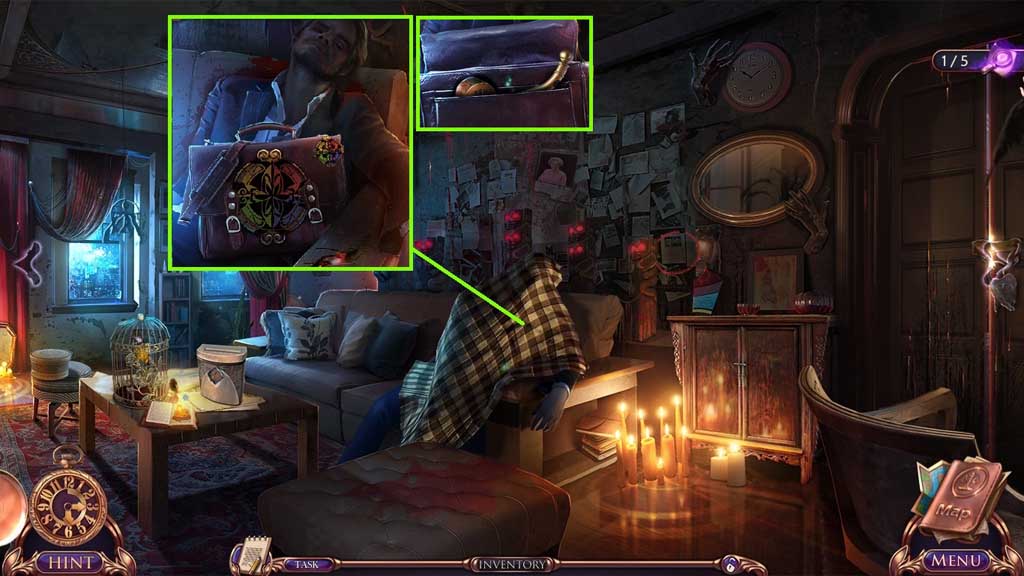
- Click the blanket.
- Insert the briefcase disc to trigger a mini game.
- Solve the game by aligning the disc correctly.
- Collect 2 /2 letter wheels and the broken handle.
- Move down once.
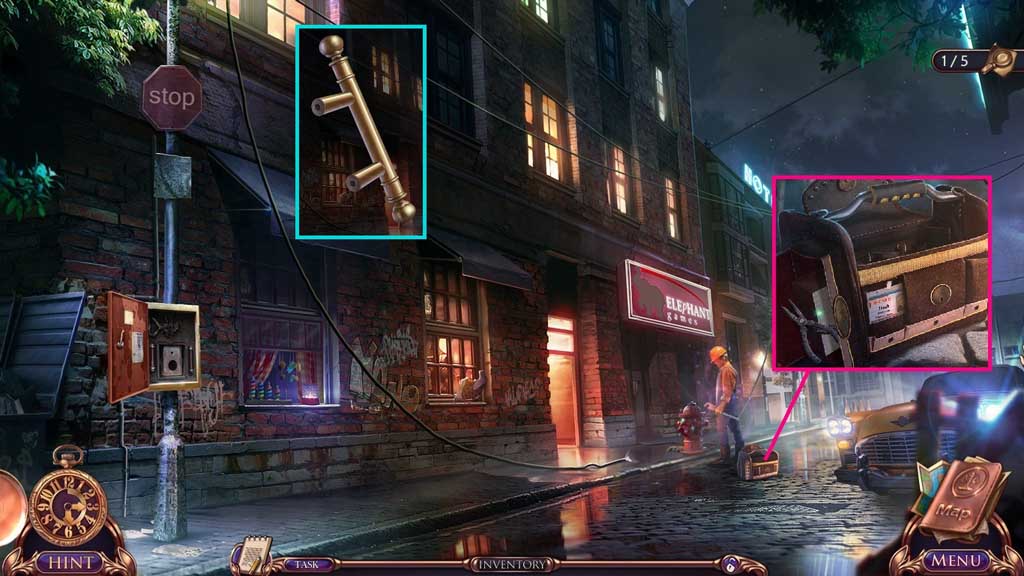
- Insert the letter wheel to trigger a mini game.
- Solve the game by spelling out J-A-C-O-B on the letter wheels.
- Collect the pliers, the wooden bar and the glue.
- Select the pliers and the glue to use on the broken handle.
- Collect the fridge handle.
- Move to the Kitchen.
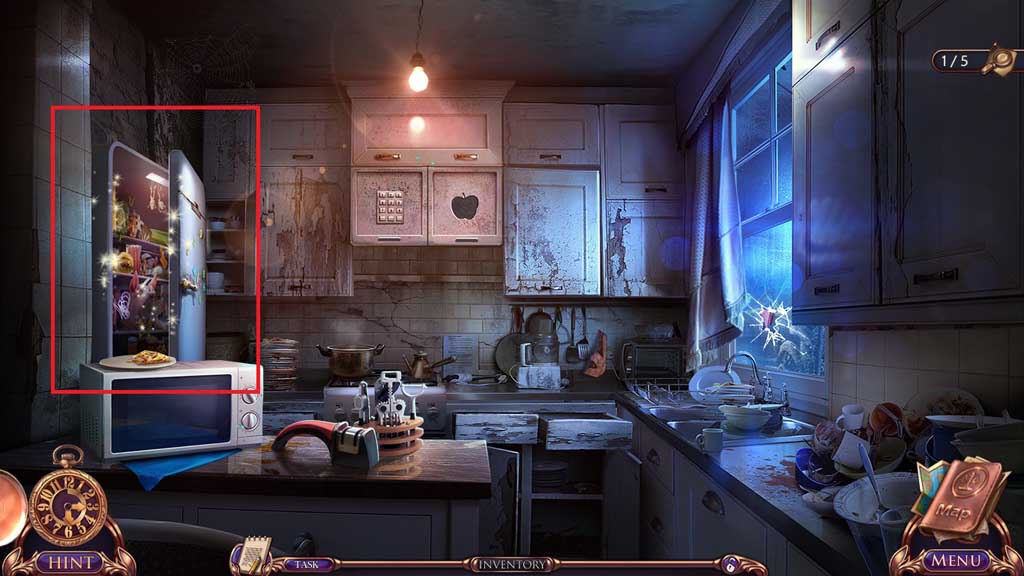
- Attach and click the fridge handle to trigger a hidden objects area.
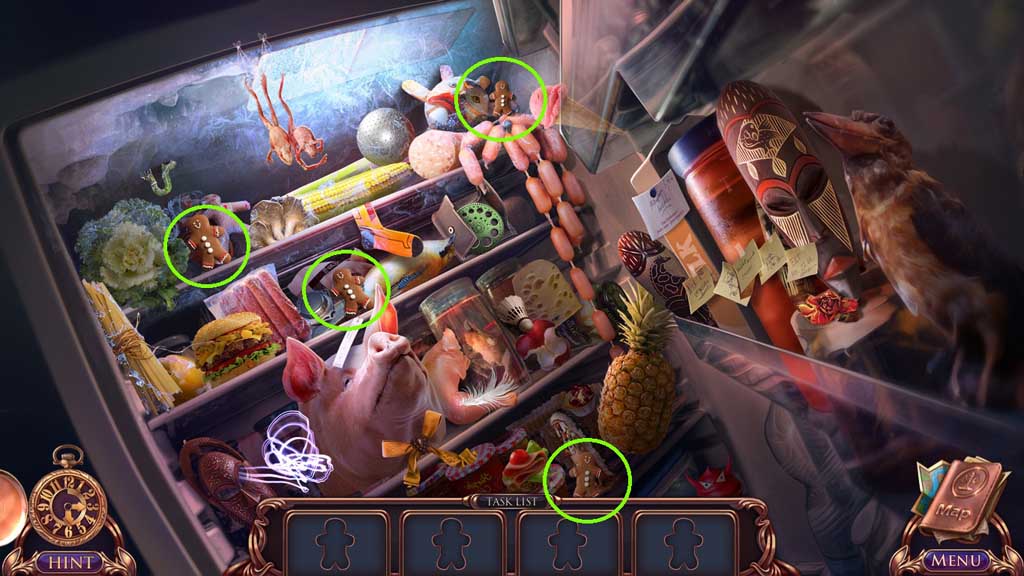
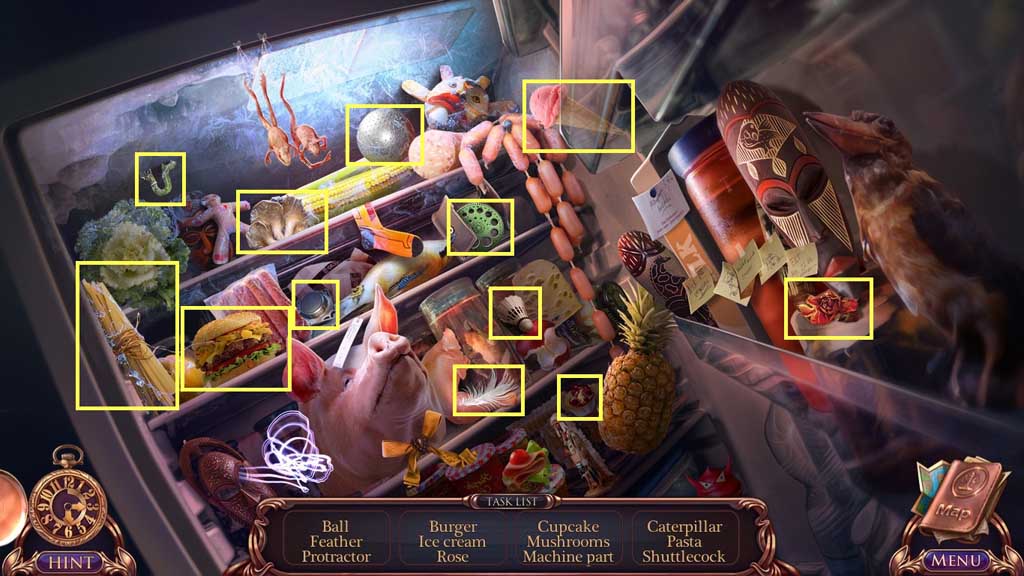
- Find the items.
- Collect the paper shredder part.
- Move down once.
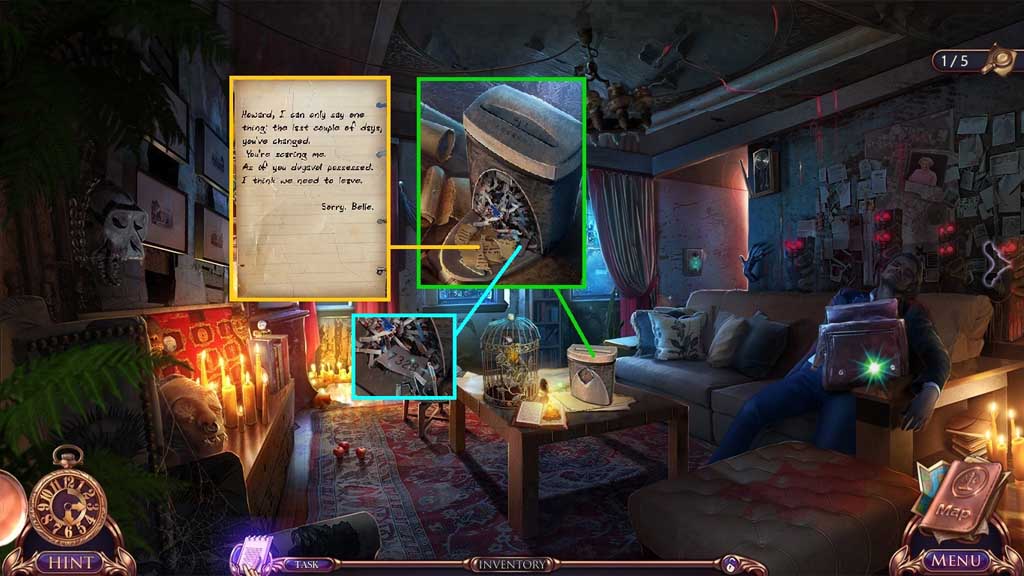
- Attach and click the paper shredder part and zoom into it to trigger a mini game.
- Solve the game by assembling the letter.
- Collect the letter.
- Click the papers aside; collect the paper with code.
- Move ahead.
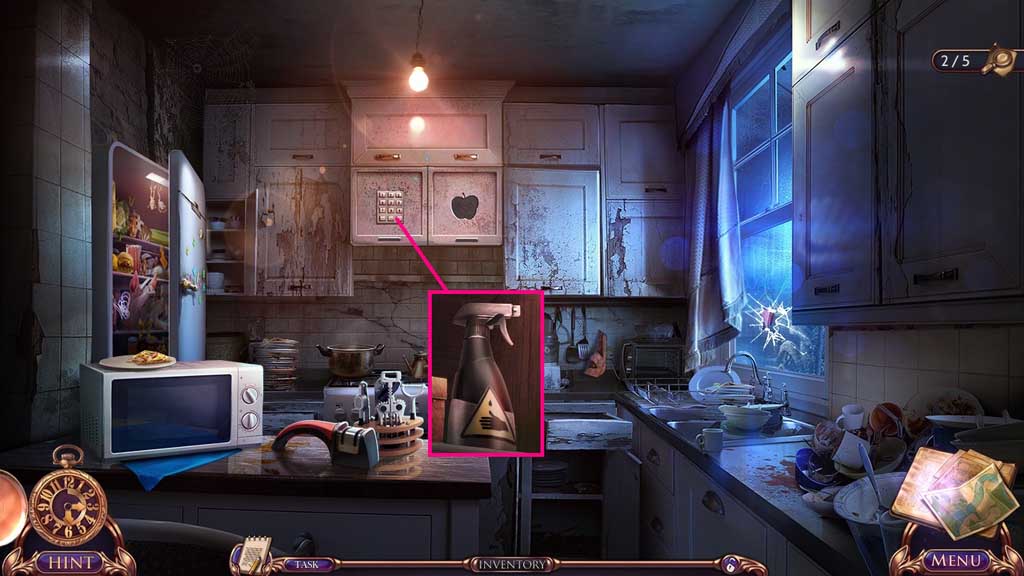
- Attach the paper with code to trigger a mini game.
- Solve the game by entering the code into the keypad.
- Solution: 7 – 3 – 2 – 8
- Collect the acid.
- Move down once and scroll to the right.
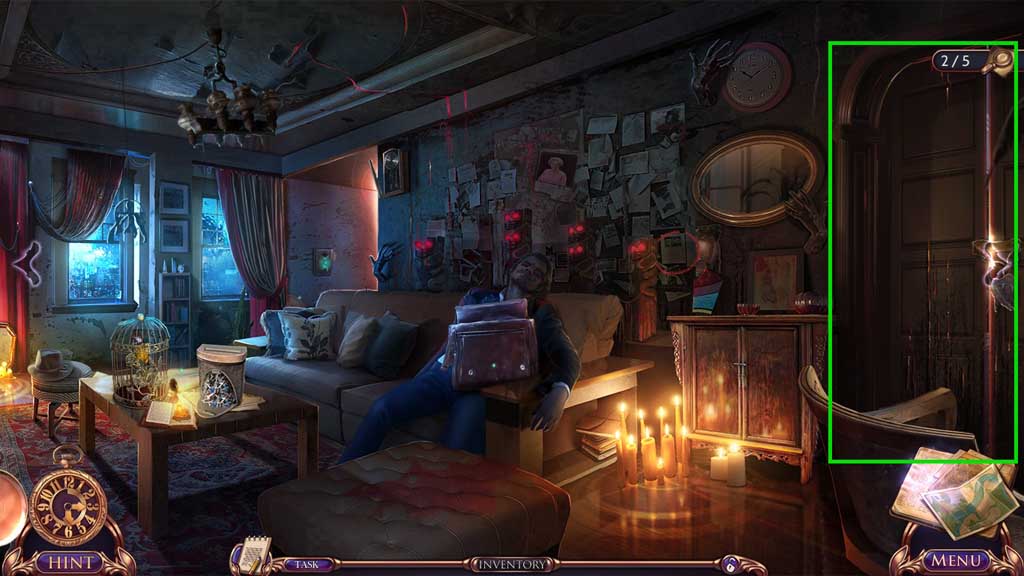
- Select the acid to spray on the doors.
- Move to the right into the Corridor.
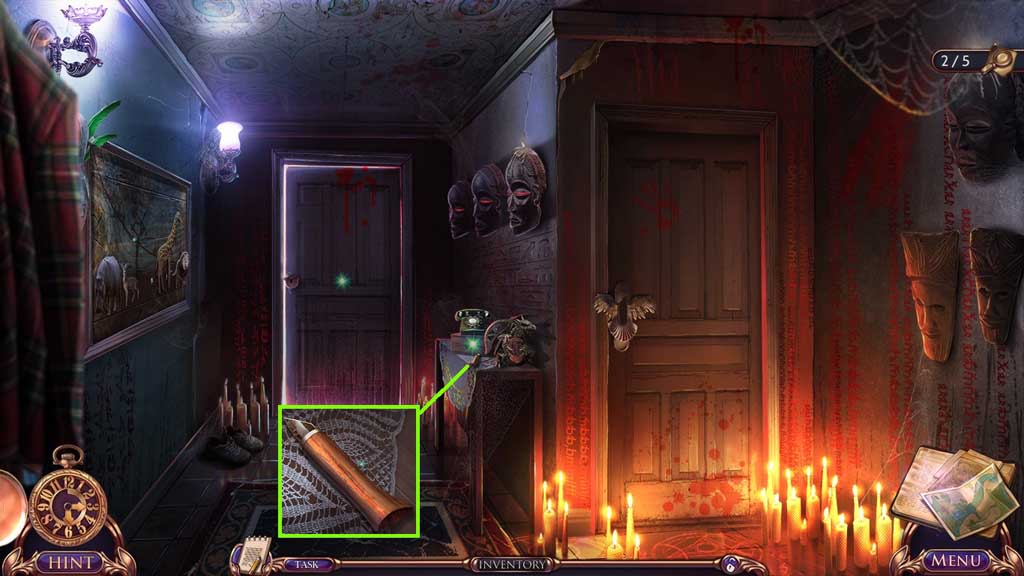
- Collect the blunt knife.
- Move to the Kitchen.
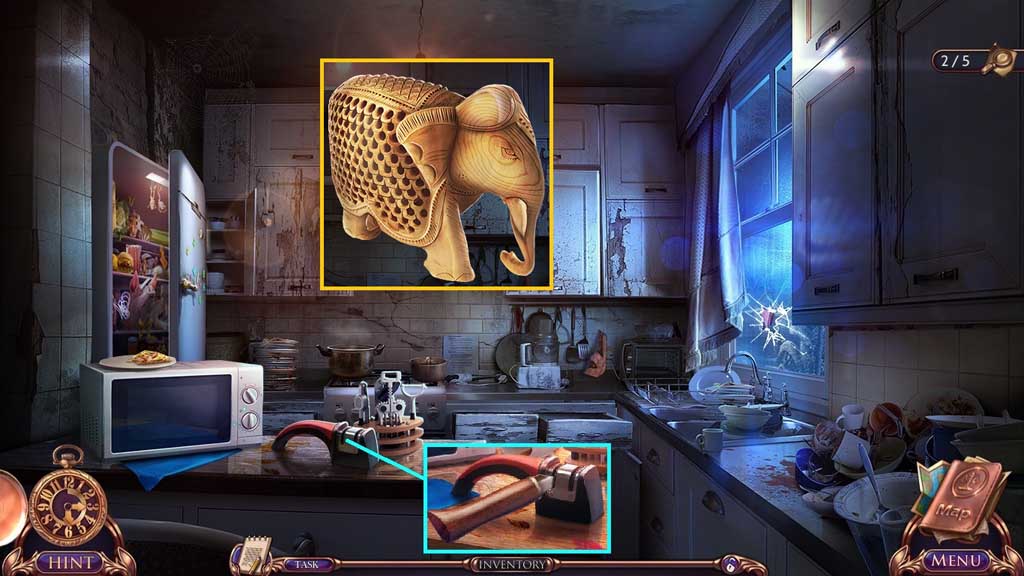
- Sharpen the blunt knife.
- Select the carving knife to carve the wooden board and collect the elephant.
- Move to the Corridor.
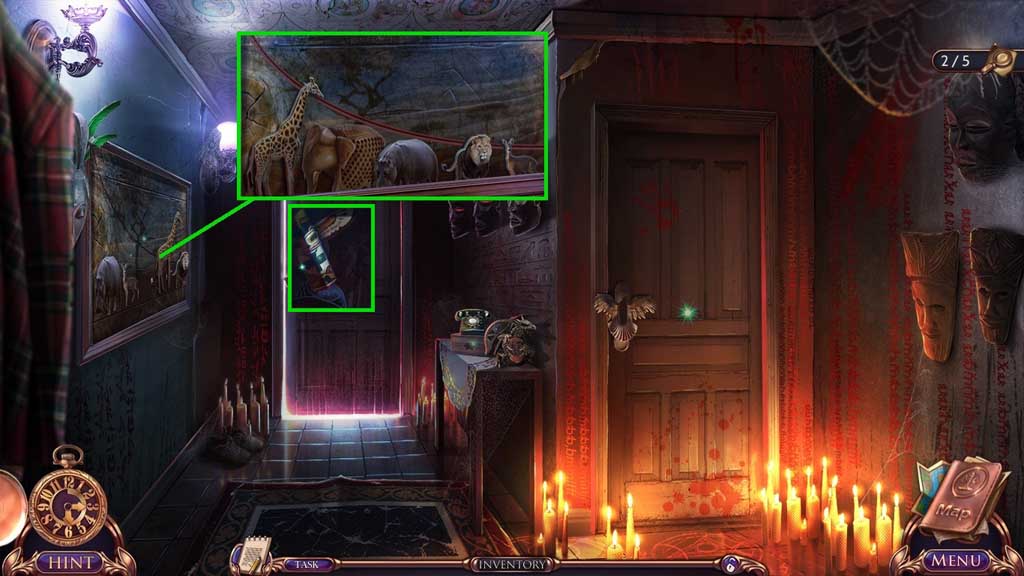
- Place the elephant to trigger a mini game.
- Solve the game by aligning the animals correctly.
- Collect the totem.
- Move down once and scroll to the right.
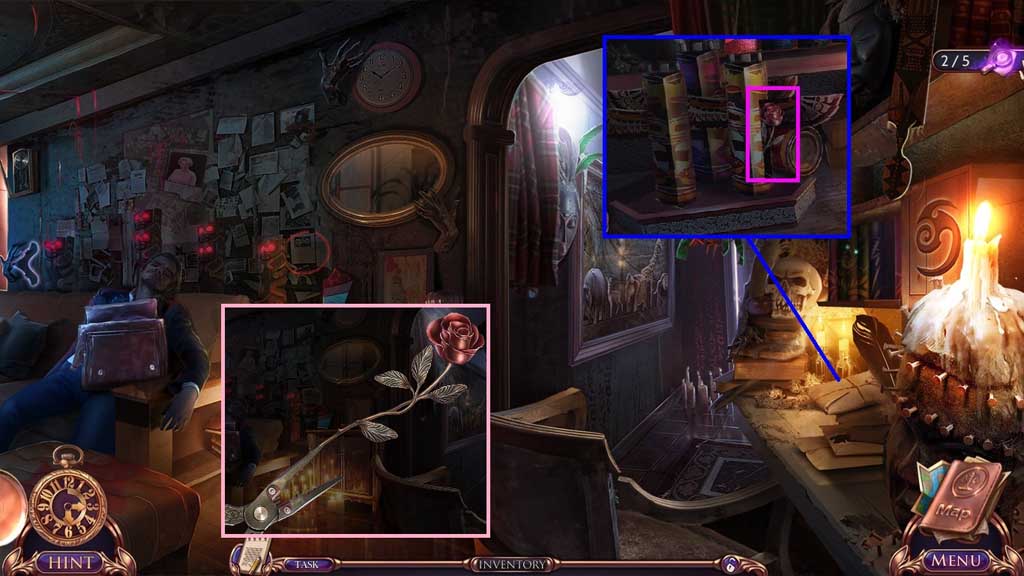
- Place the totem; collect the bent iron flower.
- Select the pliers to repair the bent iron flower.
- Collect the forged rose.
- Scroll to the left.
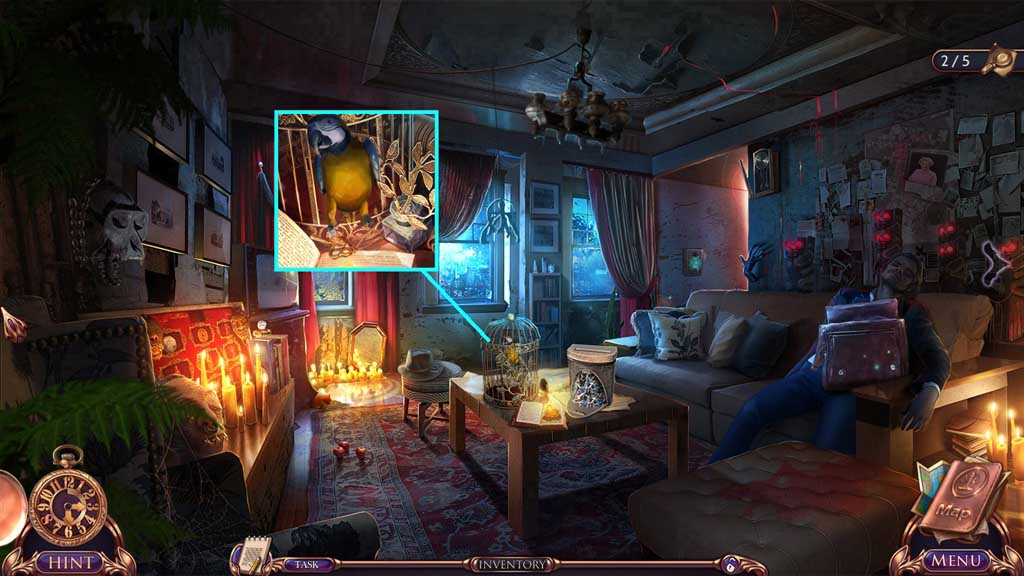
- Insert the forged rose; click the cage.
- Collect the room key.
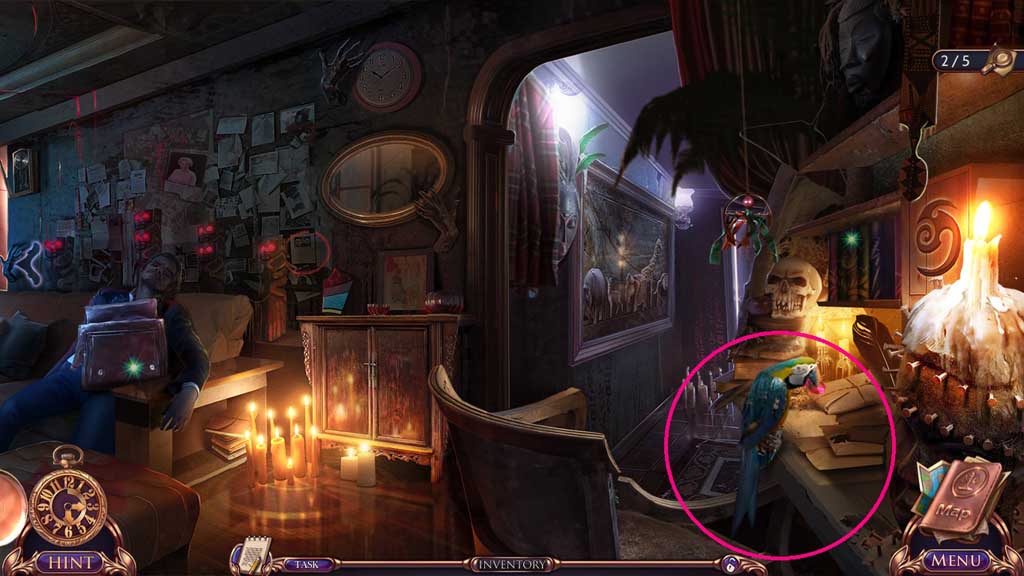
- Collect the shining stone.
- Move to the Corridor.
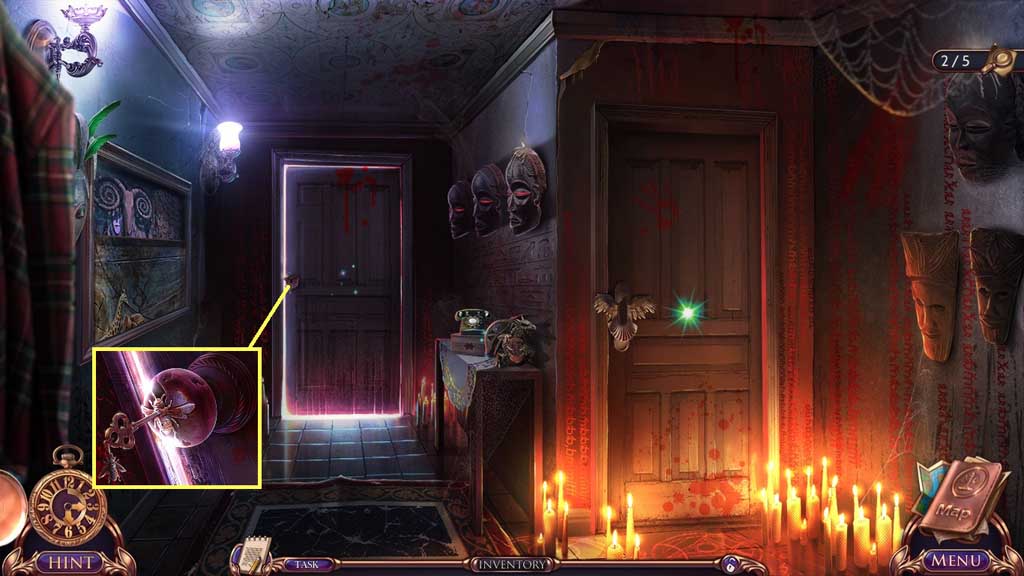
- Insert the room key.
-
Move ahead into the Bedroom.
Comments will load when you reach this part of the walkthrough.