

Chapter Five: The Search
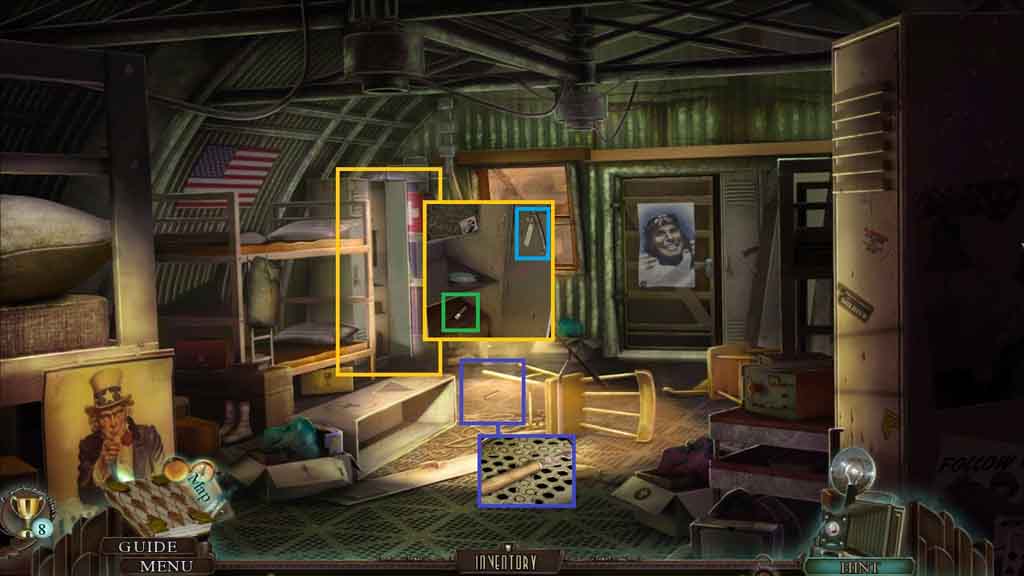
- Click the locker; collect the 2 / 2 battery and the razor blade.
- Zoom into the floor.
- Select the can opener blade and attach it to the handle.
- Use it to open the can.
- Move ahead.
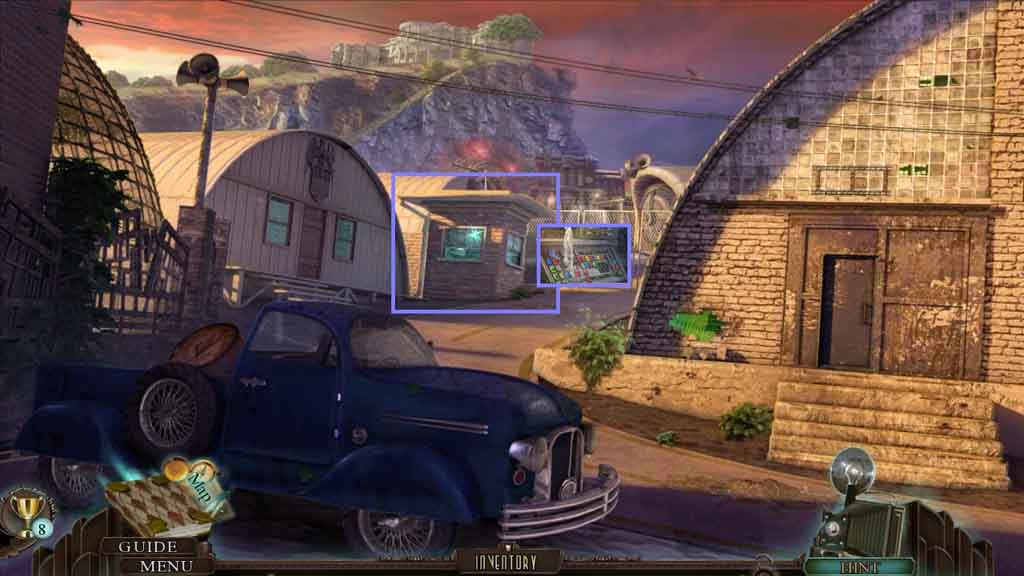
- Zoom into the Guardhouse.
- Pour the sieve full of water onto the control panel.
- Move ahead to the Upper Lab Complex.
- Click the shed to access a hidden objects area.
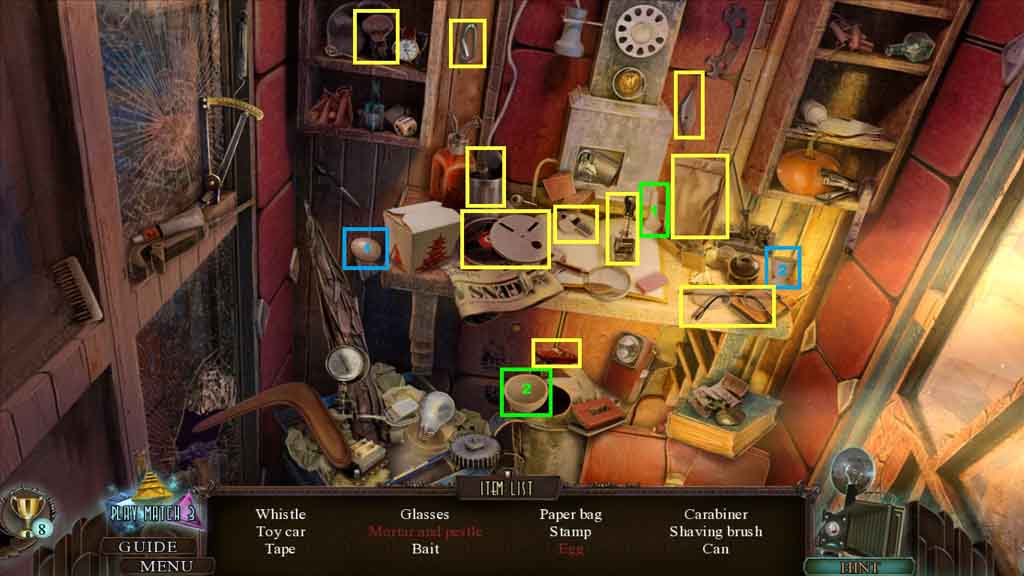
- Find the listed items.
- Select the pestle and place it with the mortar; collect the mortar and pestle.
- Select the egg and insert it into the egg cup; collect the egg.
- Collect the carabiner.
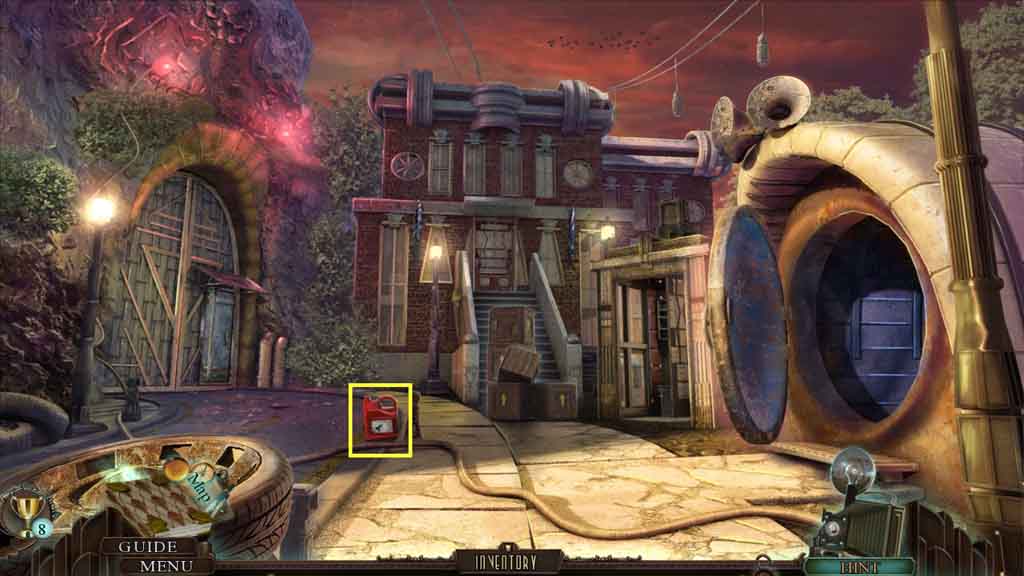
- Collect the petrol.
- Move to the left into the Aeronautics Lab.
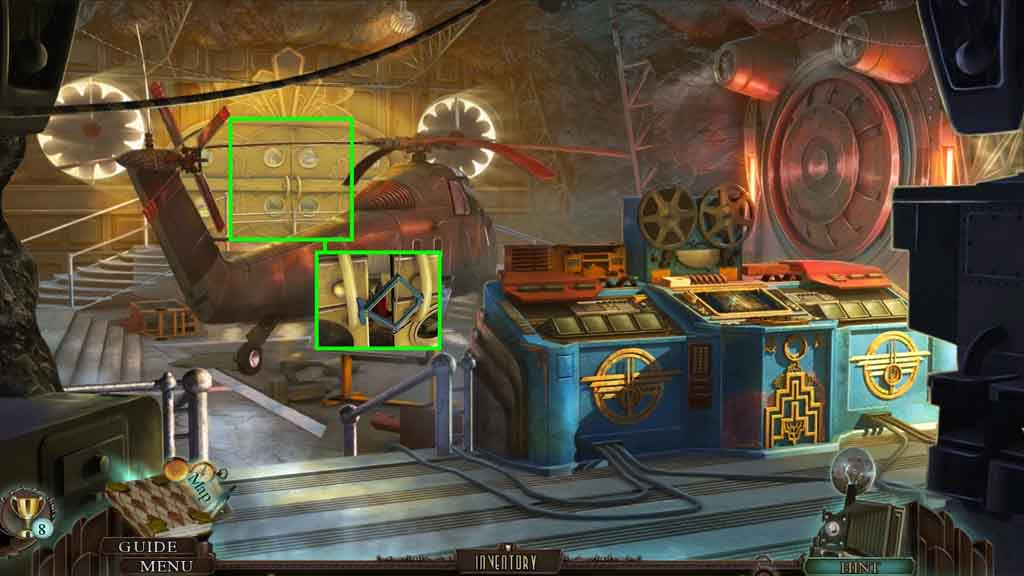
- Zoom into the doors; insert the jack in between them.
- Click the jack and move ahead to the Main Hangar.
- Zoom into the boxes to trigger a hidden objects area.
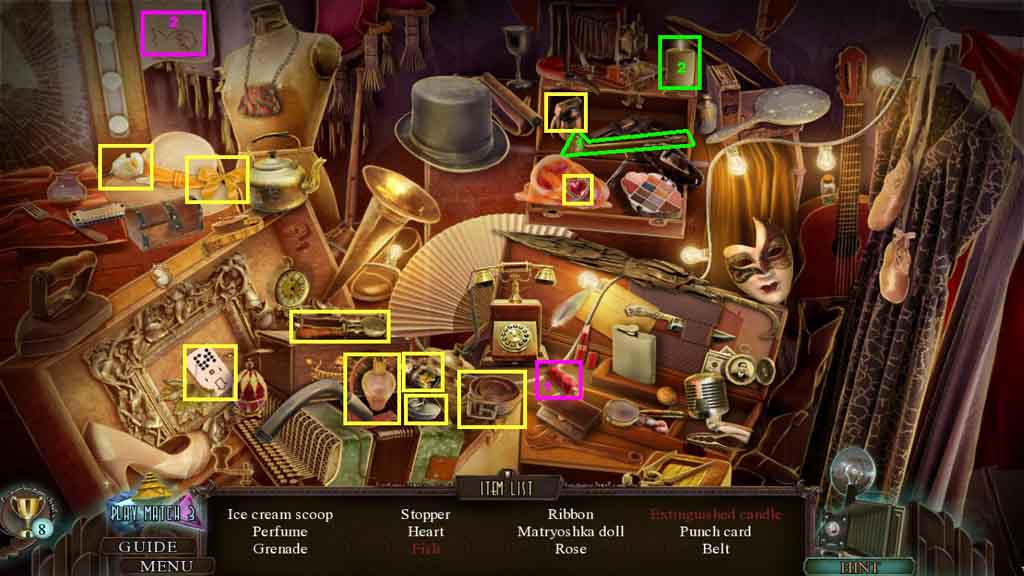
- Find the listed items.
- Select the thread and use it to complete and collect the fish.
- Select the candle snuffer and use it to extinguish the flame; collect the extinguished candle.
- Collect the punch card.
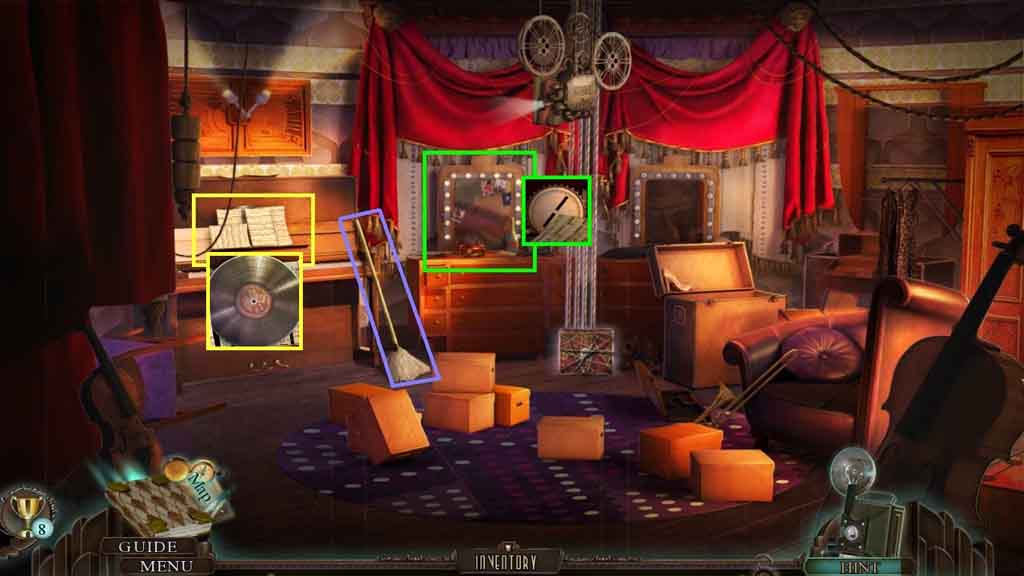
- Collect the mop.
- Zoom into the mirror; collect the 1 / 3 computer button.
- Zoom into the piano; click the 3 musical sheets and collect the record.
- Move down once.
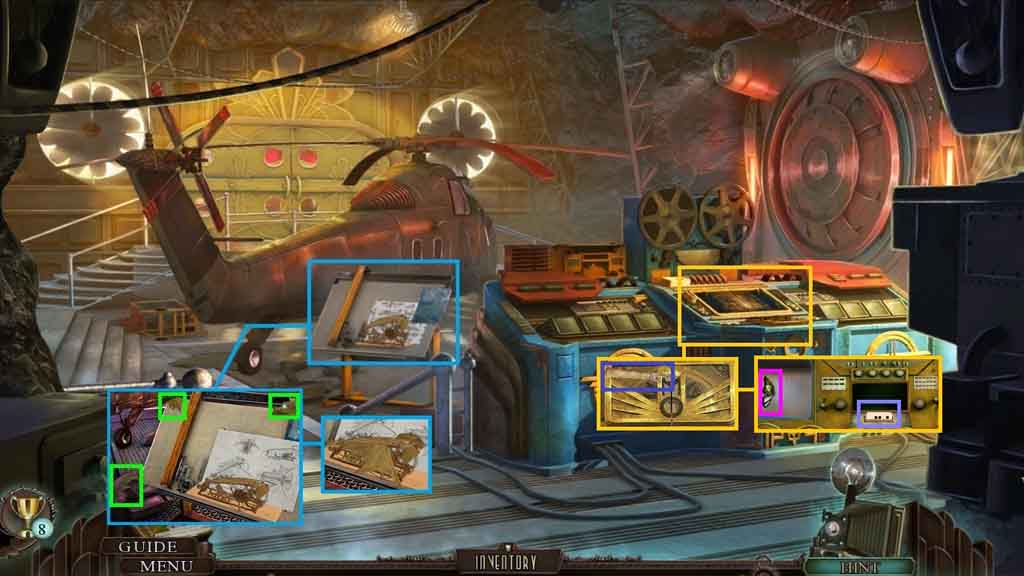
- Zoom into the easel.
- Click the 3 wings and collect the airplane model.
- Zoom into the control panel.
- Select the can opener to use on the plate.
- Insert the punch card and collect the 1 / 3 butterflies.
- Move to the right to the Wind Tunnel.
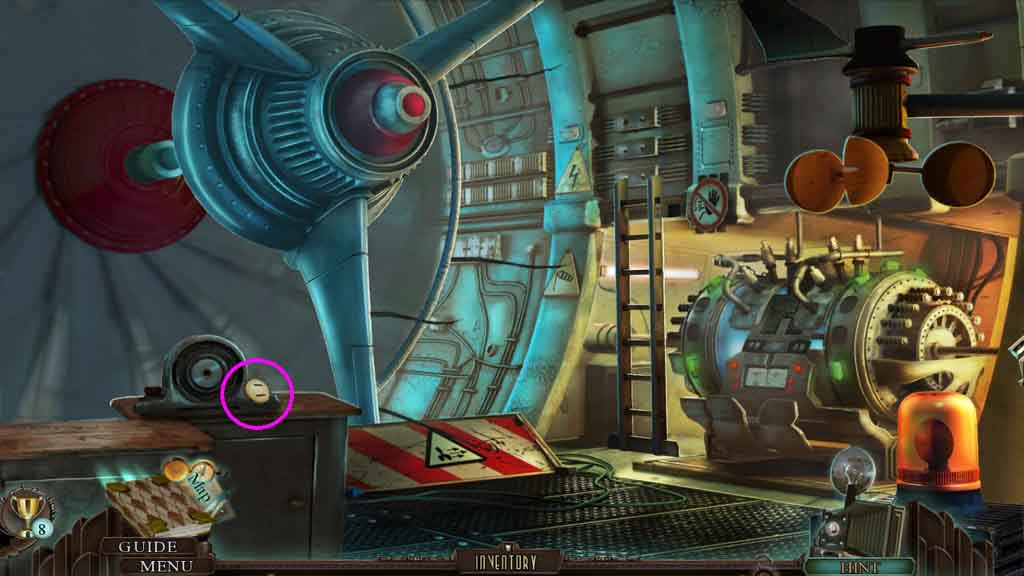
- Collect the 2 / 3 computer buttons.
- Move to the Upper Lab Complex and go right to the Nautical Lab.
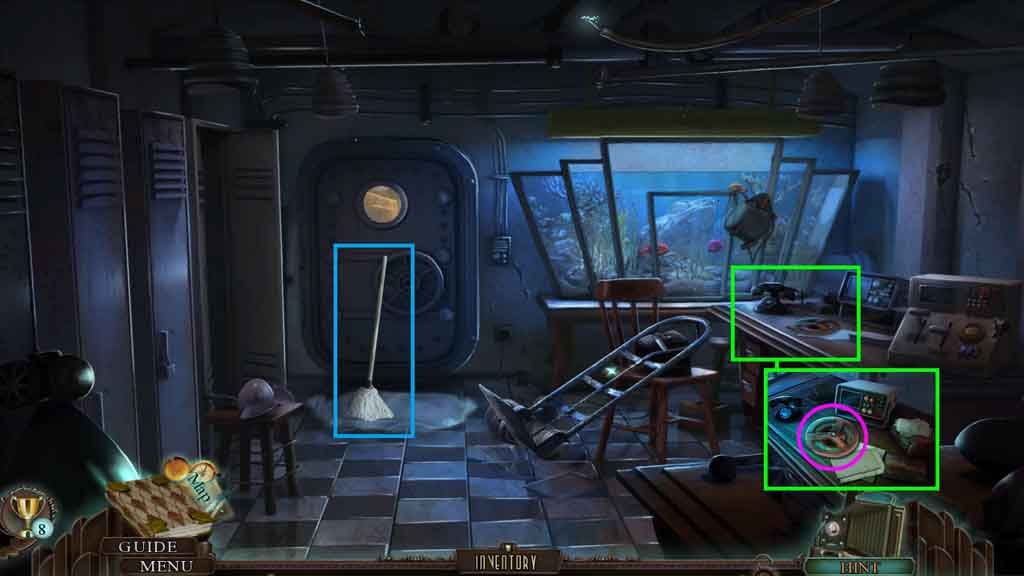
- Select the mop to use on the puddle.
- Click the desk; collect the recording.
- Collect the launch key.
- Move ahead to the Testing Pool.
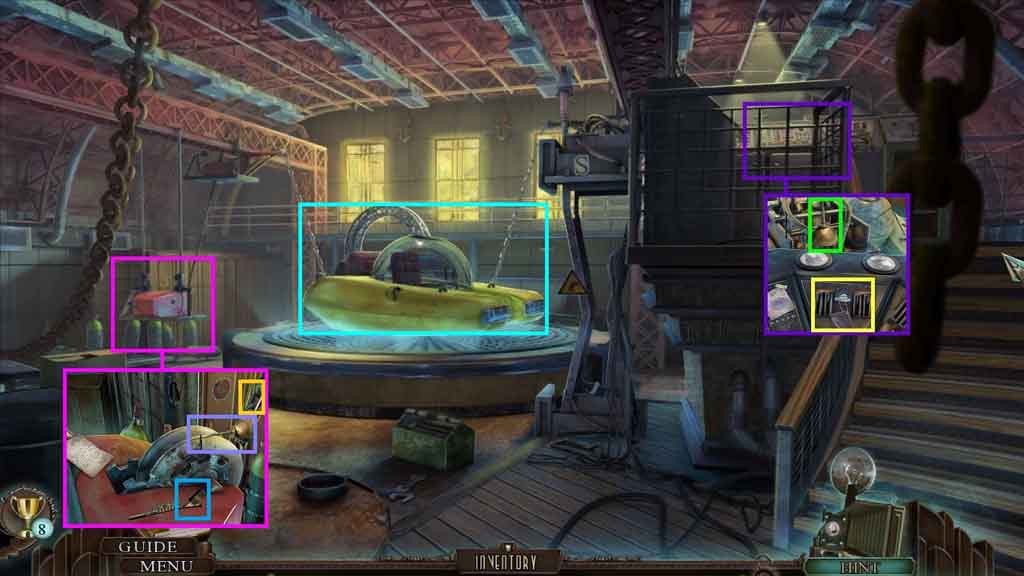
- Click the control panel and insert the launch key; click the handle.
- Dip the empty oil can into the oil; collect the full oil can.
- Zoom into the casing; click the note.
- Attach the carabiner onto the chain.
- Pour the full can of oil onto the gears.
- Click the lever.
- Click the control panel and click both handles.
- Move into the submarine to trigger a puzzle.
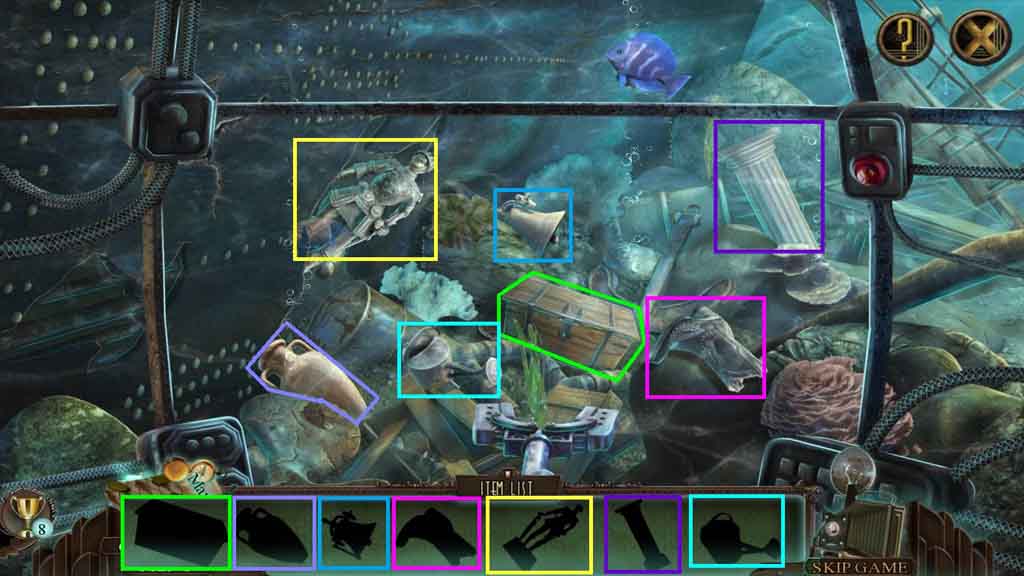
- Solve the puzzle by finding the silhouetted items.
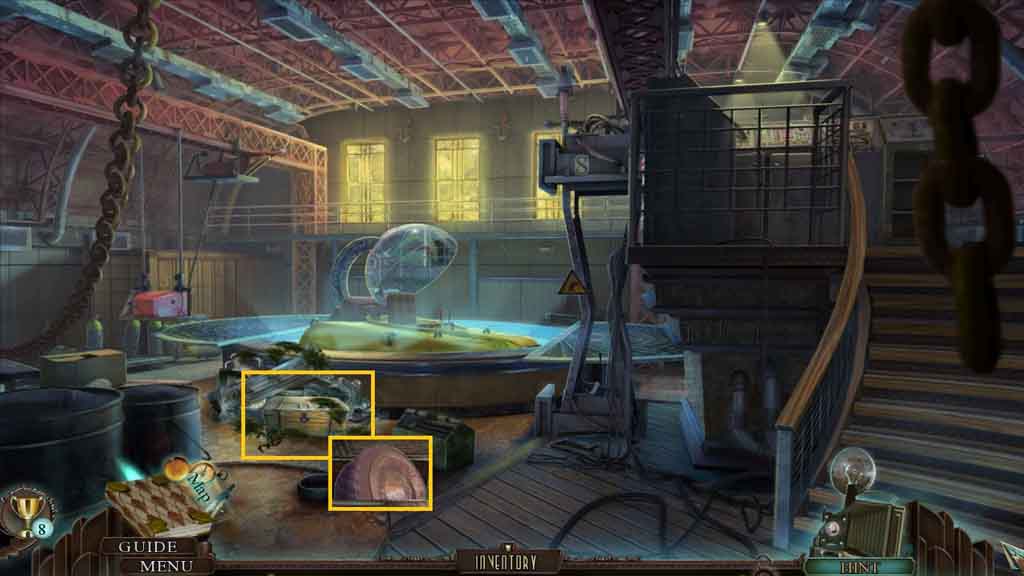
- Click the treasure chest 2 times; collect the wheel.
- Move to the Testing Hangar.
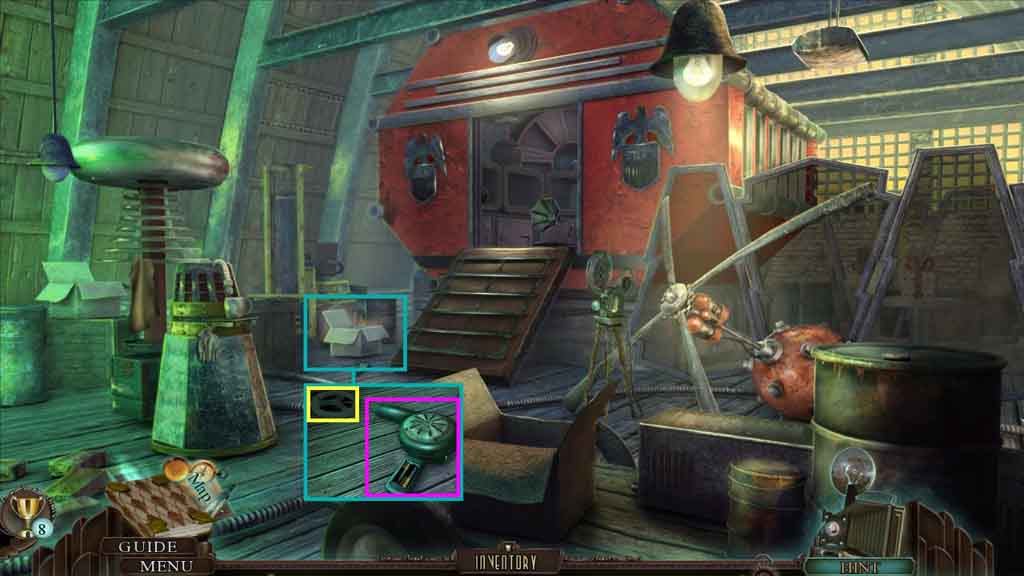
- Zoom into the box; collect the recording.
- Insert the 2 / 2 batteries into the hair dryer; collect the hair dryer.
- Move to the Testing Pool.
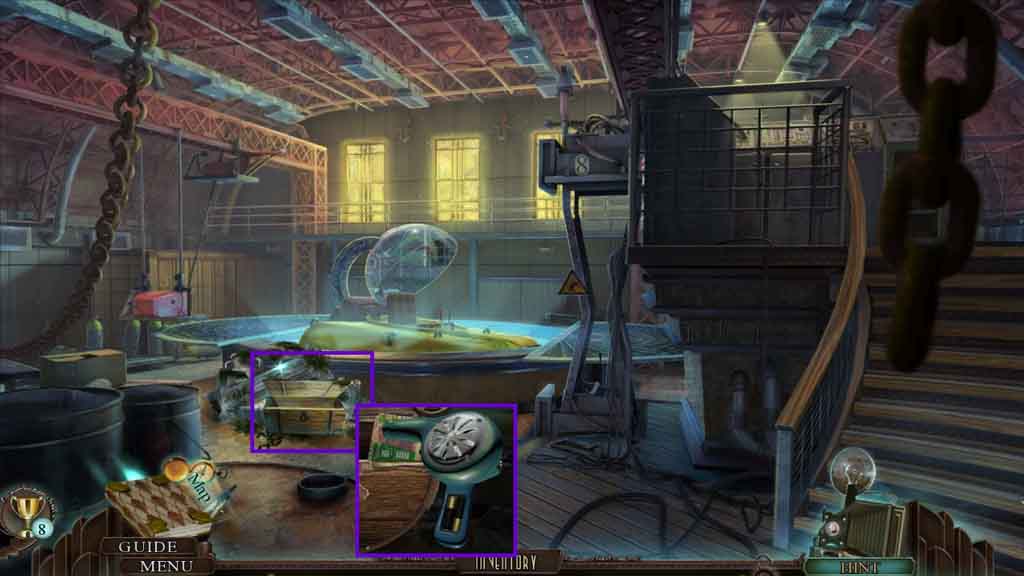
- Zoom into the treasure chest.
- Select the hair dryer and use it on the circuit; collect the 1 / 2 circuit board.
- Move to the Cafeteria.
- Zoom into the projector and click the switch.
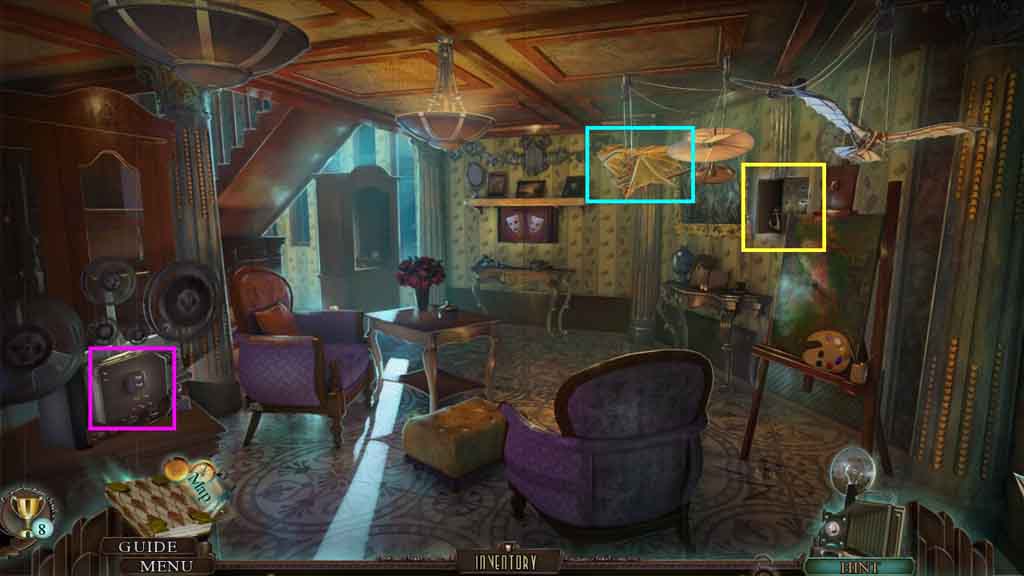
- Place the airplane model onto the hanger
- Zoom into the compartment; collect the anchor.
- Zoom into the projector and click the switch.
- Move upstairs to the Cafeteria Bar.
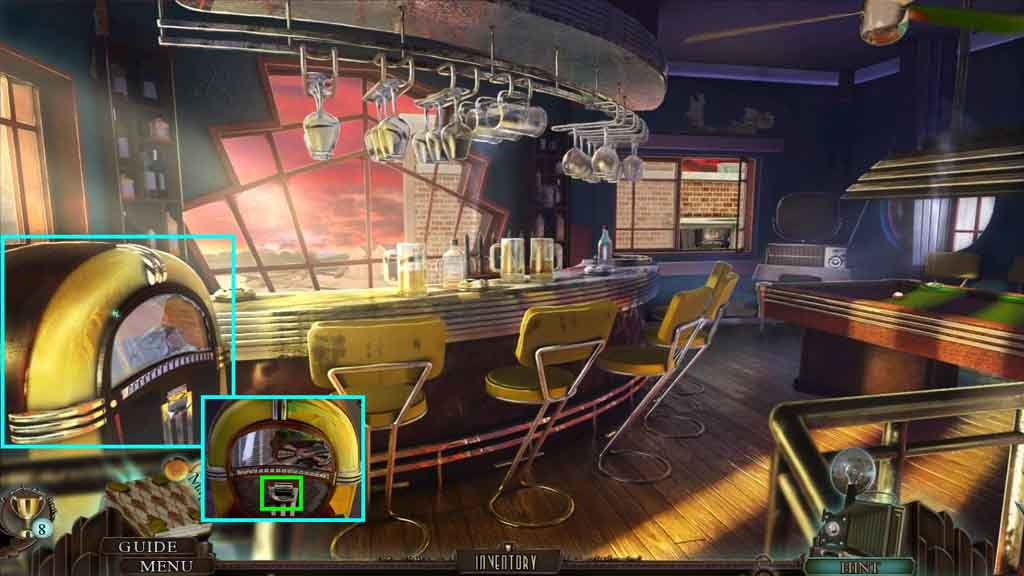
- Zoom into the jukebox; insert the record.
- Collect the coin.
- Move downstairs.
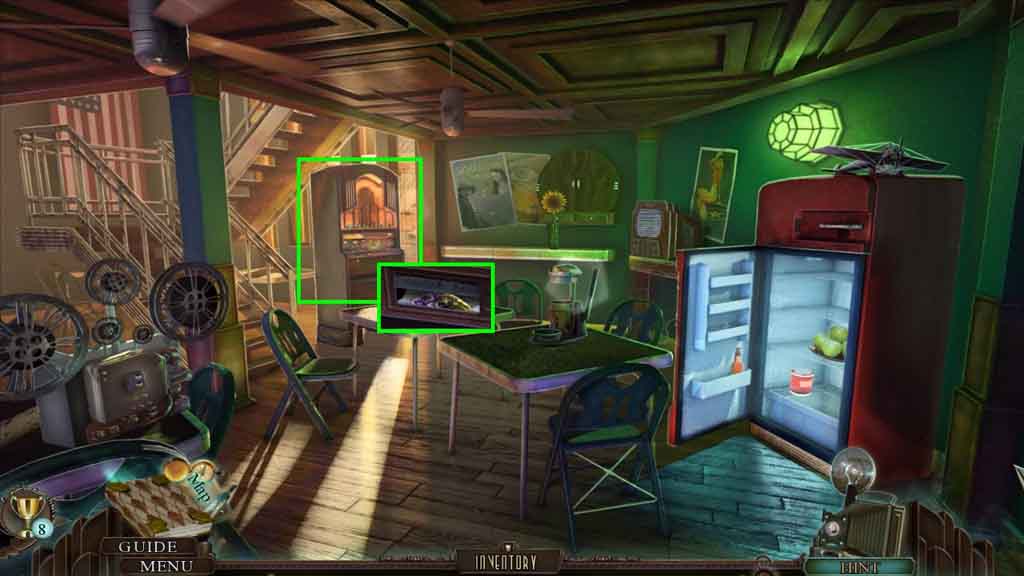
- Click the vending machine and insert the coins.
- Collect the 2 / 3 butterflies.
- Move to the Bay Dock.
- Zoom into the boat to trigger a hidden objects area.
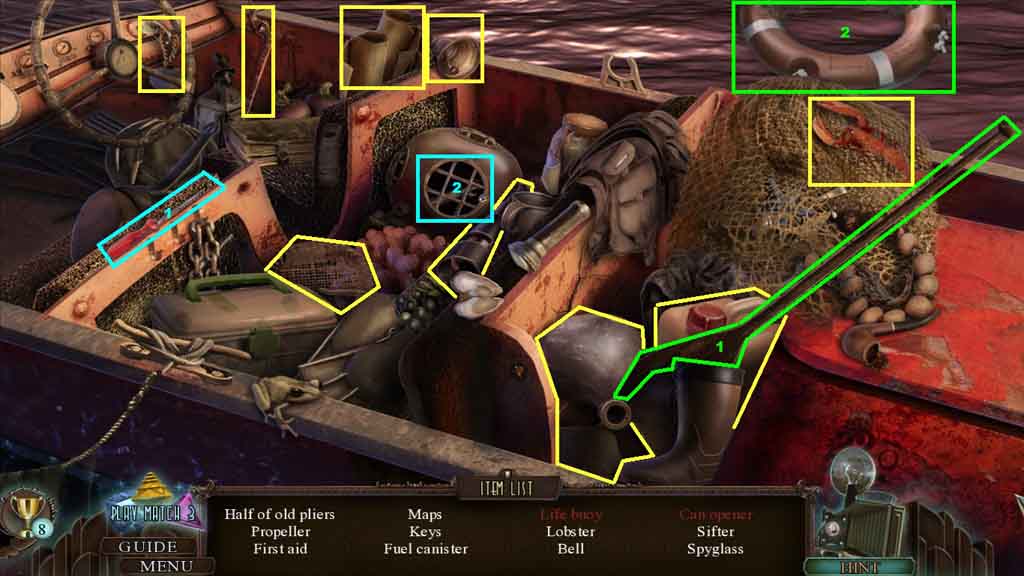
- Find the listed items.
- Select the paddle to collect the life buoy.
- Select the screwdriver to unscrew the face mask off of the helmet; collect the can opener.
- Collect the half of pliers.
Comments will load when you reach this part of the walkthrough.