
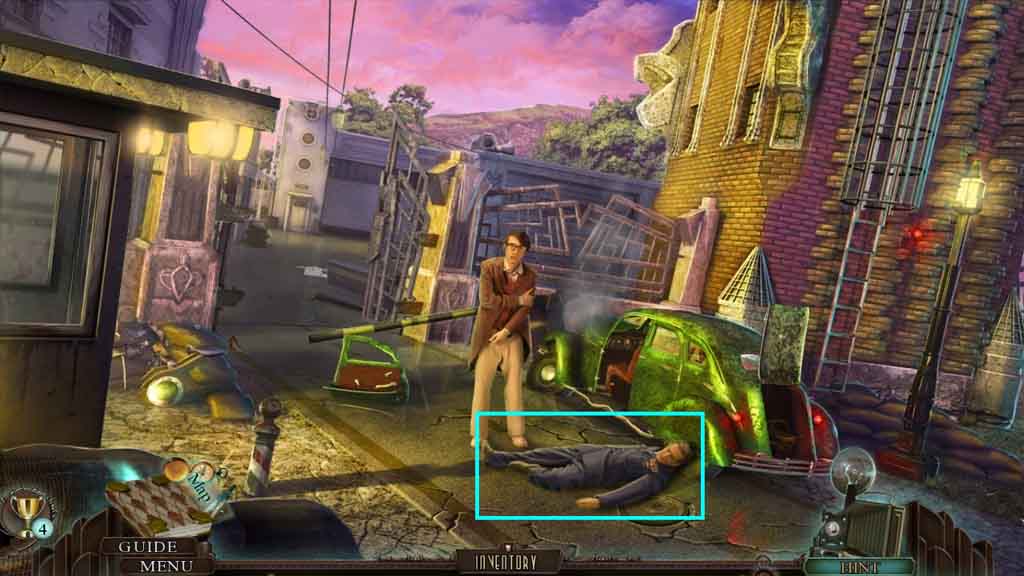
Chapter Two: Getting Deep
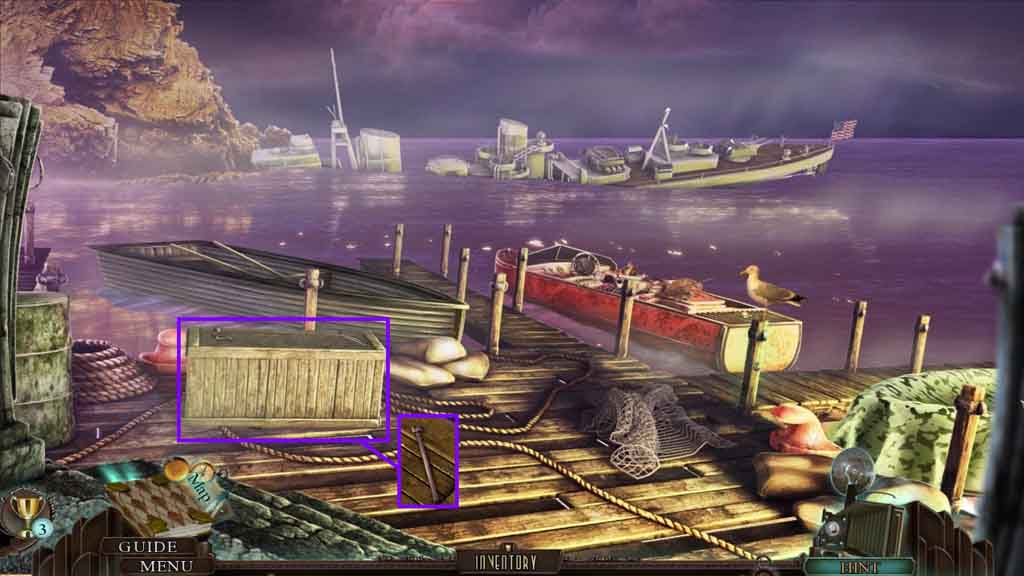
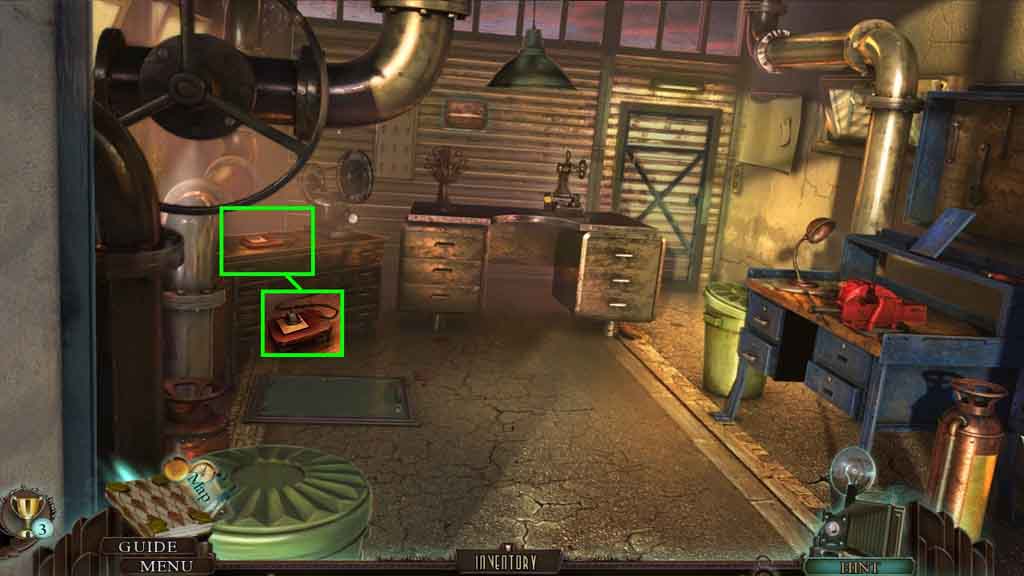
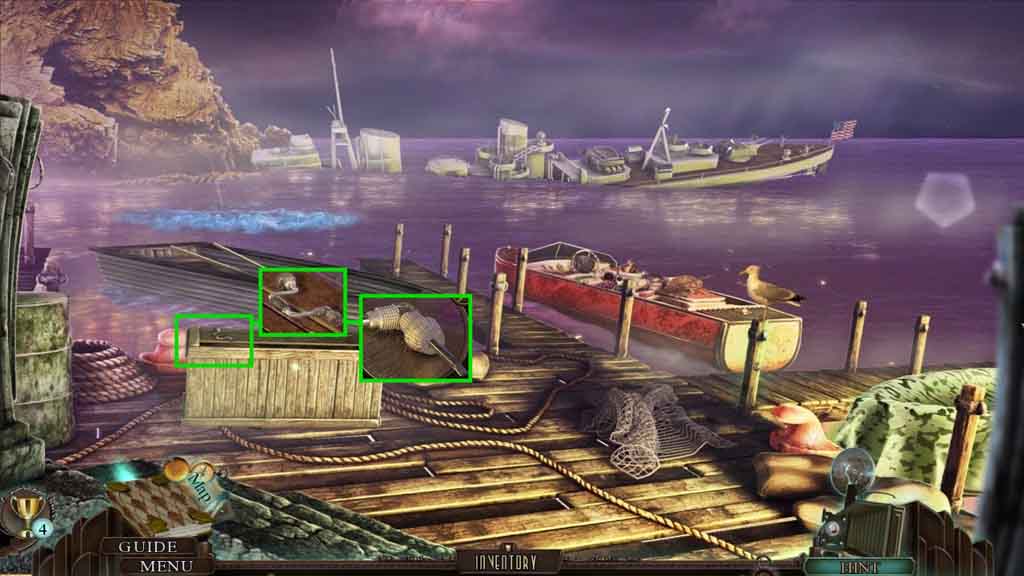
- Zoom into the crate.
- Collect the lever.
- Move down.
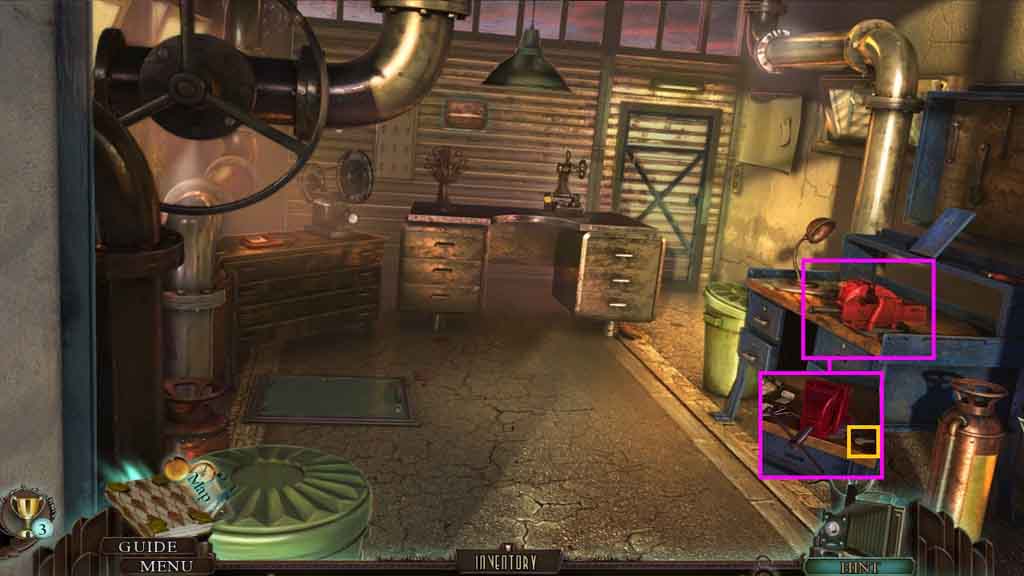
- Zoom into the device; use the lever on it.
- Collect the blank key.
- Move down.
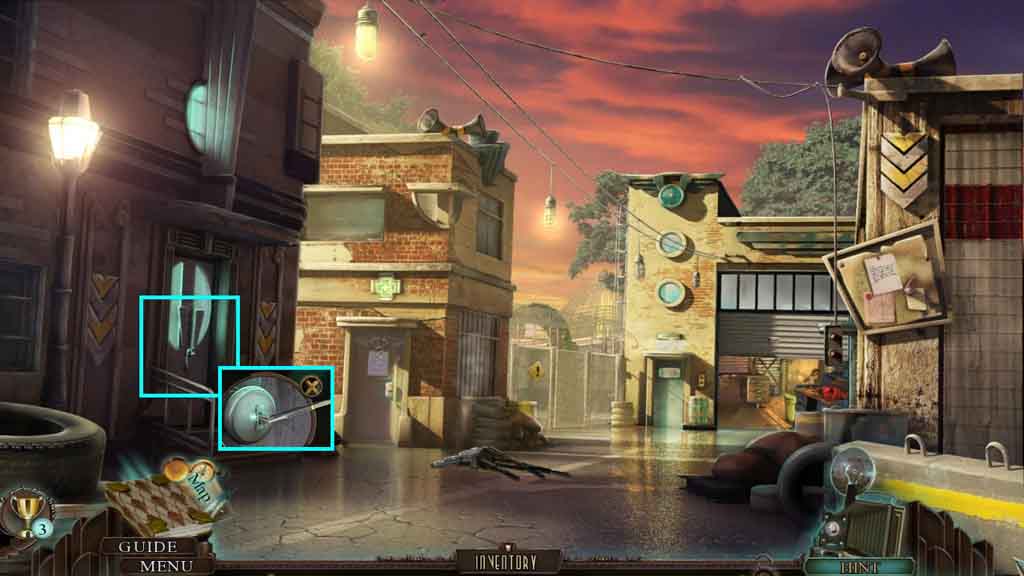
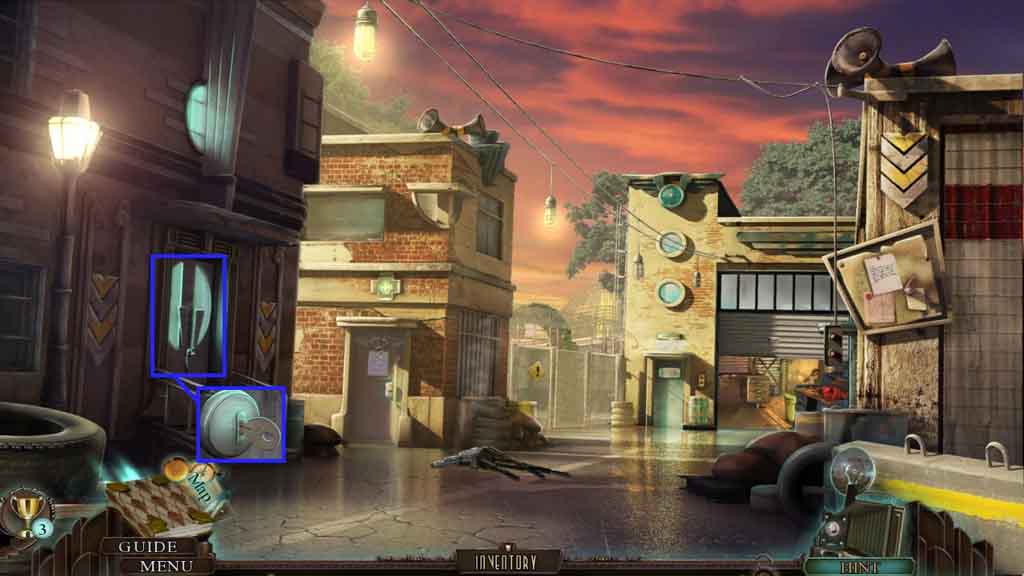
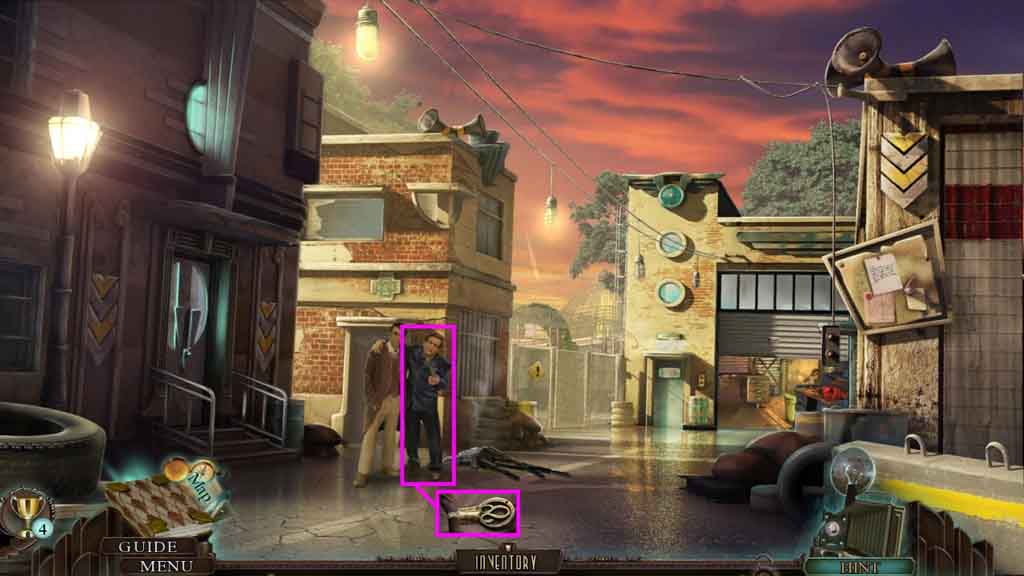
- Zoom into the door and again into the door knob.
- Select the tweezers to collect the key part.
- Move to the Maintenance Service Room.

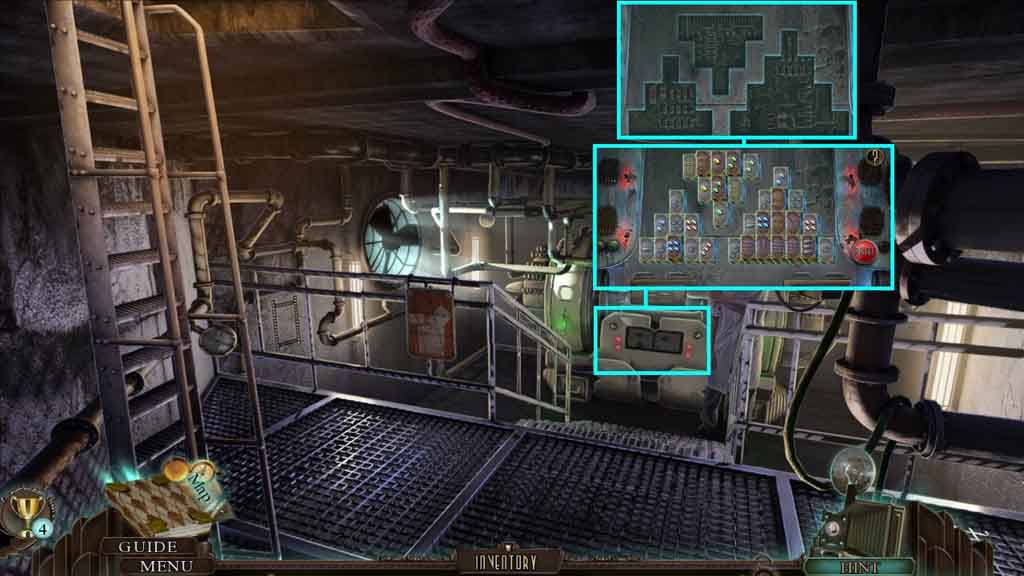
- Zoom into the key press.
- Place the key part with the diagram and insert the blank key to trigger a puzzle.
- To solve part A of the puzzle connect the dots to the key and the carving matches the one on the note.
- To solve part B click the buttons as follows to create a copy of the key in the diagram.
- Click the buttons as follows to solve the puzzle.
- D – C – A – D – E - C – A – D – C – A – E – D – C
- Collect the cafeteria key.
- Move down.
- Click the door.
- Zoom into the lock and insert the cafeteria key.
- Move into the Cafeteria.
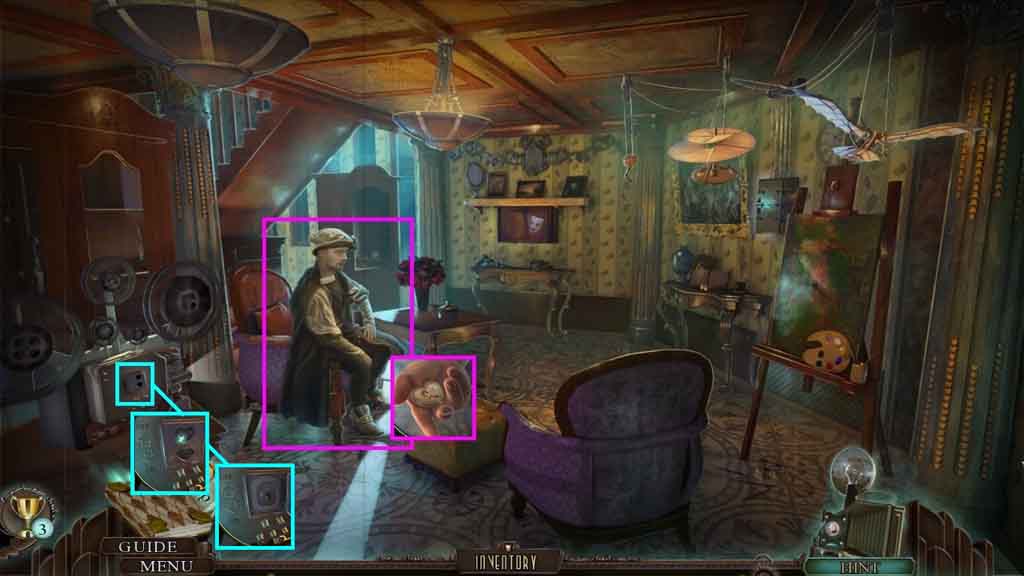
- Speak to Romeo.
- Click his hand; collect the 2 / 2 heart locket.
- Zoom into the movie projector and insert the 2 / 2 heart locket and click the switch and insert the 2 heart lockets.
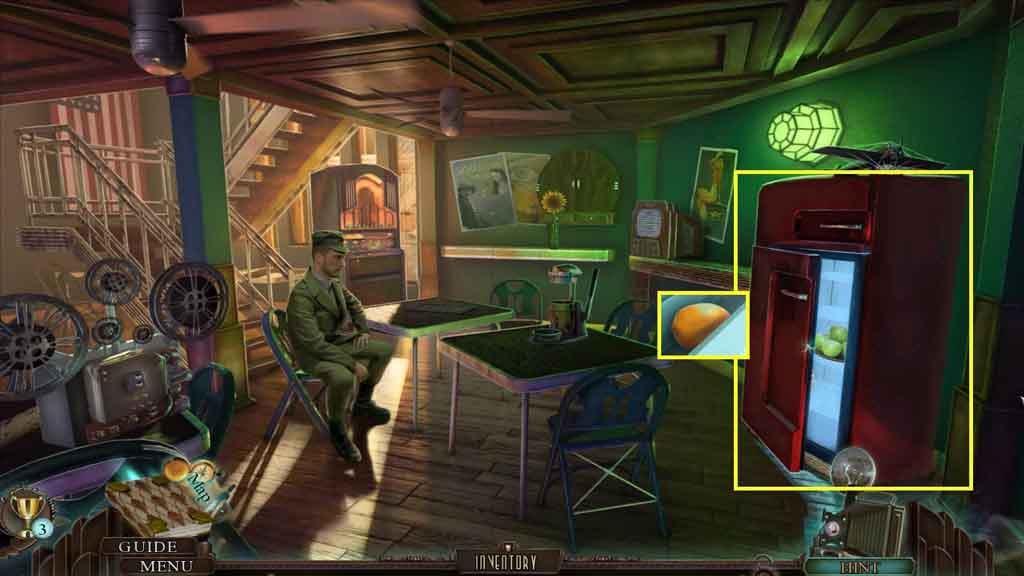
- Click the fridge.
- Zoom into the door and collect the lemon.
- Move upstairs to the Cafeteria Bar.
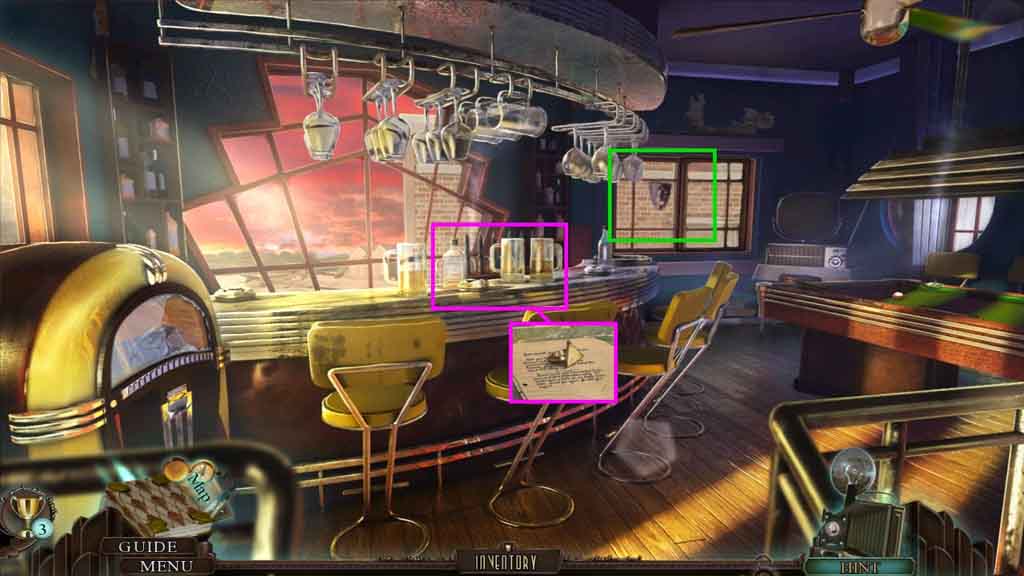
- Zoom into the bar; collect the Egyptian ring.
- Zoom into the window; collect the tragedy mask.
- Move downstairs; zoom into the movie projector and click the switch.
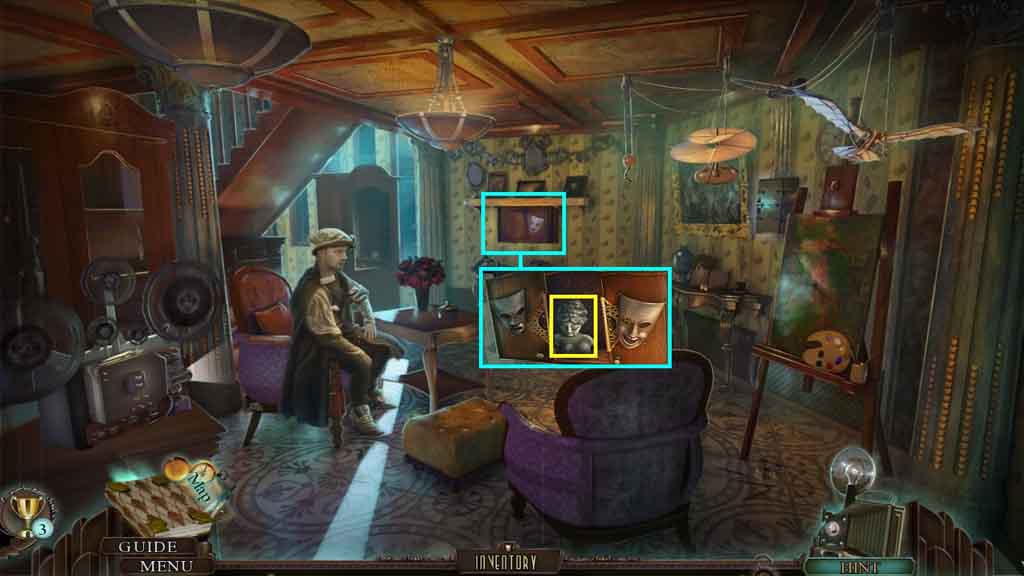
- Zoom into the movie case and insert the tragedy mask; collect Juliet’s bust.
- Move to the Maintenance Service Room.
- Zoom into the desk; click the plug.
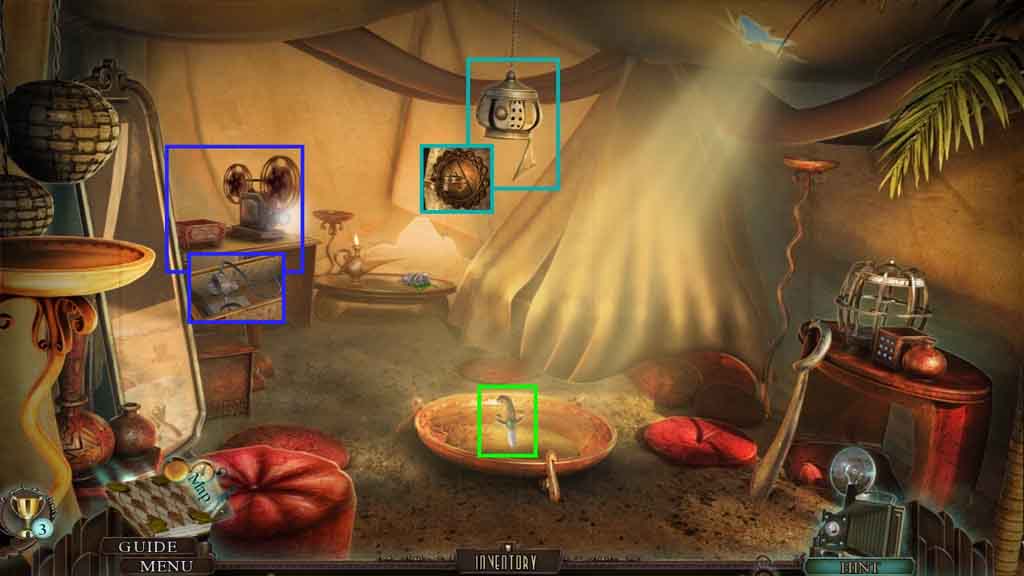
- Zoom into the lamp and insert the Egyptian ring; collect the jeweled dagger.
- Zoom into the projection box; click the plug.
- Move ahead to the Bay Dock.
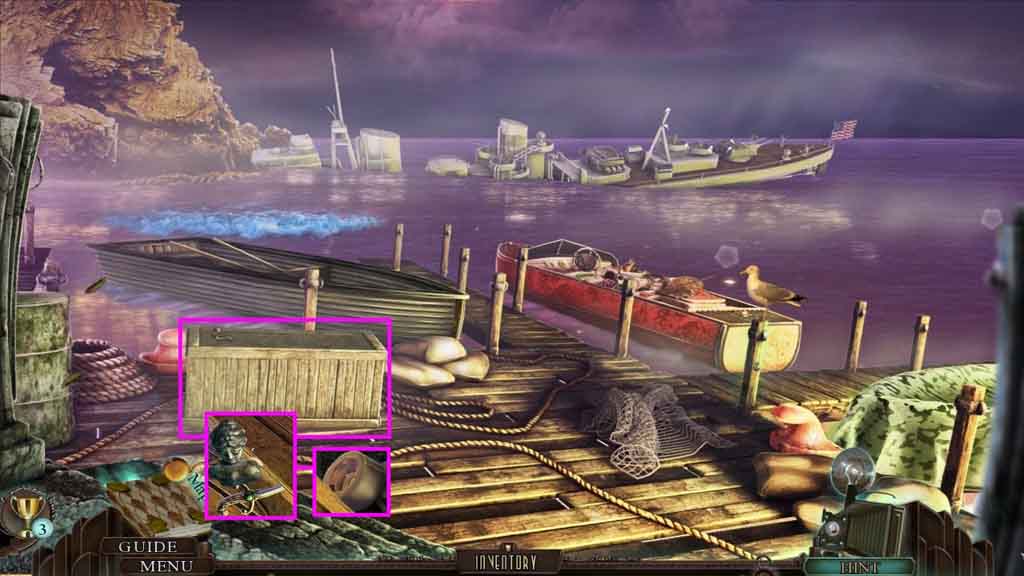
- Zoom into the crate.
- Insert the jeweled dagger into it and then use Juliet’s bust on the dagger.
- Collect the plank.
- Collect the duct tape.
- Move to the Cafeteria and zoom into the movie projector and click the switch.
- Go upstairs to the Cafeteria Bar.
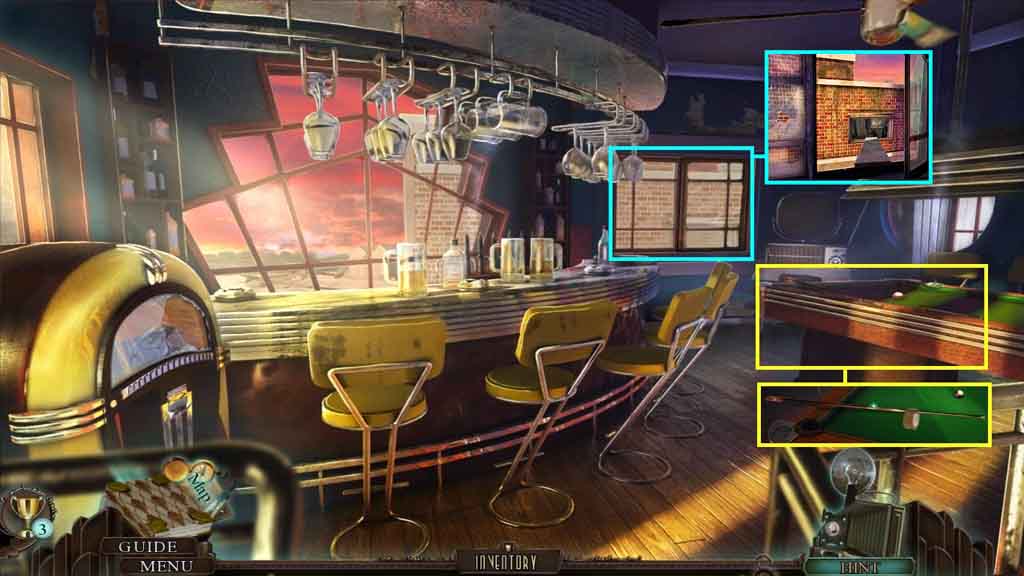
- Zoom into the pool table.
- Select the duct tape and use it on the pool cue; collect the pool cue.
- Zoom into the window 2 times.
- Select the cue and use it to break the window 3 times and place the plank across the windows.
- Move ahead.
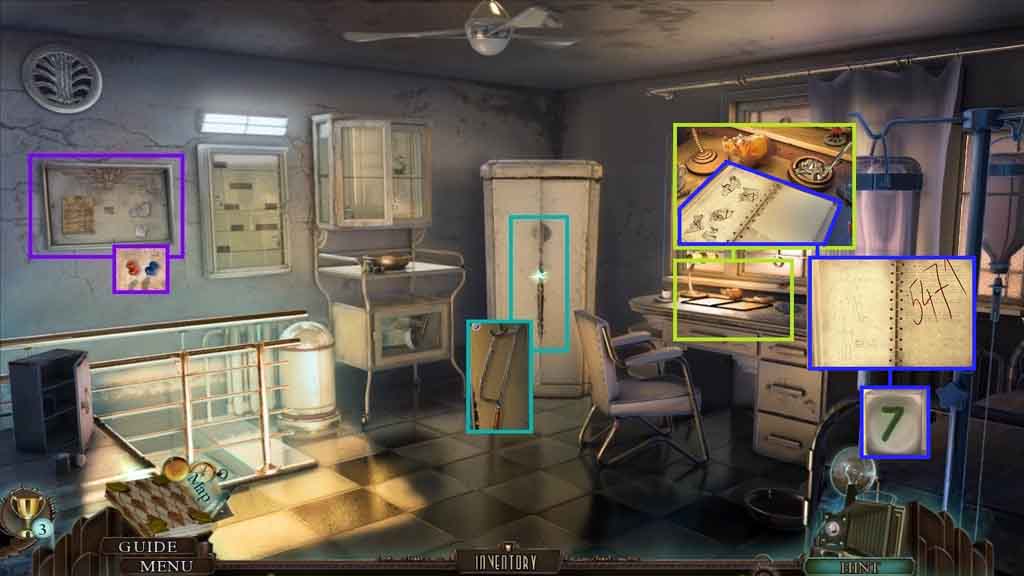
- Click the board; collect the board pin.
- Zoom into the locker 2 times and collect the metal saw.
- Zoom into the desk; select the tweezers to use on the ashtray.
- Zoom into a note to trigger a puzzle.
- Solve the puzzle by positioning the note pieces correctly.
- Click the notebook page and collect the number 7.
- Move to the left to the Medical Service Center.
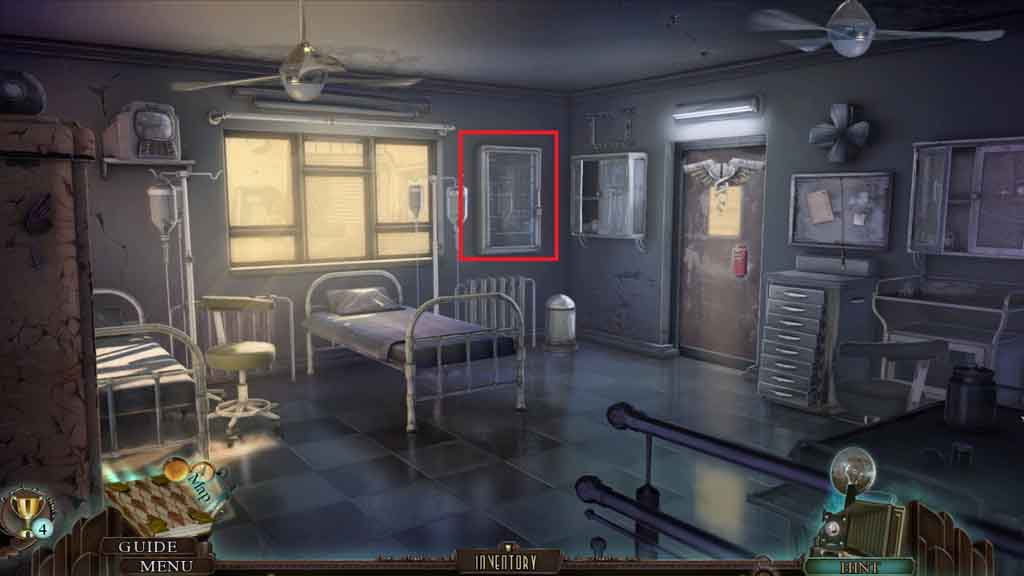
- Click the cabinet.
- Select the metal saw to cut the padlock.
- Click the cabinet again to access a hidden objects area.
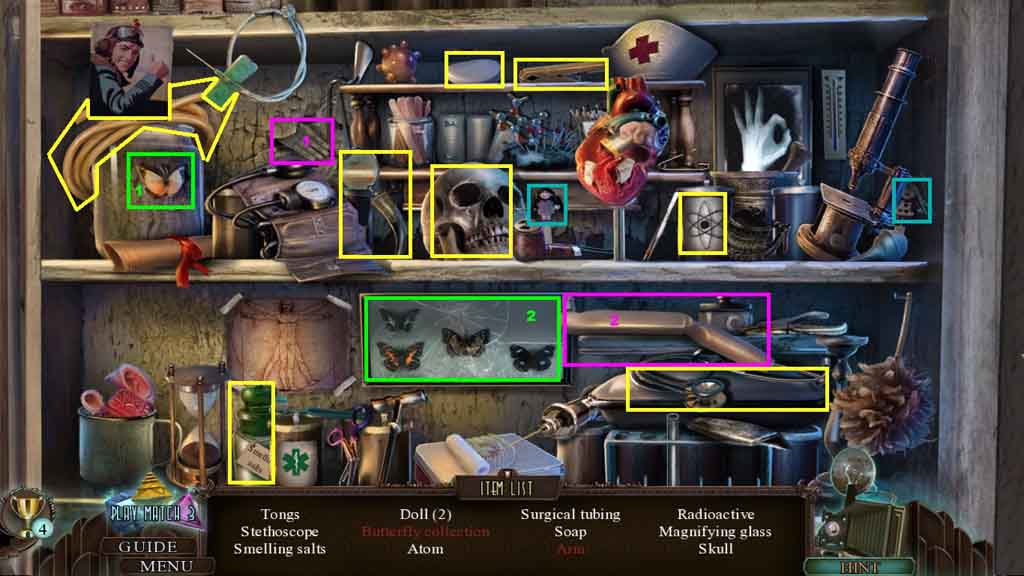
- Find the listed items.
- Select the butterfly and place it along with the others; collect the butterfly collection.
- Select the hand and attach it to the arm; collect the arm.
- Collect the smelling salts.
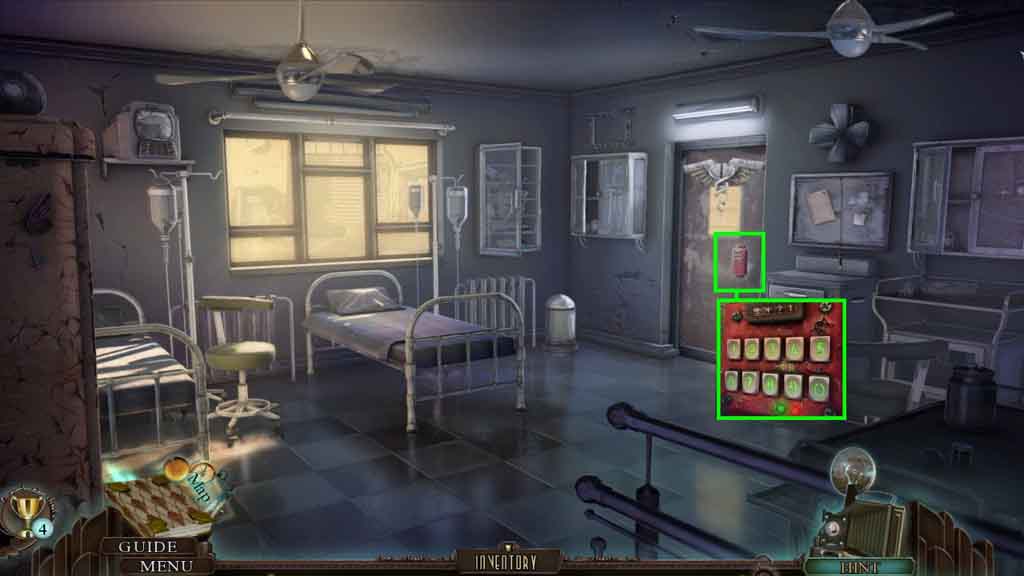
- Zoom into the keypad; insert the number 7.
- Enter the code: 5 – 4 – 7 – 1
- Move to the Base Entrance.
- Give the General the smelling salts.
- Move ahead.
- Zoom into the General; collect the basement key.
- Move ahead to the Maintenance Service Room.
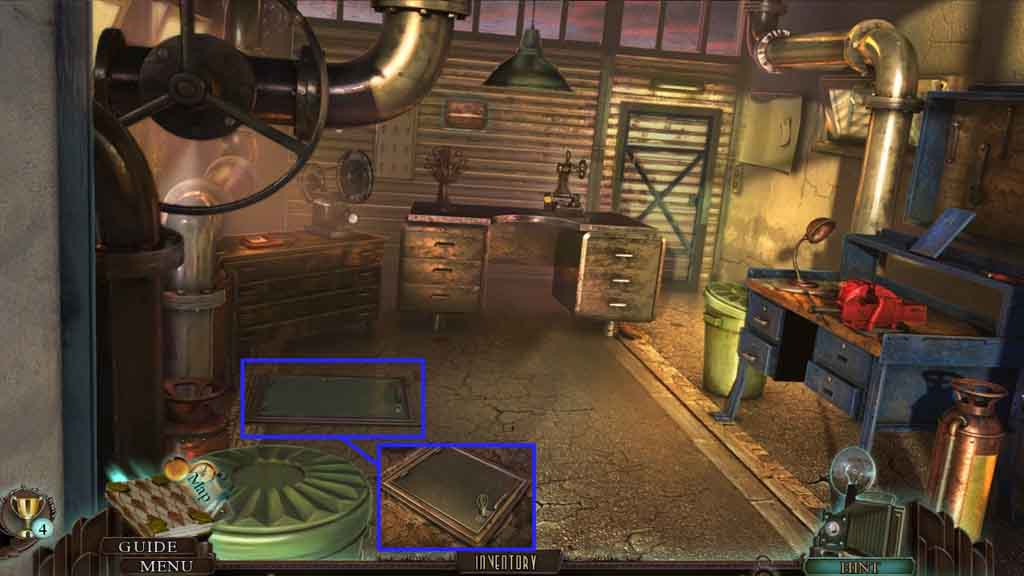
- Click the hatch; insert the basement key.
- Move downstairs to the Maintenance Basement.
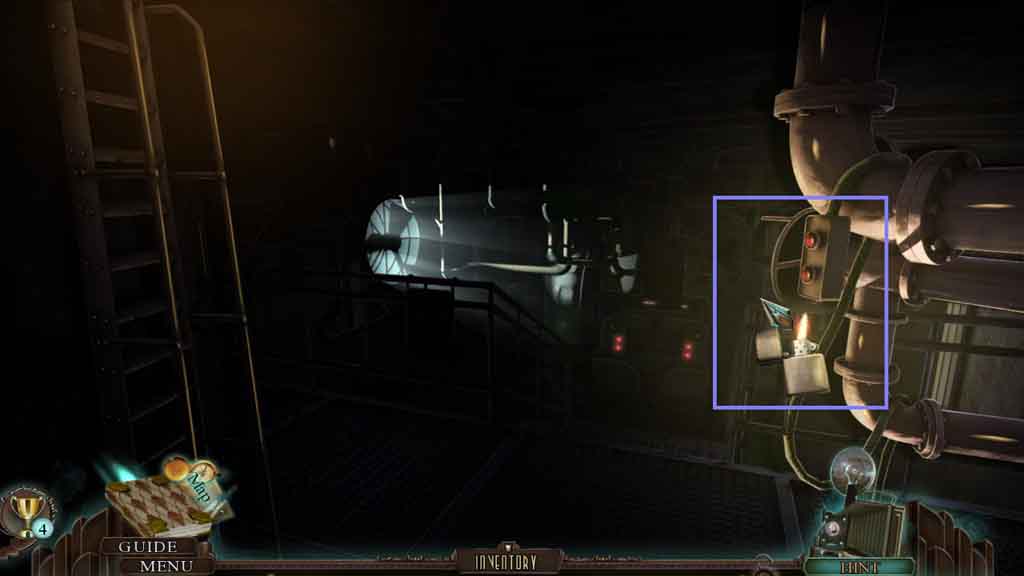
- Select the lighter to illuminate the scene.
- Click the button.

- Zoom into the clipboard; collect the screwdriver head.
- Move to the Bay Dock.
- Zoom into the crate; collect the crank drill.
- Attach the screwdriver head onto it; collect the crank screwdriver.
- Move to the Maintenance Basement.
- Zoom into the generator.
- Select the crank screwdriver to remove the screws and trigger a puzzle.
- Solve the puzzle by removing the matching pairs.
- Click the cabinet to access a hidden objects area.

- Find the listed items.
- Select the heart pieces and attach it to the heart; collect the heart model.
- Select the toothbrush and use it to scrub the teeth; collect the clean teeth.
- Collect the gauze.
- Move to the right.
- Click the electrified gate and move ahead to the Lab Complex Courtyard.
Comments will load when you reach this part of the walkthrough.