

Chapter 4: The Doctor's House
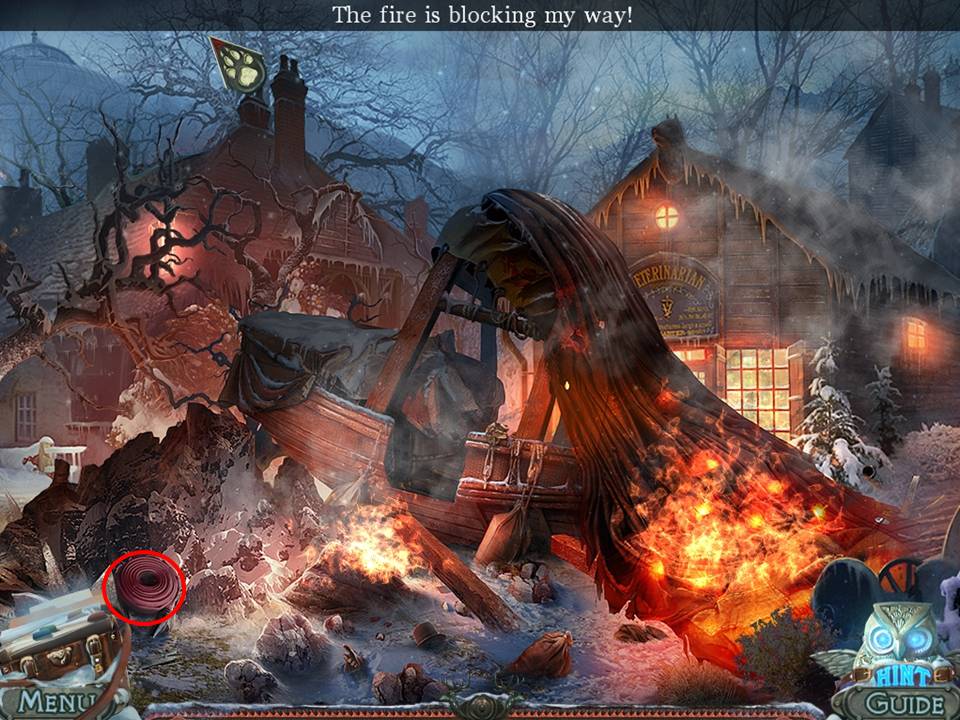
- Take the HOSE.
- Return to the left square.
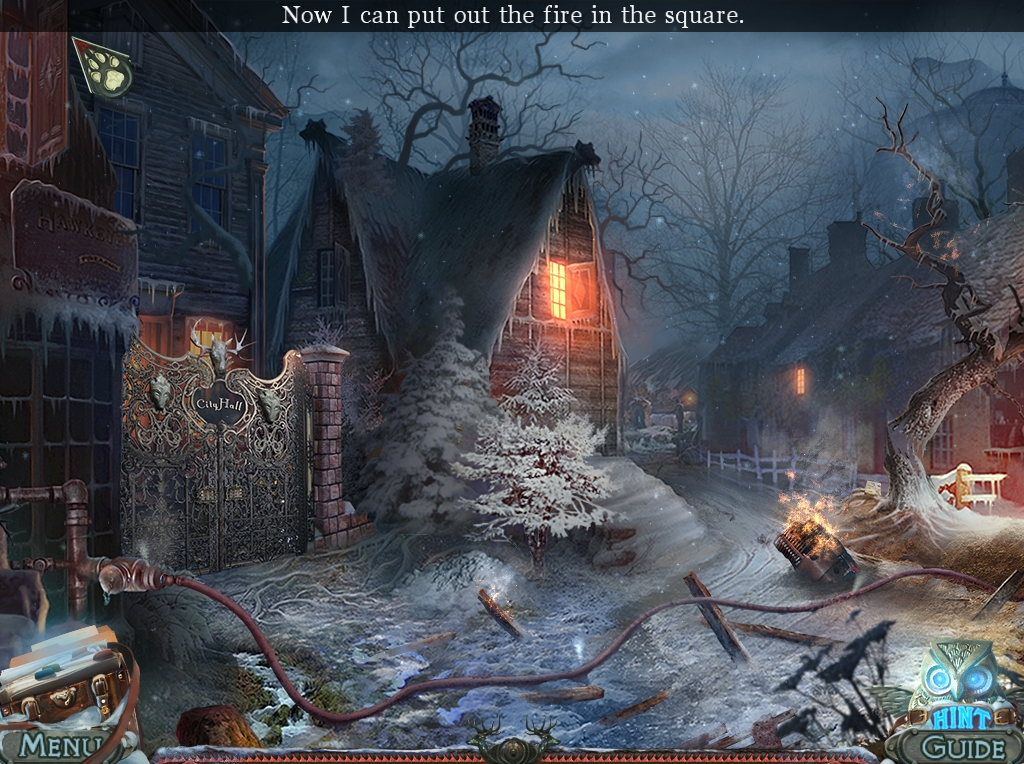
- Zoom into the fire hydrant by the gate.
- Attach the HOSE.
- Go to the right square.
- Click on the fire. This will activate the fire hose.
- Play the HOA inside the zeppelin.
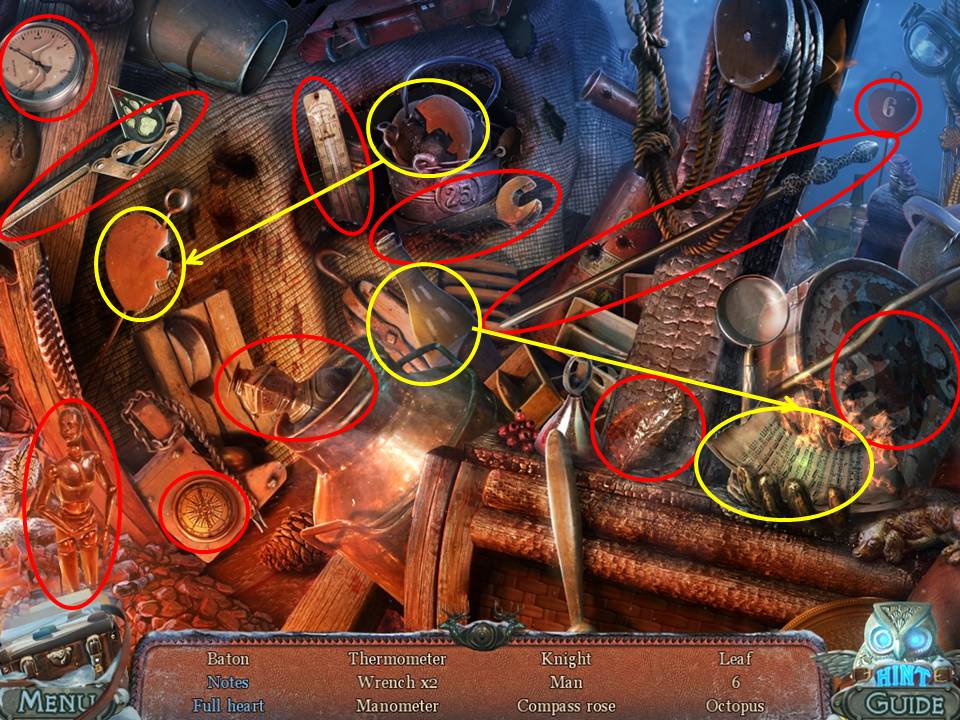
- Find the items listed.
- Extinguish the fire with the bottle to get the notes.
- Assemble two pieces of the heart.
- Receive the BATON.
- Enter Dr. Dean’s house at right.
- Take the SAXOPHONE KEY sitting in the snow.
- Click down twice and go to the fountains in the back.
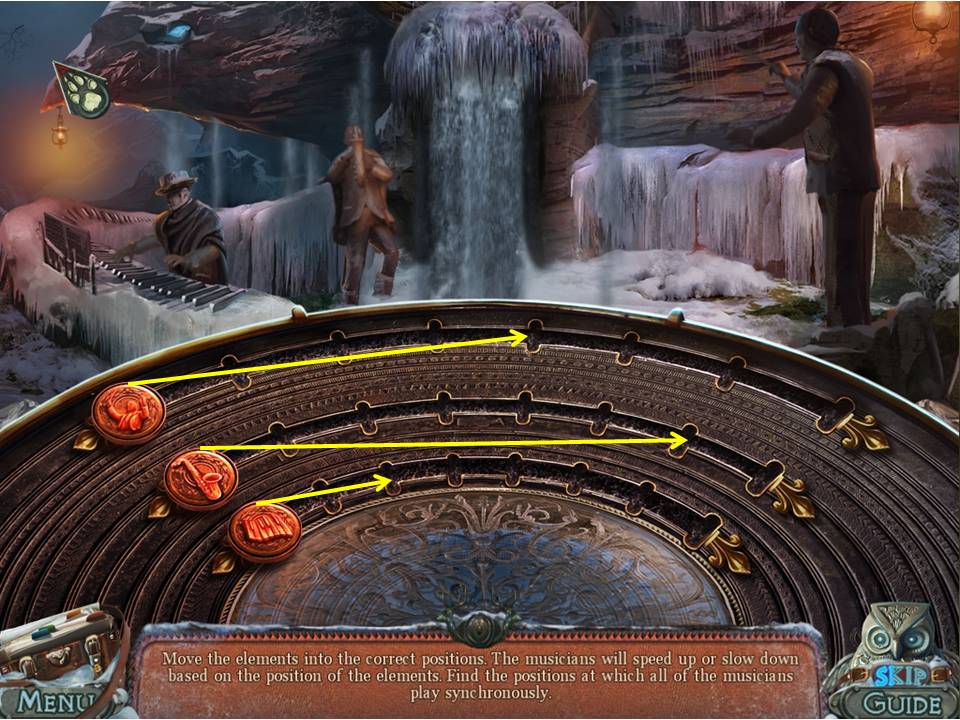
- Give the statue on the right the BATON.
- Give the middle statue the SAXOPHONE KEY.
- You must move the sliders until the three musicians all play at the same speed.
- Note: The buttons on the sliders turn green when they’re in the proper position.
- Proceed through the tunnel to the canyon.
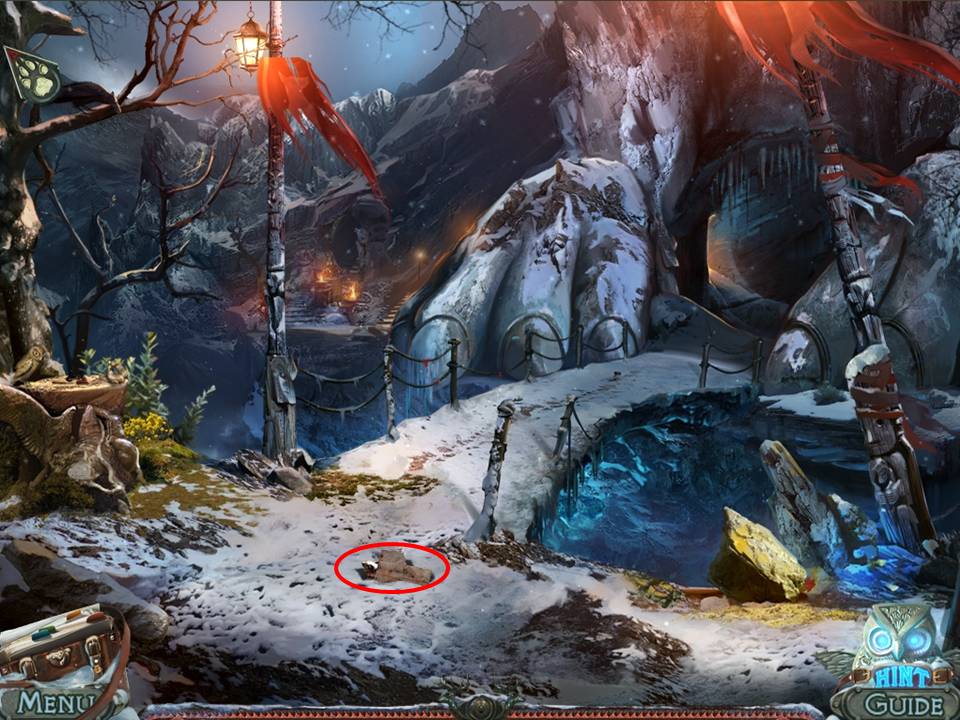
- Take the note and the SWALLOW.
- Try to cross the bridge.
- Return to Dr. Dean’s house.
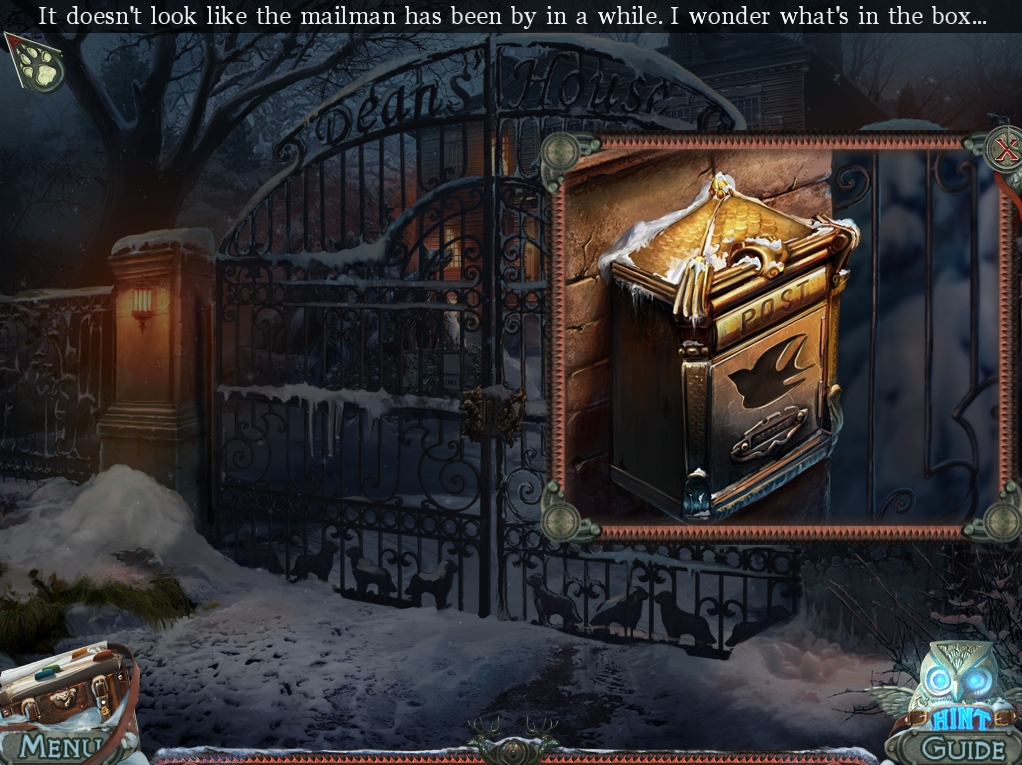
- Zoom into the mailbox.
- Place the SWALLOW in the niche.
- Take DEAN’S KEY.
- Use it to open the gate.
- Look at the bottle.
- Play the HOA by the snowman.
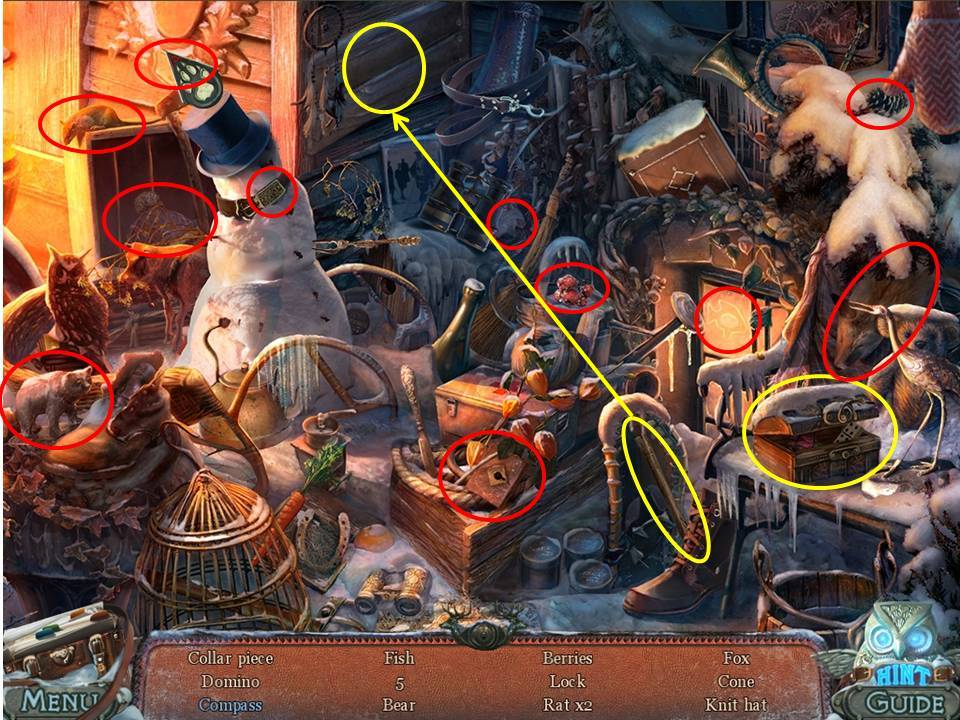
- Find the items listed.
- Open the small chest to get the domino.
- Pry the weatherboards with the hammer to get the compass.
- Receive the COLLAR PIECE.
- Enter Dr. Dean’s house.
- Go through the door to Roger’s office.
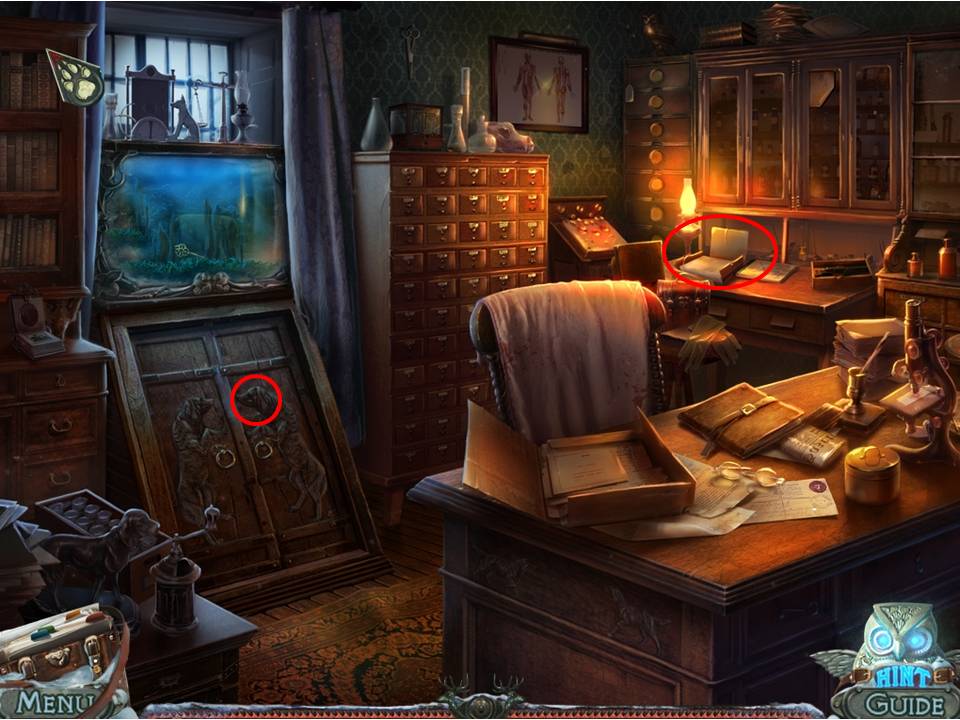
- Zoom into the folder on the far table.
- Shift the documents until you find the DEER FIGURINE.
- Zoom into the hatch.
- Place the COLLAR PIECE on the dog’s collar to open the hatch.
- Go down the hatch to the operating room.
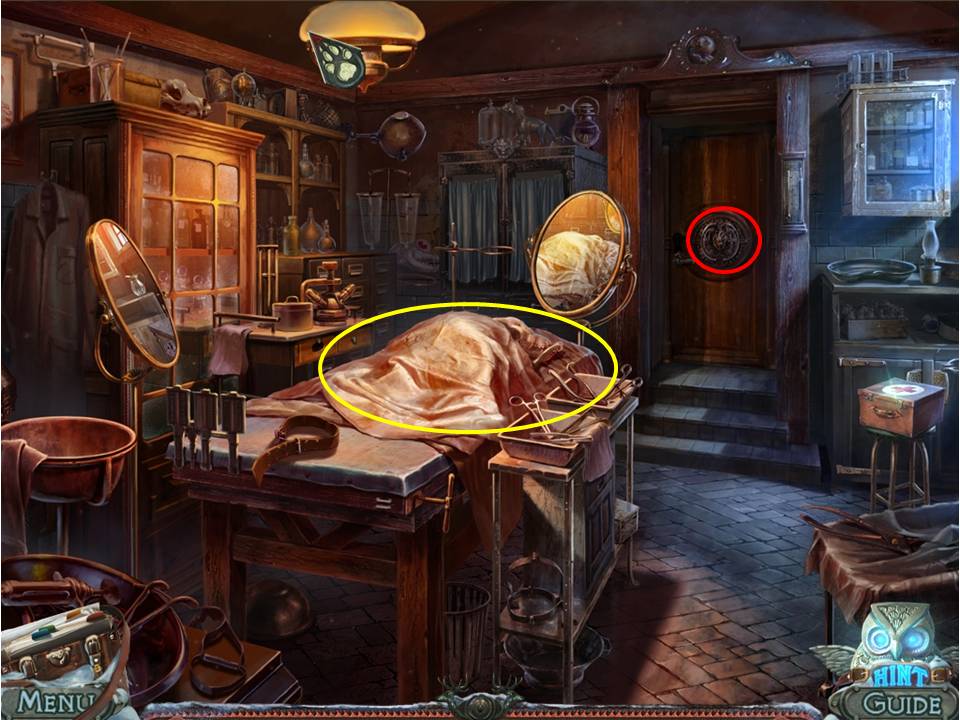
- Uncover the sheet from the table.
- Zoom into the skeleton.
- Take the PRUNER.
- Zoom into the door.
- Take the STONE HEART.
- Click down three times to arrive at the front of the house.
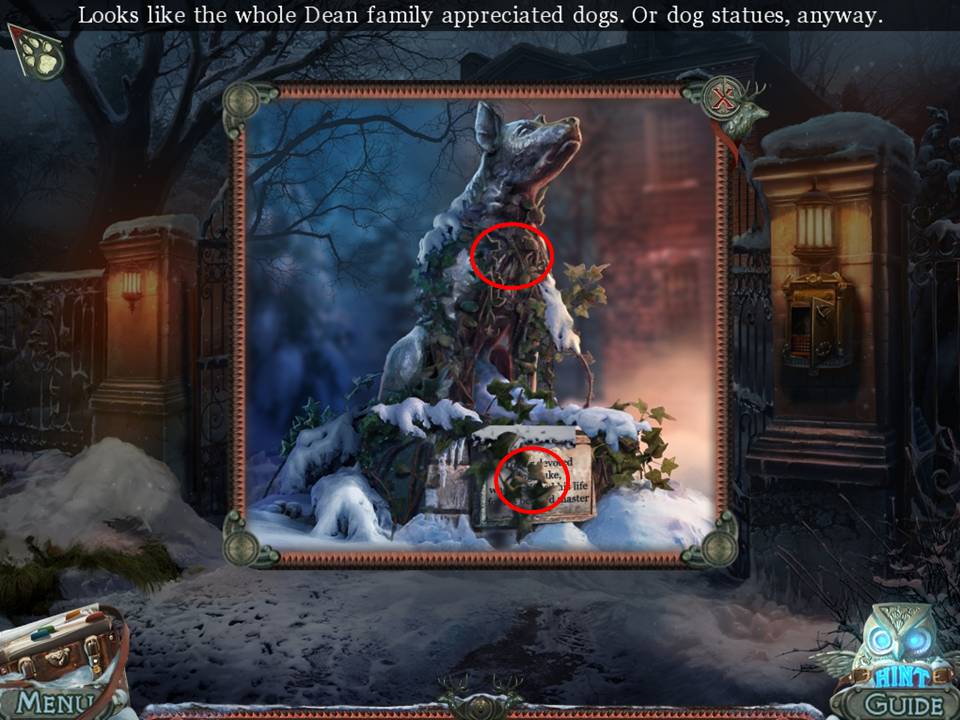
- Zoom into the dog statue.
- Clip the vines with the PRUNERS.
- Take the WOODEN HEART.
- Give the dog the STONE HEART.
- Take the DOG PUPPET from the compartment.
- Return to the operating room.
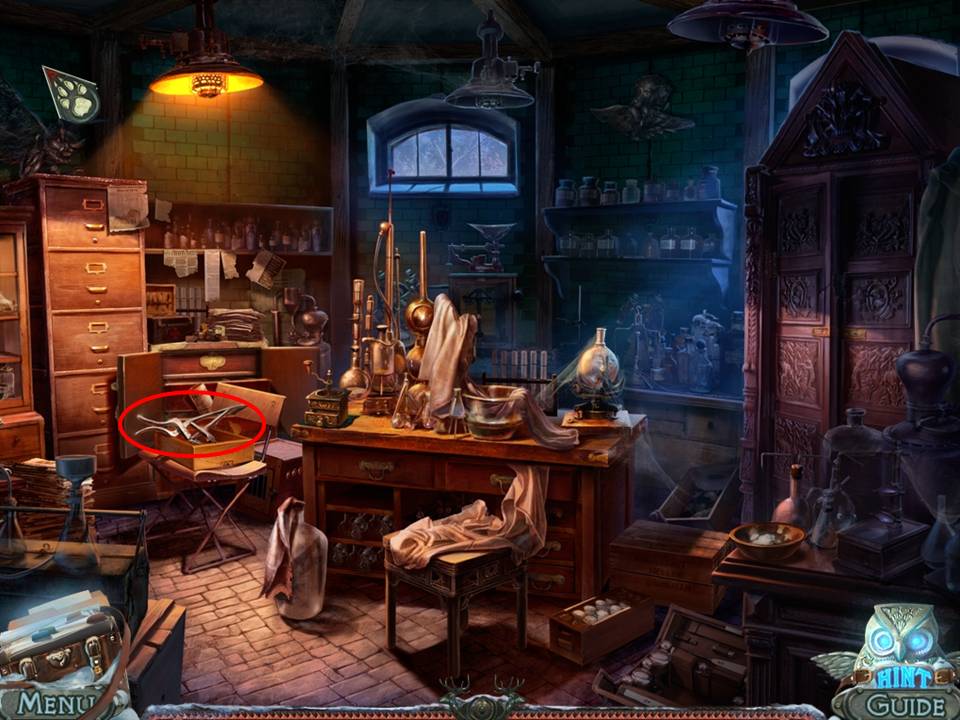
- Place WOODEN HEART on the lock on the door.
- Click the handle to enter the laboratory.
- Take the RETRACTOR.
- Return to the operating room.
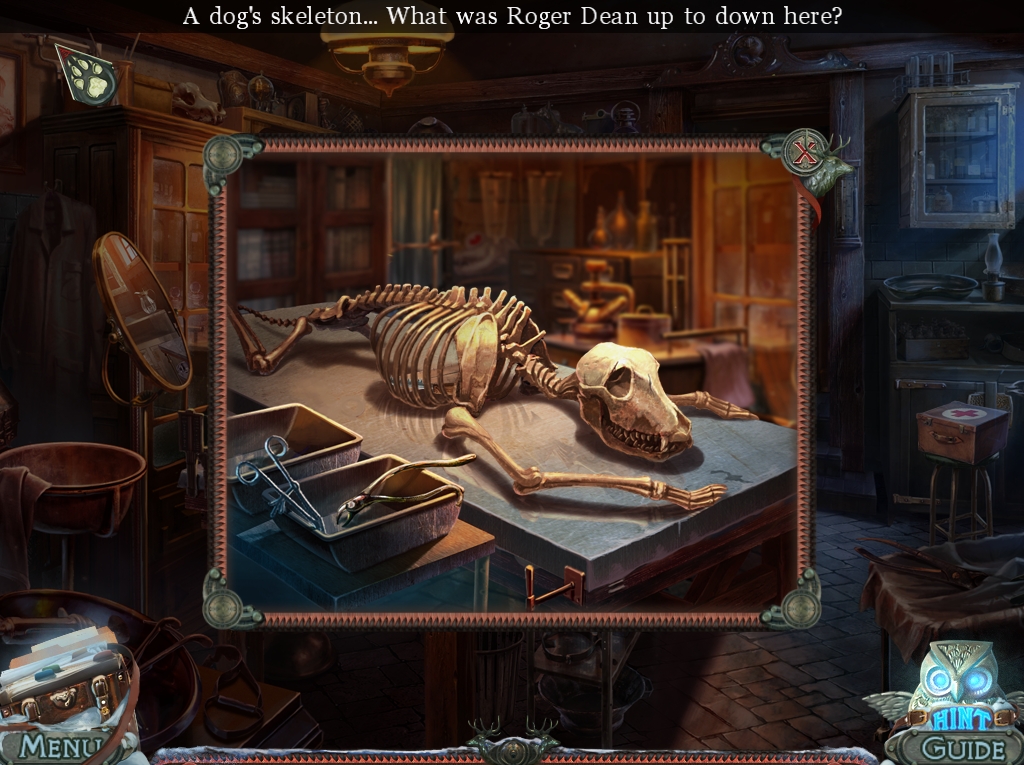
- Zoom into the skeleton.
- Spread the ribs with the RETRACTOR.
- Take the WEB CUTTER and the RULER.
- Enter the laboratory.
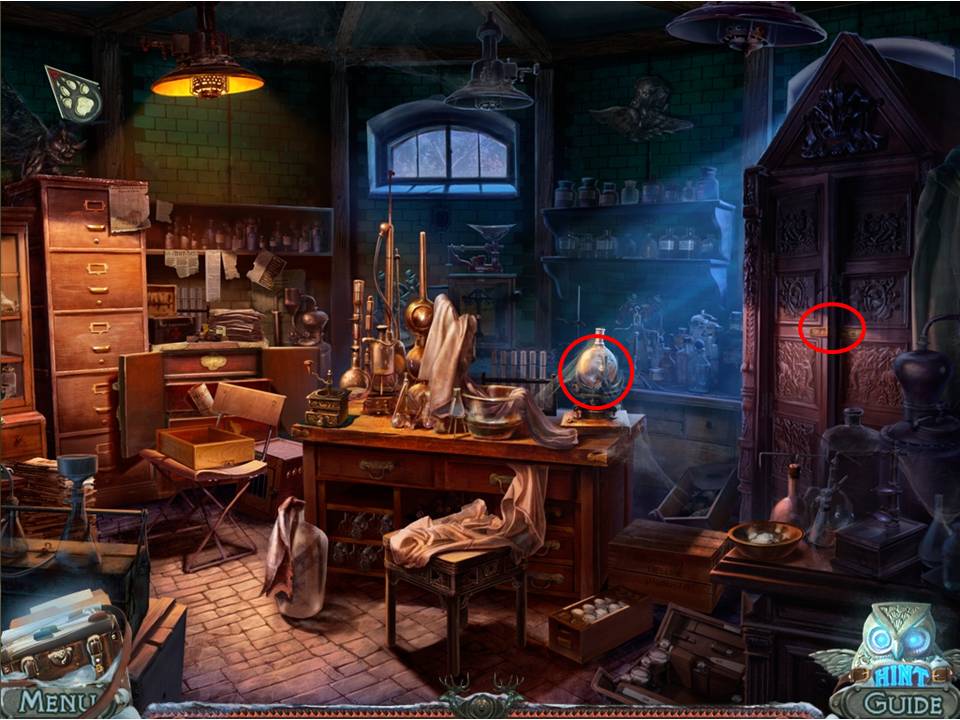
- Zoom into the glass jar on the bench.
- Cut the cobwebs with the WEB CUTTER.
- Remove the safe combination from the jar.
- Zoom into the door.
- Lift the latch with the RULER.
- Take the SMALL HOOP NET.
- Click down twice.
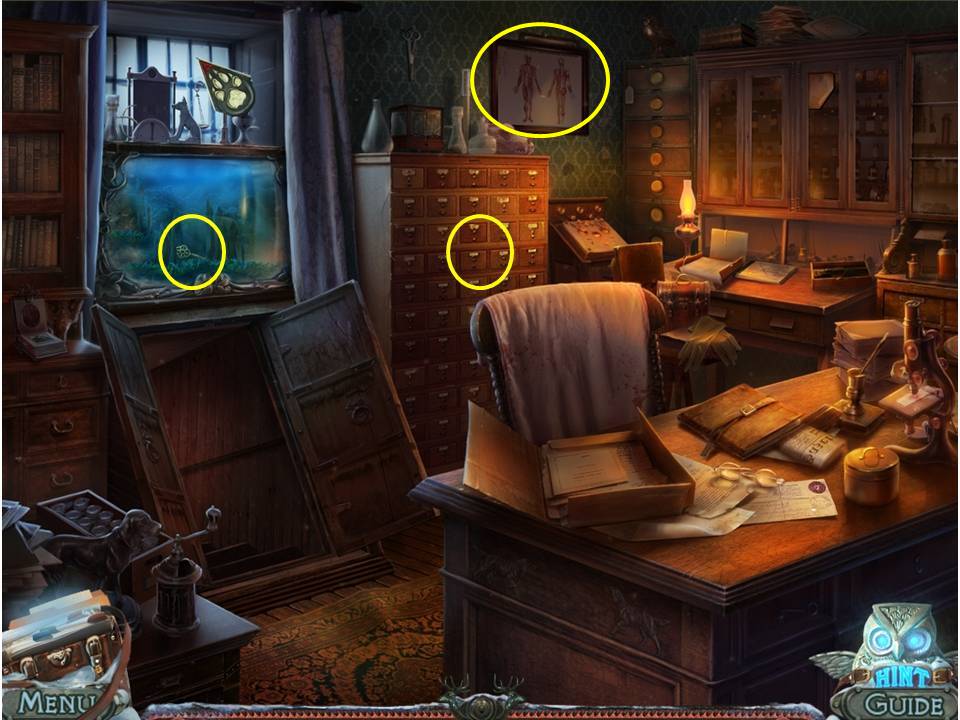
- Zoom into the fish tank.
- Retrieve the CARD FILE KEY with the SMALL HOOP NET.
- Zoom into the filing cabinet.
- Unlock the drawer with the CARD FILE KEY.
- Take the CLIP.
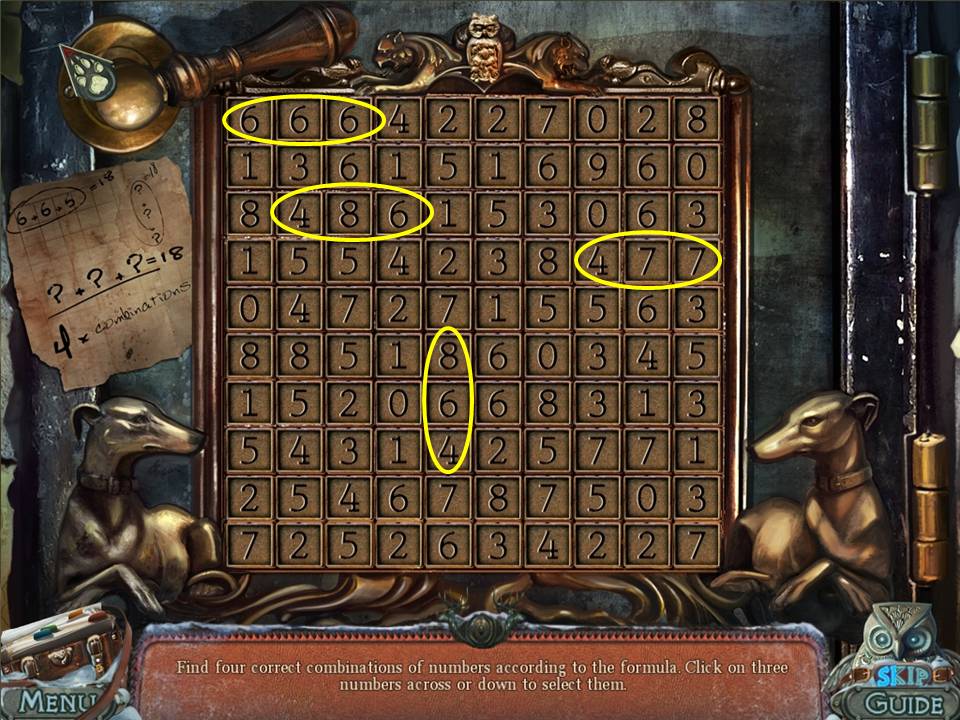
- Zoom into the wall safe.
- Unlock it by clicking four horizontal or vertical sets of numbers that total 18.
- The correct ones are horizontal (666, 486, 477) and vertical (864).
- Take the PATTERN and the CORKSCREW that is in the now open safe.
- Return to the operating room.
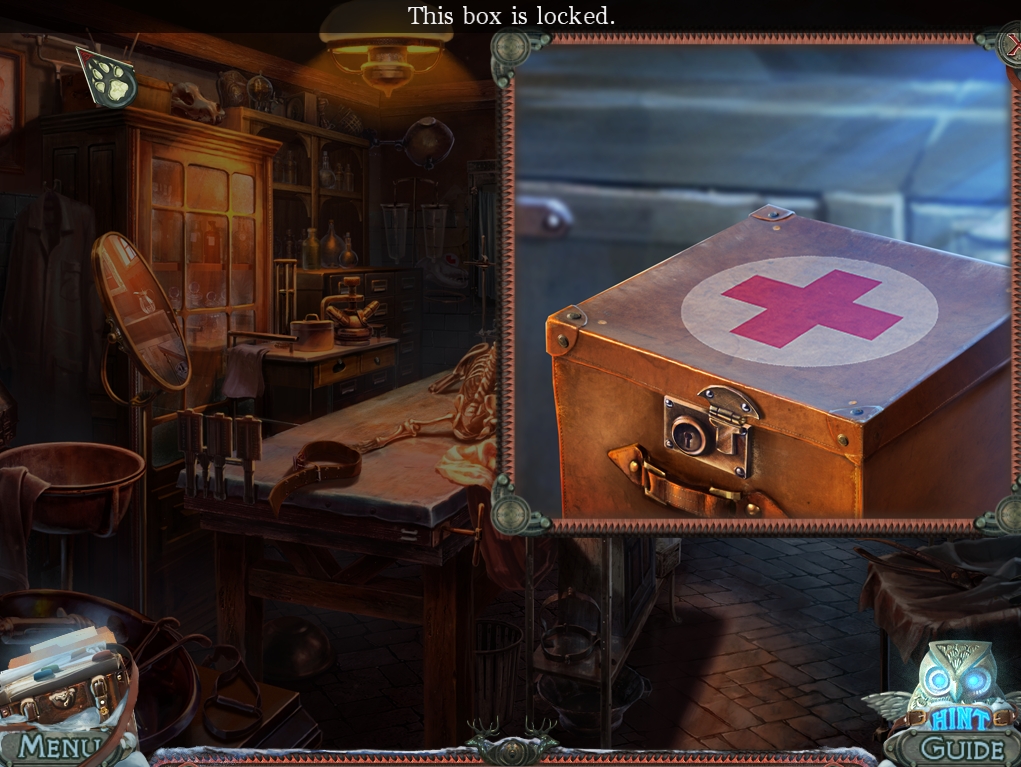
- Zoom into and open the first aid box with the CLIP.
- Take the FILE and then read the note.
- Click down to the garden.
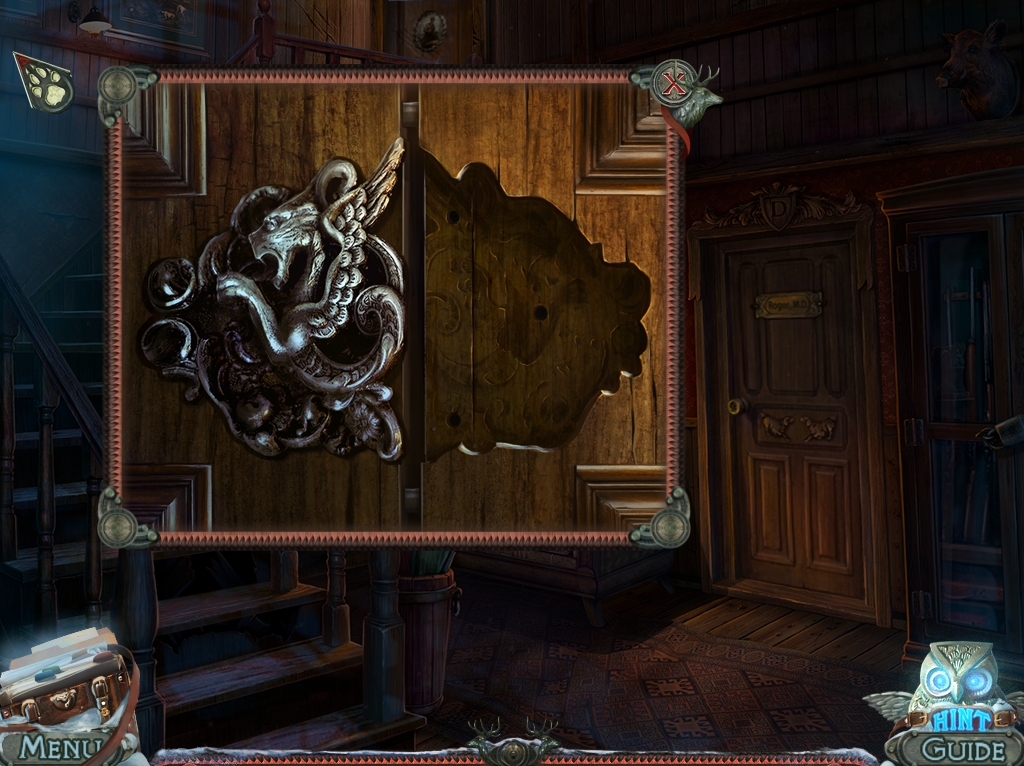
- Zoom into the bottle in the snow.
- Extract the cork with the CORKSCREW.
- Take the PATTERN inside the bottle.
- Return to the house.
- Zoom into the door under the stairs.
- Use the PATTERN on the lock.
- Play the HOA in the cupboard.
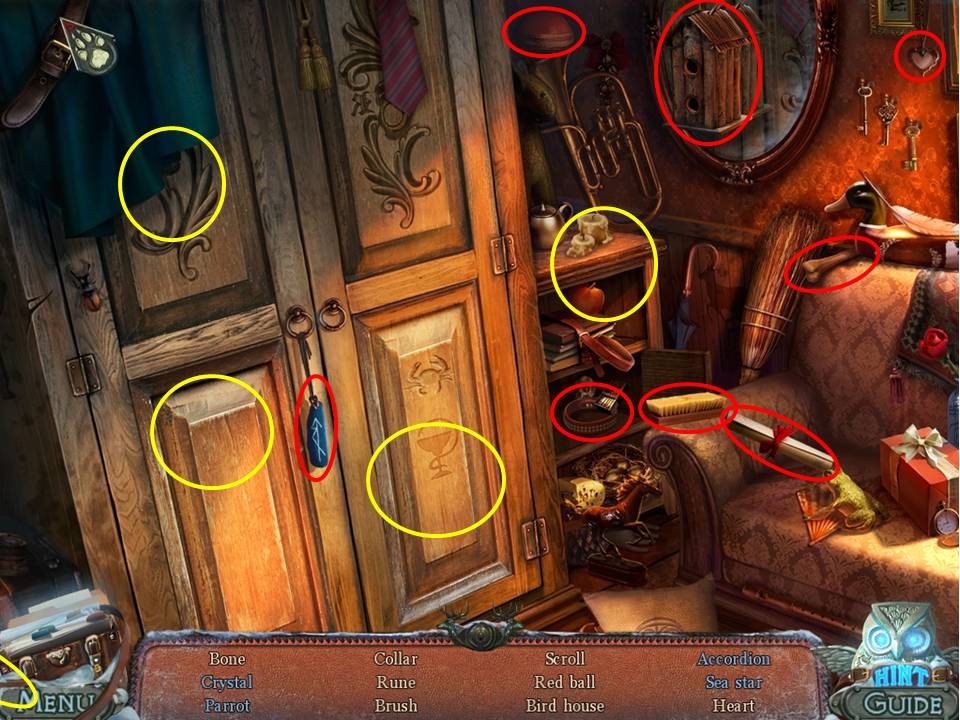
- Find the items listed.
- Move the cushion to get the scroll.
- Open the small cabinet next to the sofa to get the collar.
- The yellow circles in the screenshot approximate the position of the other items in the cupboard once opened.
- Open the drawer in the cupboard to get the crystal.
- Receive a BONE.
- Return to the house and click on the door at the top of the stairs.
- Place the DOG PUPPET on the door to initiate a mini game.
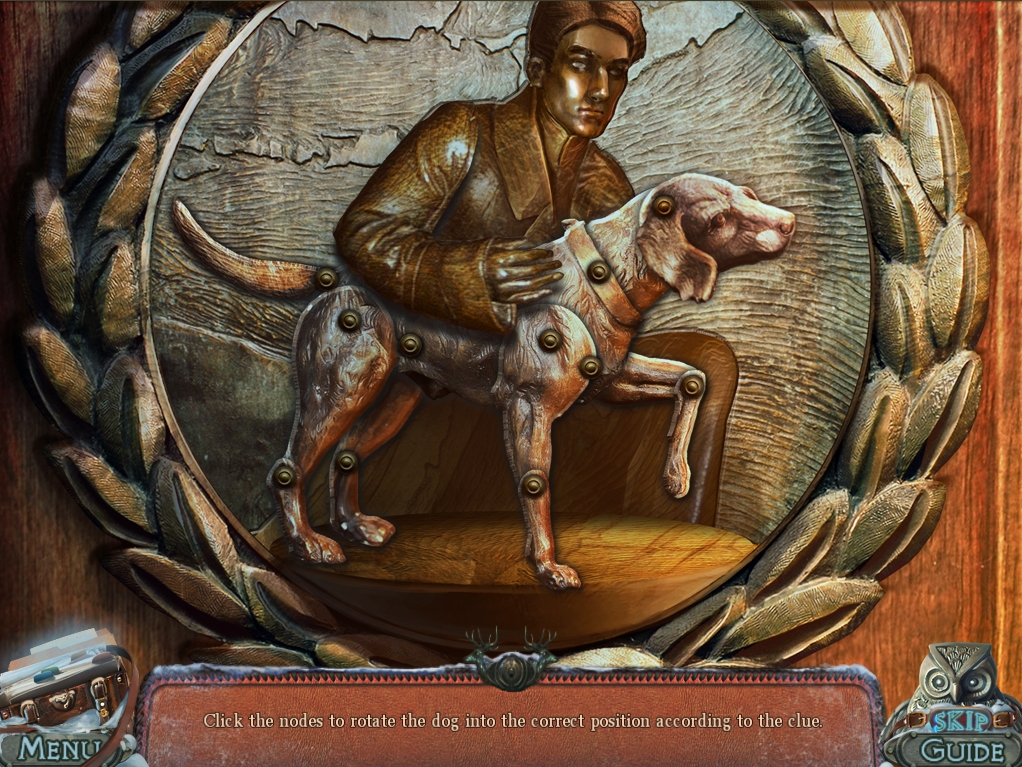
- The object of the game is to match the position of the dog on the door to the image in your journal.
- When finished, enter Ashton’s room.
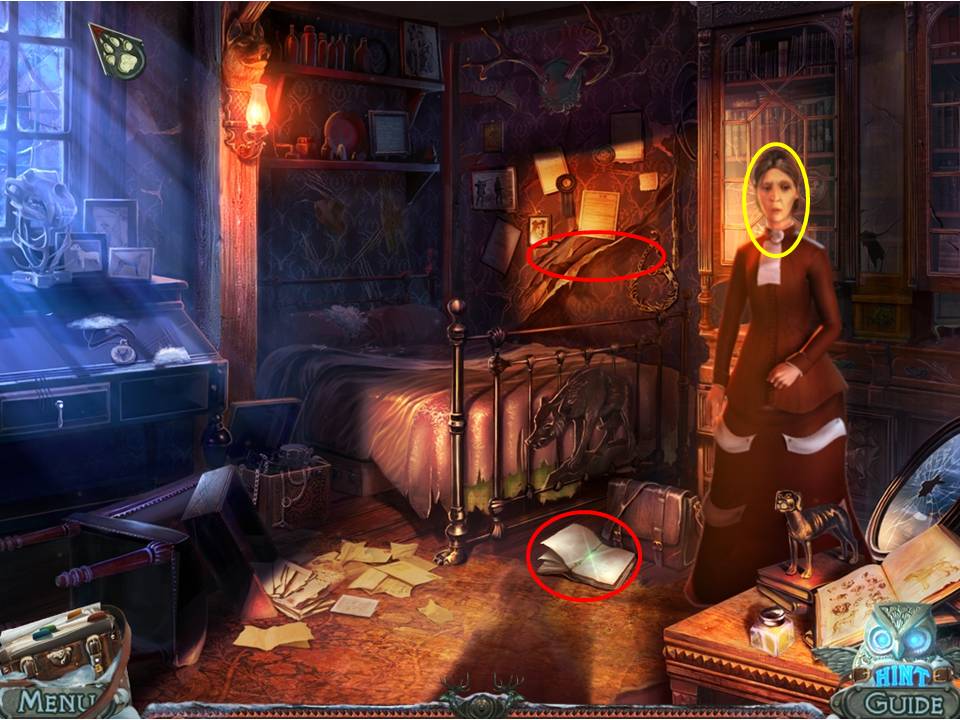
- Talk to Ashton’s mother.
- Then, take the DOG SCENT.
- Now, read Ashton’s diary that's on the floor.
- Peel back the wallpaper to take PIECES OF LETTER.
- Return to the hall and play the HOA in the cupboard.
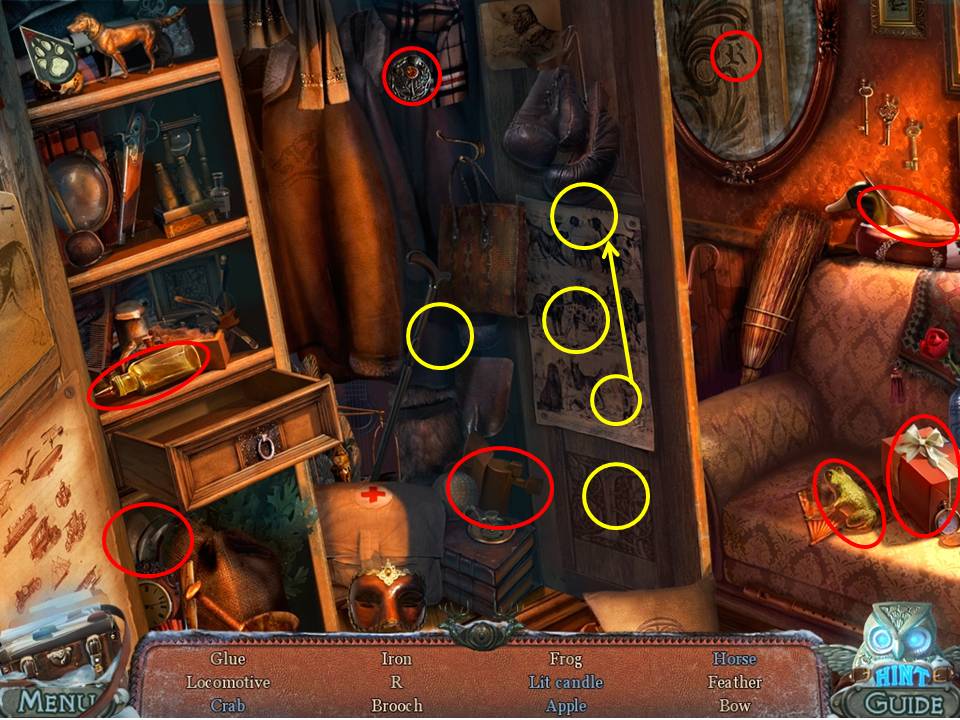
- Find the items listed.
- Note that the yellow circles on the screen shot indicate the items concealed by the open door – when you close the door in the game the circles will match the positions of the objects.
- Find the crab carved into the front of the door.
- Light the candle with the matches.
- See the "R" in the mirror when the doors are open.
- Receive the GLUE.
- Return upstairs.
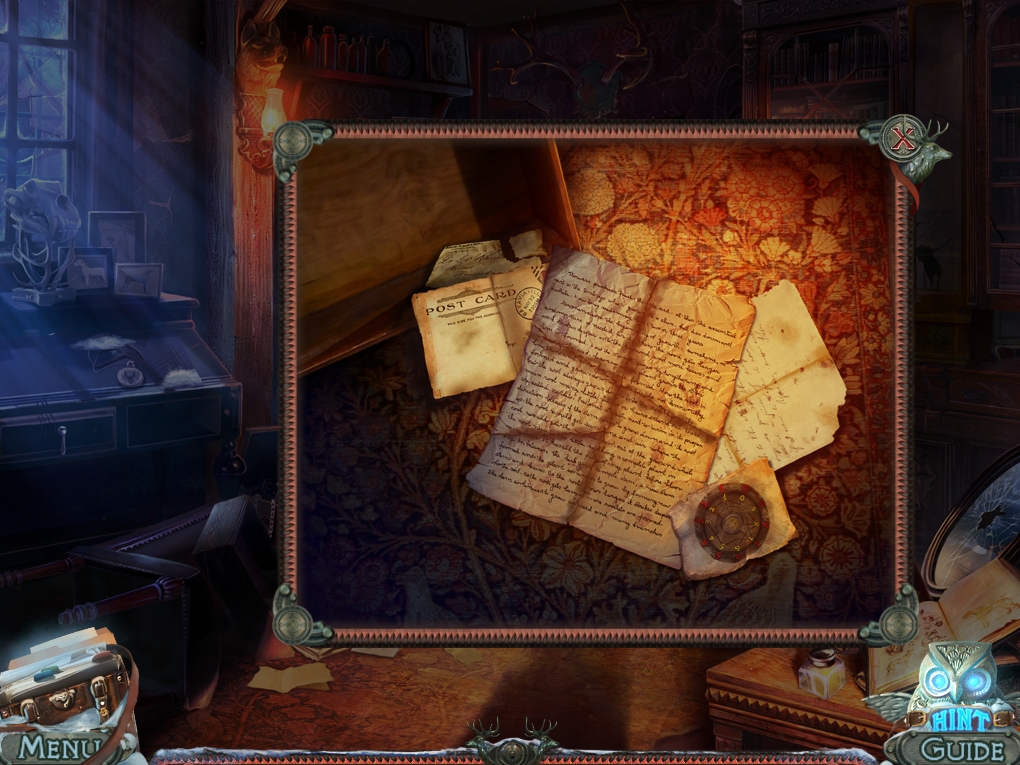
- Glue the PIECES OF LETTER with the other pieces on the floor.
- Go outside.
- Play the HOA by the snowman.
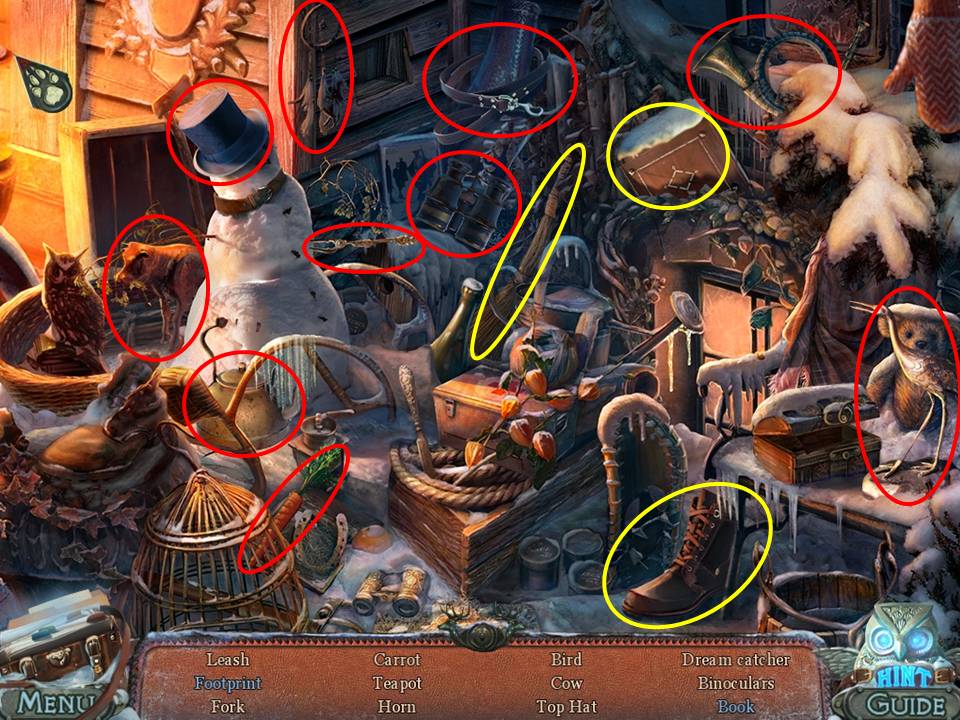
- Find the items listed.
- Move the boot to get the footprint underneath.
- Sweep the snow off the book with the broom – it can be a little tricky getting the broom into exactly the right spot.
- Receive the LEASH.
- Go to the fountains and through to the canyon.
Comments will load when you reach this part of the walkthrough.