Chapter Five: The Secret Hallway
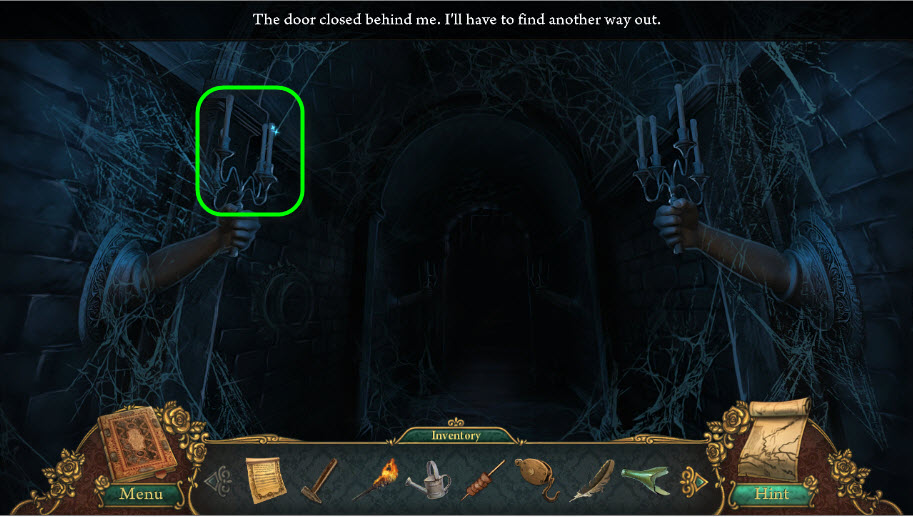
- Enter the Secret Hallway behind the bookcase in the Library
- Use the LIT TORCH to light the candles
- Move on to the Altar Room
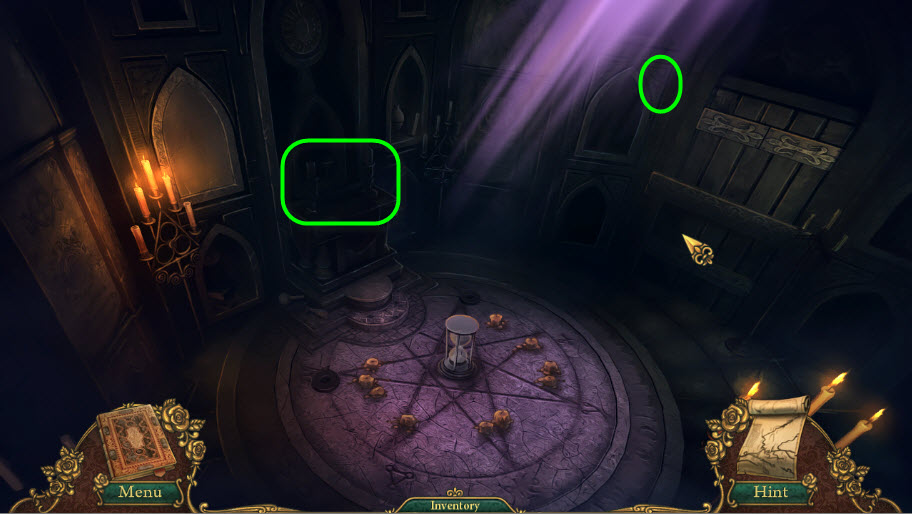
- Use the LIT TORCH again to light the candles circled above
- Then select the HAMMER from the inventory and use it on the panel circled in the image to open a new door to the Hunter's Room.
- Now click on the shimmerin altar to begin a hidden object area.
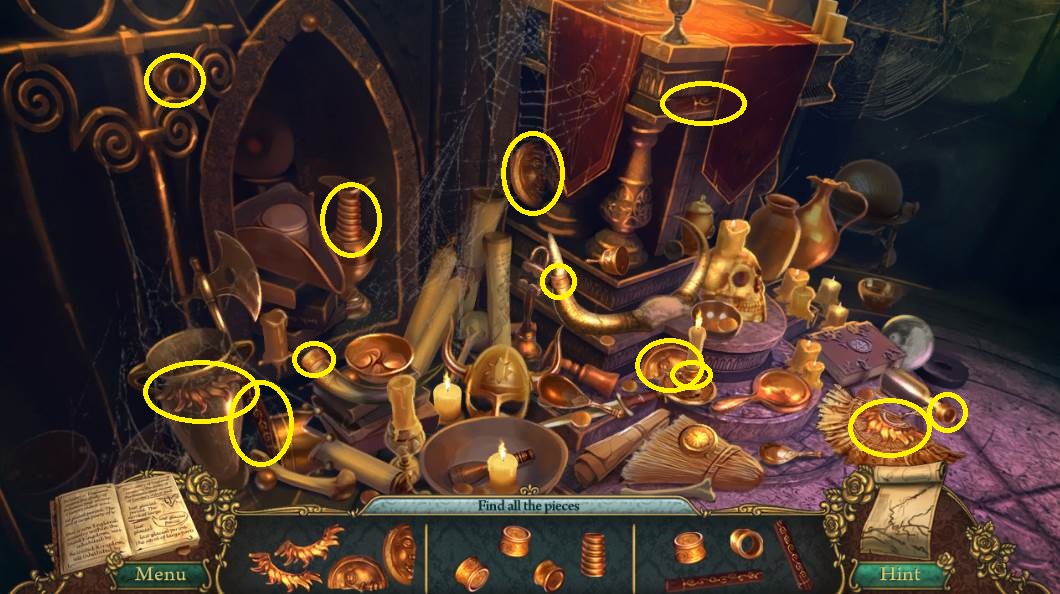
- After all the pieces are found; receive the SUN STAFF for the inventory
- Go to the Tavern; use the map to travel
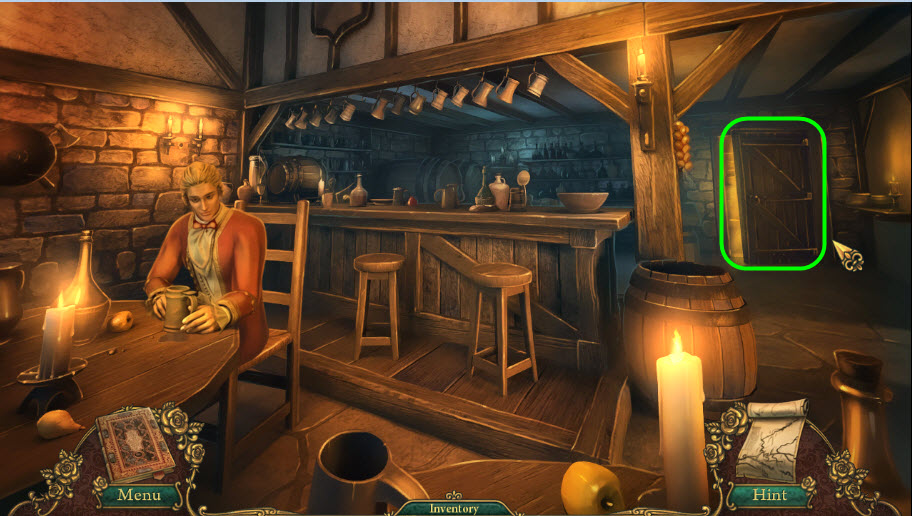
- Select the OIL CAN from the inventory and oil the back door hinges
- Then go into the Backroom
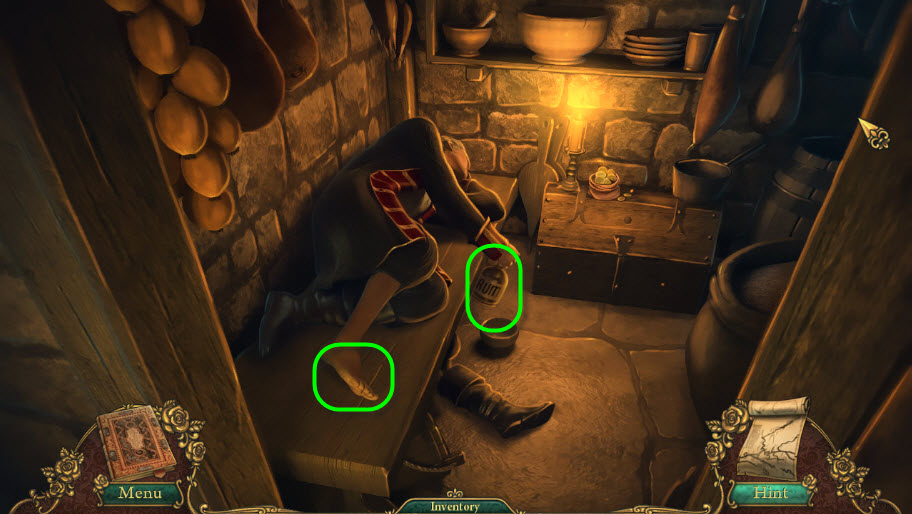
- Select the BLACKBIRD FEATHER to tickle Malger’s foot
- Grab the RUM
- Talk with Malger; listen to his story
- Go to the Town Gates
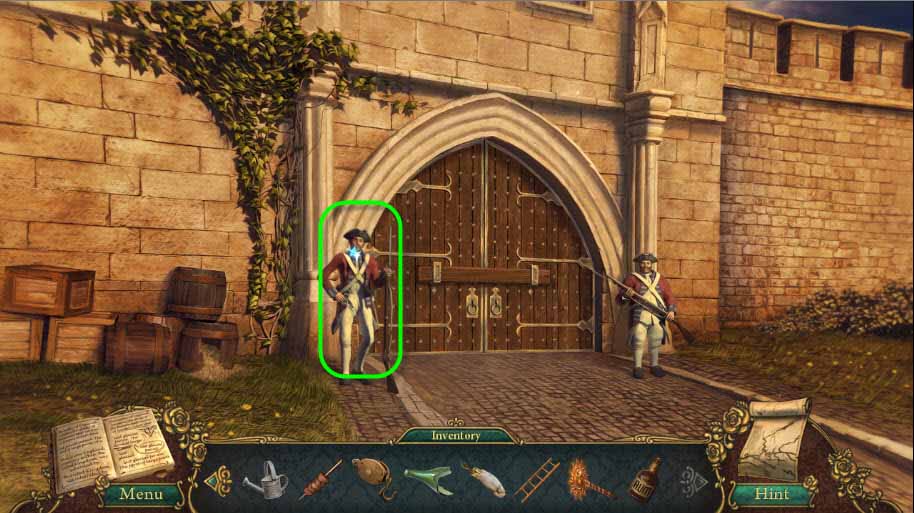
- Select the RuUM from the inventory and give it to the officer
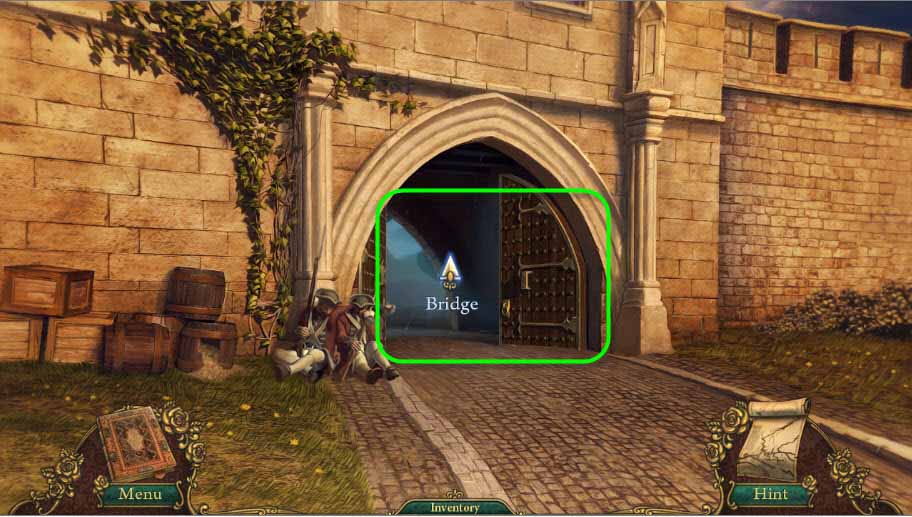
- Click the gates to enter the Bridge
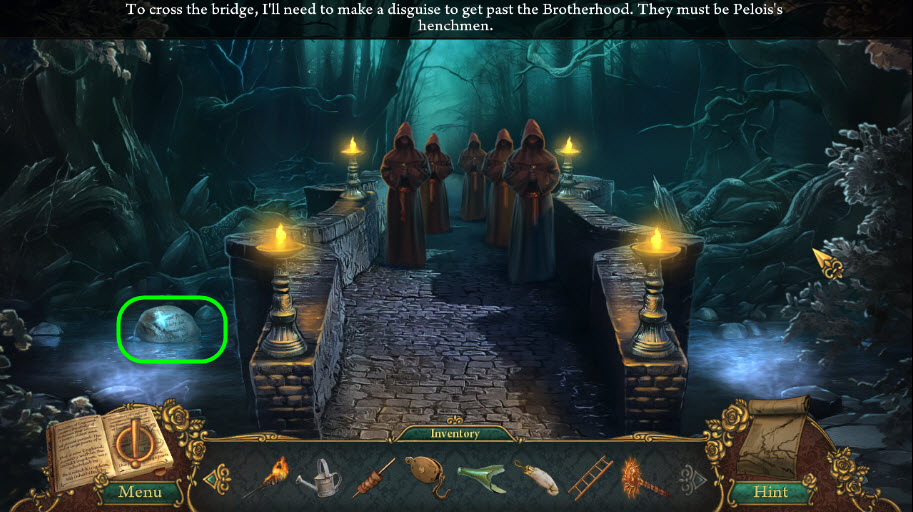
- Select the ANCIENT SCROLL from the inventory and click the third line of text on the rock circled in the image
- Go back to the Curio Shop
- Give the shop owner the RABBIT FOOT from the inventory
- Click on the shimmers to start the hidden object game
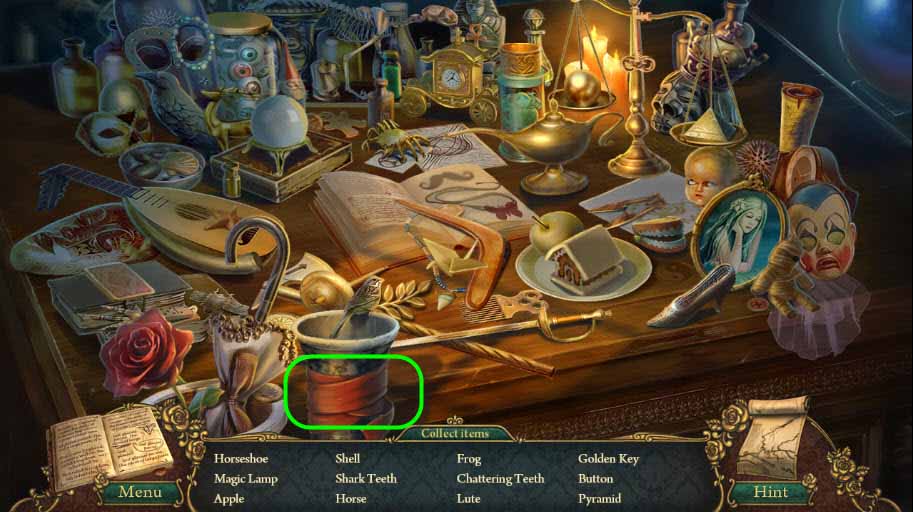
- Locate all the items on the list and grab the RED SASH for the inventory
- Go to the Theatre Backstage
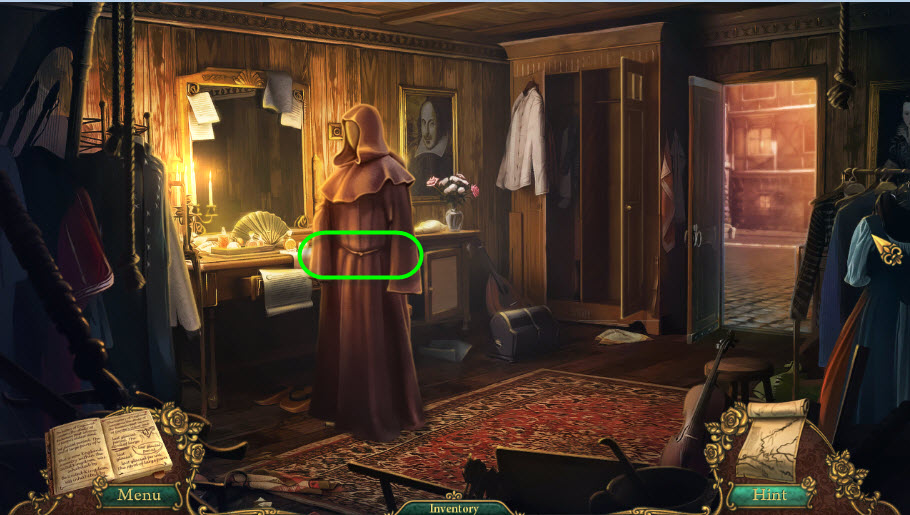
- Select the RED SASH from the inventory and place it around the Mannequin’s waist
- Go back to the Castle Ballroom; use the map to travel
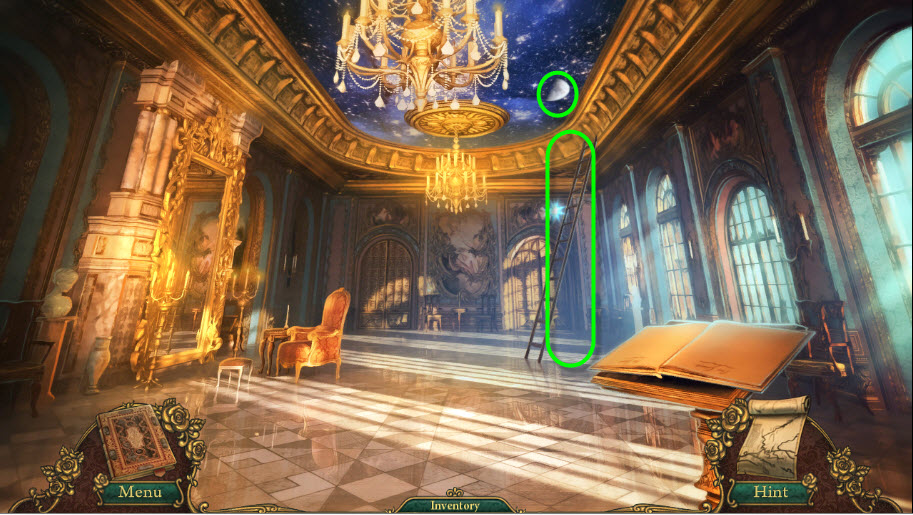
- Select the LADDER from the inventory and place as shown in the image above
- Use it to grab the HALF MOON
- Go back to the Guardian’s Room
- Click the Clock hanging over the nightstand
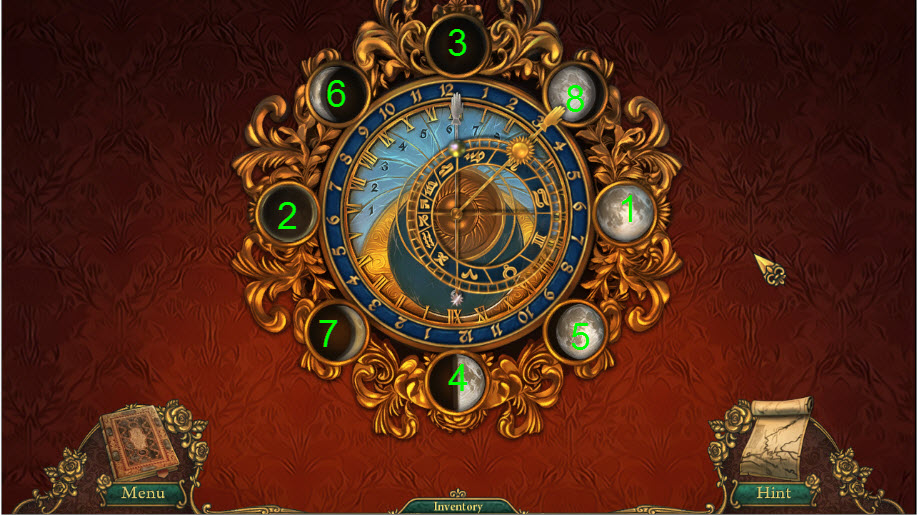
- Place the half in the in what would the 12:00 o’clock spot
- To solve this puzzle, you need to click on the moon phases in a particular order. Each time a click is made the clock will spin; wait until it stops to press the next number
- Click numbers 1-8 as shown in the image
- Grab the MOON SCEPTER when complete
- Go through the door to get to the to the Altar Room
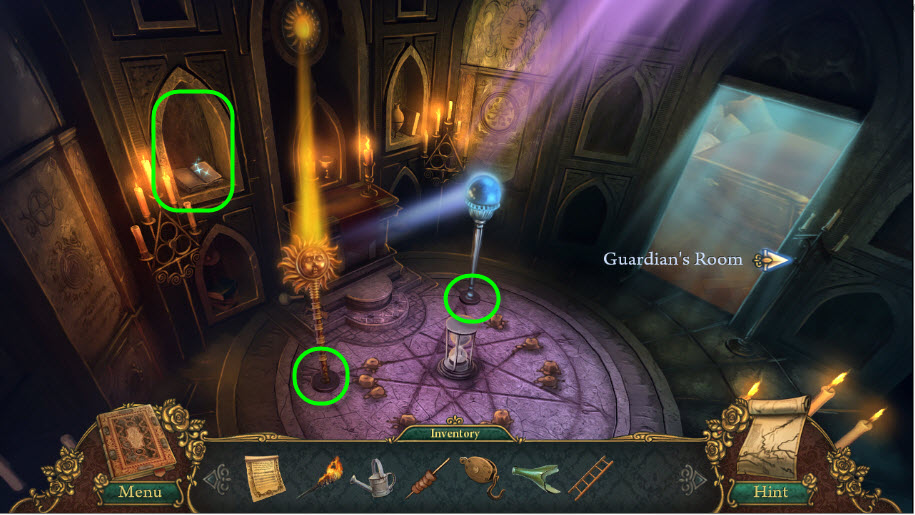
- Place the MOON SCEPTER and then the SUN STAFF in the spots circled above
- This will cause the cupboard to open exposing a hidden book
- Click the book to receive the CHAMBER KEY for the inventory
- Go to the Throne Room
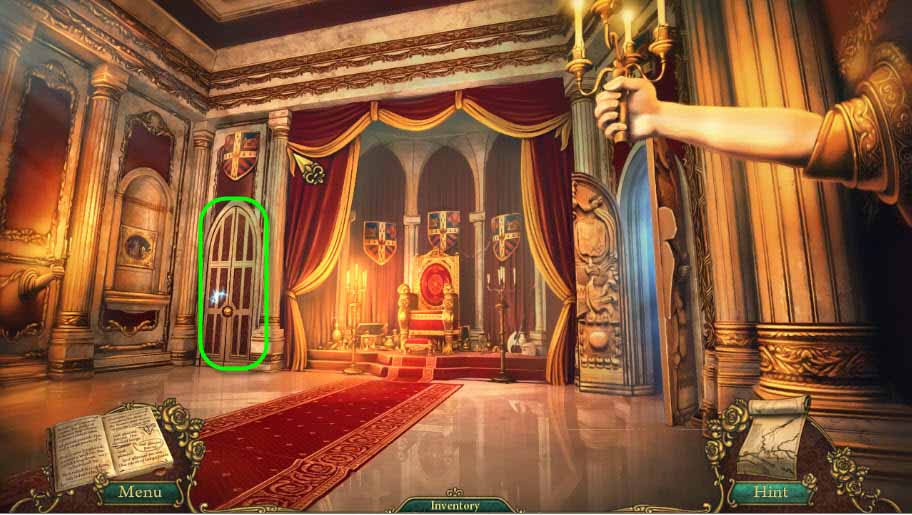
- Click the Chamber Room door lock
- Select the CHAMBER KEY from the inventory
- Open the door; enter the Beast's Room
- Click the shimmers to start the hidden object game
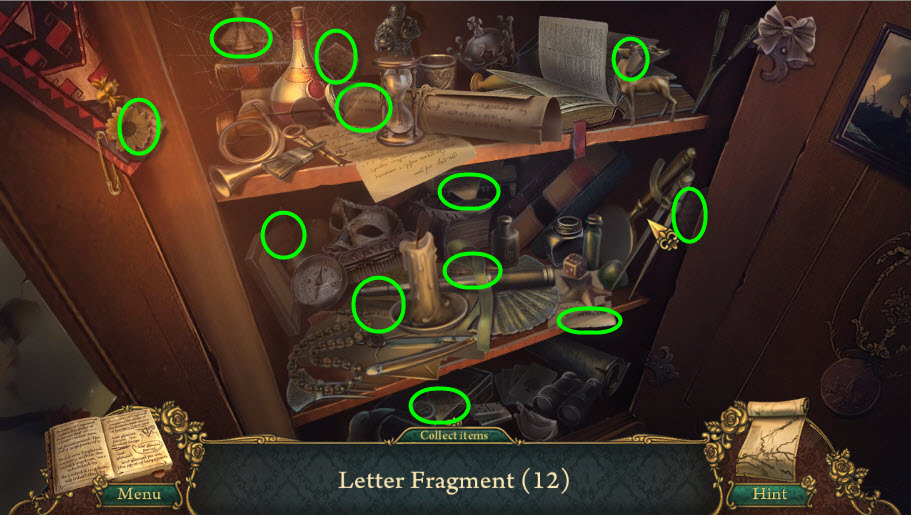
- Find all of the LETTER FRAGMENTS circled above and then grab them all at the end for the inventory
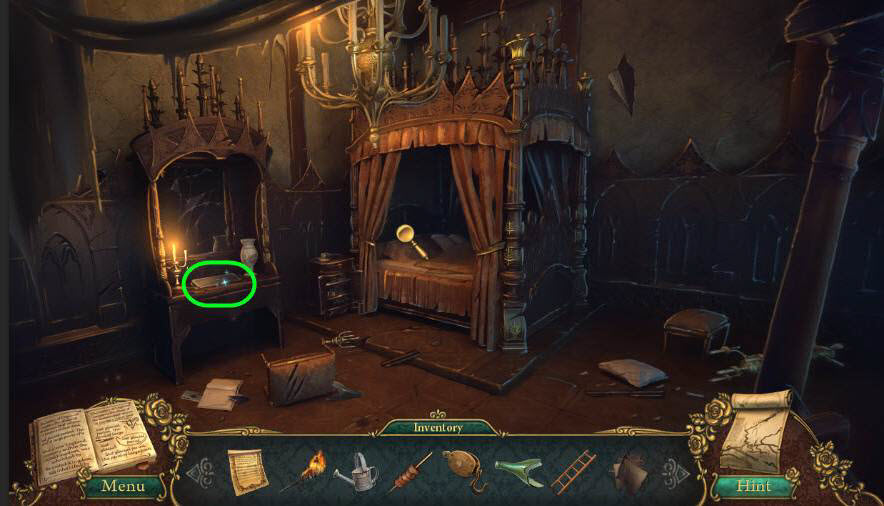
- Still in the Beast’s Chamber, click the tray circled in the above image
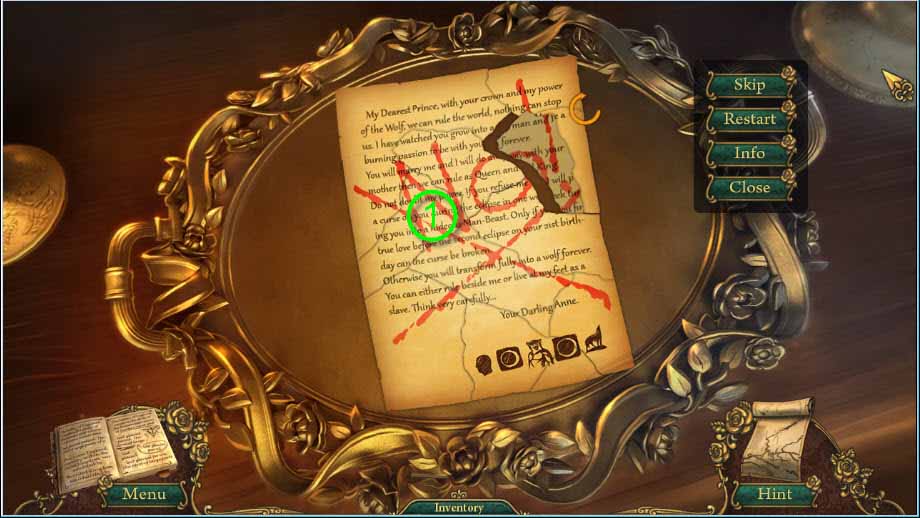
- Select the LETTER FRAGMENTS from the inventory and place them on the tray
- Number 1 circled above is a piece that does not move
- Build the letter around that piece, remembering that the pieces can be rotated
- Go back to the Caravan
- Click the shimmers at the desk area to start the hidden object game
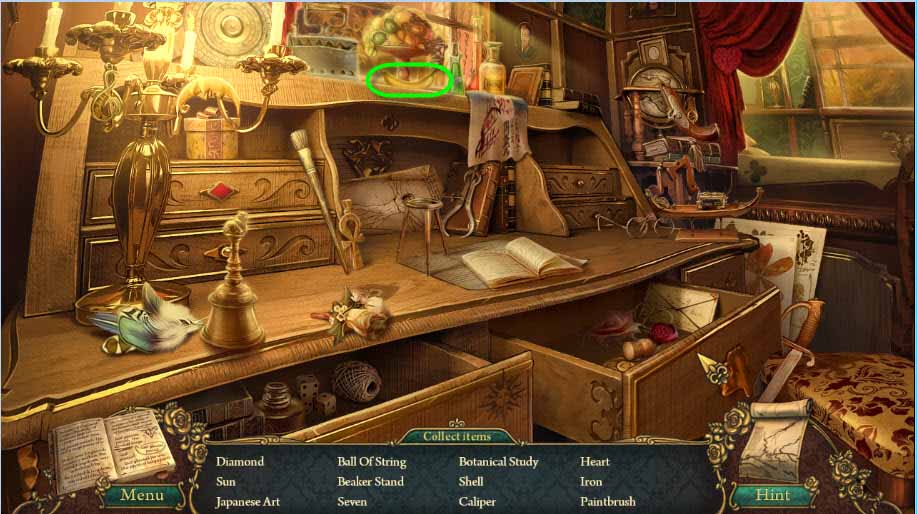
- Find all the items on the list; then collect the BANANA for the inventory
- Go back to the Curio Shop
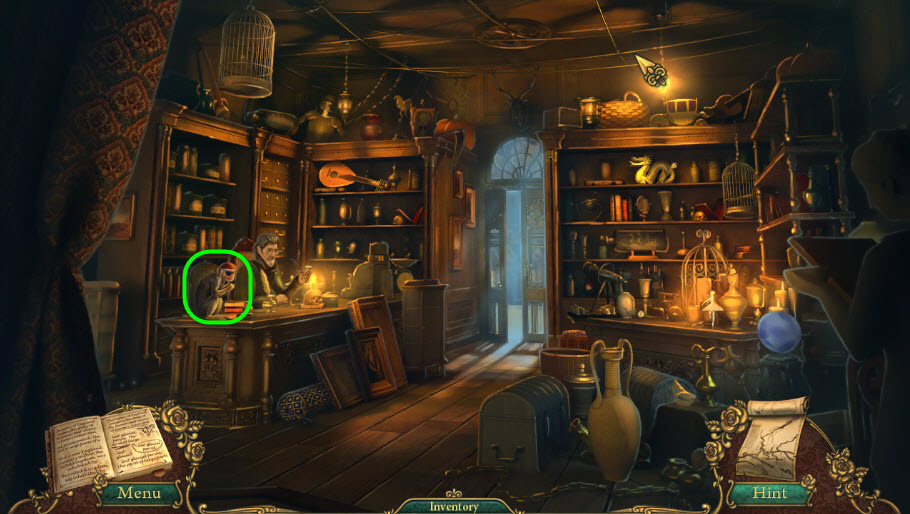
- Click on the monkey
- Select the BANANA from the inventory and give it to the monkey; then grab his EYE PATCH for the inventory
- Go back to the Back Room of the Tavern; use the map to travel
- Click the box on the bench next to Malger
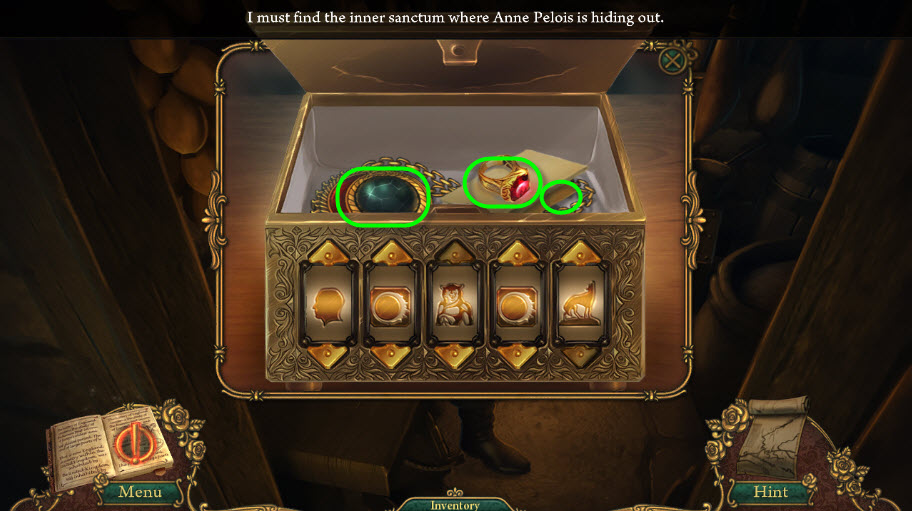
- Arrange the dials as shown in the image above
- Grab the ECLIPSE, ENCHANTED RING, and the LETTER
- Go back to the Theater Back Stage
- Select the EYE PATCH and ECLIPSE from the inventory and place on the Mannequin
- Grab the DISGUISE for the inventory
- Go back to the Bridge; use the map
- Select the DISGUISE from the inventory
- Hold it over the bridge; click
- Move forward to the Scary Path
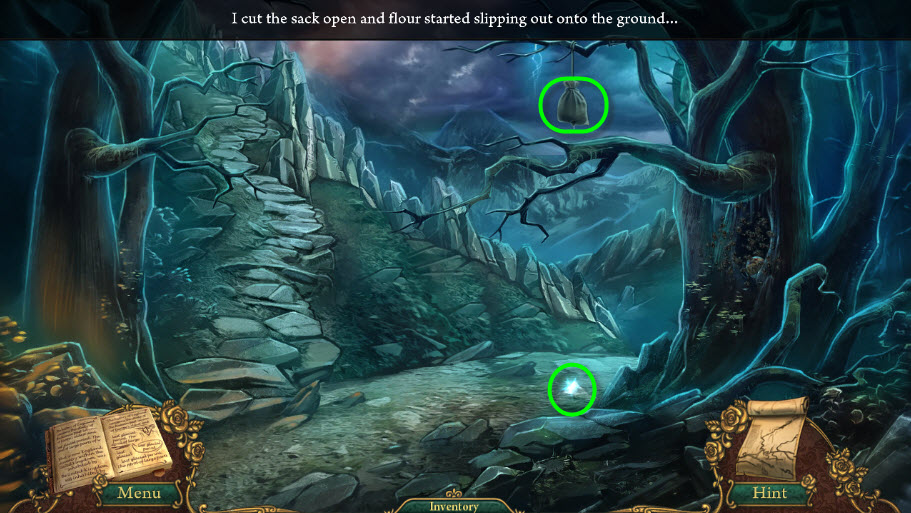
- Select the BROKEN BOTTLE to cut open the sack
- Flour will spill to the ground; see image above
- Select the FULL WATERING CAN and pour water on the flour to create a CRACKER, grab it for the inventory
- Move the cursor around the right side of the screen to find the Forest Clearing; click
- Click the shimmer at the log opening to being the hidden object game
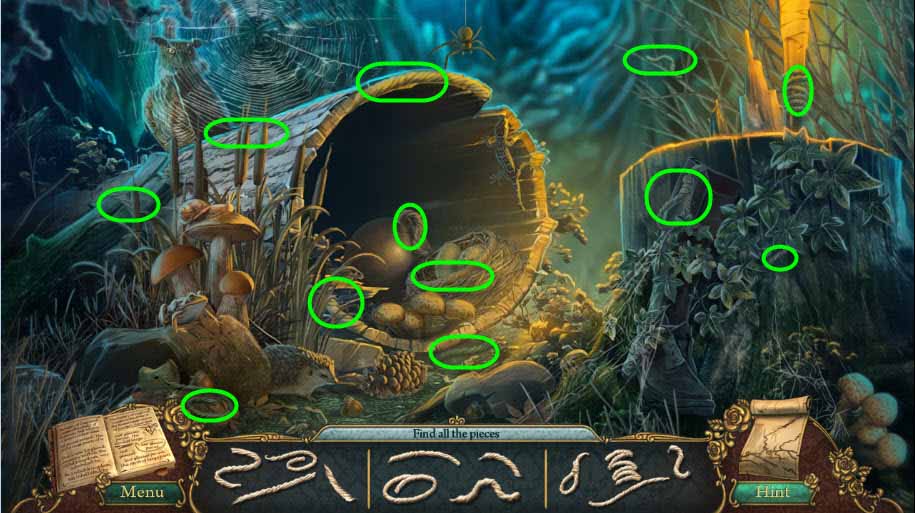
- Find all the pieces of rope as shown in the image above to receive a ROPE for the inventory
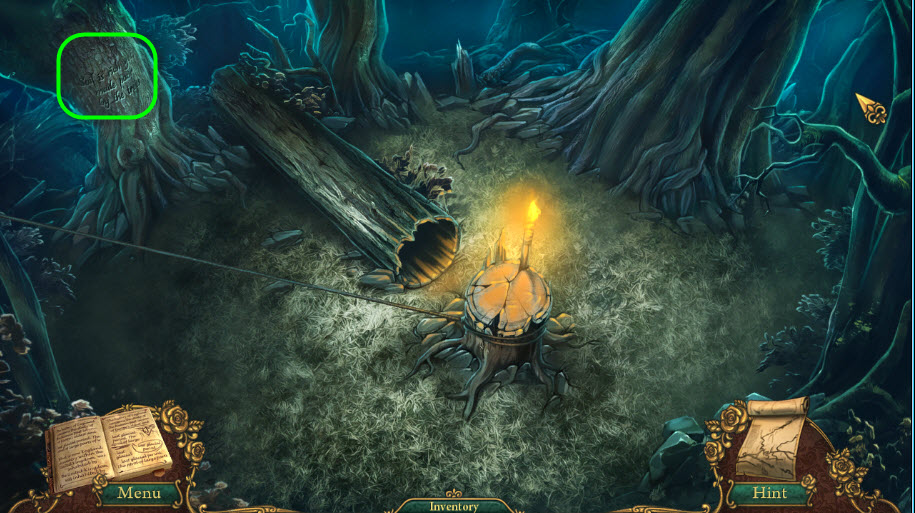
- Back in the Forest Clearing click the text on the tree
- Place the ANCIENT SCROLL over the third line of text
- Go back to the Scary Path
- Move forward to Sound Garden by moving the cursor over the stone stair path
- Select the PULLEY from the inventory and hang from the tree limb
- Select the ROPE from the inventory
- Click the tree limb to hang the ROPE from the PULLEY
- Feed the Parrot the CRACKER from the inventory
- Click the plaque on the road
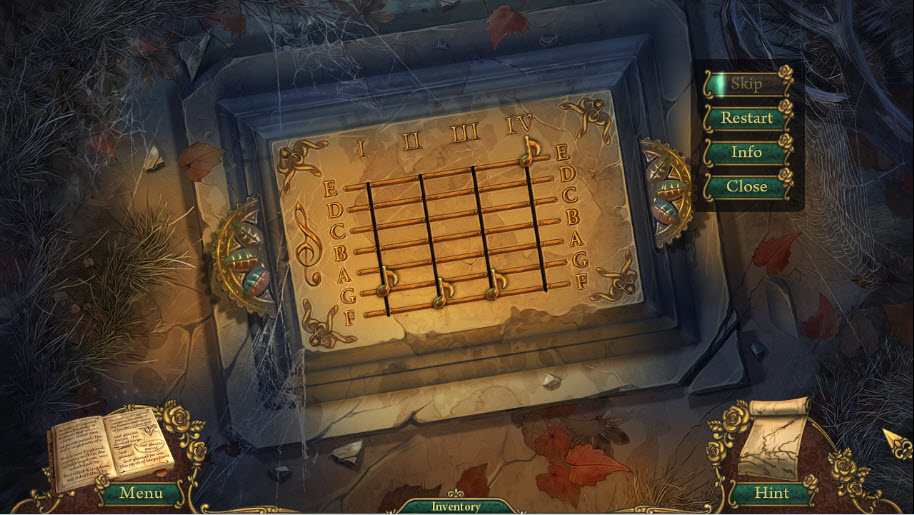
- Slide the notes up or down to spell the word FEED
- Click and slide the first music note to the F line
- Continue in this manner until the FEED is spelled across the plaque
- Click on the pulley to ride it down to the forest clearing. Be sure you're clicking on the pulley and not the rope.
