
Chapter Four: Around Town
- Select the SAW from the inventory and cut the fallen tree with it
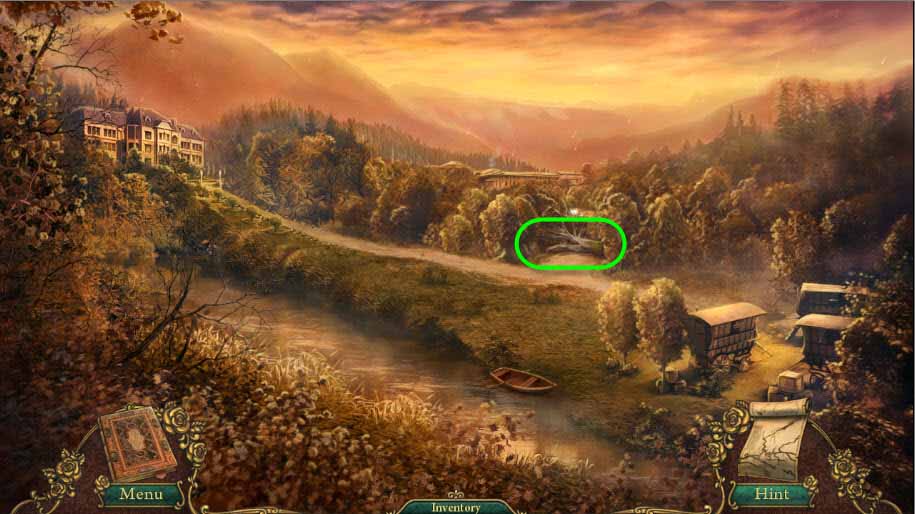
- Cut several times until the road to Town Square opens
- Click the road to Town Square to go there now
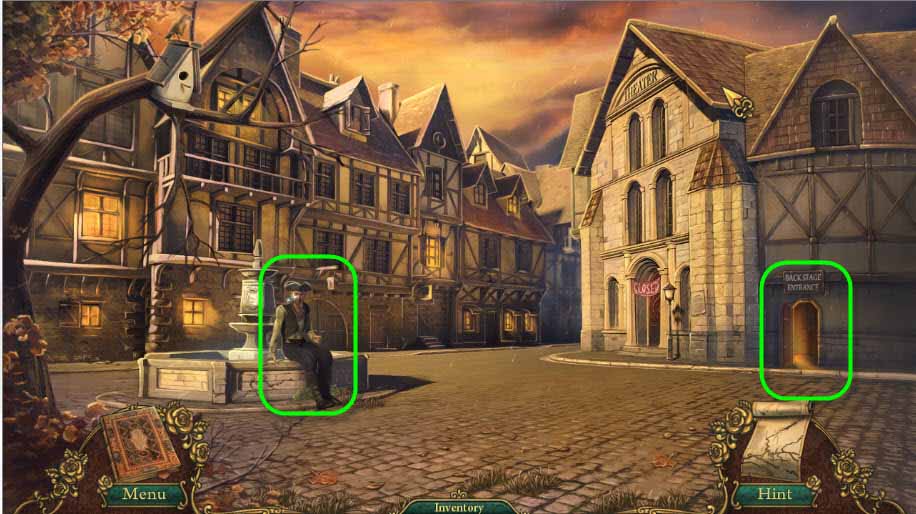
- Click on the Pirate to talk with him
- Give him the ORANGE from the inventory
- In return he will give you a MEAT STICK
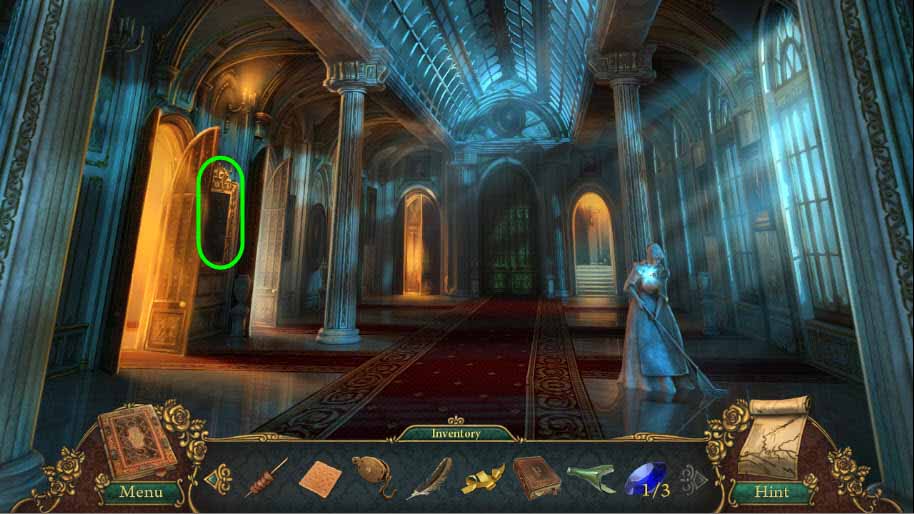
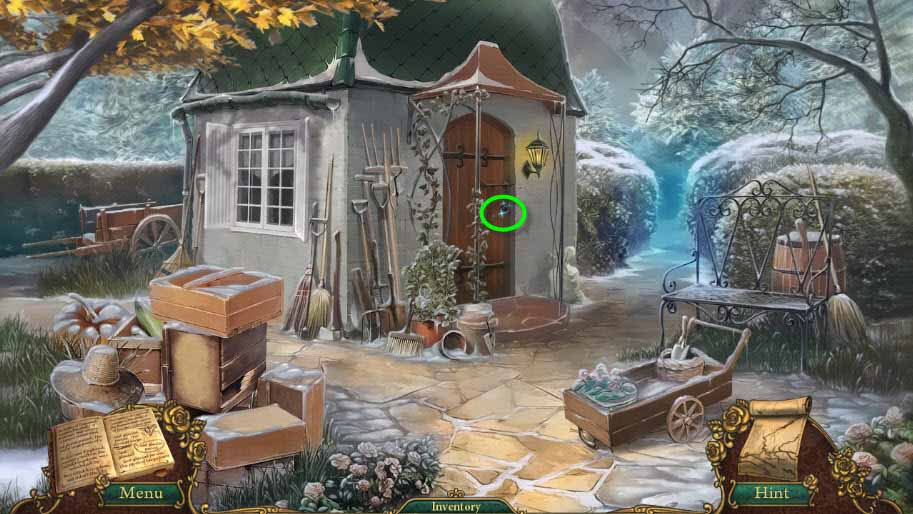
- Next click the Theatre Backstage entrance circled above
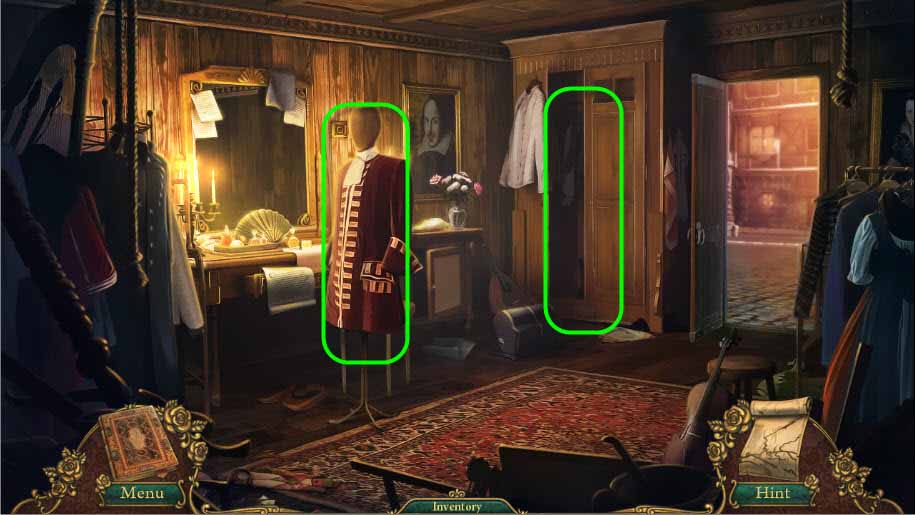
- First click the closet and grab the CLOAK inside; it will fall into the inventory
- Select it from the inventory and place it on the Mannequin
- Leave the Theatre Backstage
- Return to the Town Square and proceed to Downtown by moving the cursor around the Town Square until the Downtown link is located; click
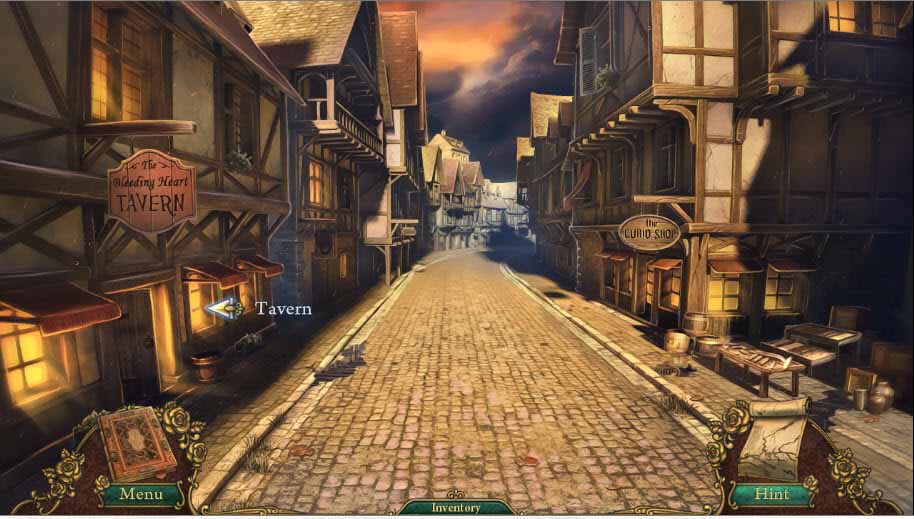
- Enter the Tavern
- Once inside, speak with Jacques; he’s the only man in the Tavern
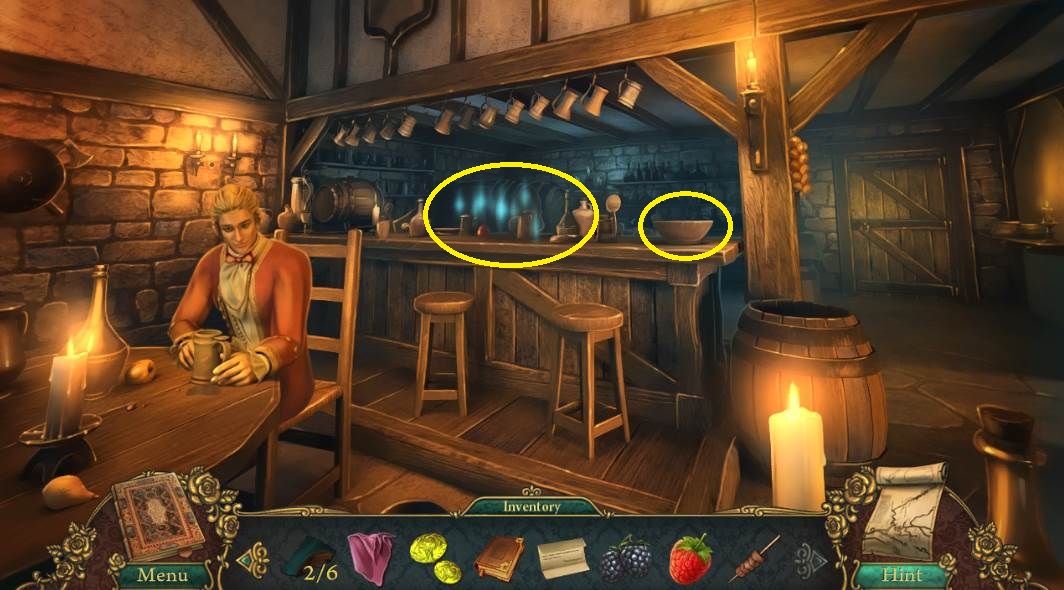
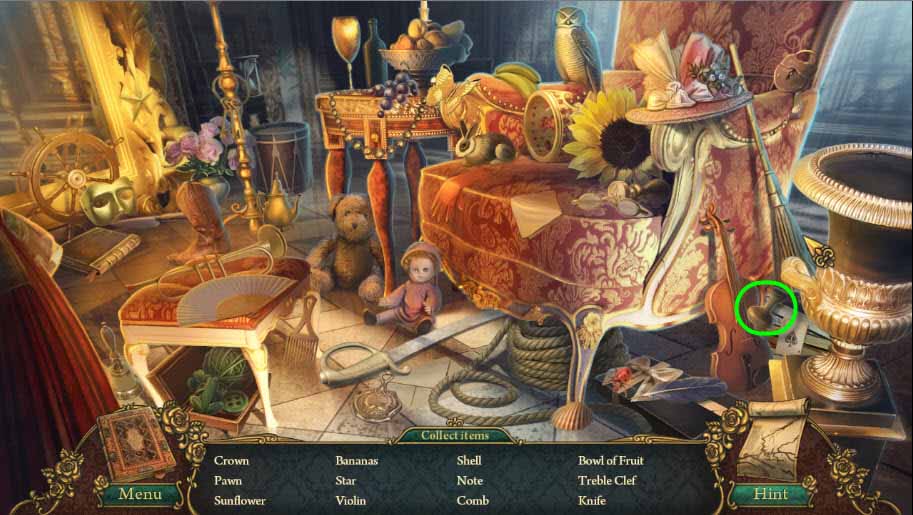
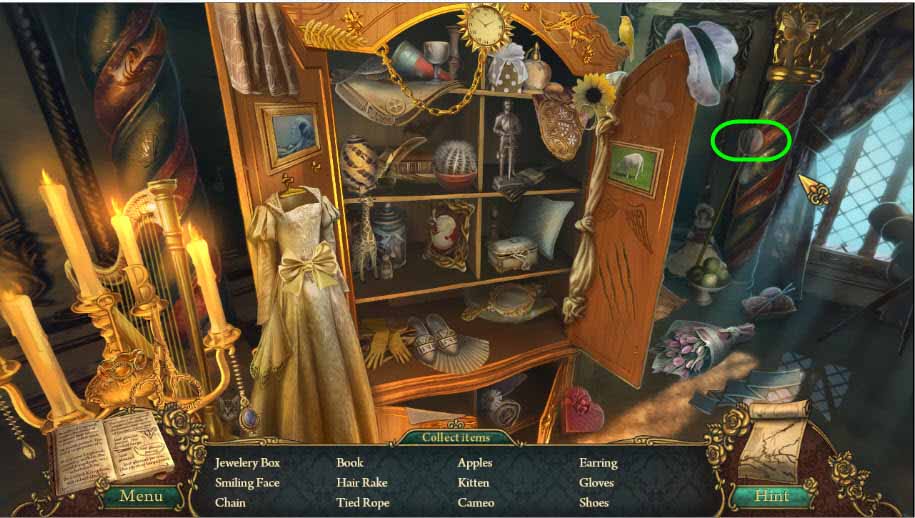
- Click on the bowl circled above and grab the Cracker for the inventory
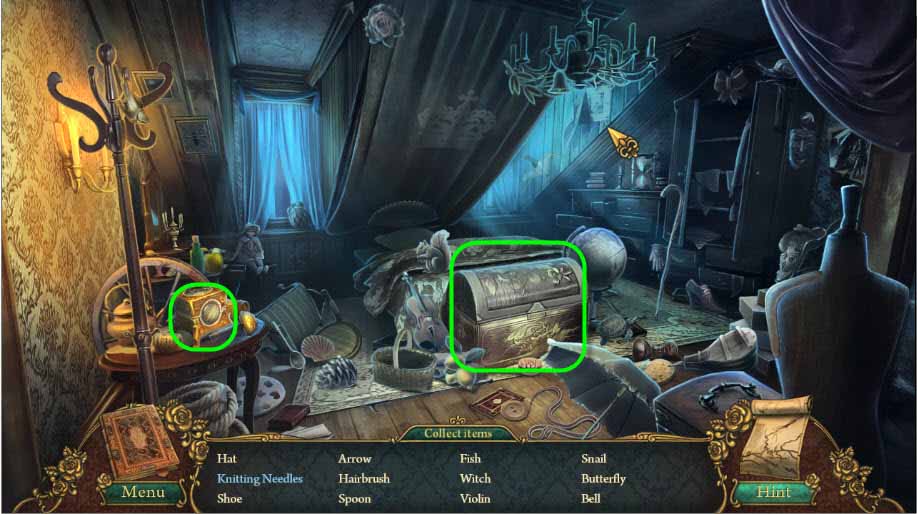
- Now click the shimmers to play the hidden object game
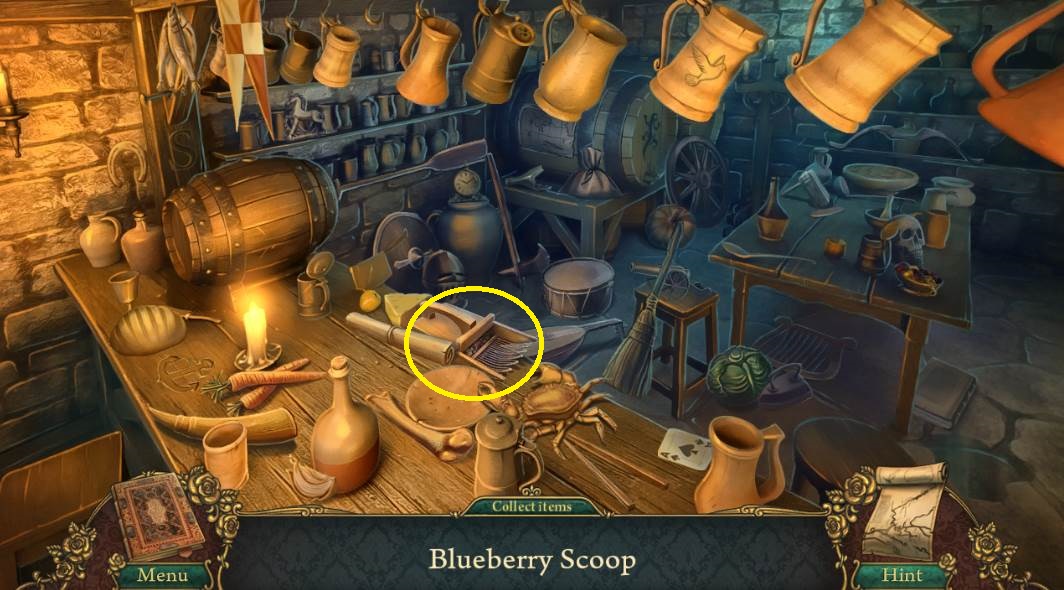
- Grab all the items on the list
- Then grab the BLUEBERRY SCOOP
- Leave the Tavern and go to the Curio Shop
- The only task in the Curio Shop at this time is to speak with the shop owner
- Leave the Curio Shop and go back into Downtown
- Cursor around and find the link to the Crossroads; click
- Cursor around until the link to Raphael’s Foyer appears by the house; click to enter
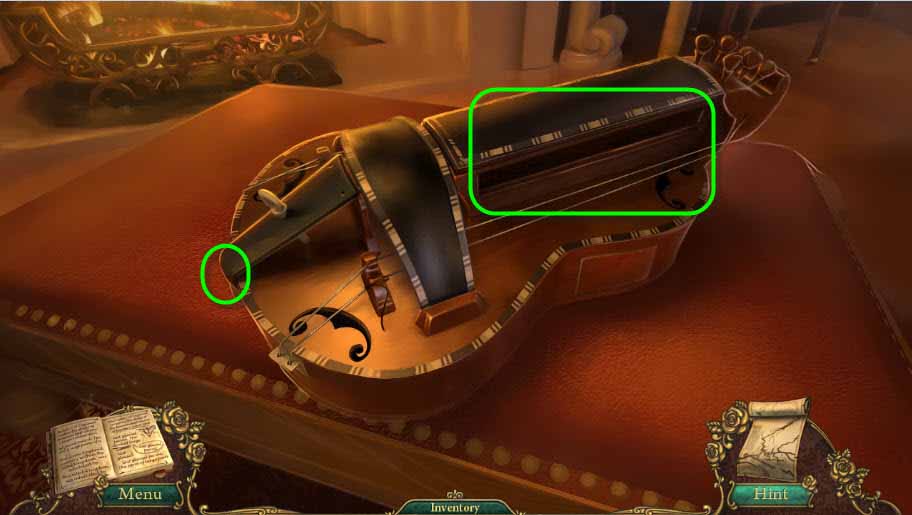
- Click on Raphael to speak with him and then grab the PULLEY on the coffee table for the inventory
- At the top of the stairs, click on the shimmers to play the hidden object game
- Find all of the items on the list
- Some of the items may be in the trunk so click on it to open and peek inside for items
- Next click on the Small Box circled above to grab Bella’s Diary Page.
- You will get a ROSE for your inventory
- Go to the Kitchen
- Find the link for the Kitchen by moving the cursor on the left side of the screen; click
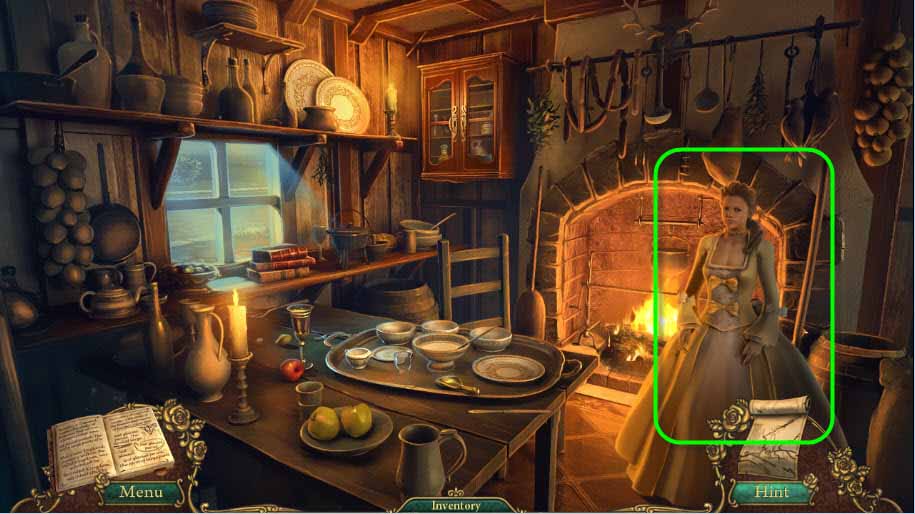
- Talk to Caprice
- Present her with Jacques Love Letters from the inventory

- Next go to the Town Gates
- Leave Raphael’s House to find them
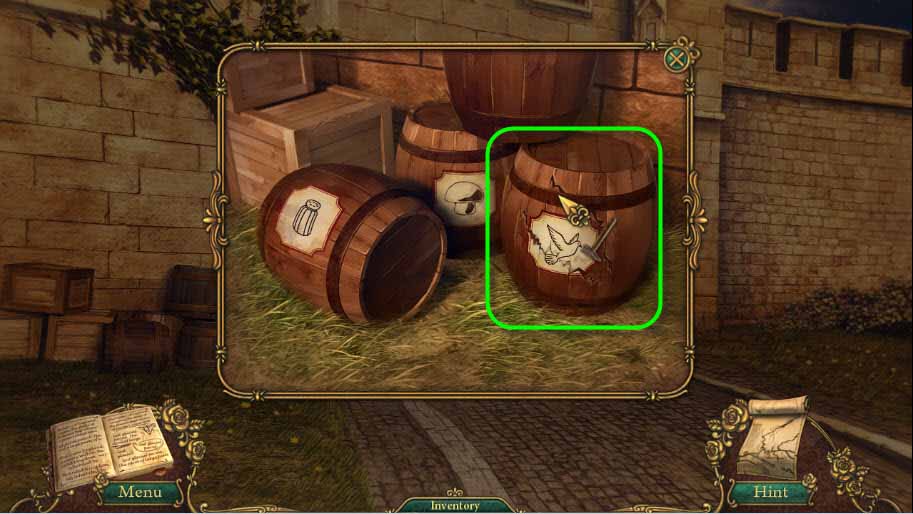
- Click on the barrels and open the one with BIRD SEED by selecting and using the HAMMER from the inventory
- Go back to the Town Square
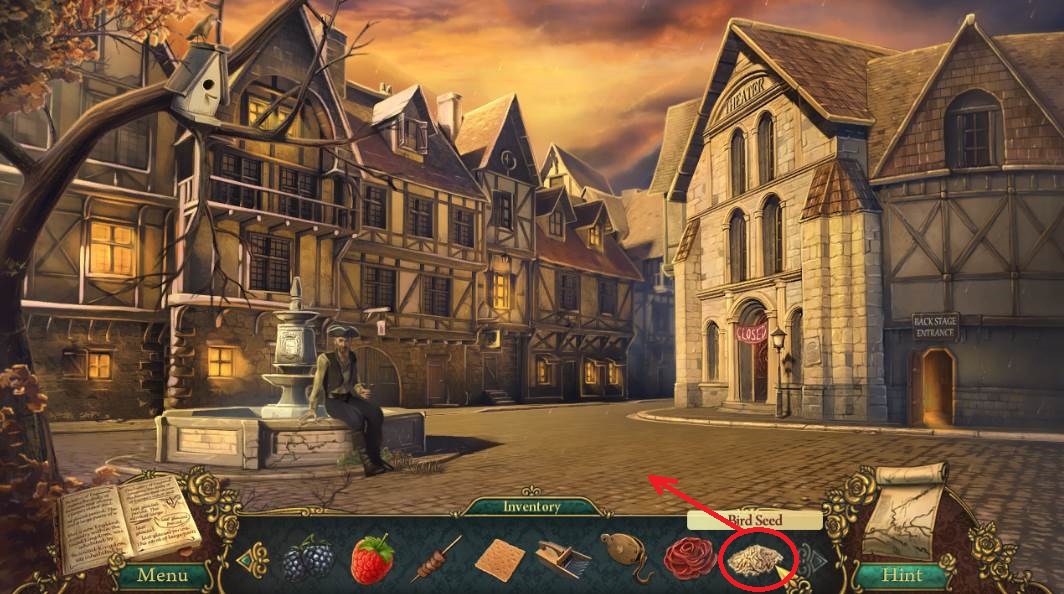
- Place the BIRD SEED on the ground where the shimmers appear
- Leave the Town Square and go to The Road
- Go back to the Town Square where birds will now be eating the BIRD SEED
- Click on the one remaining bird after the rest fly away and collect the BLACK BIRD FEATHER for the inventory
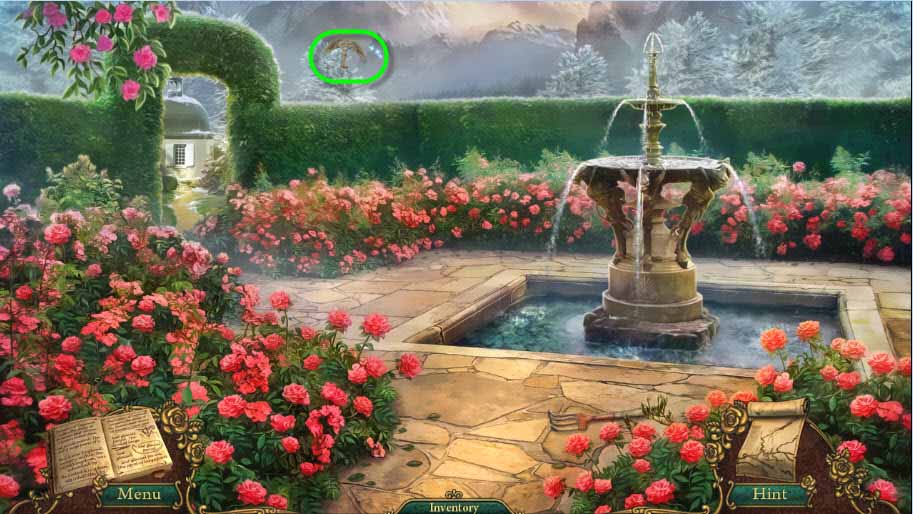
- Return to the Waterfall using the map for an easier return
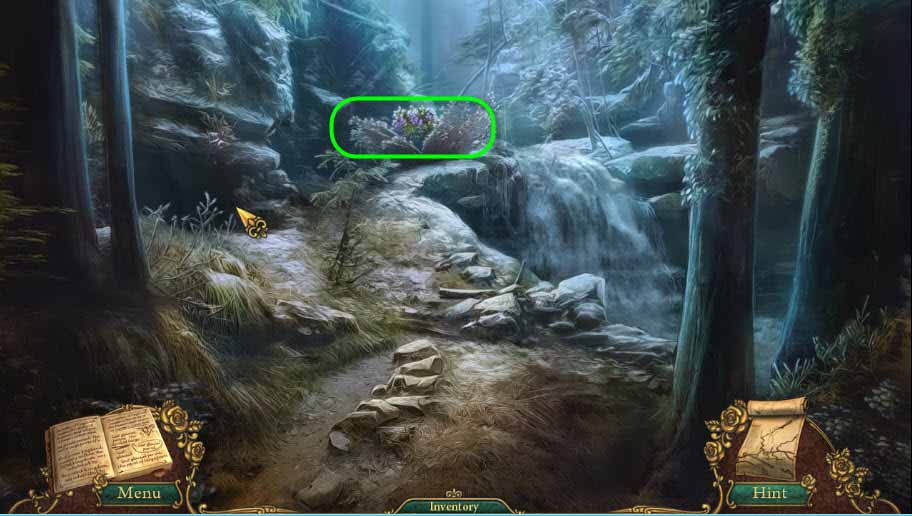
- Use the Blueberry scoop from the inventory to gather blueberries from the bush circled above
- Return to the Staircase Landing, again using the map for ease of moving from one scene to another
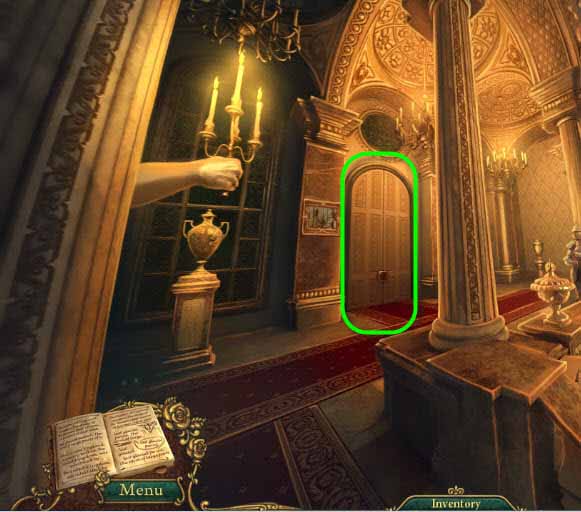
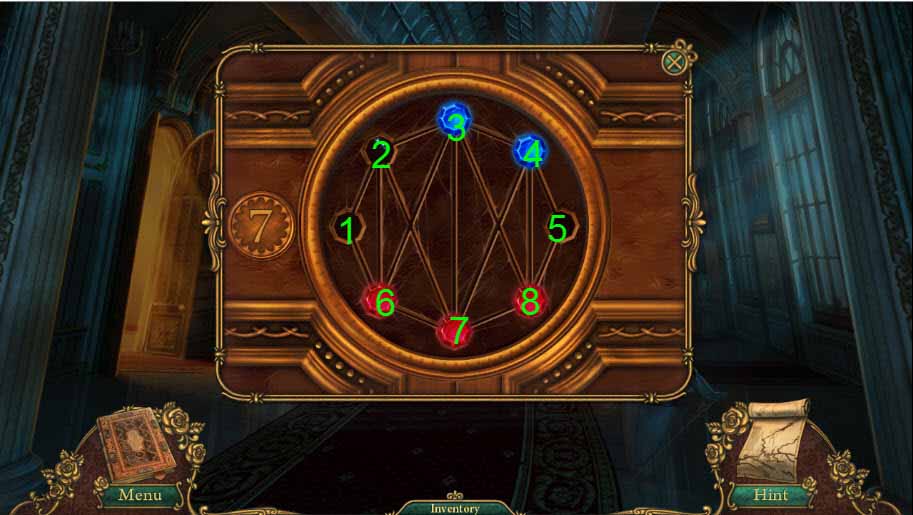
- Click the doors circled in the image above
- Select the Rose from the inventory and place it in the puzzle
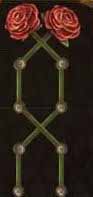
- Solve the puzzle by configuring as shown above
- The easiest way to solve this puzzle is to start clicking the dots from the bottom up
- Don’t forget that puzzle can be reset to start over
- Once the puzzle is solved the doors to the Upper Hall will open; click to enter
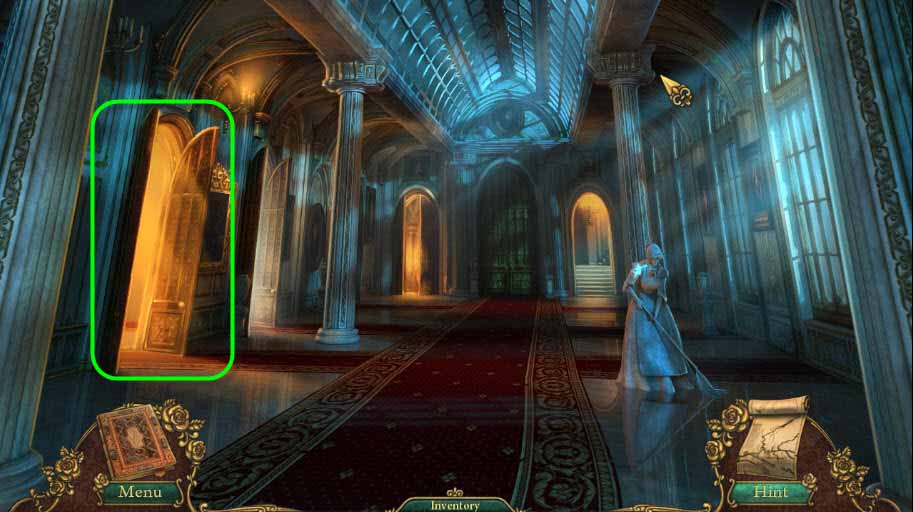
- Enter the Music Room through the doors circled above
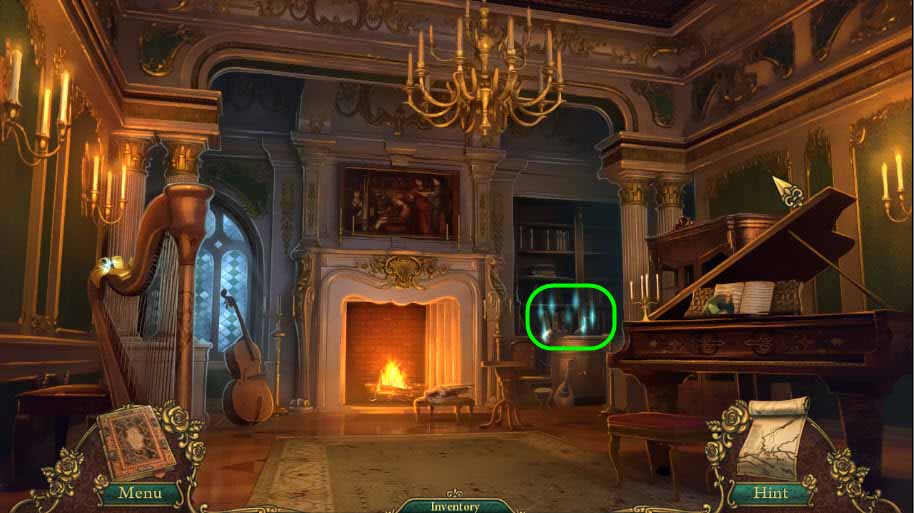
- Click on the shimmers circled in the image above to start the hidden objects game
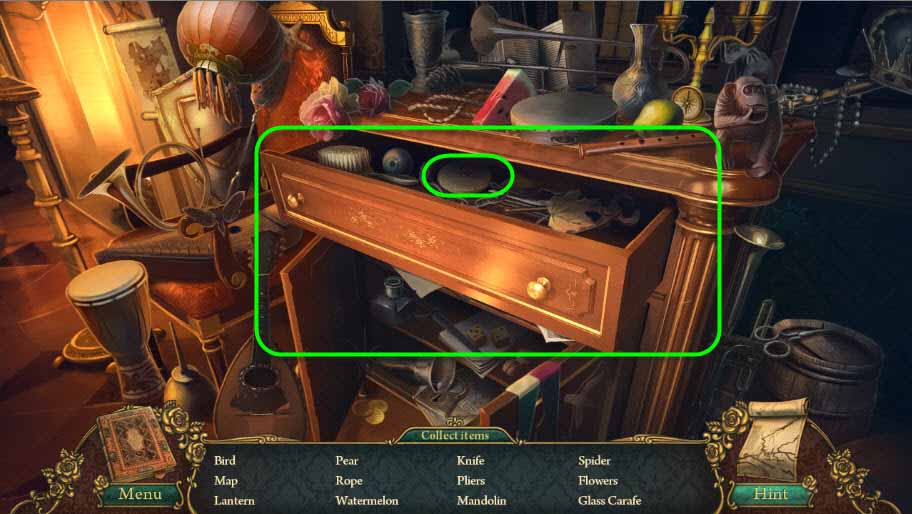
- Before starting the hidden object session open the drawer
- Find all the items at the listed and the collect the WHEEL in the drawer circled above for the inventory
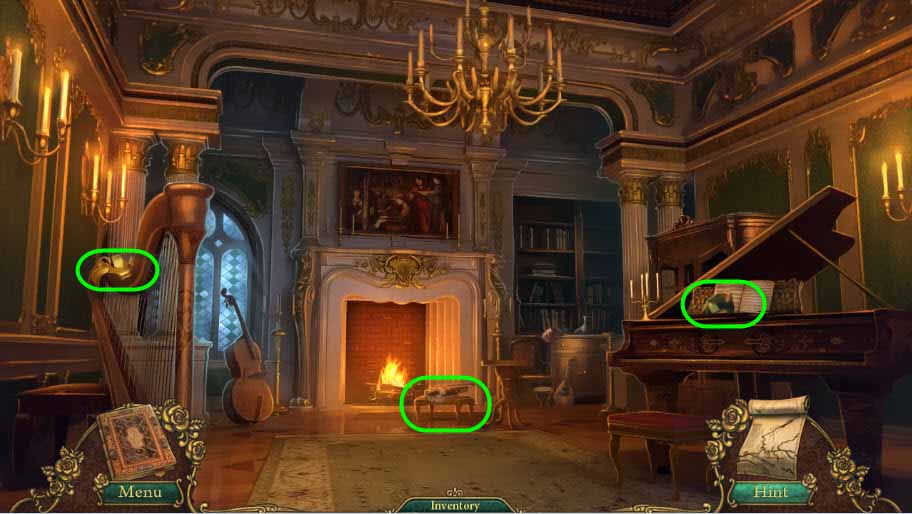
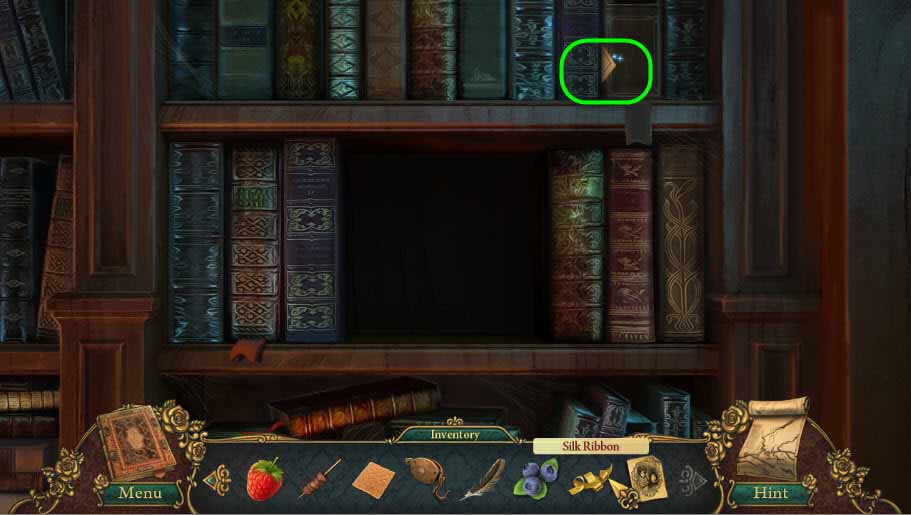
- Grab the SILK RIBBON circled for the inventory
- Next collect the PORTRAIT PIECE on the piano
- Click on the Footstool
- Select the WHEEL from the inventory and insert in the slot circled above
- Return to the Music Room by moving the cursor around the bottom of the screen until the link is located; click
- Return to the Main Hall
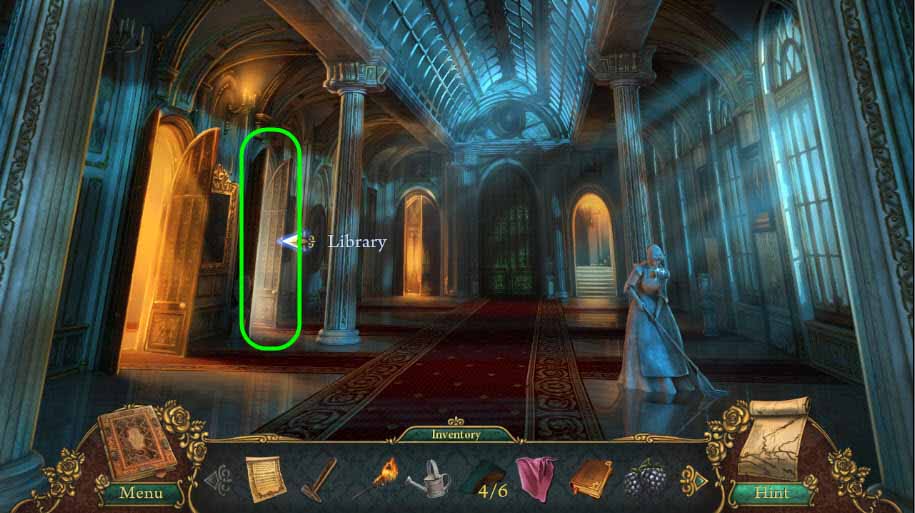
- Enter the Library through the doors circled above
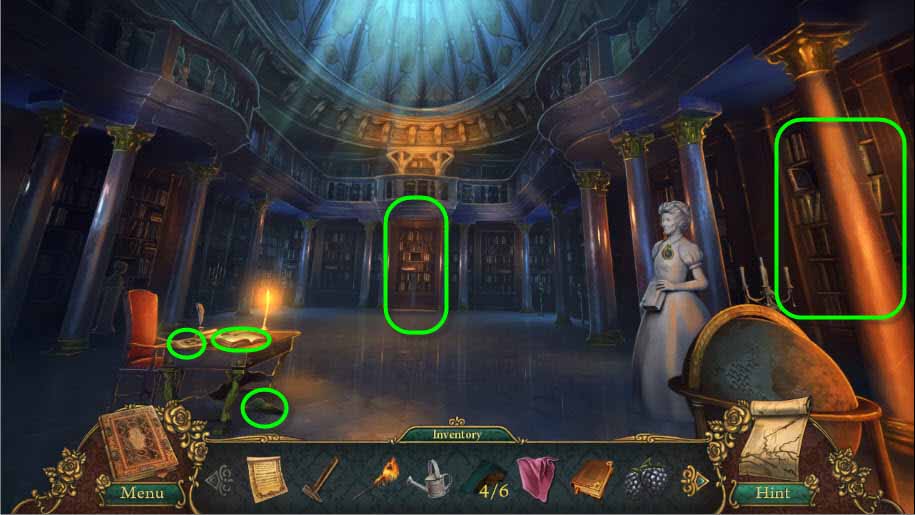
- Grab the PORTRAIT PIECE under the desk
- Next grab the SMALL PORTRAIT on the desk; it’s the left circle
- Check out the book on the desk; it’s the circled item to the right
- Return to the Library by clicking near the bottom of the screen
- Click on the bookcase on the back wall and grab the CLAIM CHECK
- Click the bookcase on the sidewall and grab the FULL MOON SYMBOL
- Go back to the Curio Shop; use the map to navigate with ease
- Give the shop owner behind the counter the CLAIM CHECK from the inventory
- In return he will give you the BOOK OF THE POOR
- Leave the Curio shop through the doorway into Downtown to have a conversation
- Go back to the kitchen at Raphael’s House; use the map for ease of traveling
- Raphael’s House is in the Downtown area
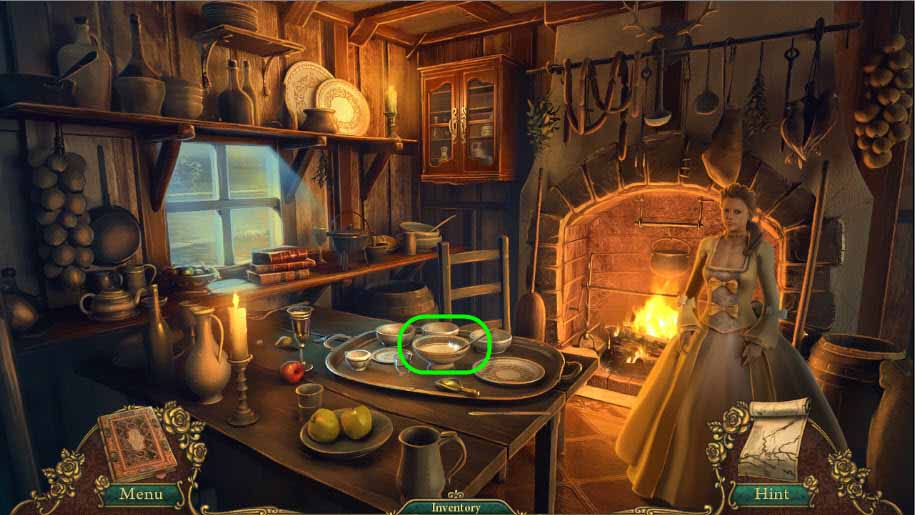
- Click the bowl on the table, circled in the image above
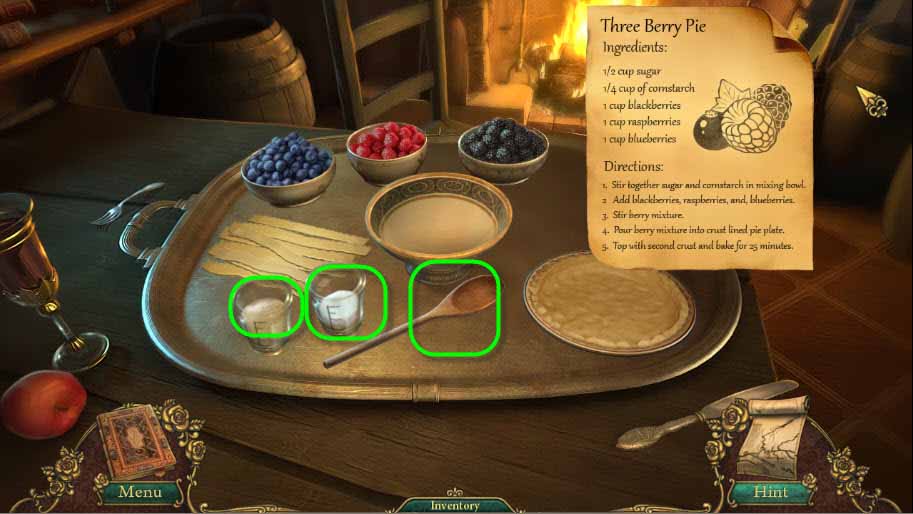
- To begin, put the BLUEBERRIES, RASPBERRIES, and BLACKBERRIES in the bowls
- Place the cornstarch, which is in the small container on the left in the image above, into the large bowl
- You will need to drag and drop to complete this action as well as the next action
- Then place the sugar, which is in the small container next to the cornstarch, in the large bowl
- Stir them with the spoon lying on the table; simply click the spoon and they will be stirred
- Add all of the berries, stir again, and them place the mixture in the Pie Crust
- Now add the top of the pie crust by dragging and dropping them onto the pie
- Grab the THREE-BERRY PIE for the inventory
- Go back to the Tavern in Downtown and give Jacques the THREE-BERRY PIE
- Now go back to the Front Porch at Fouquet Manor; use the map for ease
- Talk to Baron Fouquet
- Go back to Raphael’s House and enter the kitchen
- Talk to Caprice
- Now go back to the Tavern in Downtown
- Click on the shimmers behind the bar to start the hidden object game
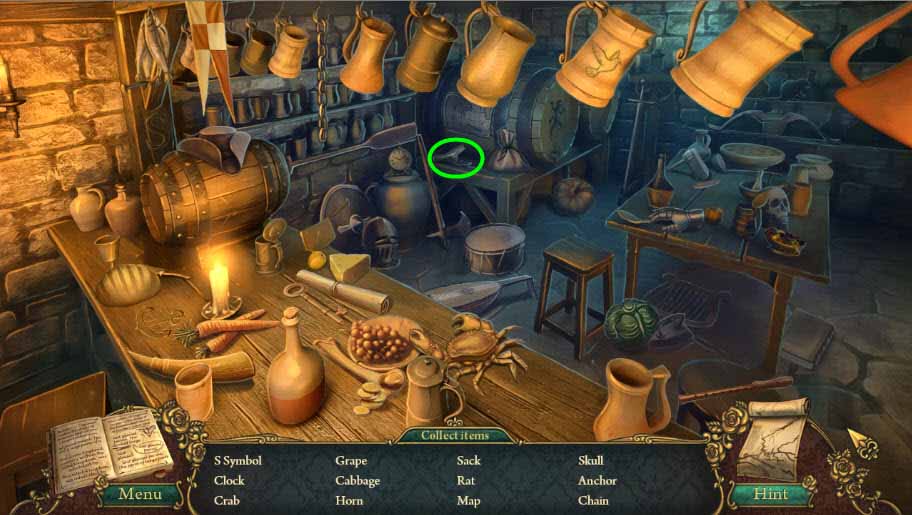
- Find all of the items on the list then grab the BROKEN BOTTLE circled in the image above
- Now go to the Town Gates; use the map for ease
- Talk to the child there
- Go back to the Upper Hall at the Castle
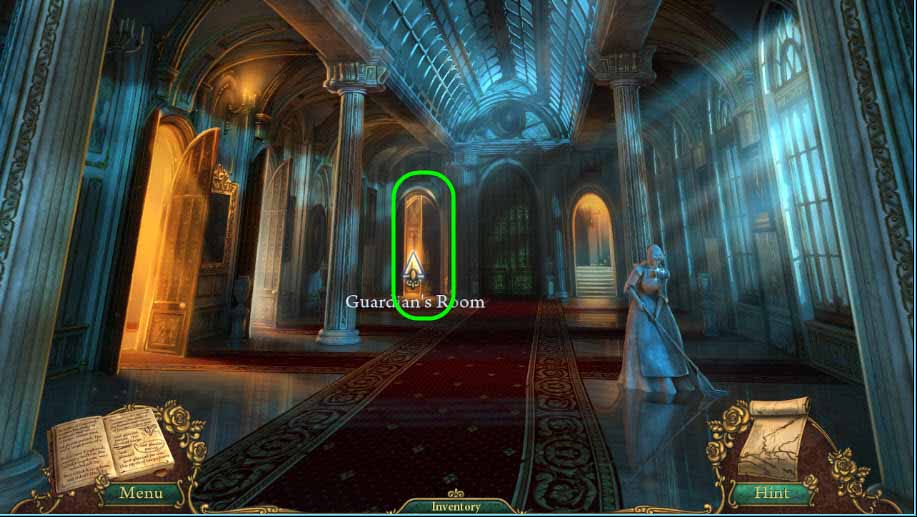
- Enter the Guardian’s Room
- Click the shimmers circled above to start the hidden object game
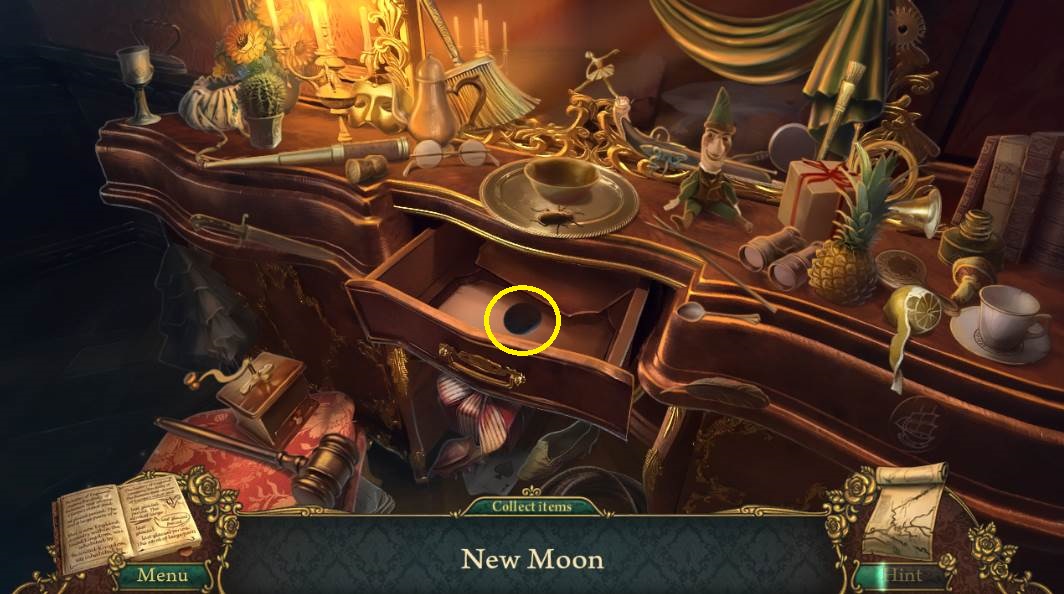
- Open the drawer
- Once all the items are found, click inside the drawer to move the file
- Grab the NEW MOON
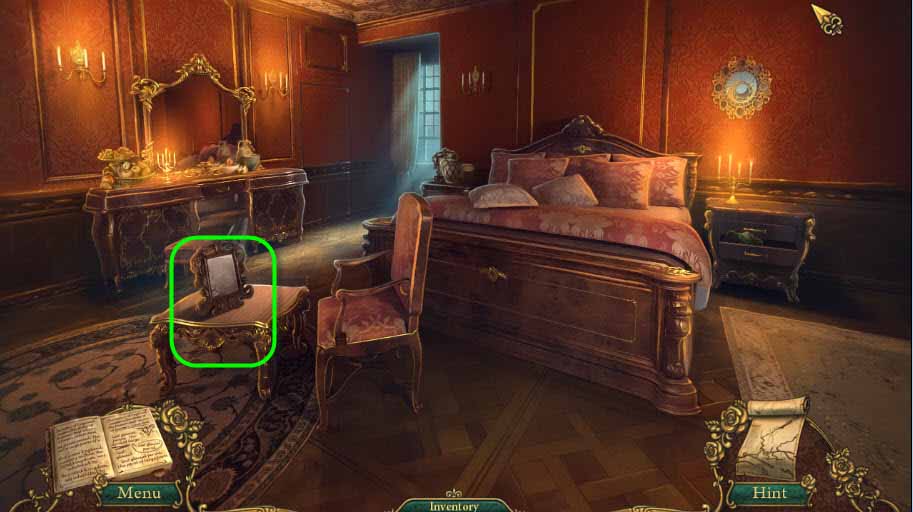
- Having returned to the Guardian’s Room, click the small table by the chair
- Grab the clue circled in the image
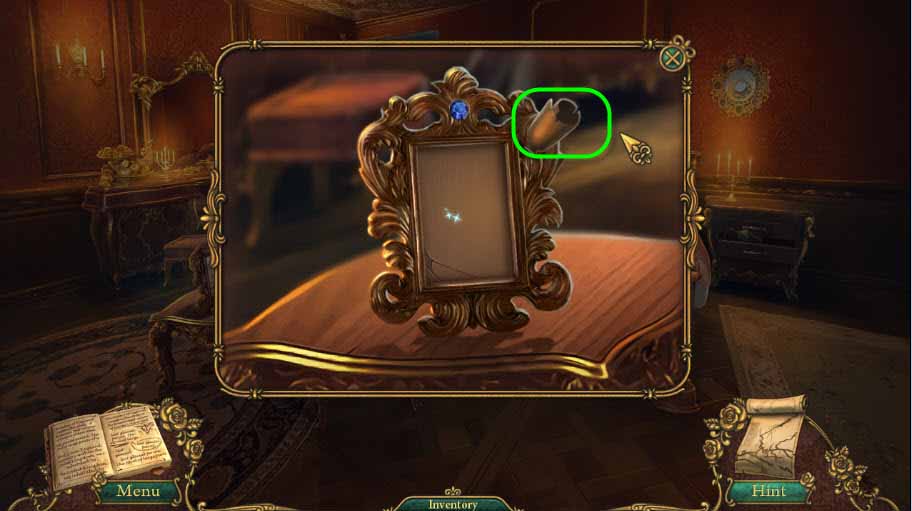
- Select the SMALL PORTRAIT from the inventory and place it in the frame
- Grab the SAPPHIRE
- Click on the nightstand and grab the PORTRAIT FRAGMENT
- Click the clock hanging over the nightstand
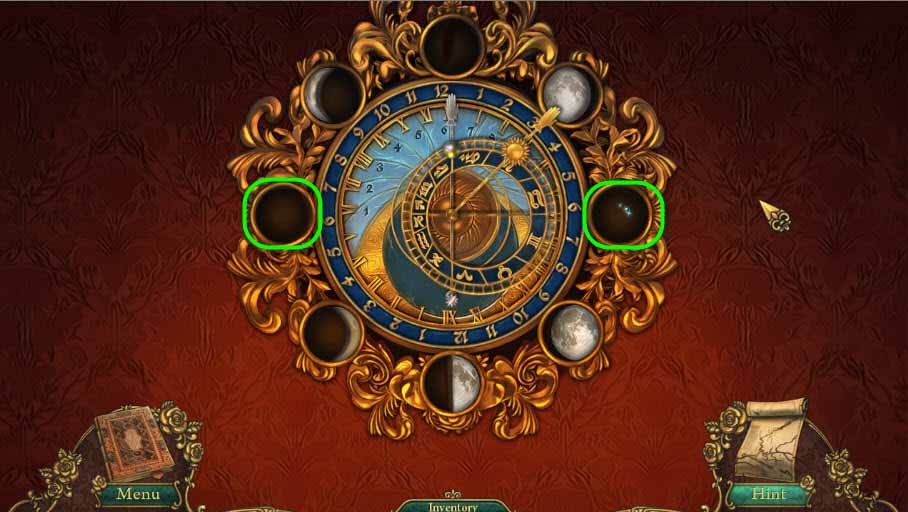
- Place the NEW MOON from the inventory on the left and the FULL MOON SYMBOL on the right as circled above
- Return to the Guardian’s Room by clicking near the bottom of the screen and then return to the Upper Hall
- Place the PORTRAIT FRAGMENTS into the frame
- Arrange the pieces as shown in the image
- Portrait fragments are dragged and dropped
- They can also be rotated by clicking on the rotation symbol that appears once the piece is clicked
- Once the puzzle is complete, grab the KEY PUZZLE PIECE for the inventory
- Still in the Upper Hall, click the closed door at the end of the hall
- Insert the Key Puzzle Piece into the hole marked number 2 in the image
- To solve the puzzle move the pieces in the following order; move 4 to 5, 7 to 4, 2 to 7, 6 to 2, 3 to 6, 8 to 3, and 5 to 8
- Pay close attention to the number of the pieces in the image; they are not in order
- When the puzzle, the doors to the Ballroom will; click to enter
- Click on the shimmer coming from the chair to start the hidden object game
- Find all the items on the list and the grab the CRANK circled in the image above
- Back in the Ballroom, click on the large mirror; it’s the only really large mirror in the Ballroom

- Grab the RABBIT FOOT off the foot stool for the inventory
- Select the FULL WATERING CAN and click the mirror while holding it with the cursor
- Next select the CLOTH and wipe the mirror dry
- Click the mirror again to read the clue
- Grab the SAPPHIRE from the top of the Mirror frame
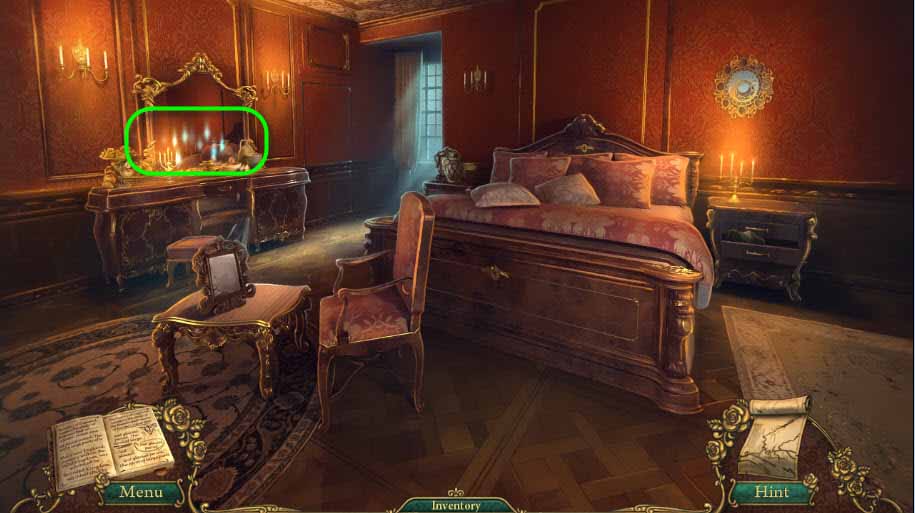
- Return to the castle Dining Room; use map for easy return
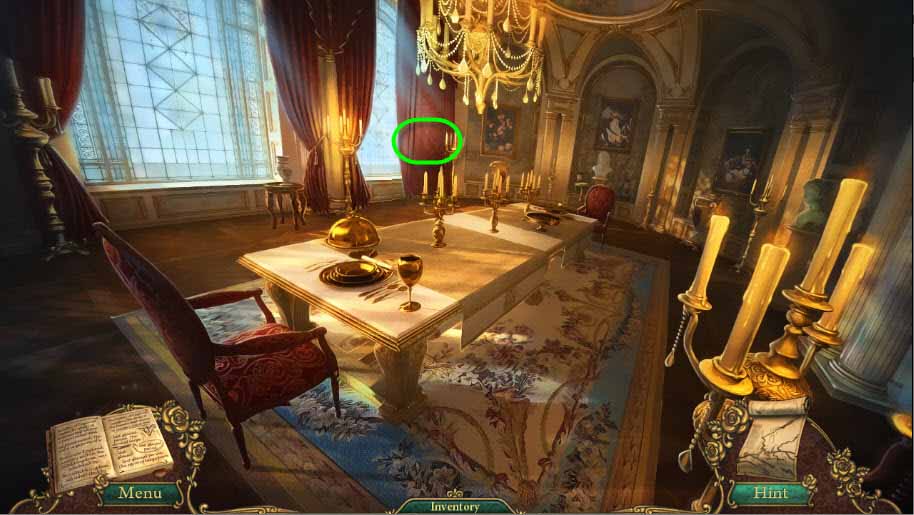
- Select the SILK RIBBON from the inventory to tie back the curtain
- Then collect the SAPPHIRE that was hidden behind the curtain for the inventory
- Go back to the Upper Hall
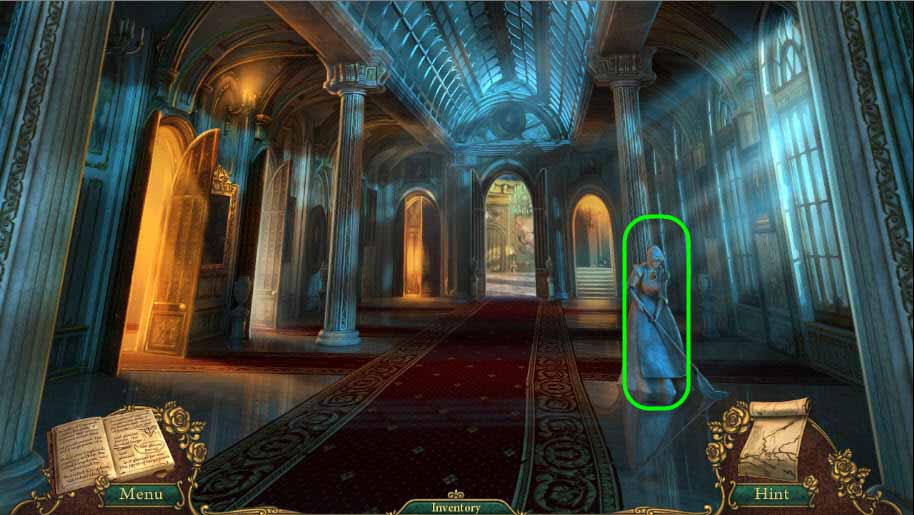
- Click the maid and put all of the SAPPHIRES in her necklace
- The scene will return to the Upper Hall
- Click the maid again to receive her MOP for the inventory
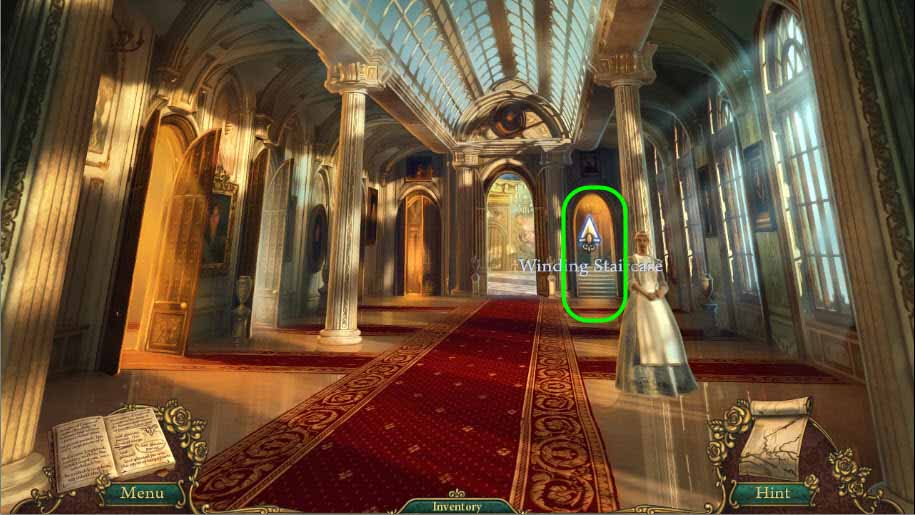
- Click the Winding Staircase to enter
- Select the MOP from the inventory and clean the stairs
- Proceed up to the stairs to the Princess Tower
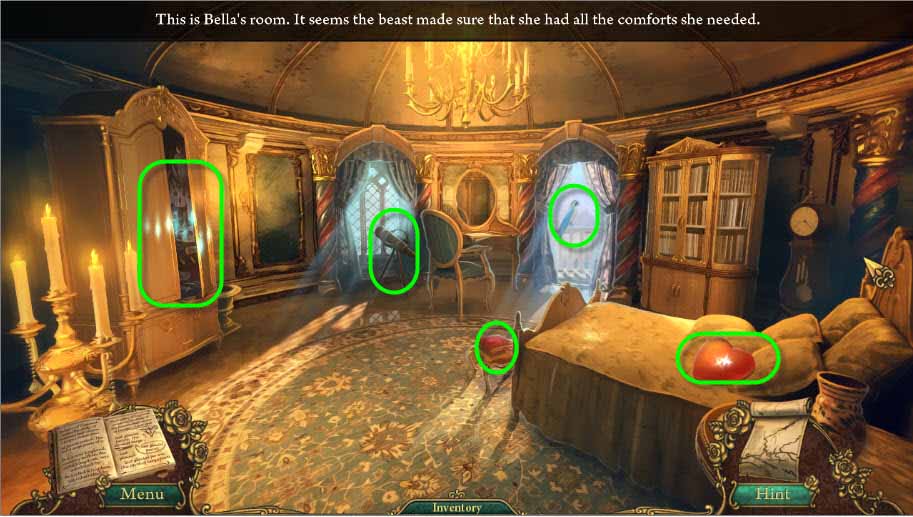
- Grab the pillow and move it over to pick up the EMERALD that was hiding underneath
- Next grab the BOOK OF LOVE
- Check out the telescope
- Next select the CRACKER from the inventory and feed it to the parrot circled in the image above
- Grab the INSTRUMENT KEYBOARD for the inventory
- Now click the wardrobe closet where the shimmers appear to play the hidden object game
- Find all the items on the list
- Then grab the BUTTERFLY NET circled above for the inventory
- Go back to the Music Room
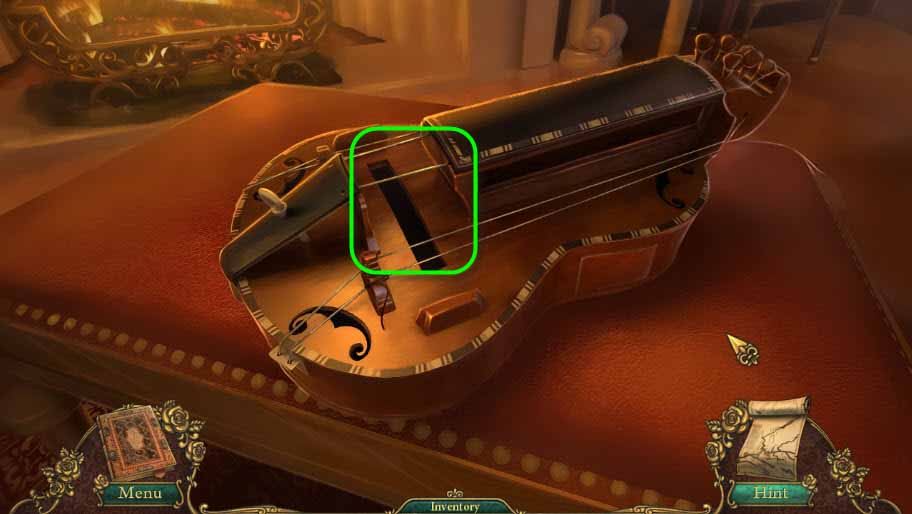
- Click the footstool circled above
- Place the INSTRUMENT KEYBOARD in the slot and the CRANK at the bottom of the instrument; see image
- The keyboard will appear
- Spin the crank by clicking on it
- Play the Keyboard Instrument by clicking the keys in this order: F, A, C, E
- Collect the EMERALD when the drawer slides out
- Go to the Fountain
- Catch the FLYING KEY with the BUTTERFLY ET from the inventory
- Go to the Tool Shed
- Click on the lock
- Use the FLYING KEY to open the lock
- Go inside the Tool Shed
- Click on the shimmers to start the hidden object game

- Find all the items on the list and then grab the LADDER for the inventory
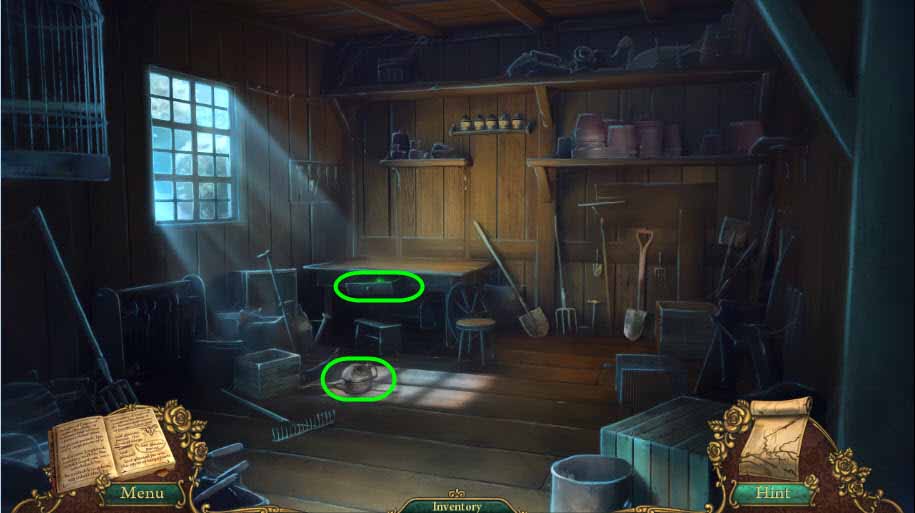
- Open the drawer and grab the EMERALD
- Grab the OIL CAN as well
- Go back to the Library; use the map for ease of travel
- Click on the statue and place the Emeralds in her necklace
- Grab the CHRONICALS OF WAR for the inventory
- Click the bookcase in the back of the room
- Place the four books from the inventory in this exact order; Book of Riches, Book of Poor, Book of Love, and last Book of War. Place the books in this order starting from left to right. This will open a hidden secret passage.
Comments will load when you reach this part of the walkthrough.