

Chapter Six: Dragonfang Palace
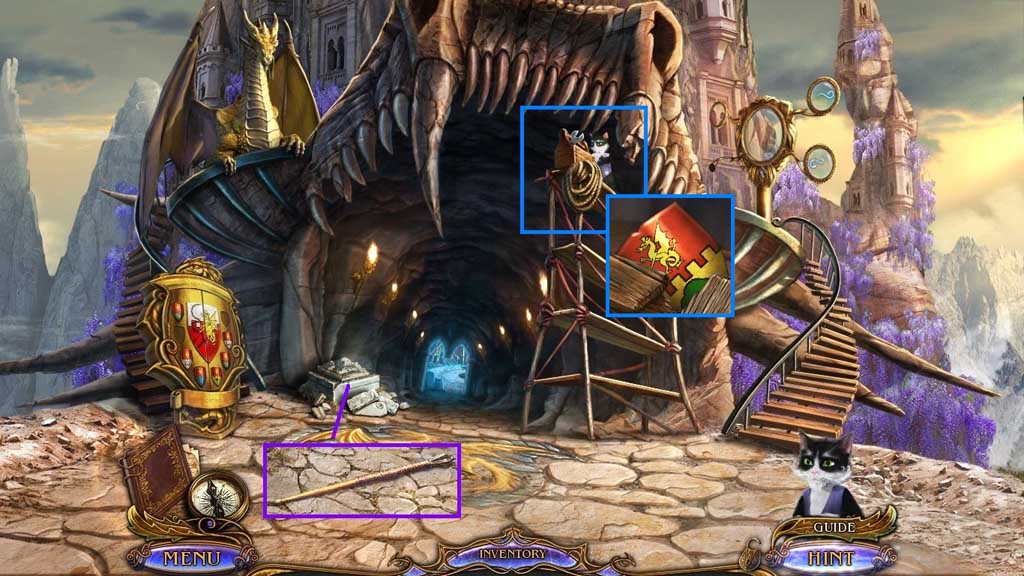
- Click the stones; collect 1 /2 drumsticks.
- Select Muir to use on the toolbox.
- Collect the crest.
- Move ahead and go to the right and click the hidden objects area.
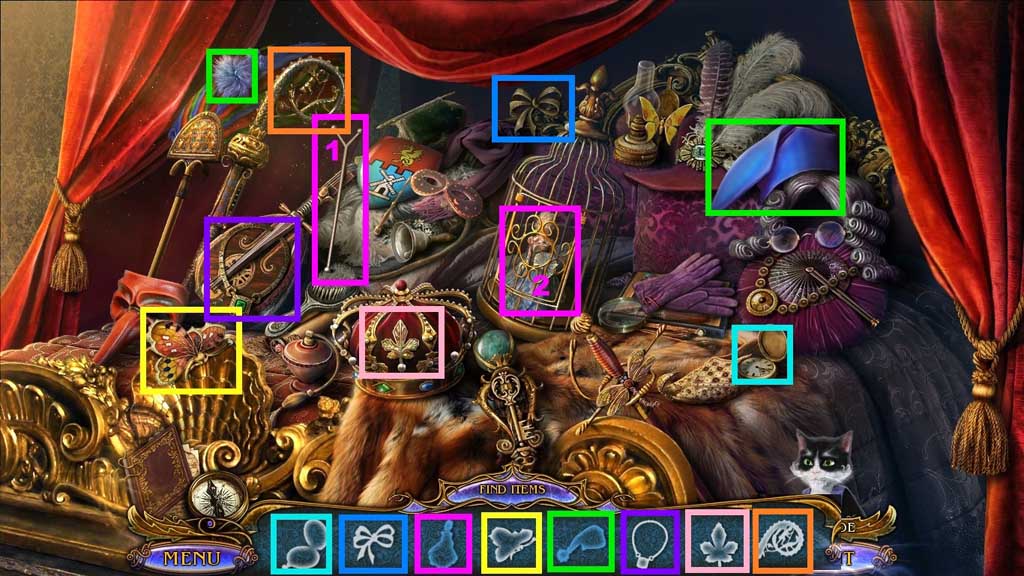
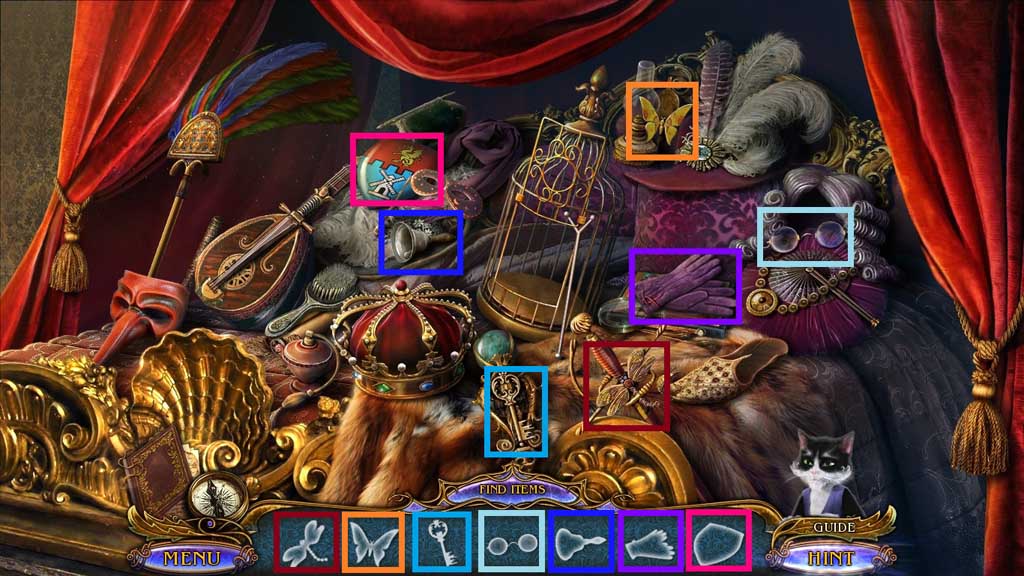
- Find the items.
- Select the rod and use it to prop the cage door up; collect the doll.
- Select the fuzz ball and place it onto the hat; collect the hat.
- Collect the crest.
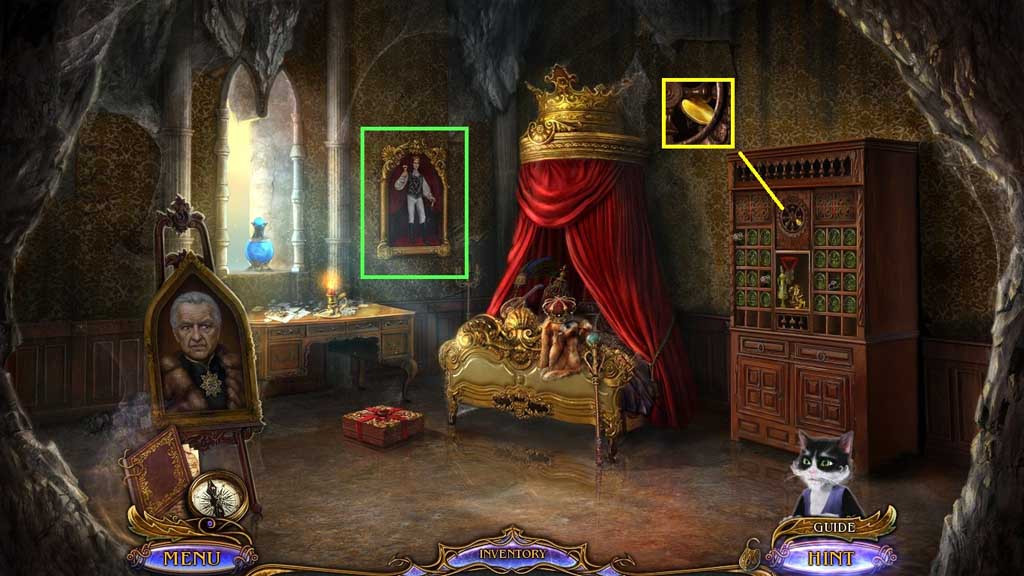
- Click the portrait.
- Collect 1 /3 golden discs.
- Move down 2x’s.
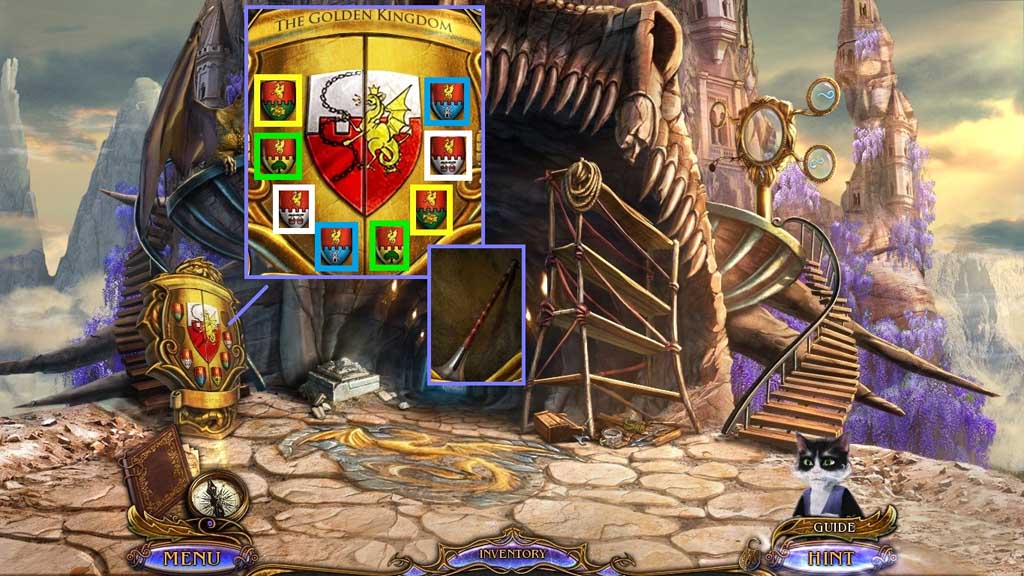
- Insert the 2 crests to trigger a mini game.
- Click the matching crests to solve.
- Collect the horn.
- Move ahead.
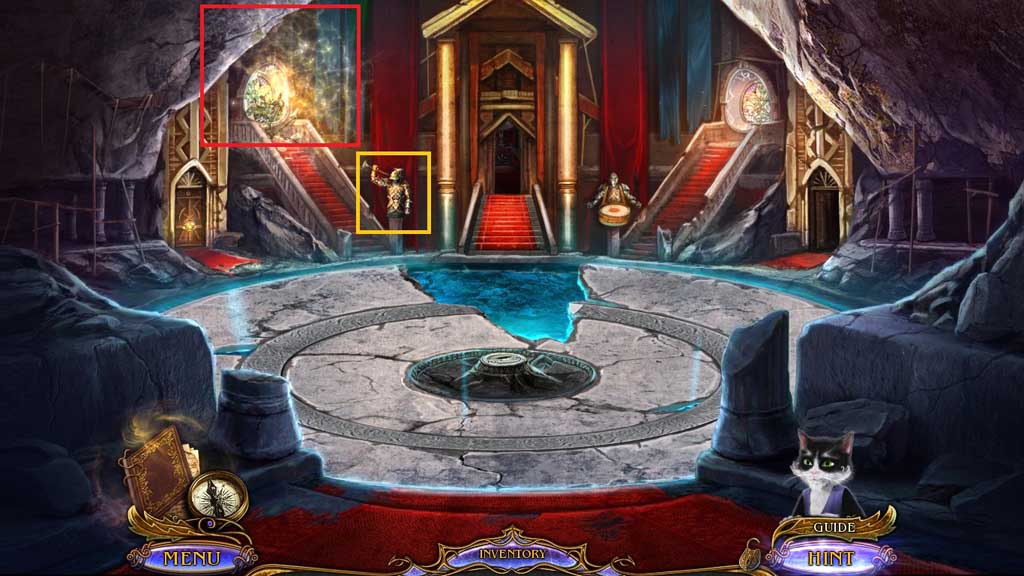
- Place the horn onto the statue.
- Click the hidden objects area.
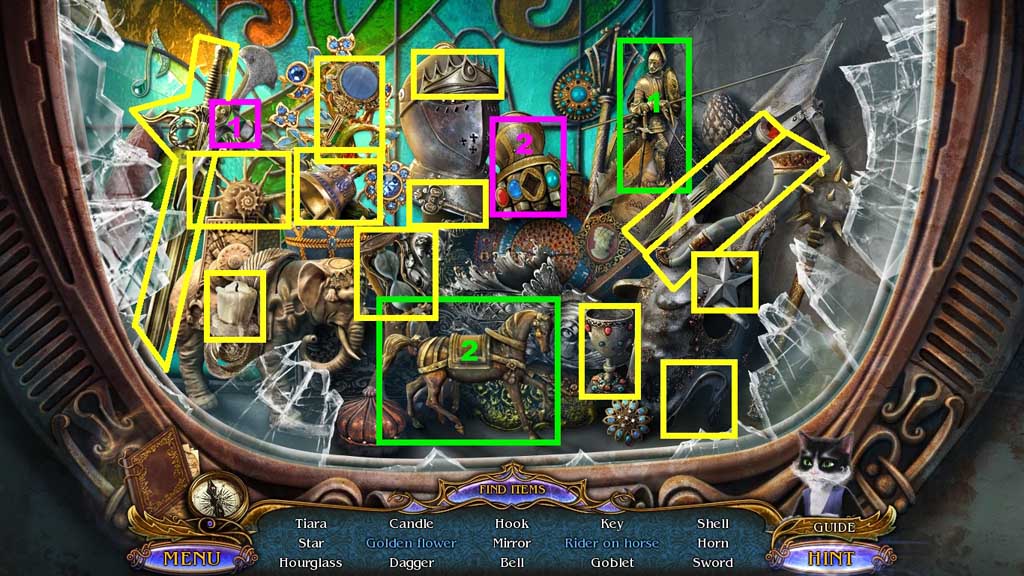
- Find the items.
- Select the emerald and insert it into the gauntlet; collect the golden flower.
- Select the rider and place it onto the horse; collect the rider on the horse.
- Collect the sword.
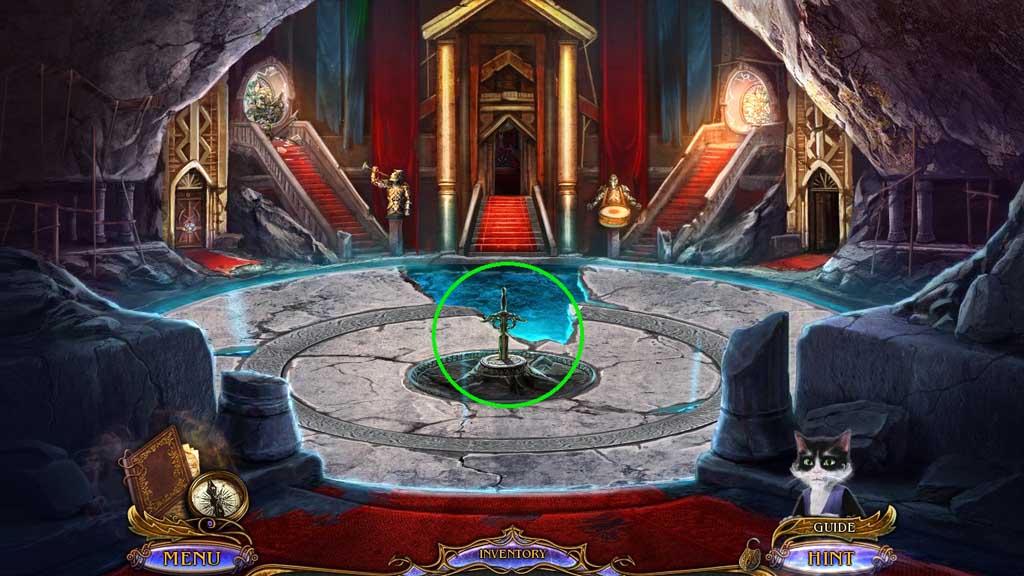
- Insert the sword; click it once.
- Move ahead.
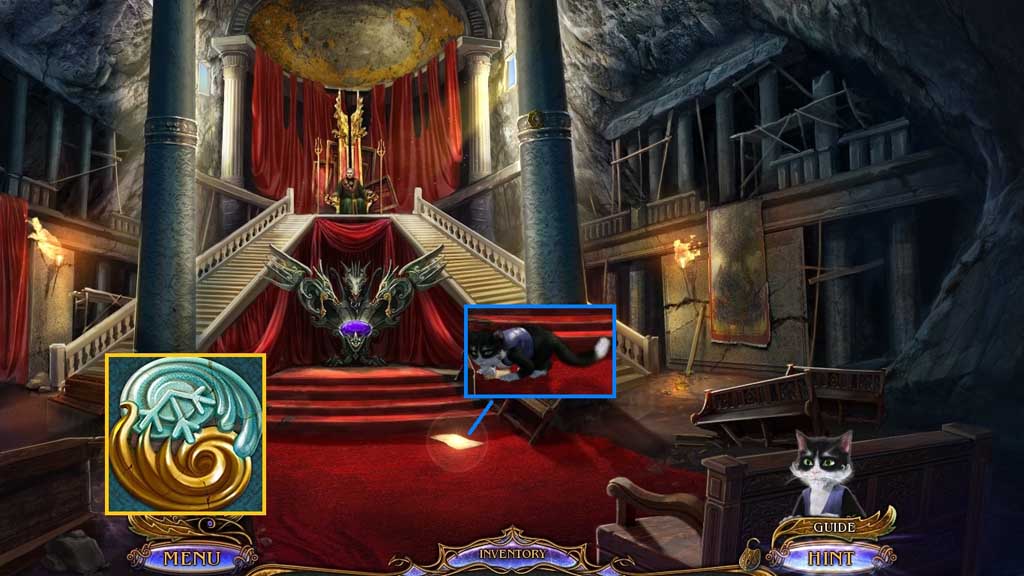
- Receive the arc of fire and place it with the arc of ice to create the elemental amulet.
- Select Muir to collect the piece of paper.
- Move down once and go to the right.
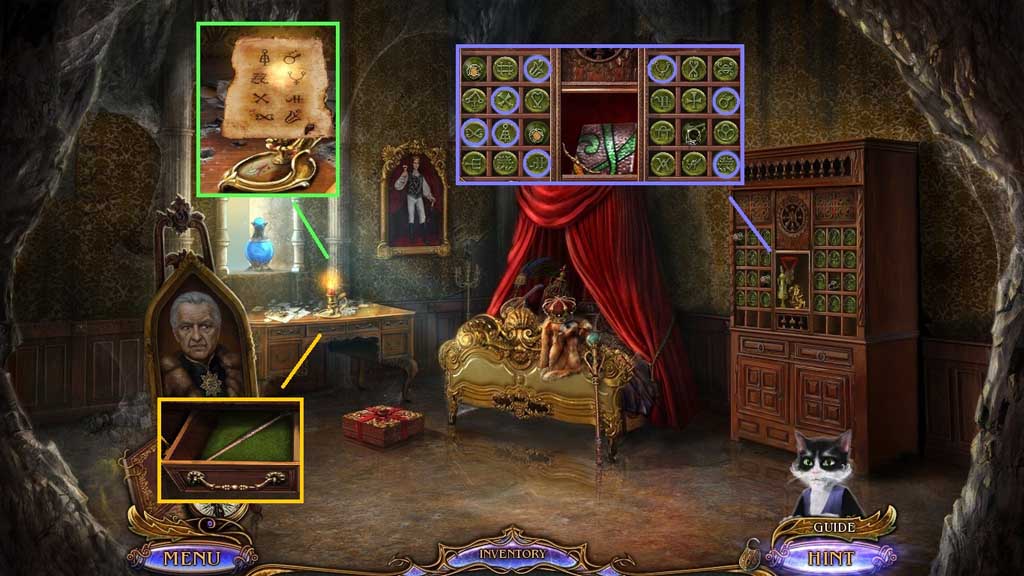
- Place the piece of paper over the candle flame.
- Notice the symbols.
- Zoom into the chest to trigger a mini game.
- Click the symbols as shown on the diagram to solve the game.
- Collect the stained glass fragment and the drawer handle.
- Attach the drawer handle and click it open.
- Collect 2 /2 drumsticks.
- Move down once.
- Chapter-6-10-Stained-Glass
- Insert the stained glass fragment and complete the image.
- Collect the lens.
- Place the 2 drumsticks onto the statue; collect the feather duster.
- Move down once.
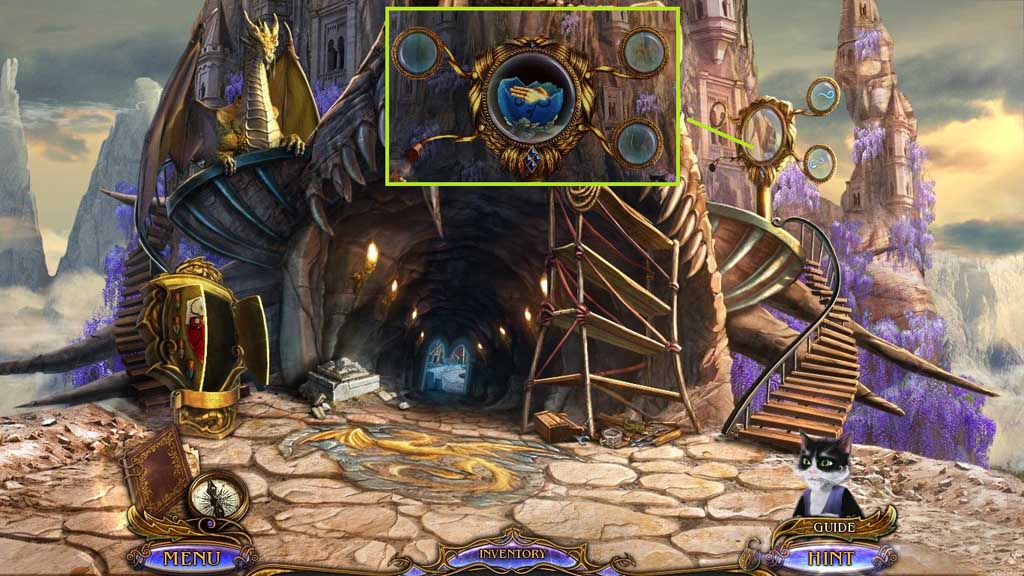
- Insert the lens to trigger a mini game.
- Solve the game by recreating the image.
- Move to the Royal Apartments.
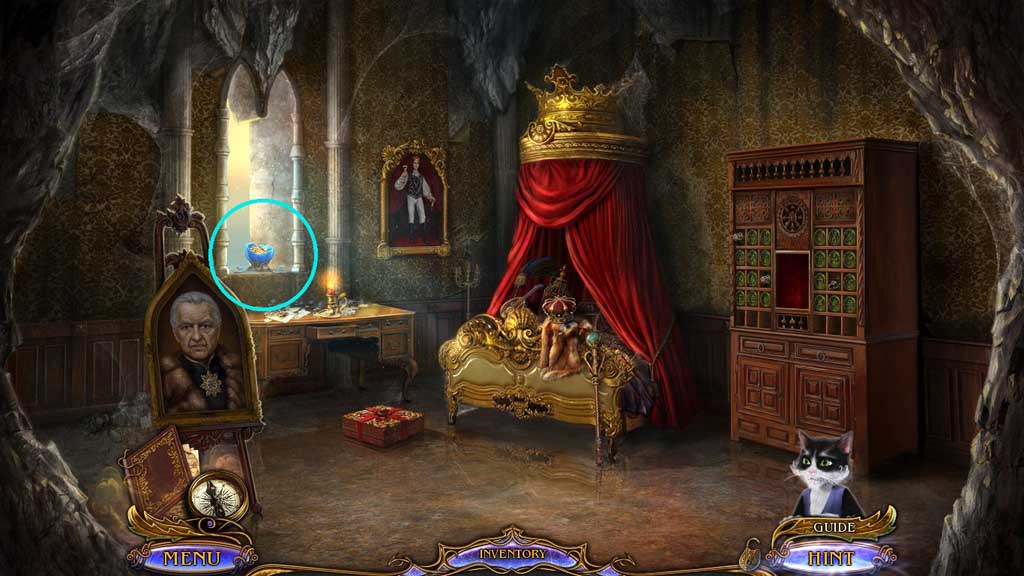
- Collect the golden hand.
- Move to the Throne Room.
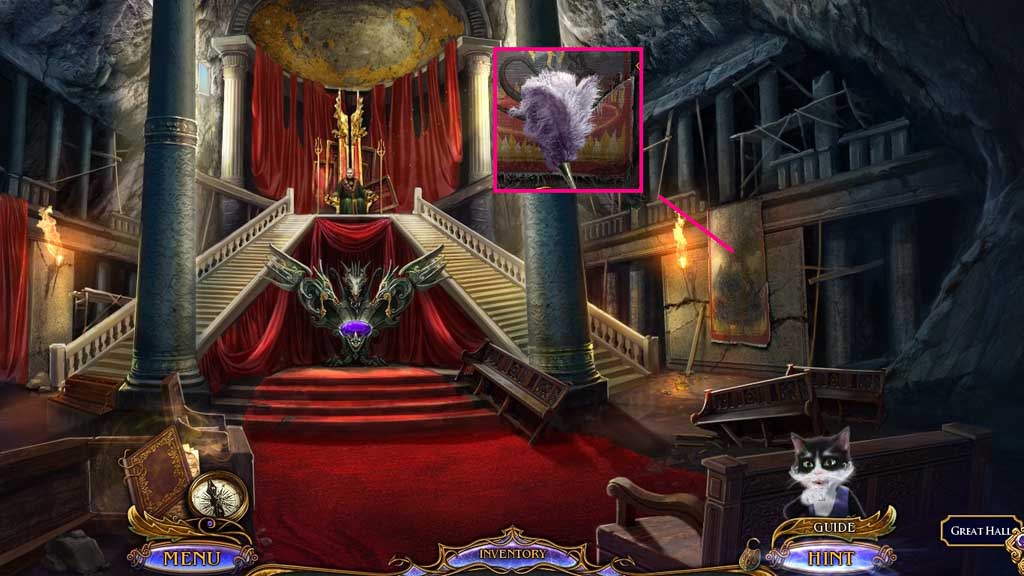
- Select the feather duster to use on the rug; collect the piece of cloth.
- Move to the Royal Apartments.
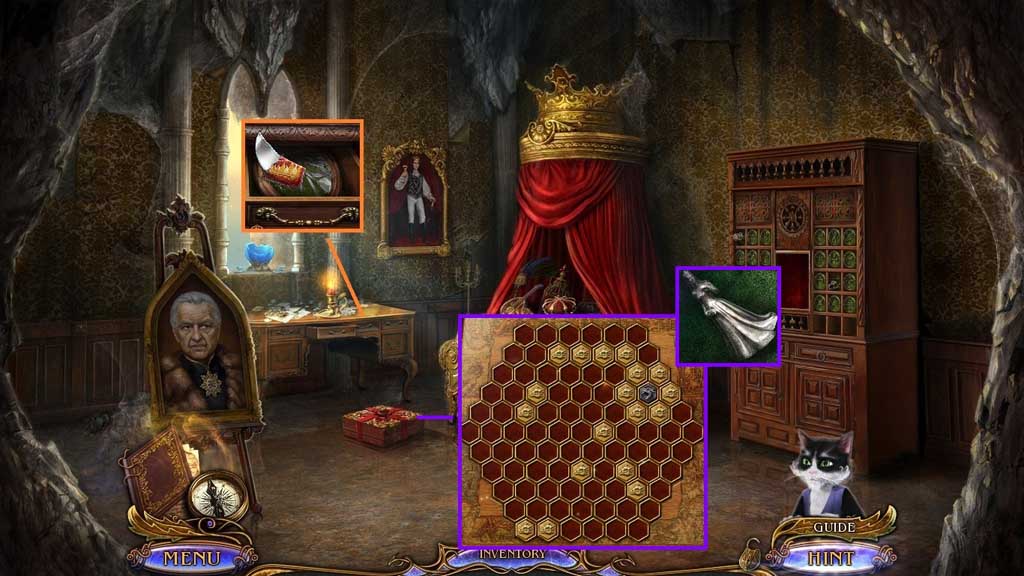
- Click the drawer.
- Select the piece of cloth to collect the improvised knife.
- Select the improvised knife to slice the box and trigger a mini game.
- Solve the game by surrounding the black coin by gold coins.
- Collect the silver statuette.
- Move down 2x’s.
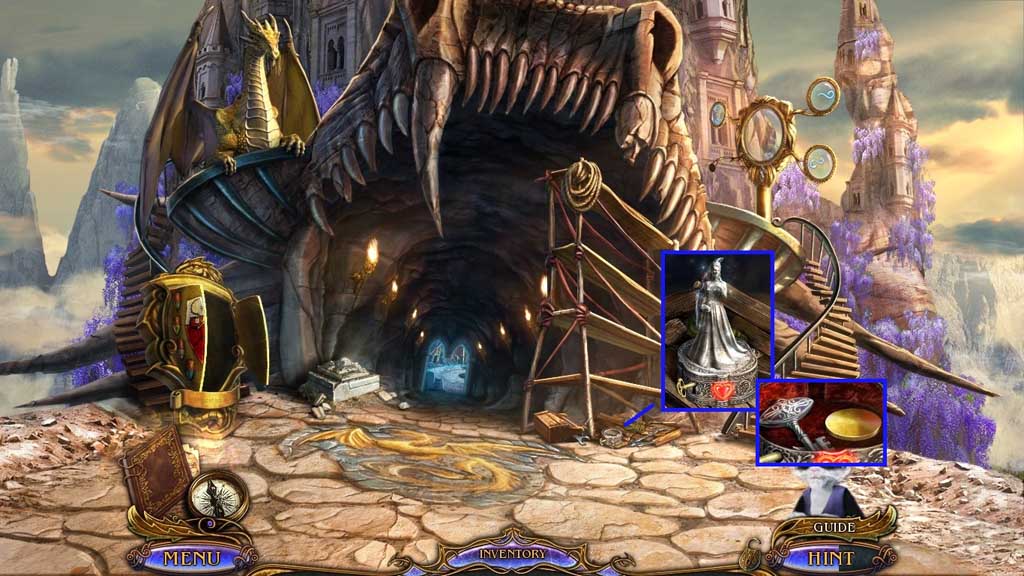
- Insert the silver statuette; click the key 4x’s.
- Collect 2 /3 golden discs and 1 /2 treasury keys.
- Move to the Shipwreck.
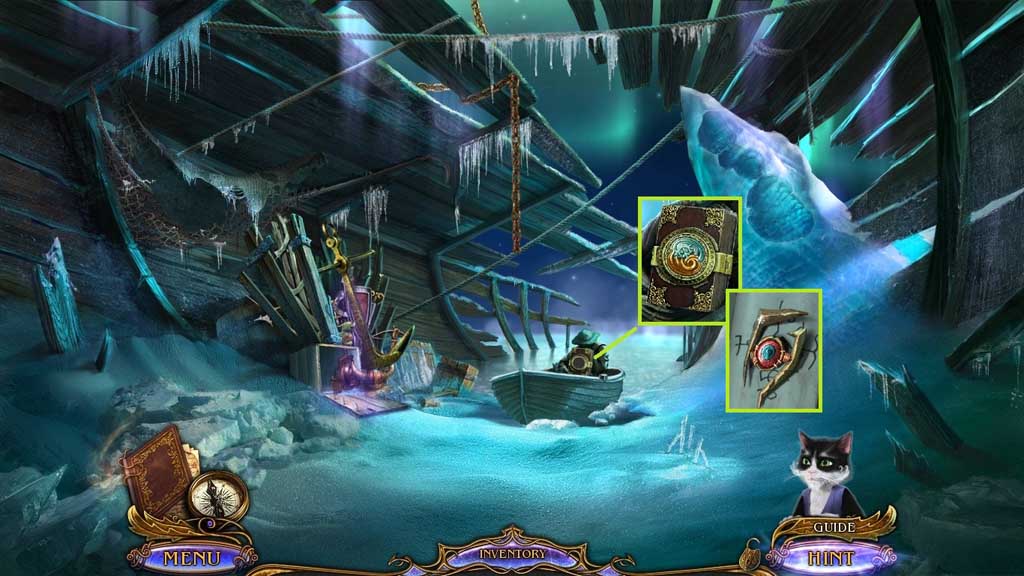
- Insert the elemental amulet; collect the rune key.
- Move to the Lighthouse.
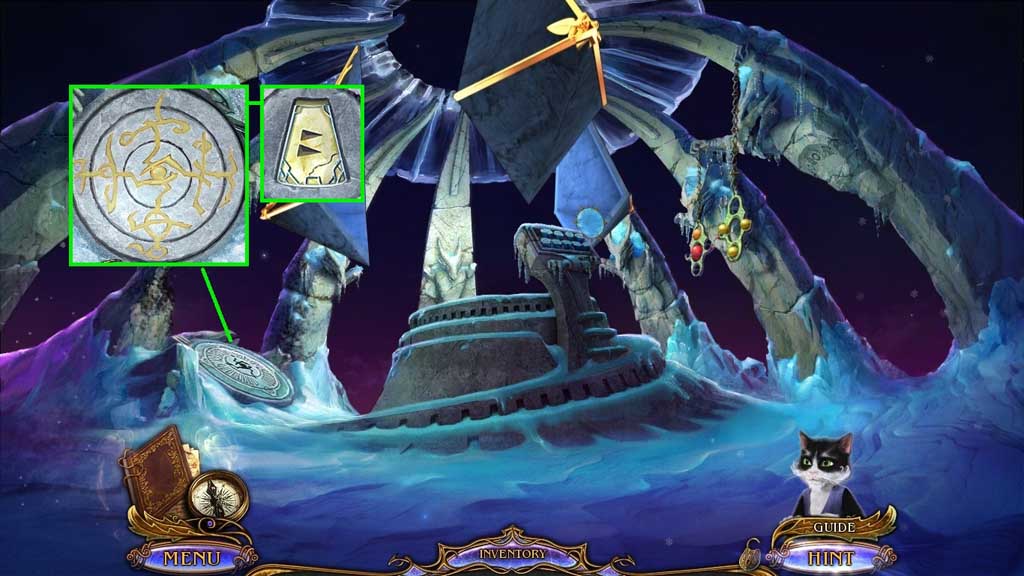
- Insert the rune key; arrange the rings correctly.
- Collect the chiseled stone.
- Move to the Dead Garden.
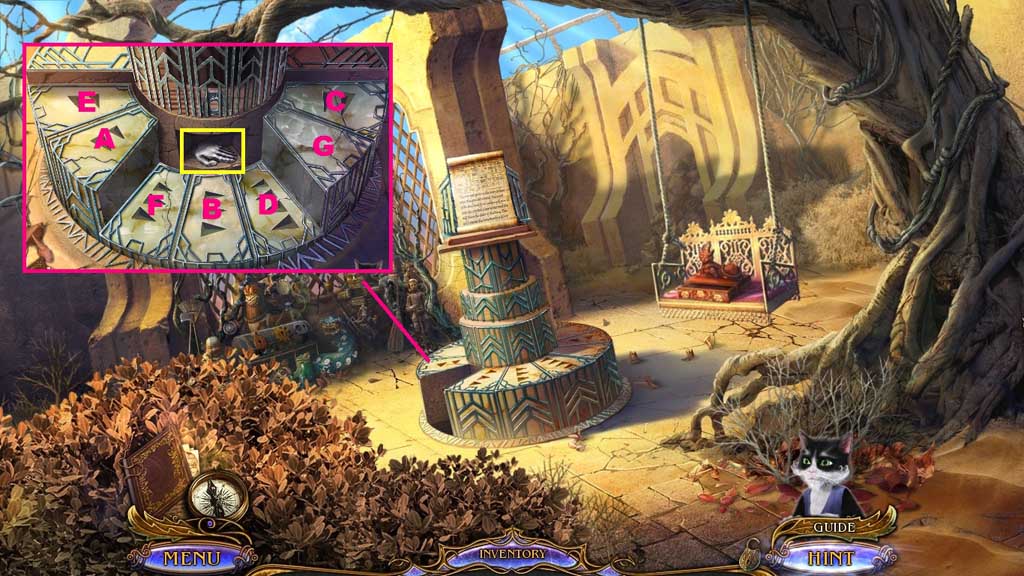
- Insert the chiseled stone to trigger a mini game.
- Solve the game by selecting the steps in the correct sequence.
- Collect the silver hand.
- Move to the Town Walls.
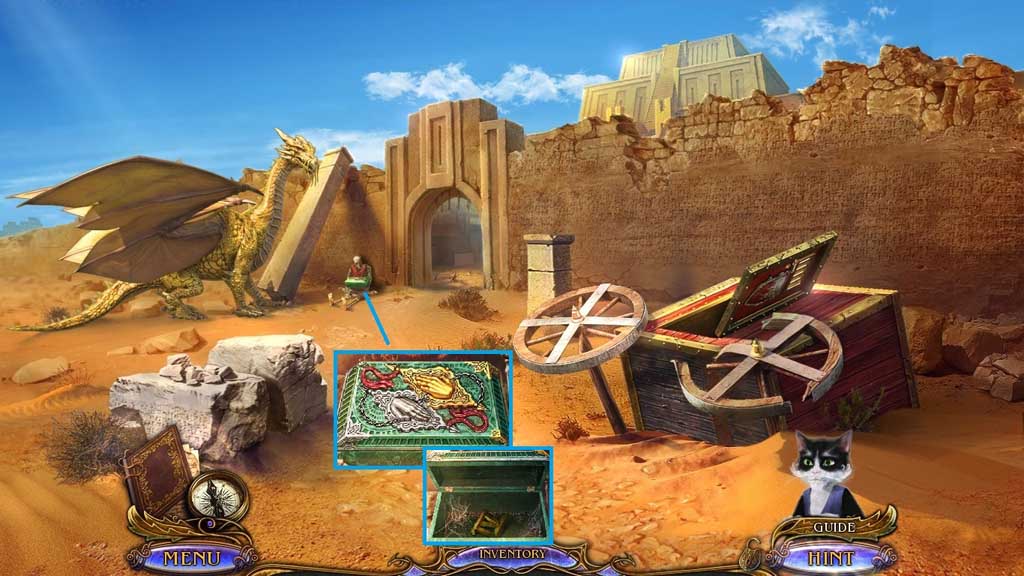
- Insert the gold and silver hands; collect the fourth sign.
- Move to the Laboratory; click the hidden objects area.
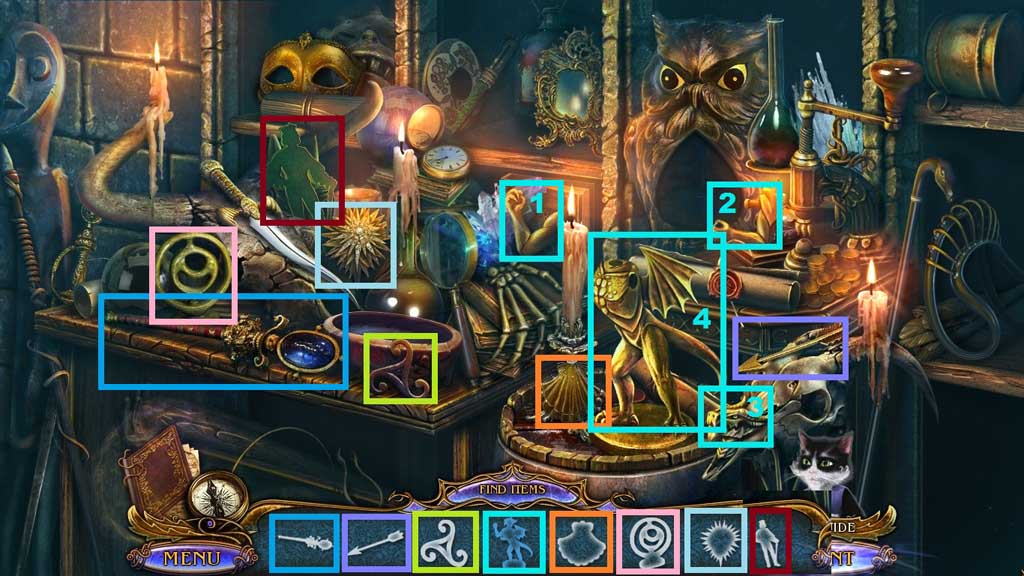
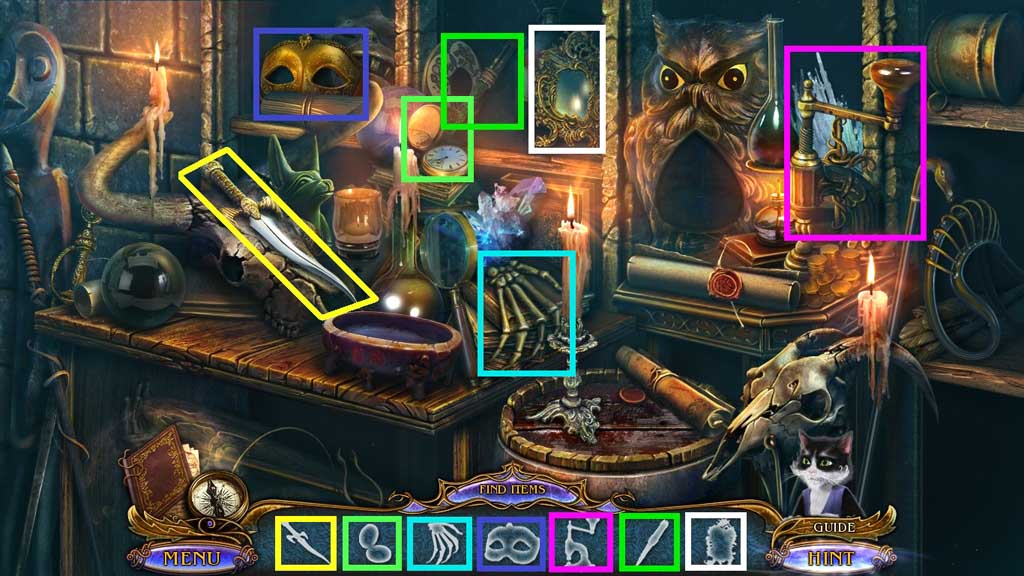
- Find the items.
- Collect the parts and place them onto the statue; collect the statue.
- Collect the king silhouette.
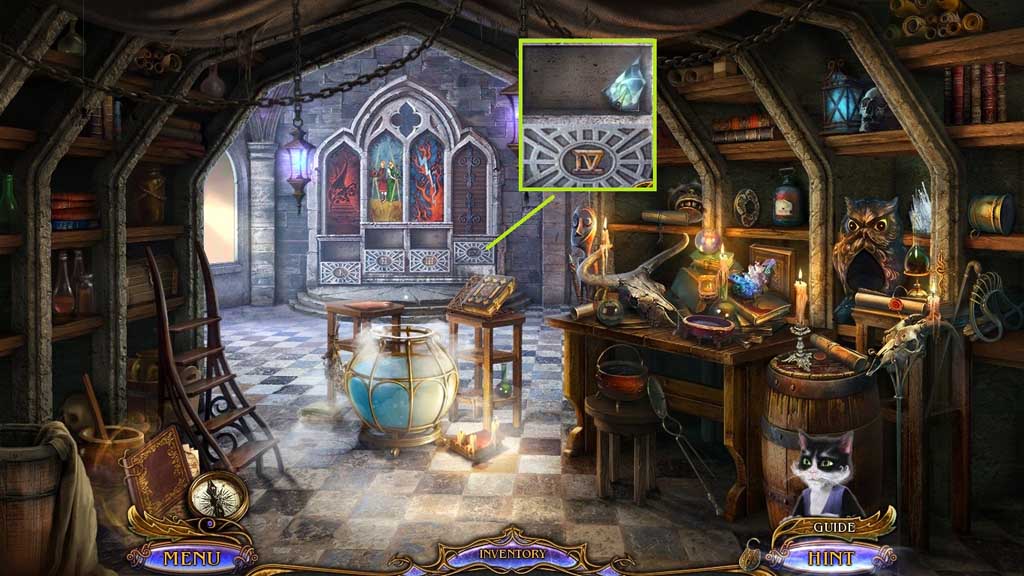
- Insert the fourth sign; collect the silver crystal flame.
- Move to the Throne Room.
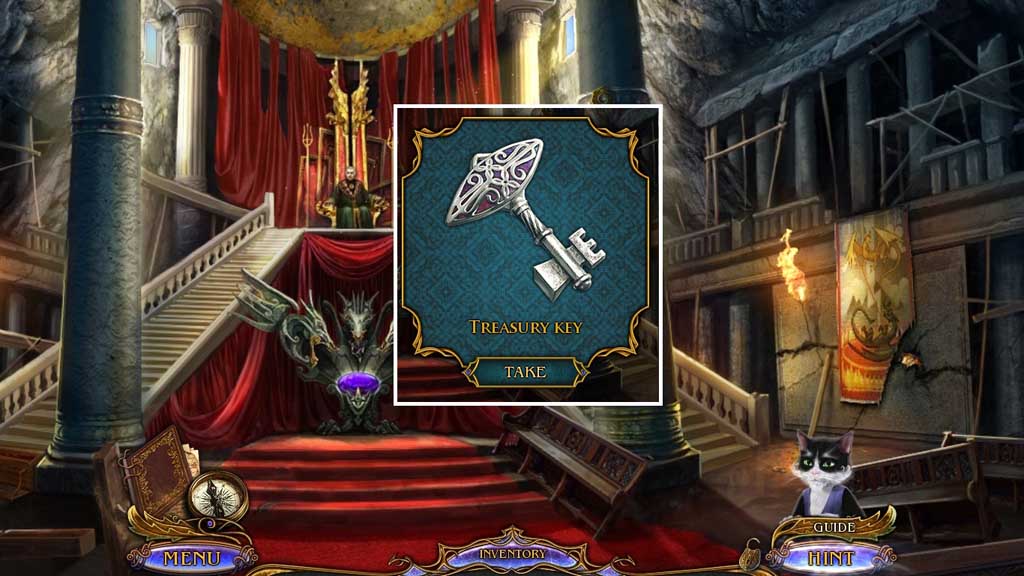
- Receive 2 /2 treasury keys.
- Move down once.
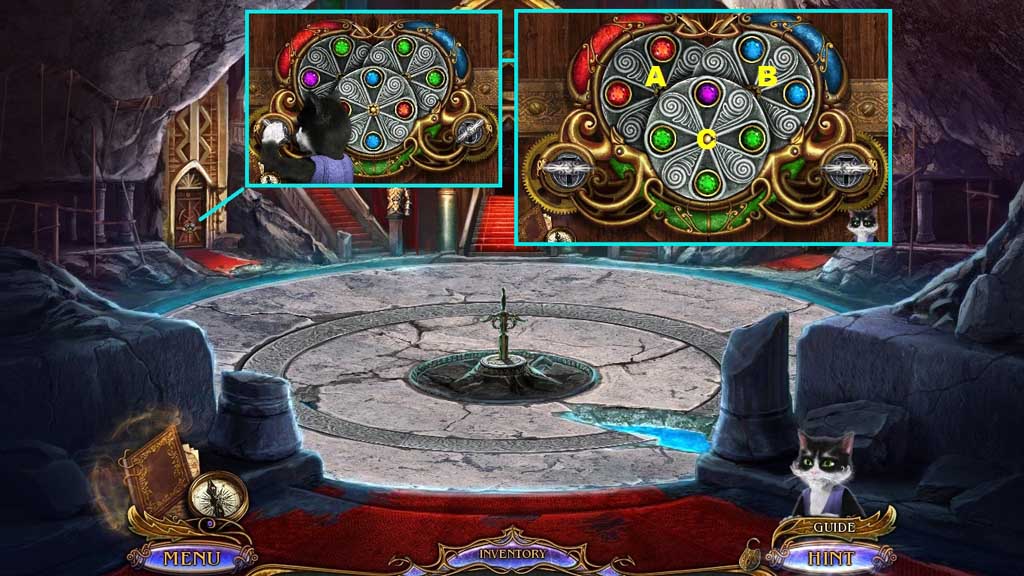
- Insert the 2 treasury keys.
- Select Muir to use on the lock.
- Click the key to trigger a mini game.
- Solve the game by rotating the discs and placing the colored crystals into the correct alignment.
- Click the discs in the following sequence: B – C x 2 – B – A – C – A x 2 – C
- Move to the left.
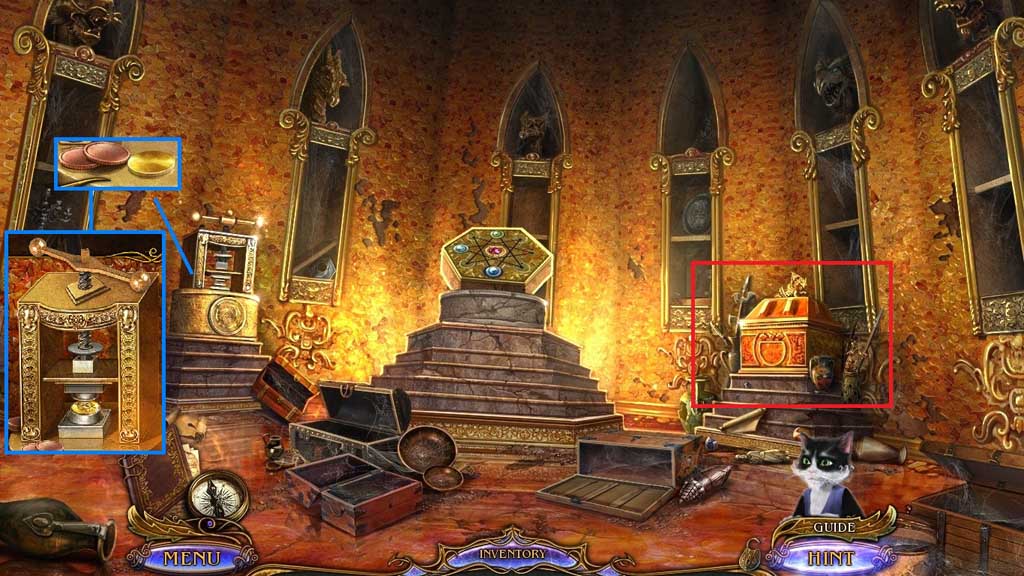
- Collect 3 /3 golden discs.
- Insert a golden disc into the device and click the handle.
- Collect the golden coin.
- Repeat the process with the remaining 2 golden discs.
- Insert the 3 golden coins into the chest to trigger a hidden objects area.
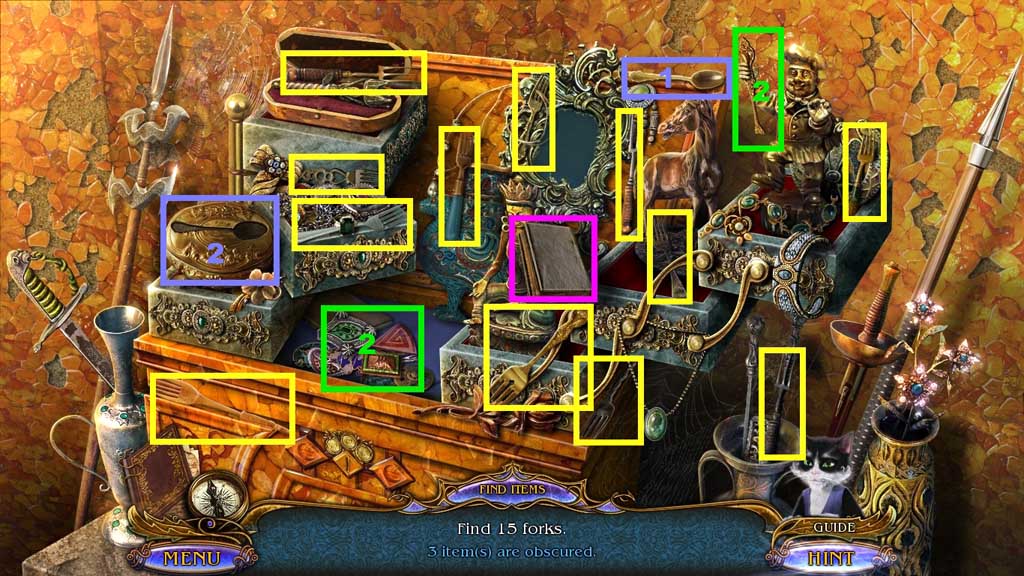
- Find the items.
- Select the spoon and insert it into the groove; collect the fork.
- Click the book; collect the fork.
- Click the fragments to select the tines; attach them to the handle and collect the fork.
- Collect the silver fork.
- Move to the Throne Room.
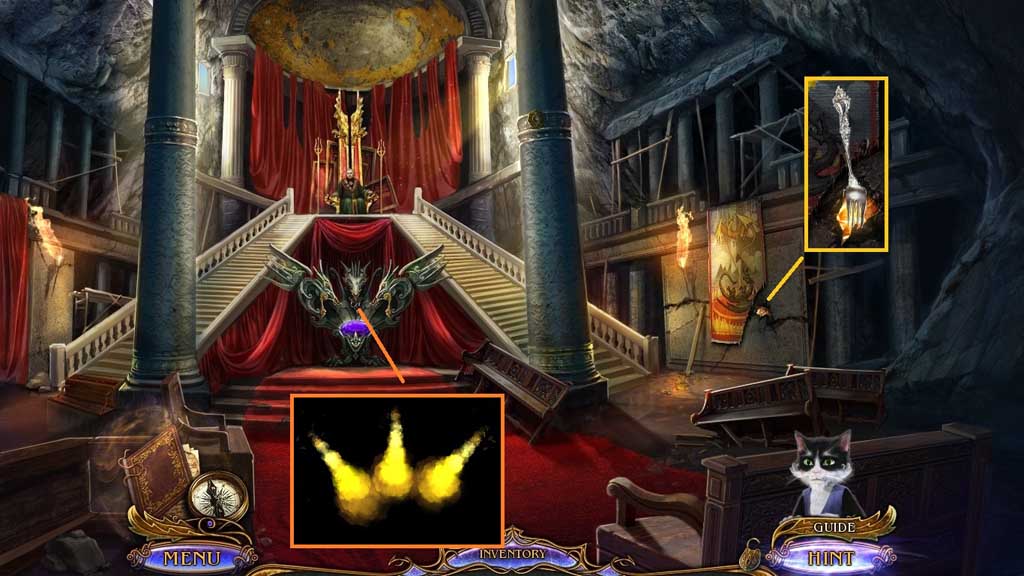
- Select the silver fork to collect the golden crystal flame.
- Insert the silver and golden crystal flames into the statue.
- Click the flames until they turn yellow; collect the lever tip.
- Move to the Treasury.
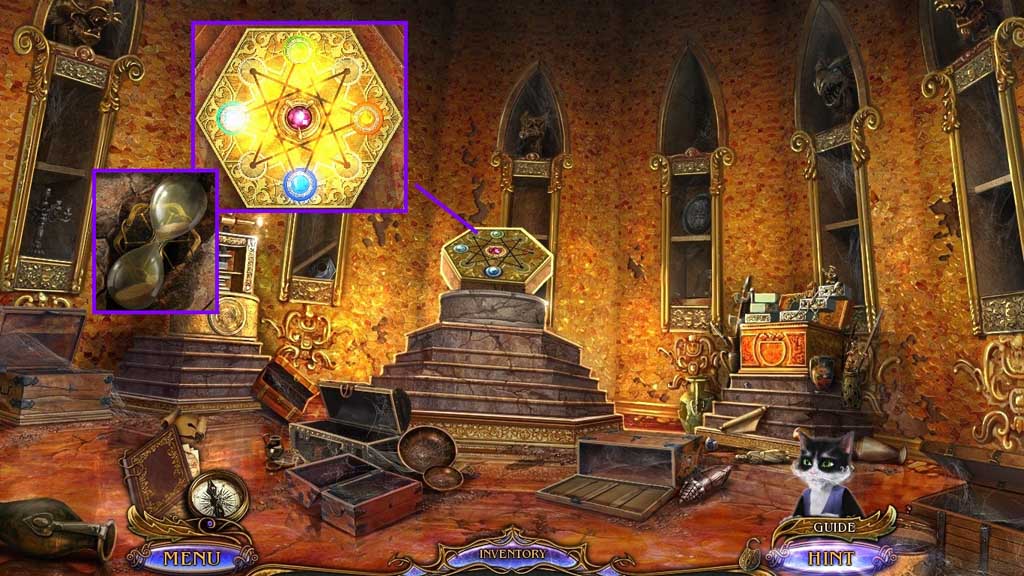
- Insert the lever tip to trigger a mini game.
- Solve the game by
- Collect the hourglass.
- Move to the Queen’s Bedroom.
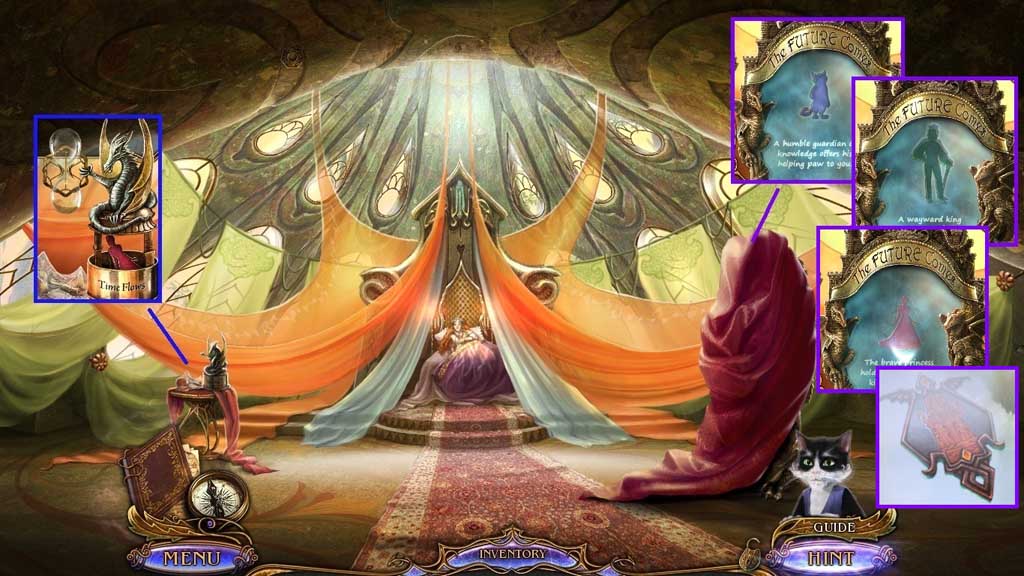
- Insert the hourglass; collect the princess silhouette.
- Click the cloth.
- Insert the cat, the king and the princess silhouettes into the mirror; collect the marker: The Temple of Chains.
- Move down 2x’s.
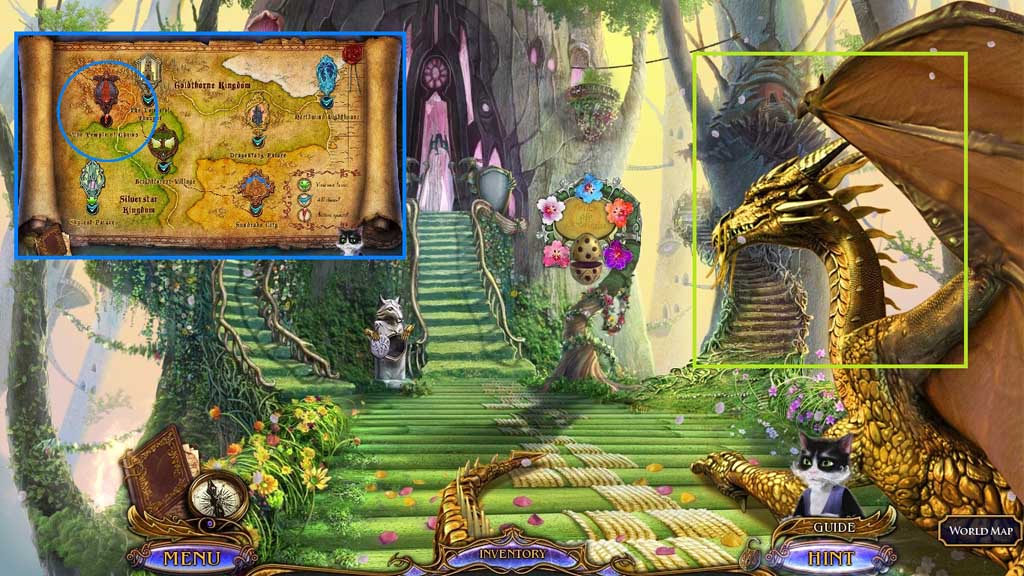
- Click Raid.
- Insert the marker: The Temple of Chains.
- Click it once.
Comments will load when you reach this part of the walkthrough.