

Chapter Four: Northwind Lighthouse
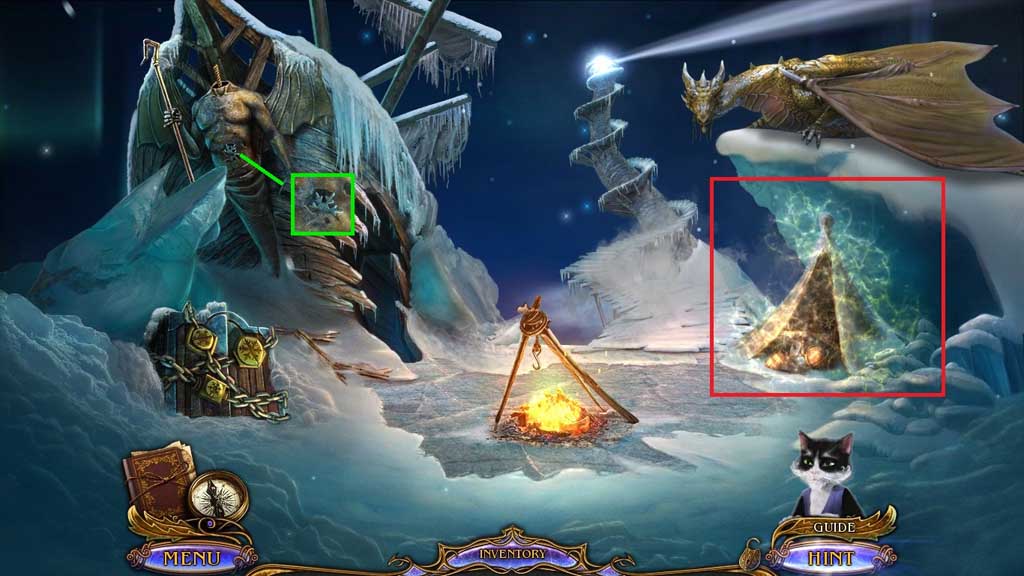
- Collect the small snowflake.
- Click the hidden objects area.
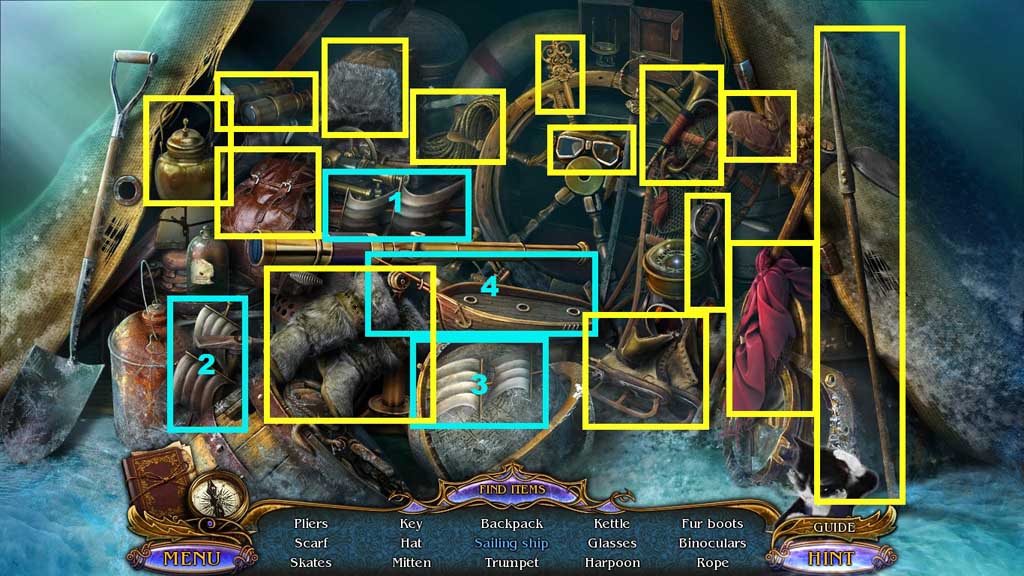
- Find the items.
- Collect the sails and place them onto the boat; collect the sailing ship.
- Move ahead.
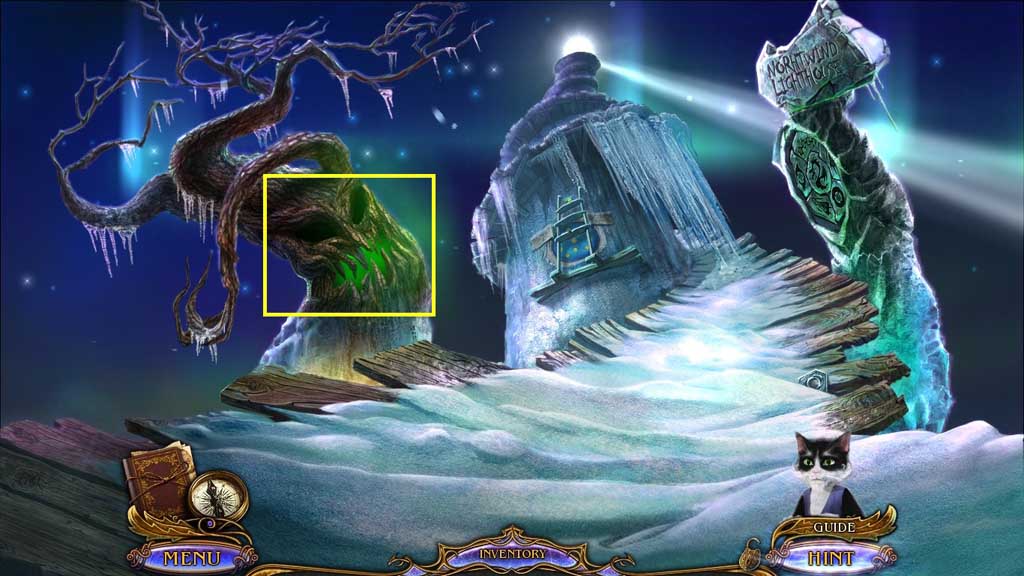
- Collect the curved knife.
- Move down once and go to the left.
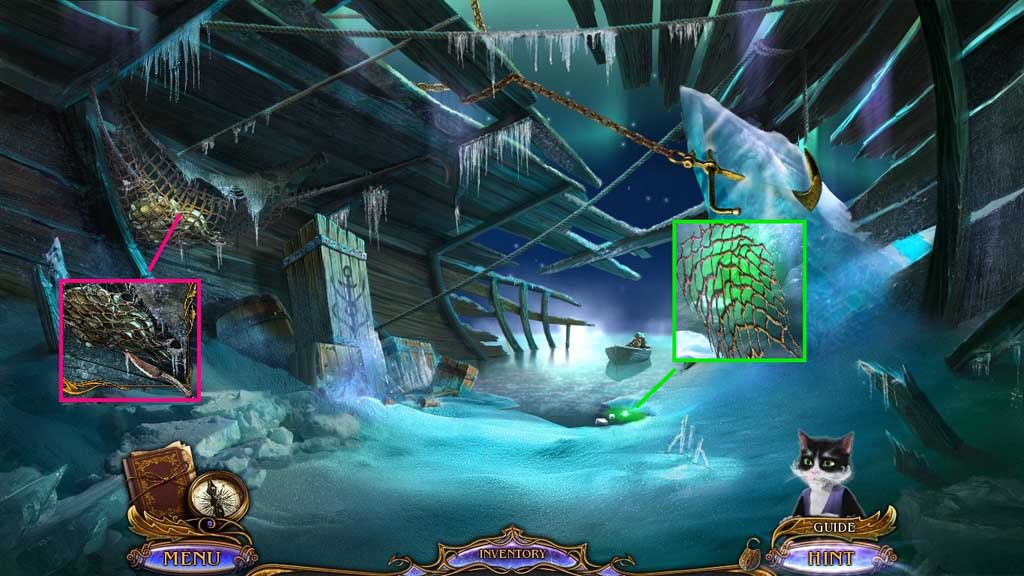
- Use the curved knife to slice and collect the netting; collect the tentacle head.
- Select the netting to collect 1 /2 green eyes.
- Move down once.
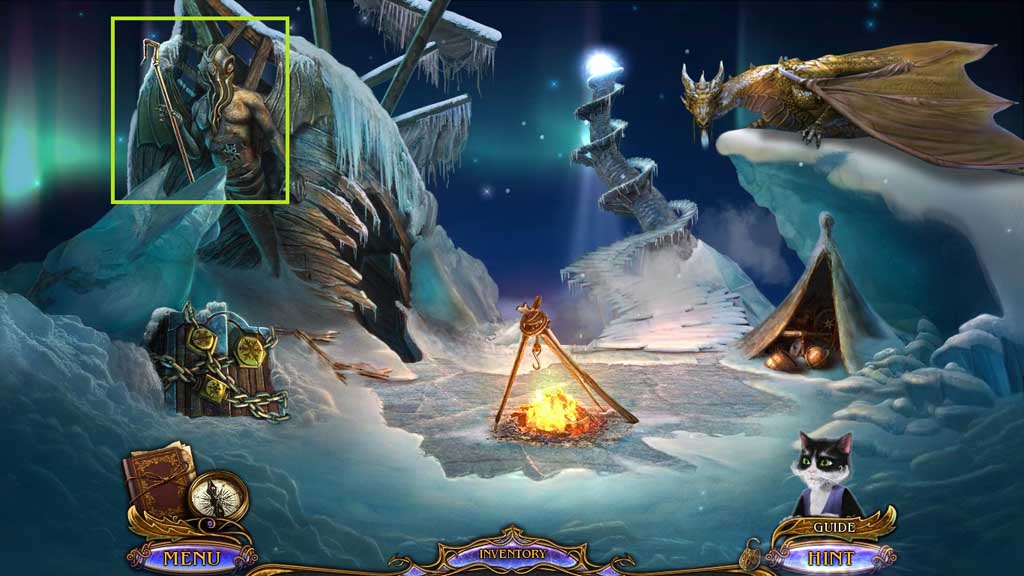
- Attach the tentacle head; collect the fishing hook.
- Move ahead once.
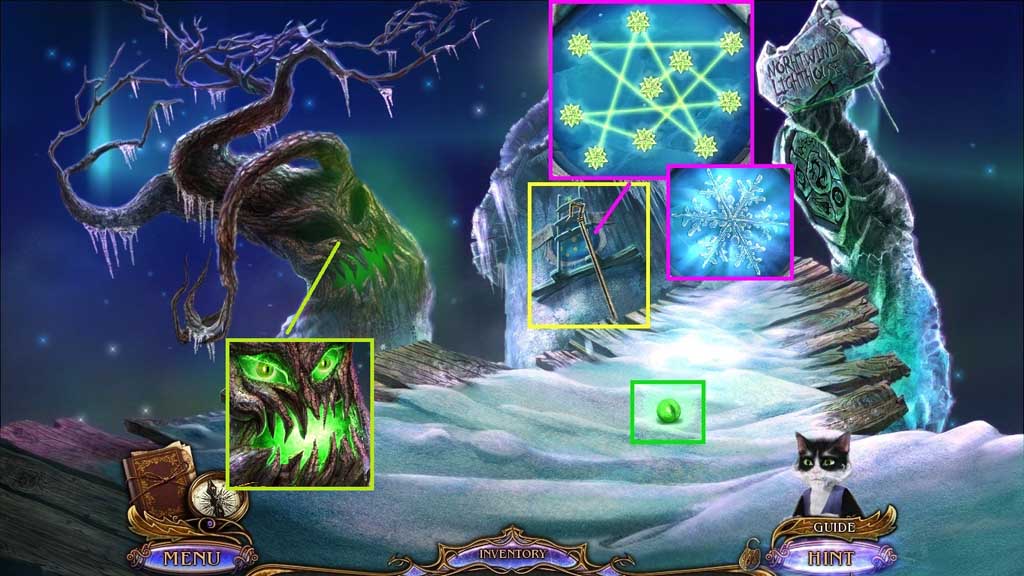
- Select the fishing hook to use on the ladder; collect 2 /2 green eyes.
- Zoom into the window to trigger a mini game.
- Solve the game by connecting the stars using a line that crosses every star.
- Collect the large snowflake.
- Insert the 2 green eyes.
- Move down once.
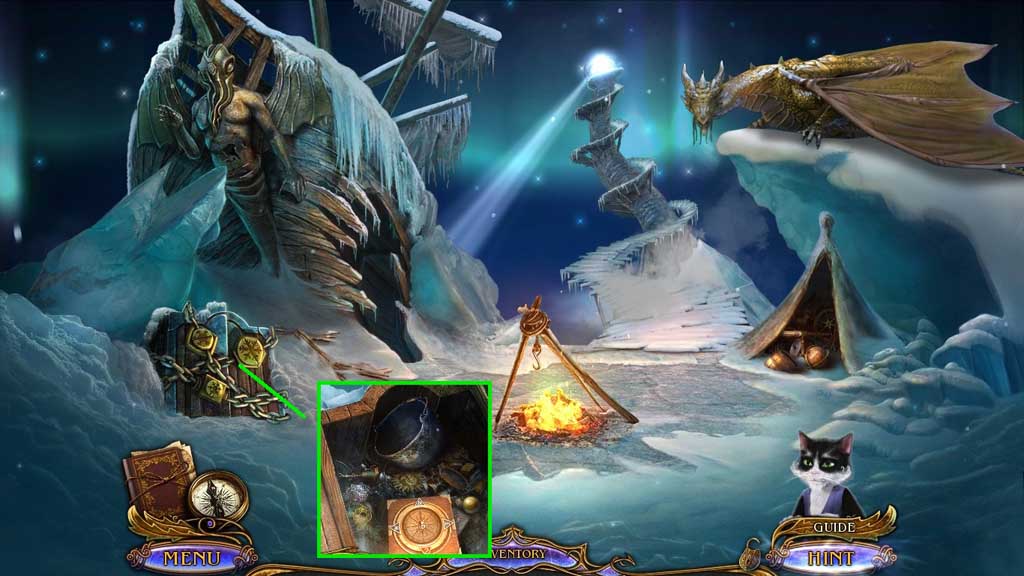
- Insert the small, medium and large snowflakes; collect the empty pot and 1 /3 weights.
- Move to the left.
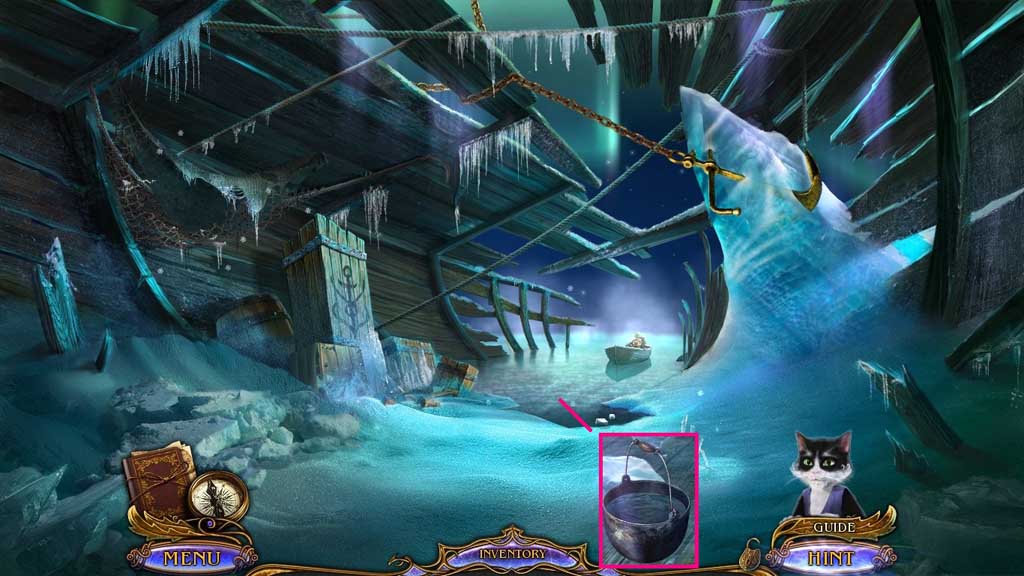
- Select the empty pot to dip into the water and receive the pot of water.
- Move down once.
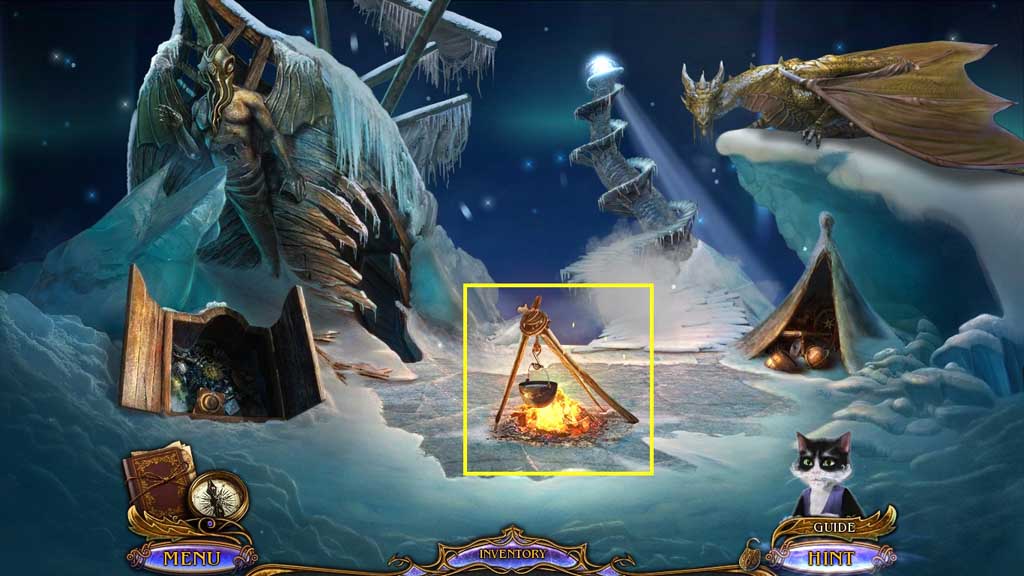
- Place the pot of water onto the fire; collect the boiling water.
- Move to the left.
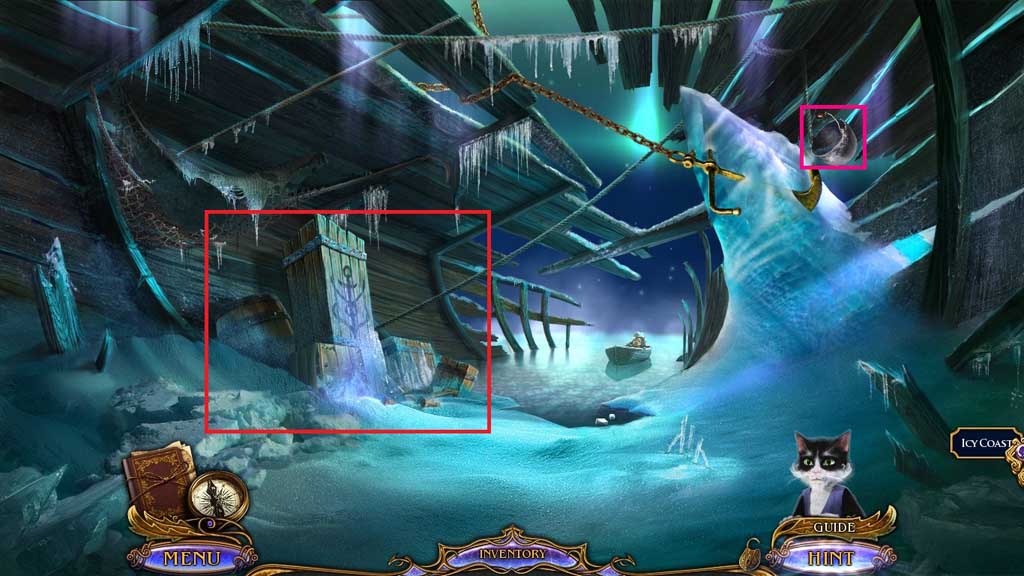
- Pour the boiling water onto the iced anchor.
- Click the hidden objects area.
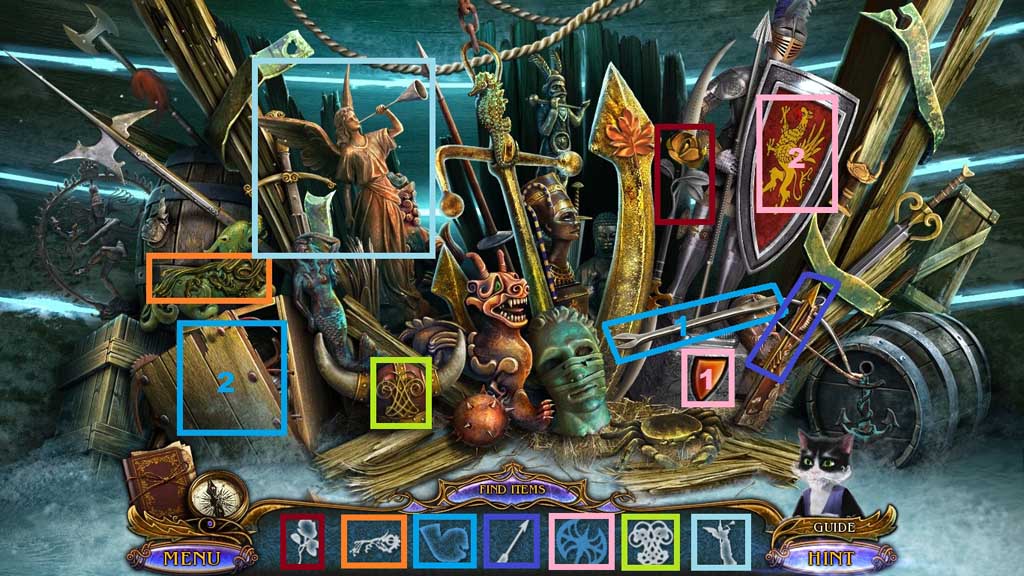
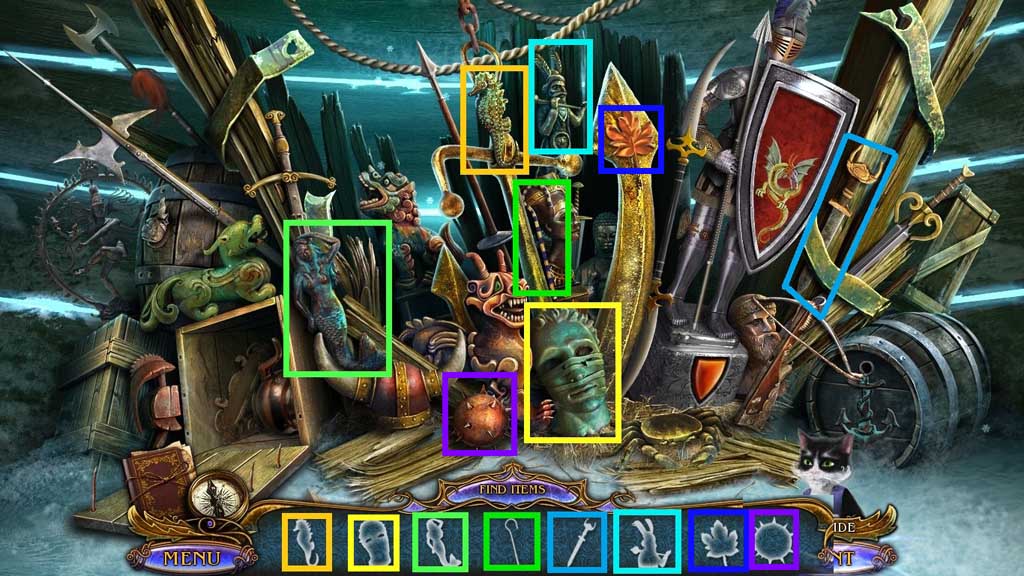
- Find the items.
- Select the nail puller and use it to remove the nails; collect the horse statue.
- Click the button 3x’s; collect the axe blade.
- Collect the spiked cannon ball.
- Move to the Snowy Trail.
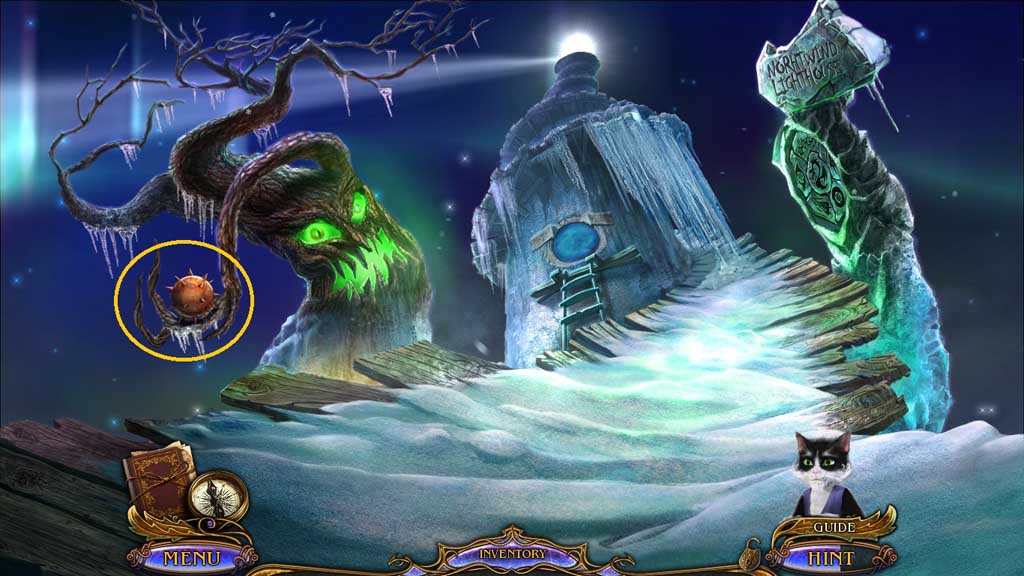
- Place the spiked cannon ball onto the tree.
- Move ahead.
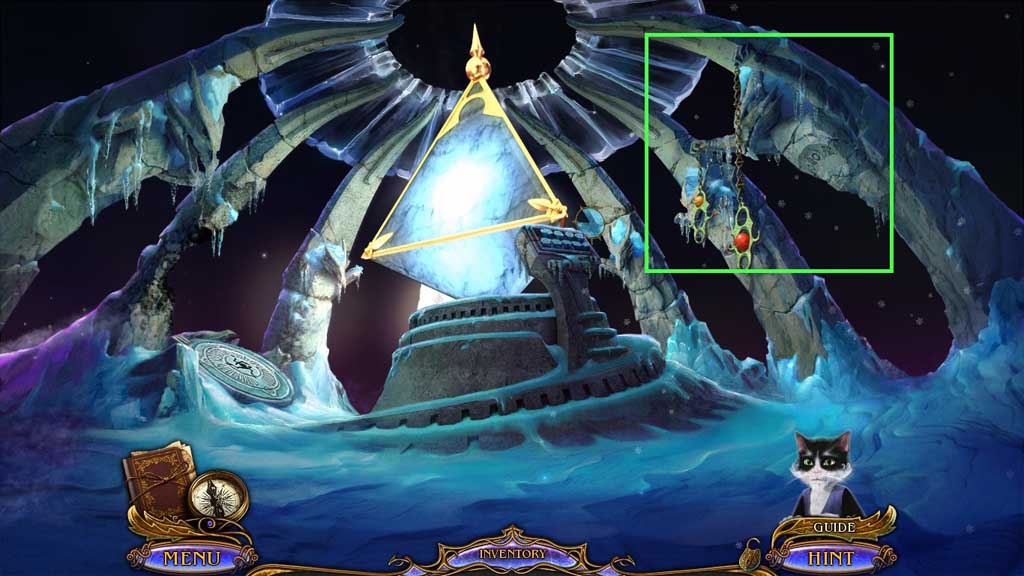
- Zoom into the statue and notice the symbols.
- Move down once.
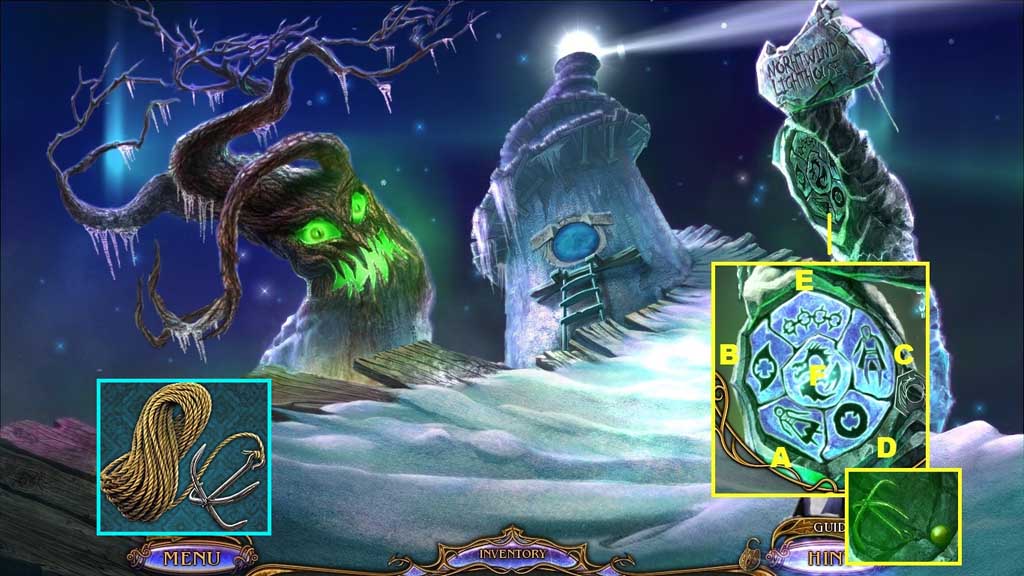
- Click the symbols in the correct order.
- Collect the hook and 2 /3 weights.
- Attach the hook and the rope to create the rope with a hook.
- Move to the Shipwreck.
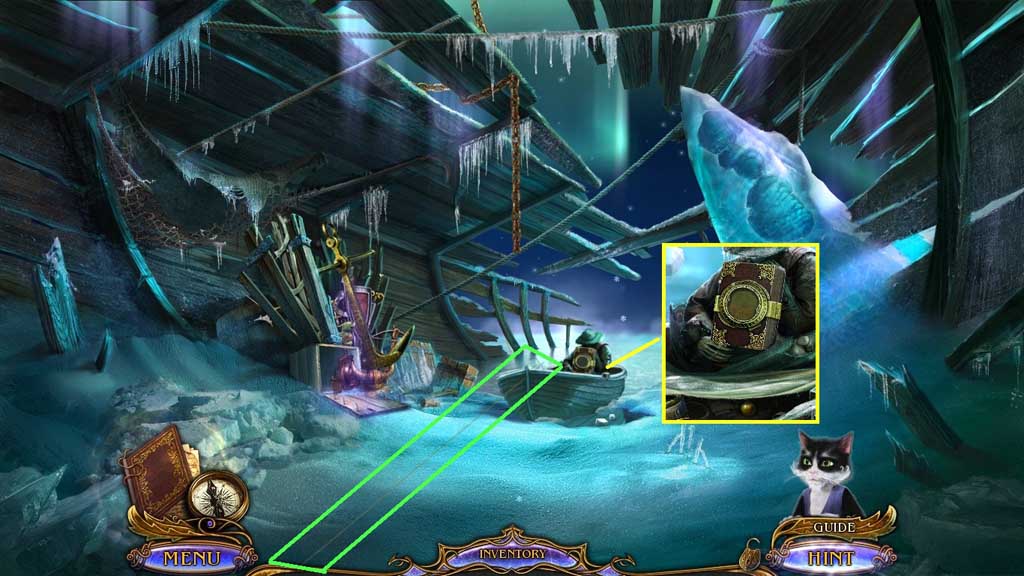
- Select the rope with hook to use on the boat.
- Click the canvas; collect 3 /3 weights.
- Move to the Lighthouse.
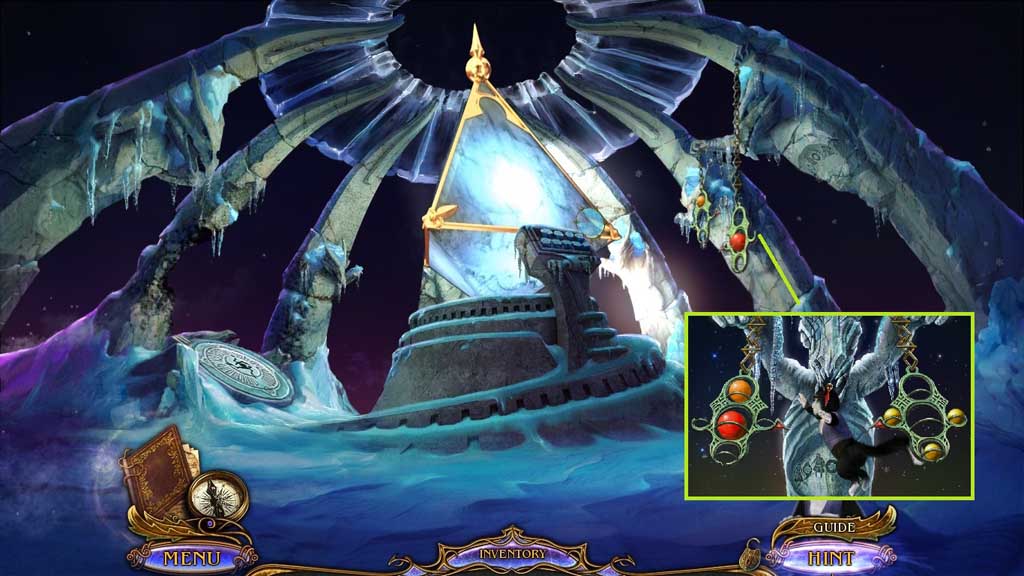
- Place the 3 weights onto the chain.
- Arrange the weights into the correct alignment.
- Select Muir to collect the compass needle.
- Move down 2x’s.
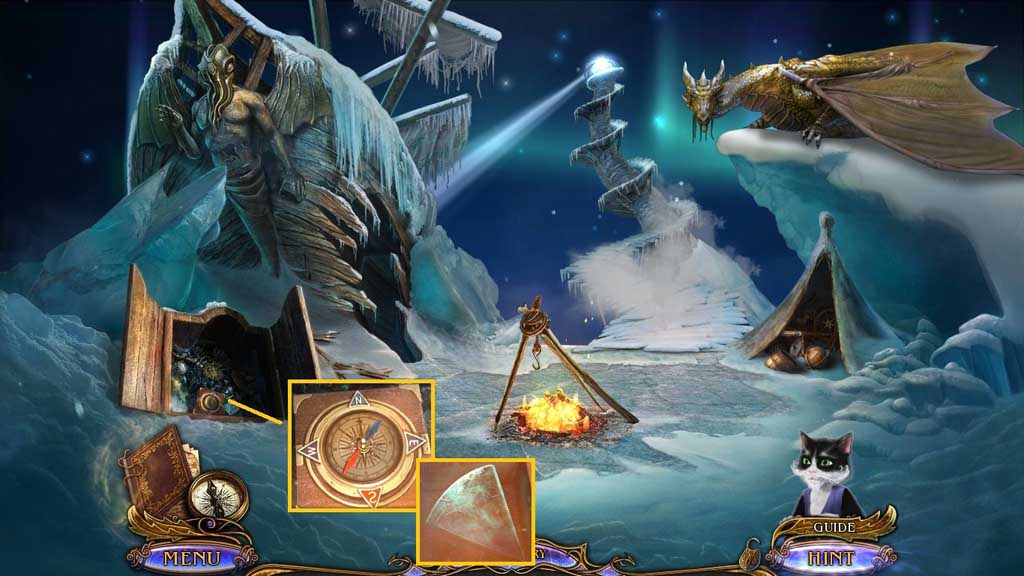
- Insert the compass needle; collect the crystal triangle.
- Move to the Lighthouse.
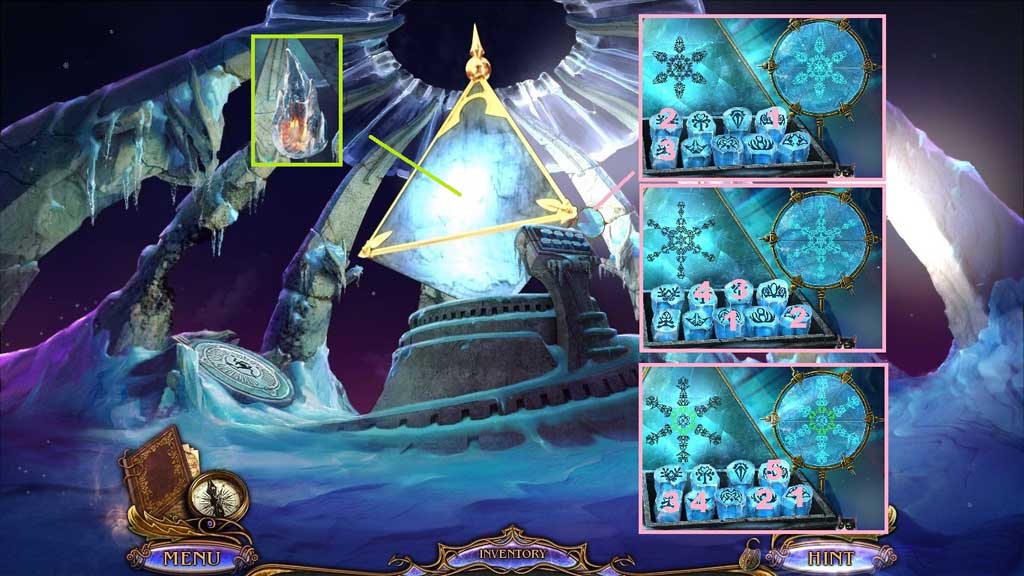
- Place the crystal triangle onto the stand to trigger a mini game.
- Solve the game by recreating the snowflakes.
- Collect the frozen fire.
- Move to the Laboratory.
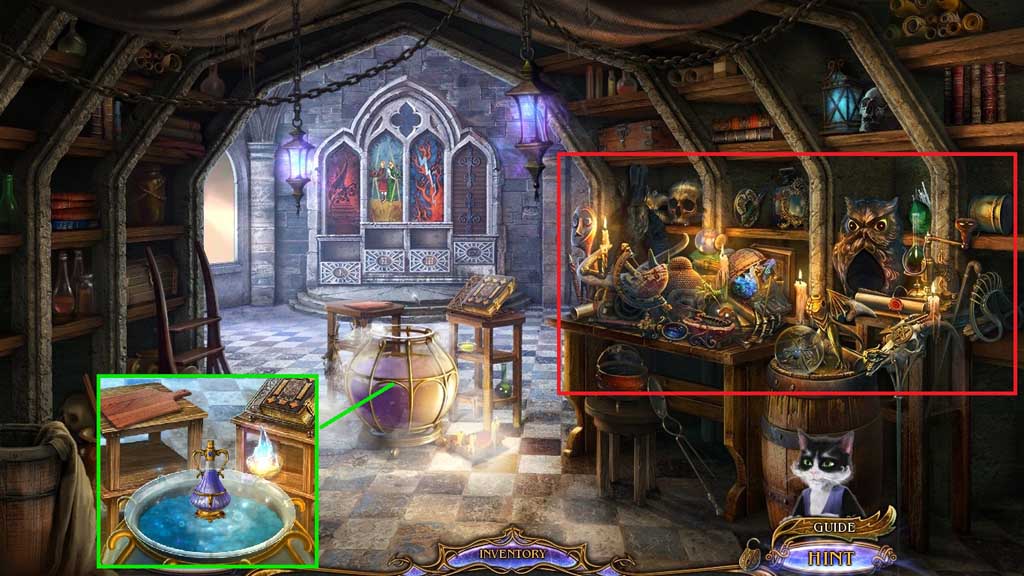
- Place the frozen fire into the bowl, and then place it into the cauldron.
- Dip the bottle into the cauldron; receive the elixir of life.
- Click the hidden objects area.
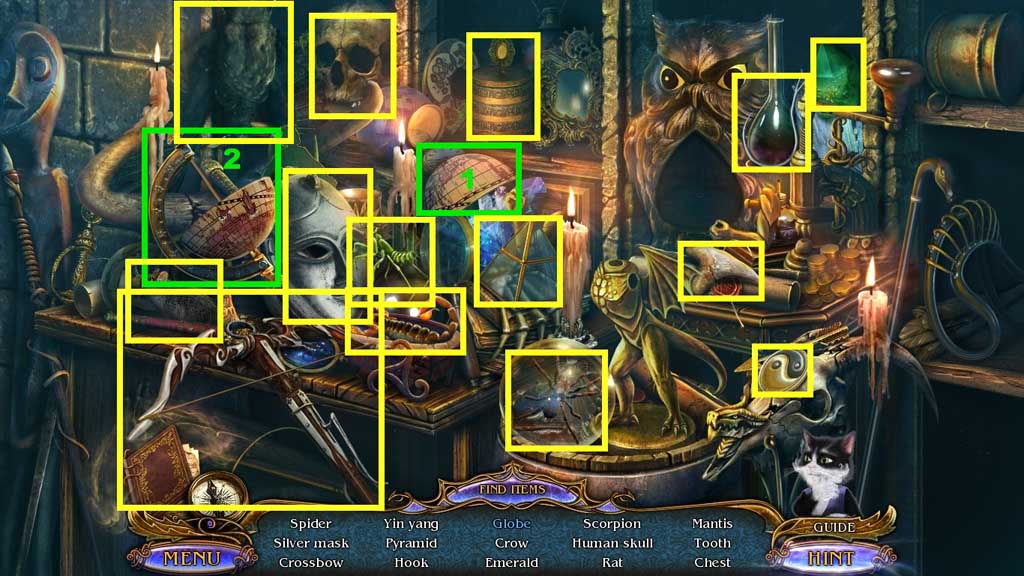
- Find the items.
- Select the globe top and place it onto the bottom half; collect the globe.
- Collect the crossbow.
- Move to the Dragon’s Prison.
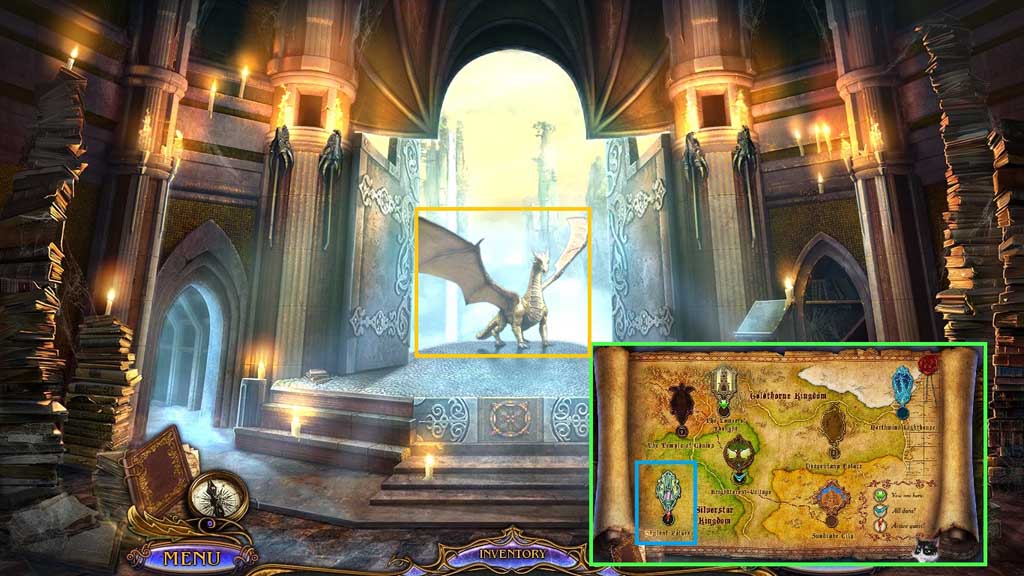
- Click Raid.
- Click the map.
- Click Skyleaf Palace.
Comments will load when you reach this part of the walkthrough.