Route the bonus. Do not let it route you.
Bonus objectives love to bait you into splitting the party one turn too early, then the tray shows up full of awkward 2s and 3s and the far side of the map falls apart. That is how a clean run turns into a scramble. The safe way to play bonuses is to treat them as routing puzzles and only chase the ones your team can already pay for with normal rolls.
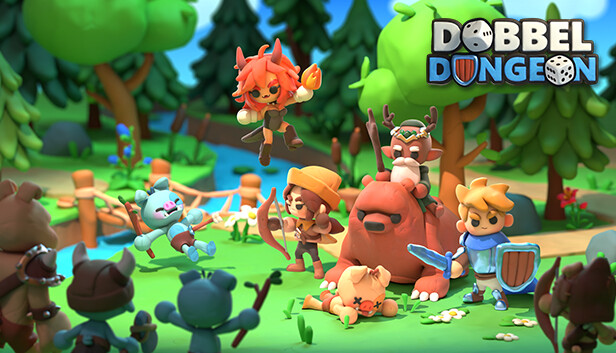
In early runs, keep your party setup plain and useful. Bring one hero who can protect the team, one who can cross distance fast, and one who can hit a group or pin enemies in place. AOE just means one action that hits more than one target. If your team can shield, heal, move, and clear a cluster, you already have the tools for most safe bonus attempts. Pick bonuses your team can already pay for with normal rolls, not ones that need a miracle.
Safe bonus order
- Take multi-kill bonuses only when you already have real AOE. Patch 1.0.6 changed Defeat x with one action objectives so they only appear for parties with access to at least two different AOE attacks. Treat that like a warning label. If your team cannot bunch enemies and burst them, skip it. The safe line is still a setup line: soften the pack, block the easy escape squares, then cash in the finisher on the next turn. Use one dice-fix if it turns a dead turn into a live one. Do not spend the whole round fishing for perfect numbers.
- Escort and Defend are only safe when you can lock a lane. Dobbel Dungeon tracks full-HP clears for both mission types, so your first strong die usually goes to movement, shielding, or a body block, not greedy damage. Fight at the choke point. Keep the pressure where you can control it. If the objective takes an early hit, stop forcing the bonus and switch back to a clean win.
- Chicken Run is a tempo check, not a free reward. There is a full no-loss clear for this mission type, but community routing advice is very clear: it gets much safer once each hero can work with at least three dice. On the first sweep, spend your best movement die reaching the furthest chicken you can still toss back toward the pen. After that, split roles. One hero keeps birds moving home. The other two stop the map from snowballing. If the far side starts falling apart, save the cluster nearest the pen first. Do not try to be a farm superhero.
The bigger rule is resource discipline. Quests and bonus objectives pull from the same shared skill-point economy, so do not dump upgrades into cute one-map tech before your team has core movement, extra dice, shielding, healing, or one dependable AOE line. Gold works the same way. Buy the tools that make turns reliable first. Most missed bonuses come down to being one die short or one tile short, not missing some flashy finisher.
If a bonus keeps blowing up your run, turn that loss into the next fix. Did you fail because enemies spread out? Bring the team with two AOE lines and set up the pack before you swing. Did an escort target get clipped too early? Spend your first good die on lane control instead of damage. Did Chicken Run collapse on the far side? Wait until each hero can work with at least three dice, then route the closest safe birds first. The dice will still be little goblins sometimes, but you do not have to let them drive.
Comments will load when you reach this part of the walkthrough.