
Chapter Seven: Going Onboard
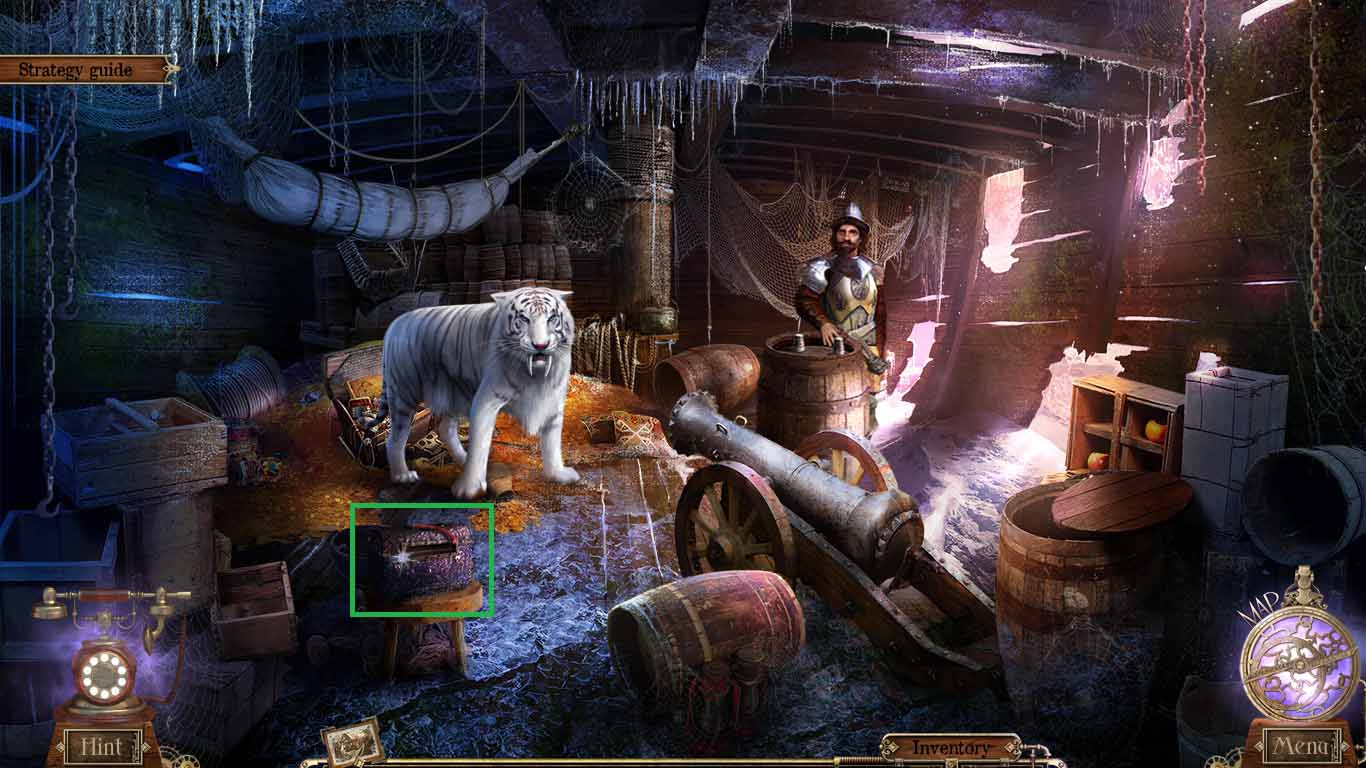
- Examine the captain’s chest.
- Collect the fuse.
- Move down once.
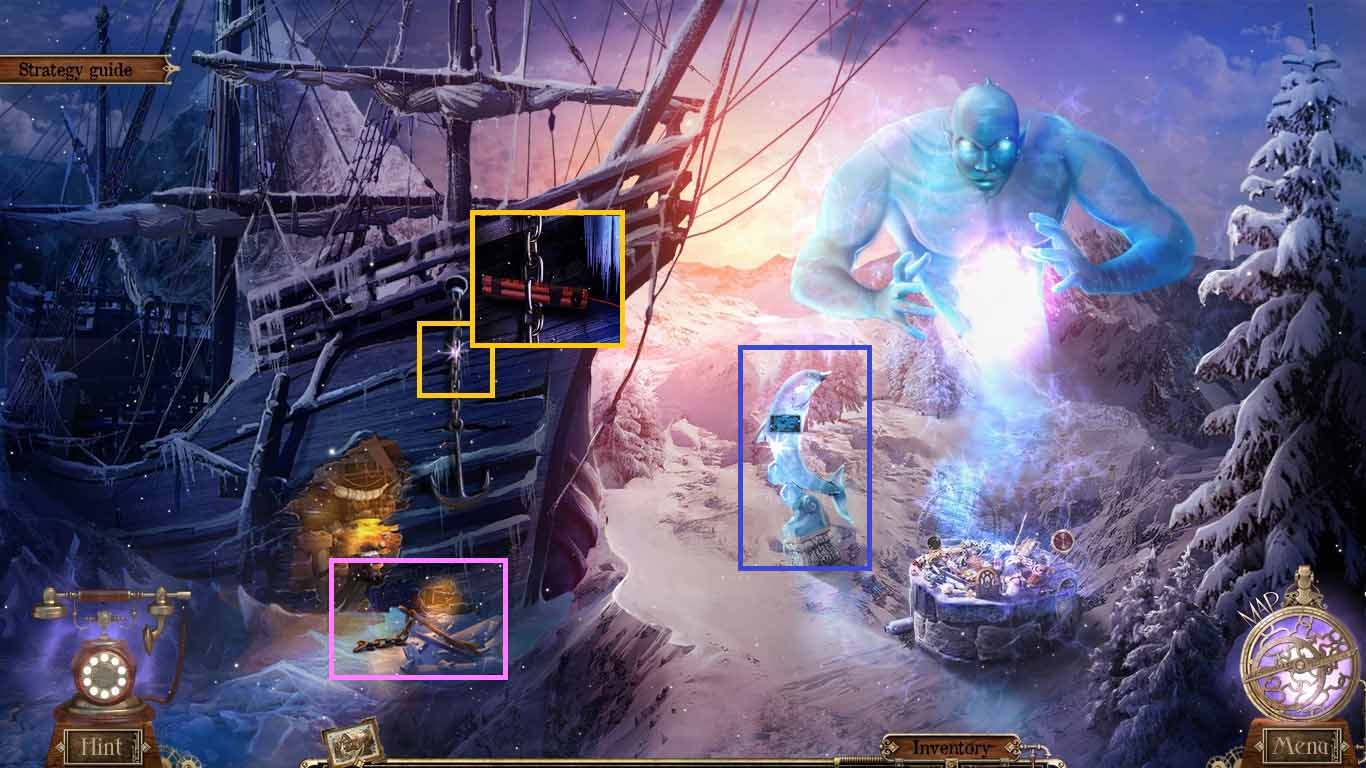
- Examine the anchor chain.
- Connect the fuse and the dynamite.
- Light the use using the blowtorch.
- Examine the fallen anchor; collect the dolphin.
- Examine the ice dolphin; place down the dolphin to access a mini-game.
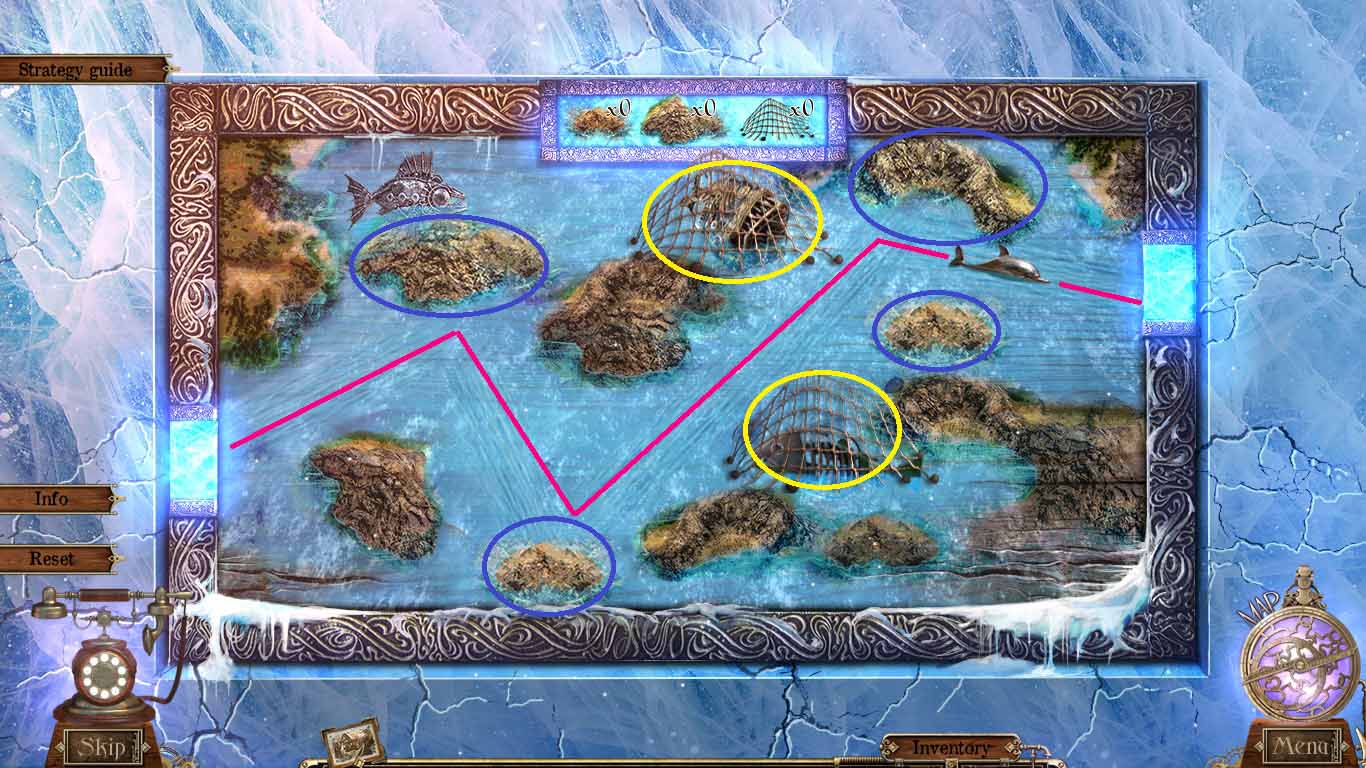
- To solve the puzzle place the rocks and nets in the outlined areas.
- Collect the monkey face.
- Move to the lobby of the tower.
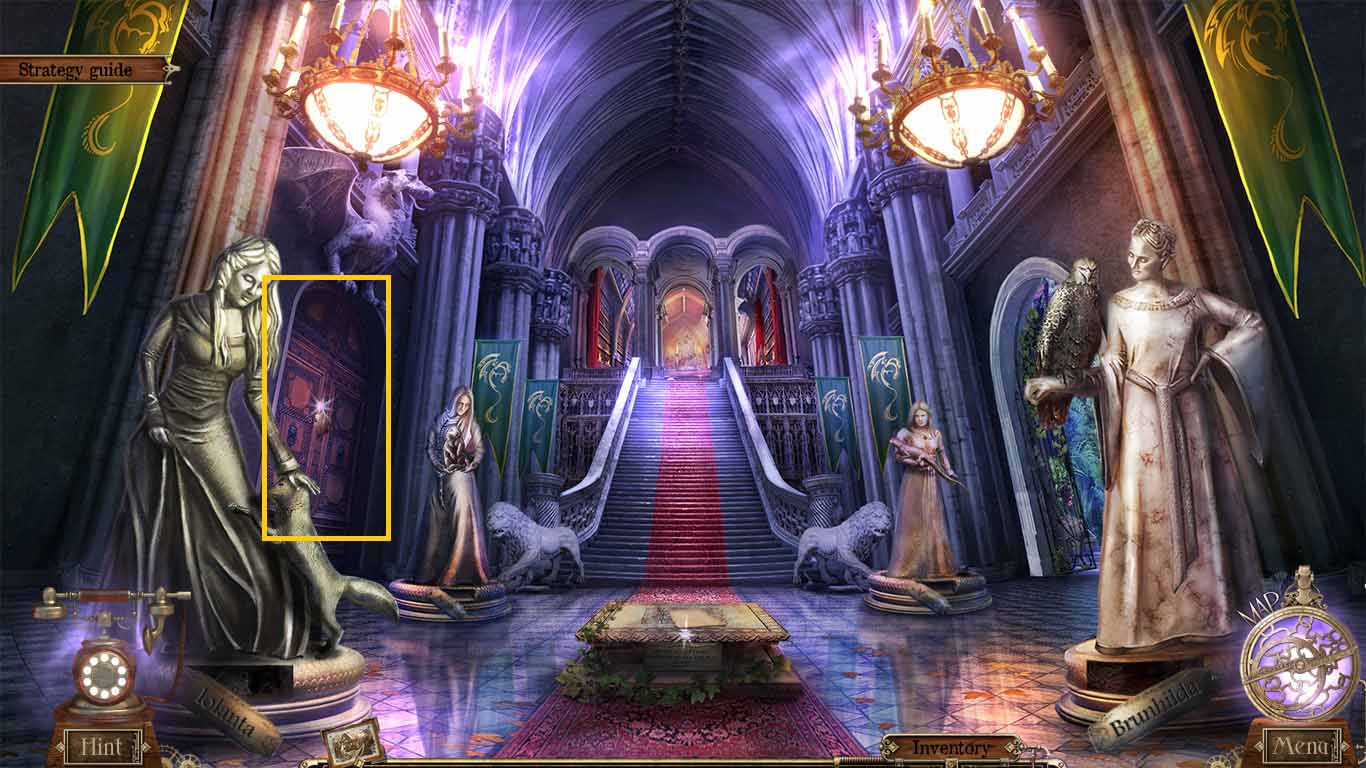
- Examine Giselle’s door.
- Insert Giselle’s amulet.
- Move to the left.
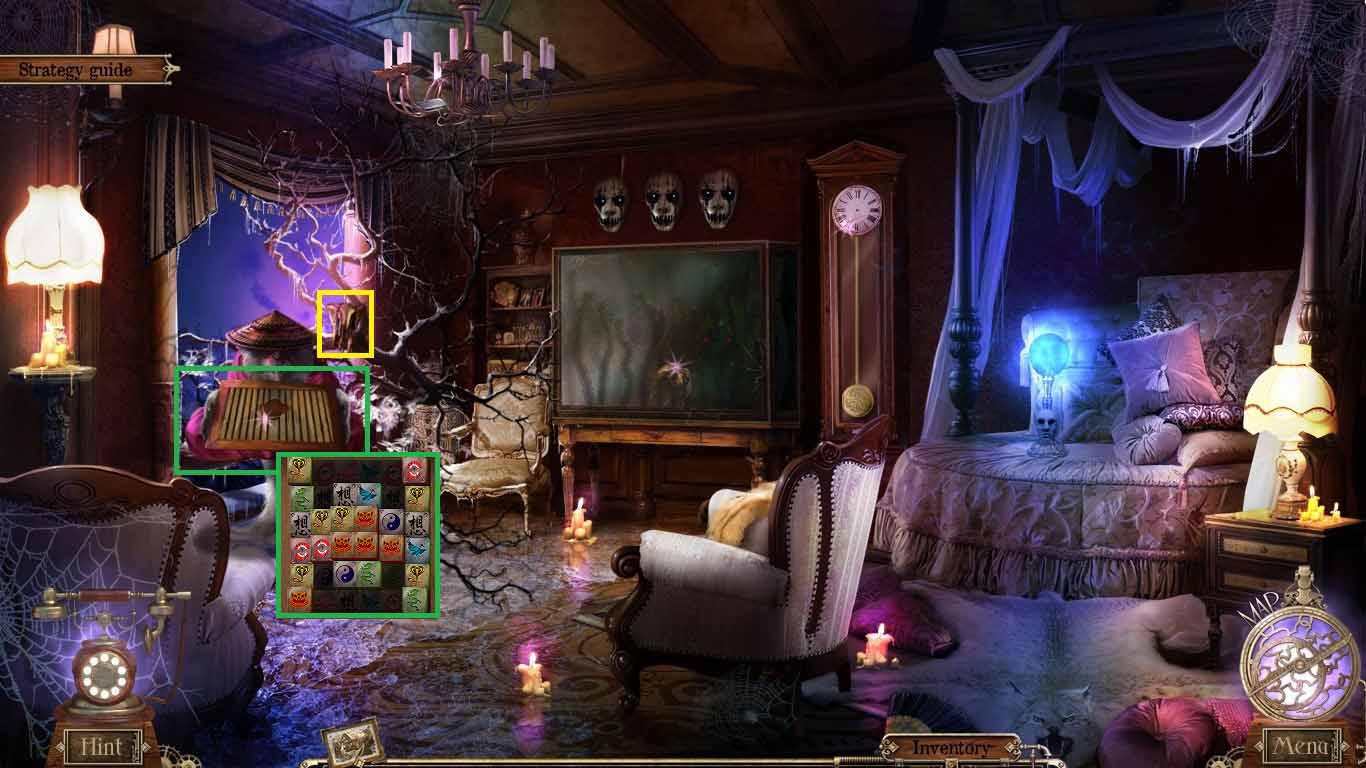
- Examine the monkey cage.
- Insert the monkey face; collect the elephant.
- Click the matching pairs; collect the amulet of roses.
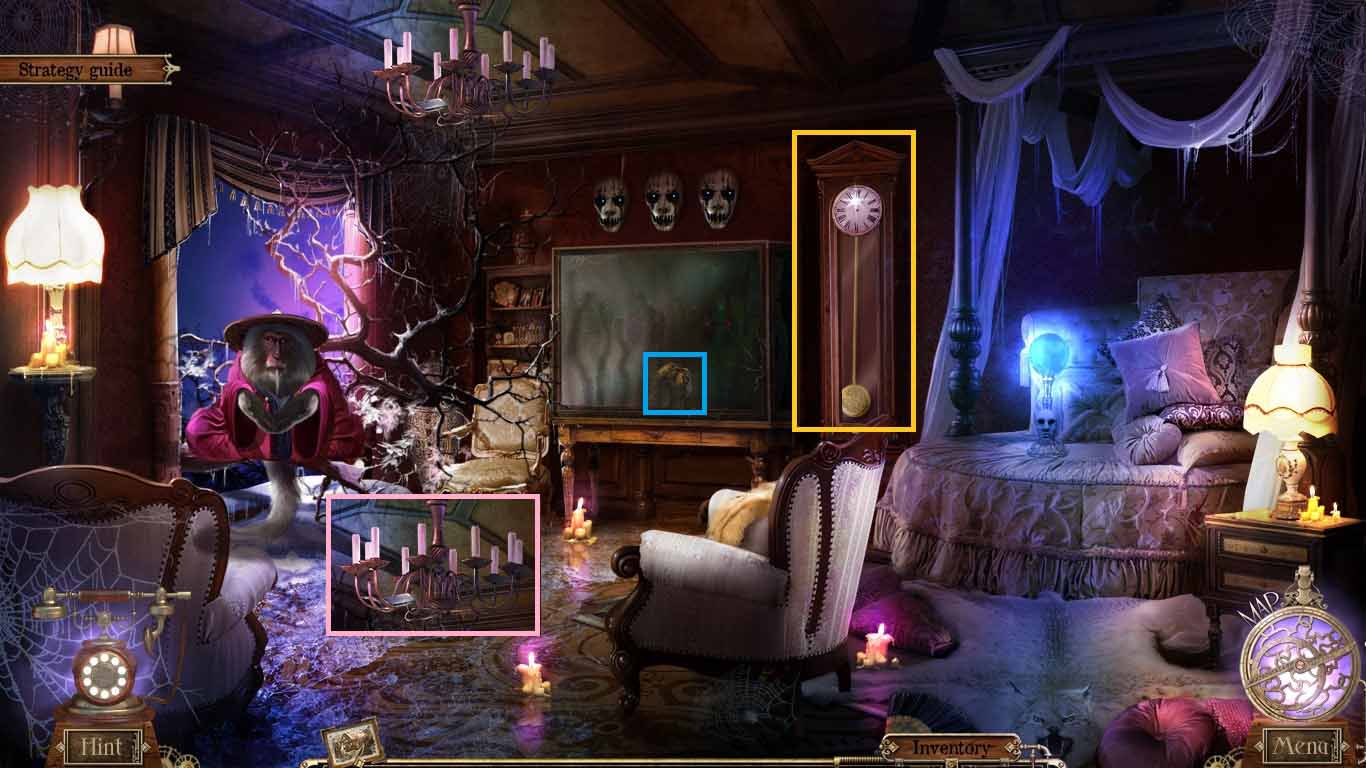
- Examine the clock; insert the clock hands.
- Insert the amulet of roses.
- Examine the floor; collect the ladle and the scoop net.
- Examine the aquarium; place the scoop net into the water to collect the elephant.
- Move inboard.
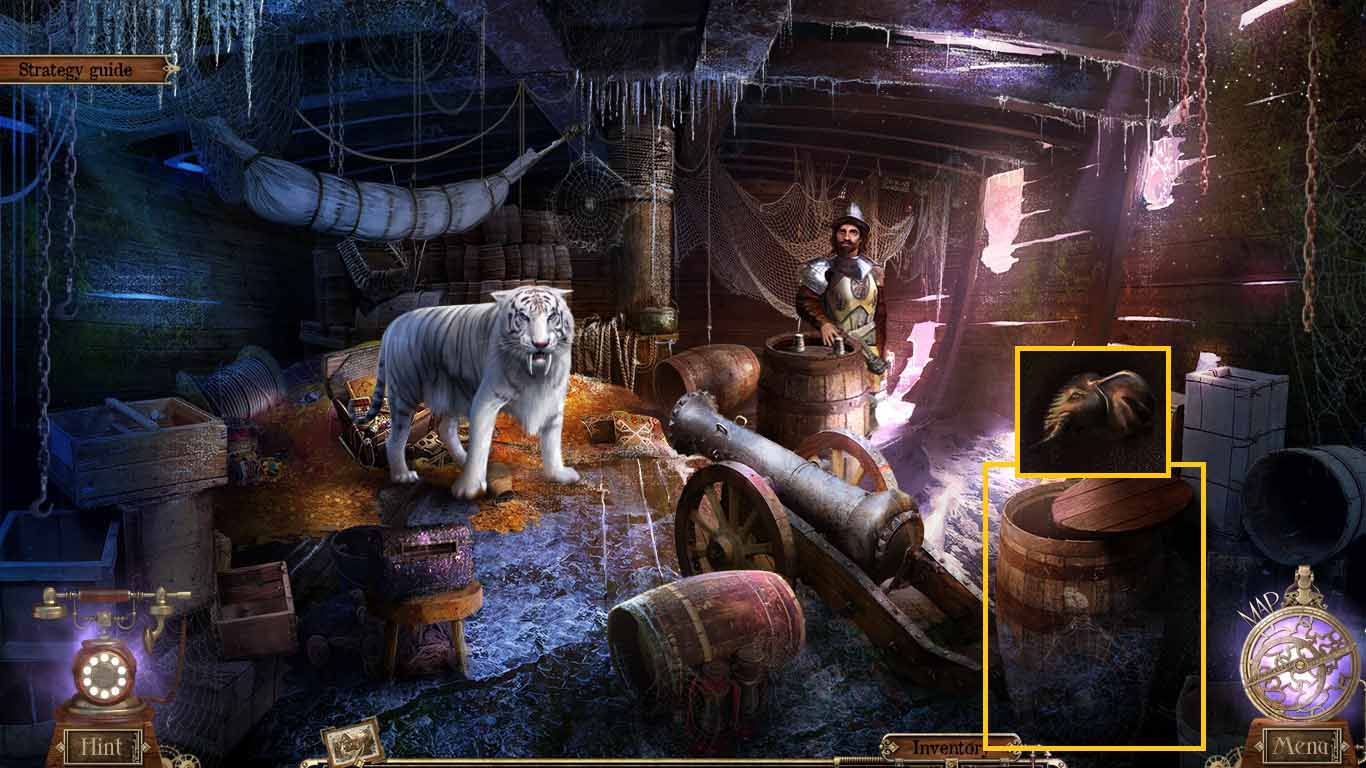
- Examine the barrel.
- Place the ladle into the barrel to collect the gunpowder.
- Collect the elephant.
- Move to the library.
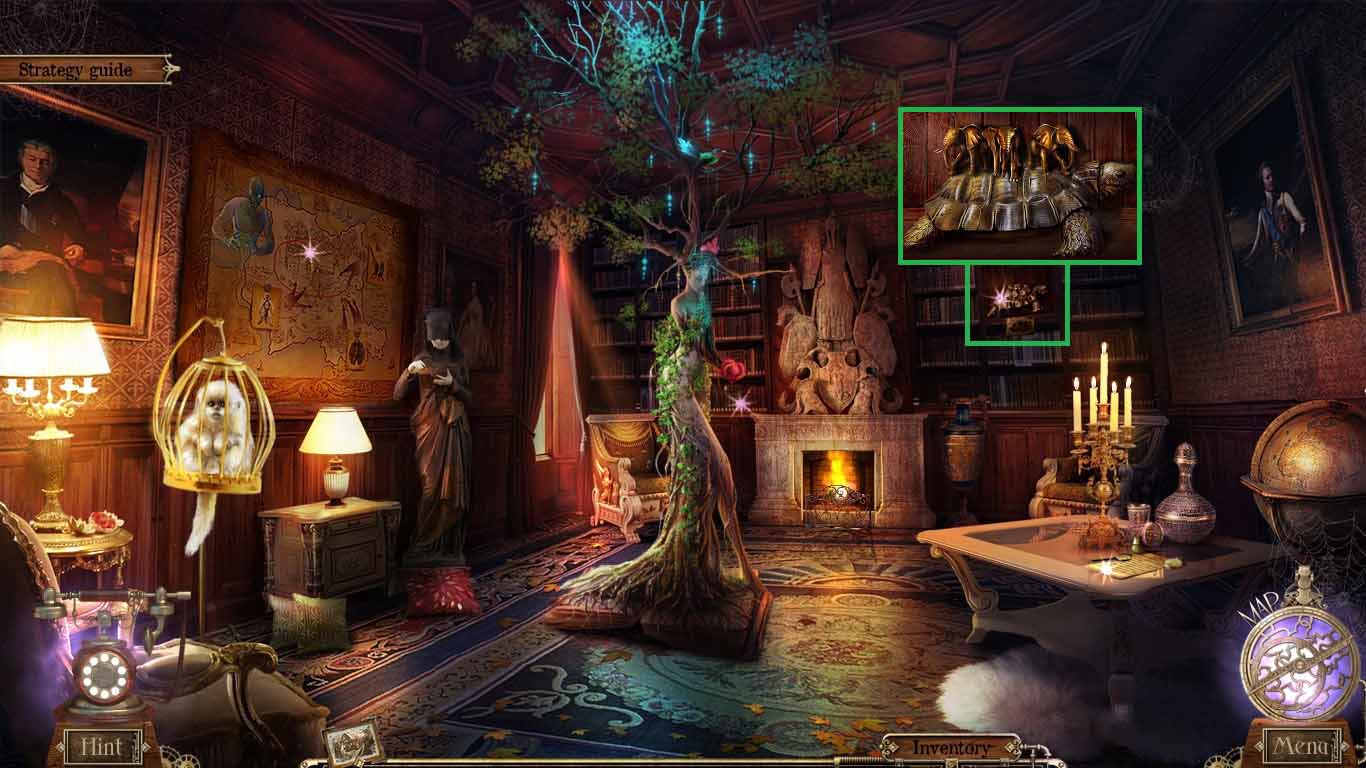
- Examine the turtle.
- Place down the 3 elephants and collect the net.
- Move inboard.
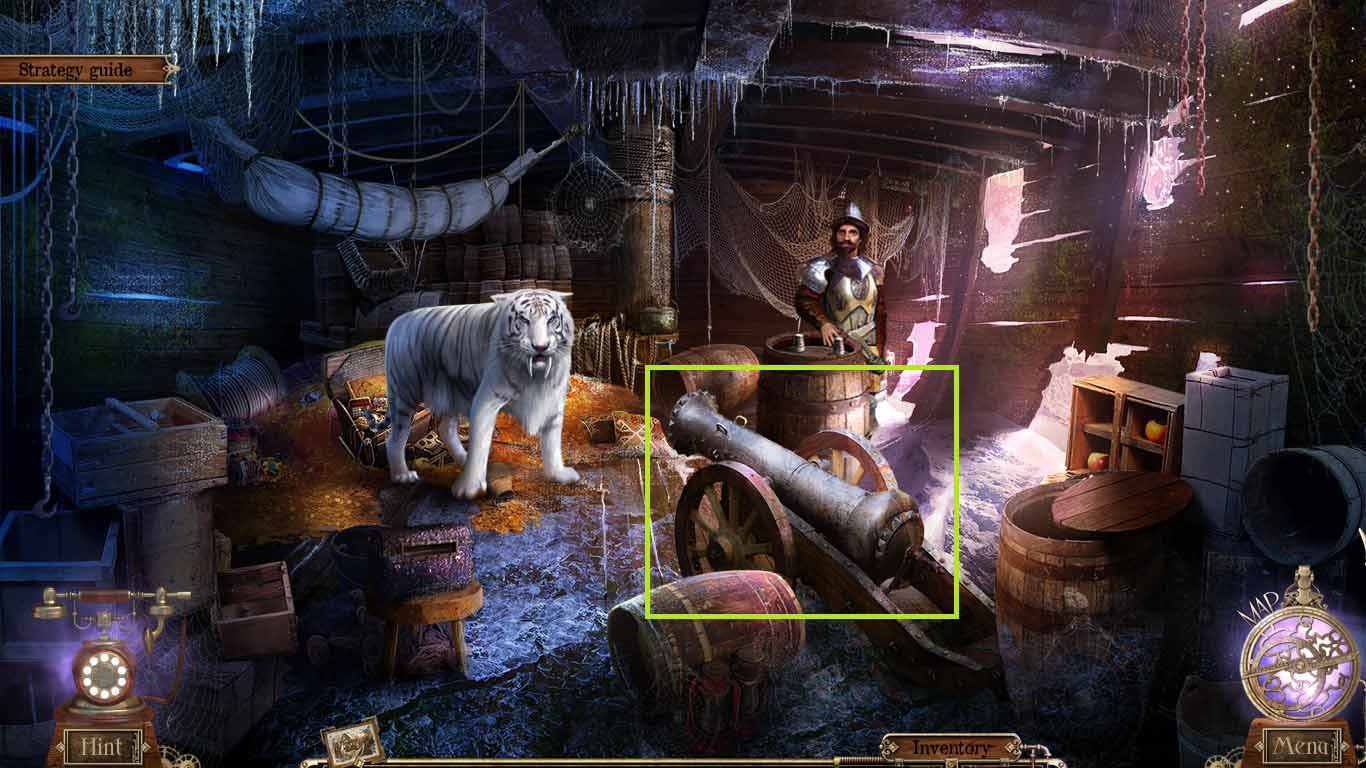
- Examine the naval gun.
- Place the gunpowder and the net into the cannon.
- Light the fuse using the blowtorch.
- Click the hidden objects area.
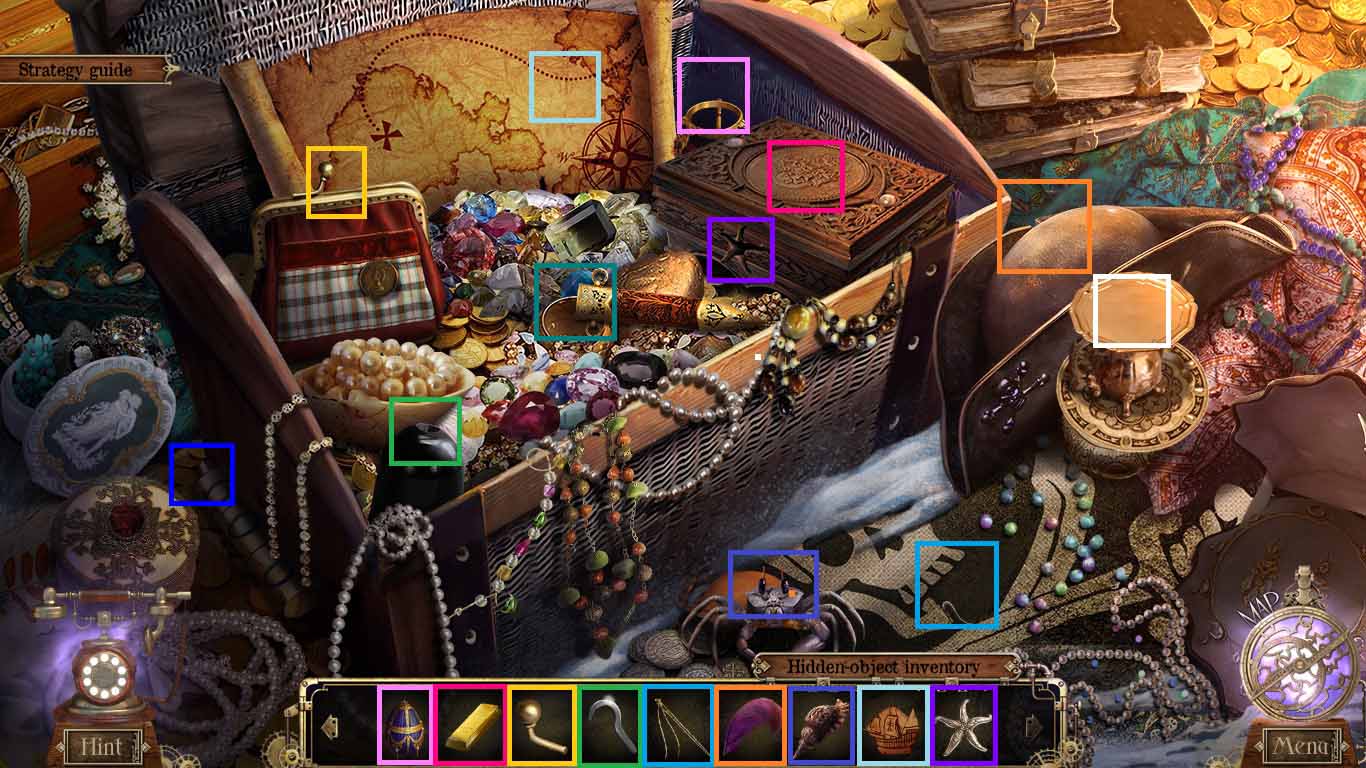
- Arrange the items into the correct areas.
- Collect the coded drum.
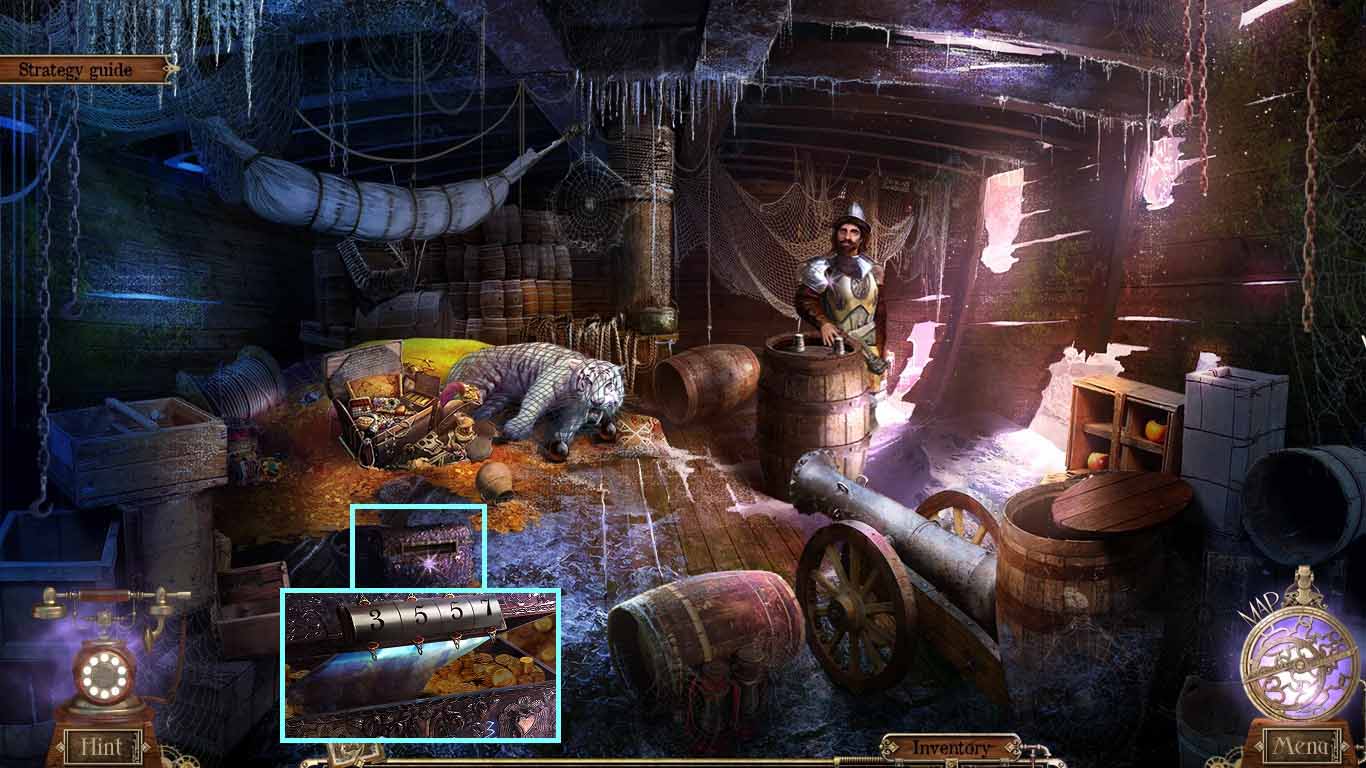
- Examine the captain’s chest.
- Insert the coded drum; punch in the code 3 – 5 – 5 – 7.
- Collect the fragment.
- Move to Isabella’s tower.
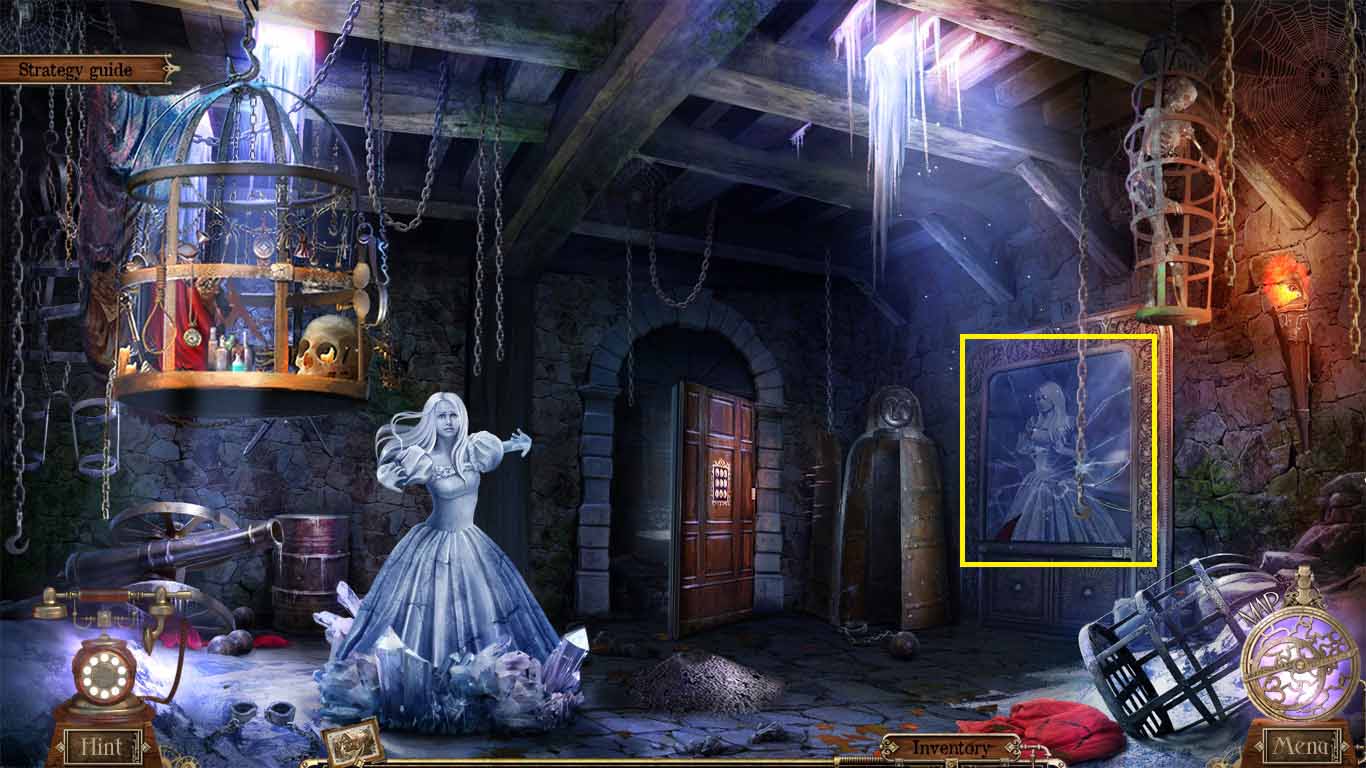
- Examine the mirror.
- Insert the fragment.
- Collect Isabella’s amulet.
- Move to the hall.
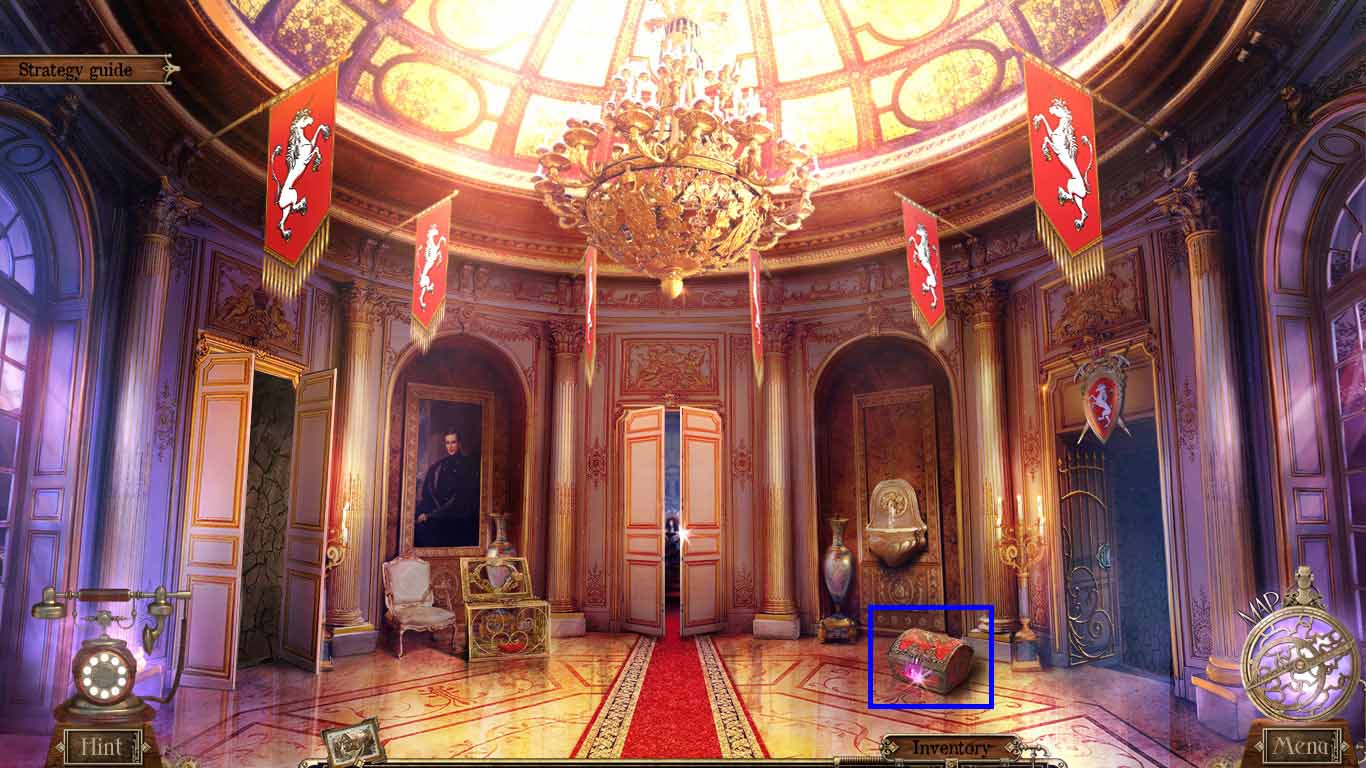
- Examine the chest
- Insert Isabella’s amulet.
- Collect the thimble.
- Move inboard.
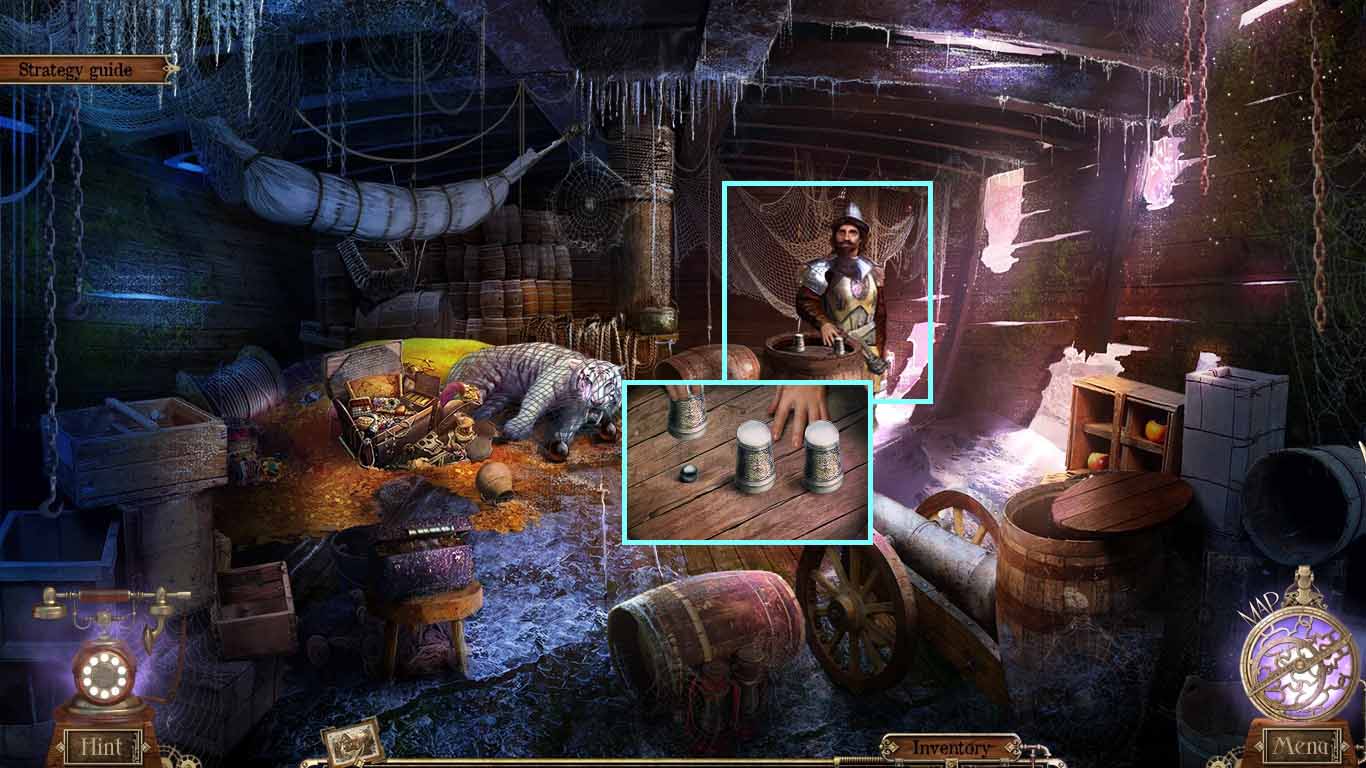
- Examine the captain.
- Place the thimble down.
- Find the die under the thimble.
- Collect the gas mask.
- Move to the arboretum.
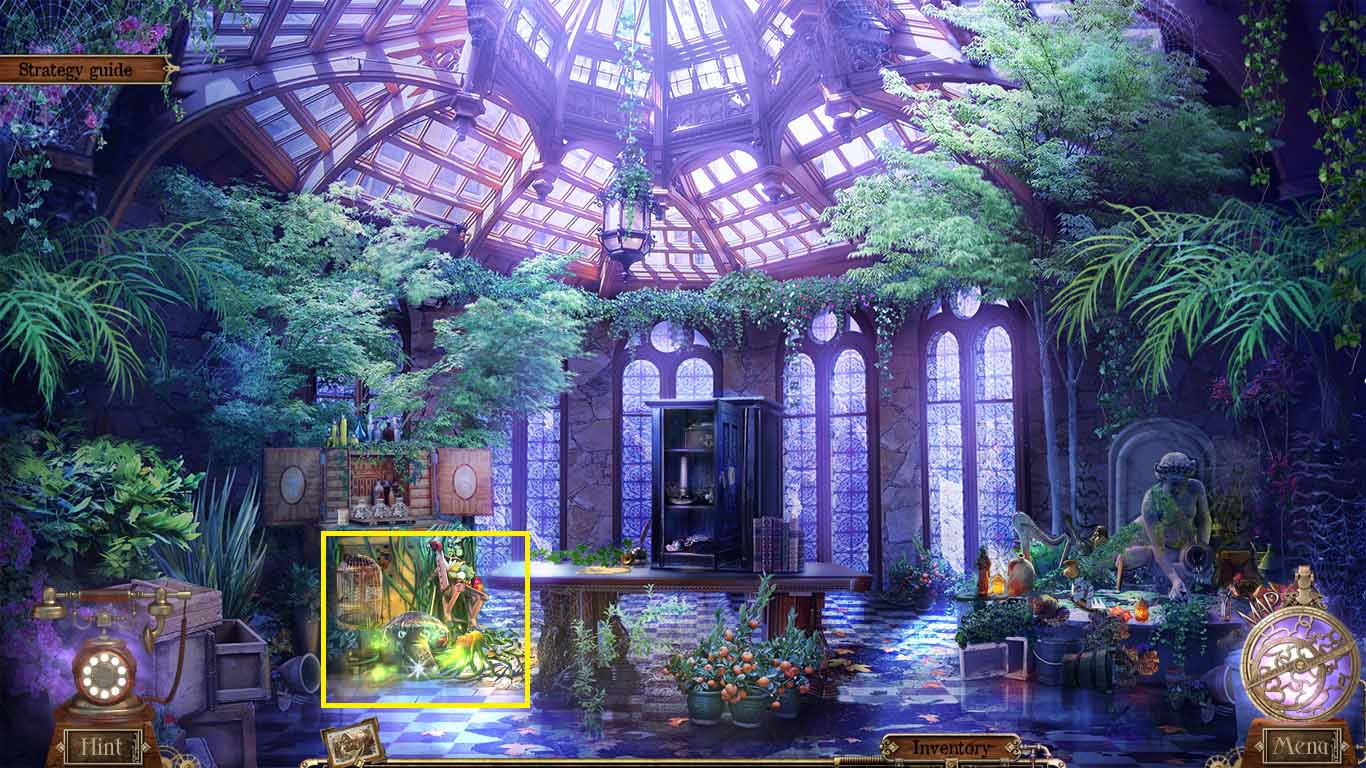
- Examine the mushroom.
- Use the gas mask on the mushroom.
- Click the hidden objects area.
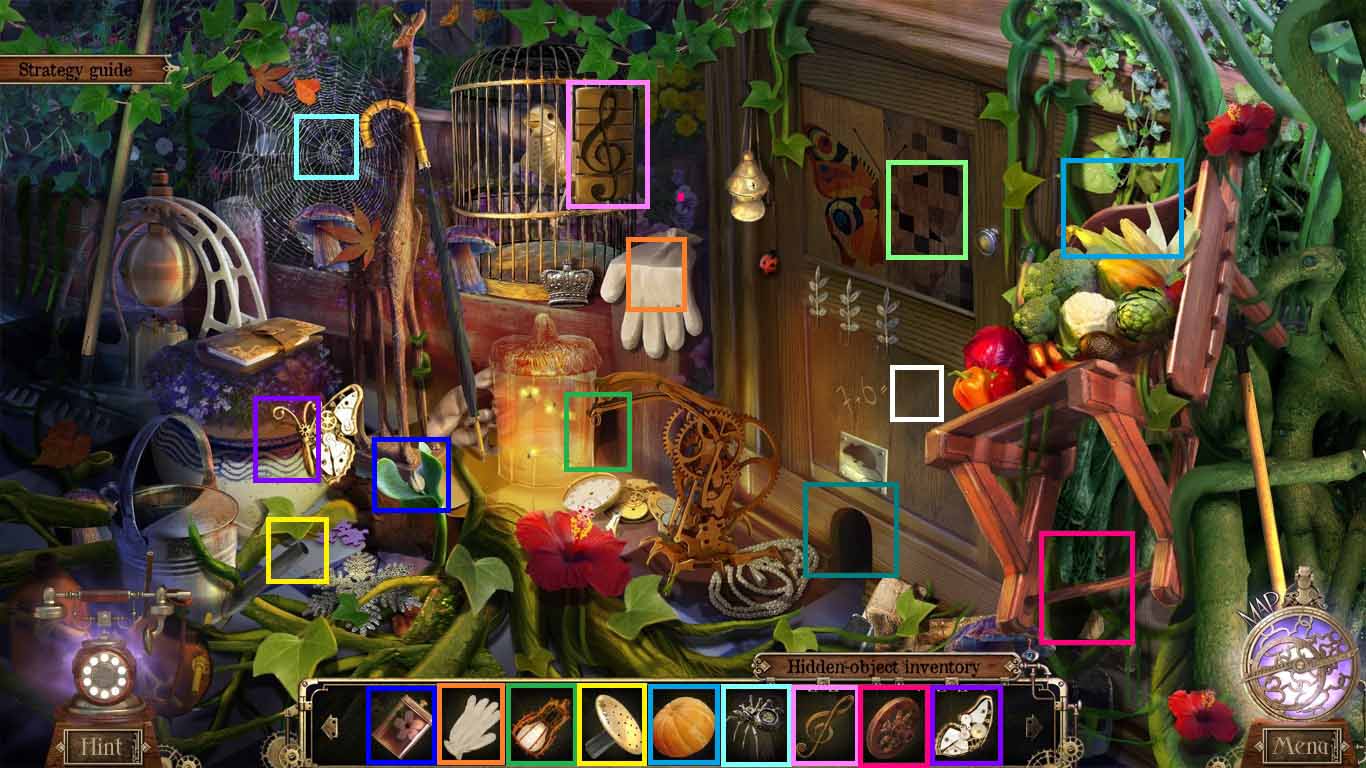
- Arrange the items into the correct areas.
- Collect the butterfly.
- Move to the library.
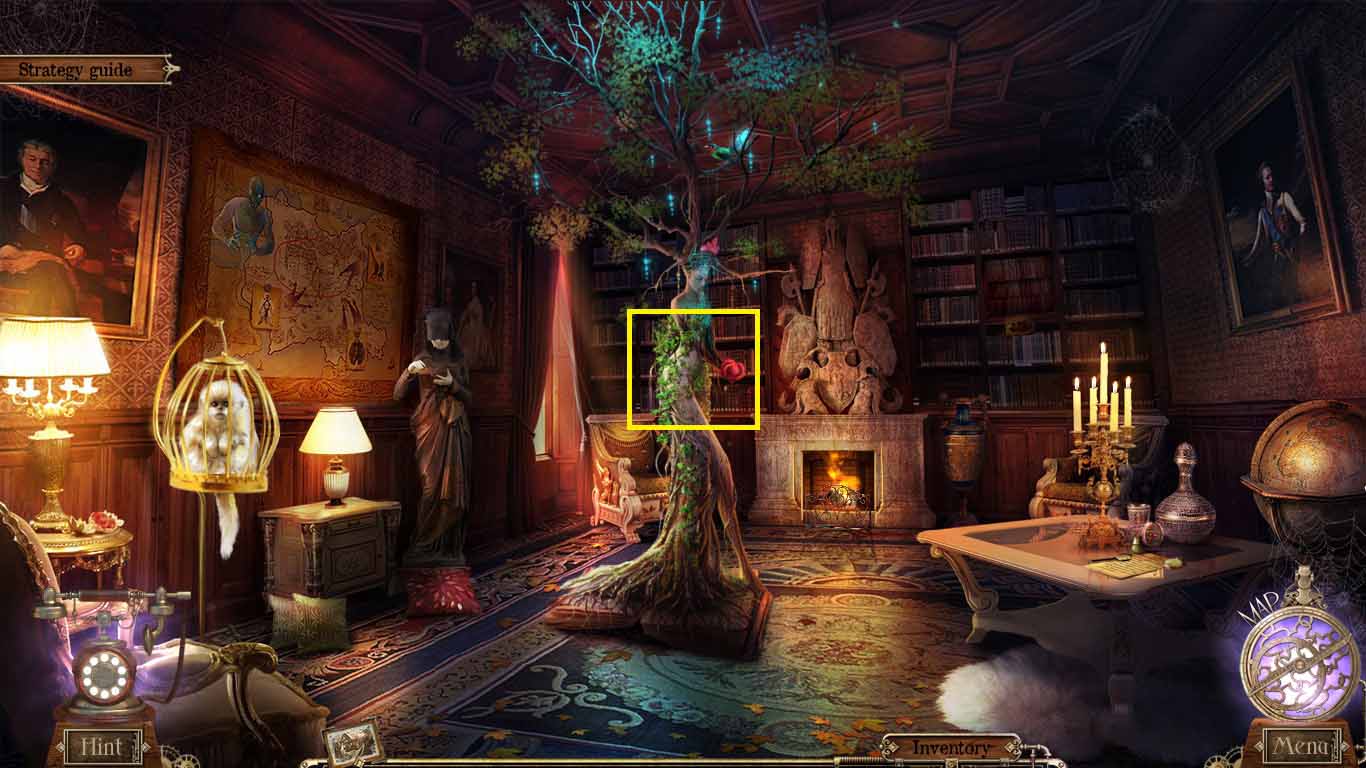
- Examine the tree.
- Place the butterfly onto the flower.
- Collect the cameo.
- Move inboard.
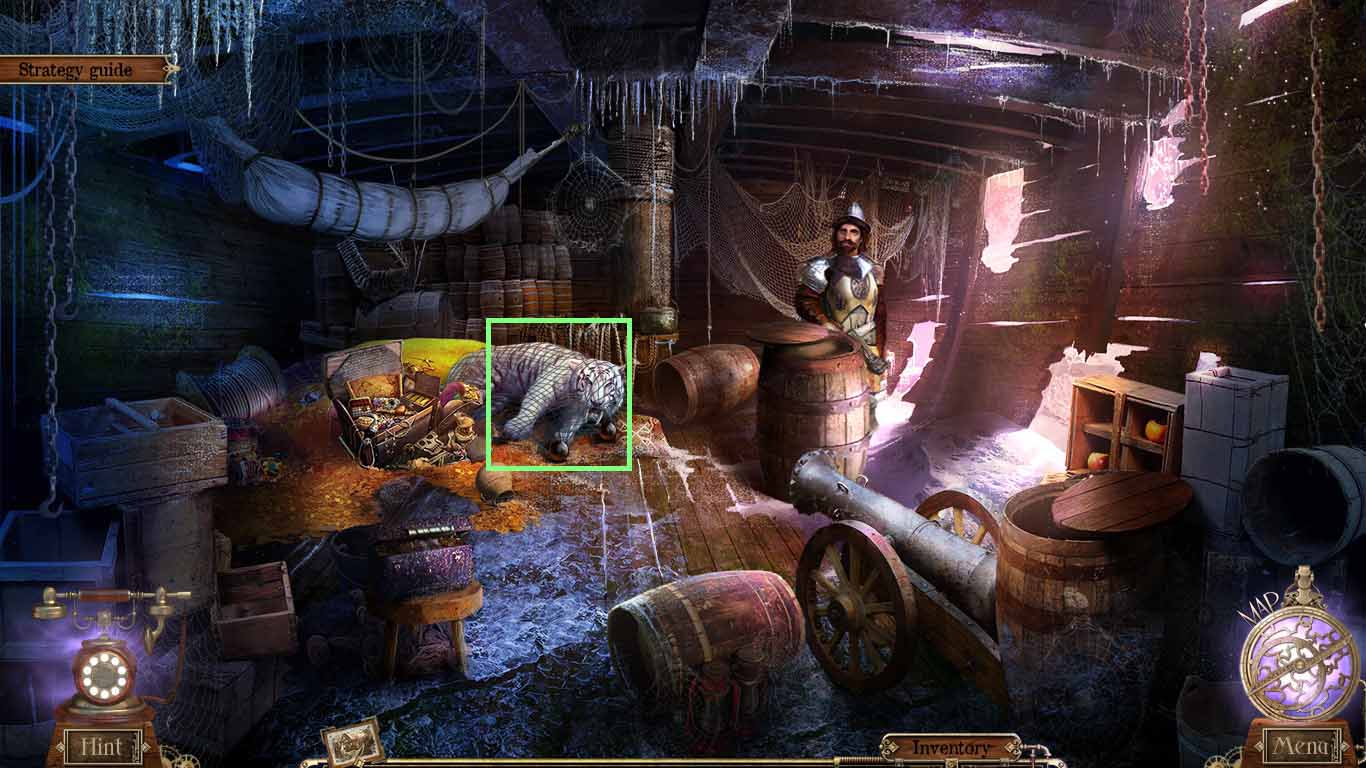
- Examine the tiger; collect the cameo.
- Move to the royal kennels.
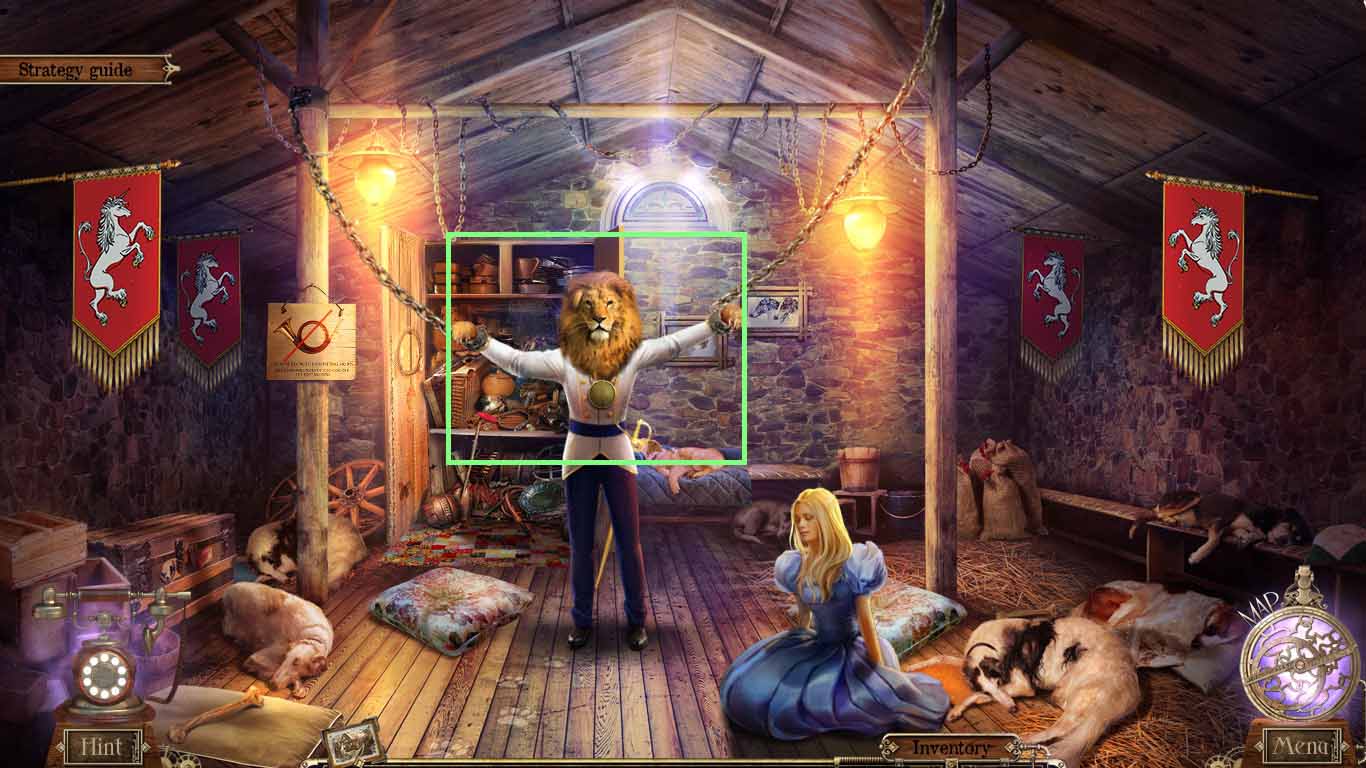
- Examine the prince.
- Insert the 2 cameos onto the amulet; collect it.
- Collect the potion of life and the blade.
- Move to the library.
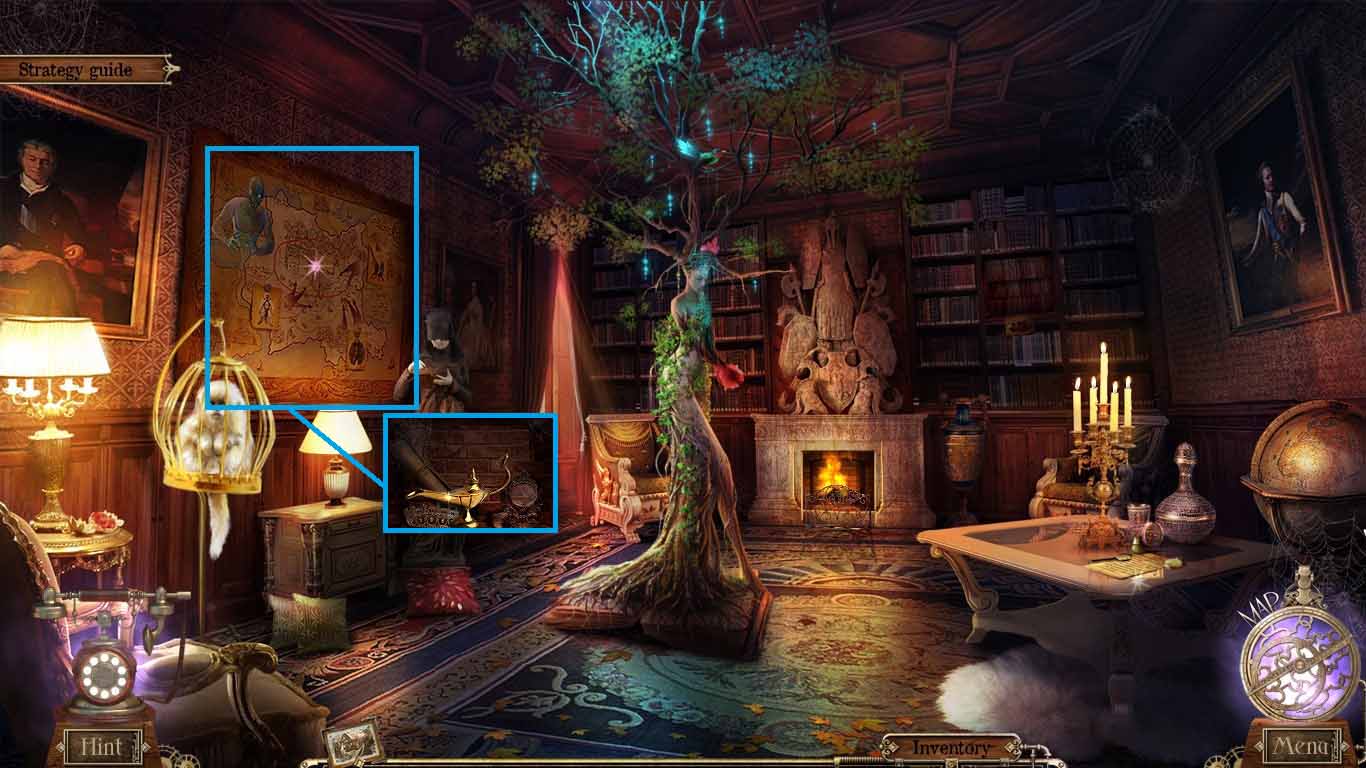
- Examine the map.
- Use the blade to slice it open; collect the lamp.
- Move to the snow dunes.
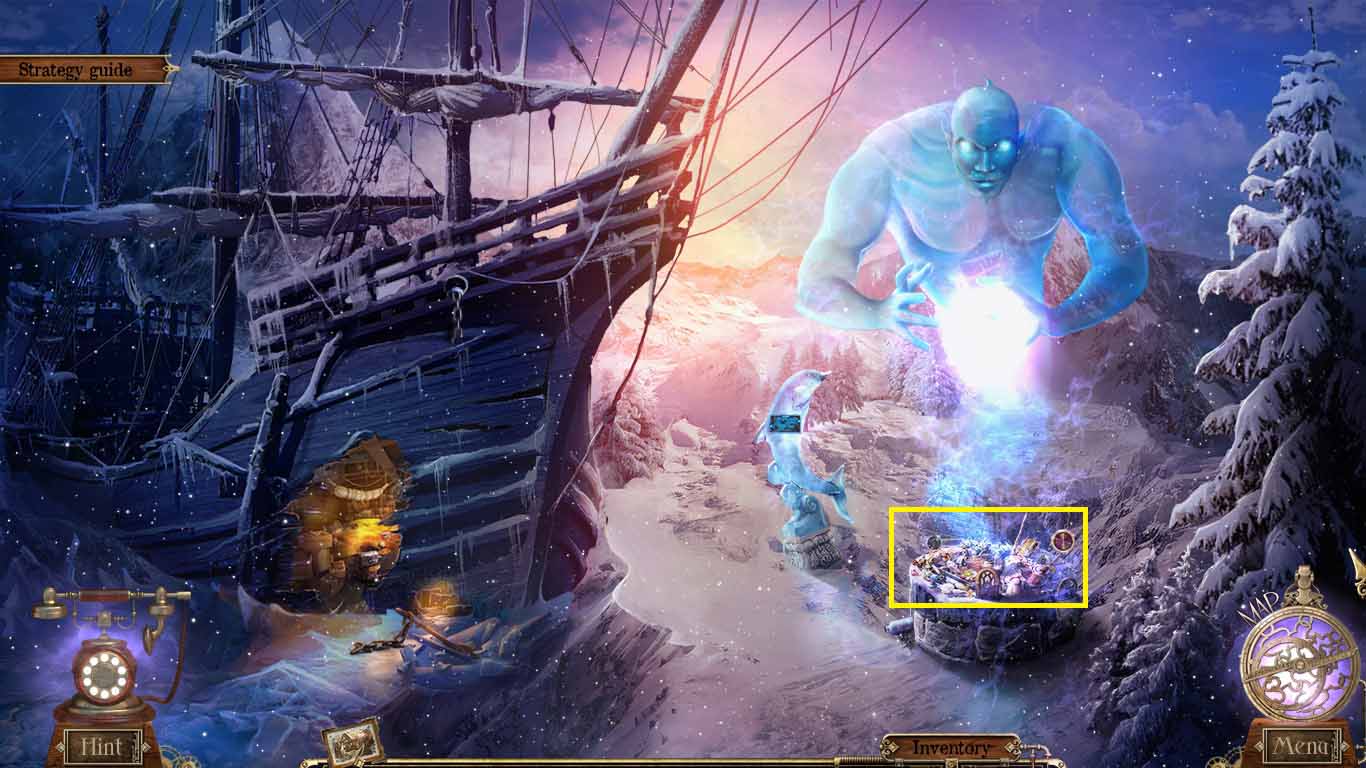
- Place the lamp down.
- Collect the genie.
- Move to the dungeon.
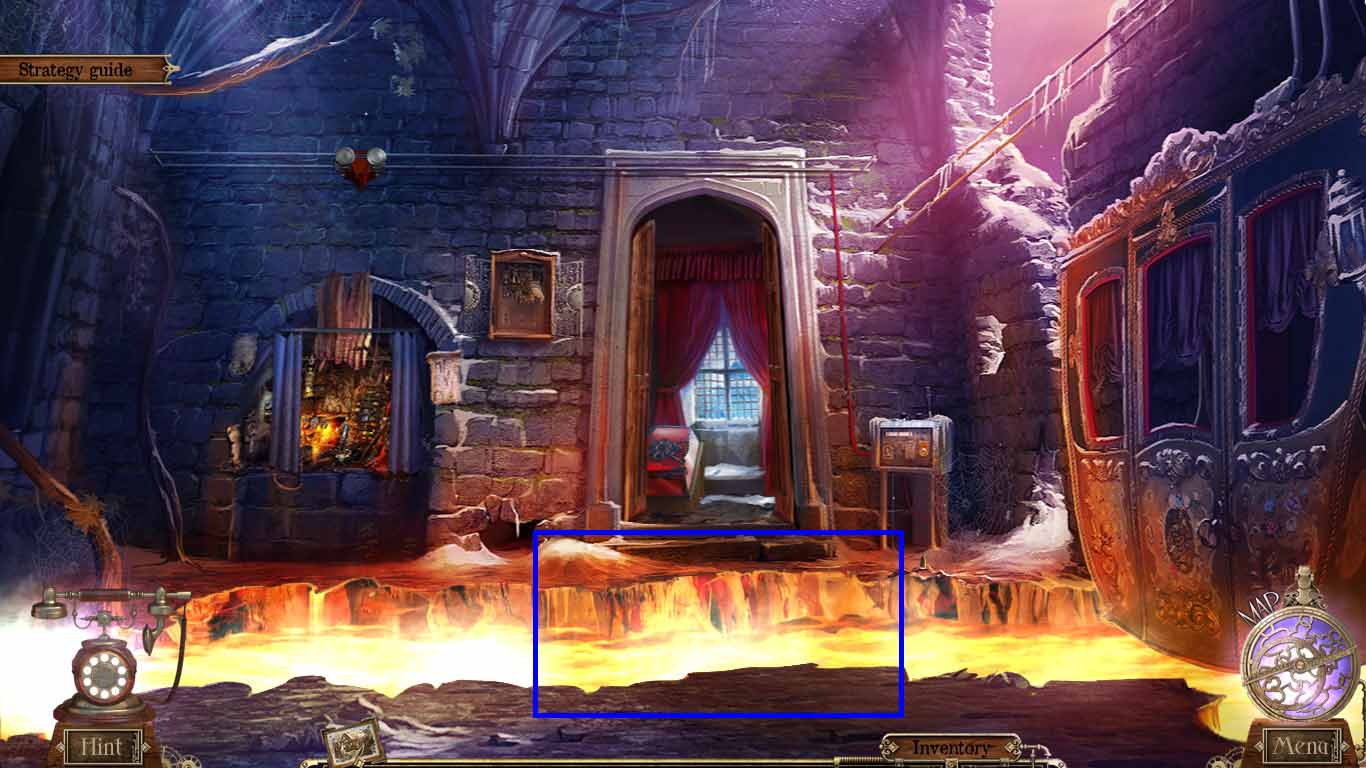
- Overcome the obstacle using the genie.
- Move forward.
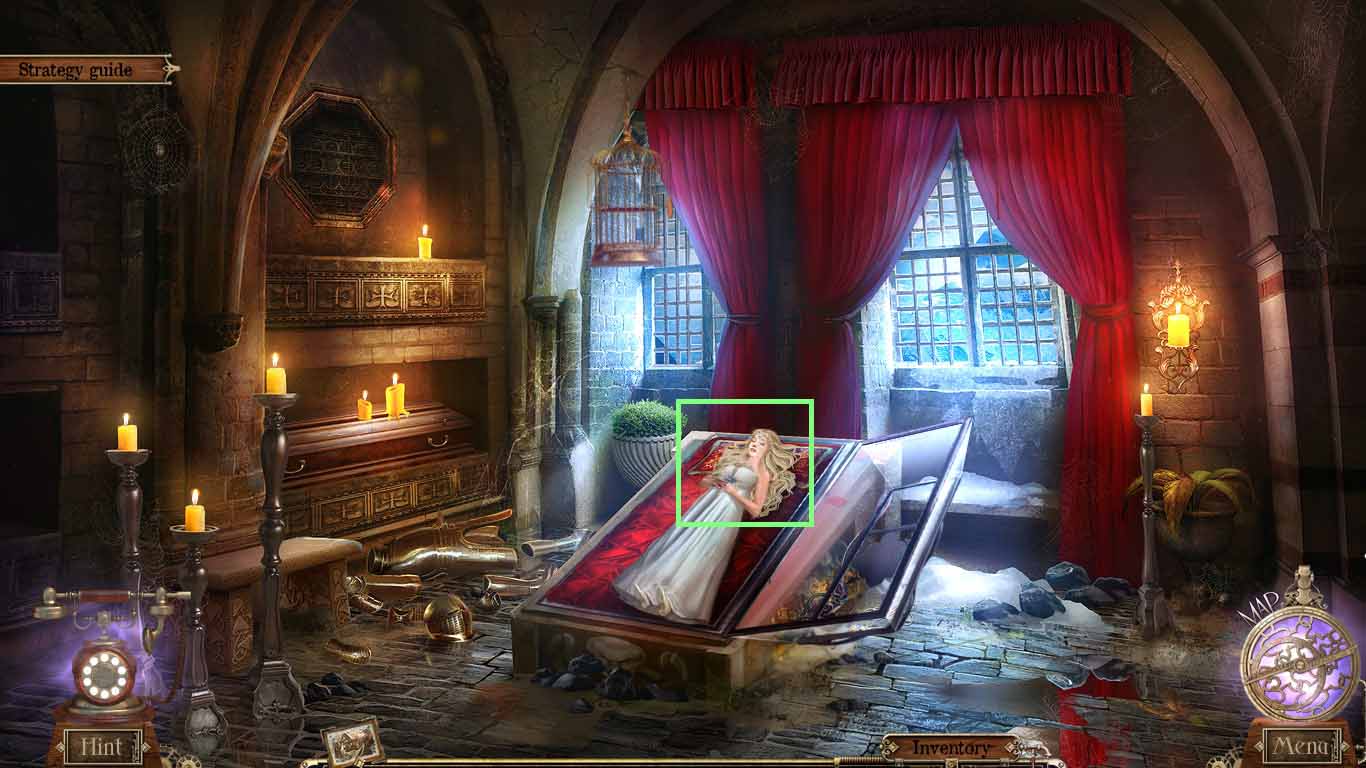
- Examine the glass coffin.
- Revive the fairy using the potion of life.
- Move to the minor treasury.
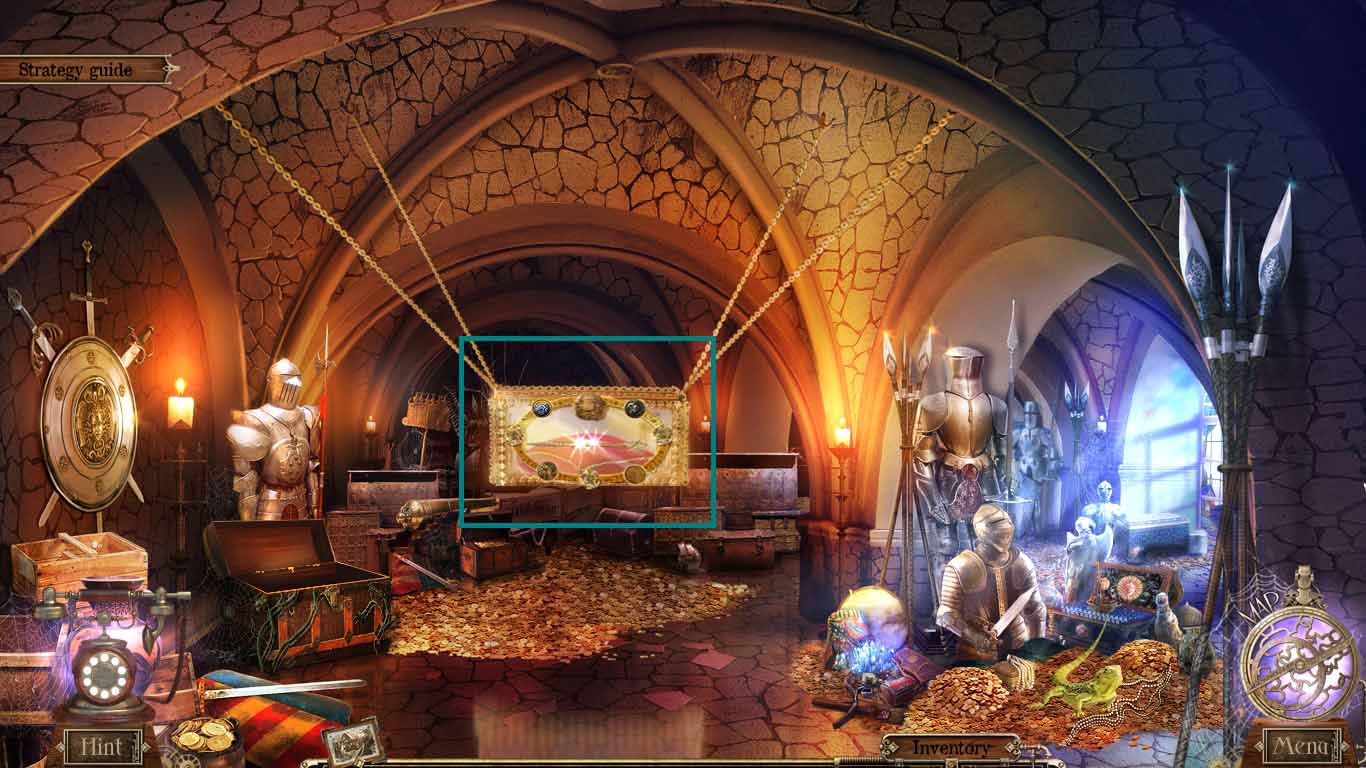
- Examine the chest.
- Insert the cameo.
- Collect the wand.
- Move to the fairy dungeon.
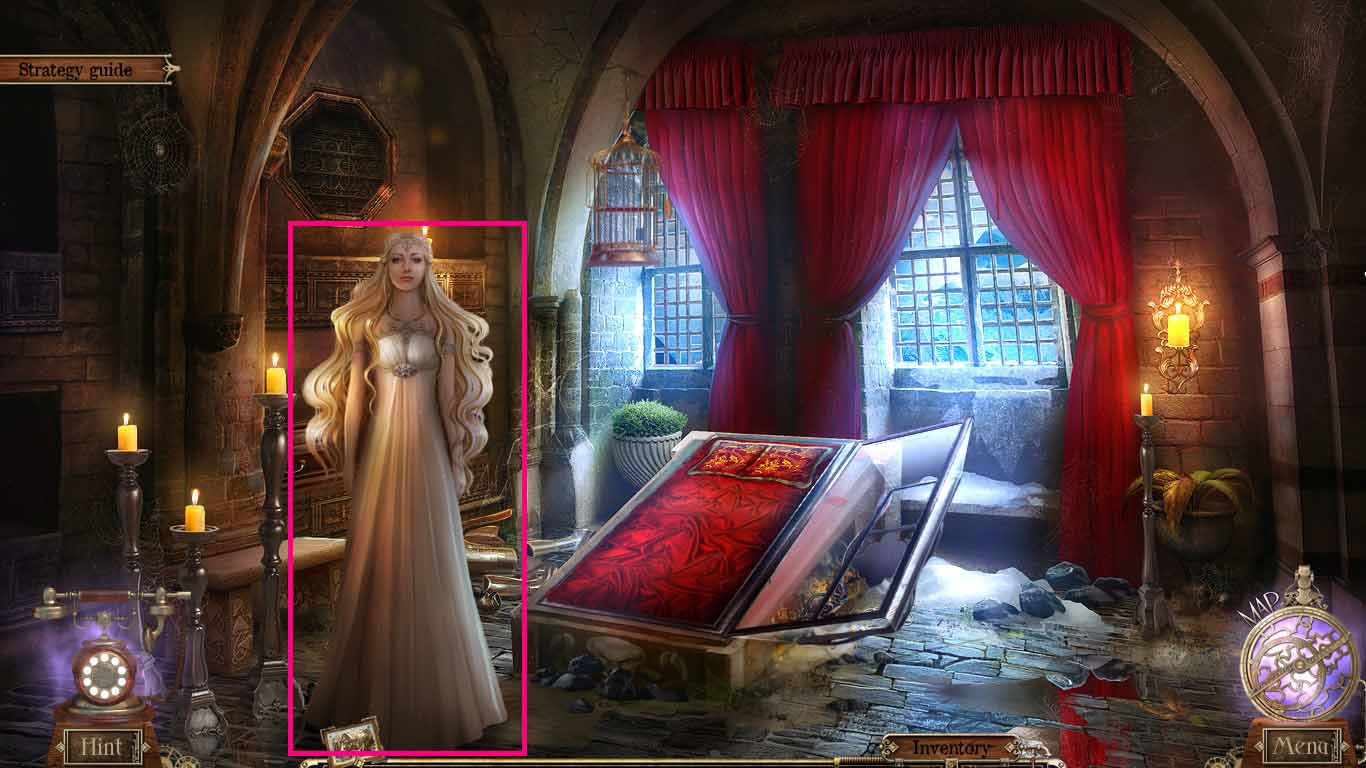
- Give the fairy the wand.
Comments will load when you reach this part of the walkthrough.