
Chapter Six: The Tower
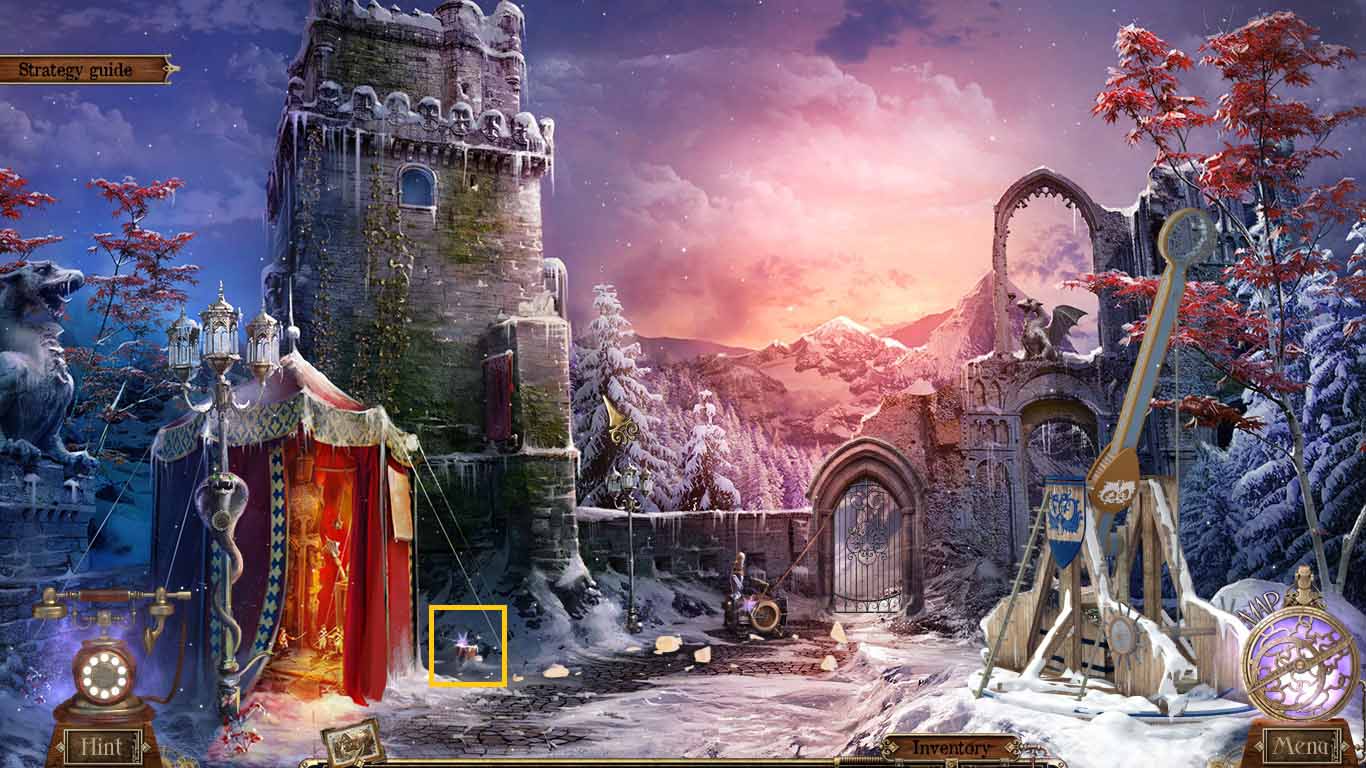
- Examine the pot.
- Place the beans into the pot and pour in the elixir of growth.
- Go into Isabella’s tower.
- Click the hidden objects area.
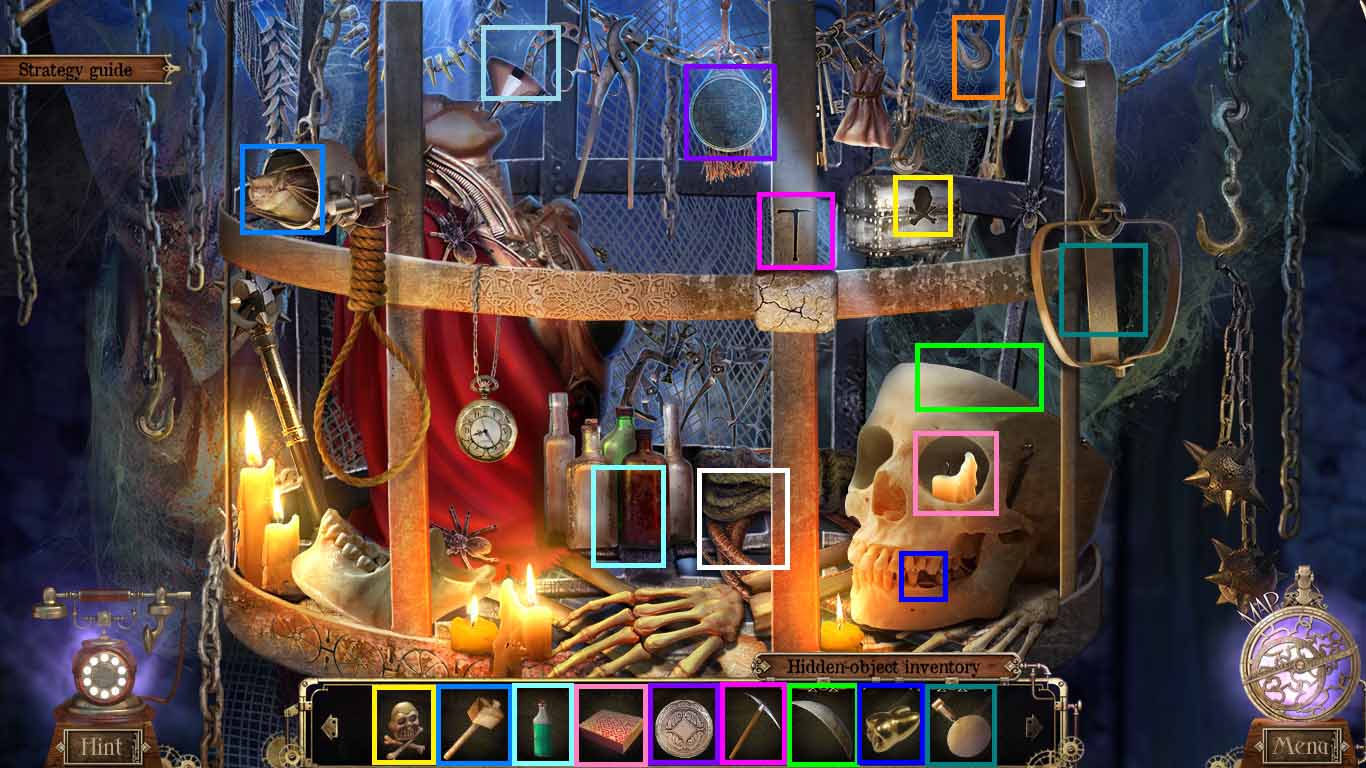
- Arrange the items in the correct areas.
- Collect the pick.
- Move down one time.
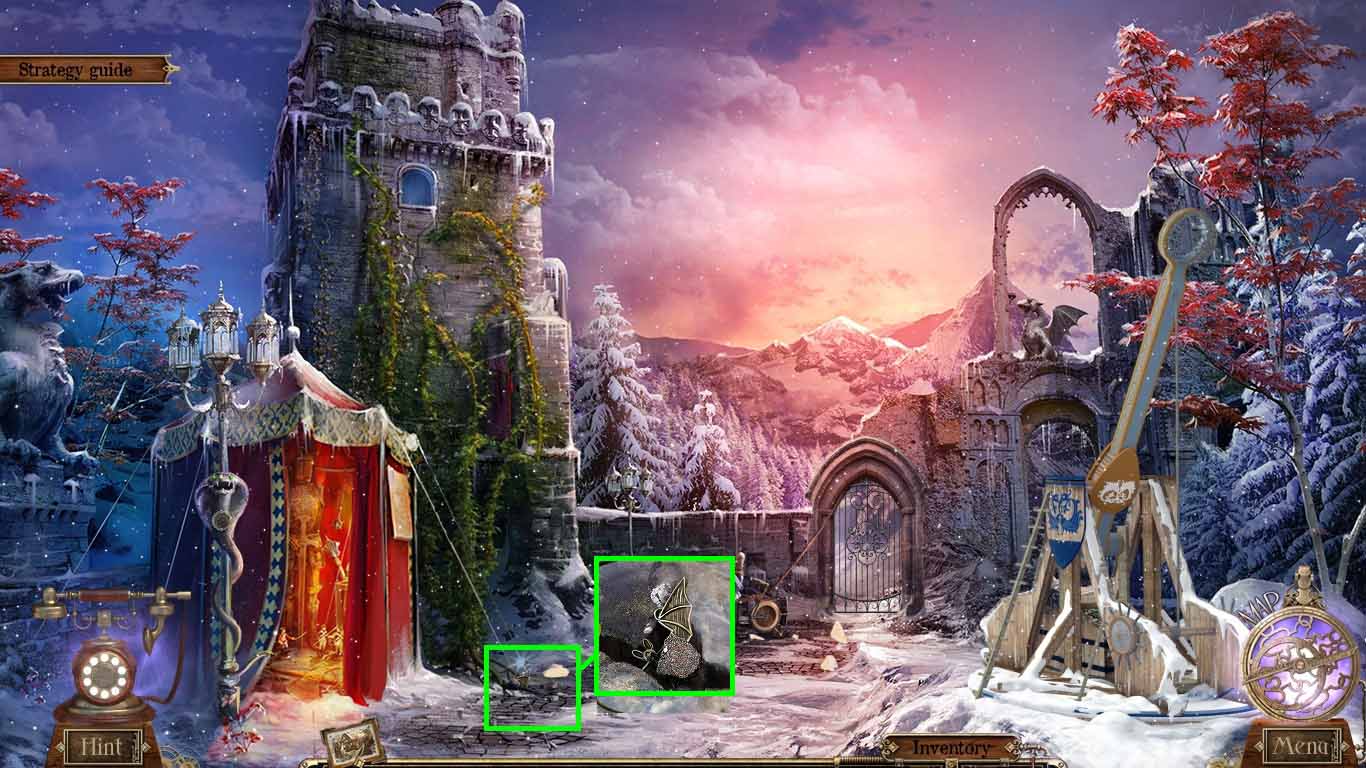
- Examine the crack.
- Widen the crack using the pick.
- Collect the piece of picture.
- Move down one time.
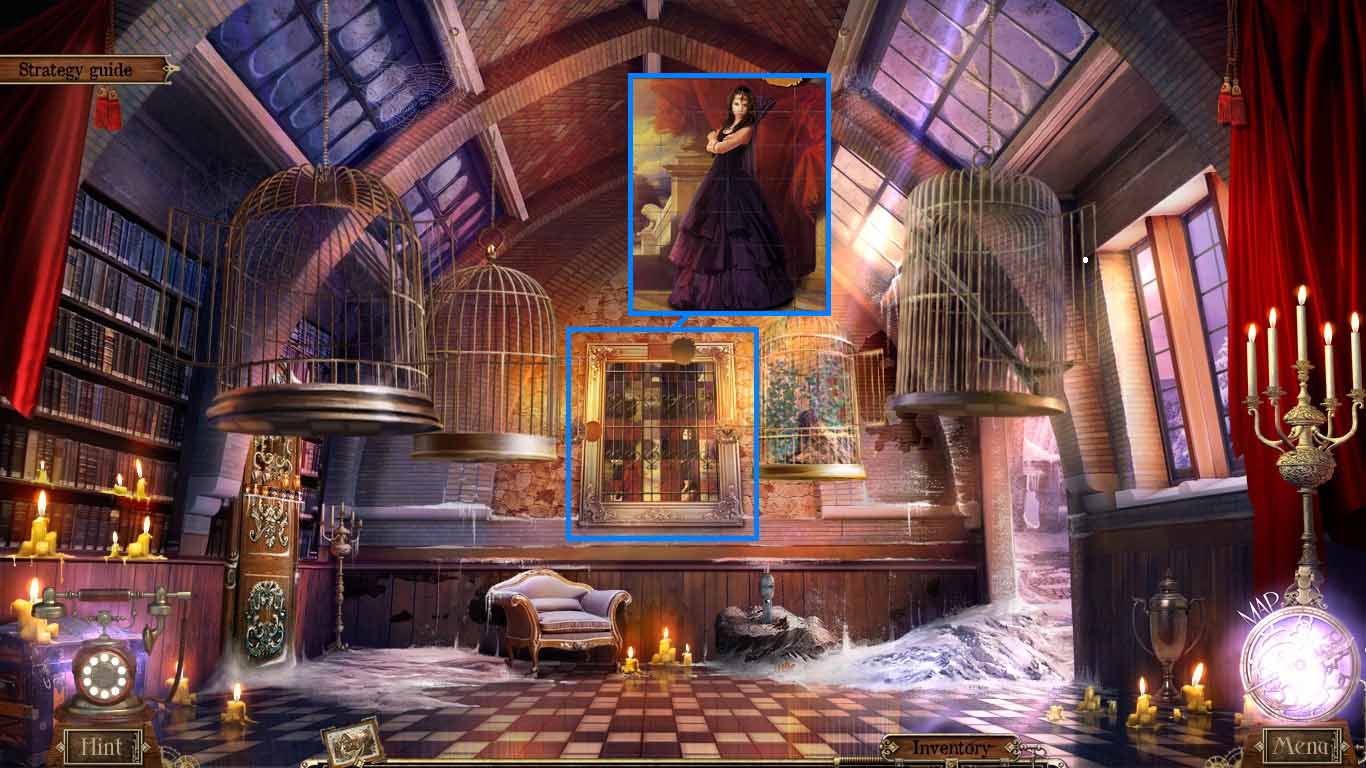
- Examine the picture.
- Insert the piece of picture; access the mini-game.
- Move the rows and columns to create a clear picture.
- Collect the signet.
- Move to the fairy dungeon.
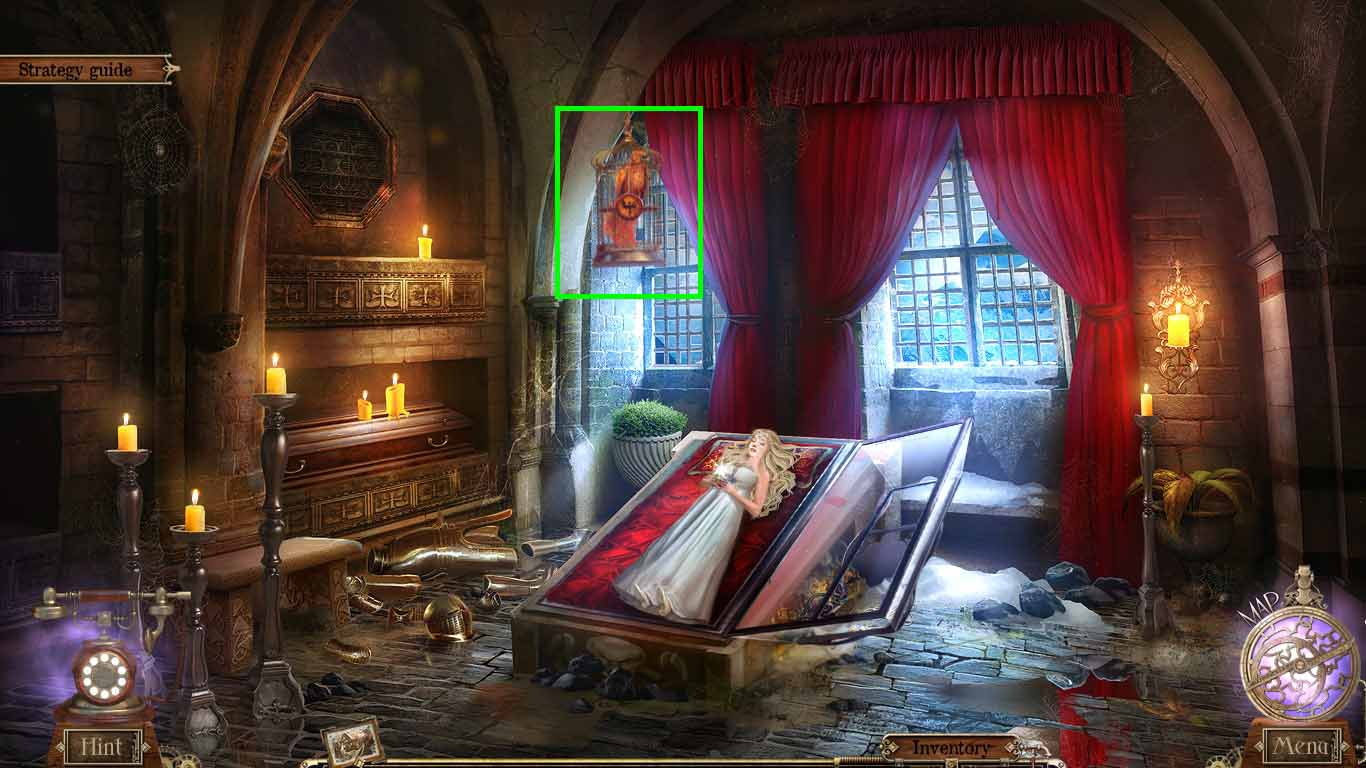
- Examine the cell of the phoenix.
- Insert the signet; collect the phoenix.
- Move to Isabella’s tower.
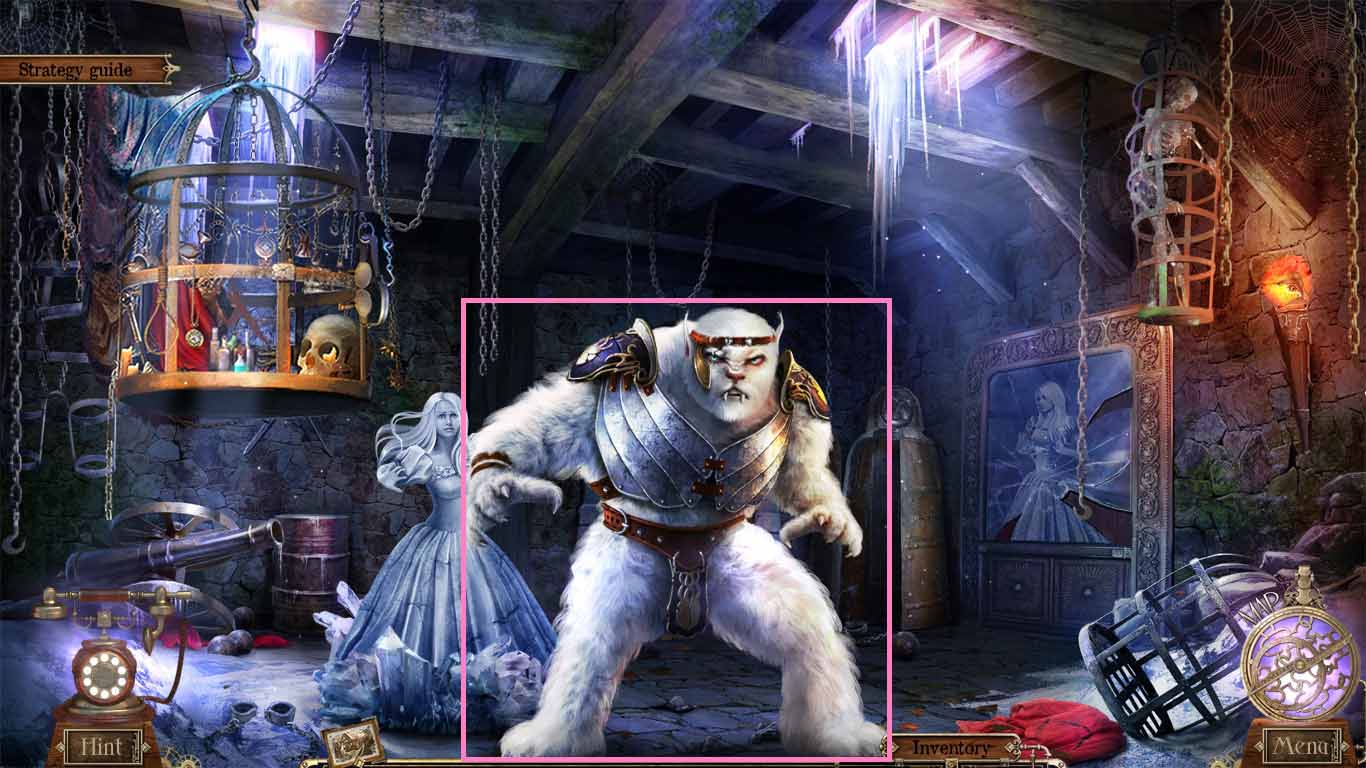
- Chase away the snow general by using the Phoenix.
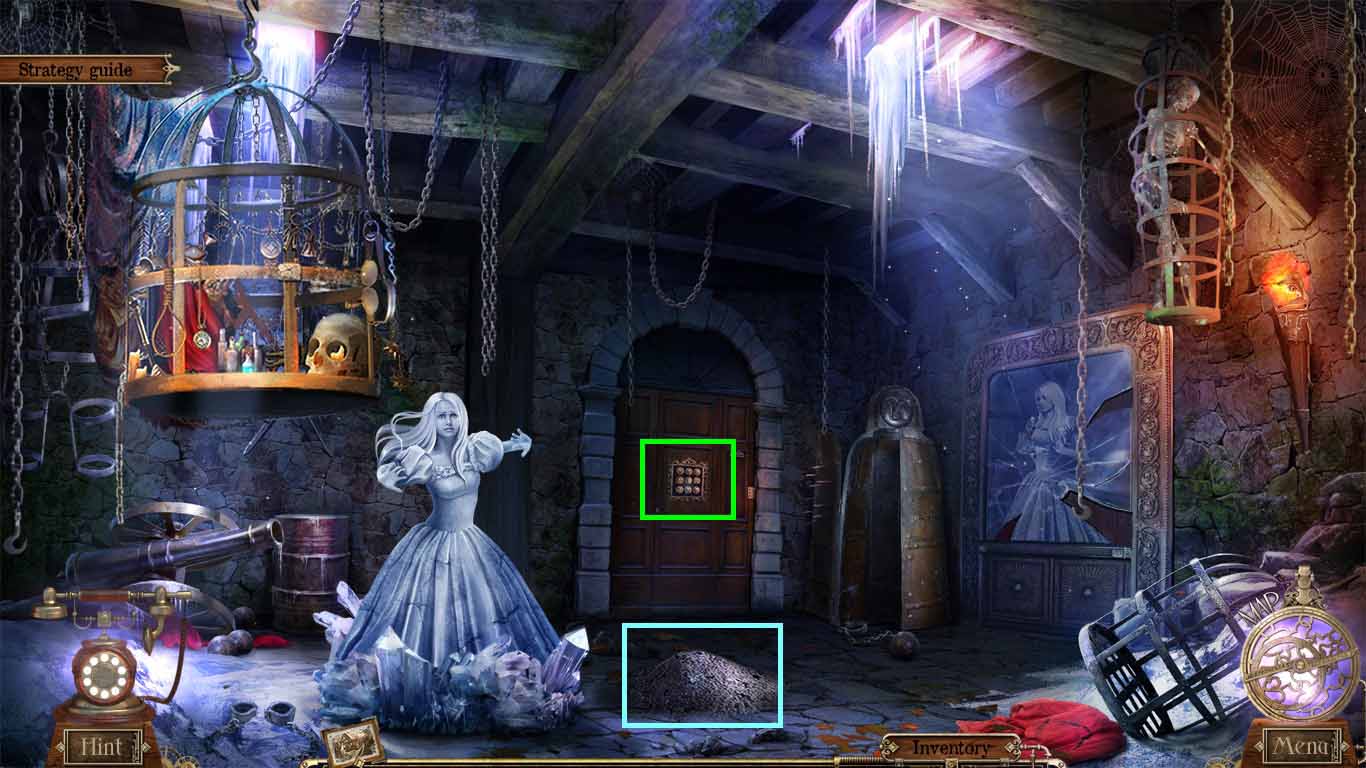
- Examine the general’s ashes.
- Collect the remains and the mirror.
- Examine the lock; pour the remains onto the lock.
- Click the buttons to open the lock.
- Go into the room of shadows.
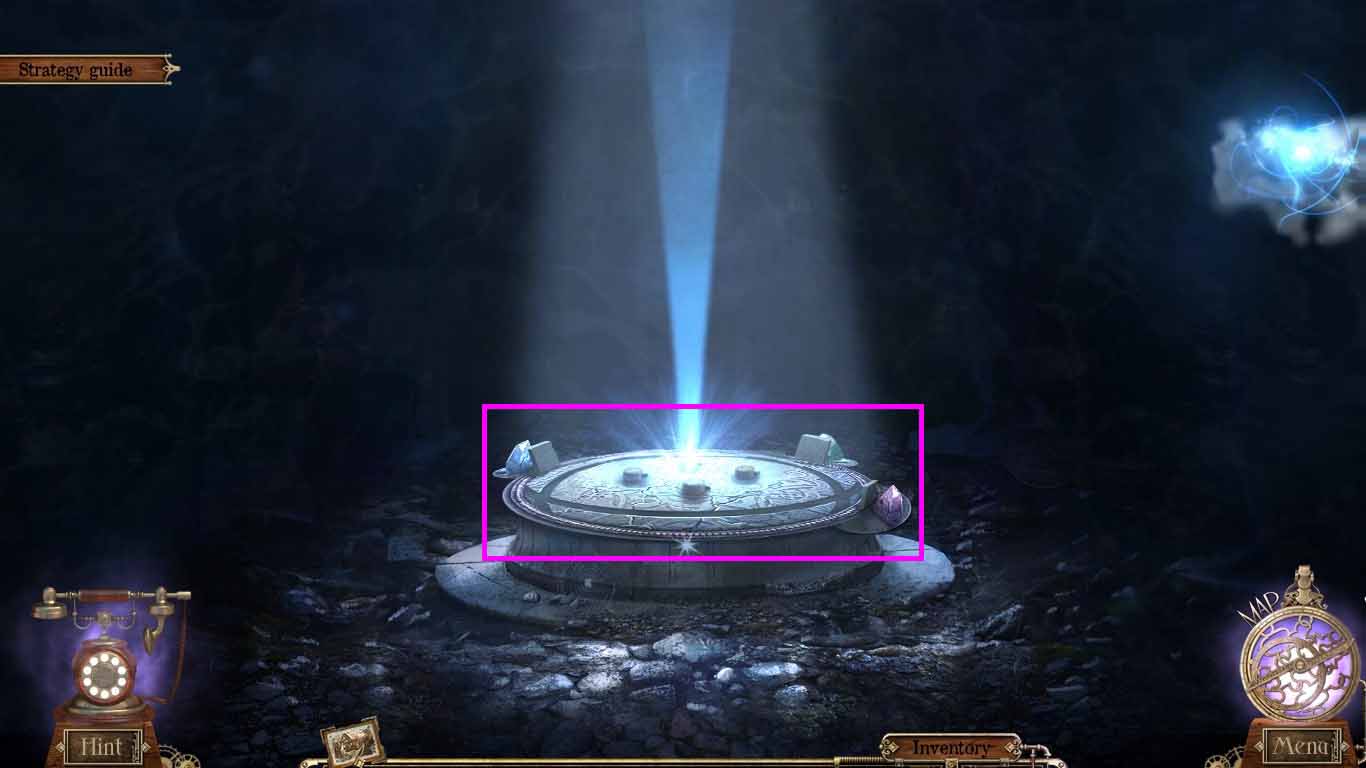
- Examine the mirrors; collect the oil can.
- Move to the hall of trophies.
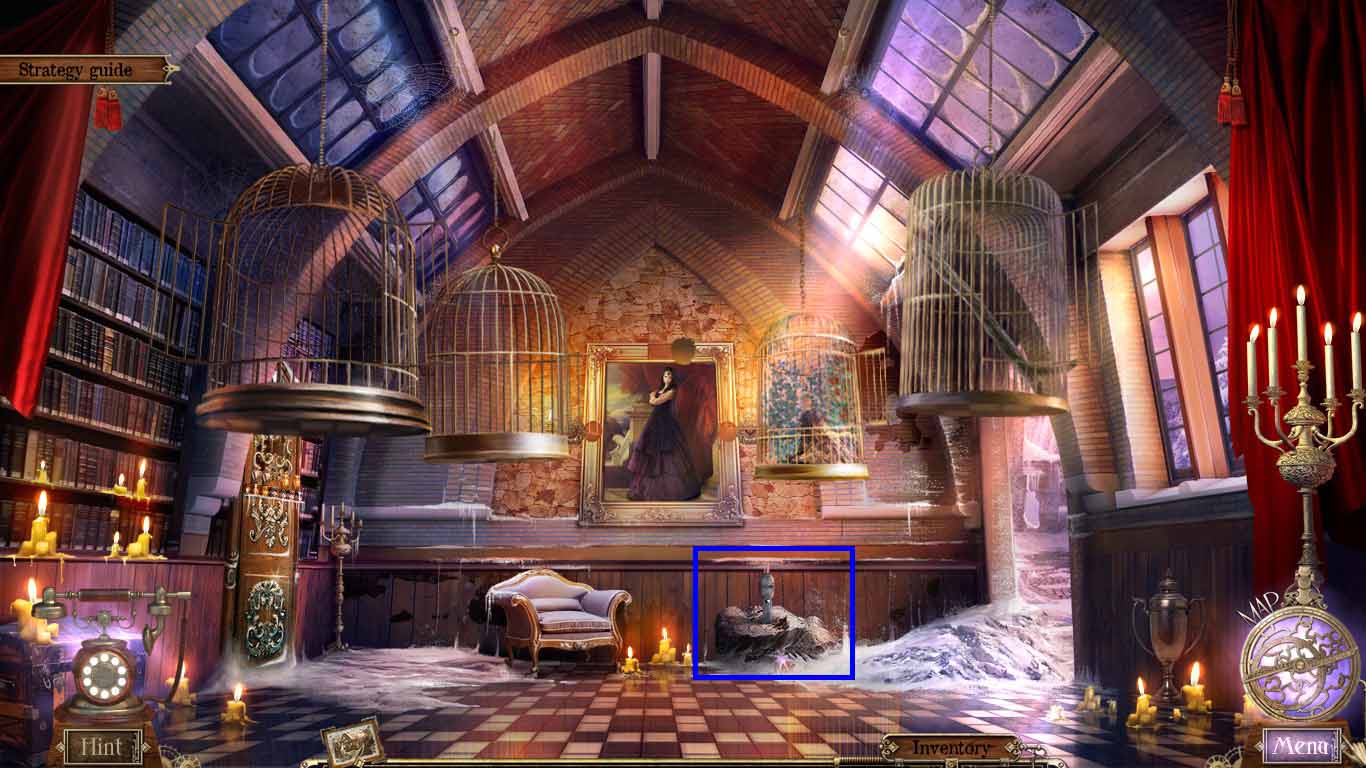
- Examine the stone.
- Pour the oil can over the metal arm; collect the metal arm.
- Move to the right.
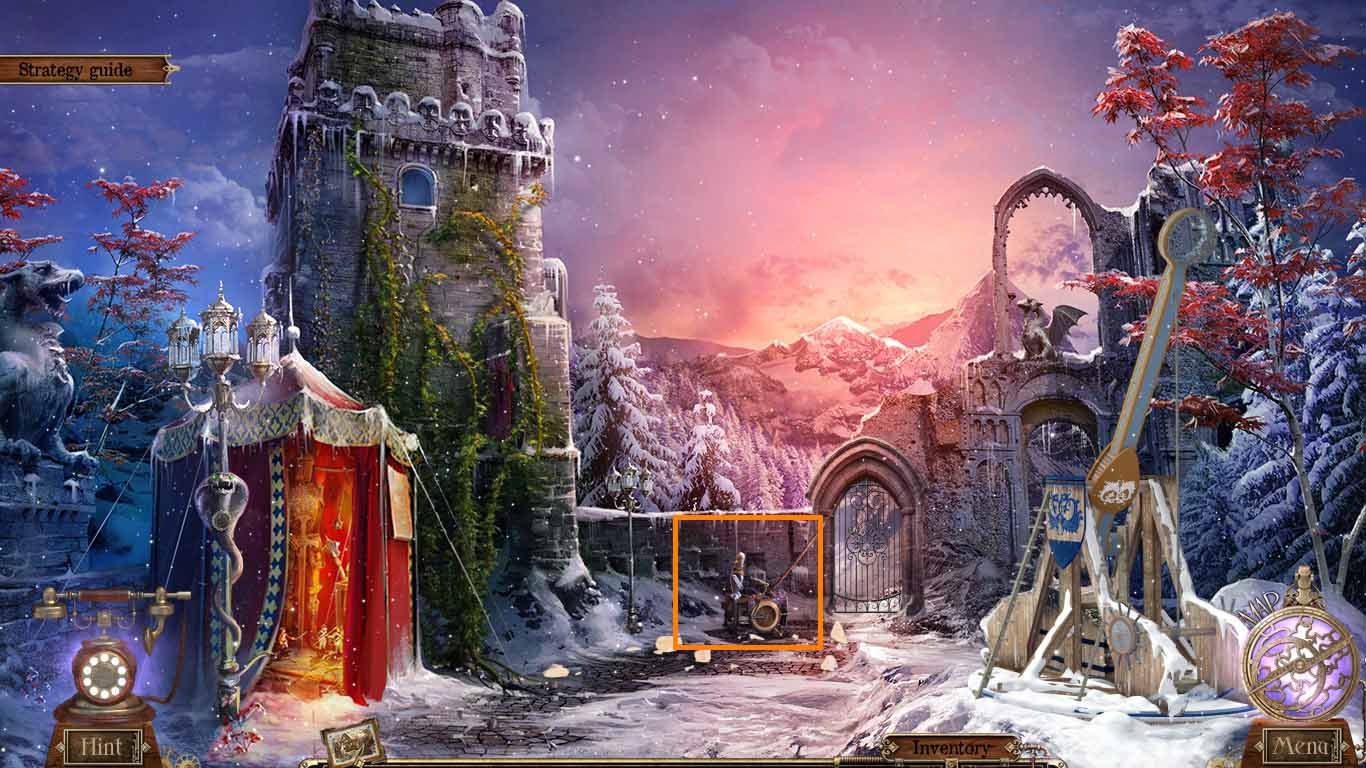
- Examine the porter.
- Place the metal arm onto the porter.
- Move to the snow dunes.
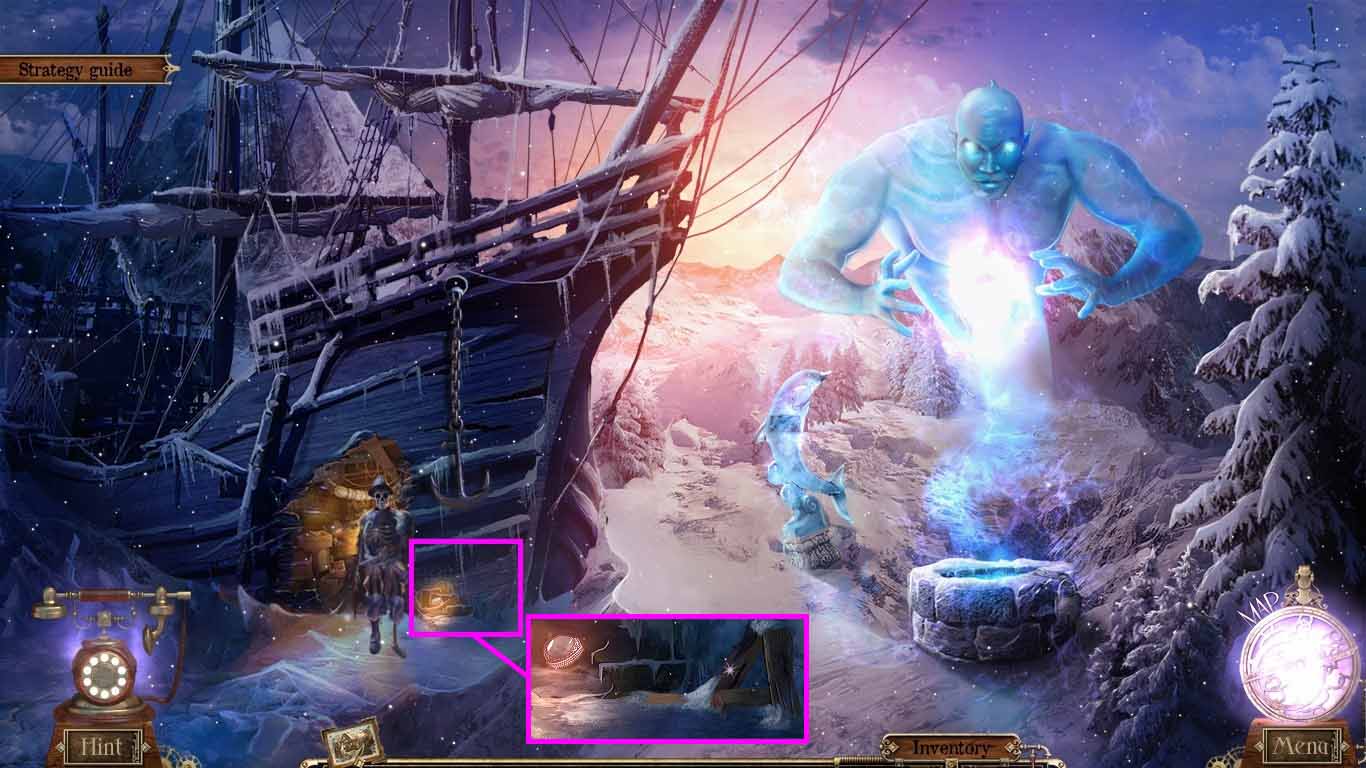
- Examine the fallen anchor.
- Collect the wood.
- Collect the mirror by using the ermine.
- Move to the hall of trophies.
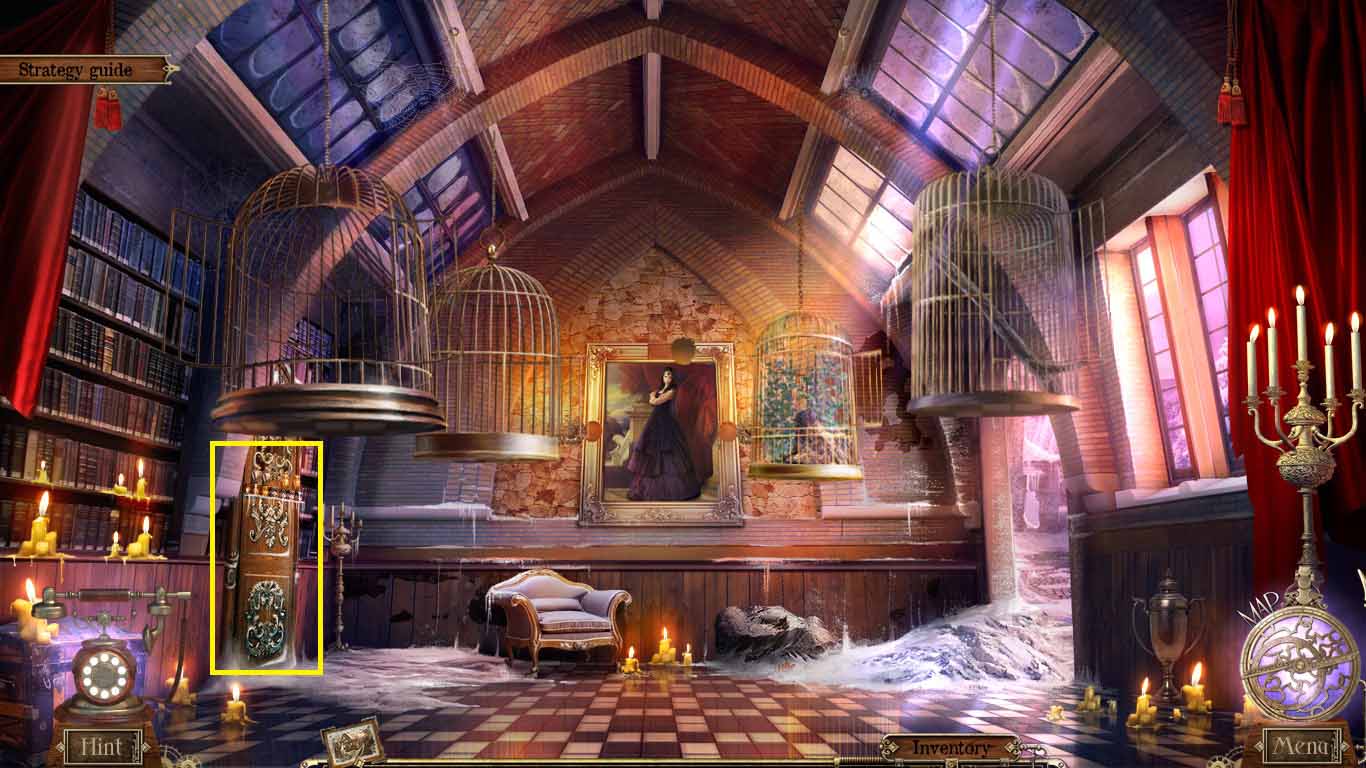
- Examine the library door.
- Collect the mirror.
- Move to the room of shadows.
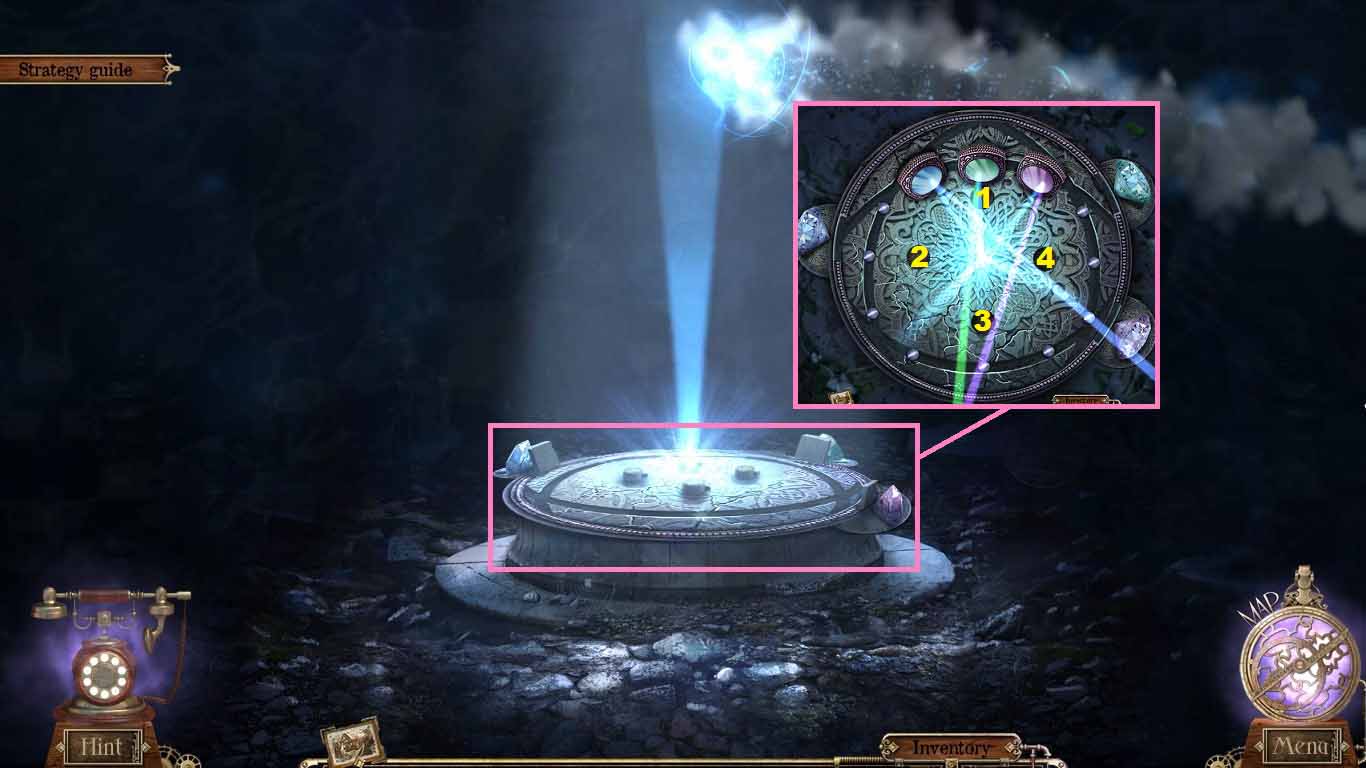
- Examine the mirrors.
- Insert the 3 mirrors and access the mini-game.
- To solve the game, click the buttons in the following sequence.
- 1 – 2 – 1 – 4 – 3 – 4 – 3 – 4 – 2 - 1 – 3
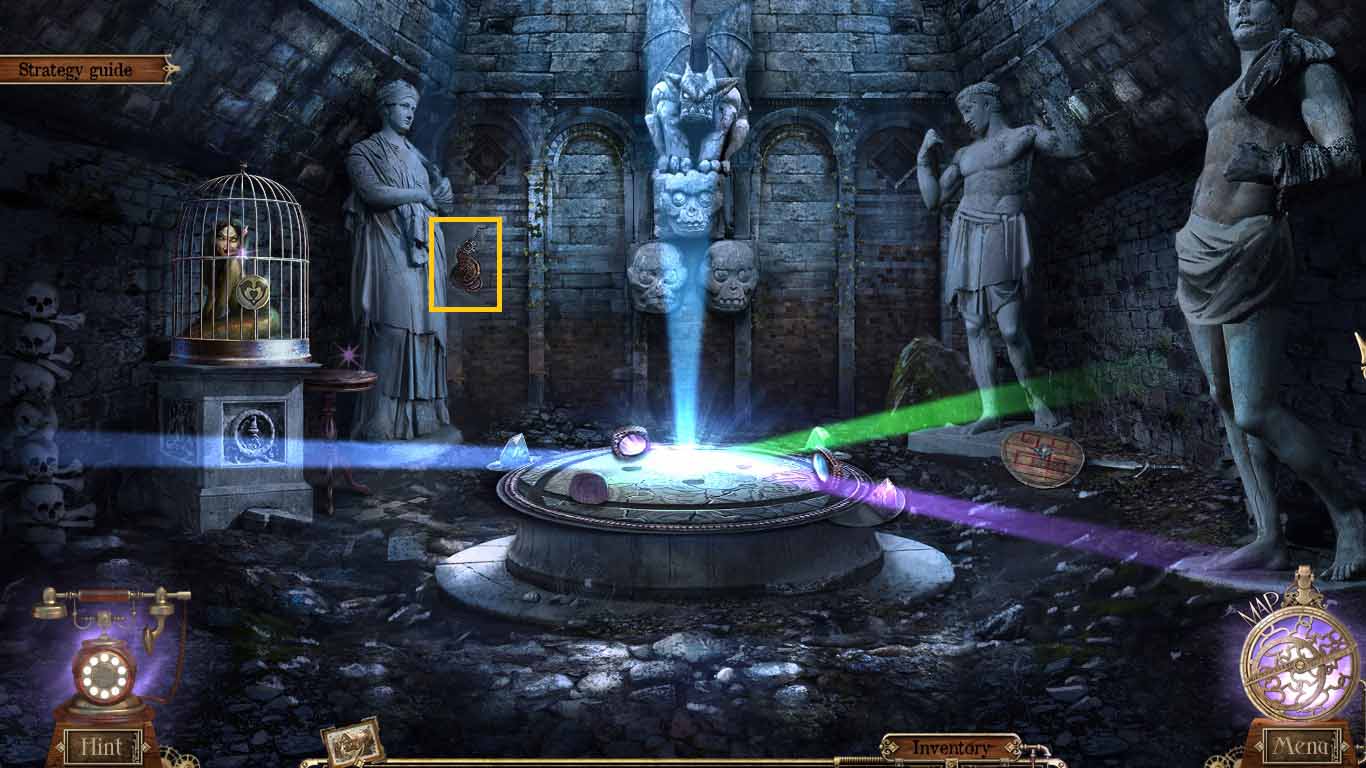
- Examine the wall.
- Pour the oil can onto the mechanism; collect the owl.
- Move to the hall of trophies.
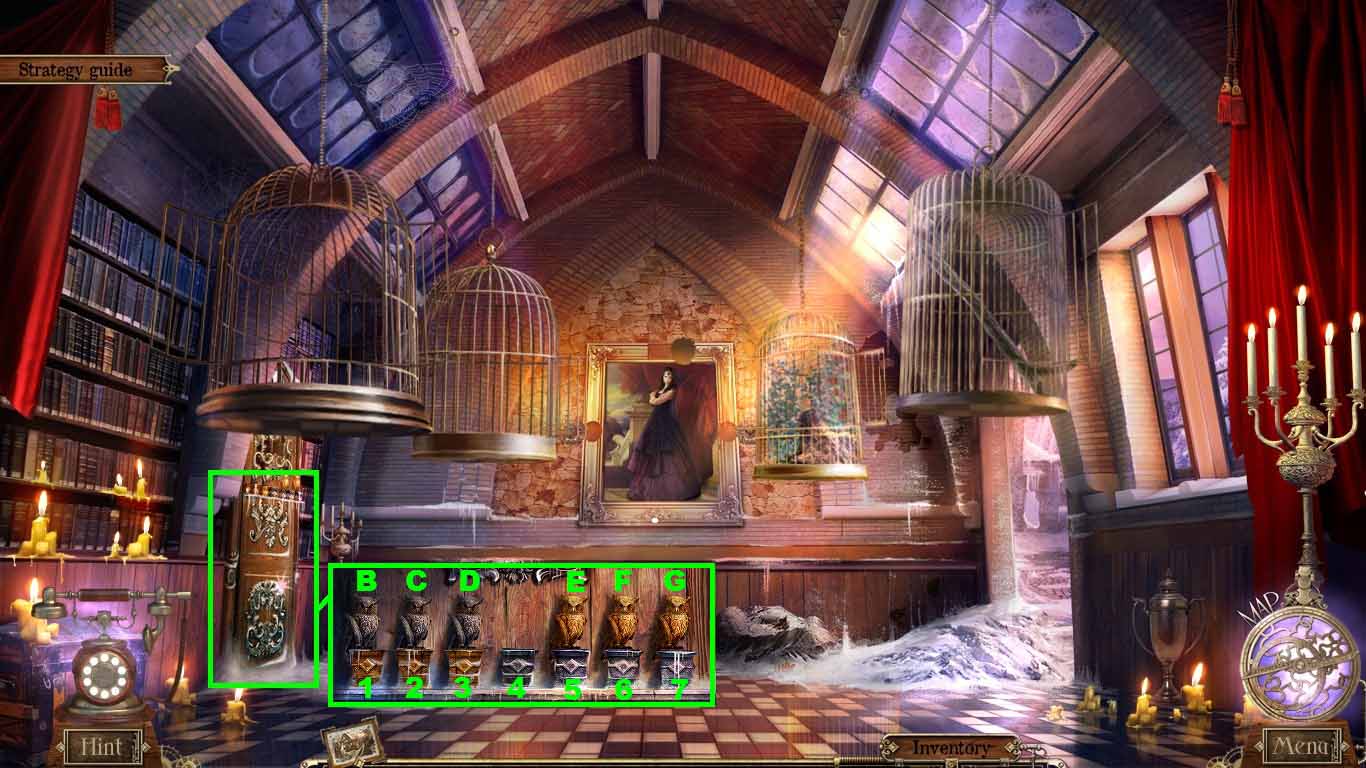
- Examine the library door; insert the 2 owls to access the mini-game.
- Move the owls to the color matches pedestals.
- Use the following pattern to solve the game.
- E4 – D5 – E3 – C4 – E2 –D3 – F5 – C6 – F4 – D5 – B3 – E1 – F2 – D4 – G5 – C7 – D6 – B4 –G3 – B5
- Move into the library.
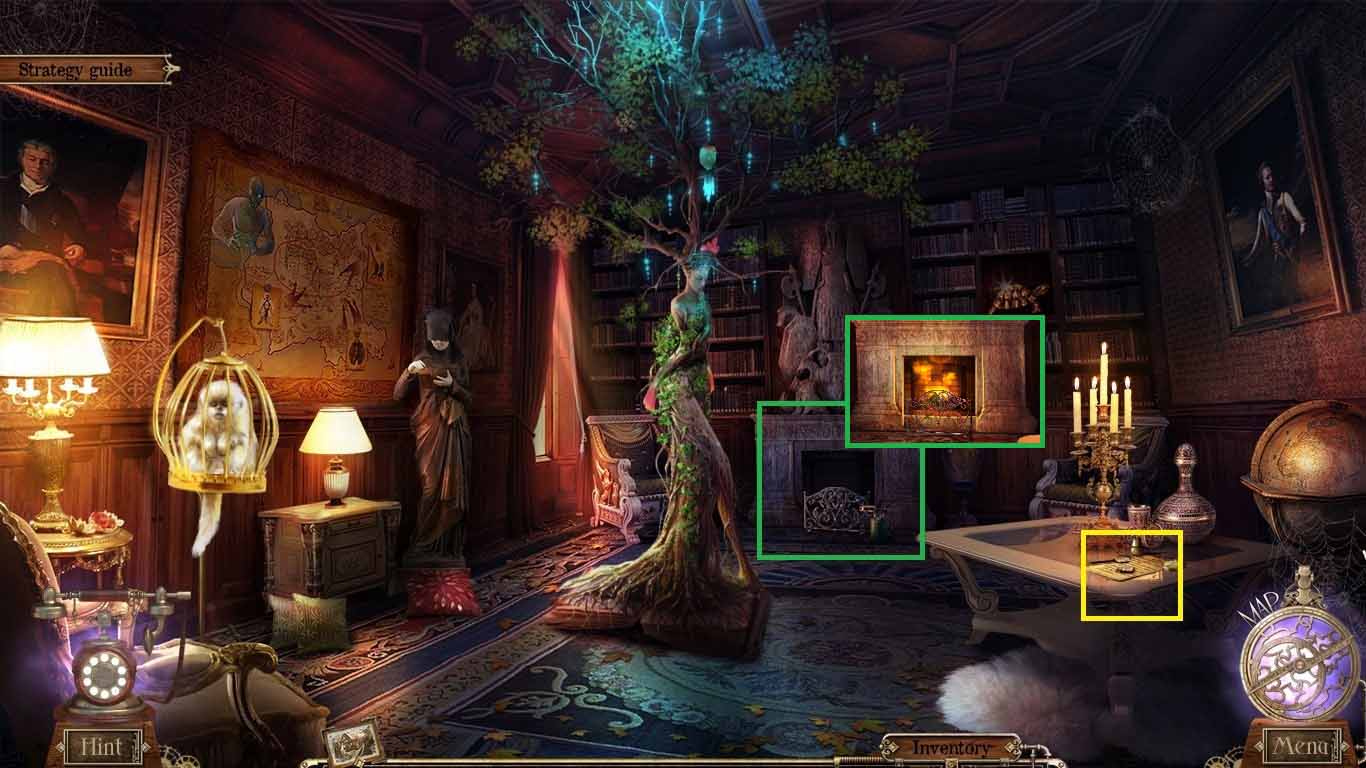
- Examine the note; collect the matches.
- Read the note.
- Examine the fireplace.
- Light the blowtorch by using the matches.
- Place down the wood.
- Collect the blowtorch and light the woods.
- Move to the snow dunes.
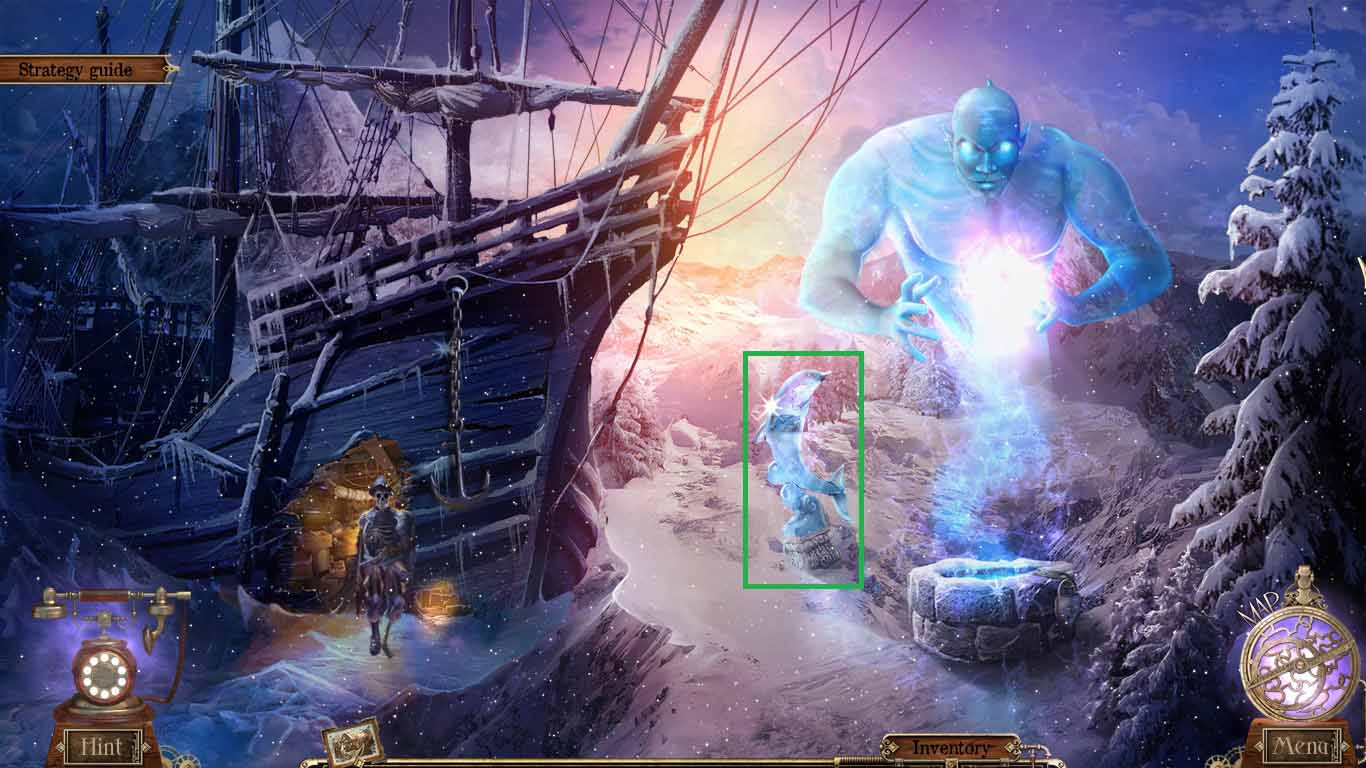
- Examine the ice dolphin; melt the ice using the blowtorch.
- Collect the fragment and the clock hands.
- Move to the room of shadows.
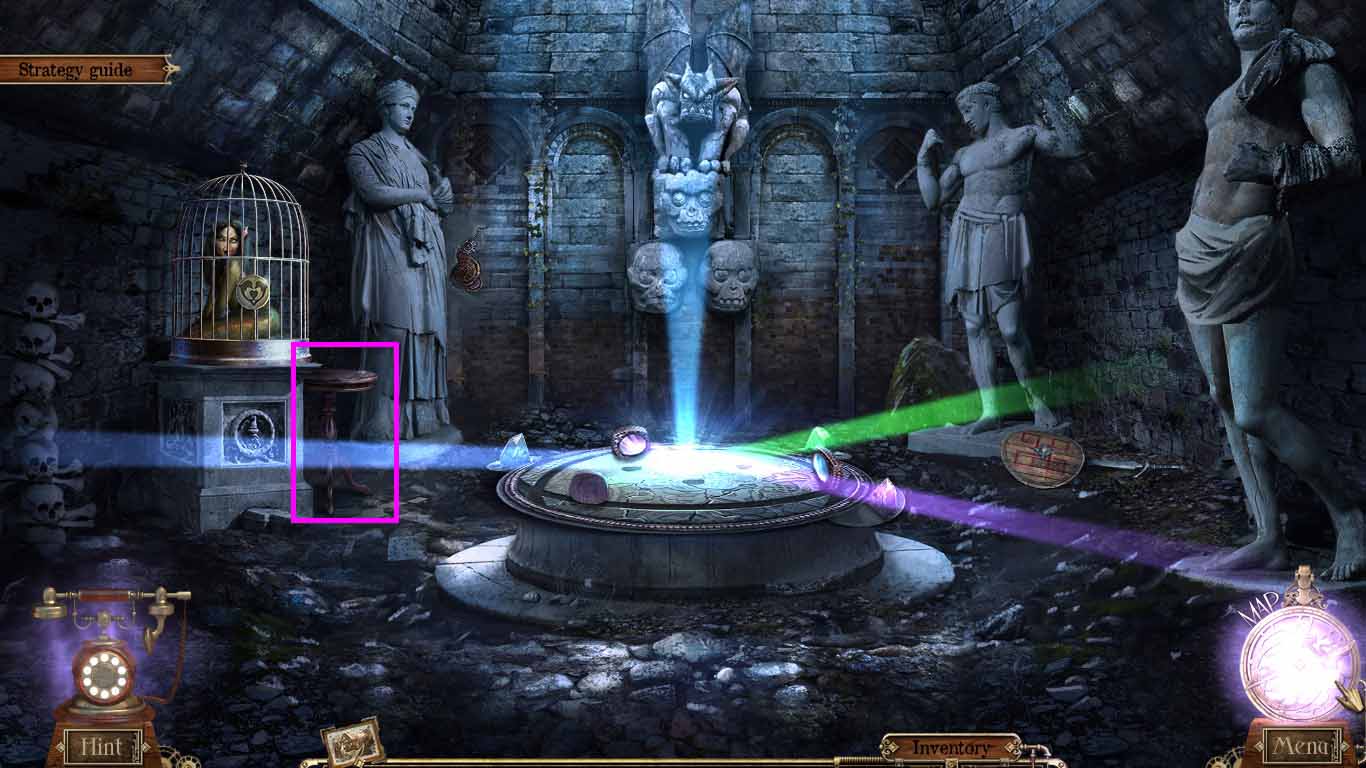
- Examine the table.
- Collect the fragment.
- Move to the library.
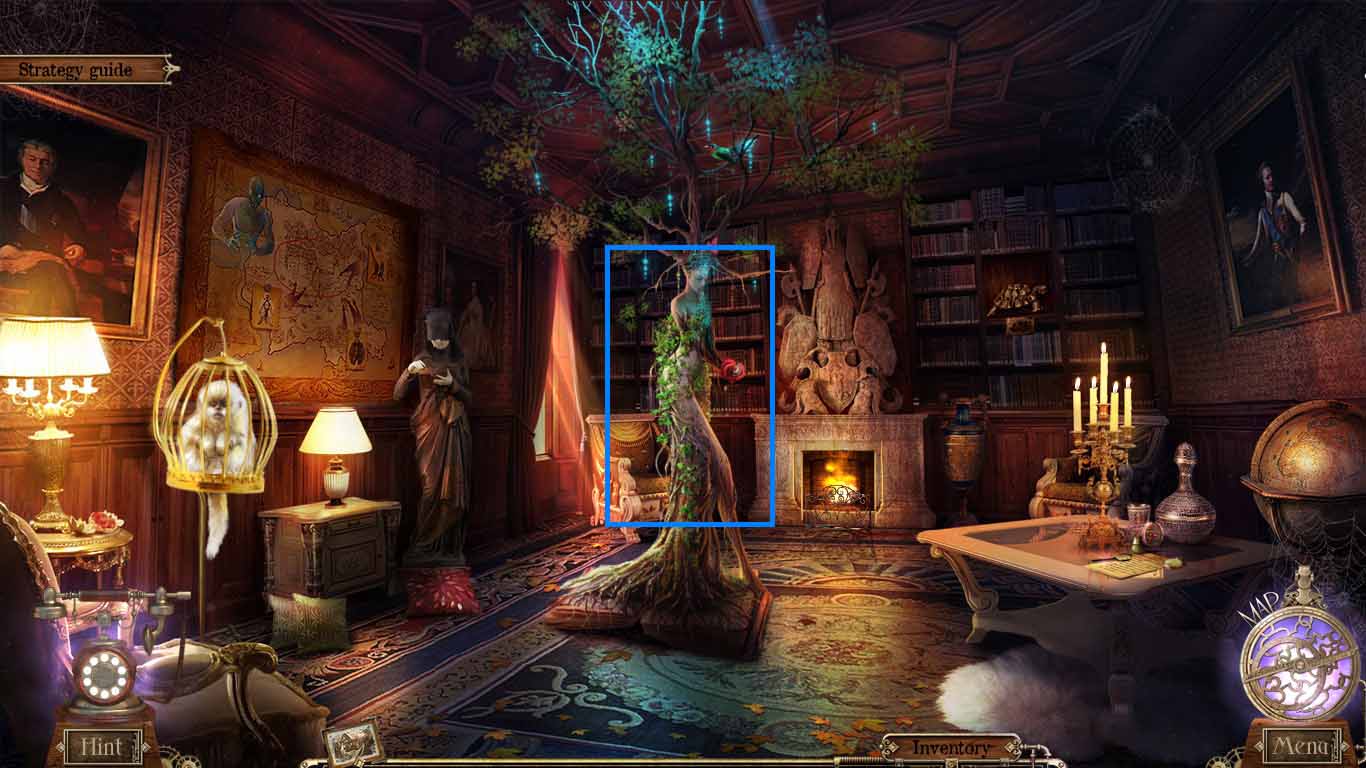
- Examine the tree.
- Collect Giselle’s amulet.
- Move to Isabella’s tower.
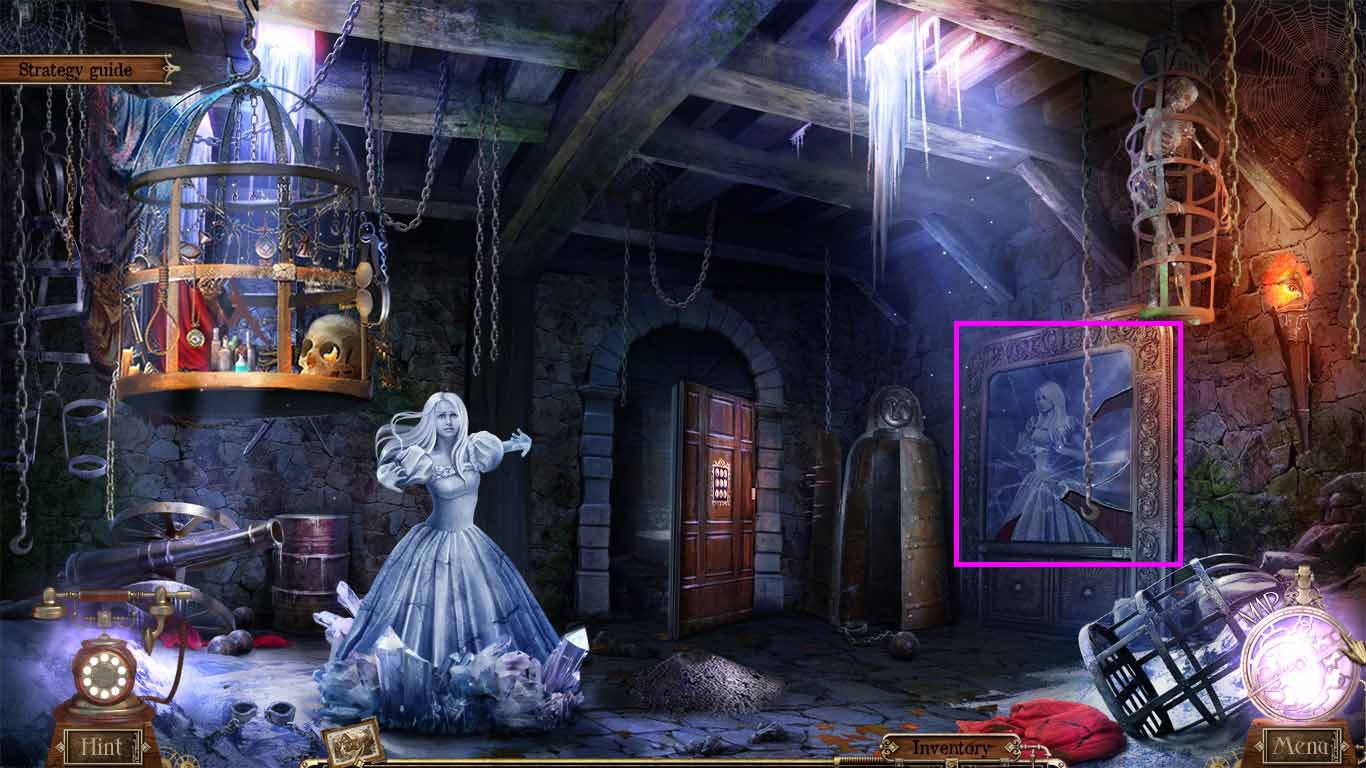
- Examine the mirror.
- Insert the two fragments; collect the siren’s amulet.
- Move to the snow dunes.
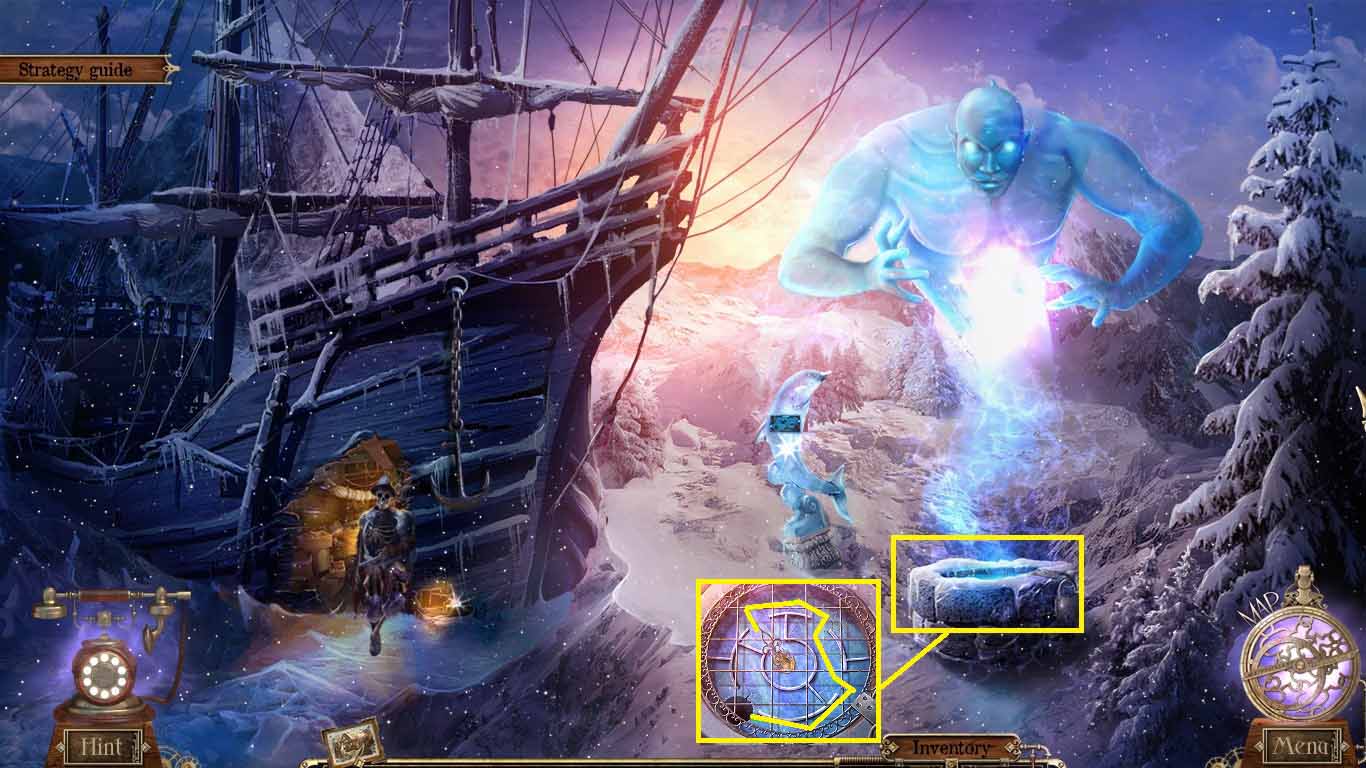
- Examine the ice frog.
- Melt the ice by using the blowtorch.
- Click the arrows to move the frog to the hole.
- Collect the key and place it into the lock.
- Click the hidden objects area.
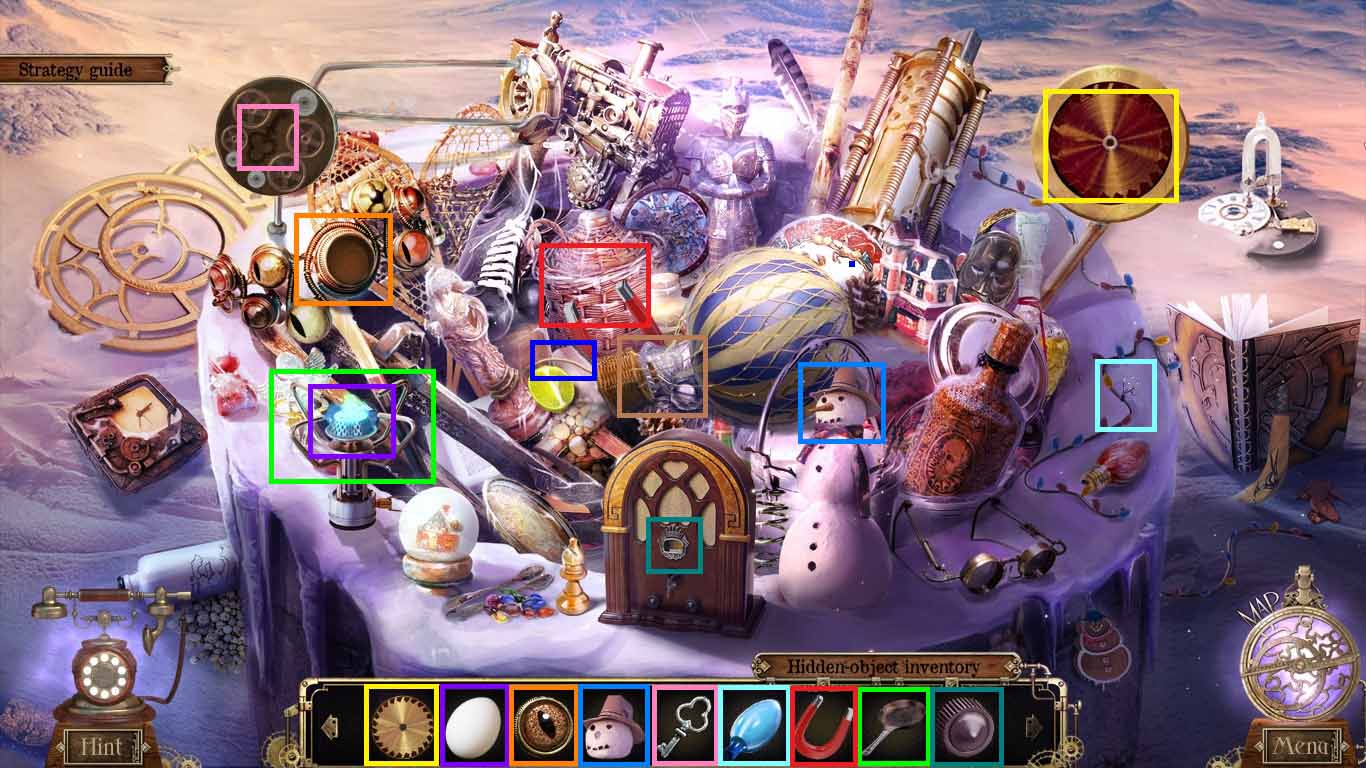
- Arrange the items into the correct areas.
- Collect the radio.
- Move to the room of shadows.
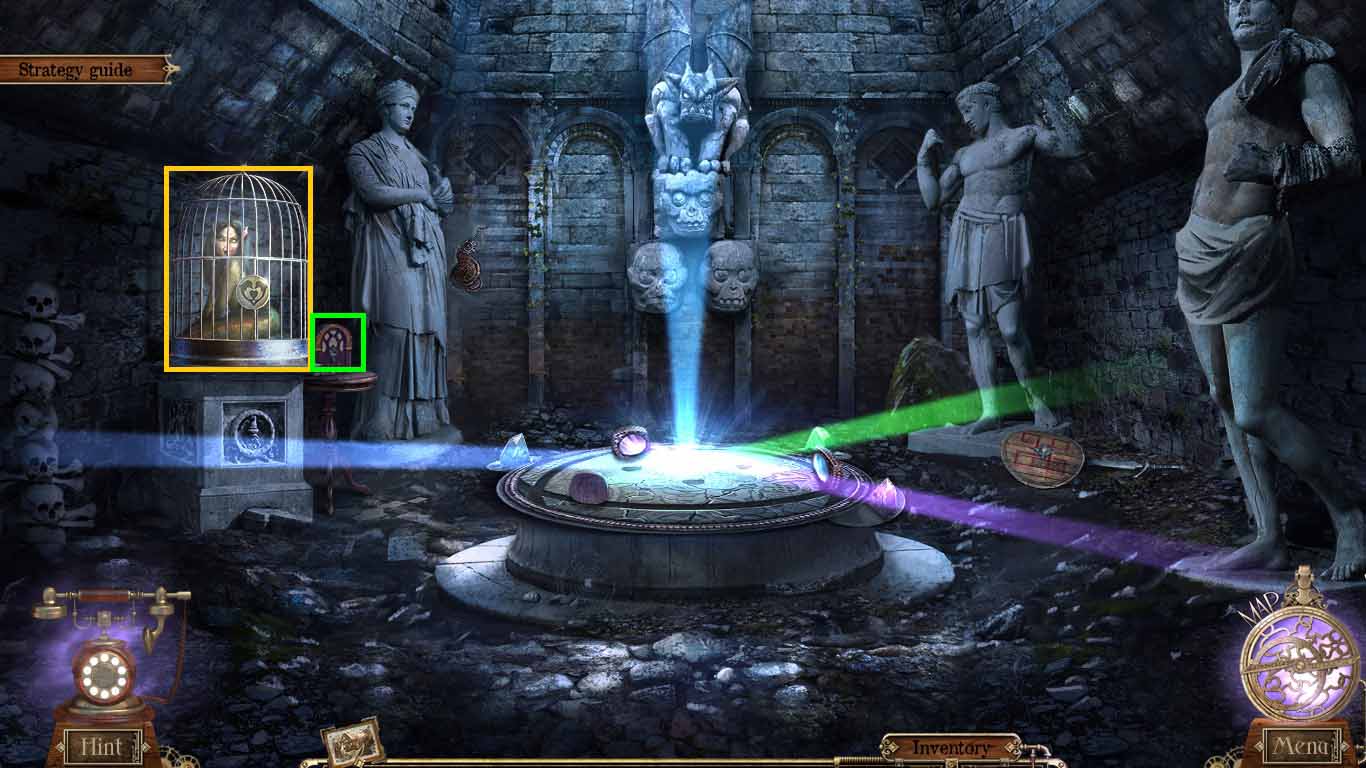
- Examine the table; place the radio down and click on the switch.
- Examine the siren’s cell.
- Click the siren on; insert the siren’s amulet into the slot.
- Collect the soul.
- Move to the snow dunes.
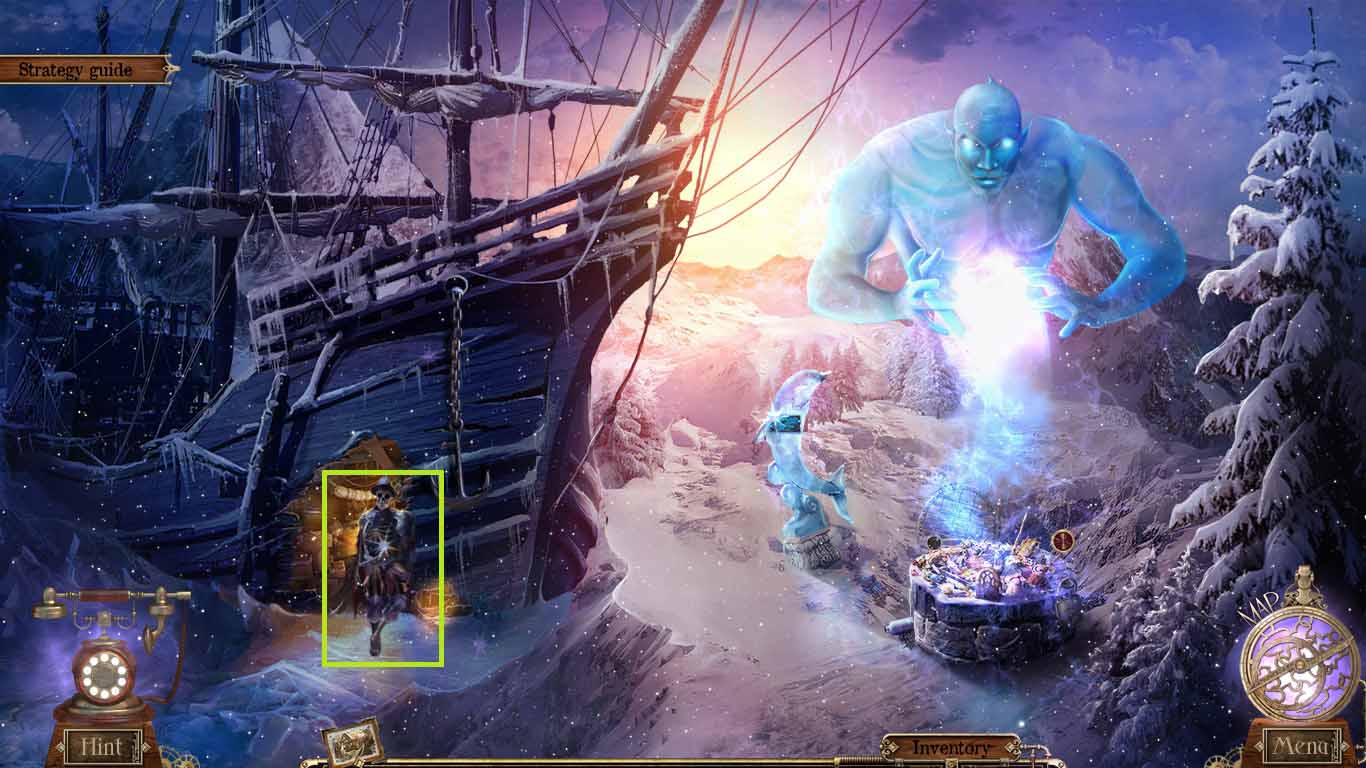
- Examine the captain.
- Give the captain the soul.
- Move inboard.
Comments will load when you reach this part of the walkthrough.