

Chapter Three: The Escape
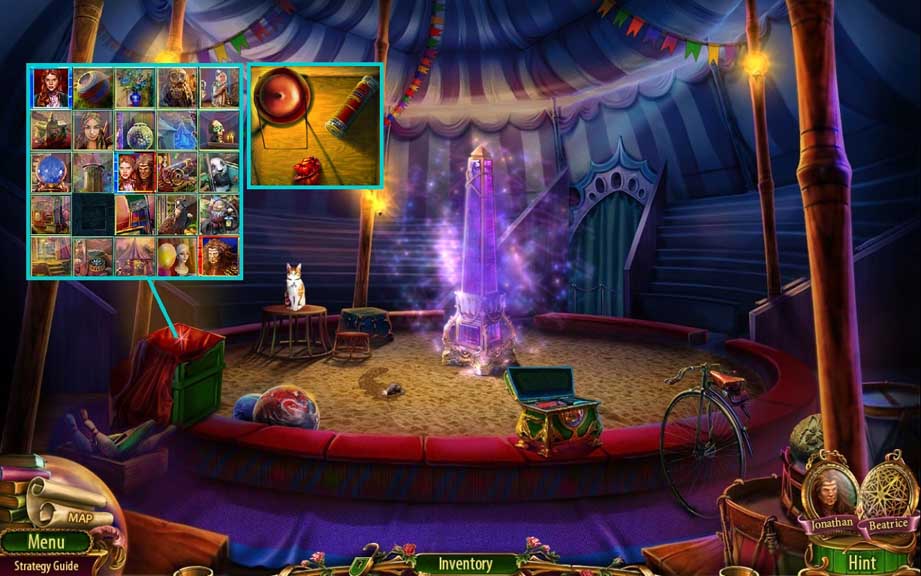
- Receive the box tile.
- Click the cloth and insert the box tile to trigger a mini game.
- Solve the game by aligning the beauty and the beast tiles correctly.
- Place the lantern into the box; collect 2 /2 ruby hearts and the broken kaleidoscope.
- Move to the fortune teller’s tent.
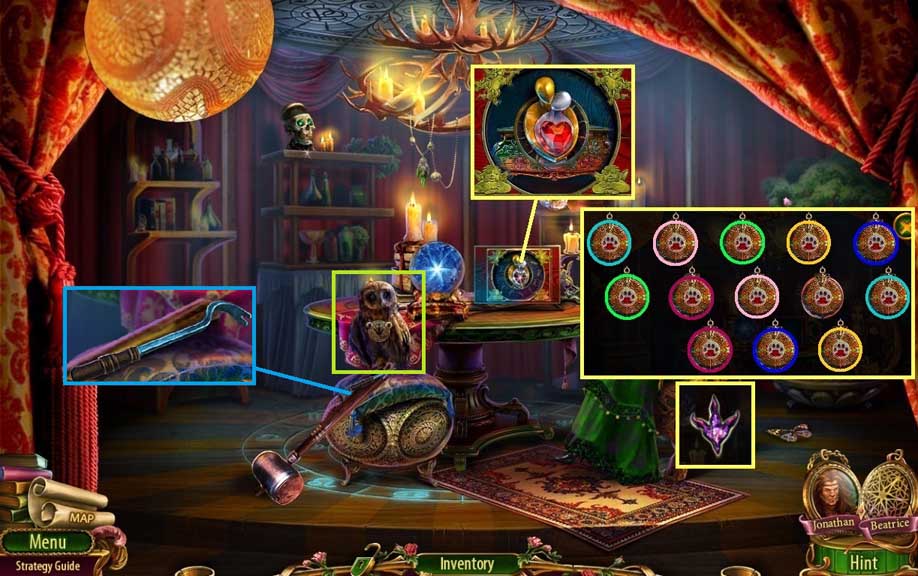
- Insert the 2 ruby hearts; collect the casket and click it 2 x’s to trigger a mini game.
- Solve the game by uncovering the matches.
- Collect the owl’s foot and insert it into the groove.
- Collect the nail puller and the hammer.
- Move down once.
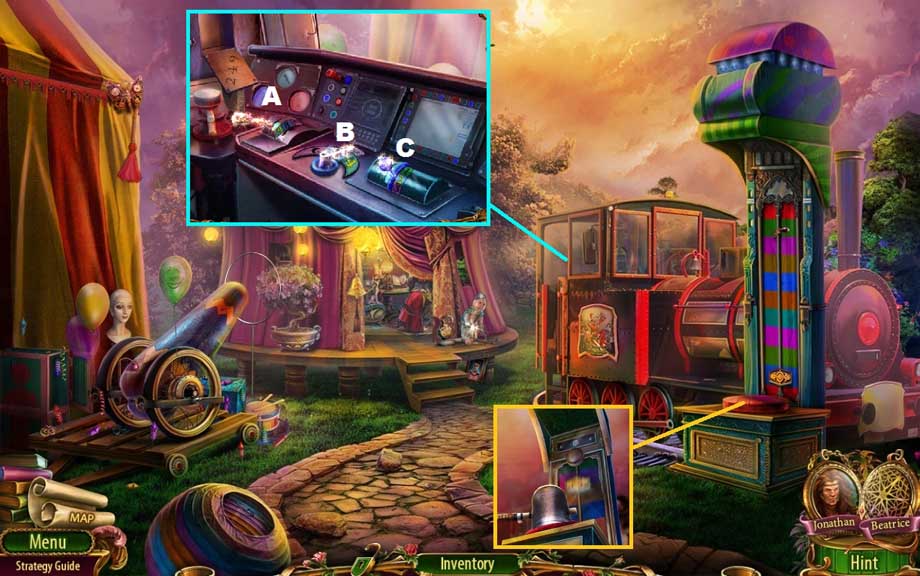
- Select the hammer to hit the strength test; receive 2 /2 levers.
- Insert the 2 levers to trigger a mini game.
- Solve the game by
- Use the following solution: C – B x 2 – A x 2
- Move to the right.
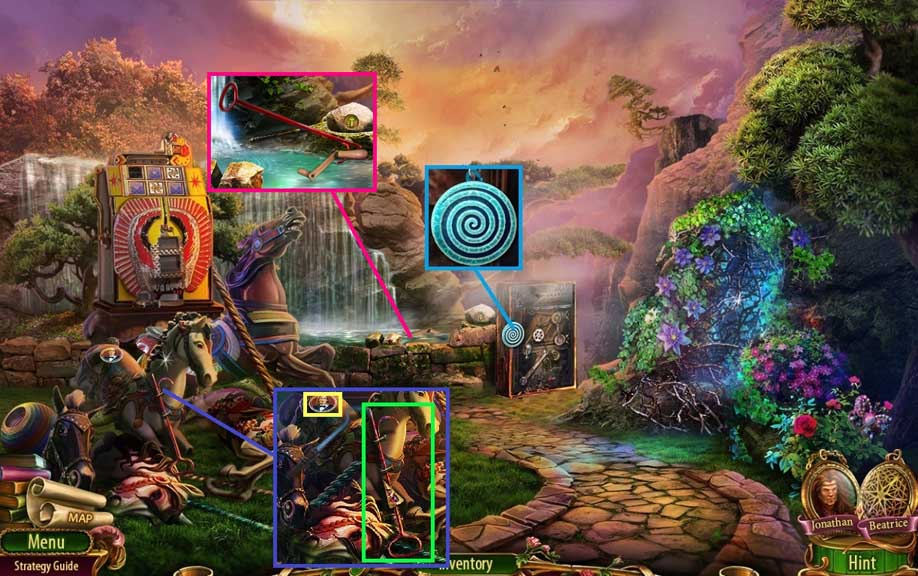
- Collect the spiral.
- Select the nail puller to collect the gaff and the stone disk.
- Select the gaff to collect the lever.
- Move down once and ahead.
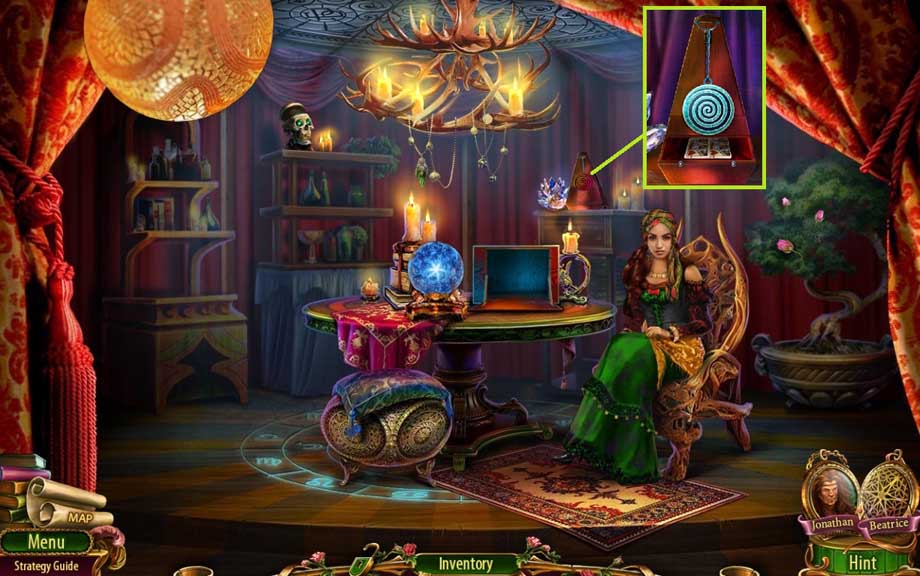
- Place the spiral; collect the playing card.
- Move down once and to the right.
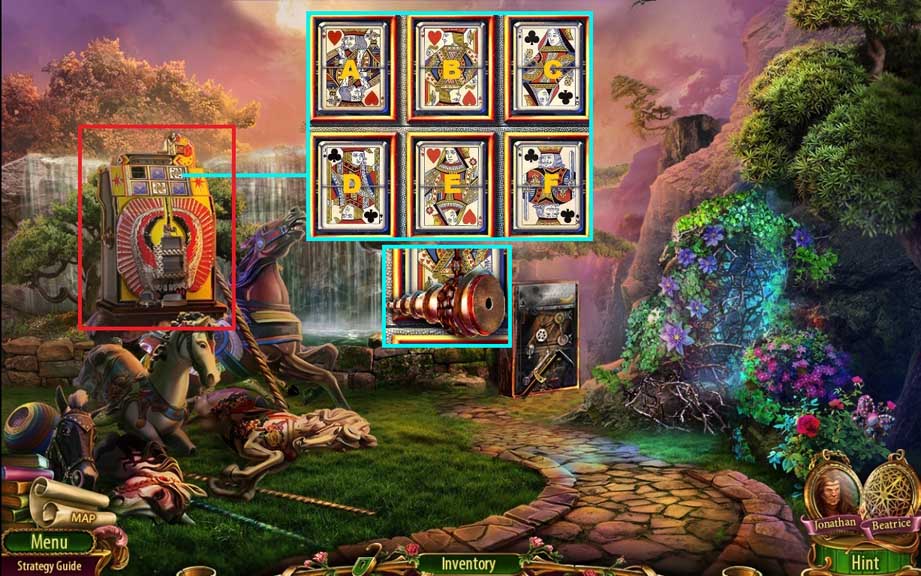
- Insert the playing card to trigger a mini game.
- Solve the game by clicking the cards into the correct alignment.
- Use the following solution: D – A – F – C – B – E
- Collect 1 /2 drilling parts.
- Click the hidden objects area.
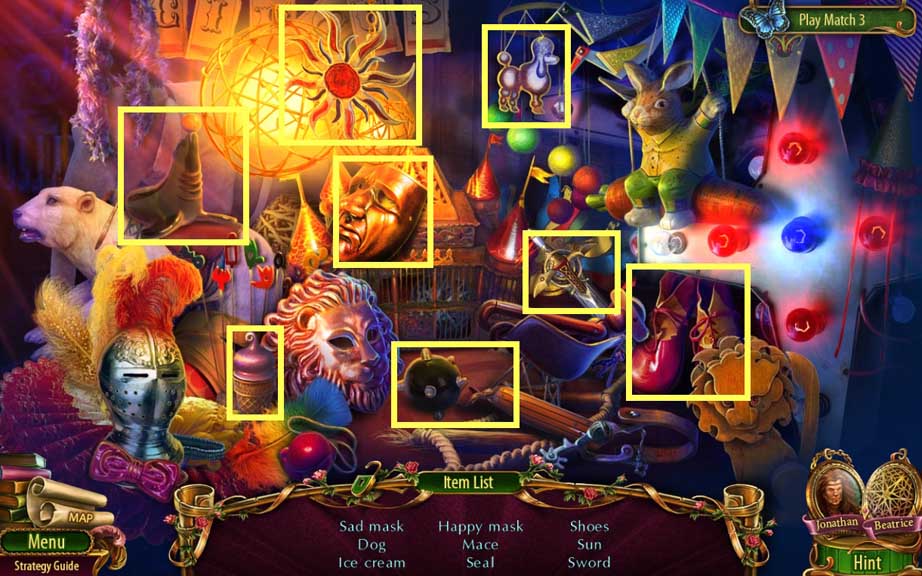
- Find the items.
- Collect the chain.
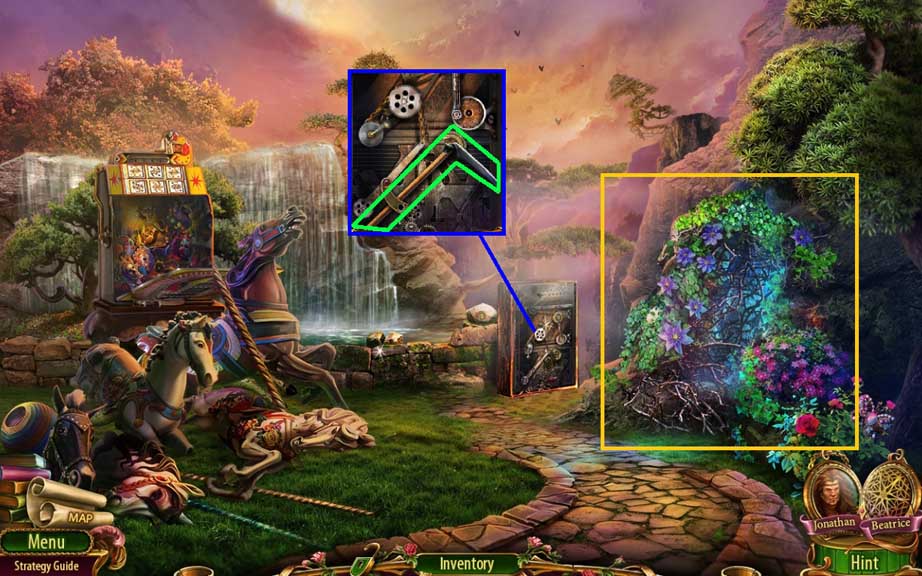
- Attach the chain to receive the scythe.
- Select the scythe to remove the branches.
- Move to the right.
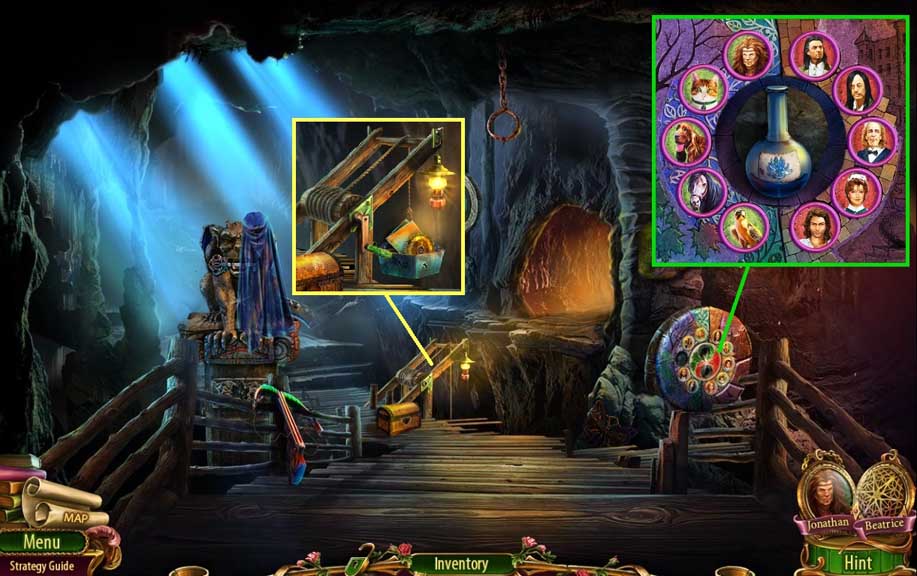
- Insert the stone disk to trigger a mini game.
- Solve the game by aligning the disks correctly.
- Collect the magic liquid.
- Attach the lever; collect the gear and the note.
- Move down once.
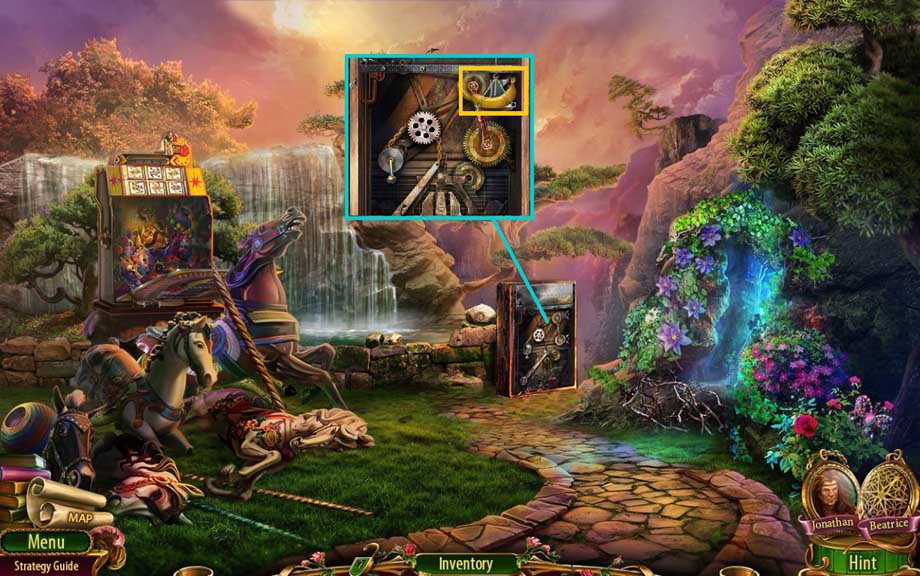
- Insert the gear.
- Collect the banana.
- Move down once.
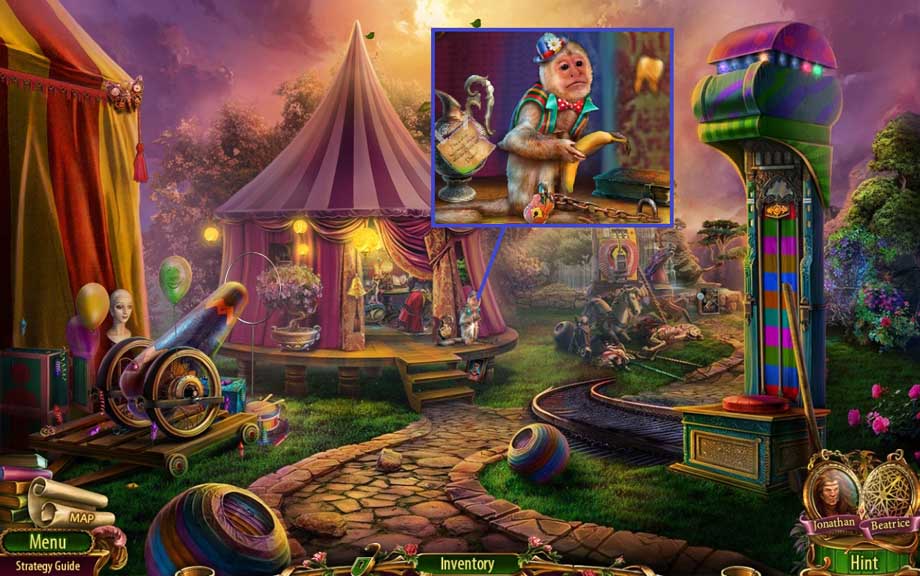
- Give the banana to the monkey; receive the gold tooth.
- Move ahead.
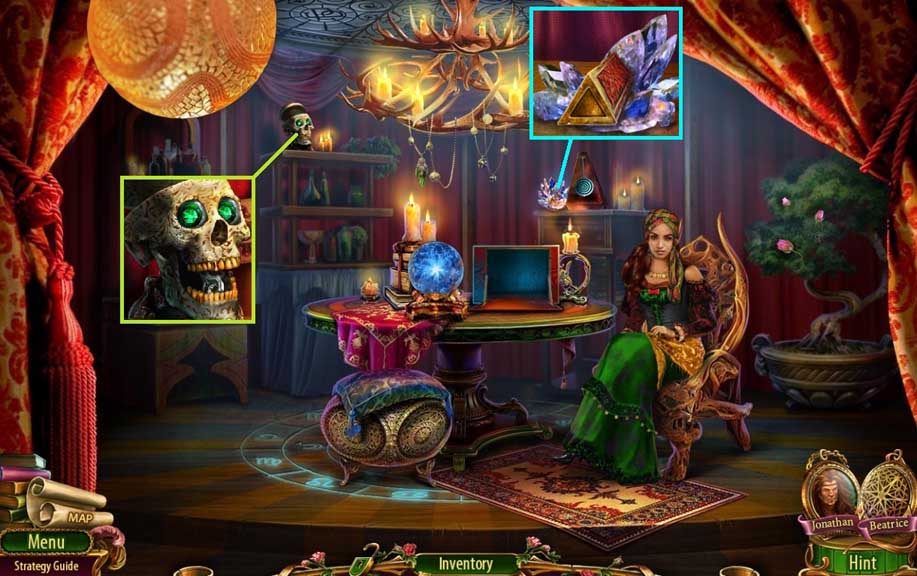
- Insert the gold tooth; collect the wrench.
- Select the magic liquid; collect the wedge.
- Move down once and to the right.
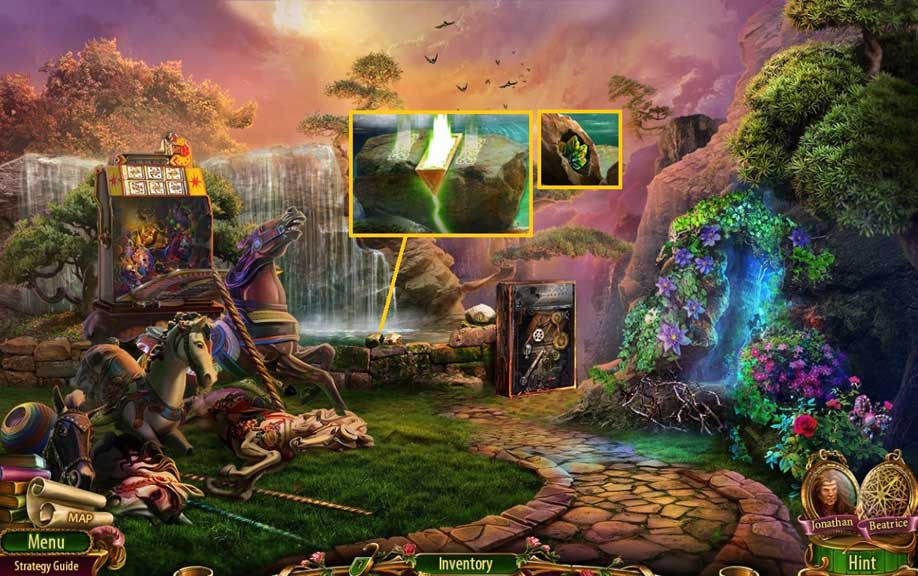
- Insert the wedge.
- Collect the stone leaf.
- Move to the right.
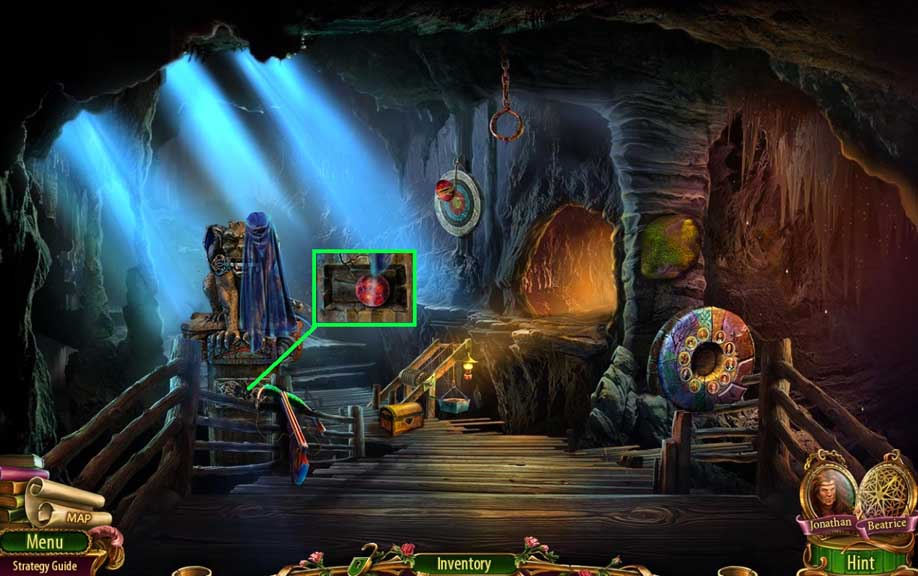
- Insert the stone leaf.
- Collect 1 /2 kaleidoscope glass.
- Move to the Main Stage.
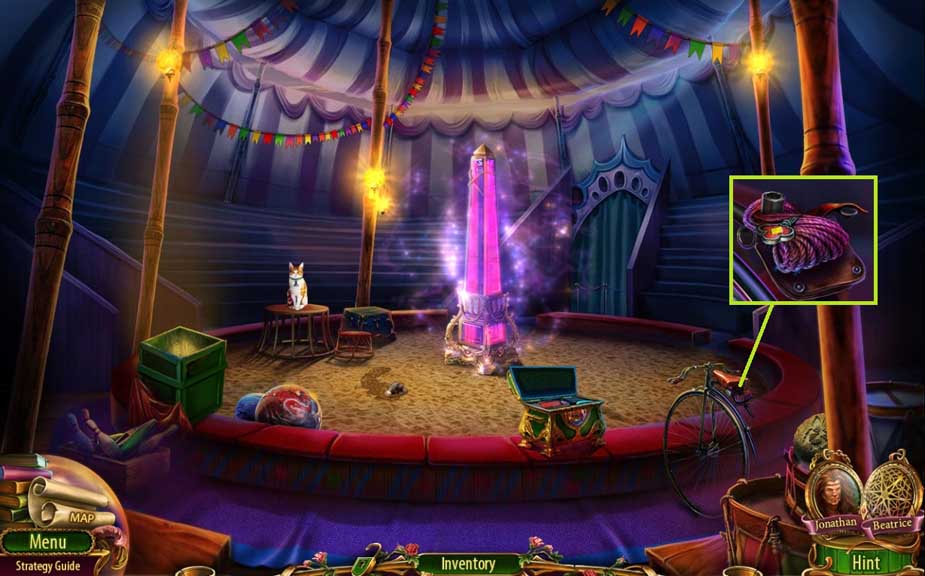
- Select the wrench to collect the monkey key and the rope.
- Move down once and to the right.
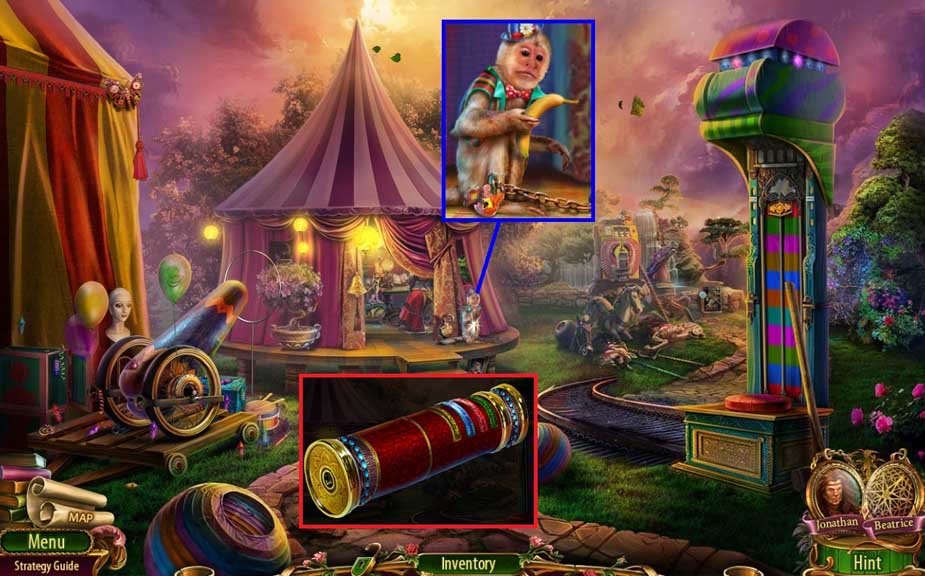
- Insert the monkey key.
- Receive the kaleidoscope glass and place it onto the broken kaleidoscope.
- Click the hidden objects area.
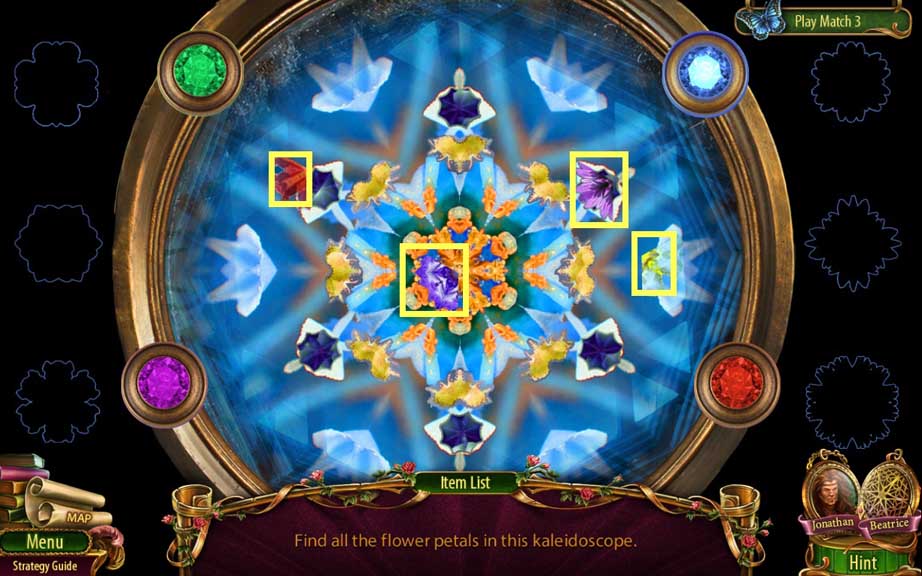
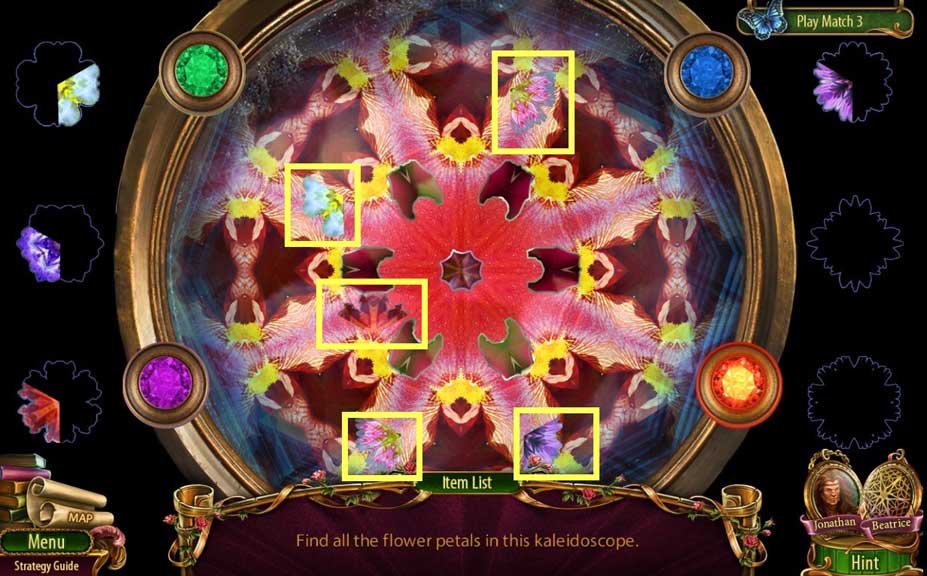
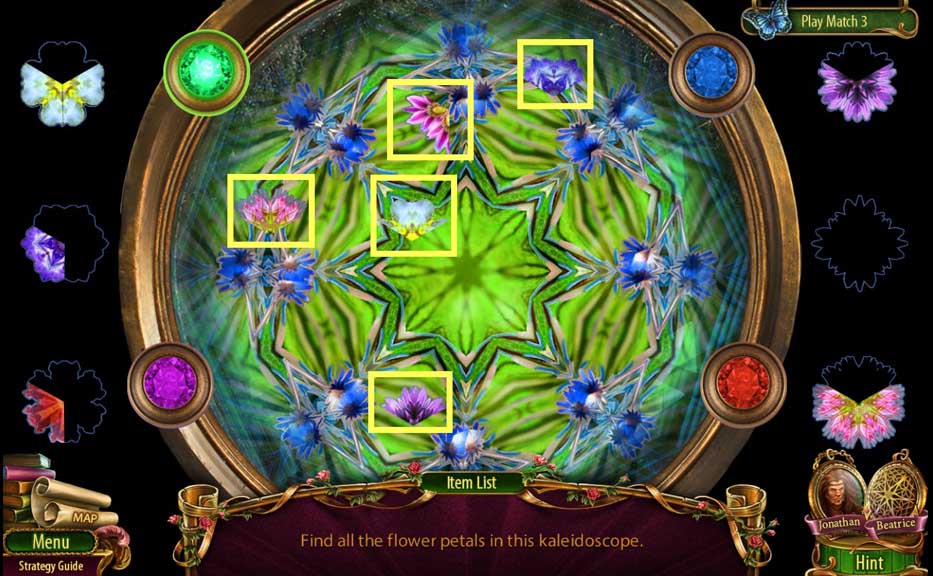
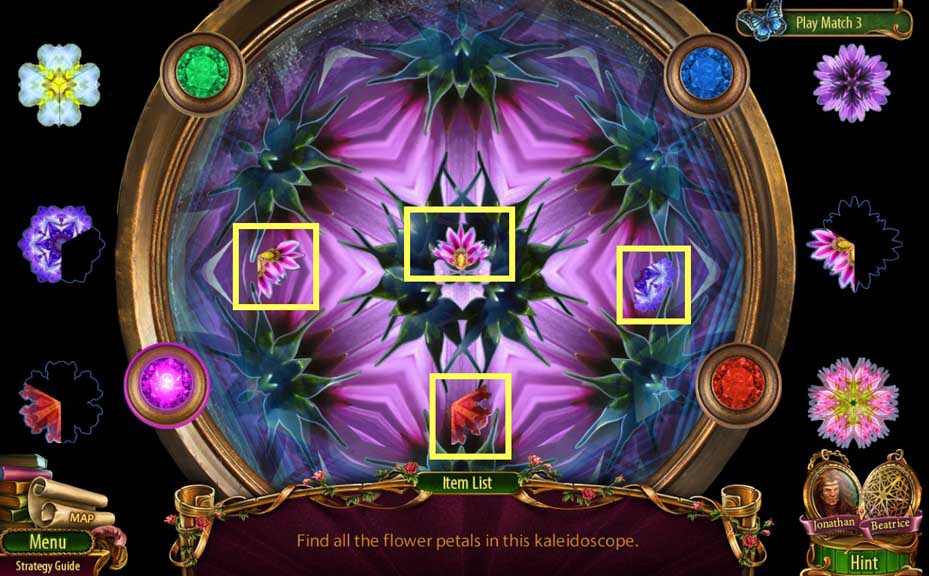
- Find the items.
- Collect the master key.
- Move down once and ahead once.
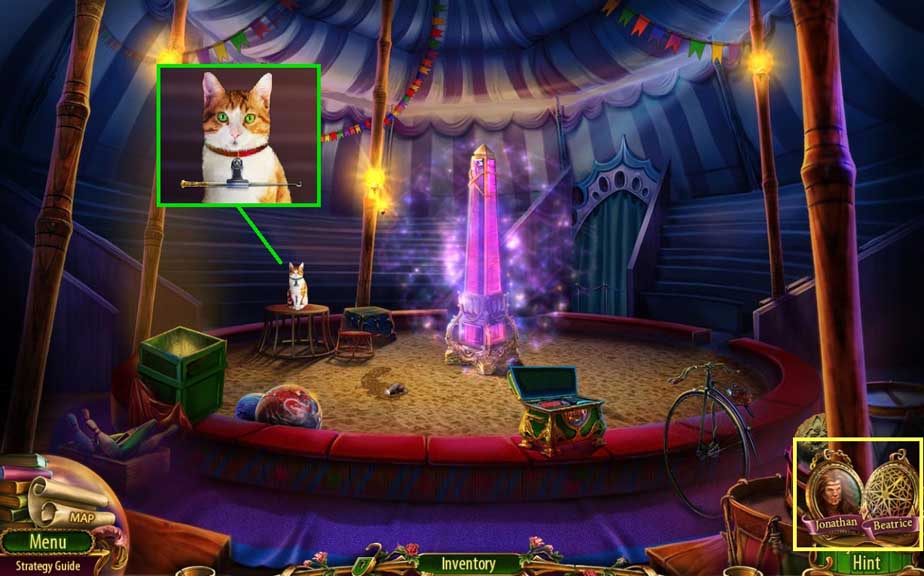
- Give the cat the master key.
- Click the locket.
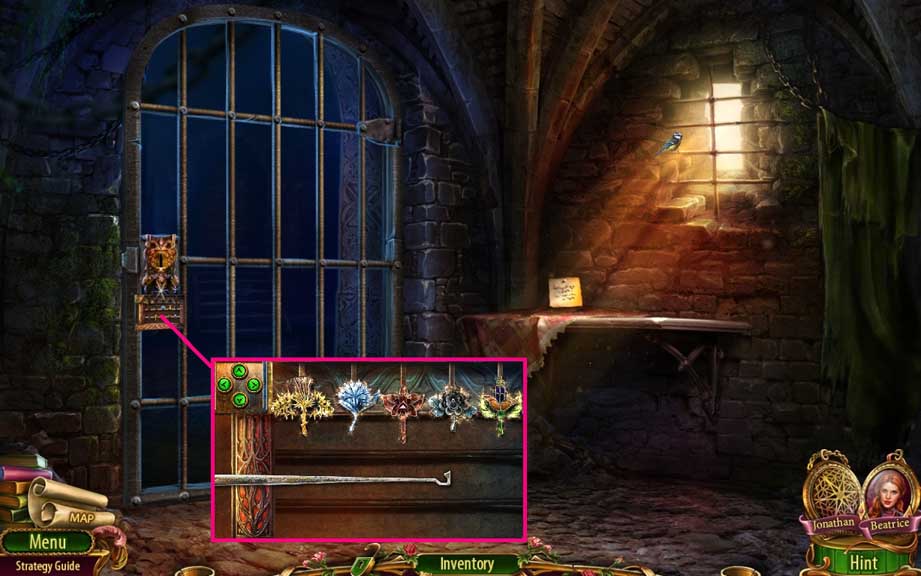
- Receive the master key and insert it into the lock to trigger a mini game.
- Solve the game by using the master key to tap the flower parts into the correct alignment.
- Move to the left.
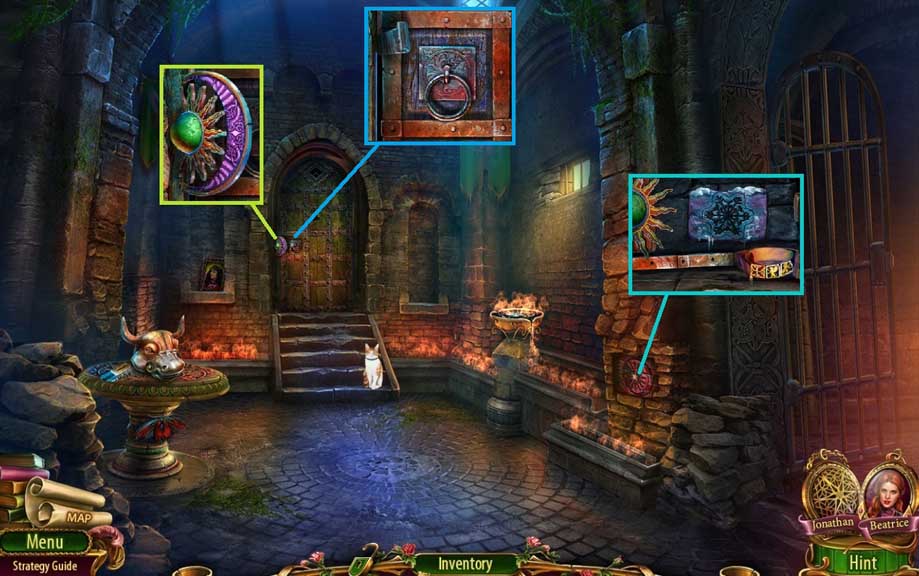
- Select the matches to ignite the oil.
- Collect the sun disk and insert it into the groove.
- Collect the belt and the metal plate; use the metal plate to open the door lock.
- Move ahead.
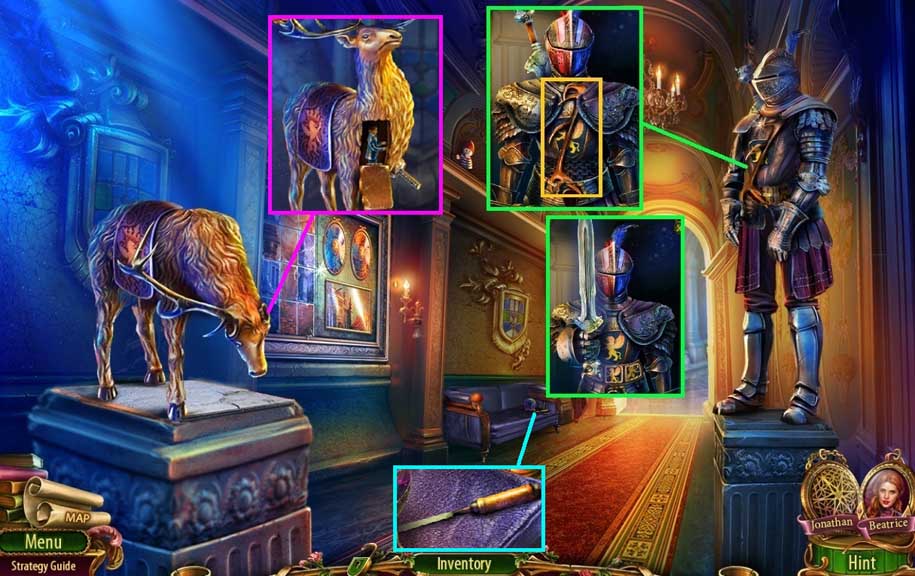
- Collect the horn.
- Place the belt onto the knight; collect the glass sword.
- Collect the chisel.
- Place the horn and collect 1 /2 figurines.
- Move ahead.
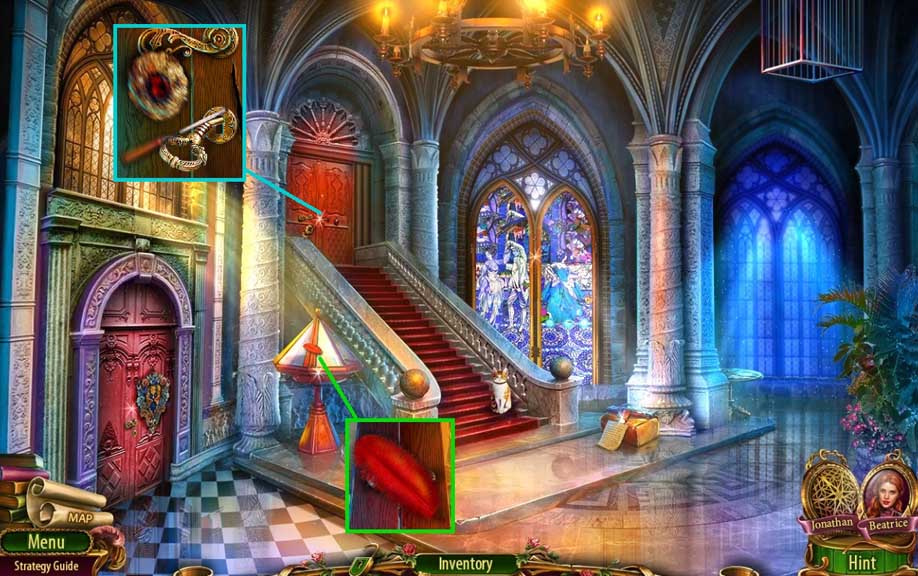
- Collect the red feather; click the case open.
- Select the chisel to collect the heraldic decoration.
- Move down once.
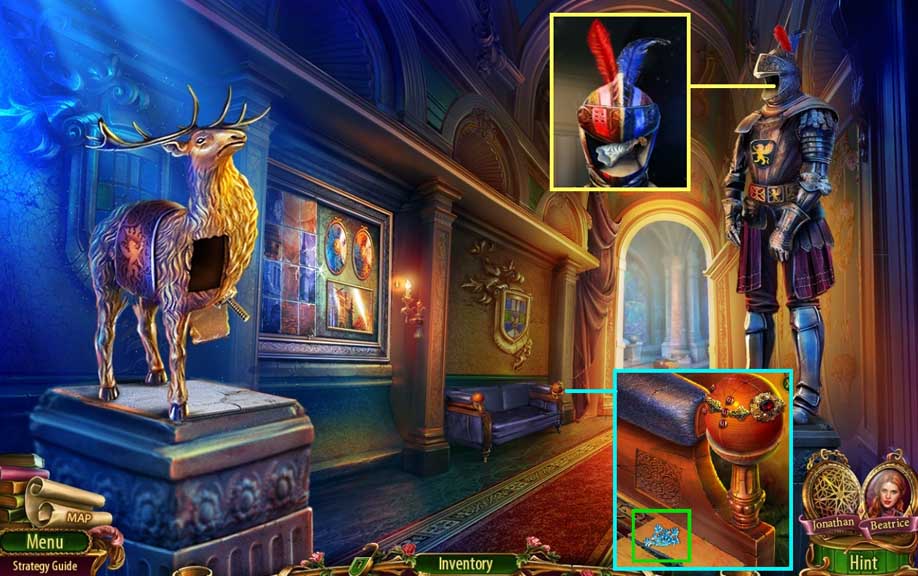
- Place the red feather; collect 2 /2 figurines.
- Insert the heraldic decoration; collect 1 /2 snowflakes.
- Move ahead.
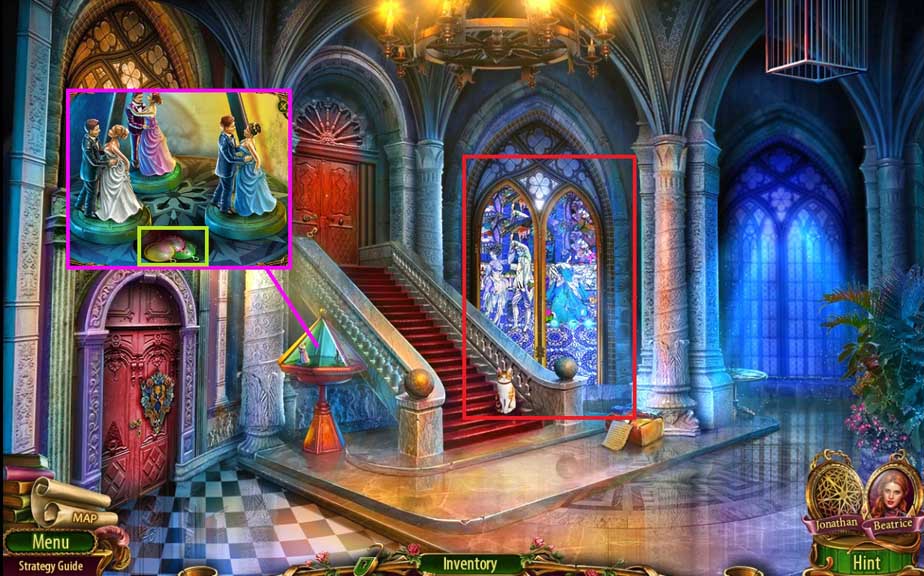
- Insert 2 /2 figurines; collect the colored glass.
- Place the colored glass to trigger a hidden objects area.
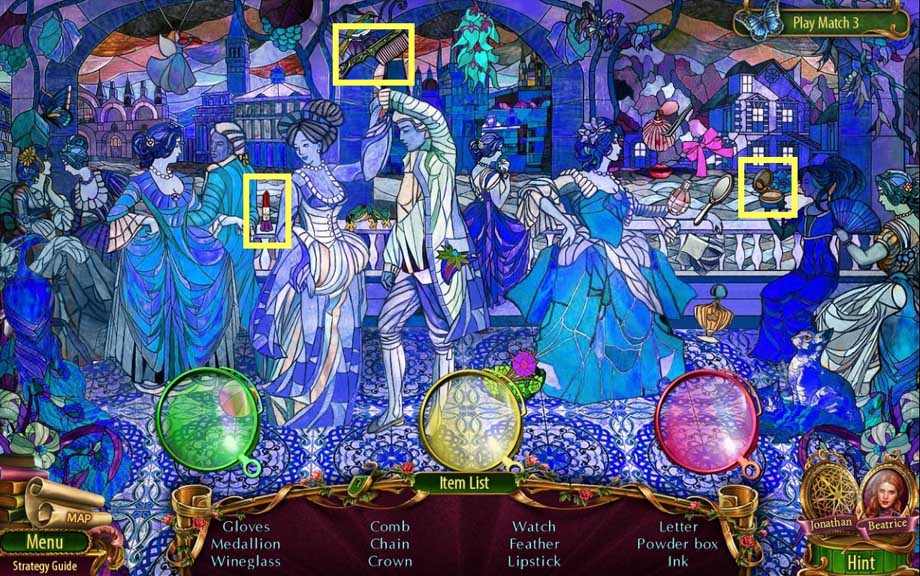
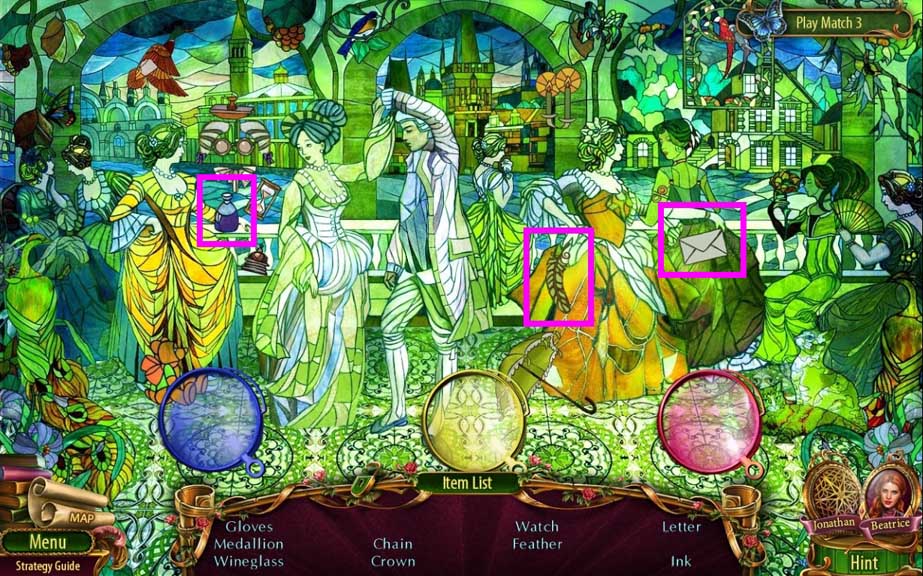
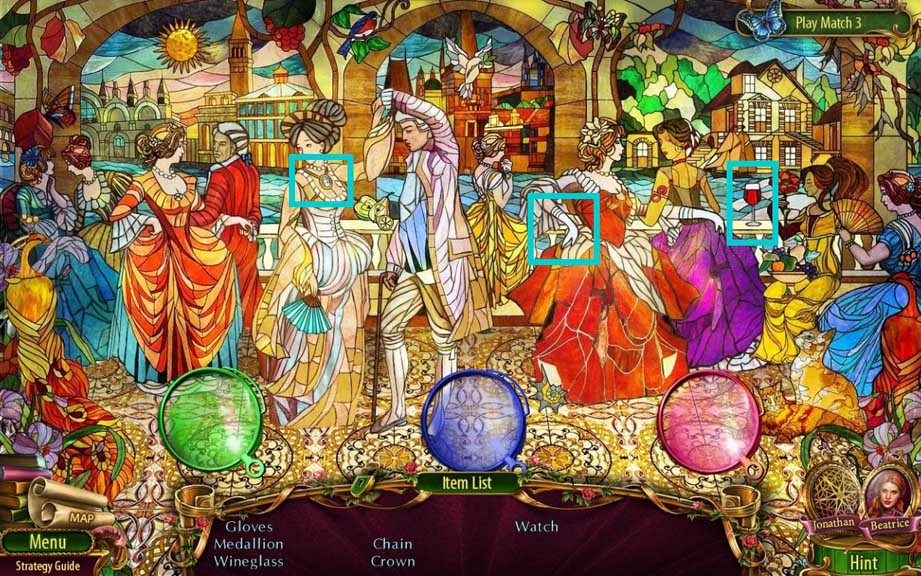
<img alt="H-O-3" src="/cdn-images/games/ck_images/images/Dark-Romance-Heart-Beast/Chapter-3-25D-H-O-3.jpg" glass="" sword"="" data-cke-saved-src="/cdn-images/games/ck_images/images/Dark-Romance-Heart-Beast/Chapter-3-25D-H-O-3.jpg" style="width: 600px; height: 376px;">
- Insert the glass sword; collect the steering wheel.
- Insert the nose ring; collect the fresco piece.
- Move ahead.
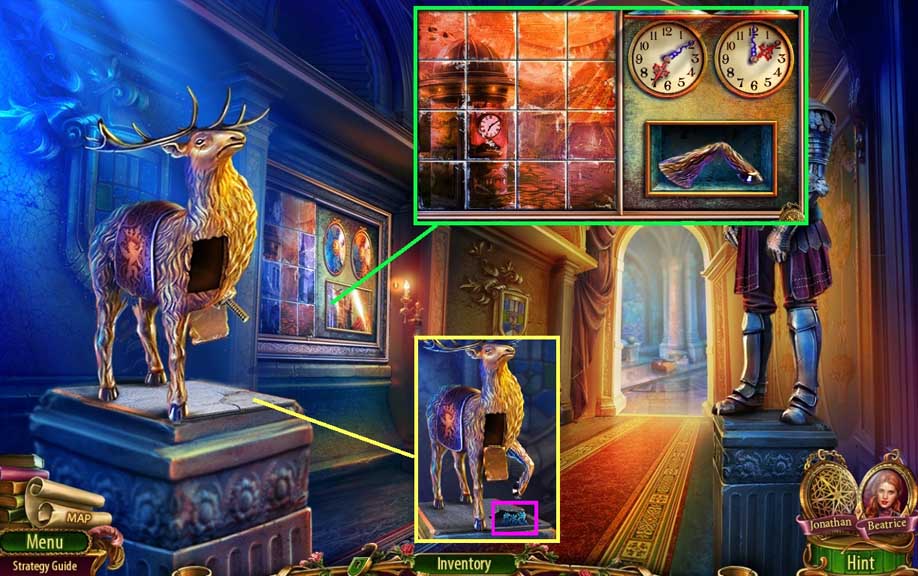
- Insert the fresco piece to trigger a mini game.
- Solve the game by arranging the tiles to complete the image and set the time correctly.
- Collect the deer leg and place it onto the deer; collect 2/ 2 snowflakes.
- Move down once.
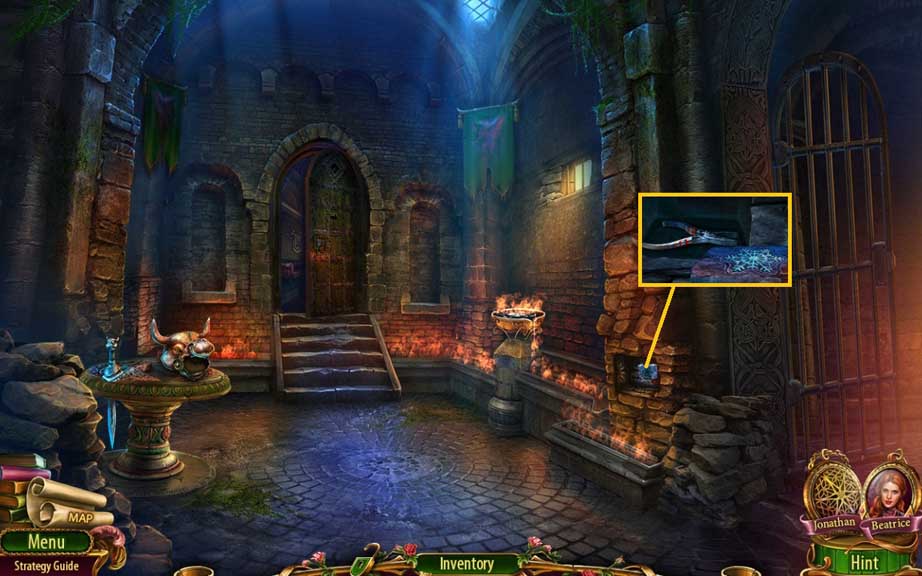
- Insert the 2 snowflakes.
- Collect the pliers.
- Move ahead 2x’s.
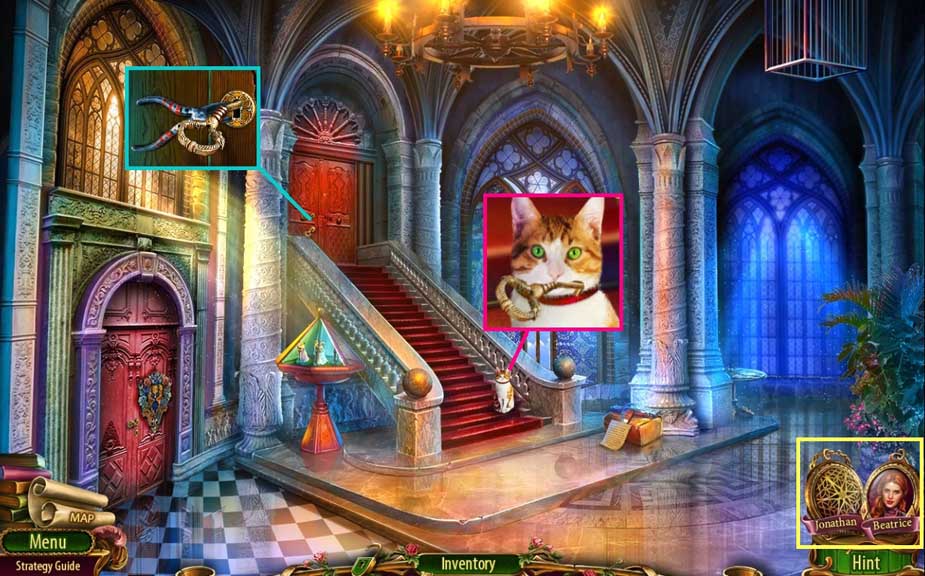
- Select the pliers to collect the bent key and give it to the cat.
- Click the locket.
Comments will load when you reach this part of the walkthrough.