
Chapter Two: Magic Beans
- Go to the left toward the bridge.
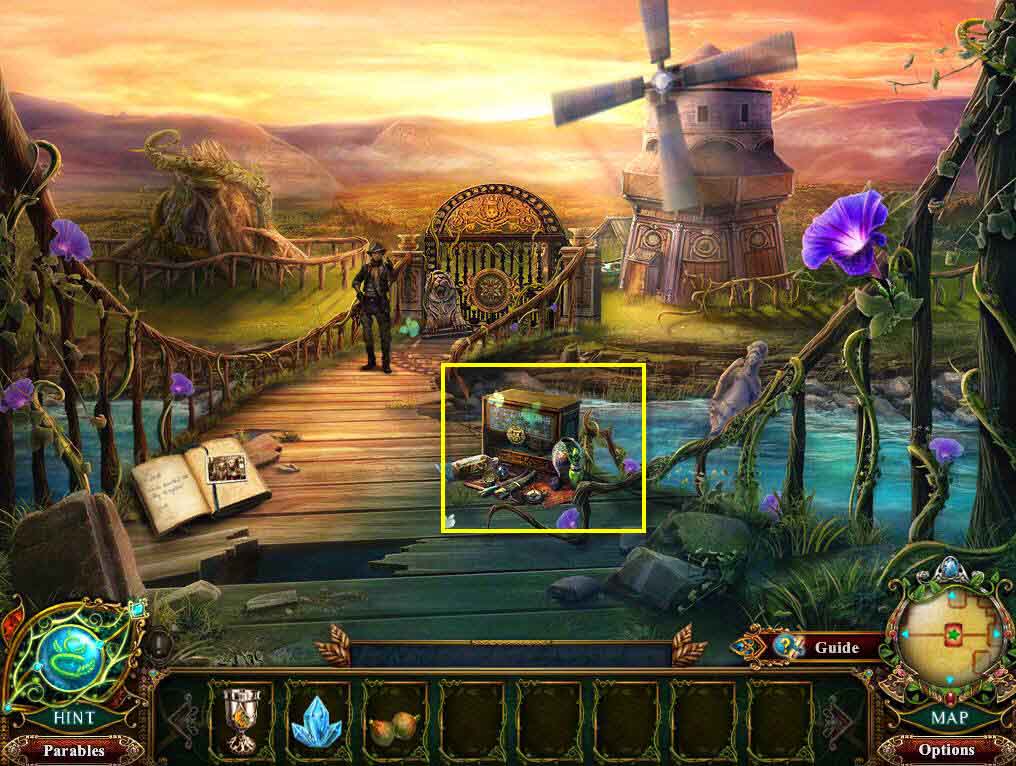
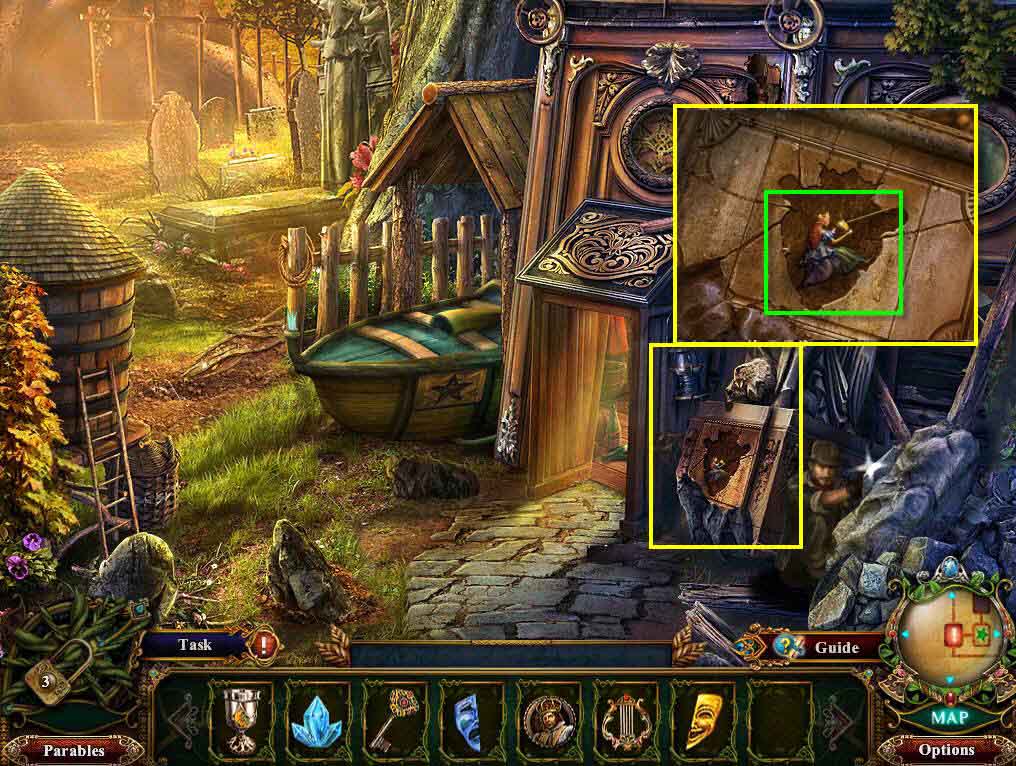
- Click on the sparkles to play the HOG.

- Find all the items in the hidden object scene.
- You will receive the Enchanted Moondial.
- Click to talk to Jack.
- Go forward one Screen.
- You will receive the Fountain Key.
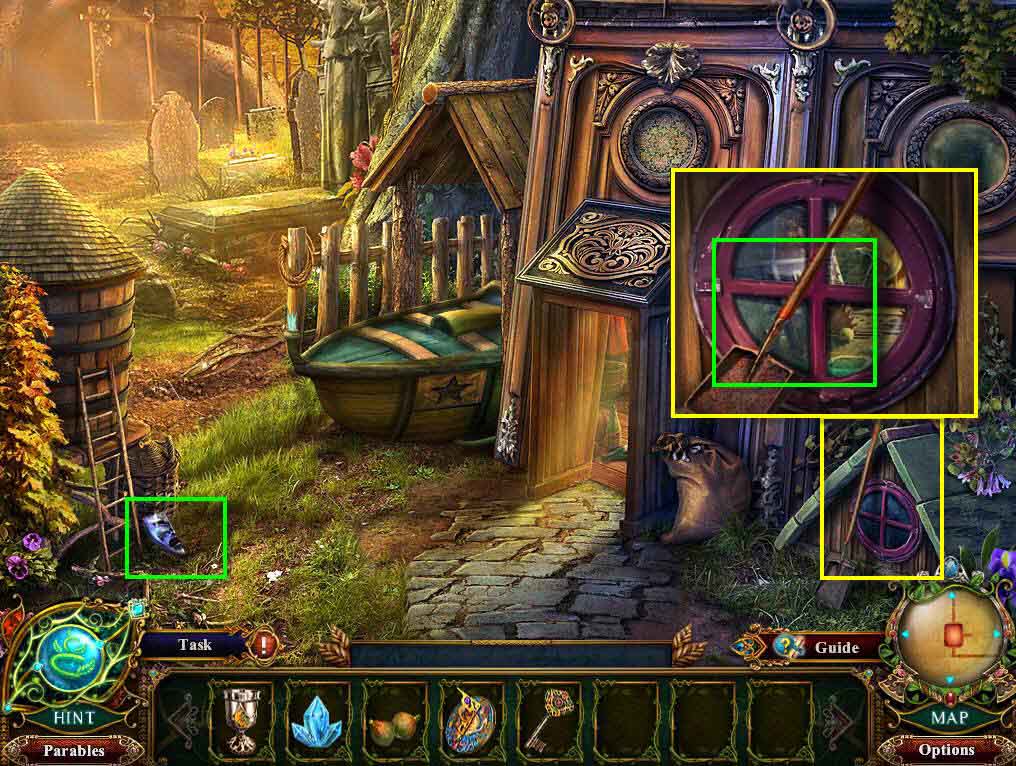
- Click to zoom in on the window on the right.
- Take the Shovel.
- Take the Tragedy Half-Mask.
- Go to the left.
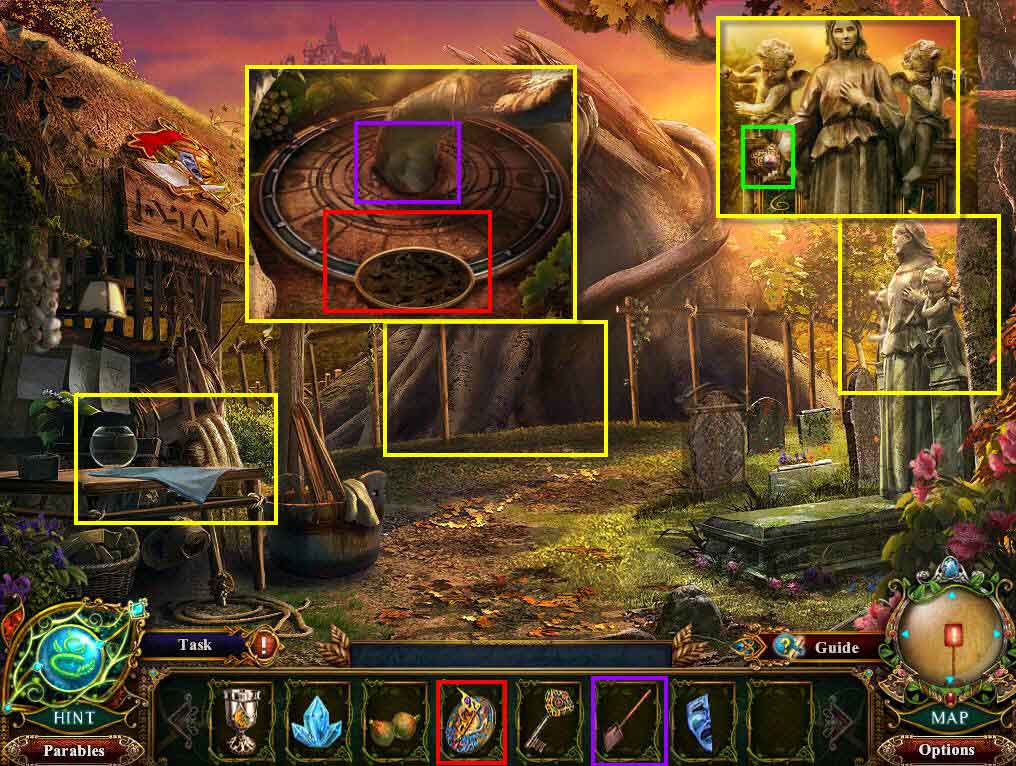
- Click to zoom in on the work table.
- Take the Shears.
- Click to zoom in on the statues on the right.
- Take the Heart-shaped Key.
- Click to zoom in at the base of the beanstalk.
- Use the Enchanted Moondial.
- Use the Shovel to dig up the Root.
- Go back two screens.
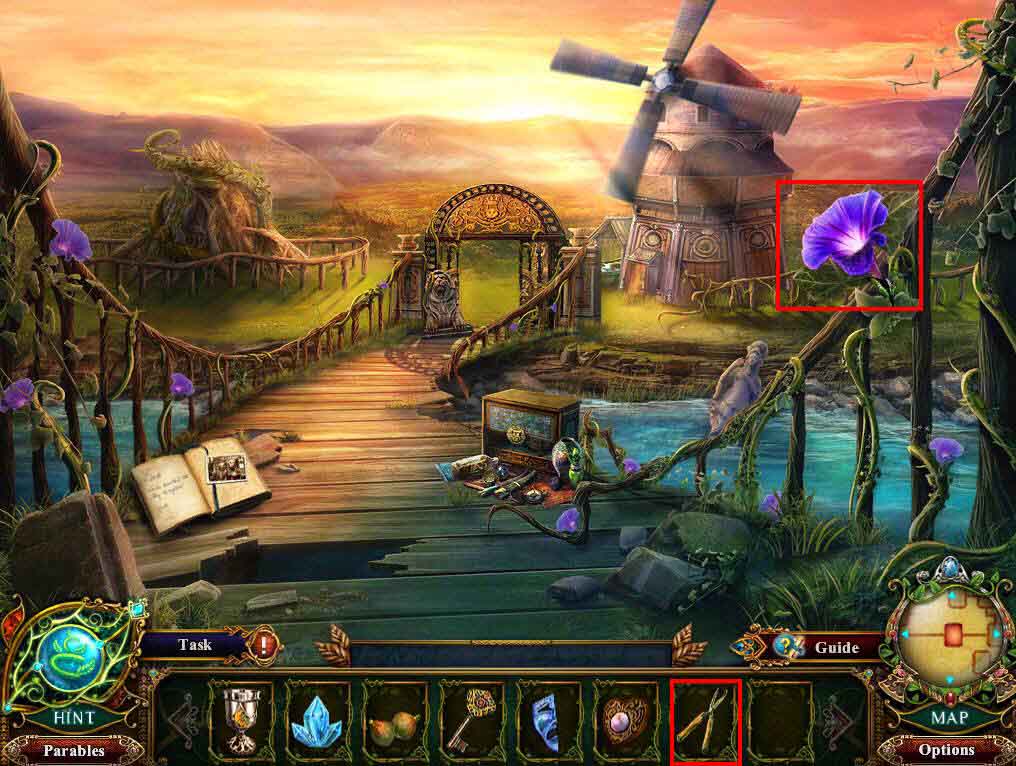
- Use the Shears on the flower.
- Take the Morning Glory.
- Go forward two screens into the windmill.
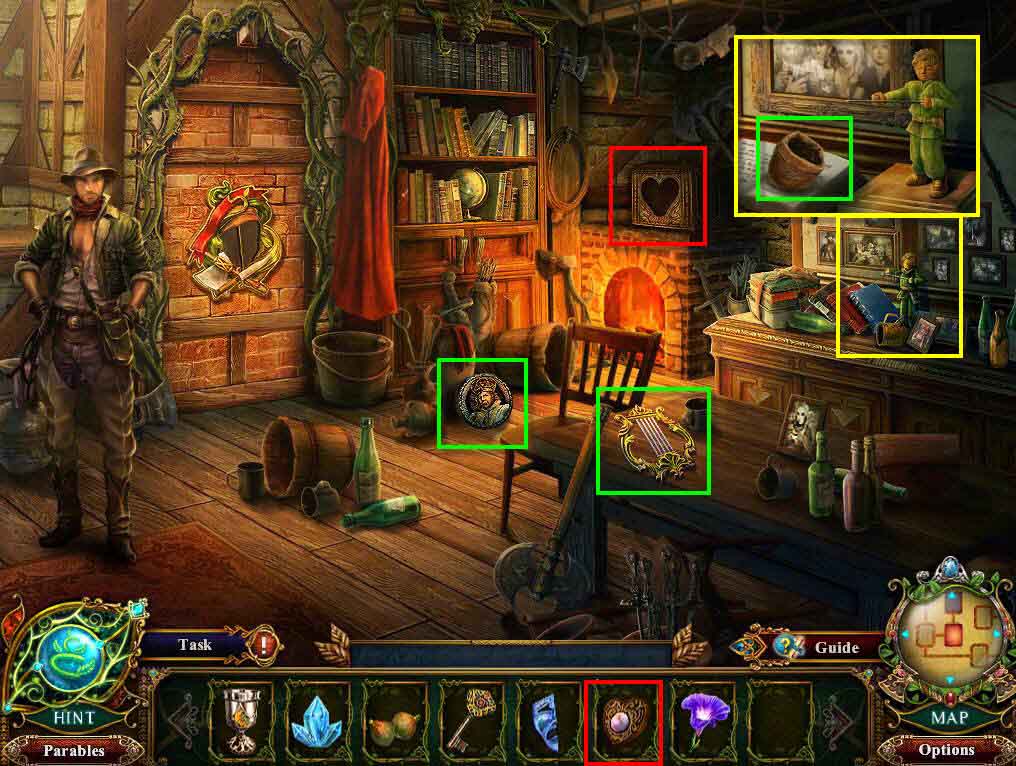
- Take the King Button.
- Take the Angel Harp.
- Use the Heart-shaped Key on the box.
- Click to zoom in on the shelves on the right.
- Take the Plant Fertilizer.
- Click on the sparkles to play the hidden object scene.

- Find all the items in the scene.
- You will receive the Beanstalk Potion.
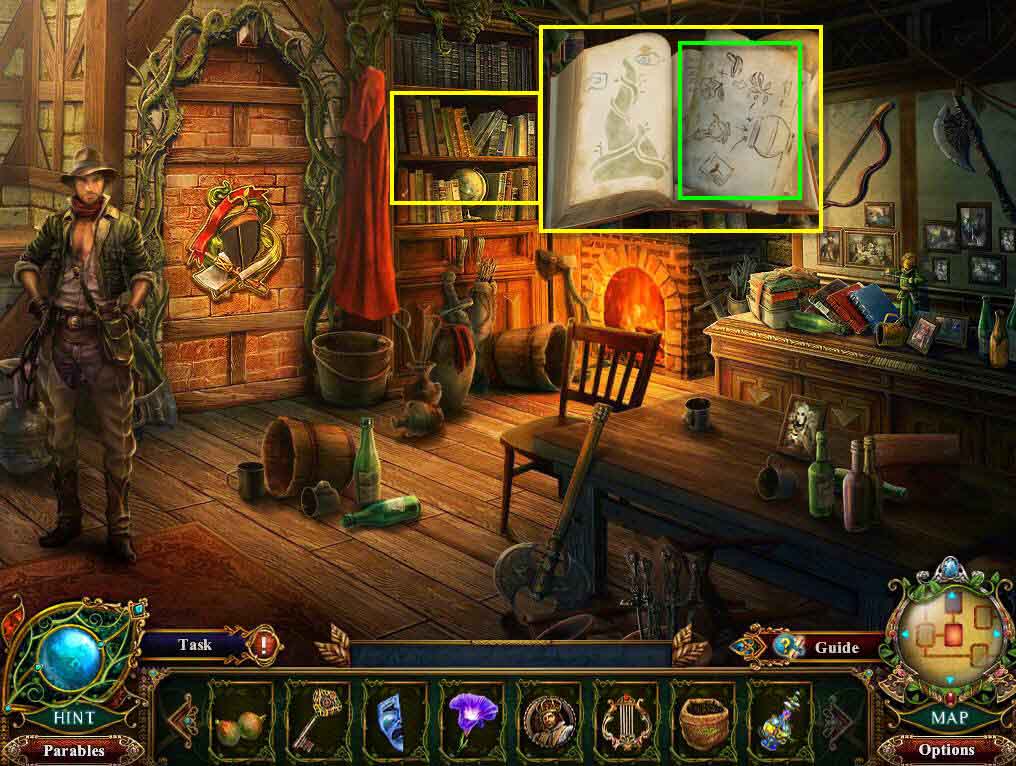
- Click on the book shelf to zoom in.
- Click on the red book.
- Take the Magic Beanstalk Recipe.
- Click to read the note.
- Go back one screen and then go to the left.
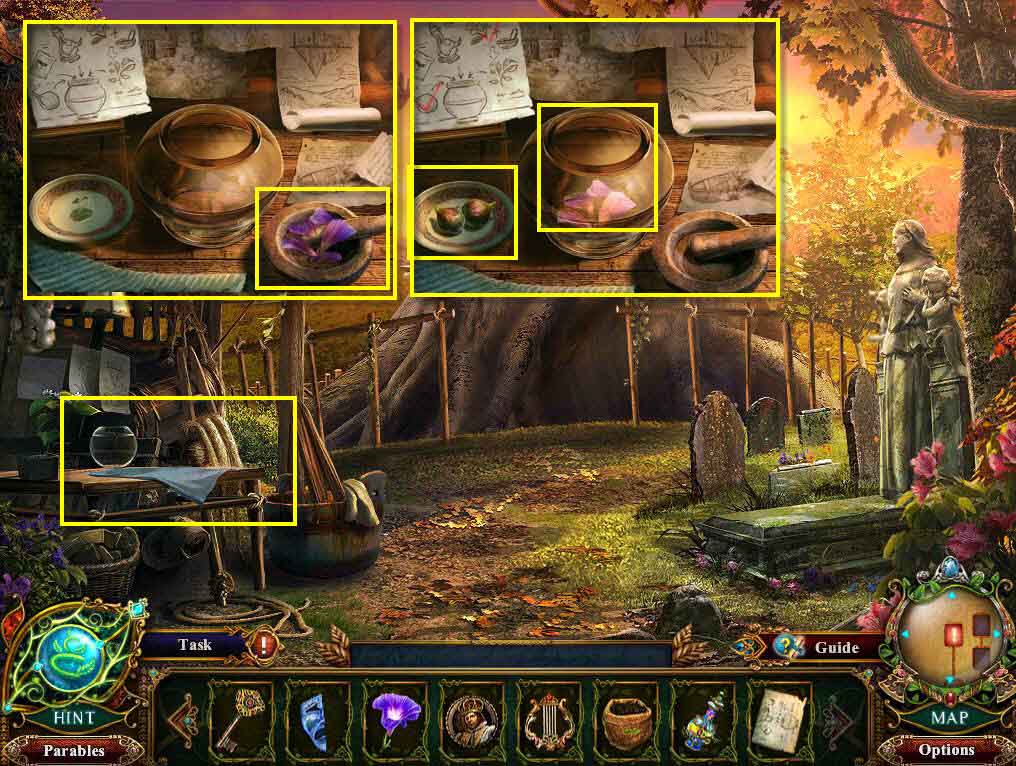
- Click to zoom in on the work table.
- Use the Magic Beanstalk Recipe.
- Use the Morning Glory on the mortar.
- Use the Beans on the plate.
- Use the Beanstalk Potion and the Plant Fertilizer on the bowl.
- Take the Magic Beans.
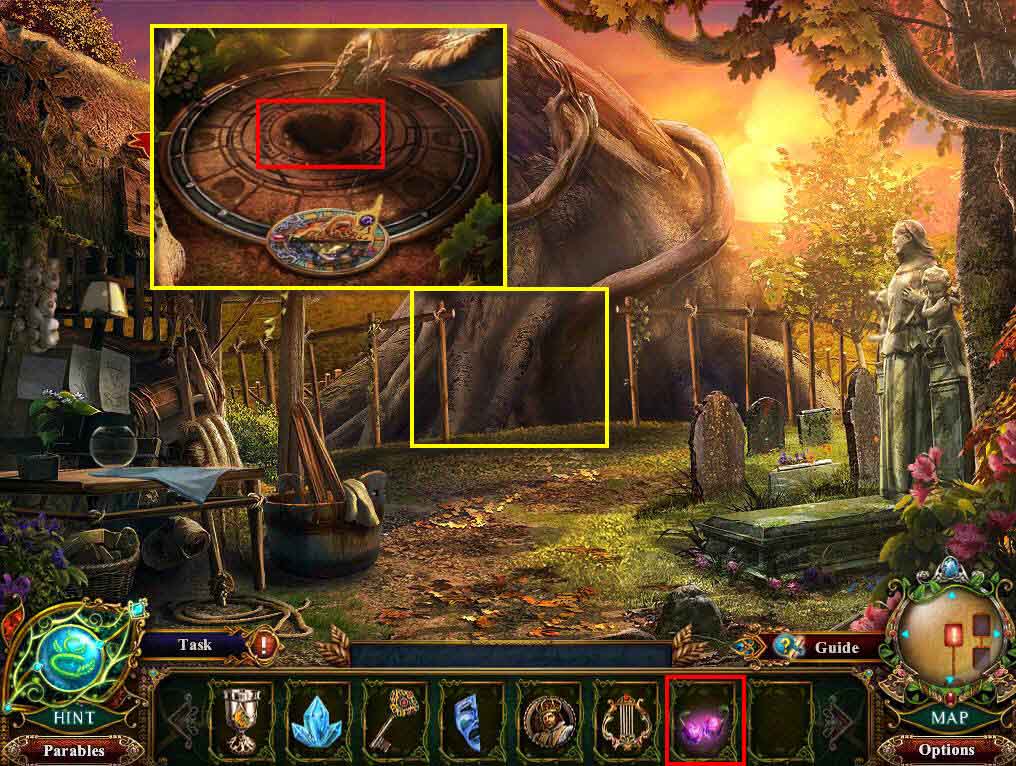
- Click to zoom in on the base of the beanstalk.
- Use the Magic Beans on the dirt.
- Click to play the mini-game.
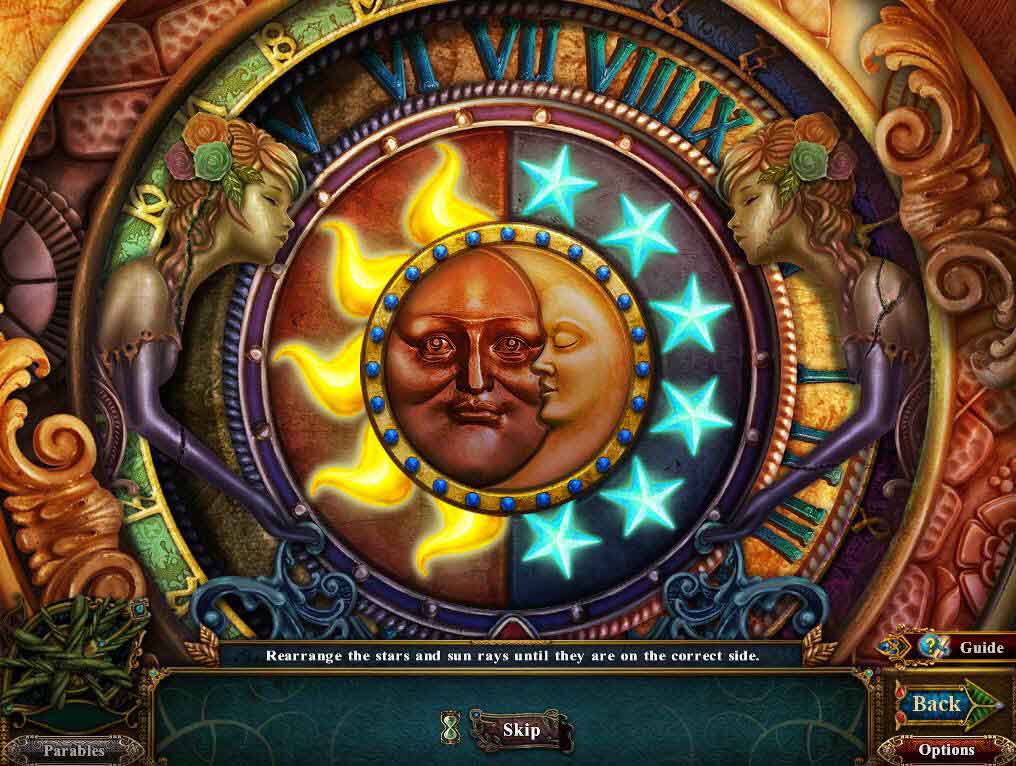
- Move the sun rays over to the left and the stars to the right.
- Solve the minigame using the following steps.
- 2, 3 twice, 1 three times, 2, 3 three times, 1, 2, 3 twice, 1, 2 three times, 3 twice.
- Go back one screen
- You will receive the Comedy Half-Mask.
- Click to zoom in on the statue.
- Take the Jeweled Queen Figurine.
- Go forward one screen.
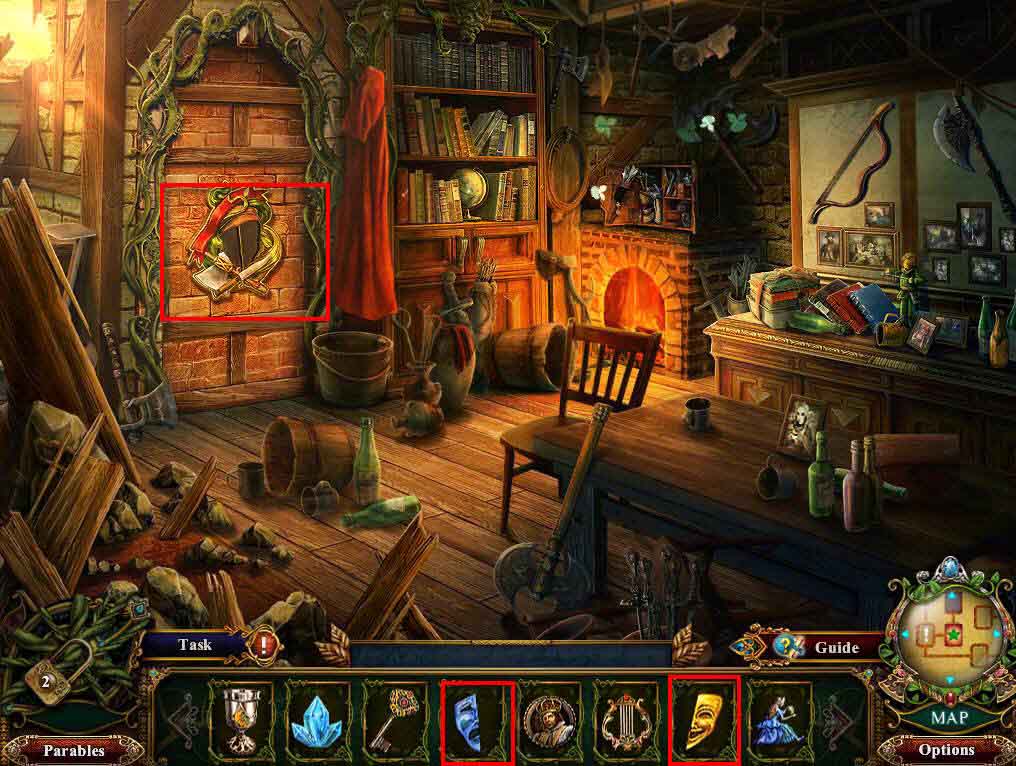
- Use the Comedy Half-Mask and the Tragedy Half-Mask on the empty slot.
- Click on the sparkles to play the HOG.
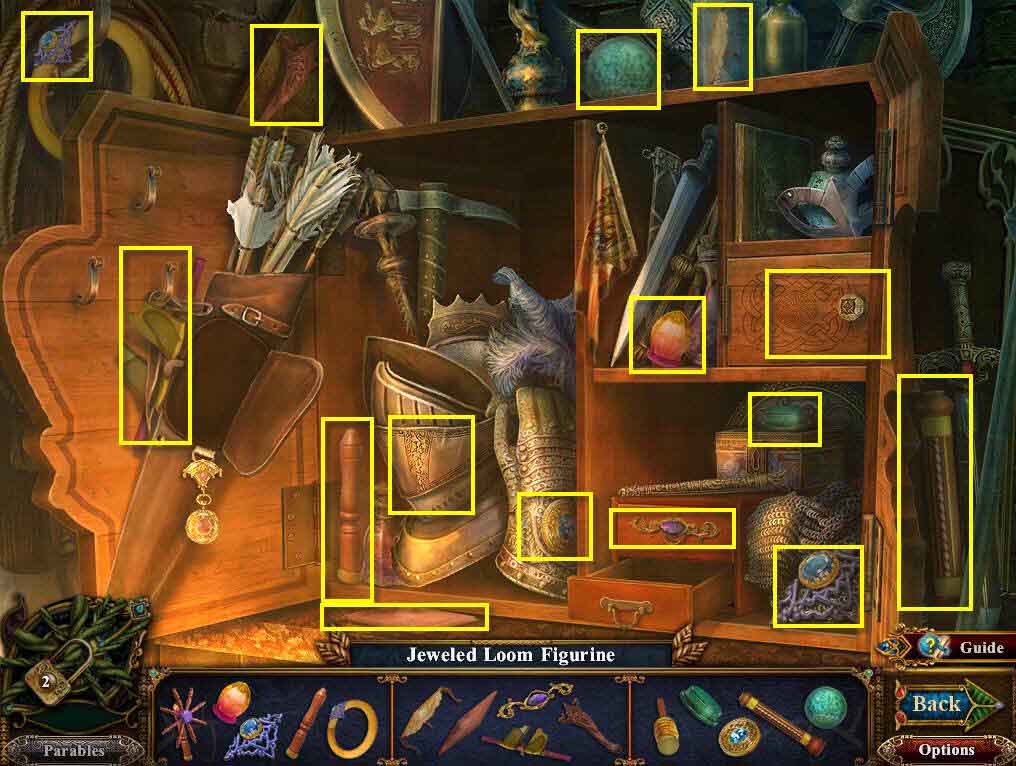
- Find all the items on the list.
- You will receive the Jeweled Loom Figurine.
- Go forward one screen and then attempt to go forward again.
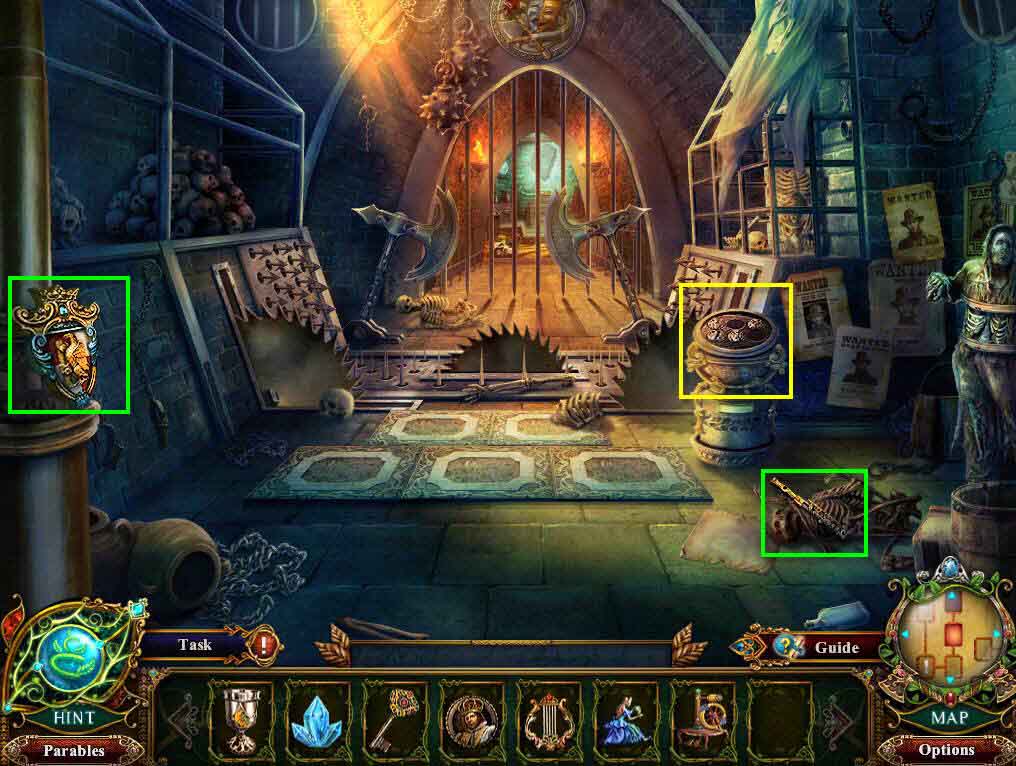
- Take the Council Emblem.
- Take the Angel Flute.
- Click to zoom in on the podium.
- Take the Carved Wooden Bow.
- Go back twice and then go to the left.
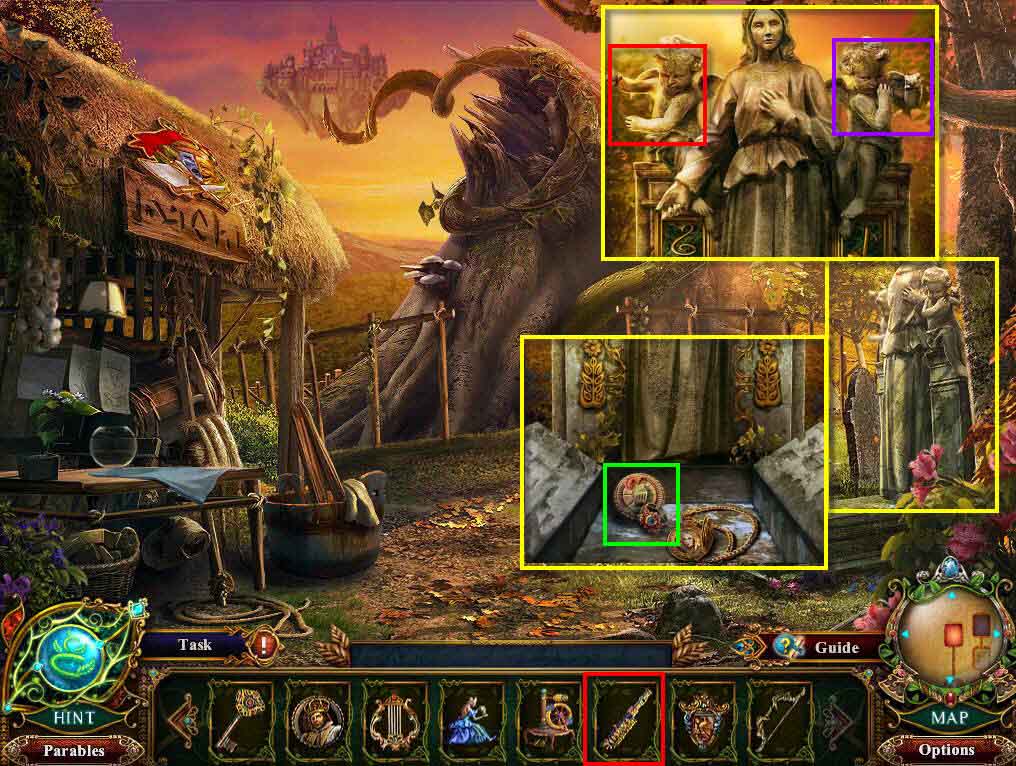
- Use the Angel Harp and the Angel Flute on the statues.
- Take the Queen's Ring.
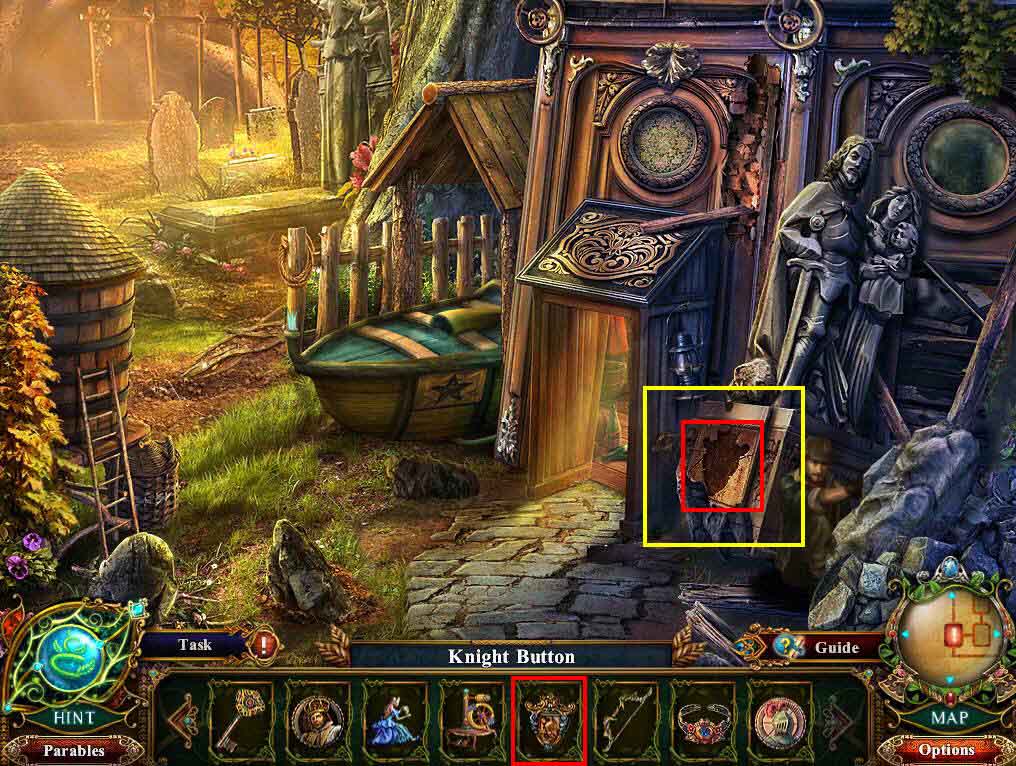
- Take the Knight Button.
- Go back one screen.
- Use the Council Emblem on the empty slot.
- Take the Machine Blueprint.
- Go forward twice.
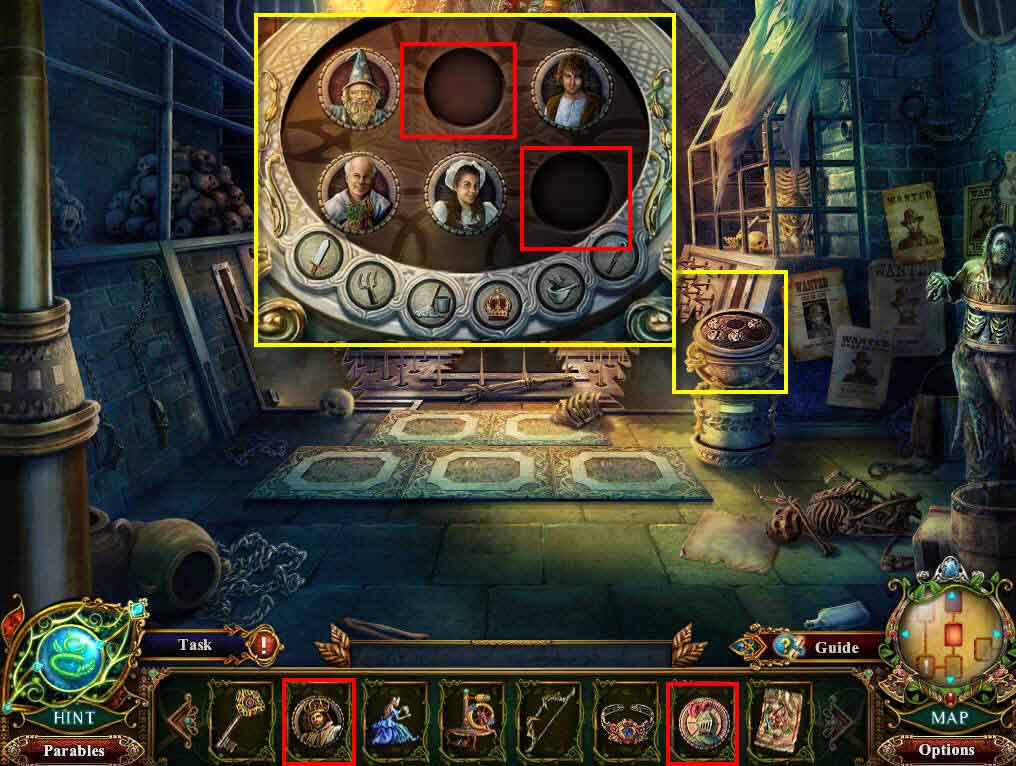
- Click to zoom in on the podium.
- Use the King Button and the Knight Button on the empty slots.
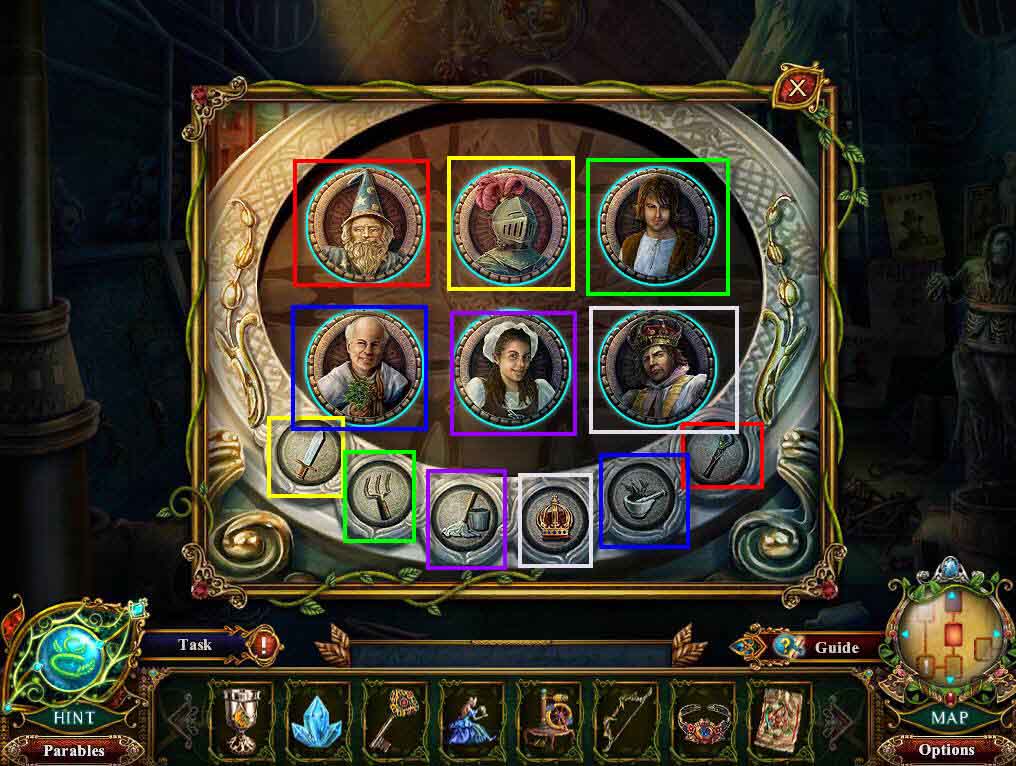
- Click on the buttons in the correct order.
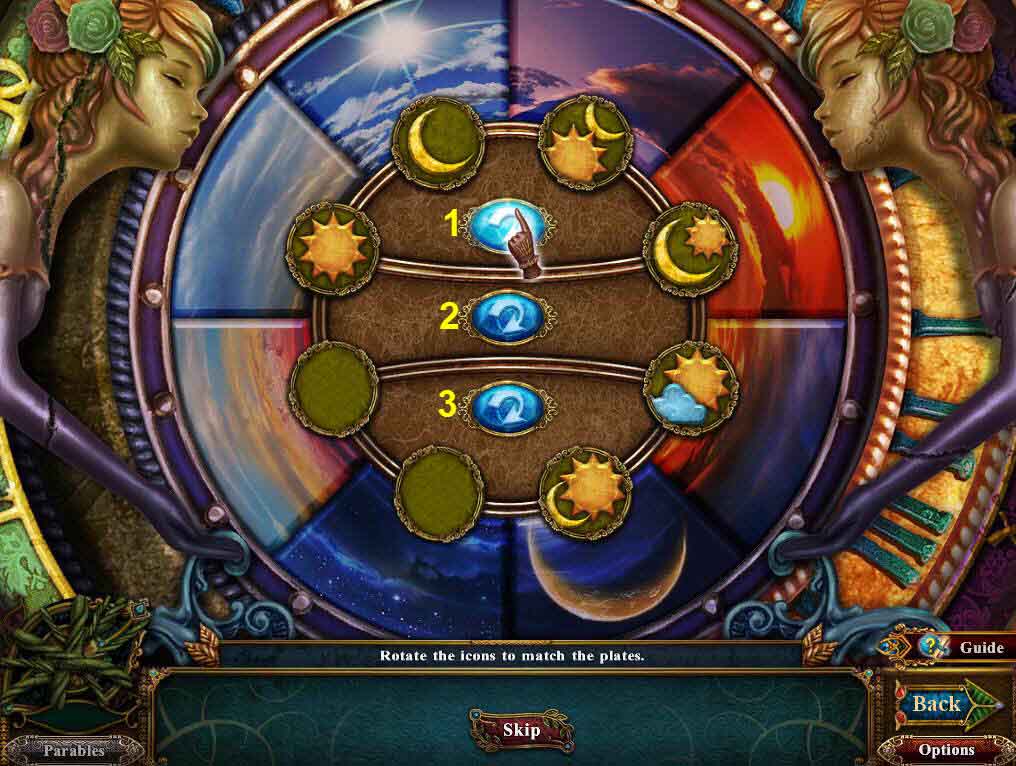
- Click on the sparkles to play the mini-game.
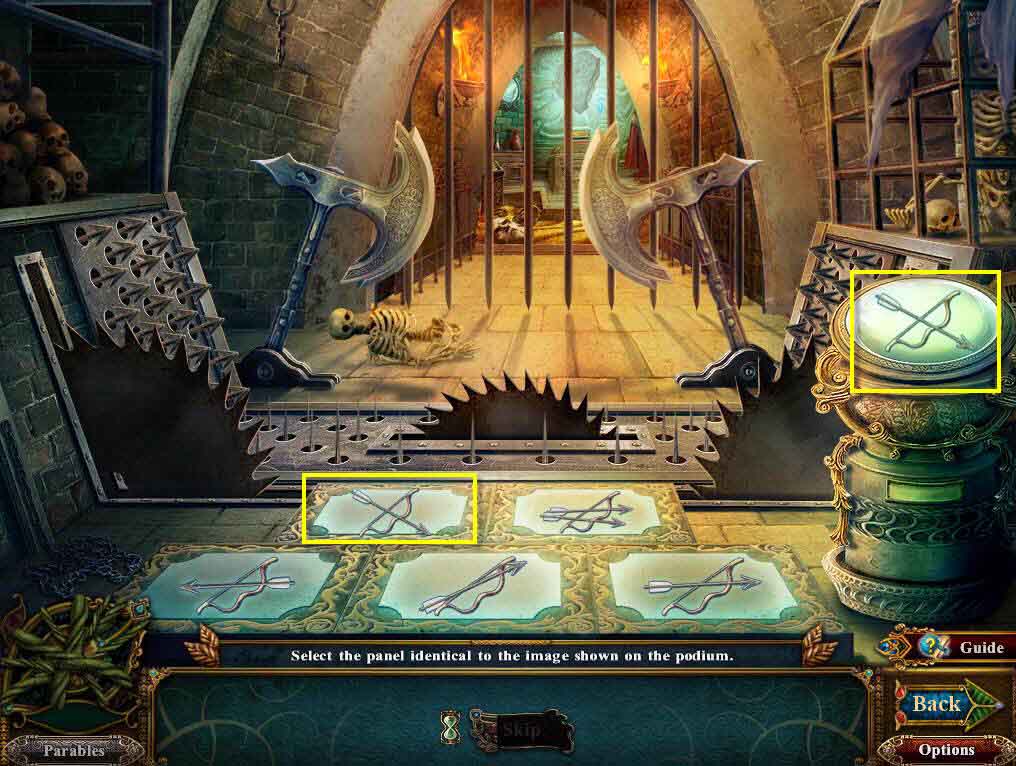
- Click on the symbol on the panel that matches the one on the podium. The images are random so your solutions will be different than mine.
- Go forward one screen.
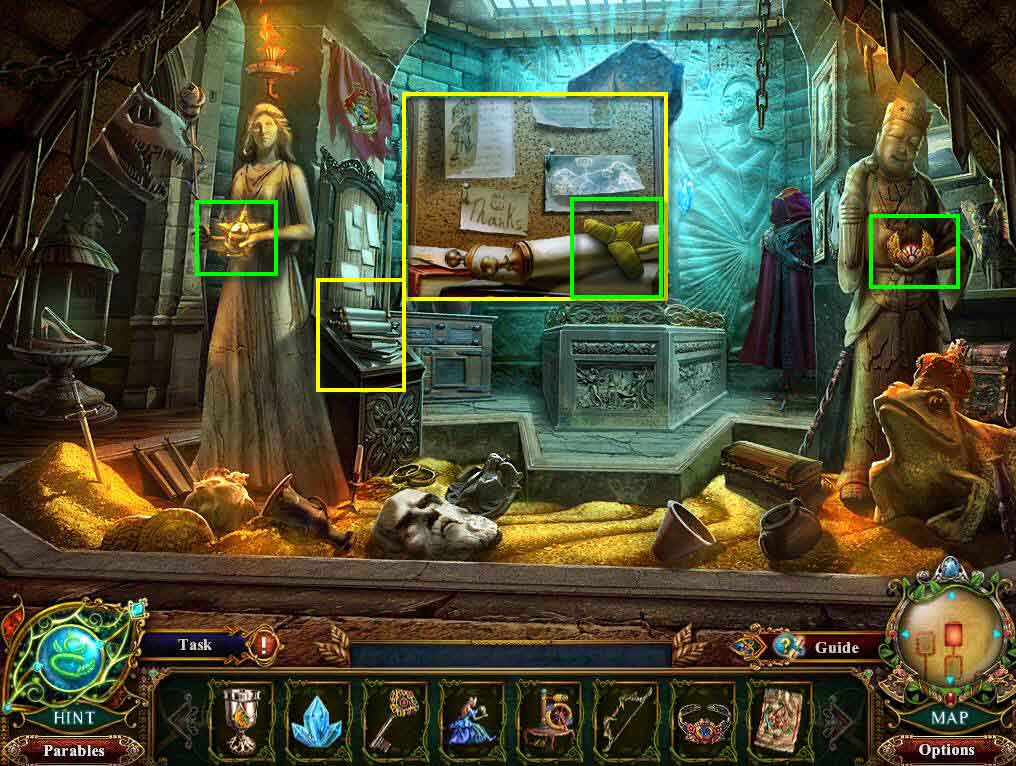
- Take the Golden Wings.
- Take the Star Figurine.
- Click to zoom in on the scrolls.
- Take the Carved Wooden Hat.
- Go back two screens.

- Use the Carved Wooden Bow and the Carved Wooden hat on the figurine.
- Take the Deer Medallion.
- Take the Long Chain.
- Go back one screen.
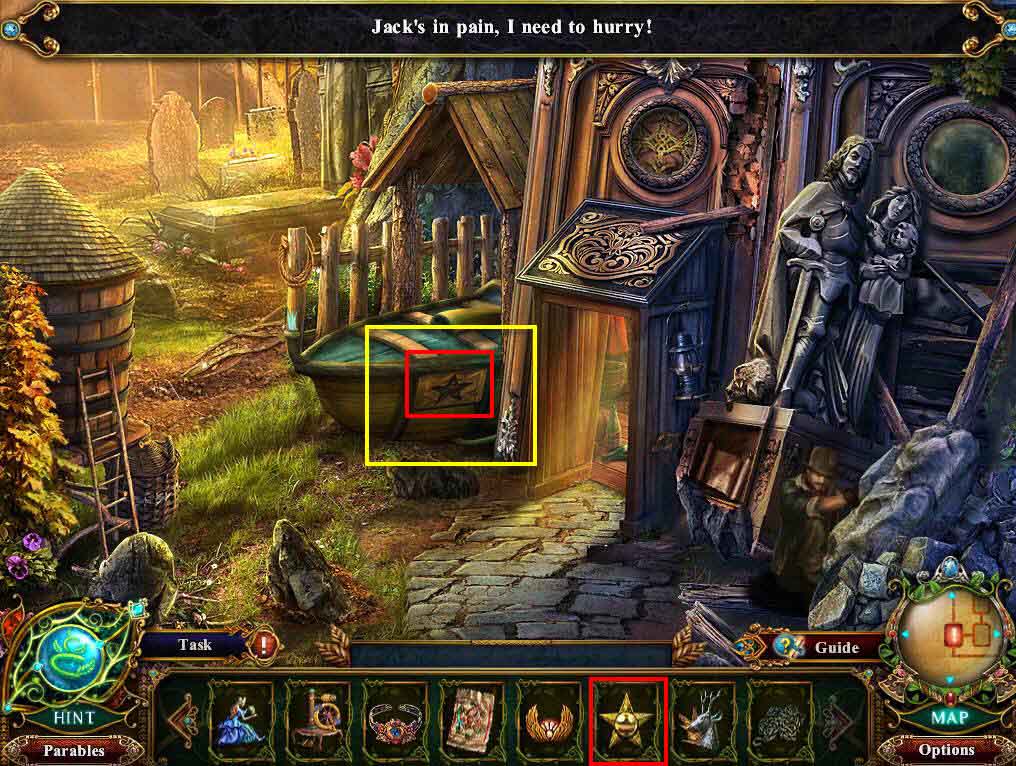
- Click to zoom in on the boat.
- Use the Star Figurine on the niche.
- Take the Jeweled King Figurine.
- Use the Mystical Blue Crystal and the Machine Blueprint.
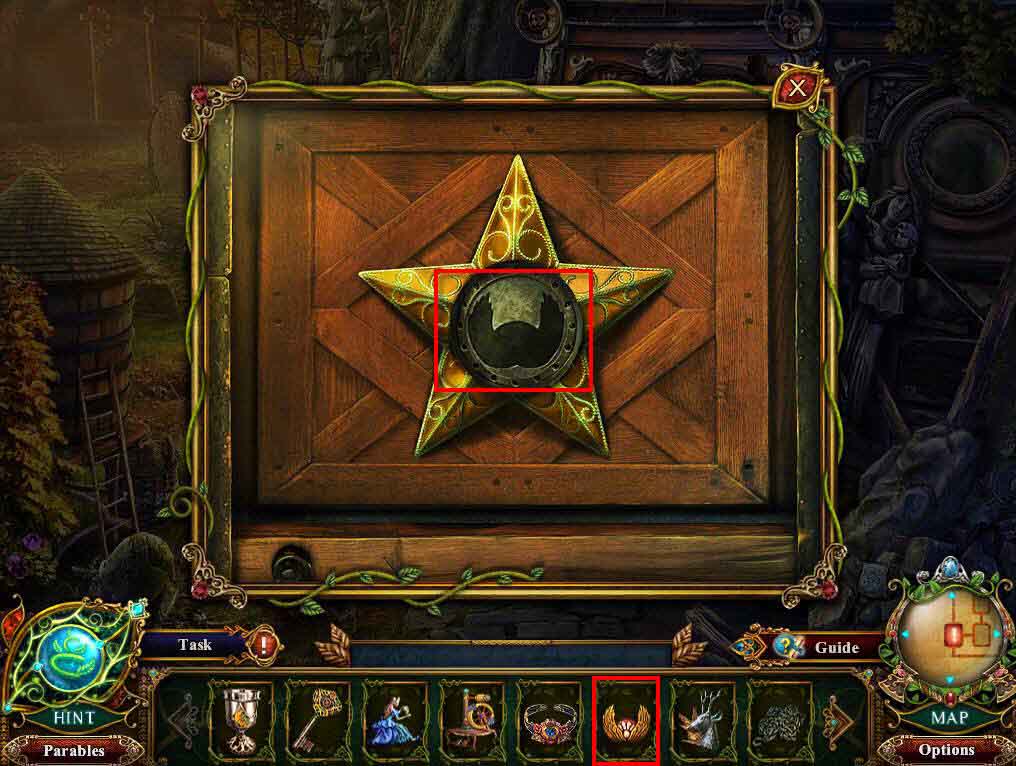
- Use the Golden Wings on the empty slot.
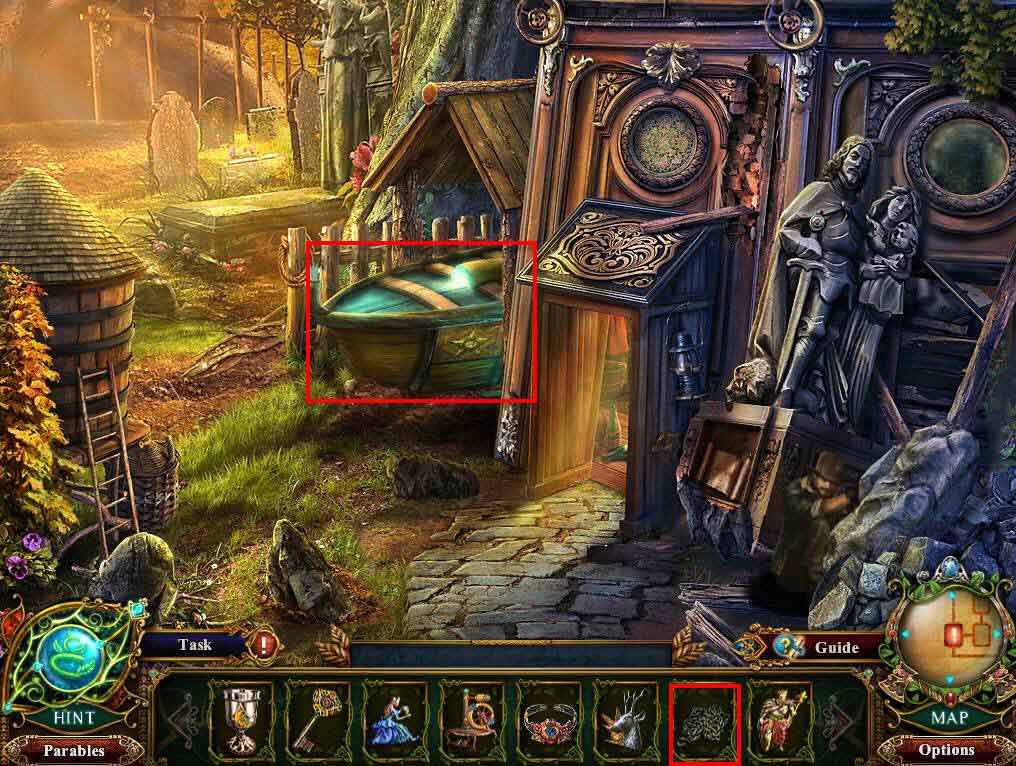
- Use the Long Chain on the boat.
- Go forward three times.
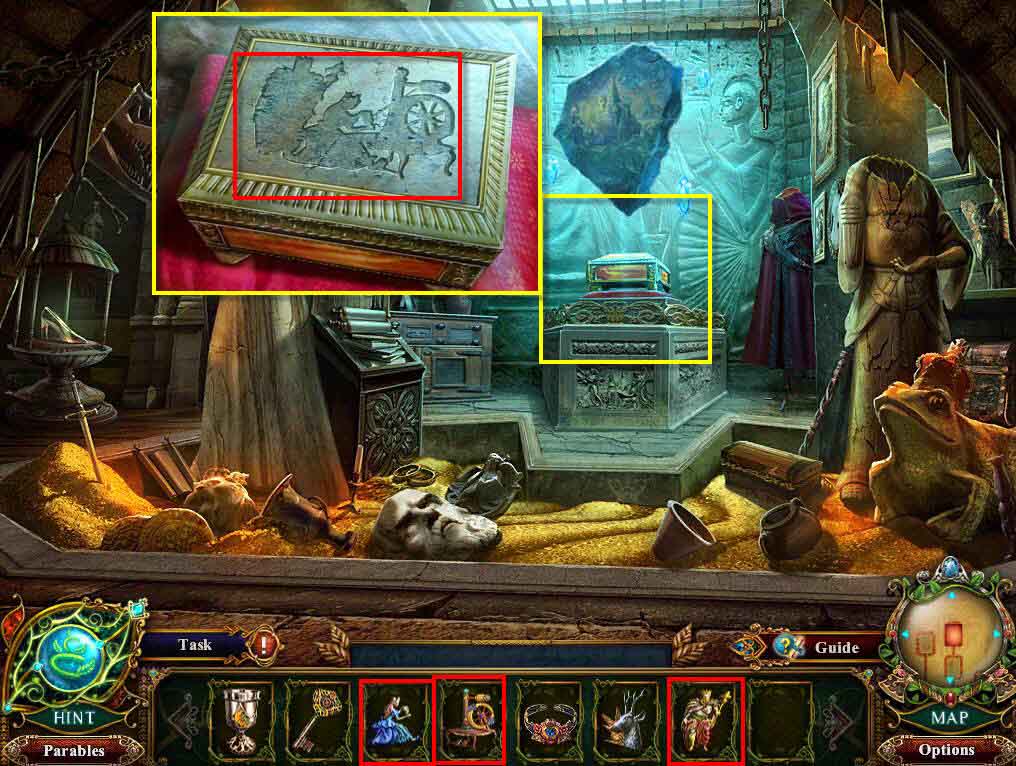
- Click to zoom in on the box.
- Use the Jeweled King Figurine, the Jeweled Queen Figurine, and Jeweled Loom Figurine on the box.
- Take the Healing Elixir.
- Go back three times.
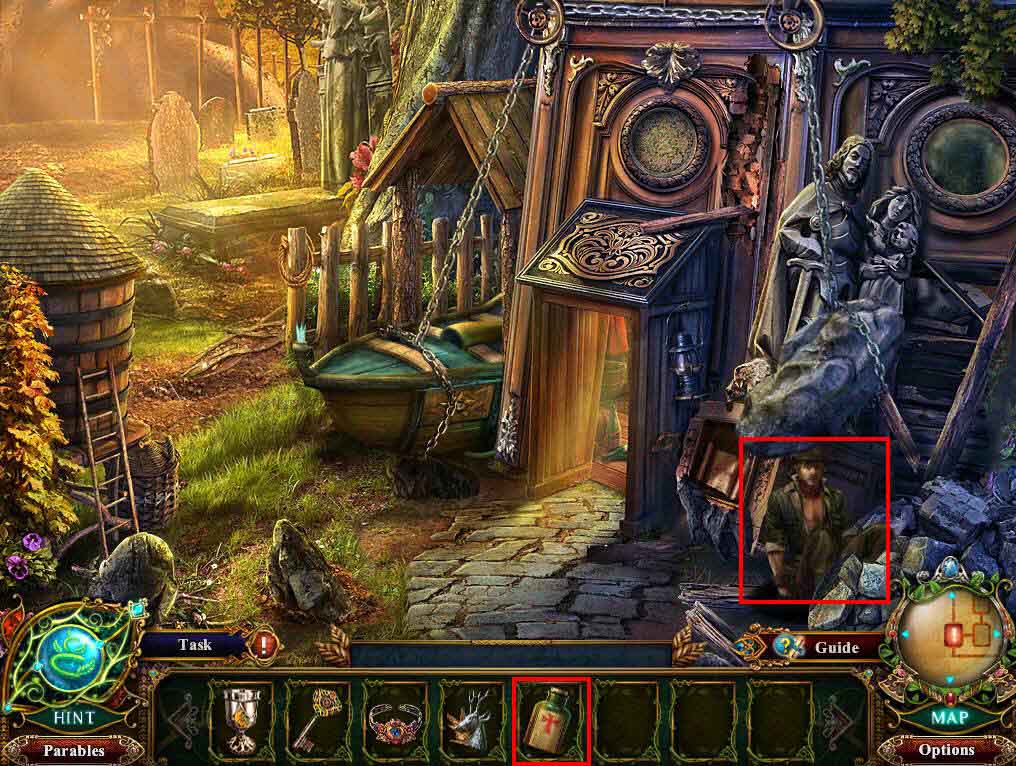
- Use the Healing Elixir on Jack.
- Go to the left and then move forward.
Comments will load when you reach this part of the walkthrough.