
Chapter Three: The Mirror World
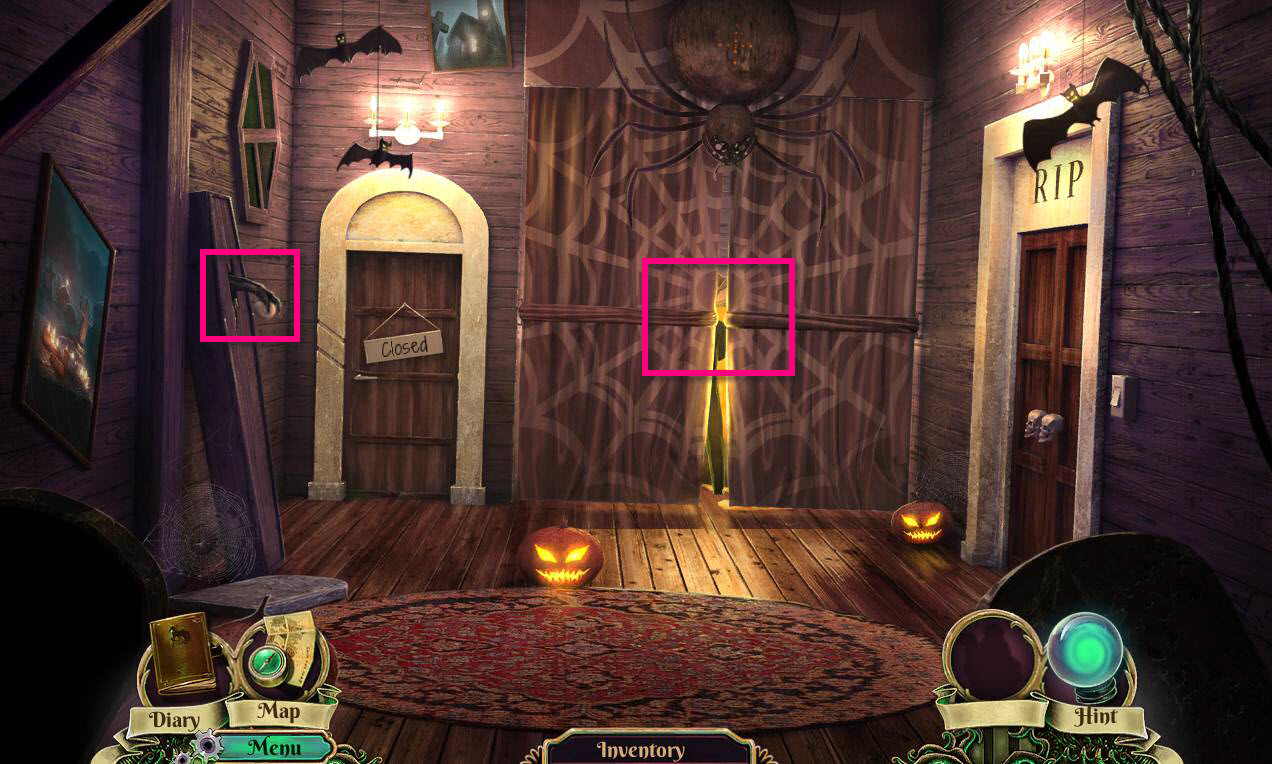
- Click on the hand coming out of the coffin on the left to zoom in.
- Take the eyeball and you'll get the MIRROR TOKEN.
- Click on the curtains to open them.
-
Watch the cutscene.
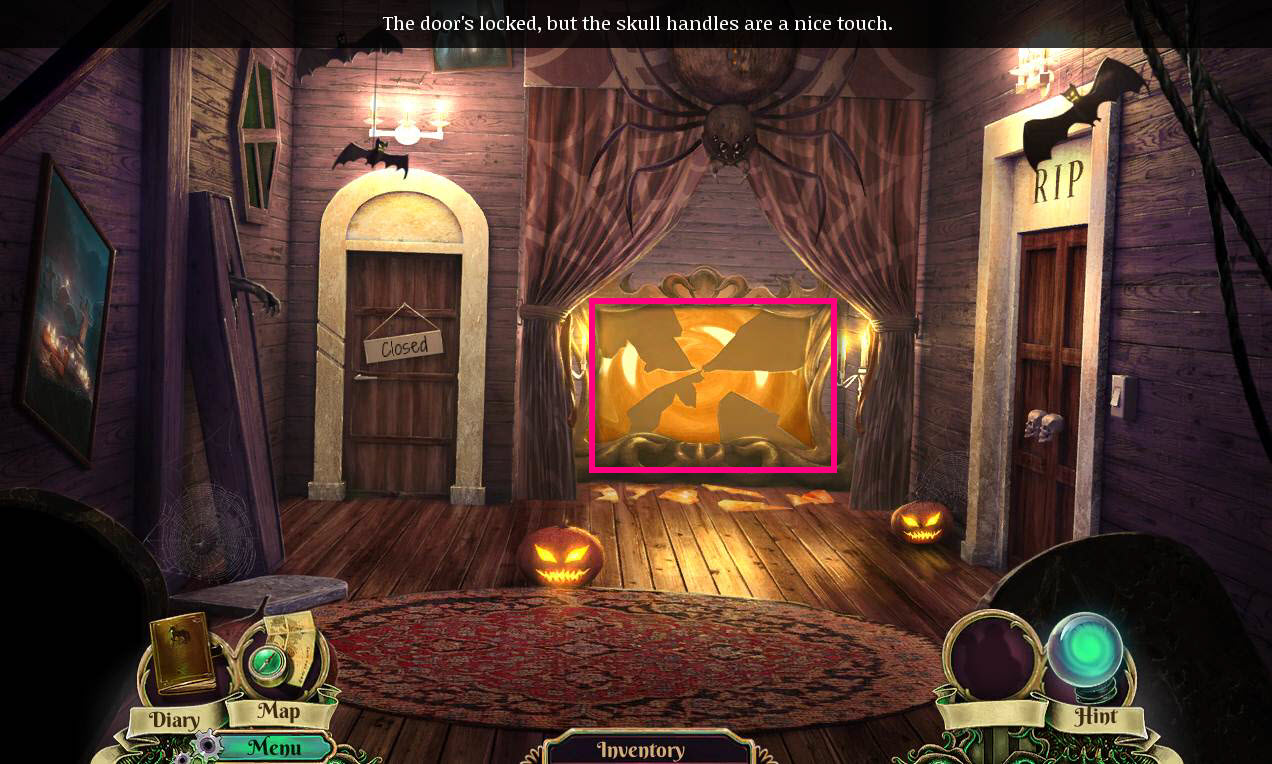
- Click on the broken mirror.
-
This will start a mini-game.
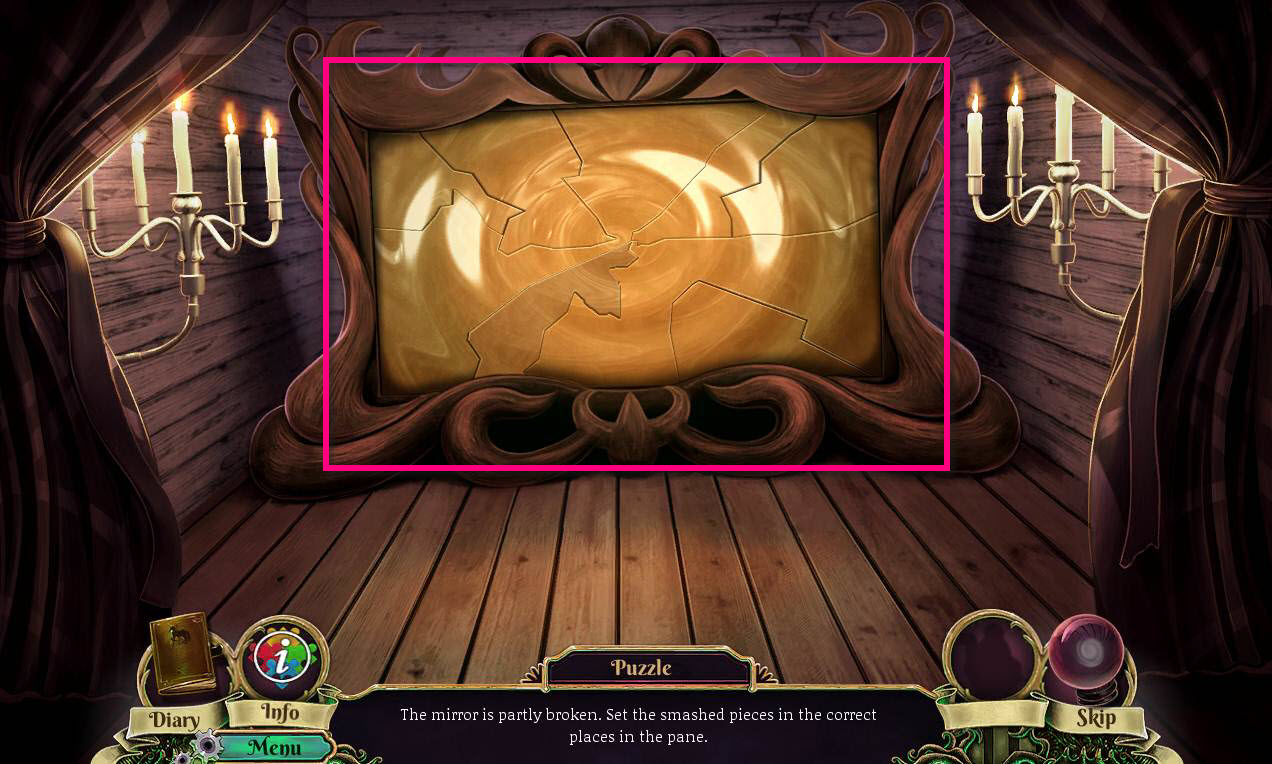
- The goal of the puzzle is to put the glass shards in the right place so the mirror is whole again.
-
See the screenshot for the solution.
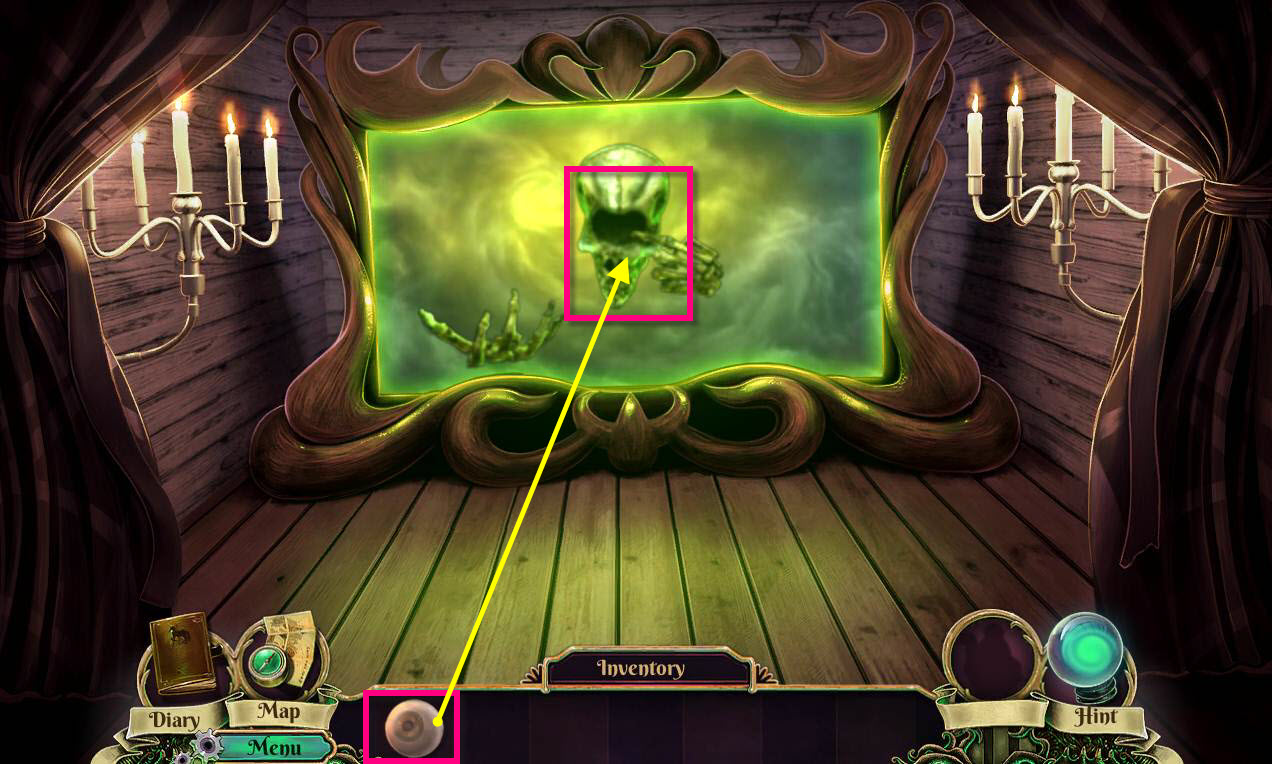
- Once the cutscene is over, use the MIRROR TOKEN on the skeleton guy.
- Take the MAP of the Mirror World from him.
-
Enter the Mirror world.
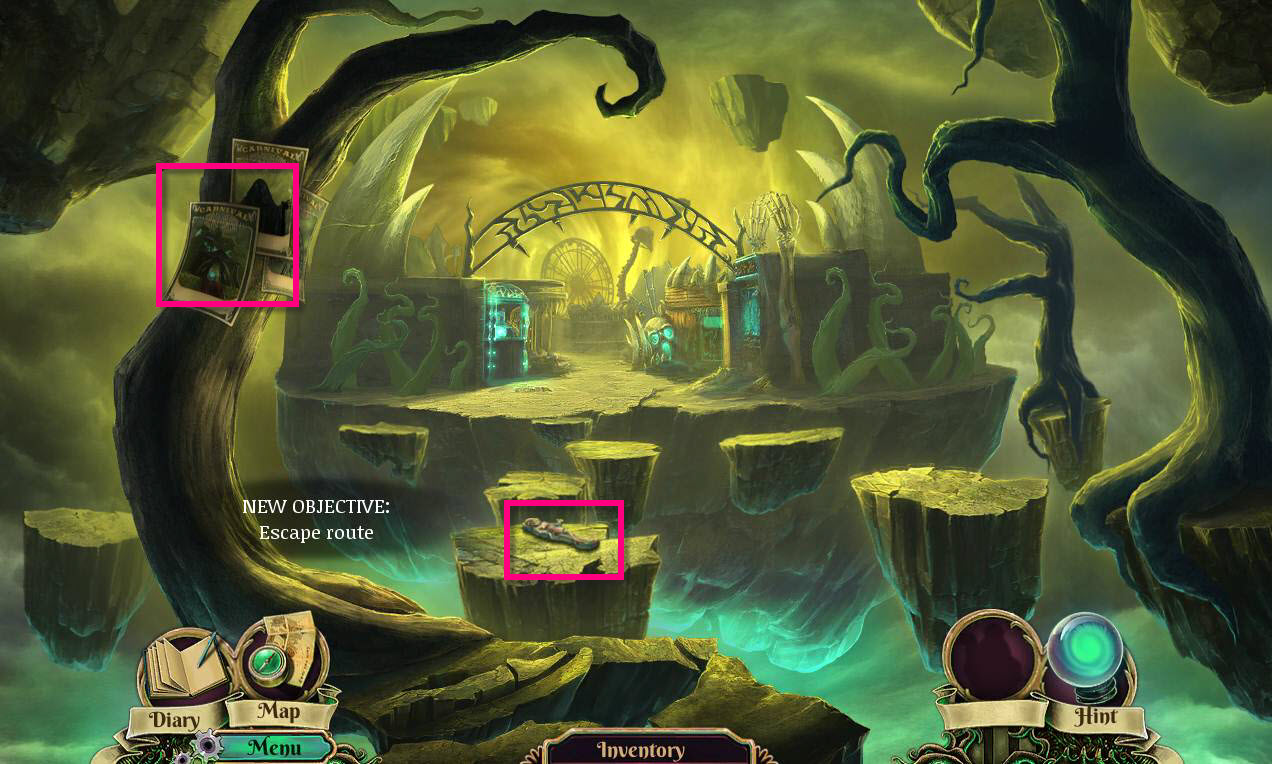
- Click on the posters on the tree to see the different mirror attractions.
- Click on the ground to see what Susan dropped.
- Take the ALICE CUTOUT.
-
Go forward to the park entrance.
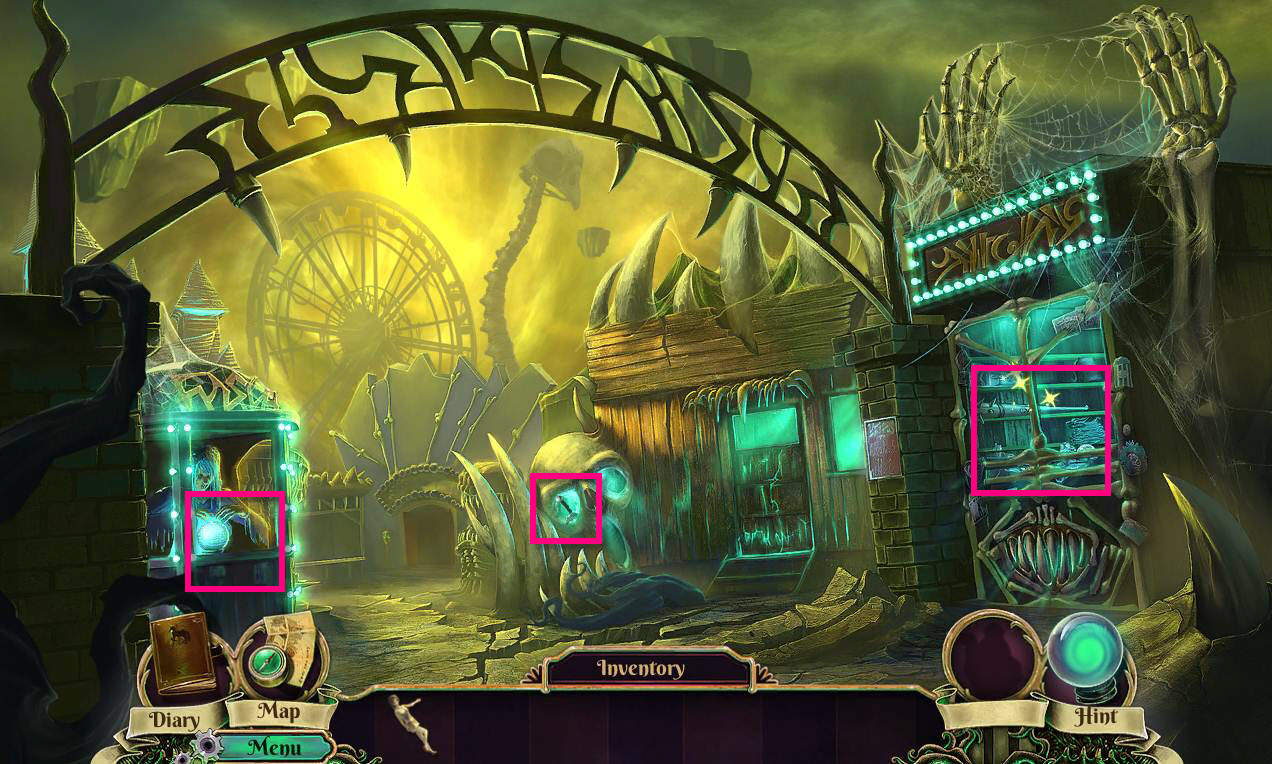
- Click on the skull to zoom in.
- Take the RAT HILT.
- Click on the fortune teller's box on the left to zoom in.
- Click on the lever to get a fortune.
- Click to read it.
-
Click on the sparkles to start the hidden object game.
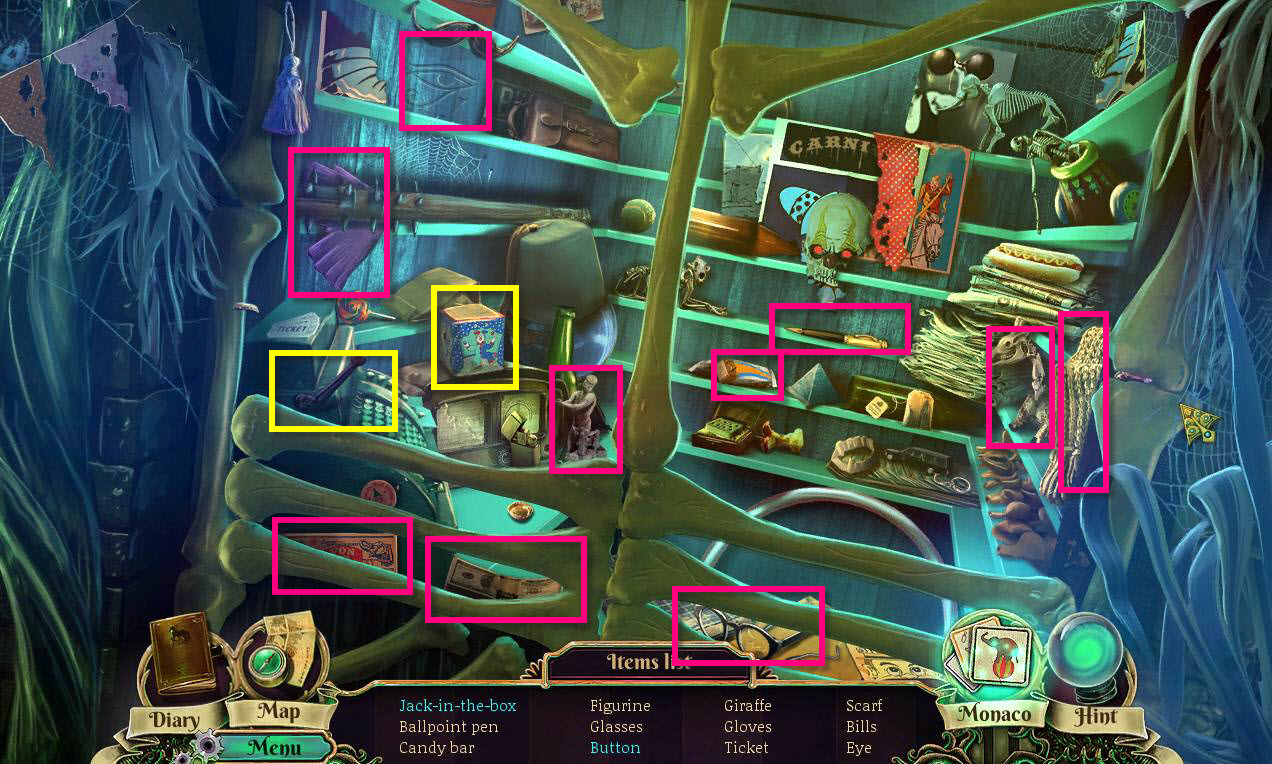
- Find all the items on the list.
- The objects in blue require an extra step.
- Click on the jack in the box to make the jack pop out.
- Click on the cash register lever to open it and get the button.
- You will receive JIM'S CUTOUT.
-
Go to the square.
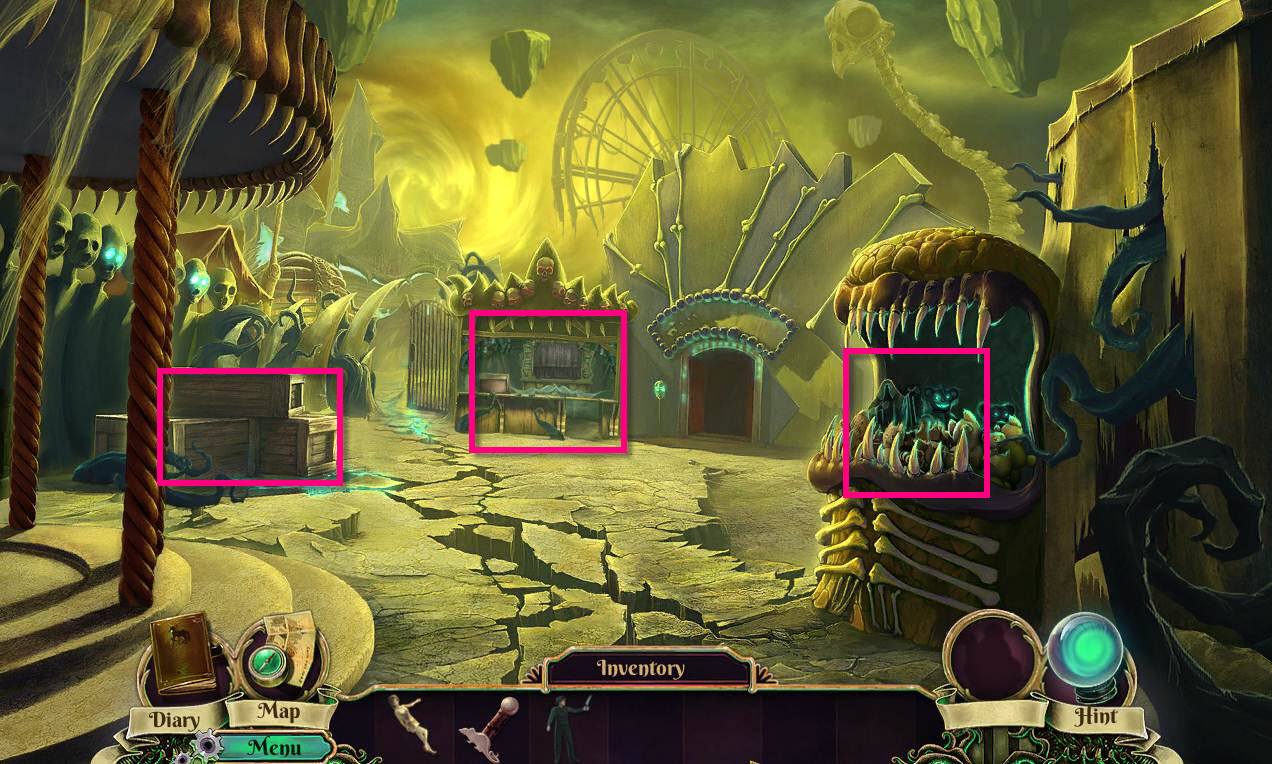
- Click on the monster mouth structure on the right with the evil teddy bears to zoom in.
- Take the EVIL CUTOUT
- Click on the crates on the left to zoom in.
- Take the MASK 1/5.
- Click on the shooting gallery in the back to zoom in.
-
Take the CARD 1/3.
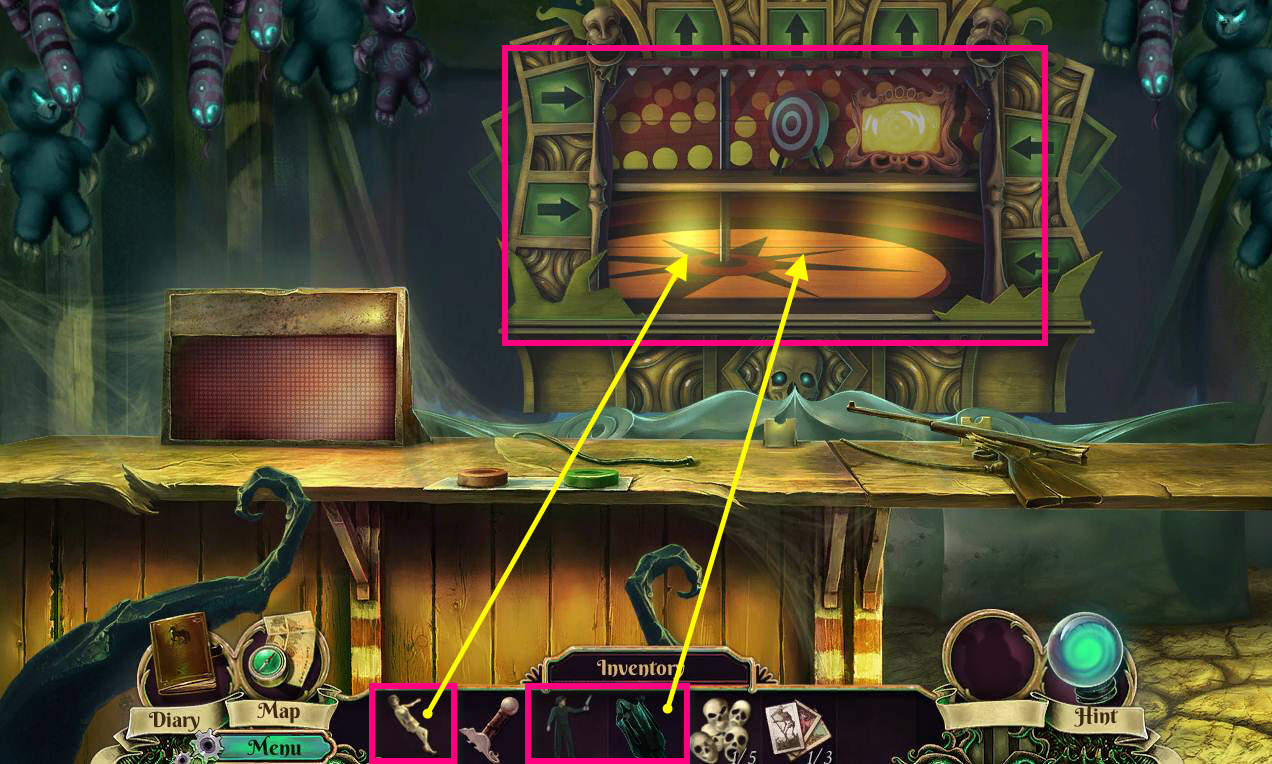
- While still in the shooting gallery, click on the back shooting area to zoom in.
- Use the ALICE CUTOUT, JIM'S CUTOUT, and the EVIL CUTOUT on the board.
-
This will start a mini-game.
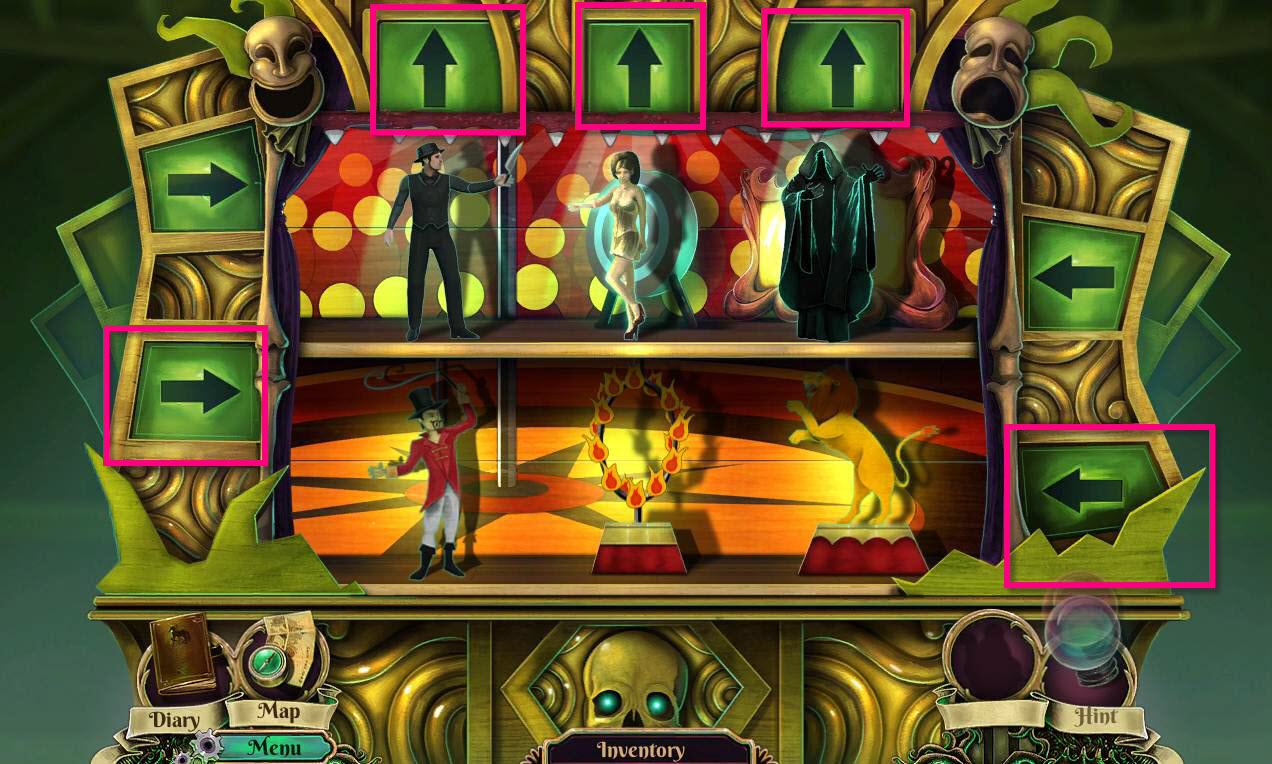
- The goal of the puzzle is the have the right cutouts and background in the bottom scene. The top one is already correct.
- Click the arrows on the sides and the tops to switch out the cutouts.
- See the screenshot for the solution. You'll want the ringmaster, the fire ring, and the lion with the circus background.
-
Take the SCISSORS.
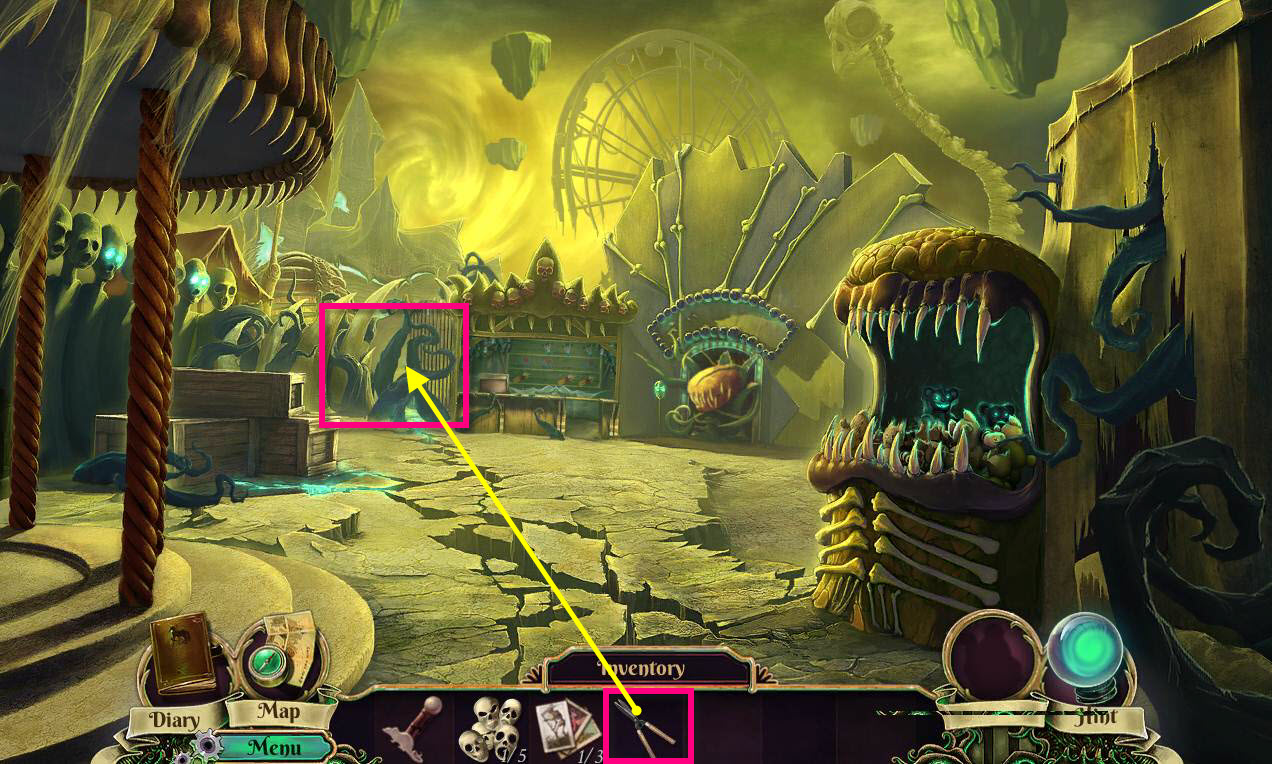
- Click on the plants on the left in front of the gate.
- Use the SCISSORS on them to remove them.
-
Go through the gate to the Alley.
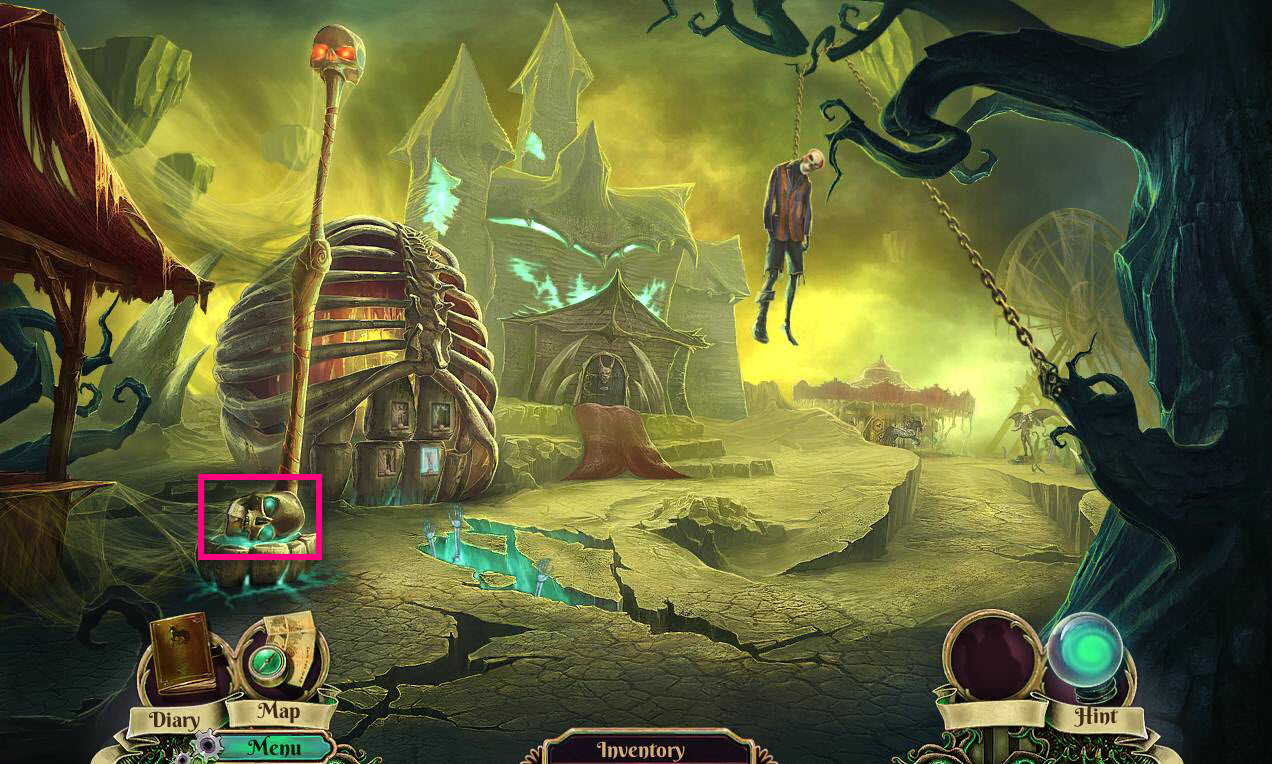
- Click on the skull on the left to zoom in.
- Click on the skull once to get it to let go of the card.
- Take the CARD 2/3.
-
Go to the carousel.
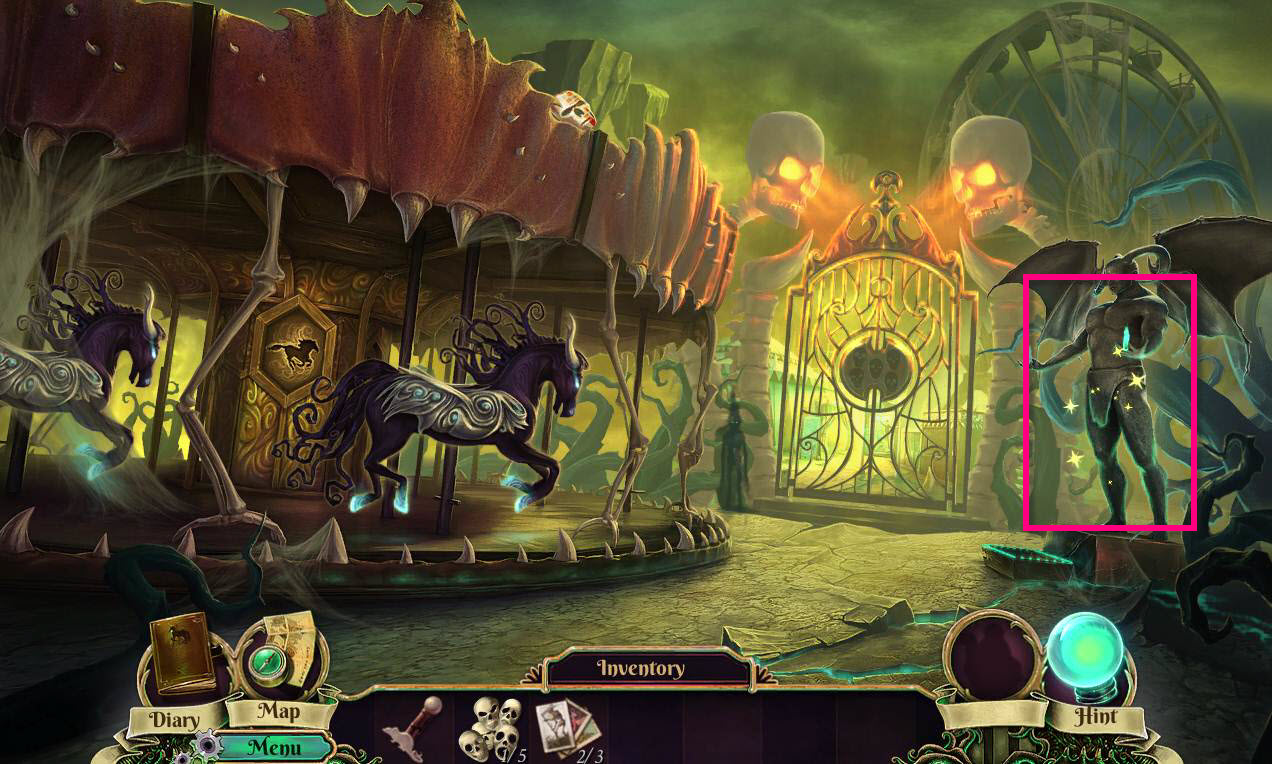
- Watch the cutscene.
-
Click on the sparkles by the gargoyle to start a hidden object game.
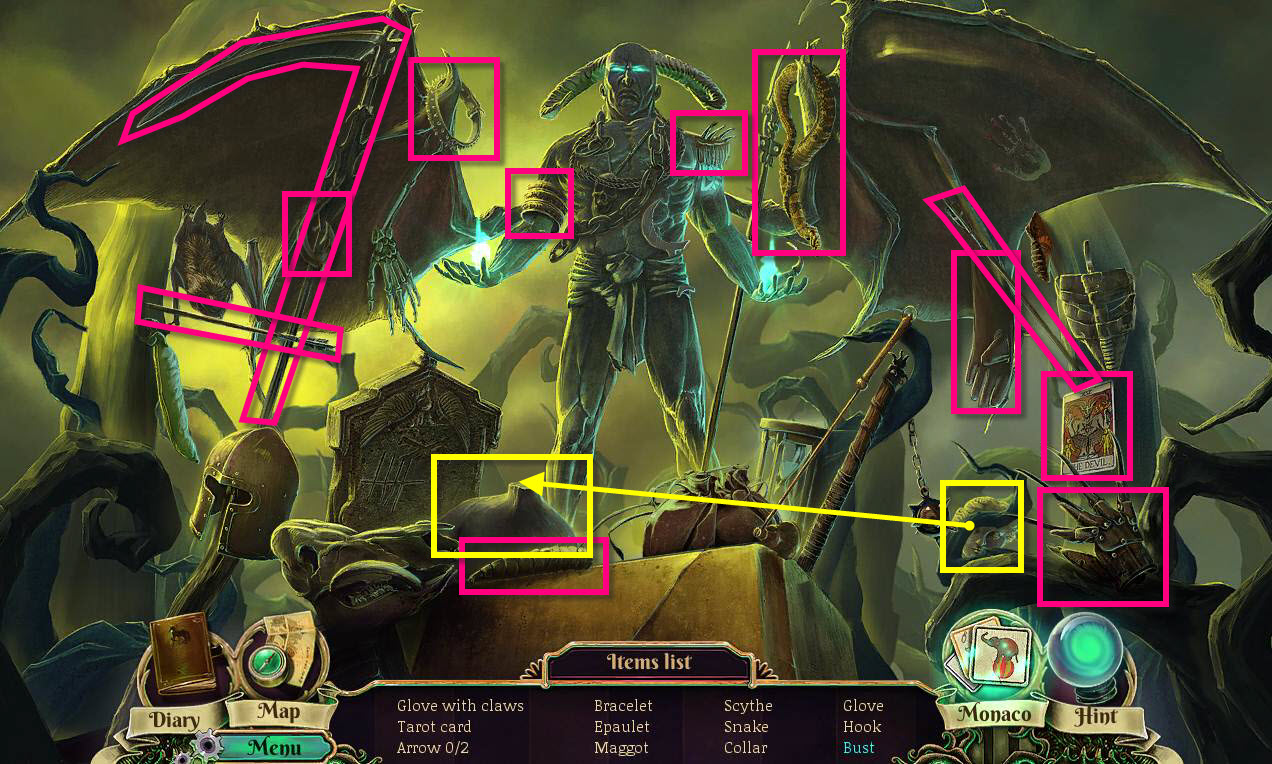
- Find all the items on the list.
- Objects in green require an extra step.
- Use the head on the bust body to get the bust.
- You will receive the CARD 3/3.
-
Go back one screen.
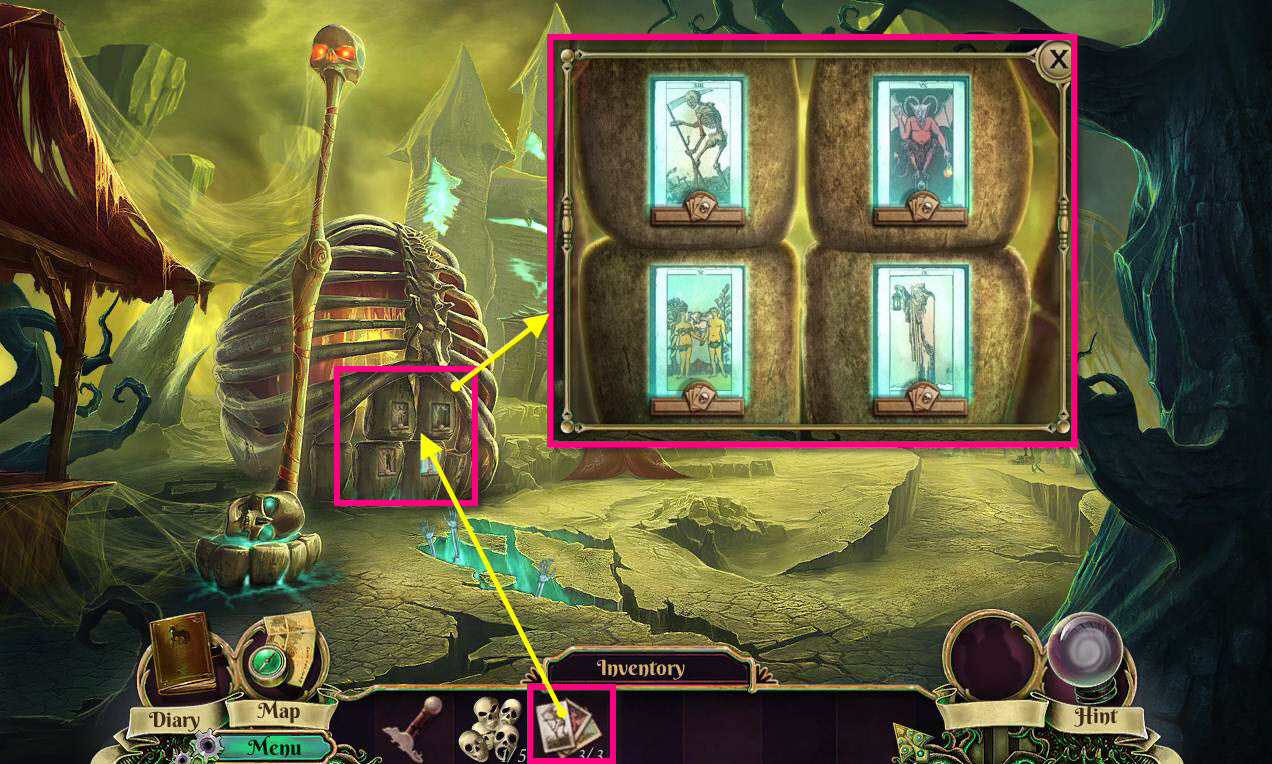
- Click on the door to zoom in.
- Use the CARD 3/3 on the door.
- This will start a mini-game.
- The goal of the game is to get the cards in the right place.
- See the screenshot for the solution.
-
Enter the Ribbed Cage.
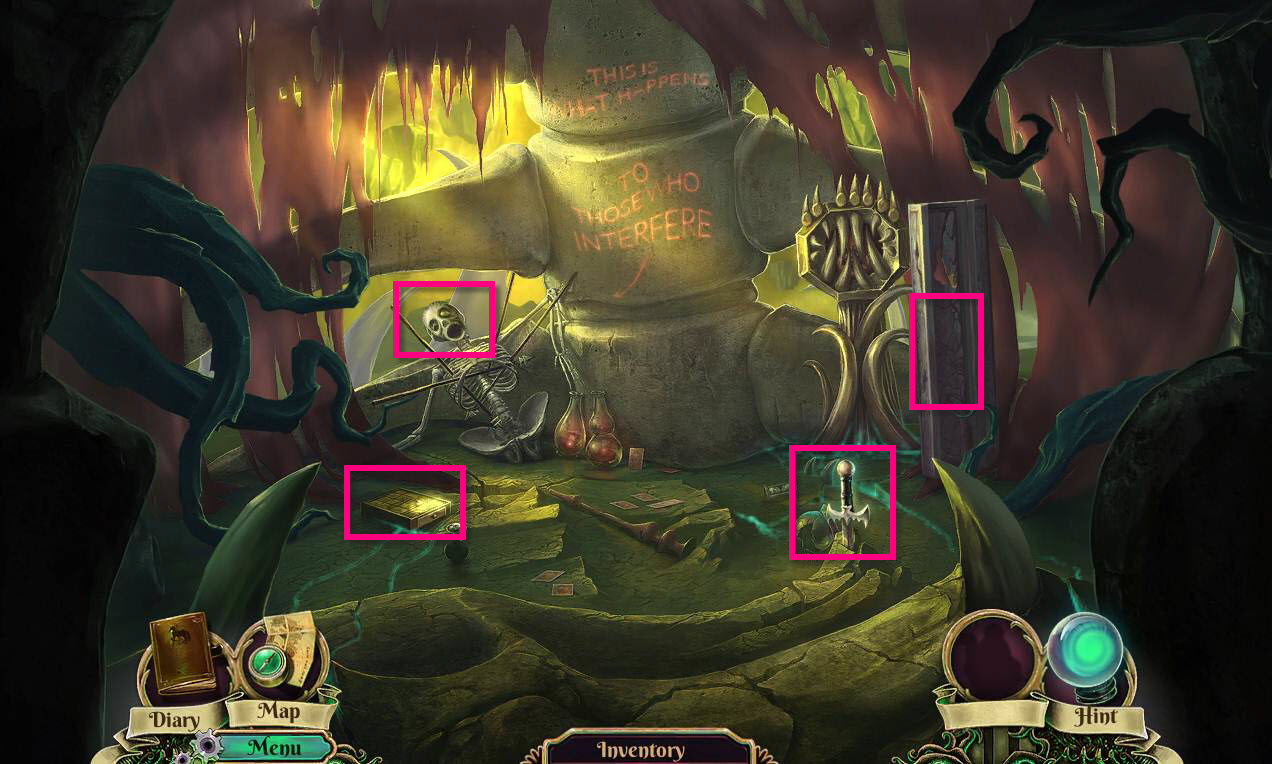
- Click on the screen to move it back.
- Take the BAT HILT.
- Click on the skull to zoom in.
- Take the MASK 2/5.
- Click on the puzzle on the floor.
-
This will start a mini-game.
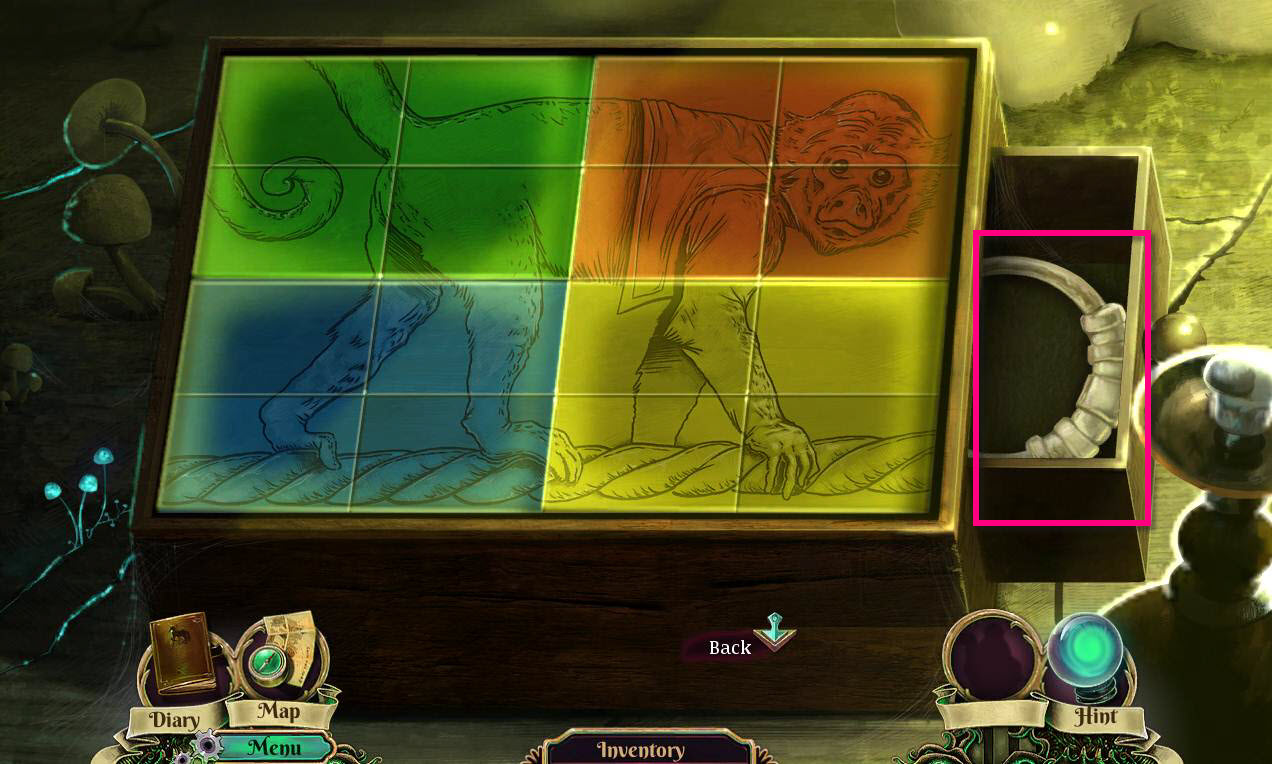
- The goal of the game is to put the image back together by click on the tiles and selected the correct ones.
- The final image will be the monkey. Each corner will have four tiles of the same color. See the screenshot for the solution.
- When you are done, take the KNOCKER.
-
Go back one screen.
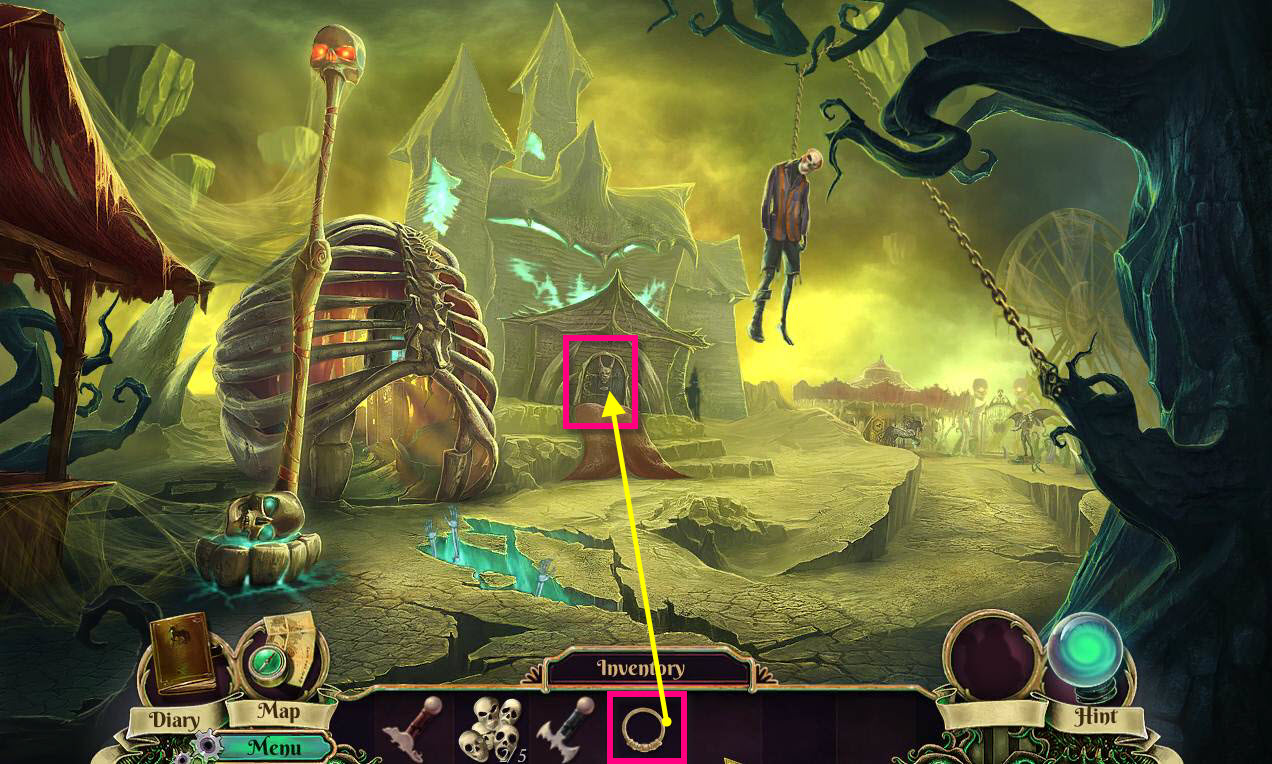
- Click on the door of the mirror house of fears to zoom in.
- Use the KNOCKER on the door.
-
Enter the House of Fears.
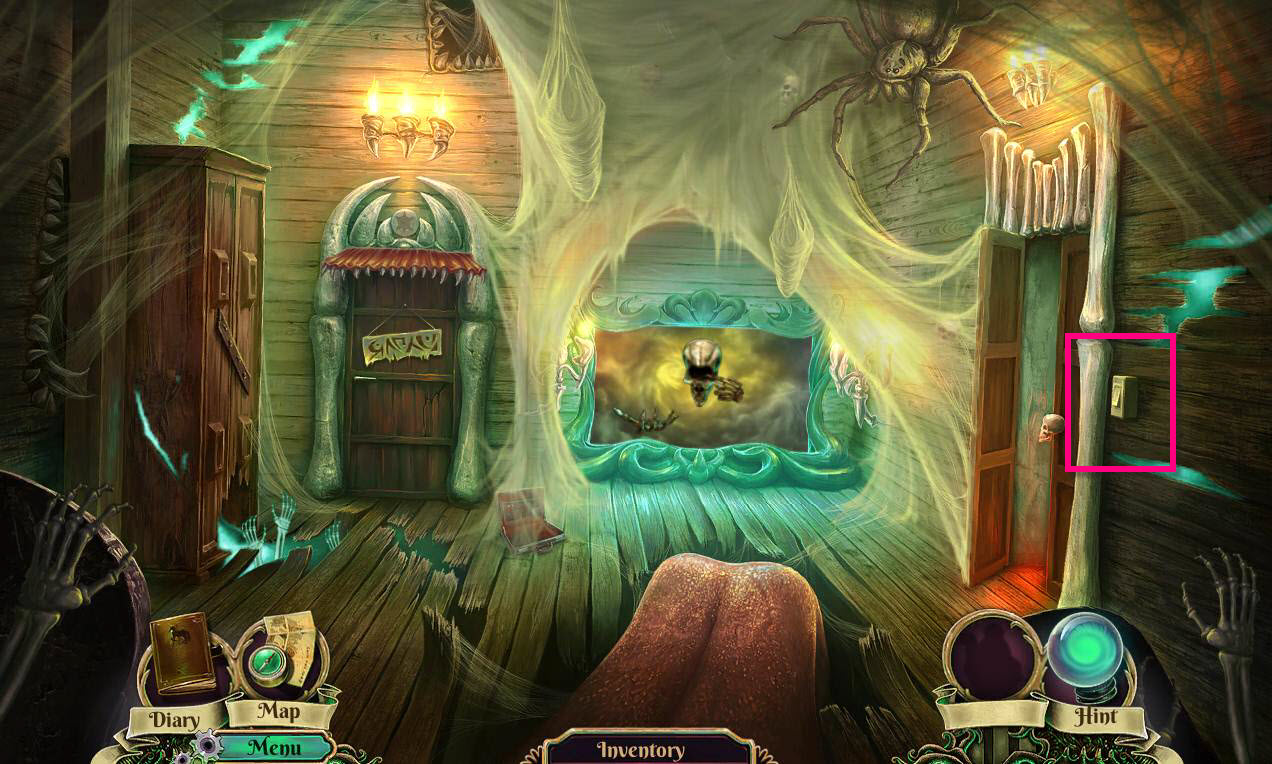
- Click on the light switch on the right to turn the lights on.
-
Go into the kitchen.
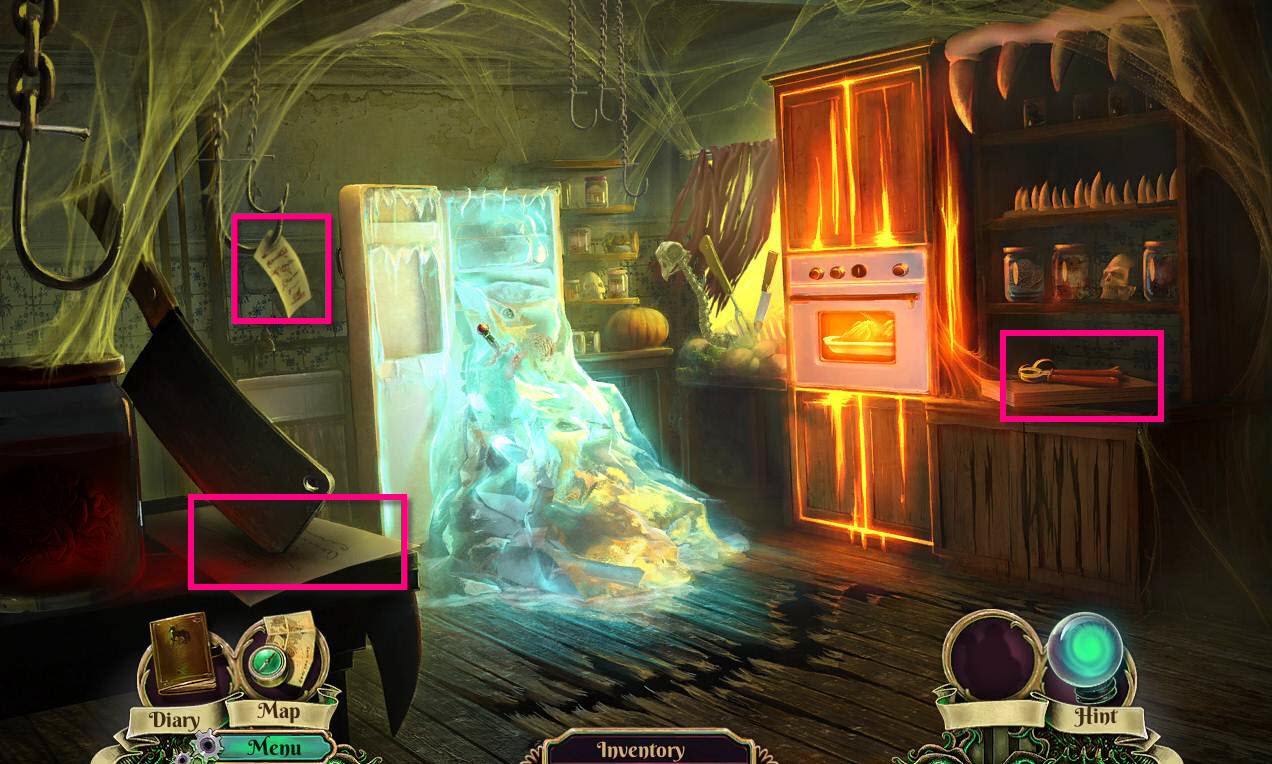
- Click on the shelf on the right.
- Take the PLIERS.
- Click on the note hanging from the hook to read it.
- Click on the note under the cleaver to read it.
-
Go back one screen.
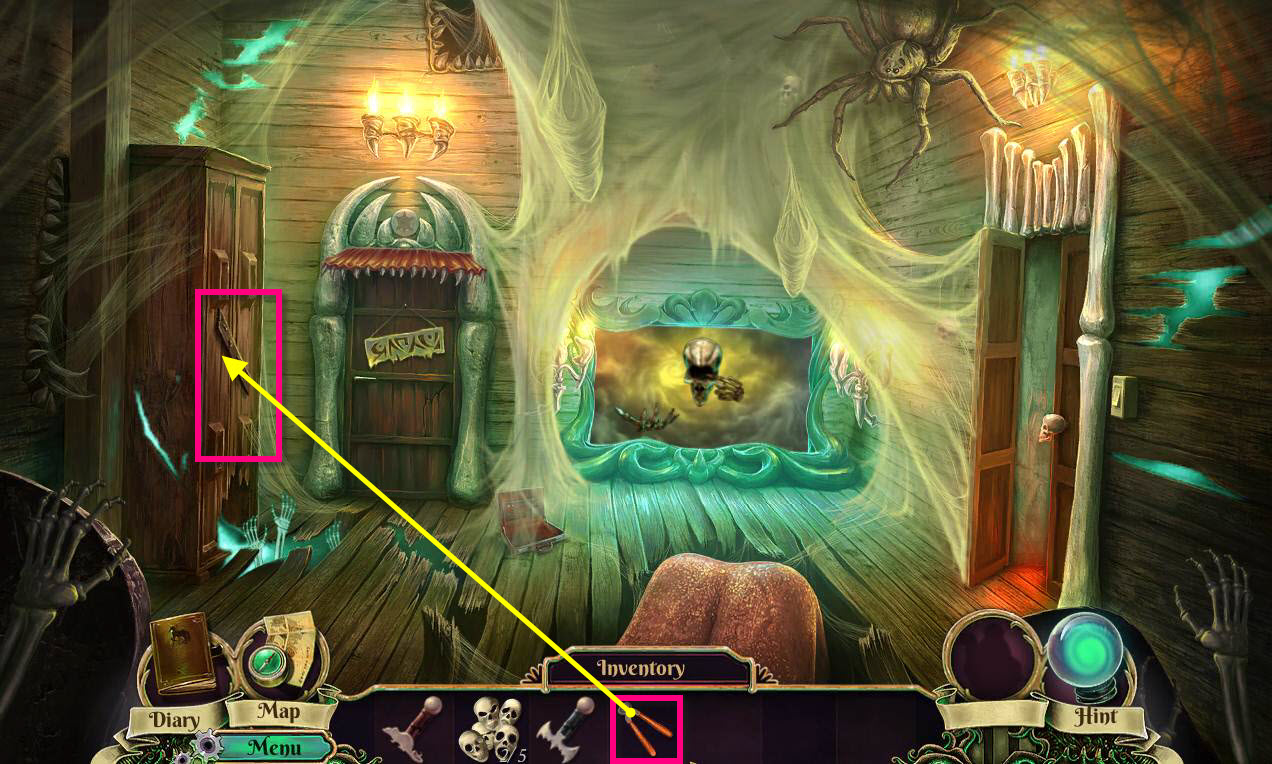
- Click on the wardrobe to zoom in.
- Use the PLIERS on the nails to remove them.
-
Click to open the wardrobe and reveal a hidden object scene.
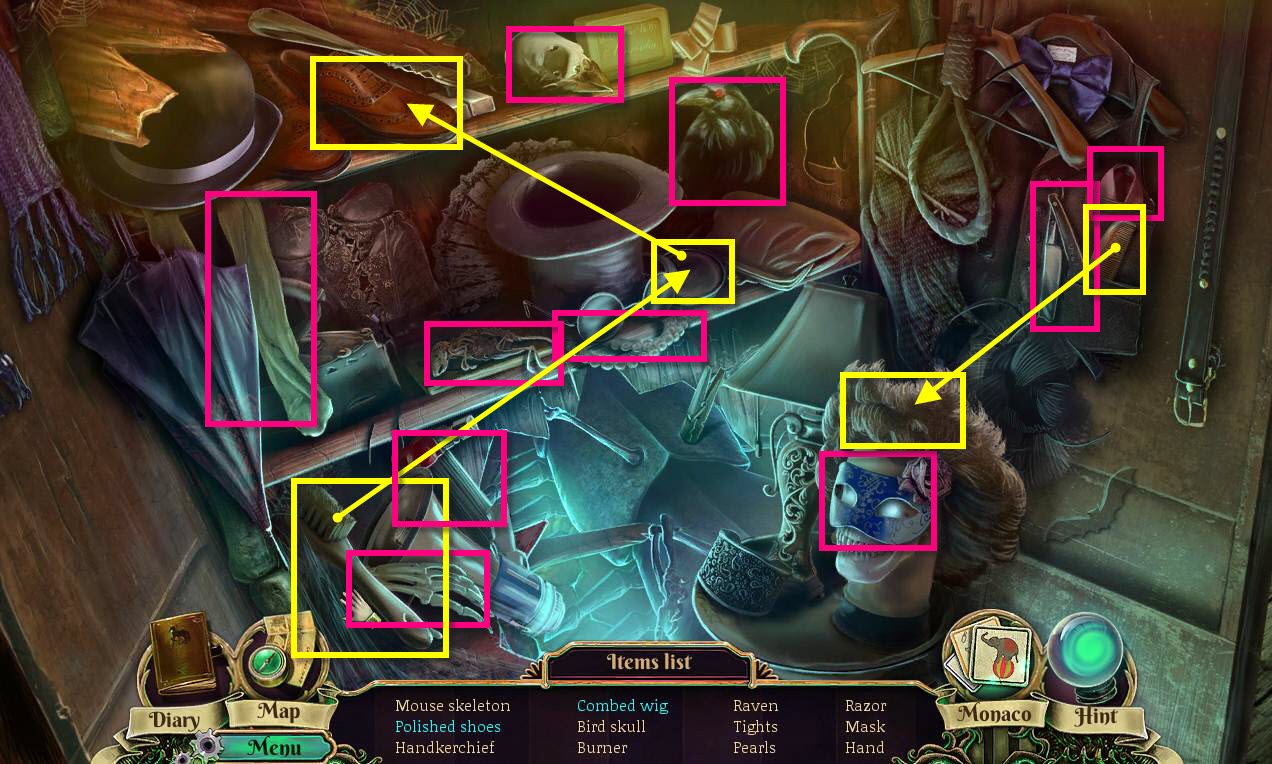
- Find all the items on the list.
- The items in green require an extra step.
- Take the brush and dip it in the shoe polish, then use the brush on the shoes to get polished shoes.
- Use the comb on the wig to get the combed wig.
- You will receive the BLOWTORCH.
-
Return to the kitchen.
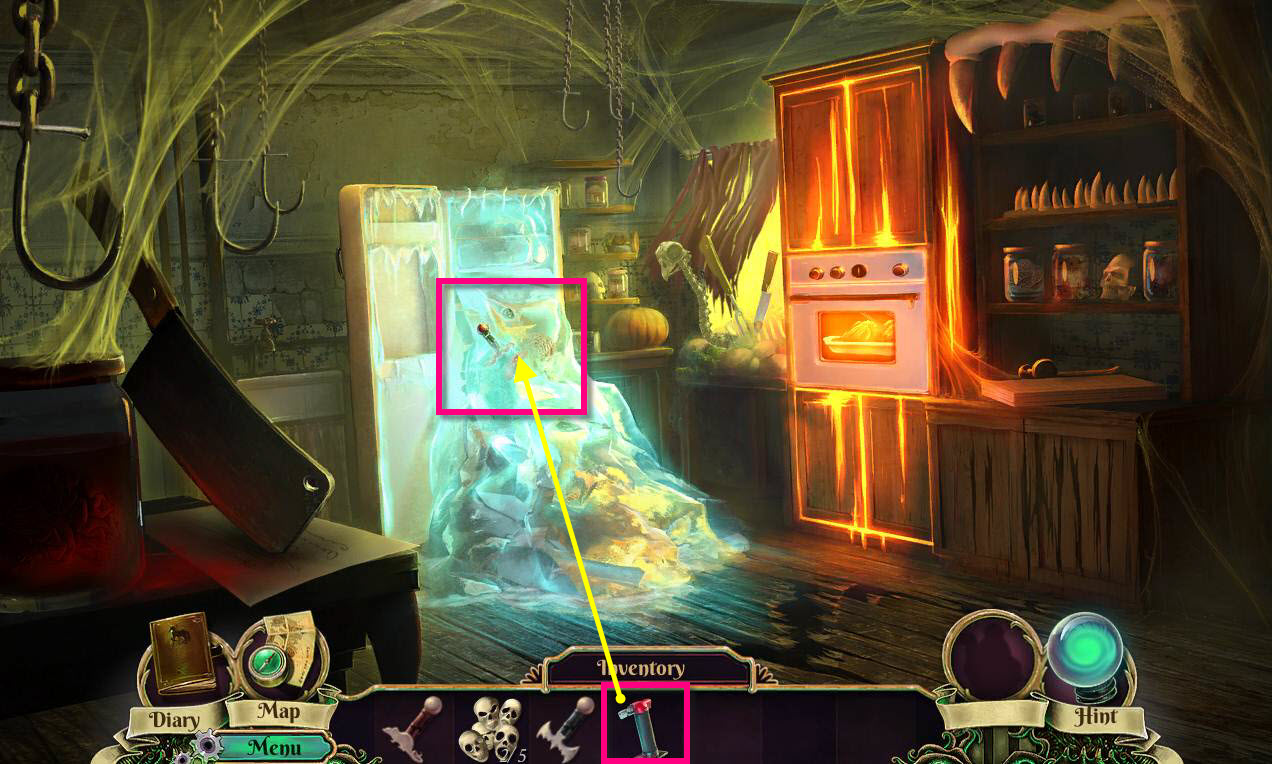
- Click on the ice to zoom in.
- Use the BLOWTORCH on the ice to melt it.
- Take the SNAKE HILT and the R LETTER.
-
Return to the Ribbed Cage.
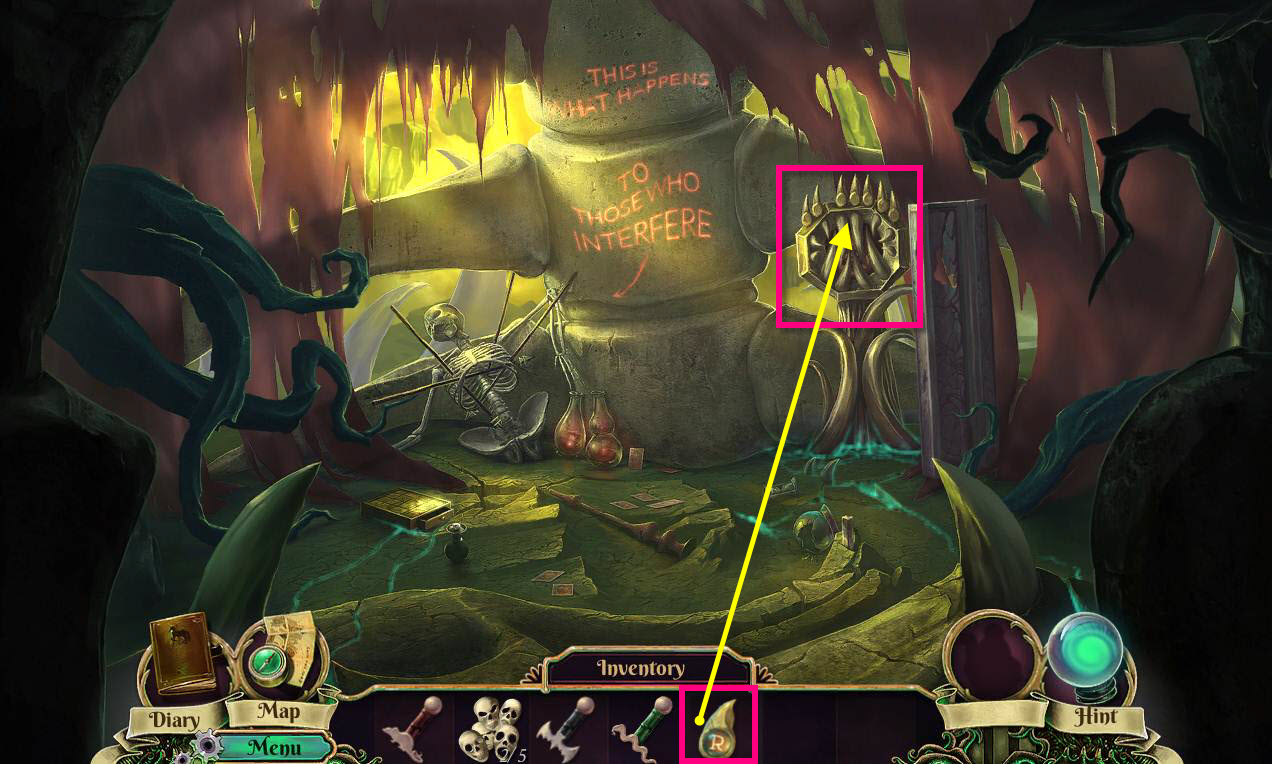
- Click on the teeth to zoom in.
-
Use the R LETTER on it to start a mini-game.
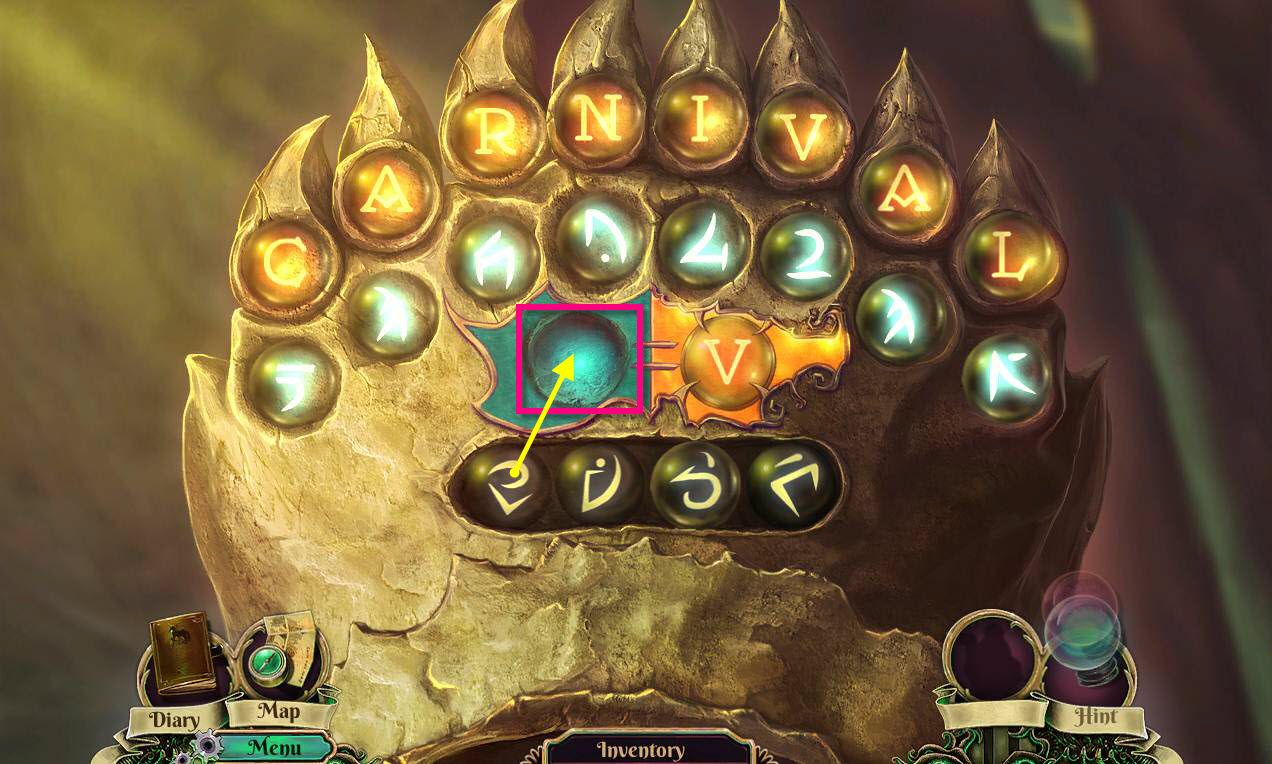
- First arrange the letters so that they spell out Carnival.
- Next you need to find out what the letters really mean.
- The key in the middle will tell you which letter each symbol corresponds to.
- Open the bottom area to reveal more symbols.
- Not all the symbols will fit.
- Find the ones that match the letters in carnival.
- See the screenshot for the solution.
- Take the KNOB.
-
Return to the kitchen in the House of Fears.
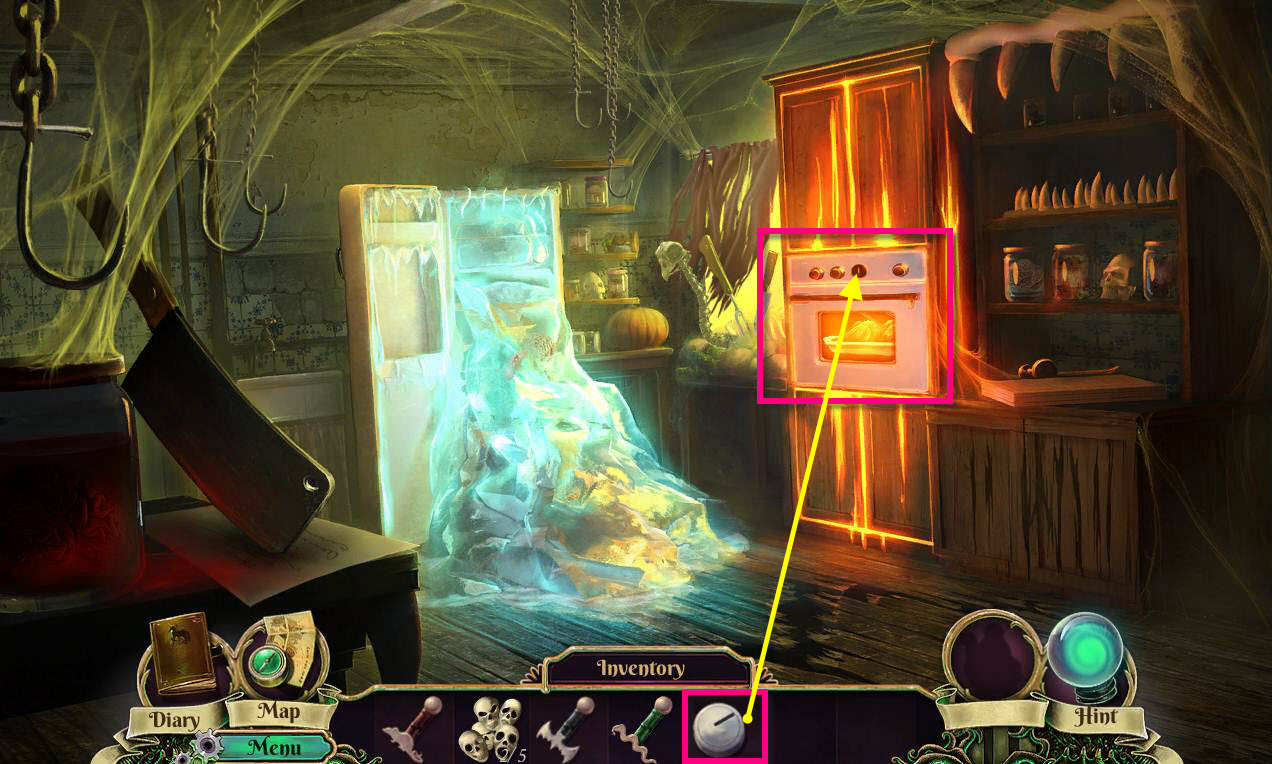
- Click on the oven to zoom in.
- Use the KNOB on the missing slot.
-
This will start a mini-game.
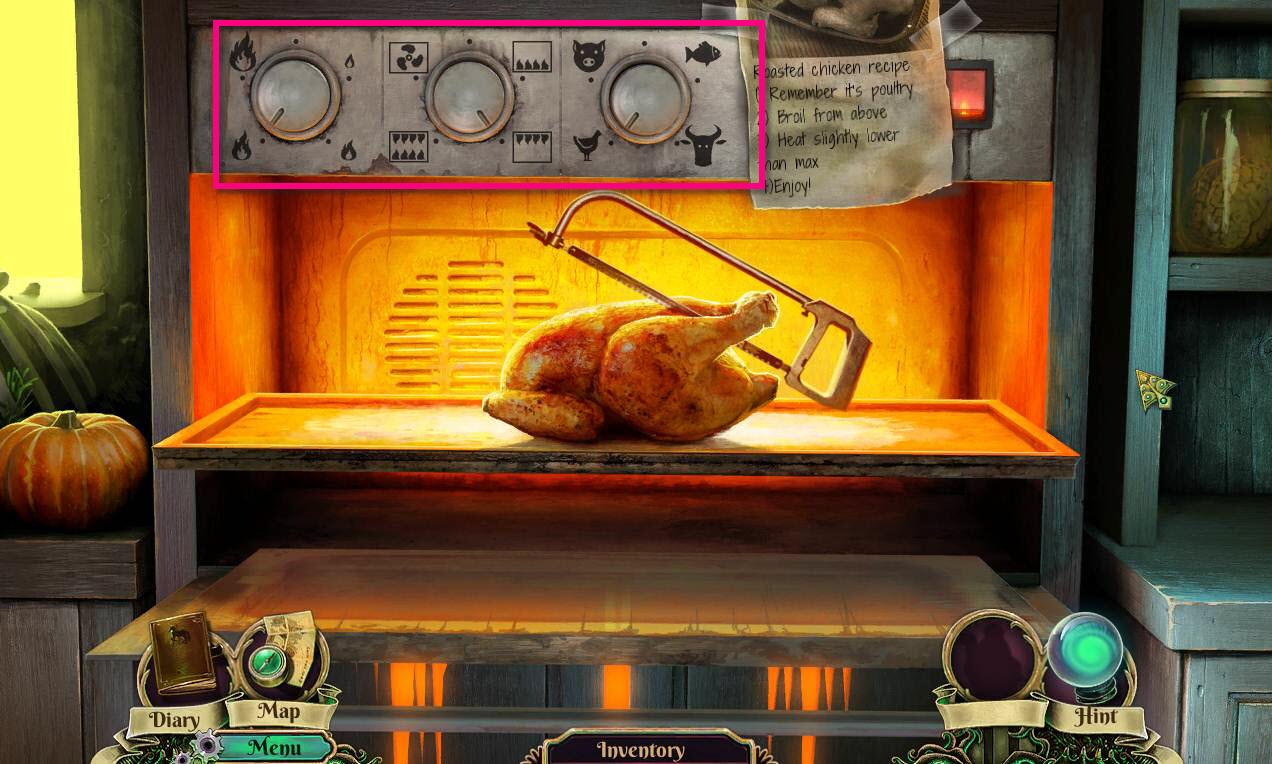
- Let's cook that chicken by following the recipe we found earlier hanging on the hook.
- First set the third dial to chicken.
- Then, set the second dial to the flames coming just from above.
- Set the first knob to the second to highest heat.
- See the screenshot for the correct placement of the knobs.
- Take the HACKSAW.
-
Go back outside the House of Fears.
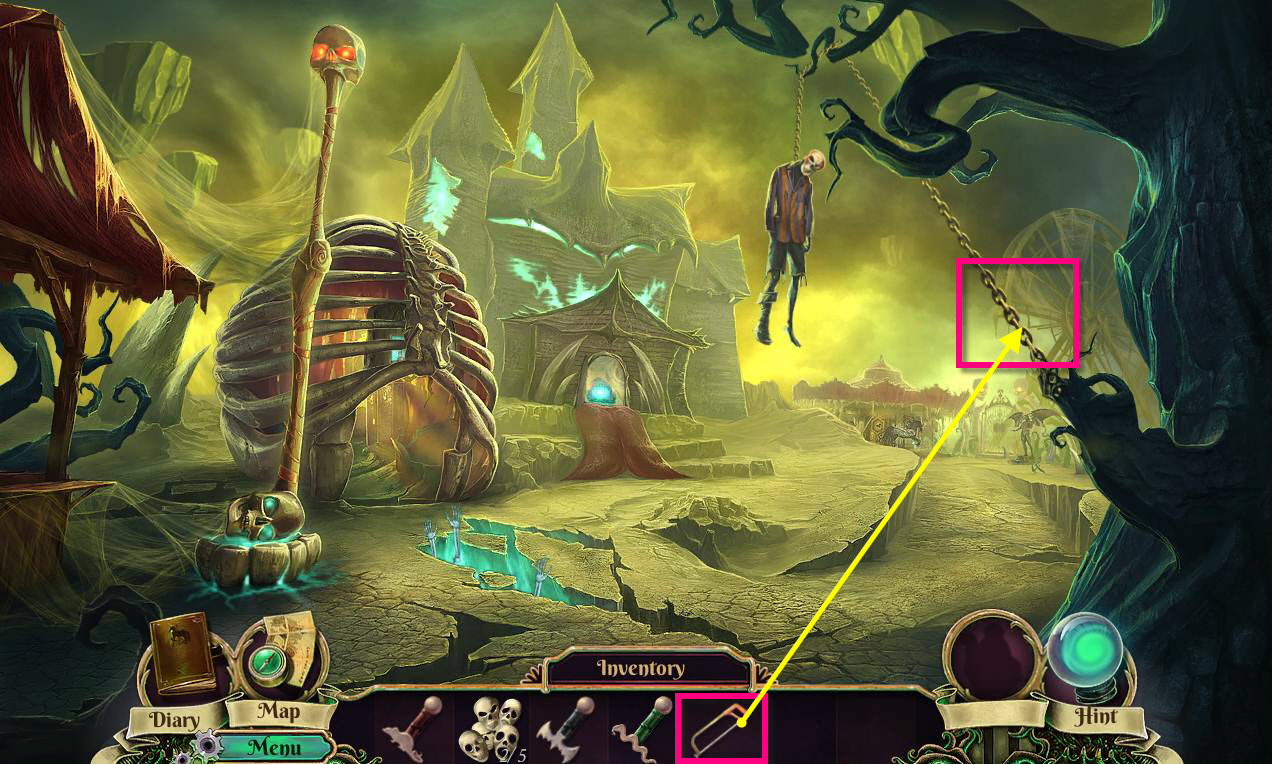
- Use the HACKSAW on the chains holding the body up.
- Click on the body when he falls to zoom in.
- Take the MASK 3/5.
- Click on the purple cloth to remove it.
- Take the MIRROR TOKEN.
-
Go back to the House of Fears.
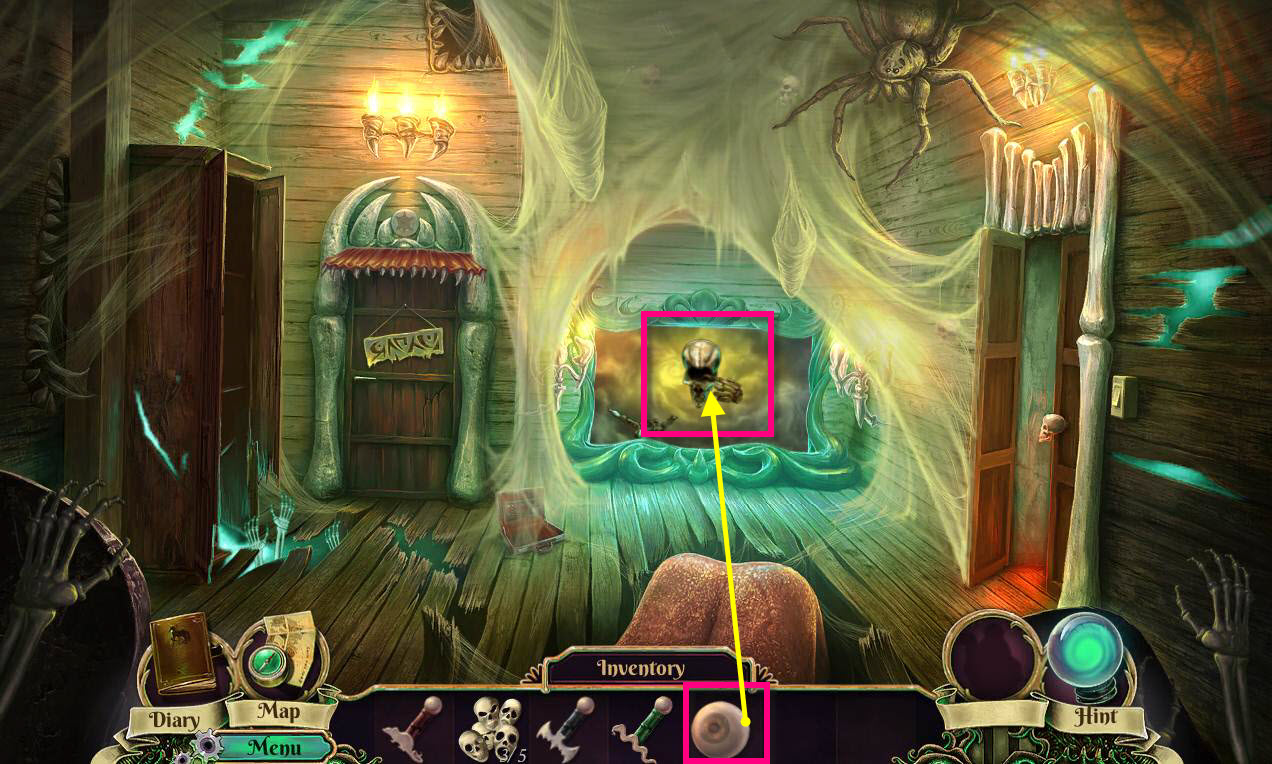
- Click on the mirror.
- Use the MIRROR TOKEN on the skeleton.
- Go through the mirror and return to the real world.
Comments will load when you reach this part of the walkthrough.