

Chapter Two: Hall of Mirrors
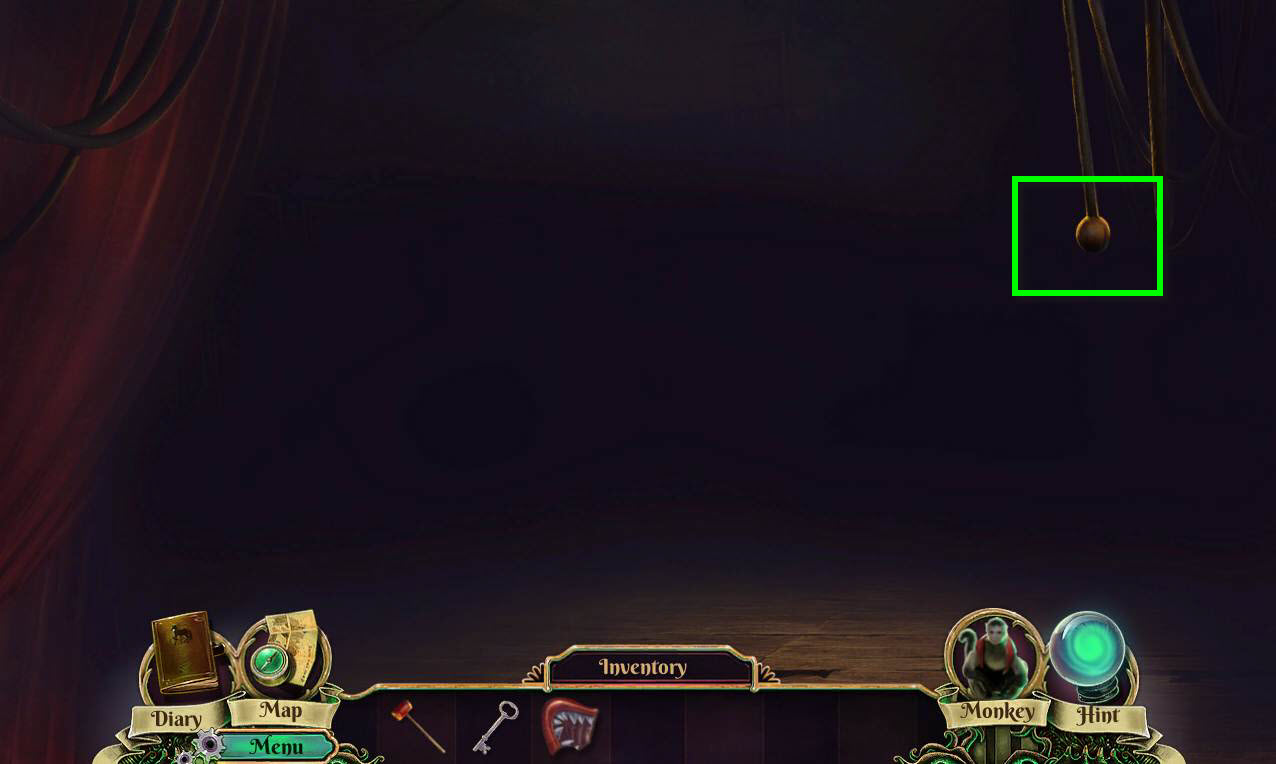
- Click on the switch to turn on the lights.
-
Watch the cutscene.
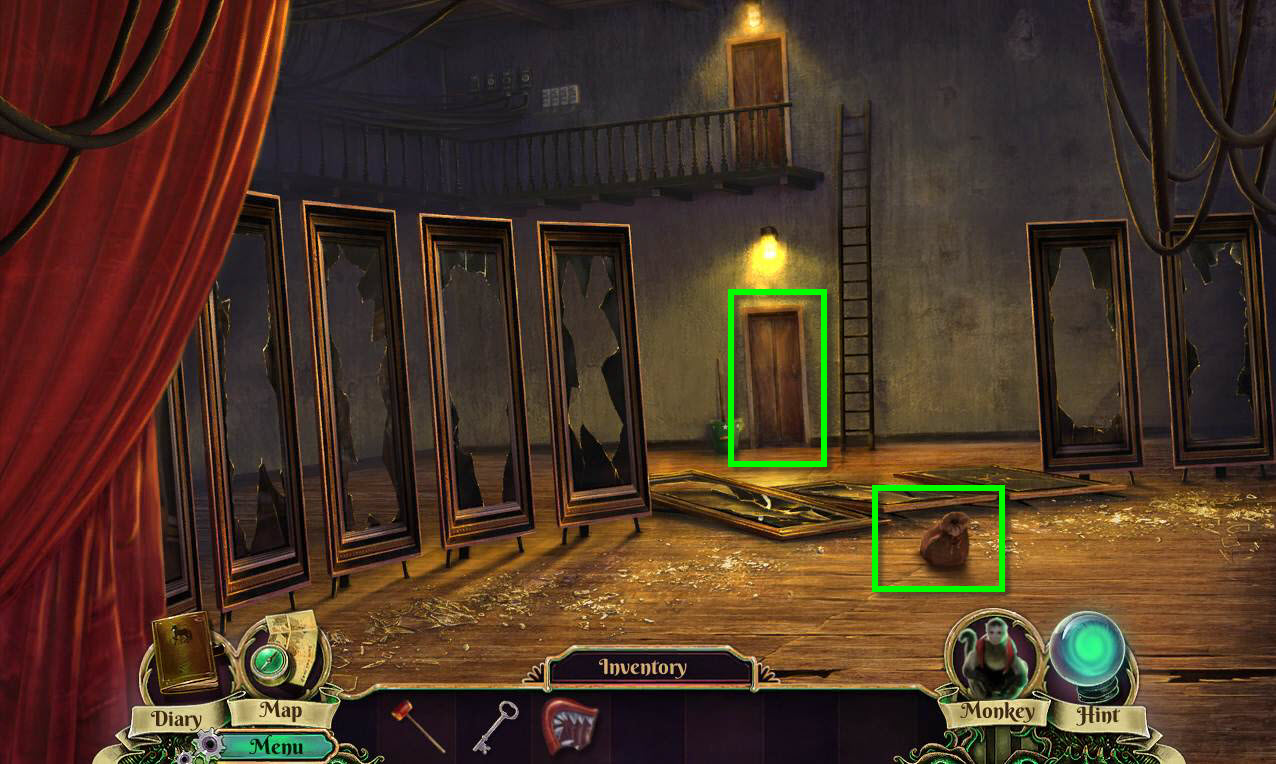
- Click on the bag to zoom in.
- Click to open the bag.
- Take the CLOWN NOSE KEY.
- Click on the door to open it.
- Click on the sparkles.
-
This will start a hidden object game.
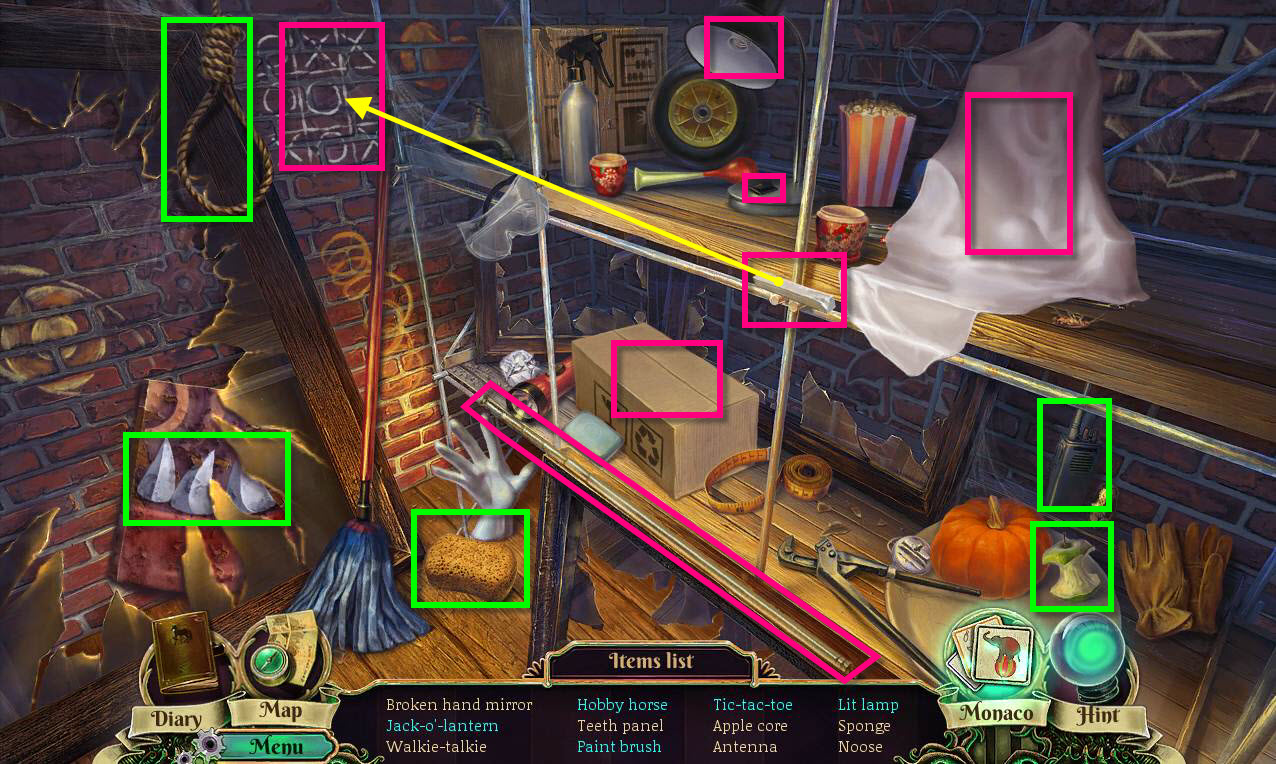
- Find all the items on the list.
- Use the chalk on the tic tac toe board to complete it.
- Click to open the box. Find the Broken Hand mirror in the box.
- Take the light bulb out of the box and use it on the lamp. Click the switch to get the Lit Lamp.
- Click to remove the cloth.
- Find the paint brush and the hobby horse under the cloth.
- Find a carving knife under the cloth. Use it on the pumpkin to get the Jack0-o-lantern.
- You will receive the SECOND TEETH PANEL.
-
Return to the manager's office.
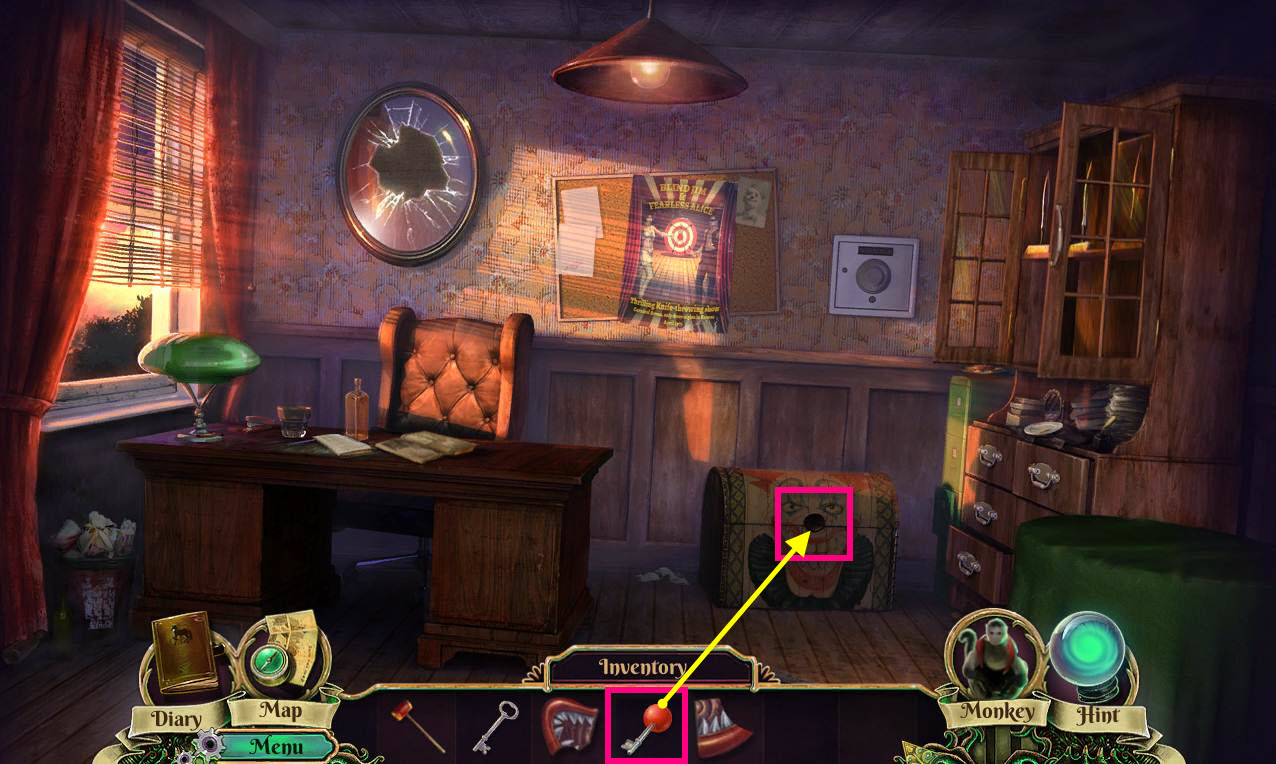
- Click to zoom in on the clown chest.
- Use the CLOWN NOSE KEY on the lock.
- Take note of the awards.
- Take note of the combination R1 L4 R2 L1 R8
- Take the HANDLE.
-
Click on the safe on the wall to zoom in.
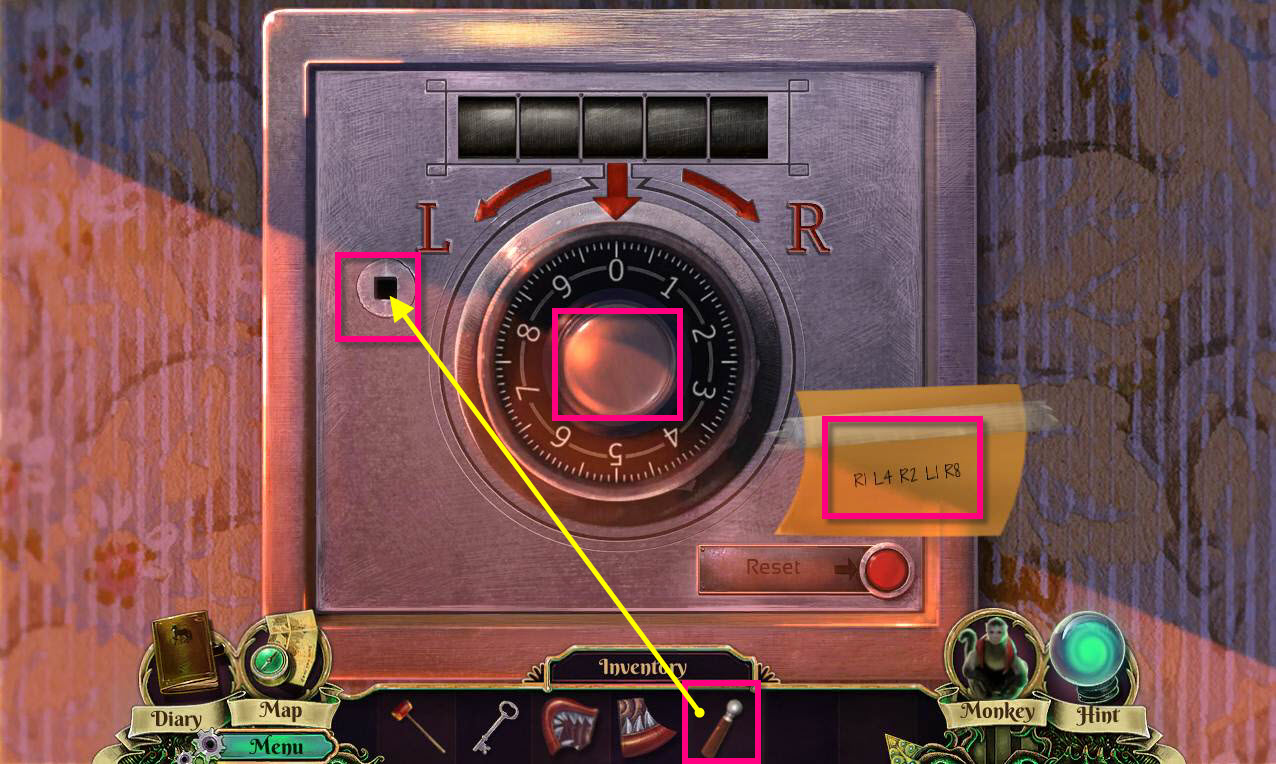
- Use the HANDLE on the safe.
- Now enter the correct code that's taped to the safe by clicking on the safe and moving the wheel to the right spots.
- If you make a mistake, click the reset button.
- Click the handle to open the safe.
- Take the GATE PLATE.
- Click to look at the pictures and see the connection between Alice and Susan.
-
Go back to the square.
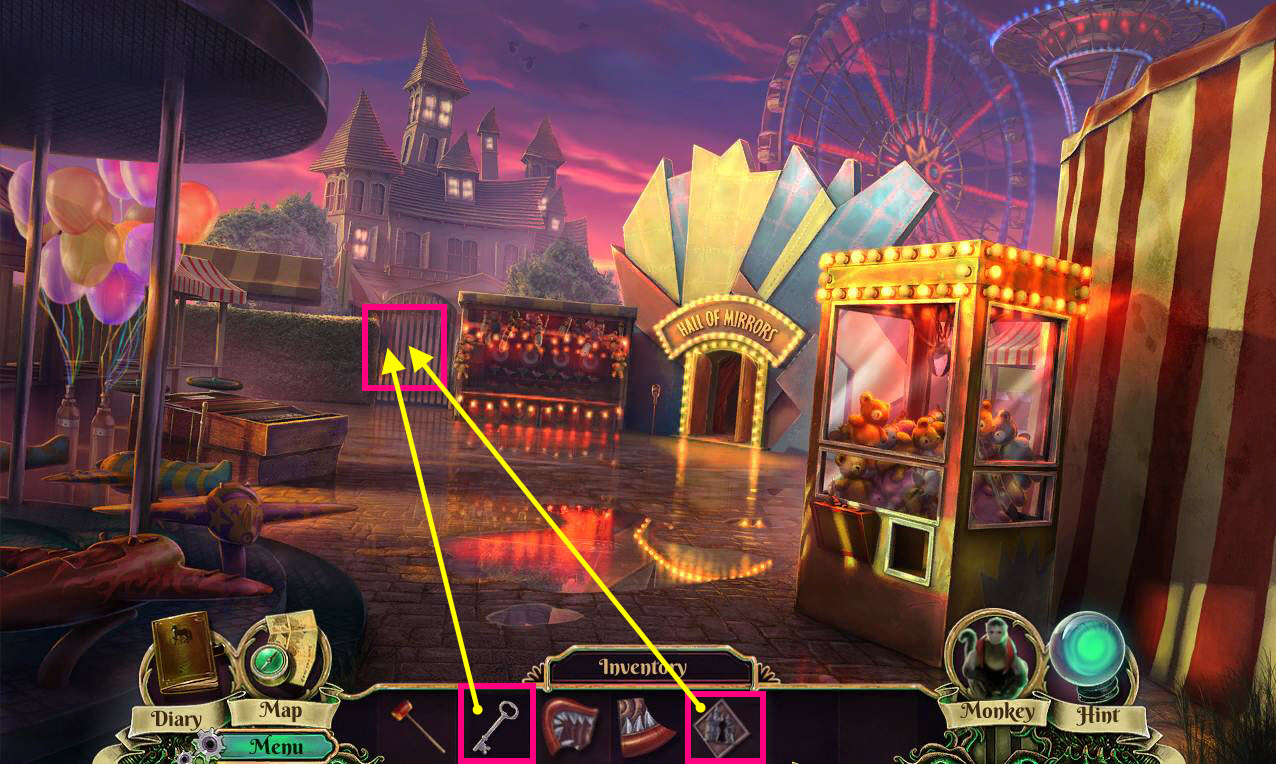
- Click to zoom in on the gate.
- Click to zoom in on the lock.
- Use the GATE PLATE on the lock.
- Use the GATE KEY on the lock and click on it to unlock it.
- Click on the handle to open the gate.
-
Go forward to the Alley.
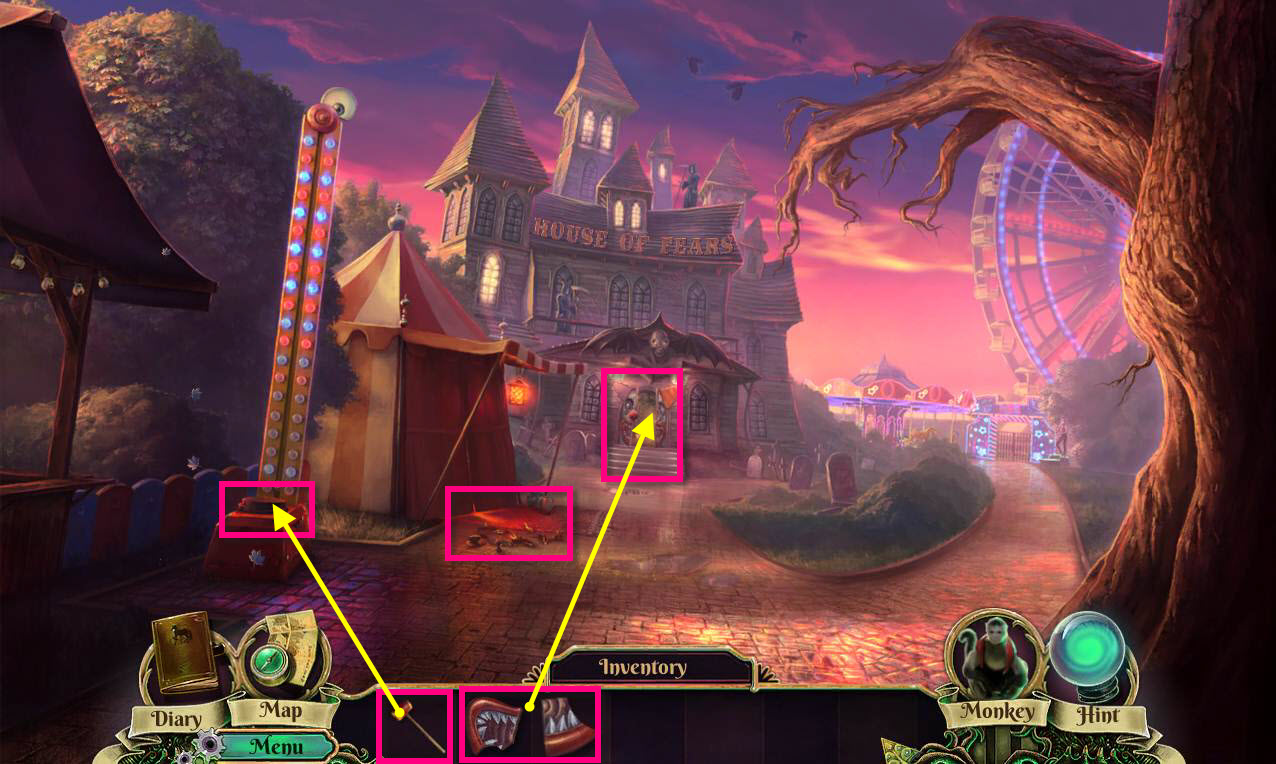
- Click on the broken vase outside the tent to start a cutscene.
- Use the HAMMER on the strength game on the left.
- Click on the door to the House of Fears to zoom in.
- Use the FIRST TEETH PANEL and the SECOND TEETH PANEL in the missing slots.
-
Go into the Fortune Teller's Tent.
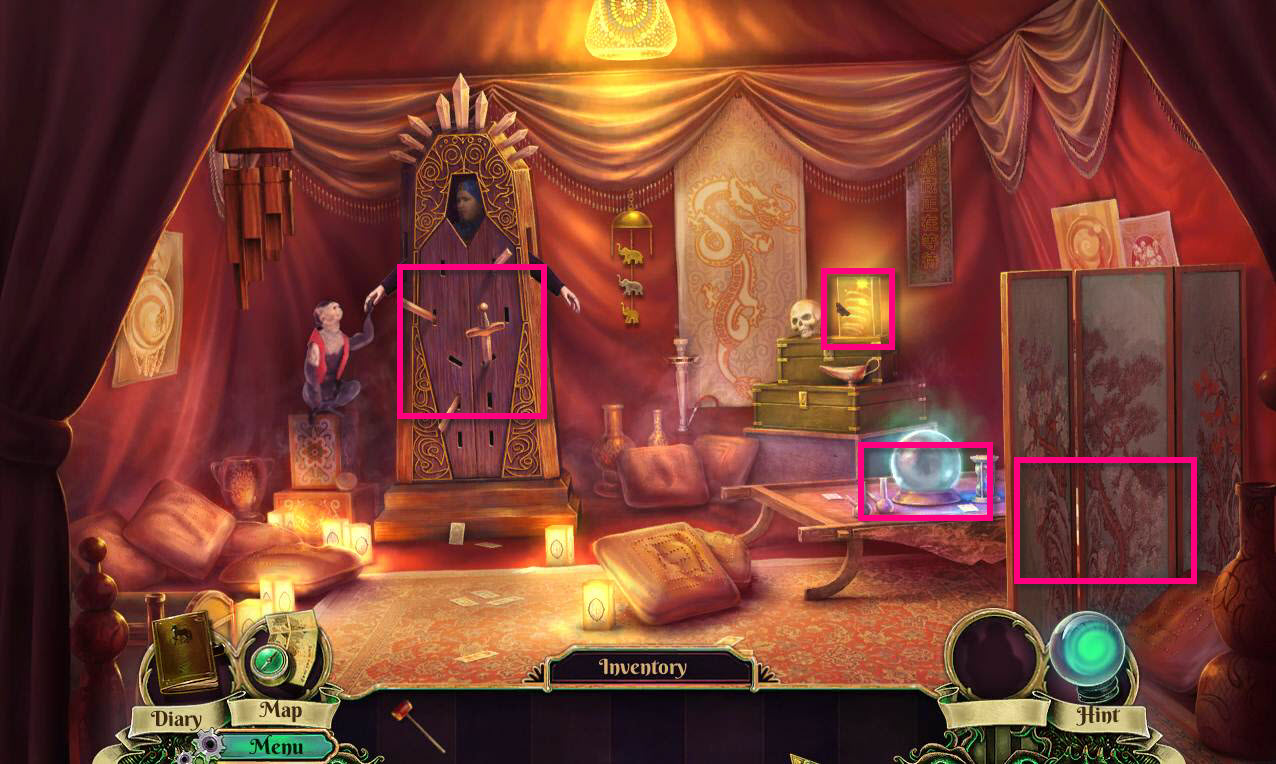
- Click on the box the Fortune Teller is in.
- Remove the one sword with the hilt. We'll need to find the rest of the hilts somewhere.
- Click to zoom in on the table and read the note from the fortune teller.
- Click on the room screen to push it back.
- Take the WIG PANEL.
- Click on the case by the skull to remove it.
- Take the SPRING.
-
Go back one screen and then go to the Carousel.
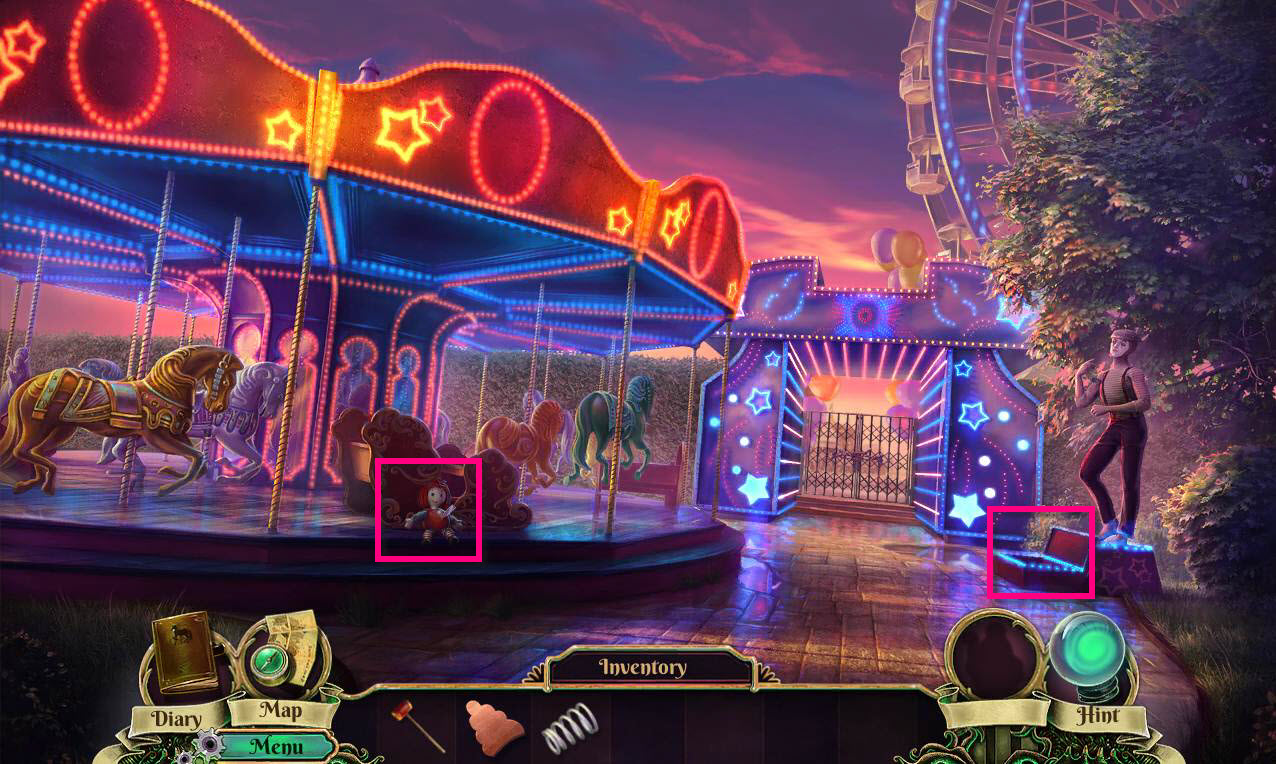
- Click on the doll to zoom in.
- Click on the glass and all the doll parts to remove them.
- Take the NOSE PANEL.
- Click on the box under the mime to zoom in.
- Take the SCREWDRIVER.
-
Go back one screen.
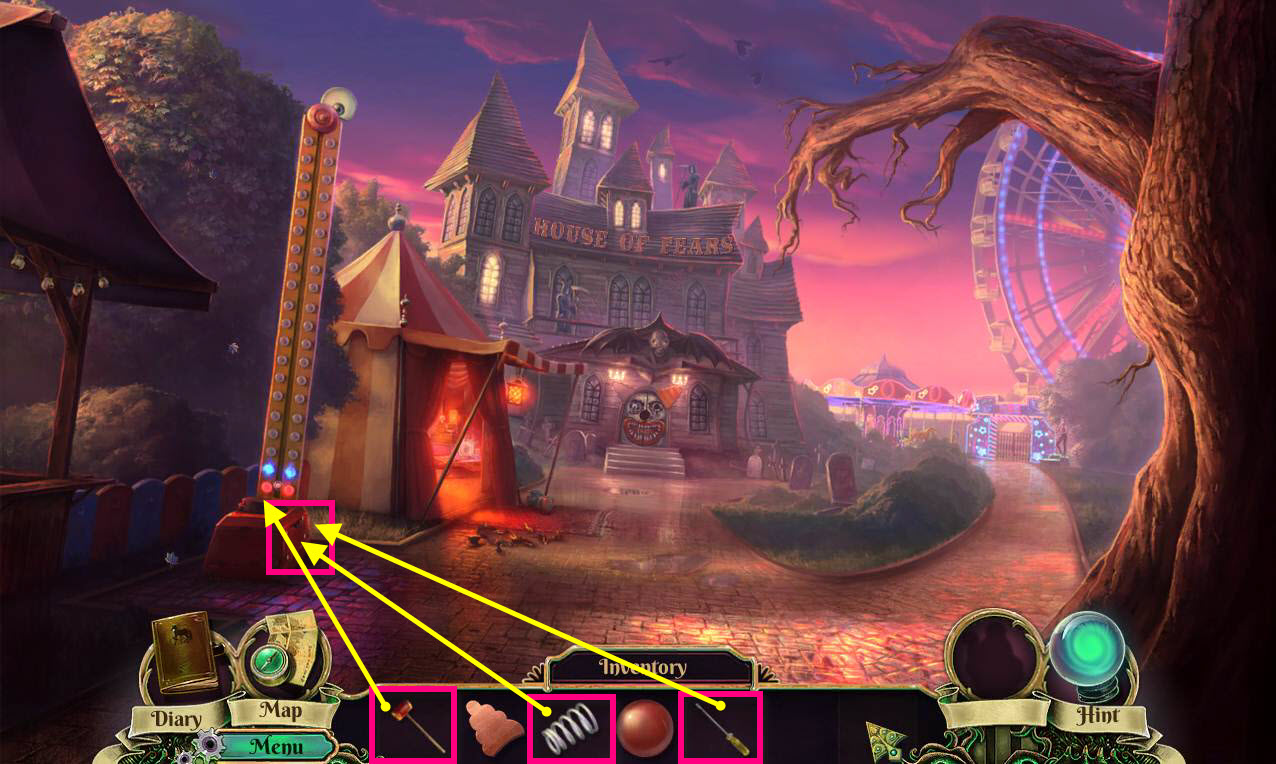
- Click on the broken strength game to zoom in.
- Use the SCREWDRIVER on the screws to remove the panel.
- Use the SPRING on the game to fix it.
- Now use the HAMMER again on the game.
-
Take the EYE PANEL that falls.
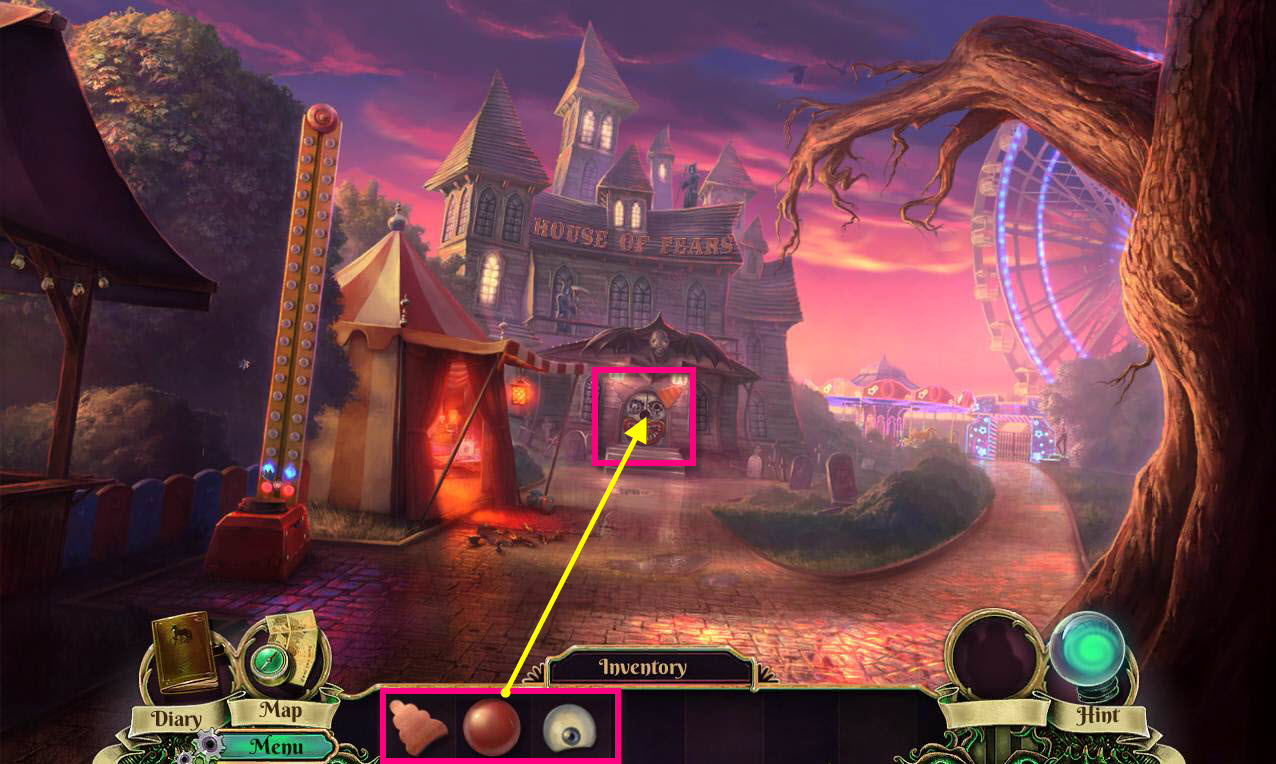
- Click on the door of the House of Fears to zoom in.
- Use the WIG PANEL, the NOSE PANEL, and the EYE PANEL on the empty slots in the door.
- Click on the doors to open them.
- Enter the House of Fears.
Comments will load when you reach this part of the walkthrough.