
Chapter Three: 0 AM
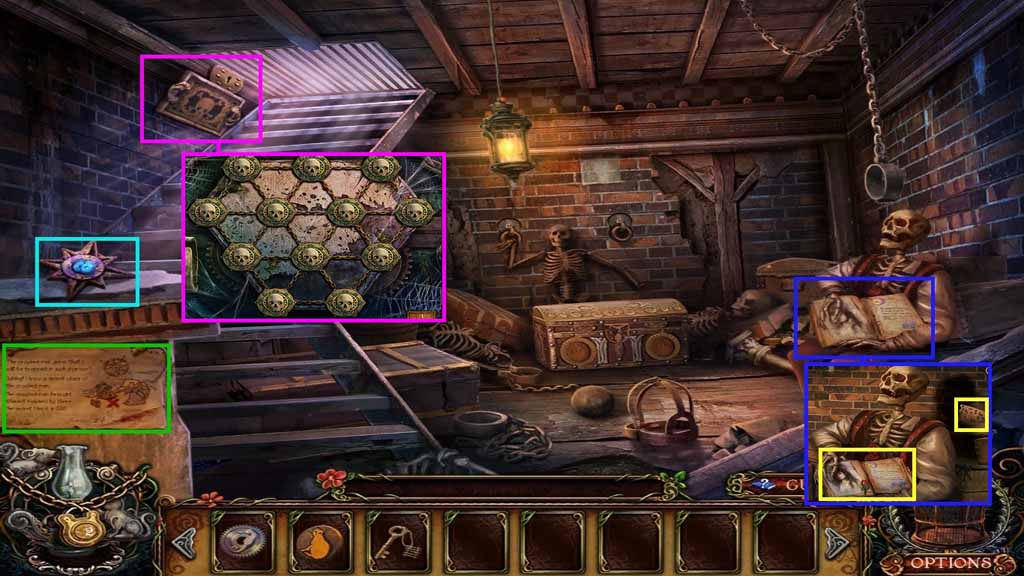
- Read the note.
- Collect the star ornament.
- Read the book and collect the cheese.
- Insert the prison key into the lock and click it.
- Click the coin to trigger a mini-game.
- Solve the game by flipping the coins so that all the coins will show the same faces.
- Move ahead.
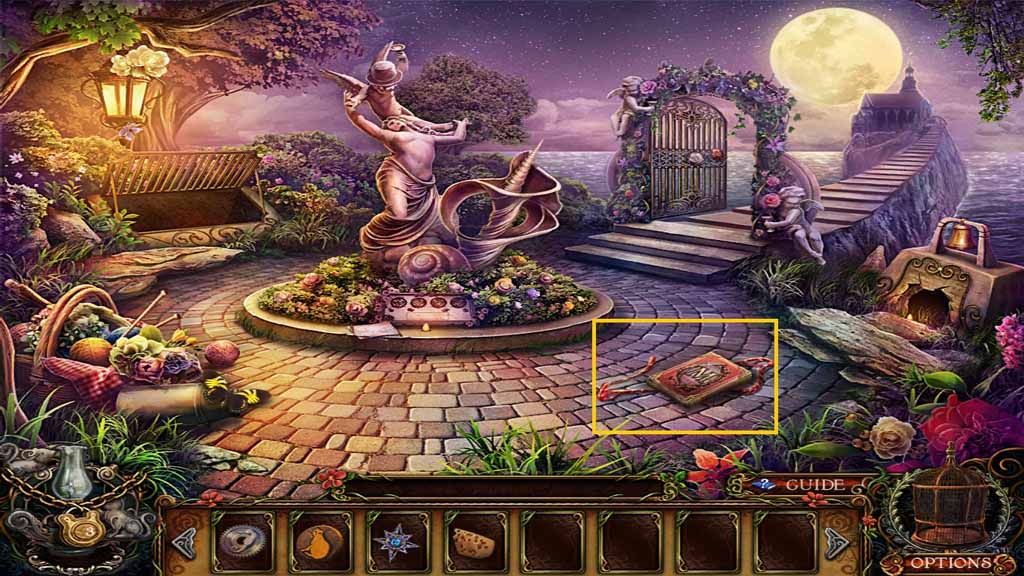
- Collect the map and Renee’s belt.
- Move down once.
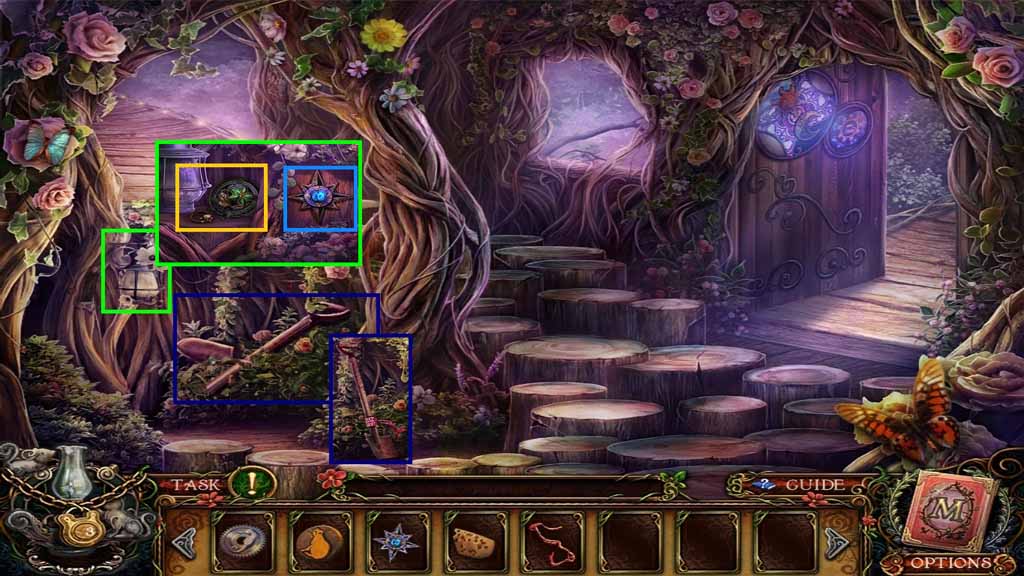
- Select Renee’s belt to fix the spade.
- Insert the star ornament into the groove.
- Collect the enamel lily and the skull seal ring.
- Move to the left.
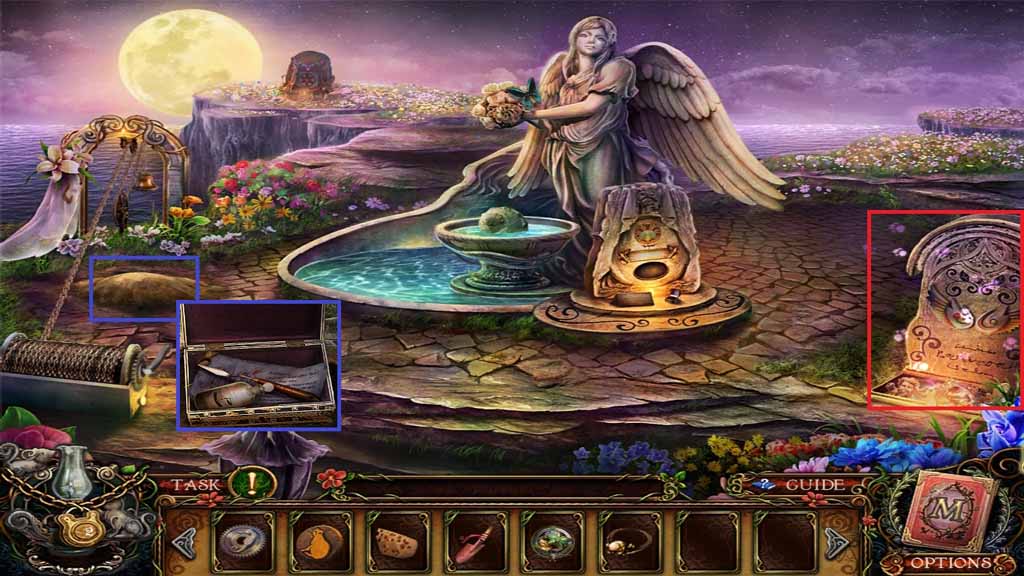
- Select the spade to dig the dirt.
- Insert the skull seal ring into the box top.
- Read the note and collect the strong acid and the painting knife.
- Click the monument to trigger a hidden objects area.
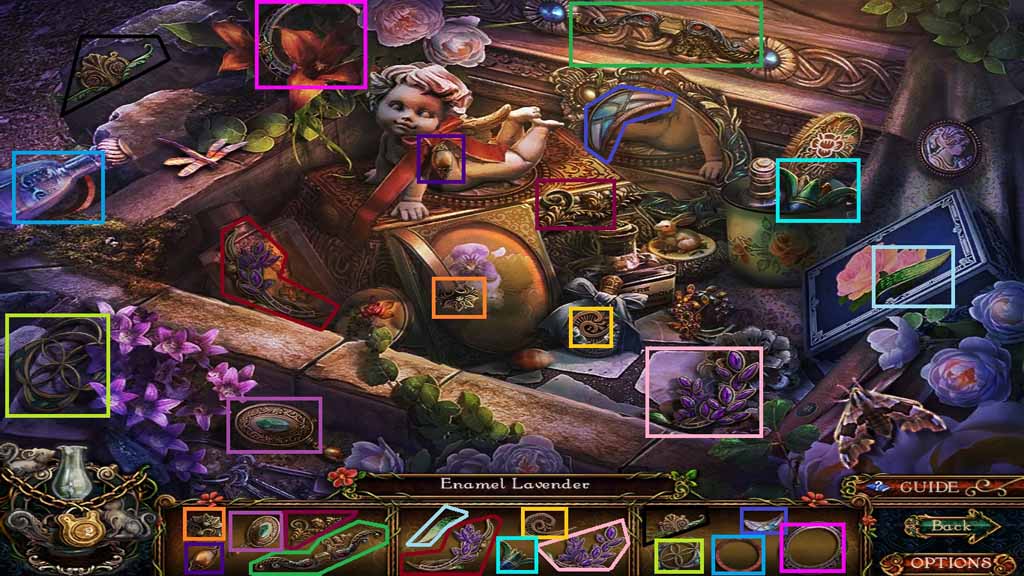
- Find the items shown.
- Collect the enamel lavender.
- Move down once and go to the right 2 times.
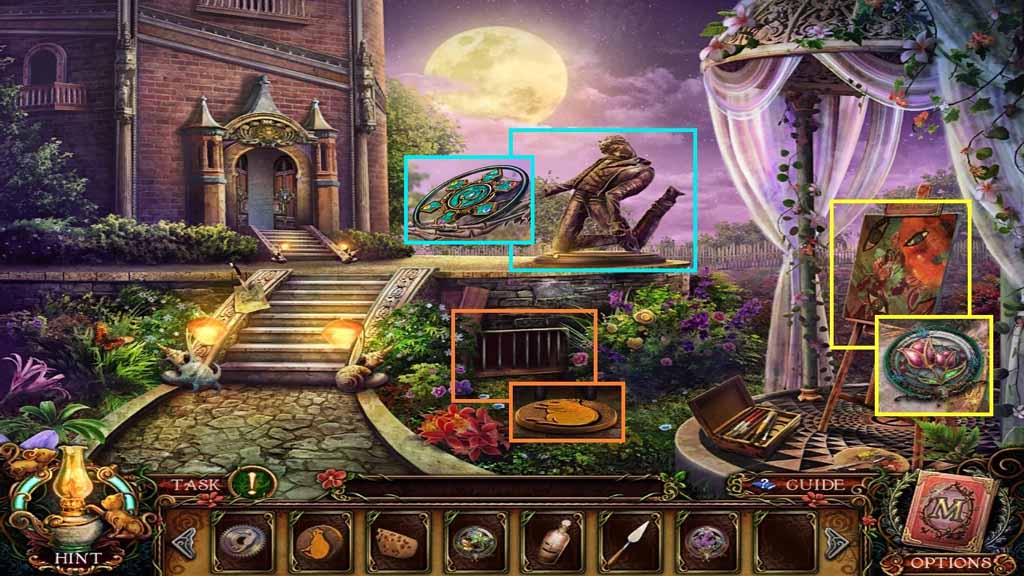
- Give the mouse the cheese.
- Collect the mouse token.
- Examine the drawing.
- Select the painting knife and use it to collect the enamel tulip.
- Select the strong acid and use it to collect the water emblem.
- Move down once and move into the Prison.
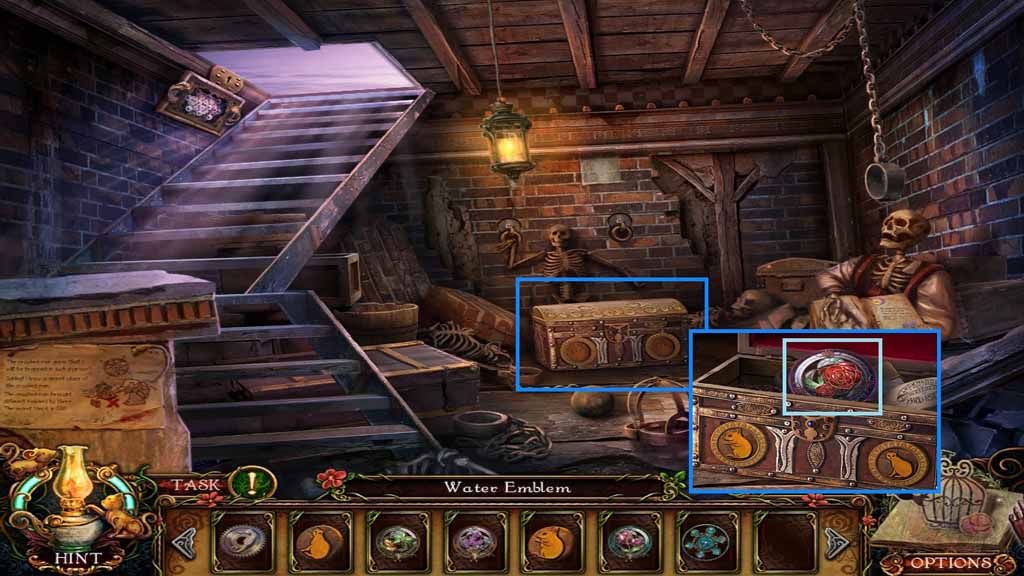
- Insert the cat and mouse tokens into the chest.
- Collect the enamel rose.
- Move ahead.
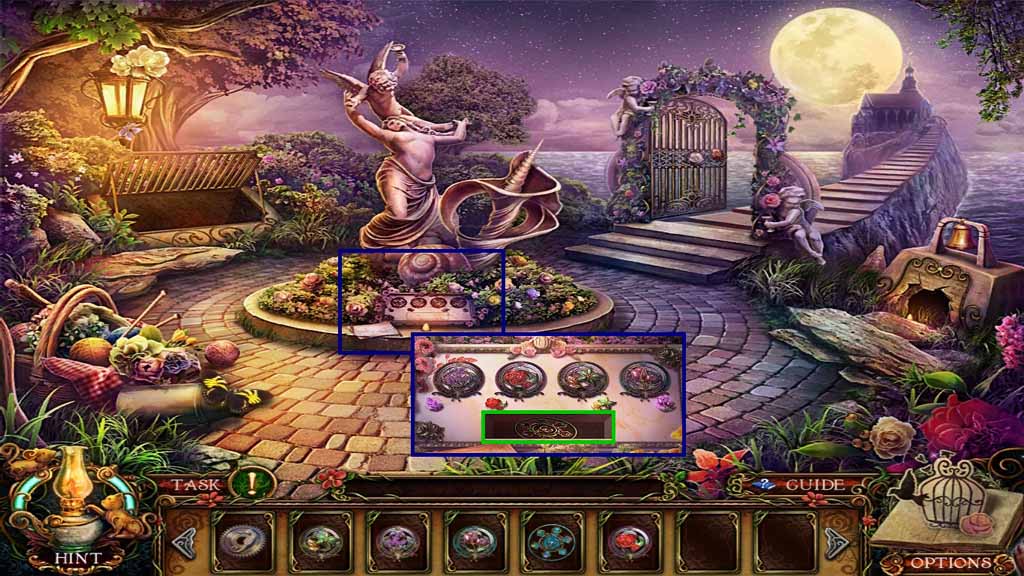
- Insert the enamel lily, lavender, tulip and rose into the plaque.
- Collect the sand emblem.
- Move down once and go left.
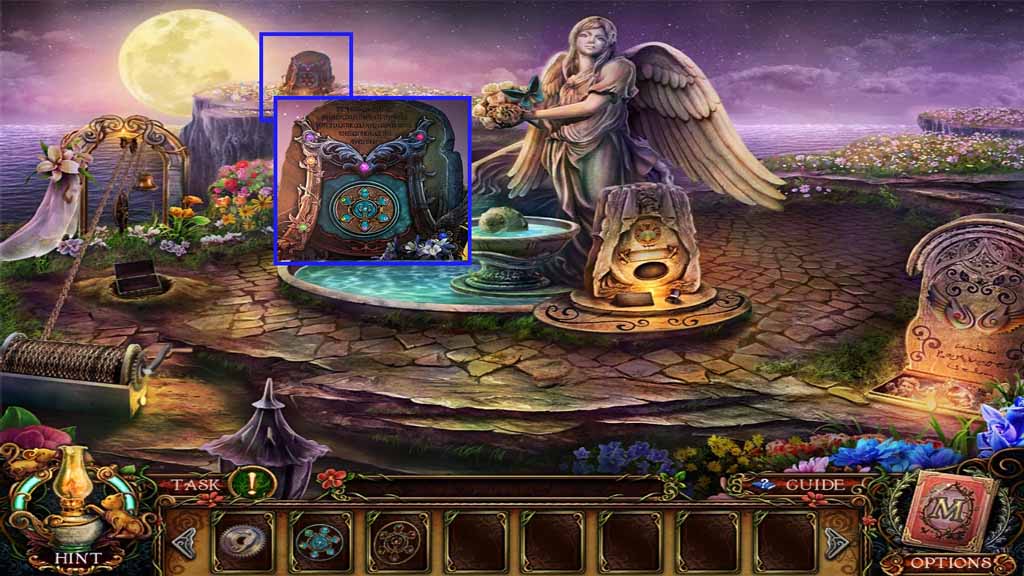
- Insert the water emblem into the monument.
- Move down 3 times and go to the right.
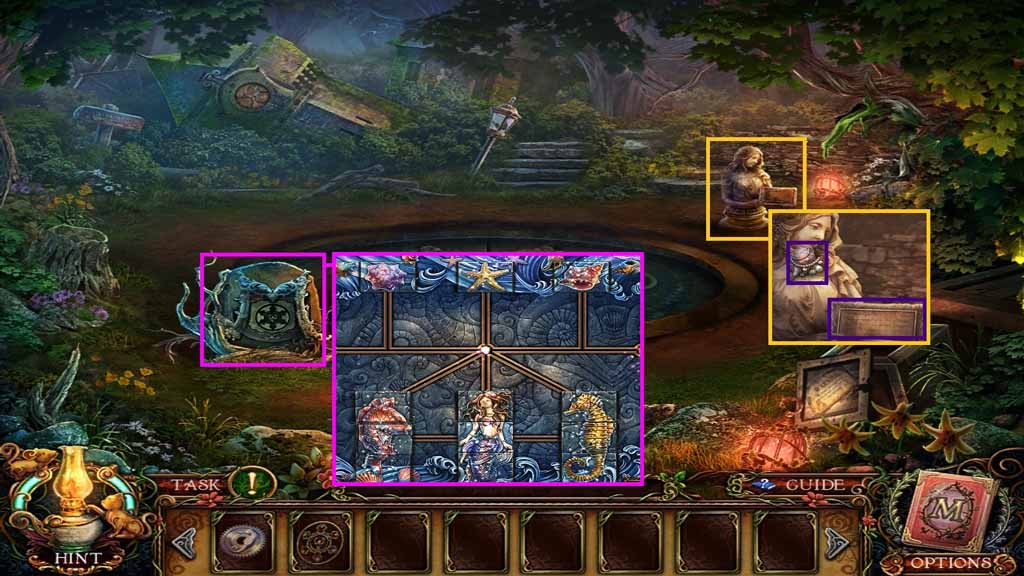
- Read the plaque and collect the shell ornament.
- Insert the sand emblem into the monument and click the mini-game that triggers.
- Solve the game by arranging the tiles into the correct locations.
- Move into the hole in the ground.
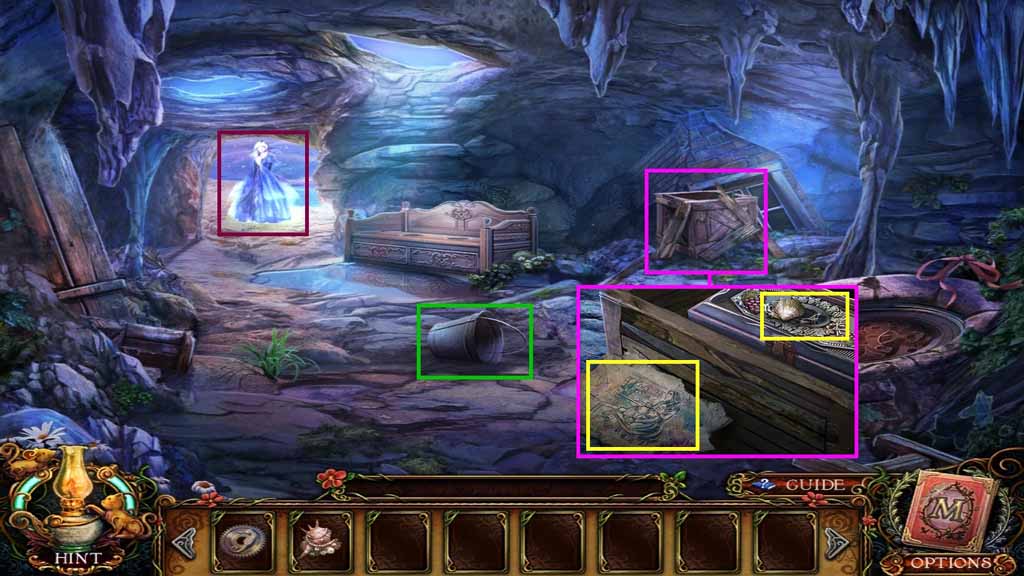
- Attempt to speak to the ghost.
- Collect the bucket.
- Examine the drawing and collect the coral crown.
- Move ahead.
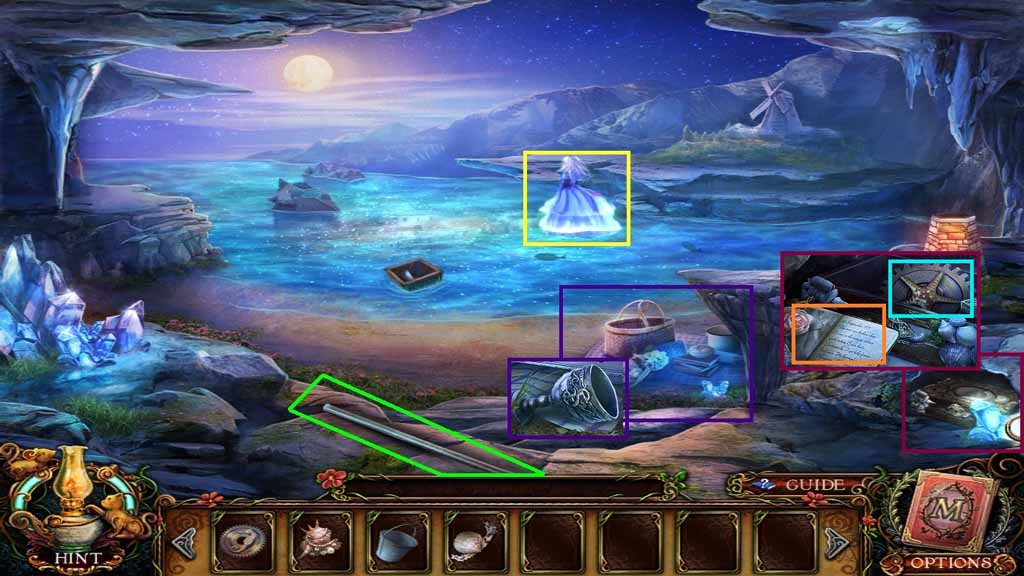
- Attempt to speak to the ghost.
- Collect the iron bar.
- Collect the silver goblet.
- Place the shell ornament onto the box.
- Collect the starfish gear and read the diary.
- Move down once.
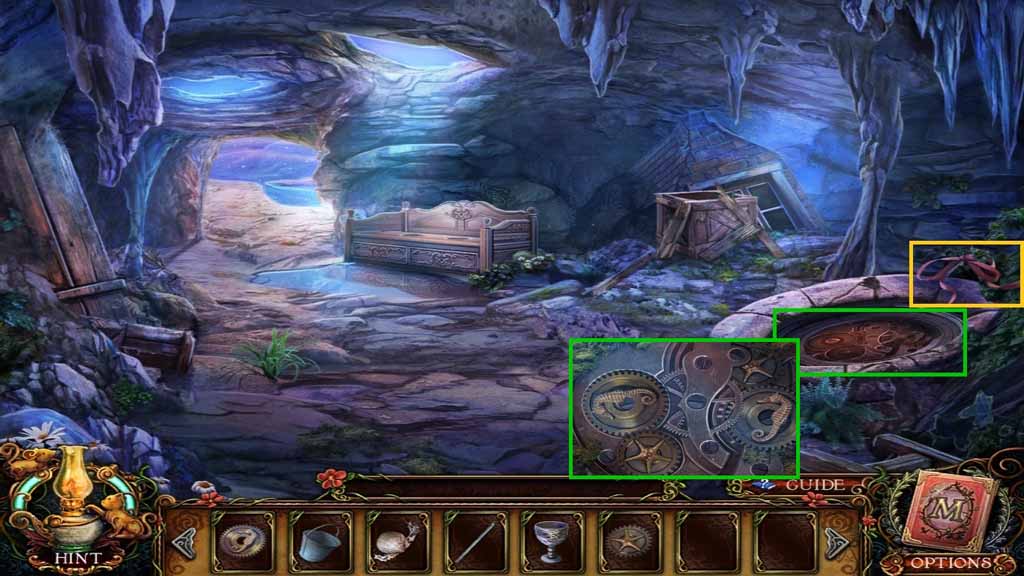
- Examine the ribbon.
- Insert the seahorse and the starfish gears into the mechanism.
- Move into the hatch.
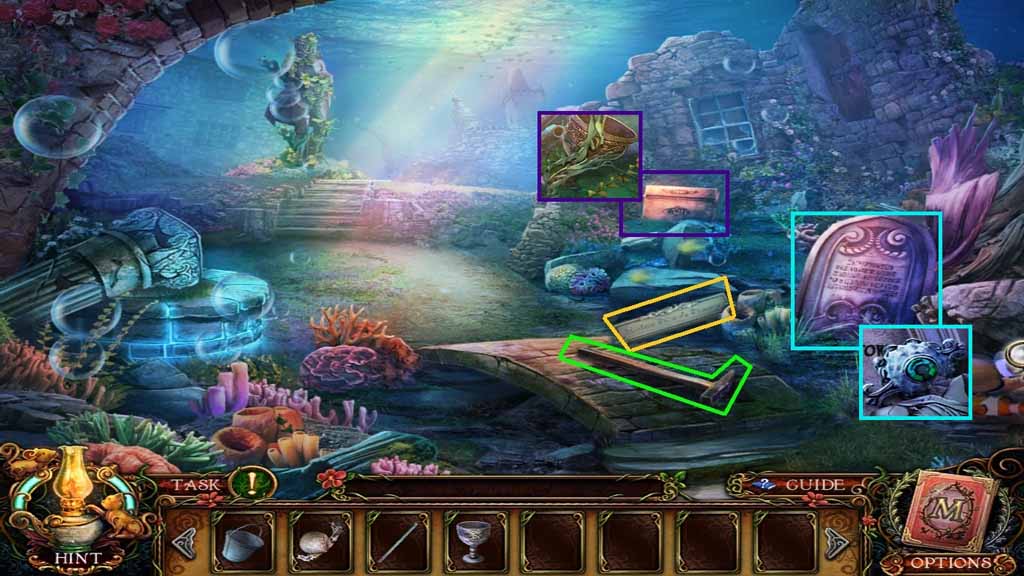
- Collect the shop sign and the hammer.
- Collect the coral brooch.
- Collect the golden goblet.
- Move down once.
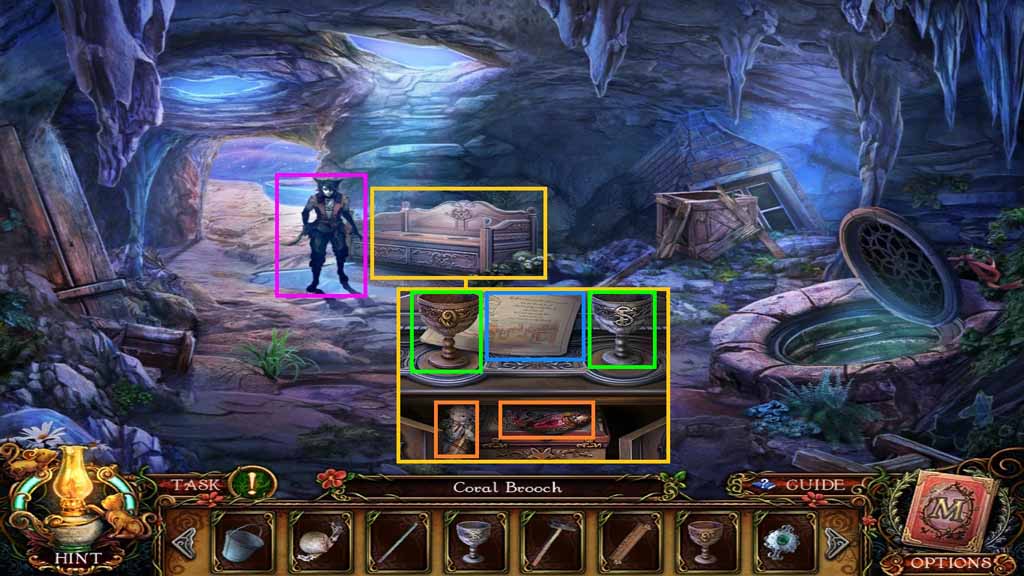
- Speak to the Crooked Cat.
- Read the note.
- Place the golden and silver goblets onto the chest.
- Collect the cello sheep figurine and the garnet fish pendant.
- Move ahead.
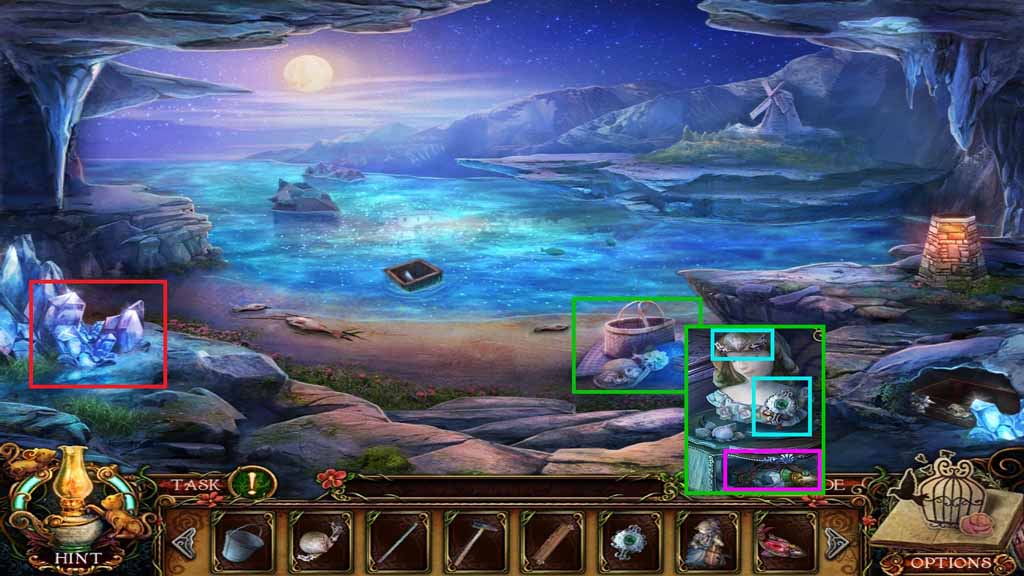
- Place the coral crown and brooch onto the bust.
- Collect the beryl fish pendant and read the diary beneath it.
- Select the hammer to smash the crystal.
- Click the broken crystal to trigger a hidden objects area.
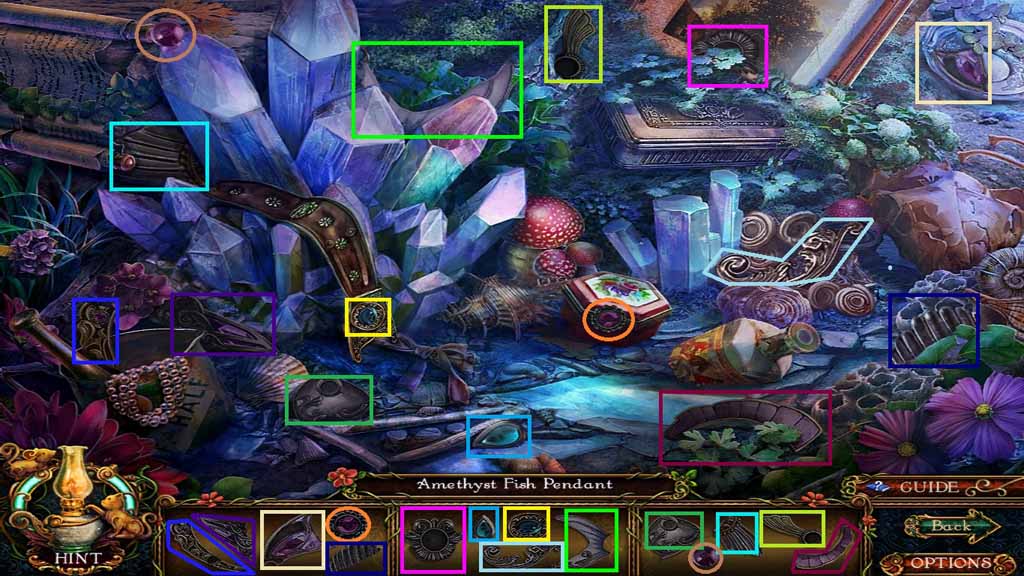
- Find the items shown.
- Collect the amethyst fish pendant.
- Move down once and move into the hatch.
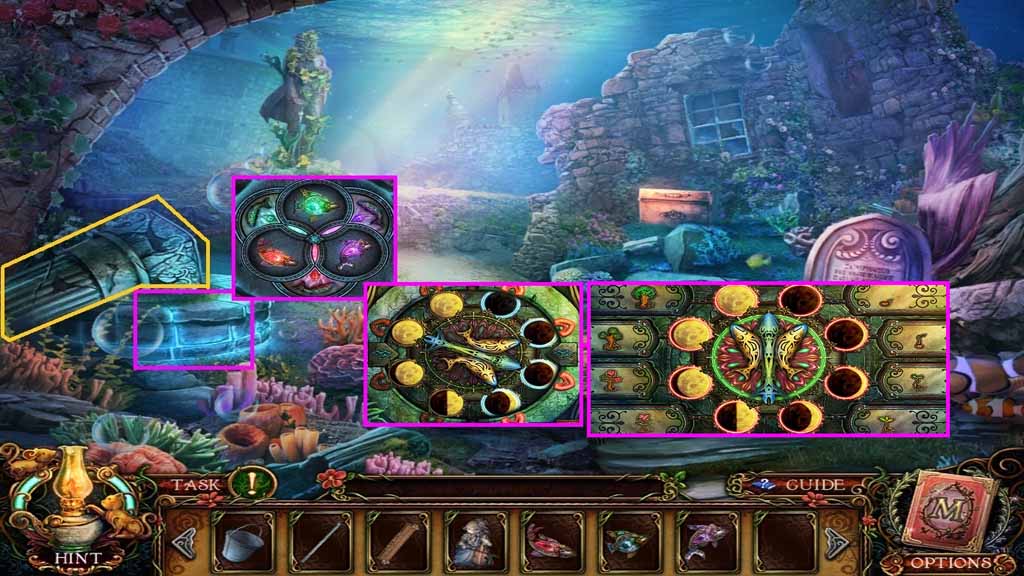
- Select the iron bar and use it on the pillar.
- Insert the amethyst, beryl and garnet fish pendants onto the cover.
- A mini-game will trigger.
- Solve the game by placing the moons in order, and then place the plant tiles in order matching the moons.
- Move into the well.
Comments will load when you reach this part of the walkthrough.