

Chapter Five: Explore Morgana’s House
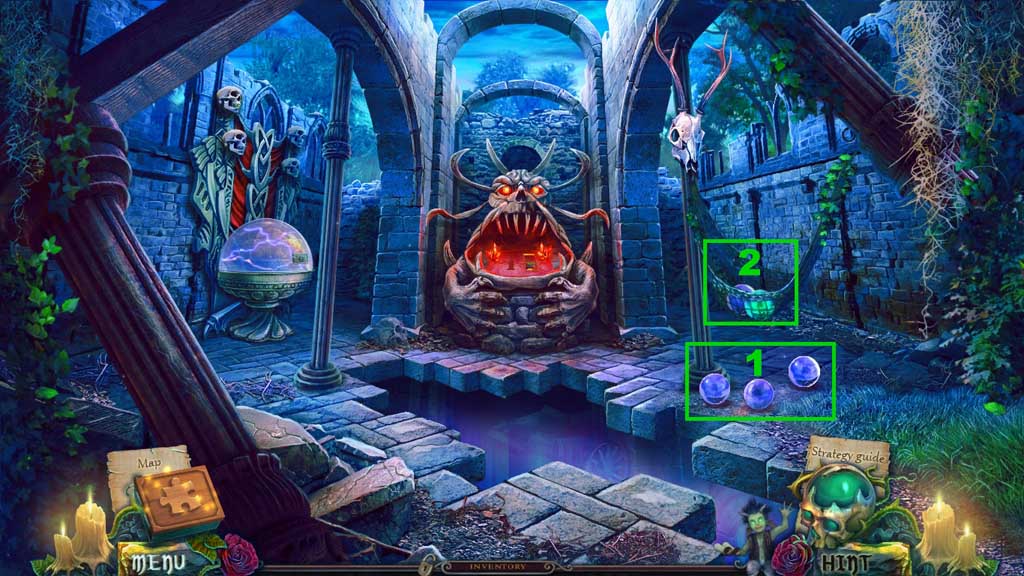
- Place the 3 balls into the sling.
- Collect the deer horns.
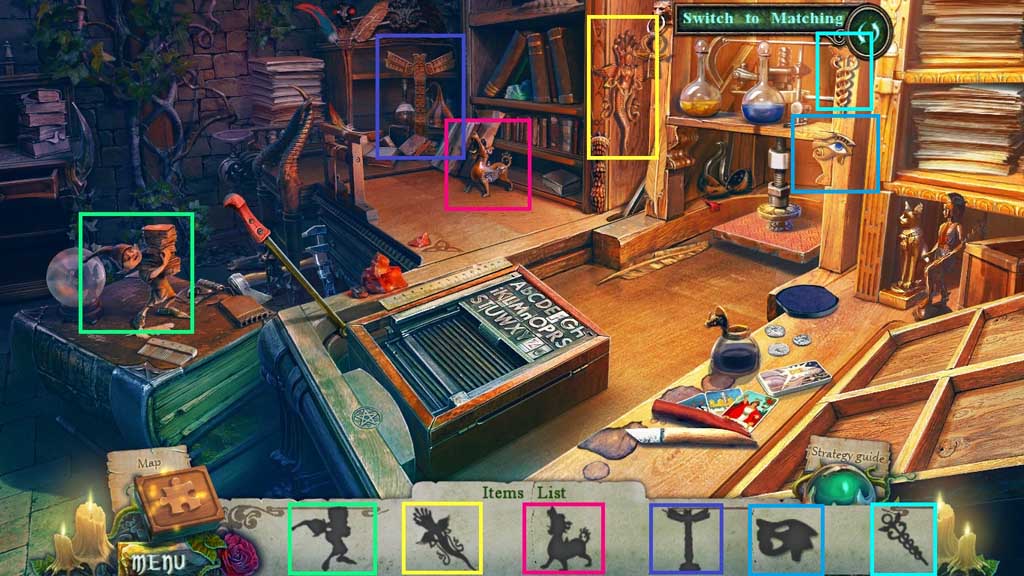
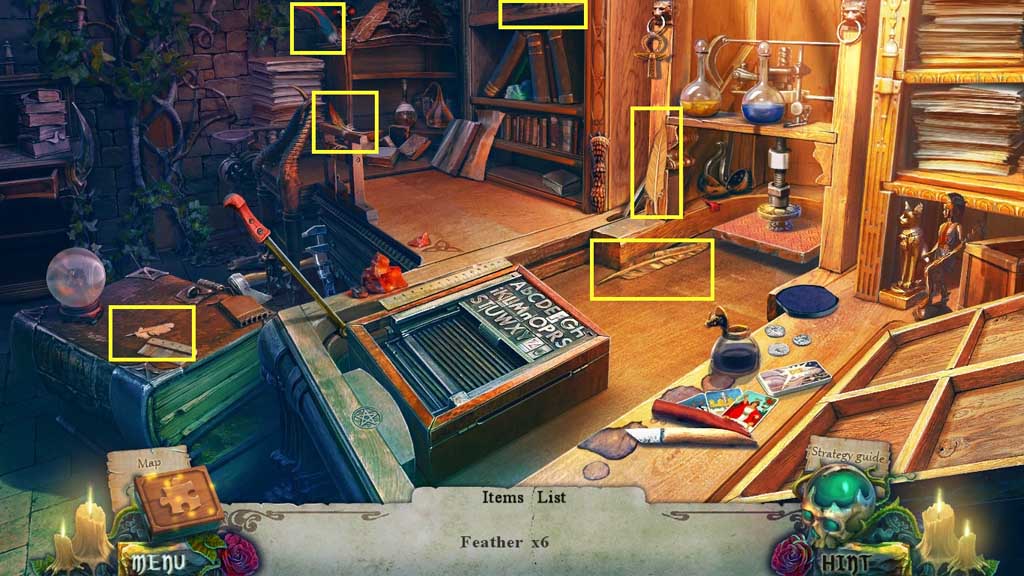
- Move down once and click the hidden objects area.
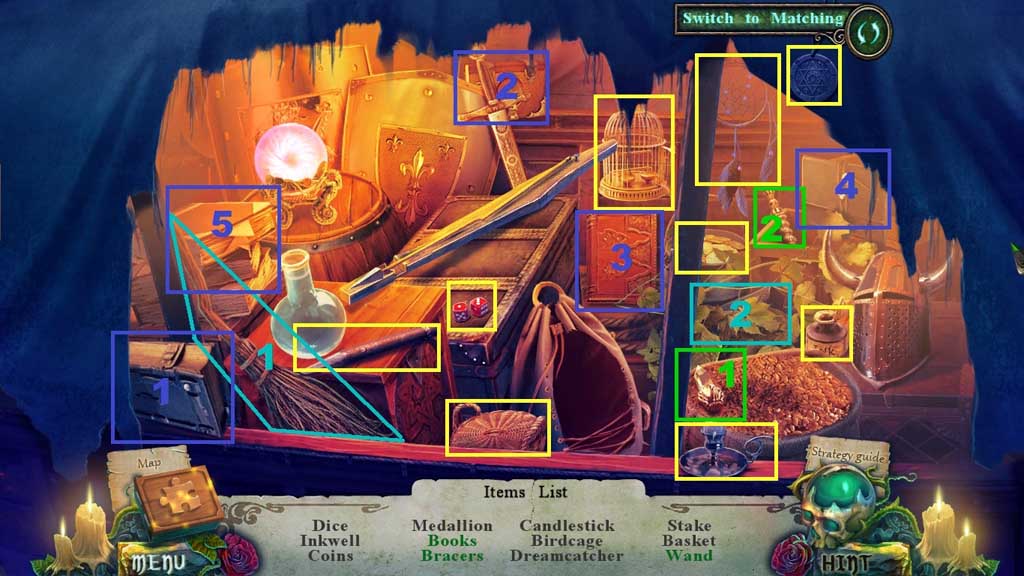
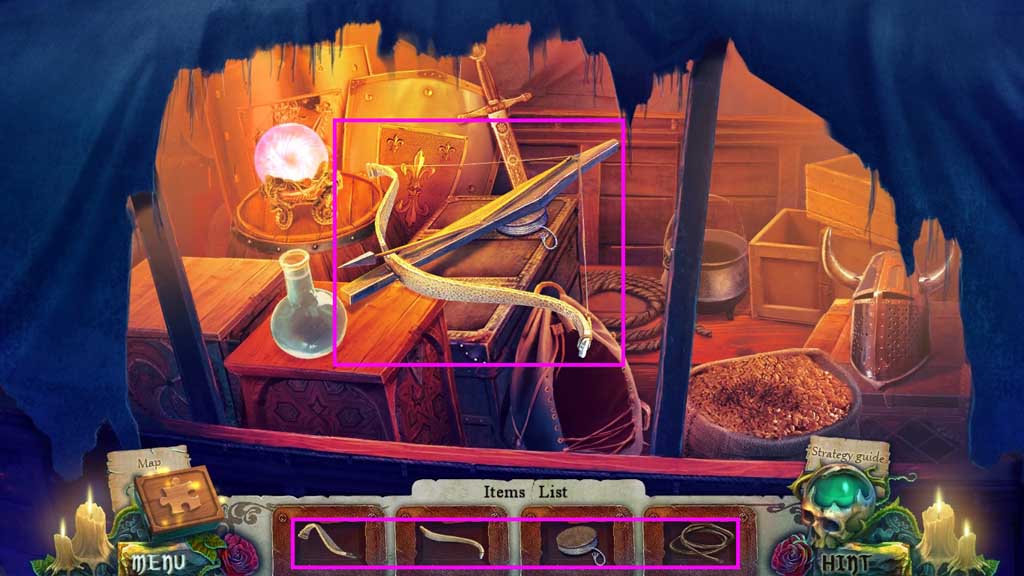
- Find the items.
- Collect the crossbow.
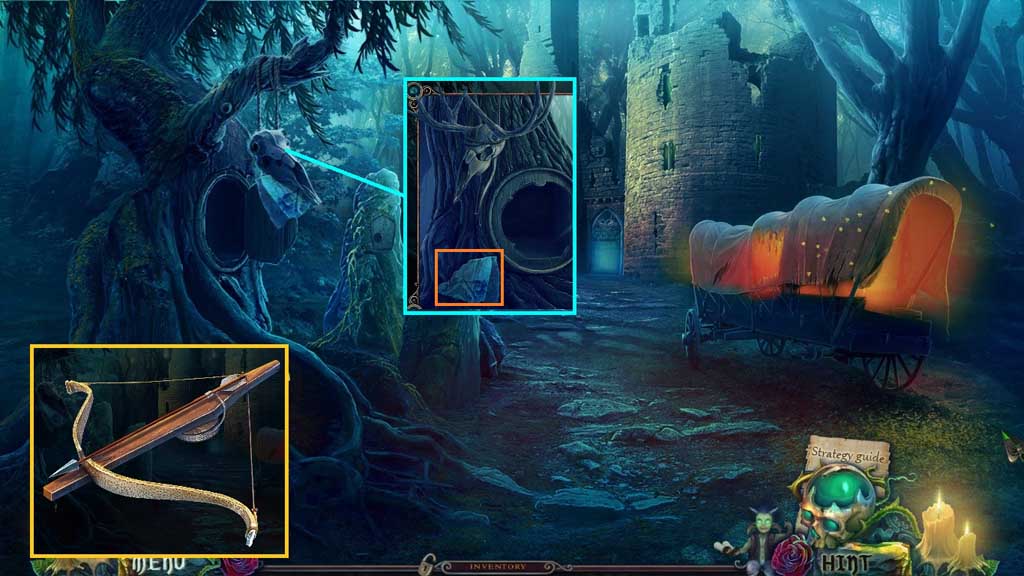
- Place the arrows into the crossbow.
- Attach the deer horns.
- Collect the rock top.
- Move ahead.
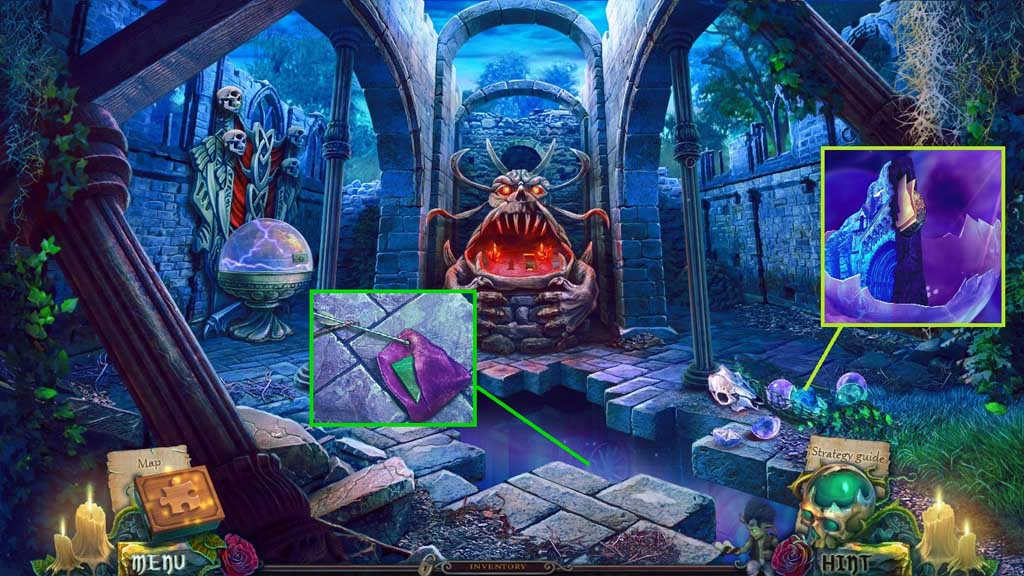
- Attach the rock top; collect the artifact and the figurine.
- Select the crossbow and arrows to retrieve the sack.
- Select the stone to slice the sack; collect the triangle tangram.
- Move down once.
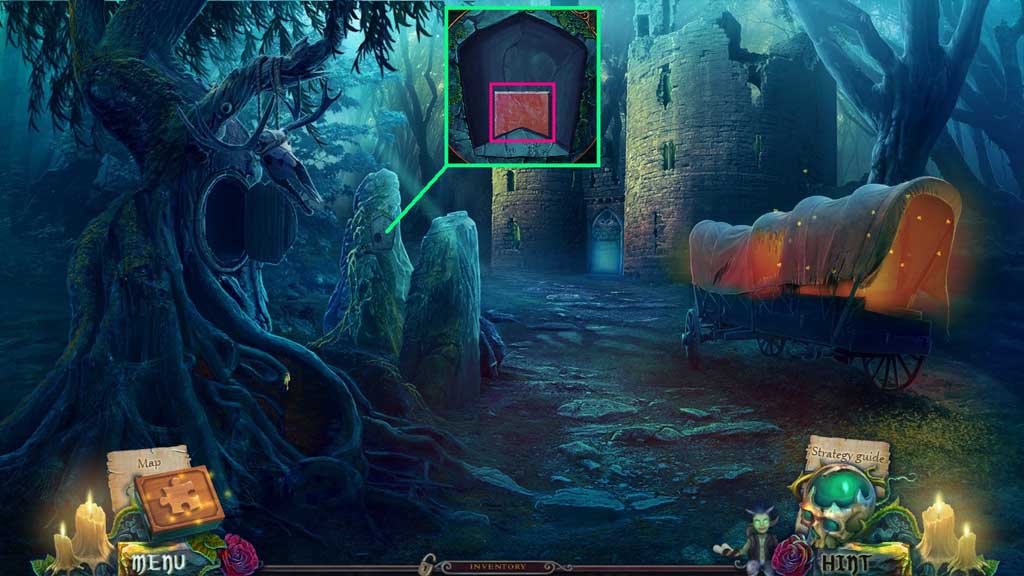
- Place the artifact figurine.
- Collect the square tangram.
- Move ahead.
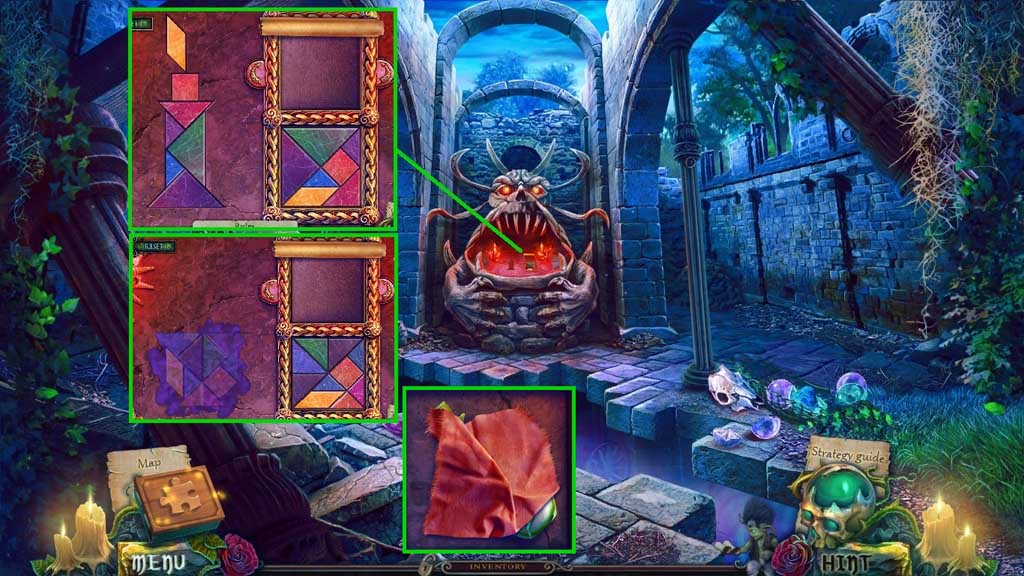
- Click the creature’s mouth and insert the triangle and square tangrams to trigger a mini game.
- Solve the game by using the shapes to create the symbols.
- Collect the shawl and the vial.
- Move down once.
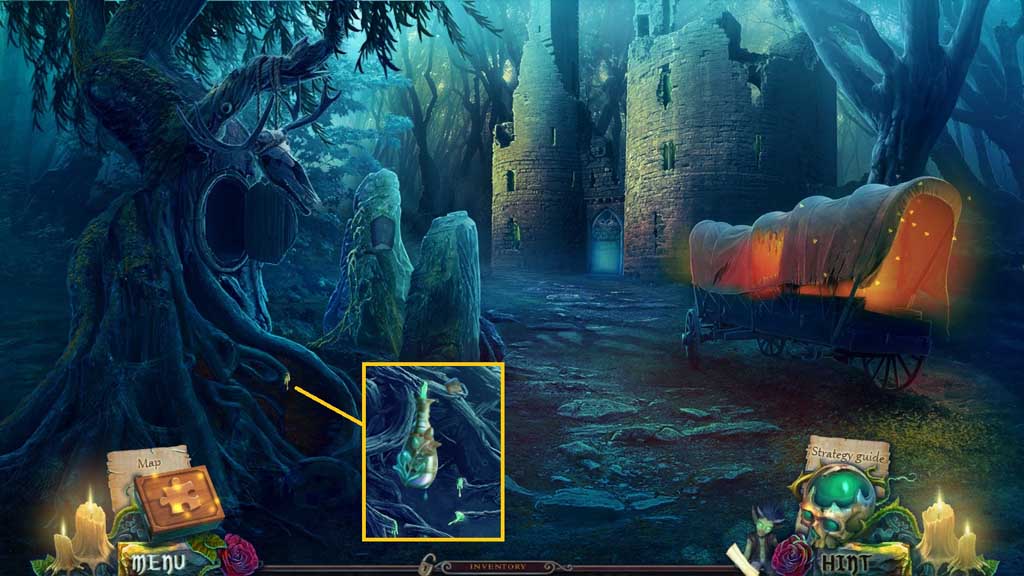
- Collect the willow sap using the vial.
- Move down once and to the right; click the hidden objects area.
<img alt="Panel" src="/cdn-images/games/ck_images/images/Witches-Legacy-Slumbering-Darkness/Chapter-5-09-Panel.jpg" panel"="" data-cke-saved-src="/cdn-images/games/ck_images/images/Witches-Legacy-Slumbering-Darkness/Chapter-5-09-Panel.jpg" style="width: 600px; height: 338px;">
- Click the panel.
- Pour the willow sap; collect 2 /7 keys and the graphite.
- Move down once and ahead 2x’s.
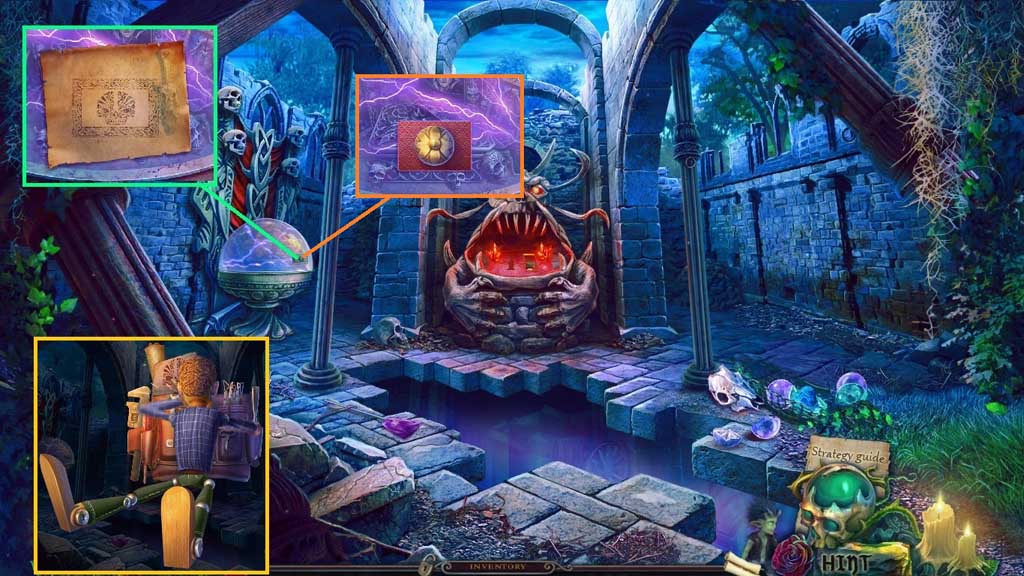
- Select the parchment and the graphite and use them to create the key.
- Select the key and place it along with Master Edward and the press.
- Insert the key.
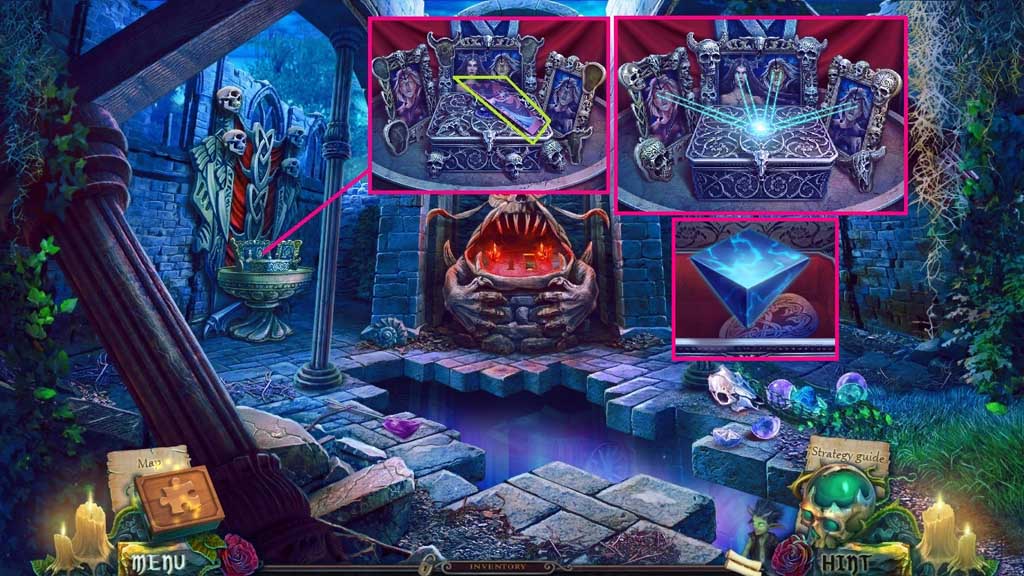
- Collect the 1st queen’s mural piece.
- Place the skulls correctly into the frames.
- Collect 3 /7 keys and the monster’s tongue.
- Move down 2x’s.
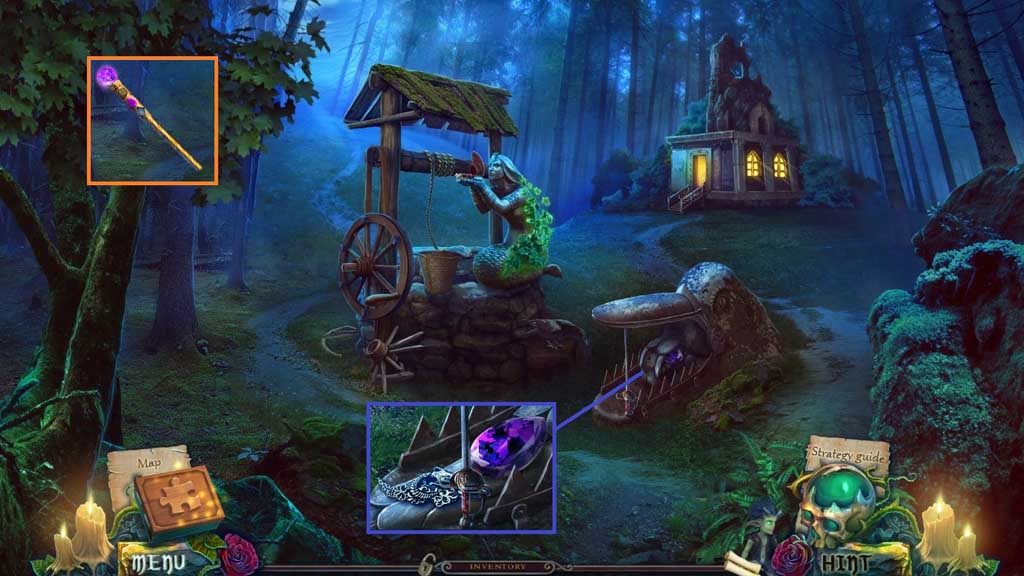
- Insert the monster’s tongue.
- Collect the lilac nugget and the necklace part and attach them onto the dead staff.
- Move down once.
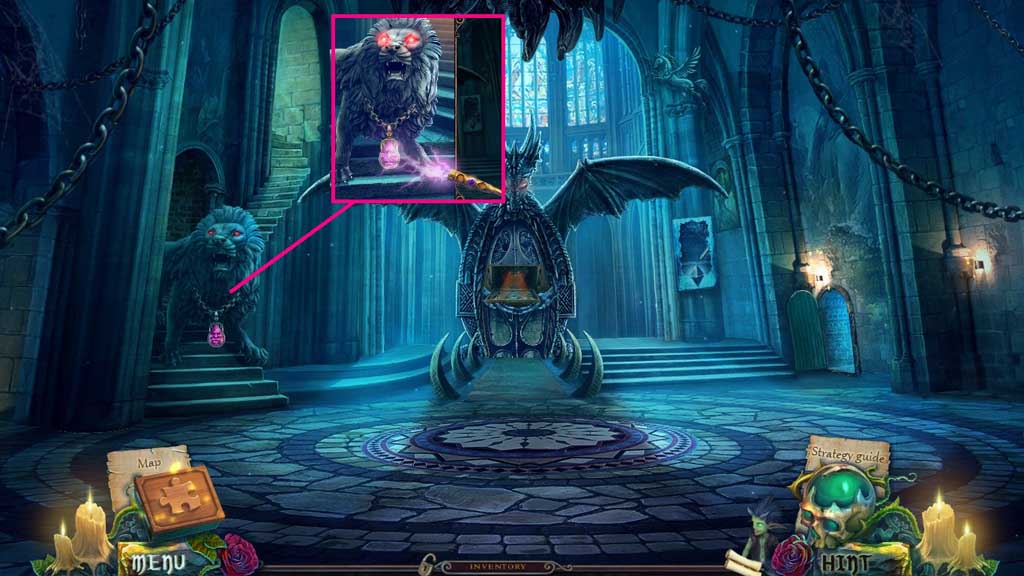
- Select the magic staff to use on the lion.
- Move to the left.
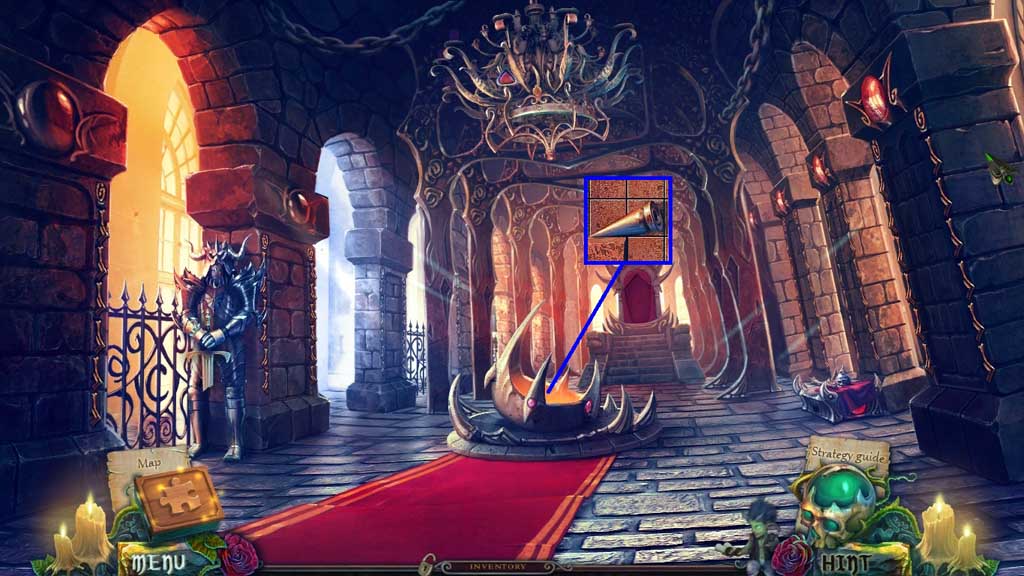
- Collect the spikes.
- Move to the left.
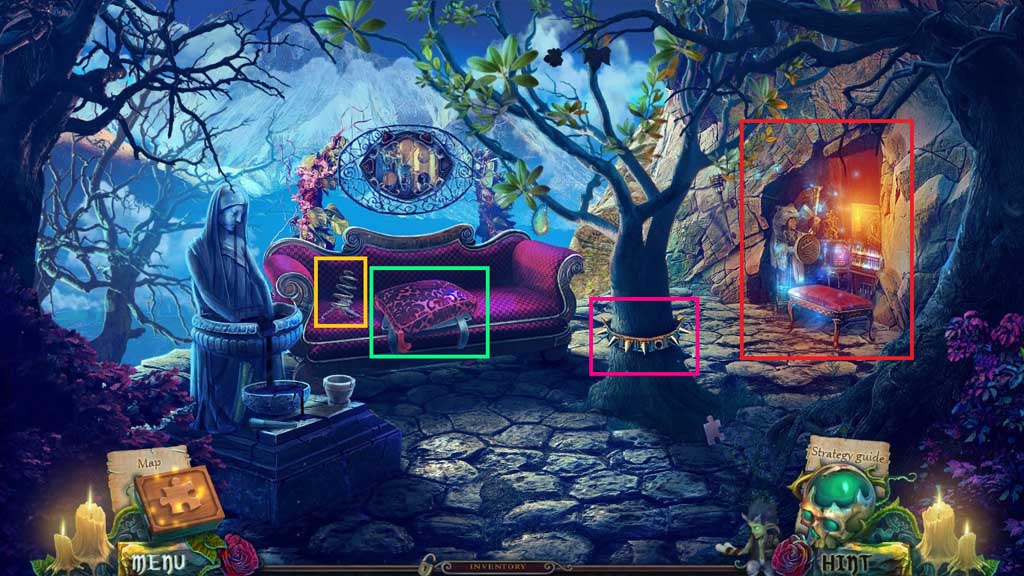
- Collect the spring and click the pillow.
- Attach the spikes.
- Collect the bracelet with spikes.
- Click the hidden objects area.
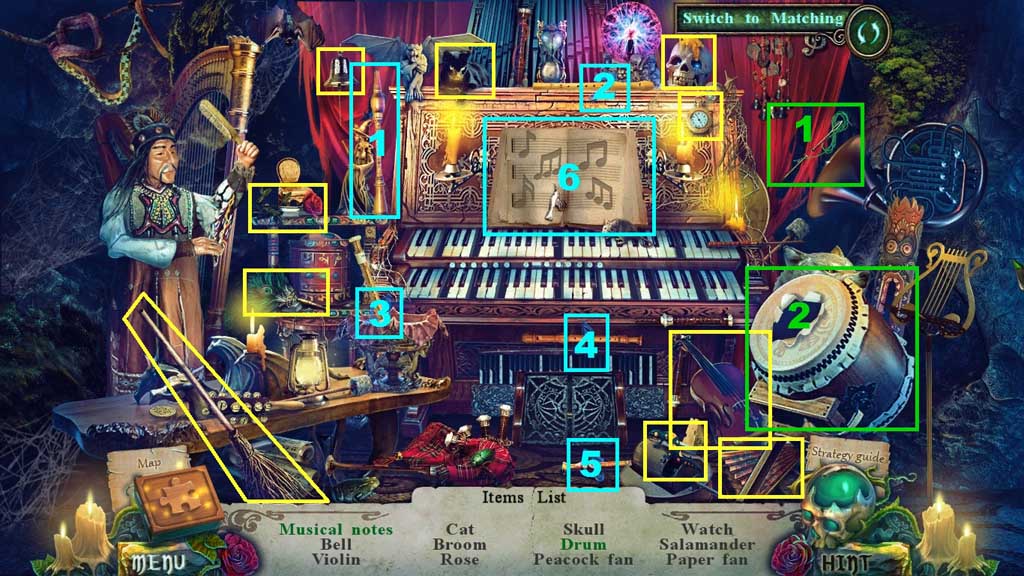
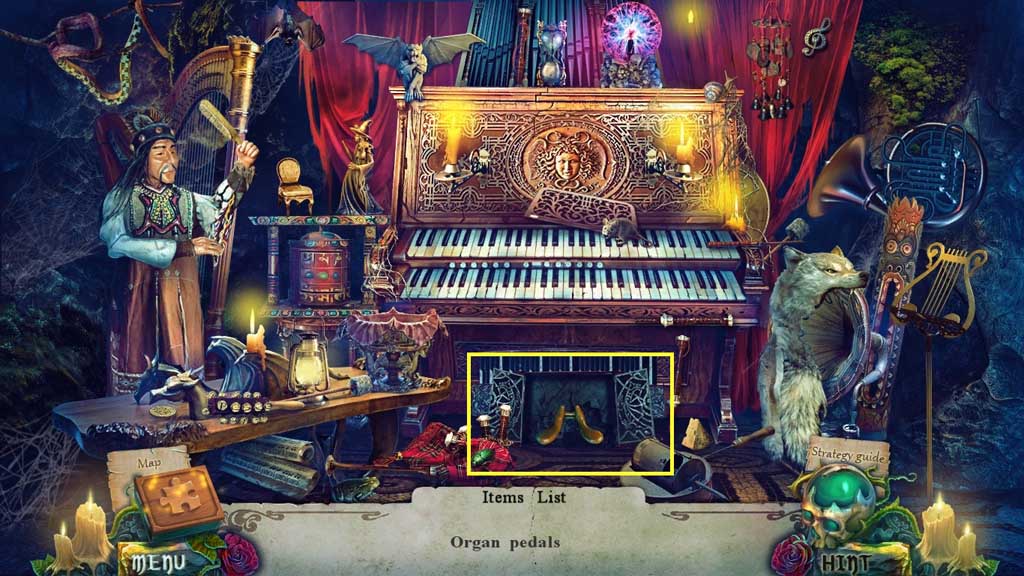
- Find the items.
- Collect the organ pedal.
- Move down once.
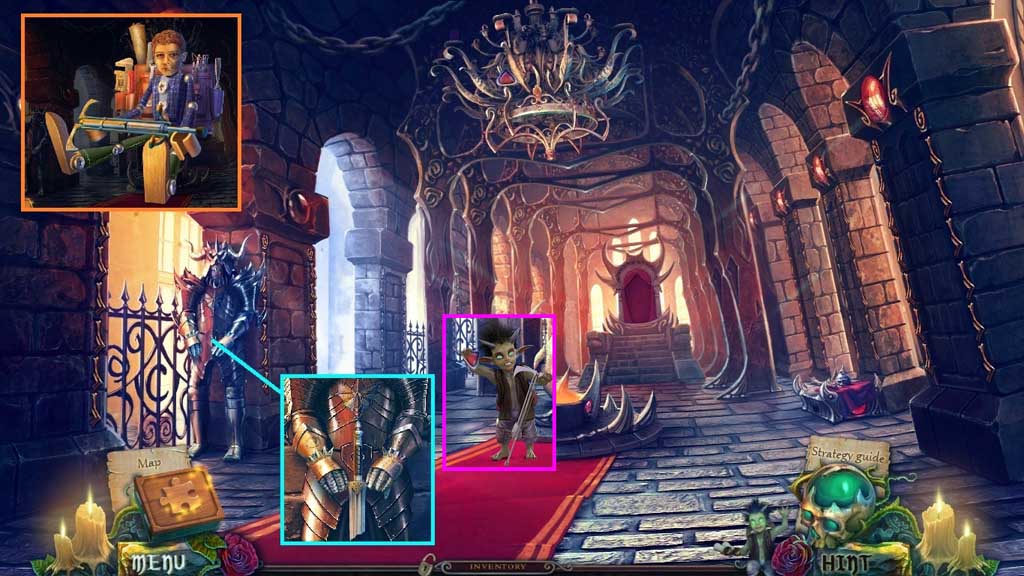
- Place the bracelet with spikes.
- Collect the broken sword.
- Select Master Edward, the spring, the organ pedal and the broken stick and combine them.
- Select the imp and the pogo stick to collect the red arrow button.
- Move to the left.
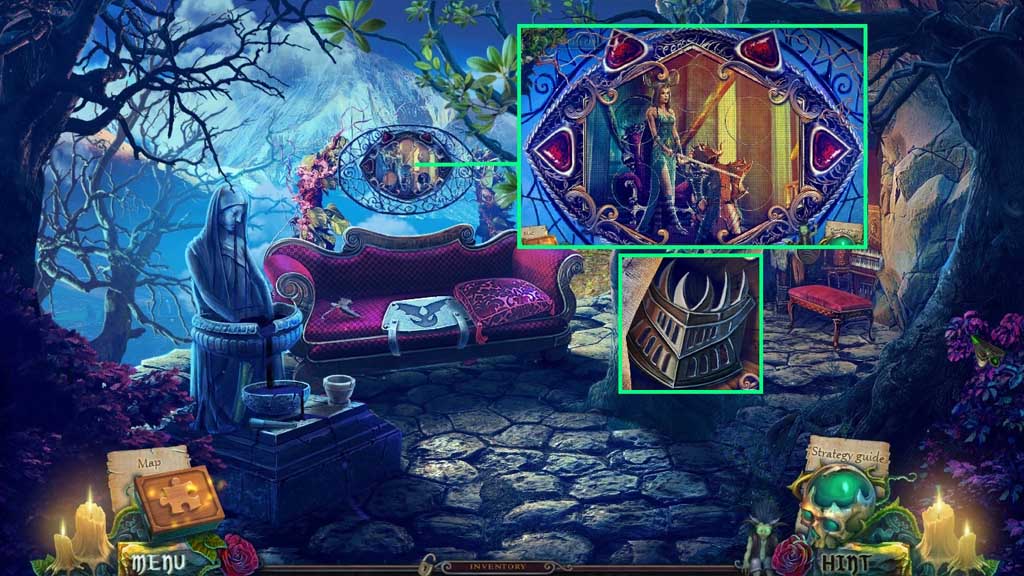
- Click the picture to trigger a mini game.
- Solve the game by arranging the circles correctly to complete the image.
- Collect the visor.
- Move down once.
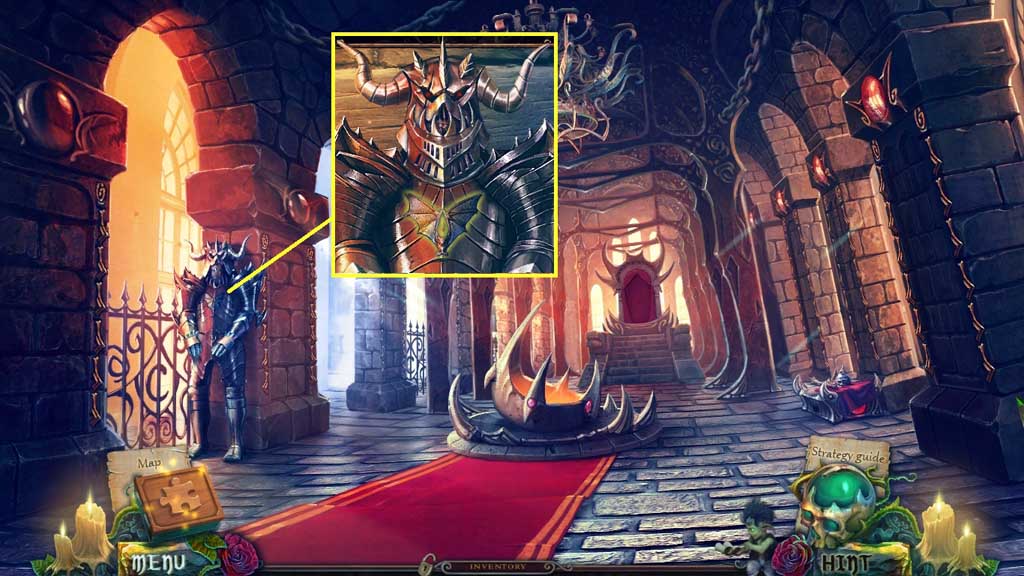
- Attach the visor.
- Collect the metal bat.
- Move to the left.
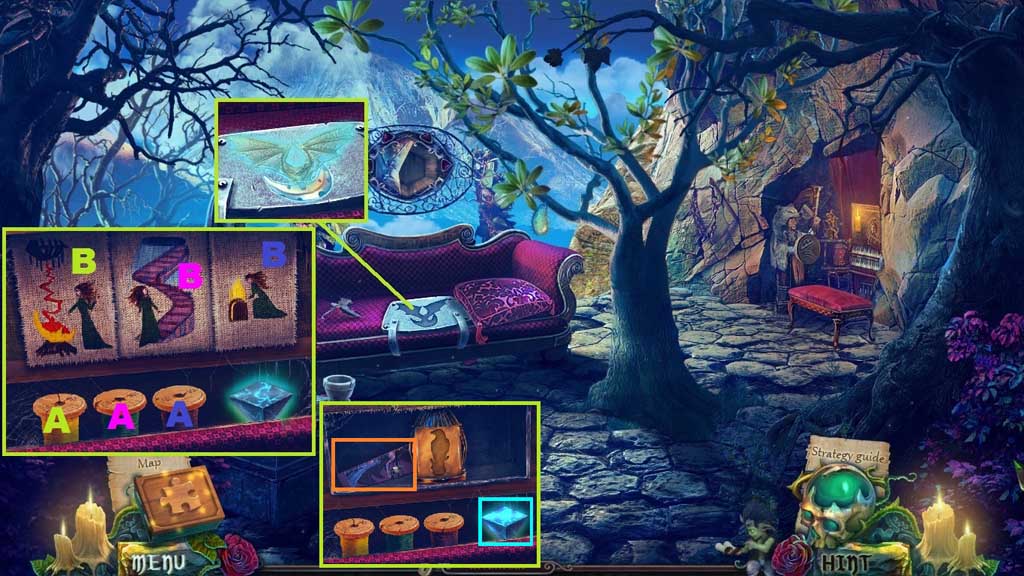
- Place the metal bat and the metal moon; collect 4/7 keys.
- Select the thread to complete the image.
- Collect the 2nd queen’s mural piece.
- Move own once.
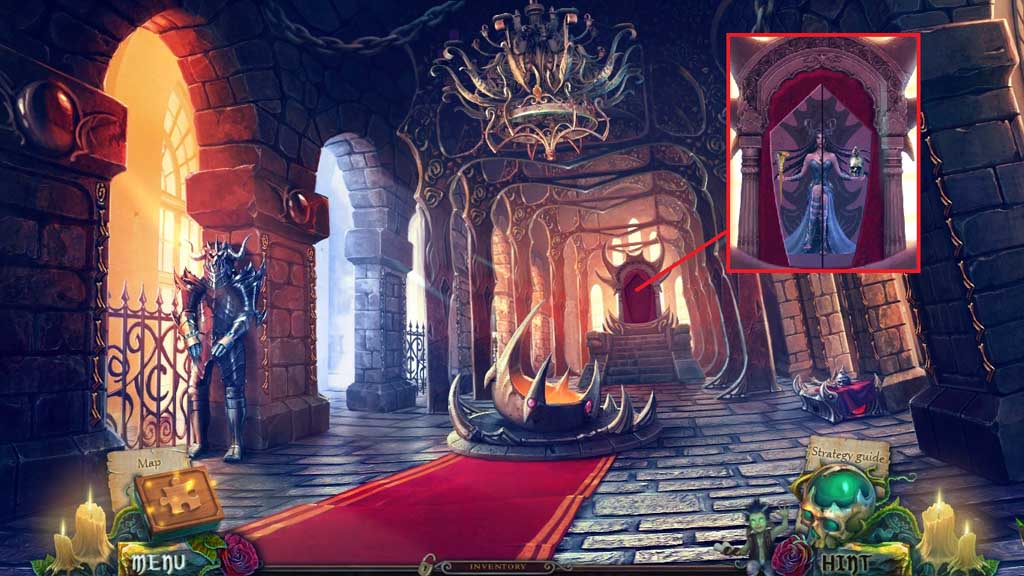
- Insert the 2 mural pieces to trigger a hidden objects area.
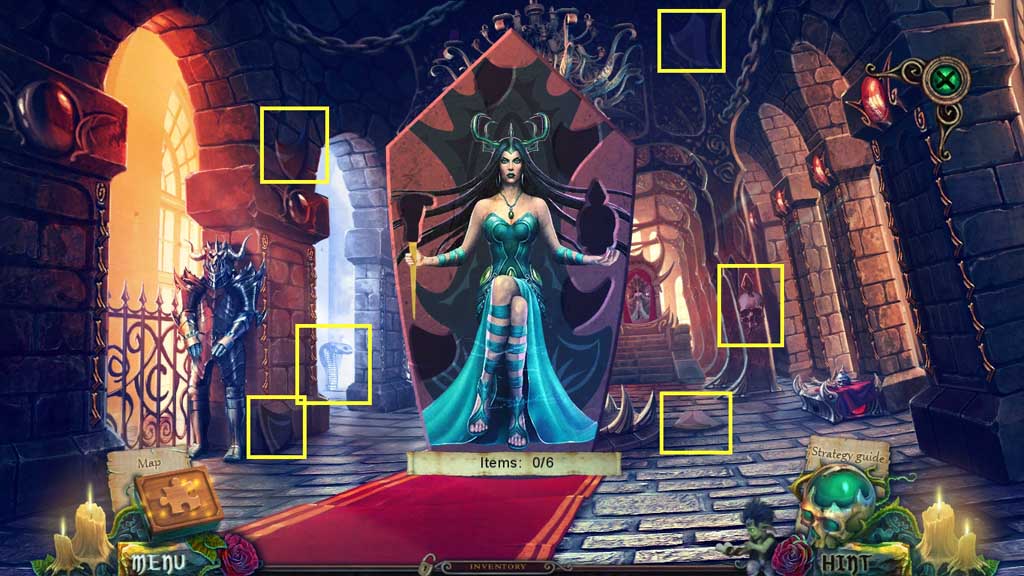
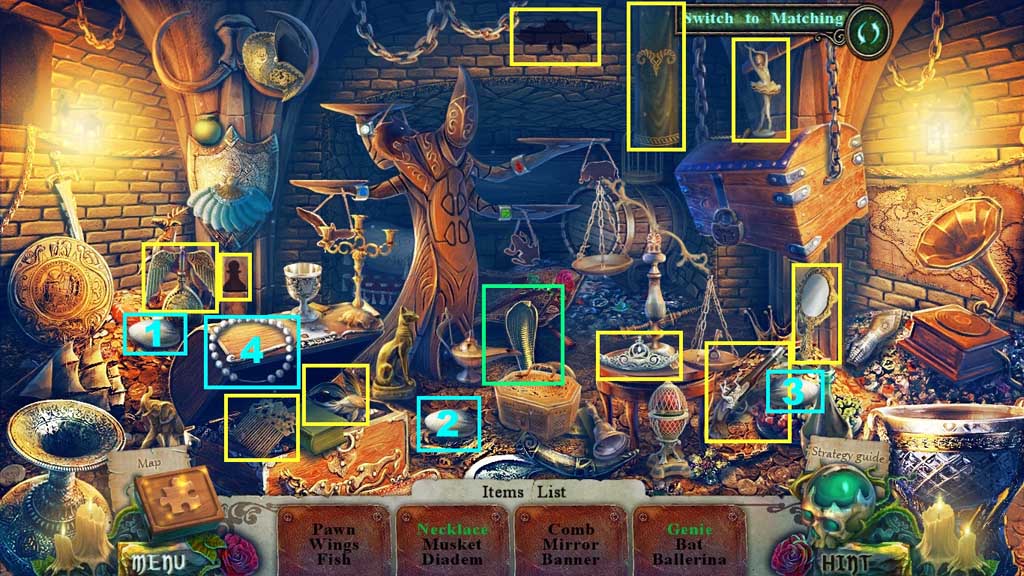
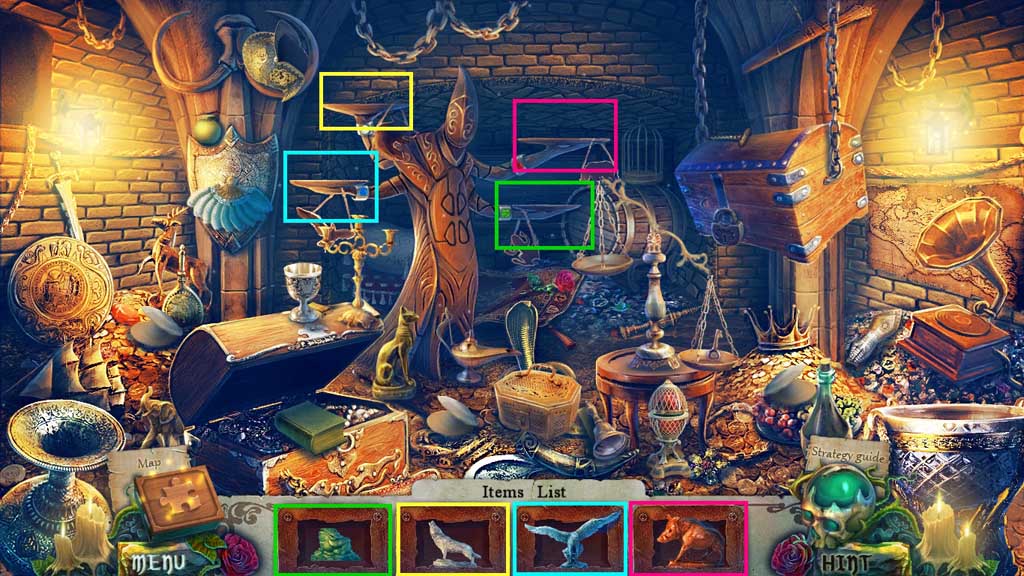
- Find the items.
- Collect Morgana’s brooch.
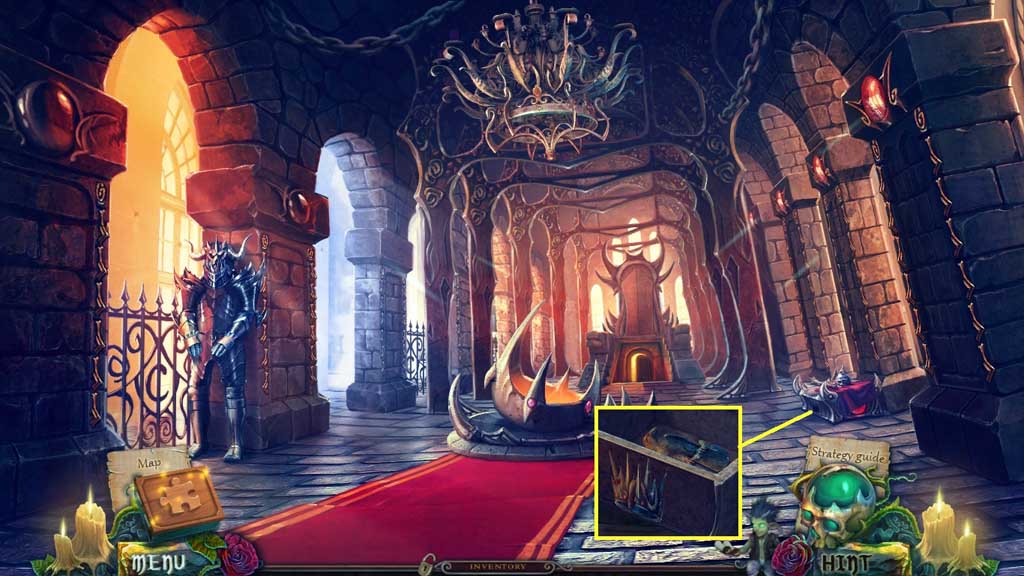
- Insert Morgana’s brooch.
- Collect the steel raven.
- Move to the left.
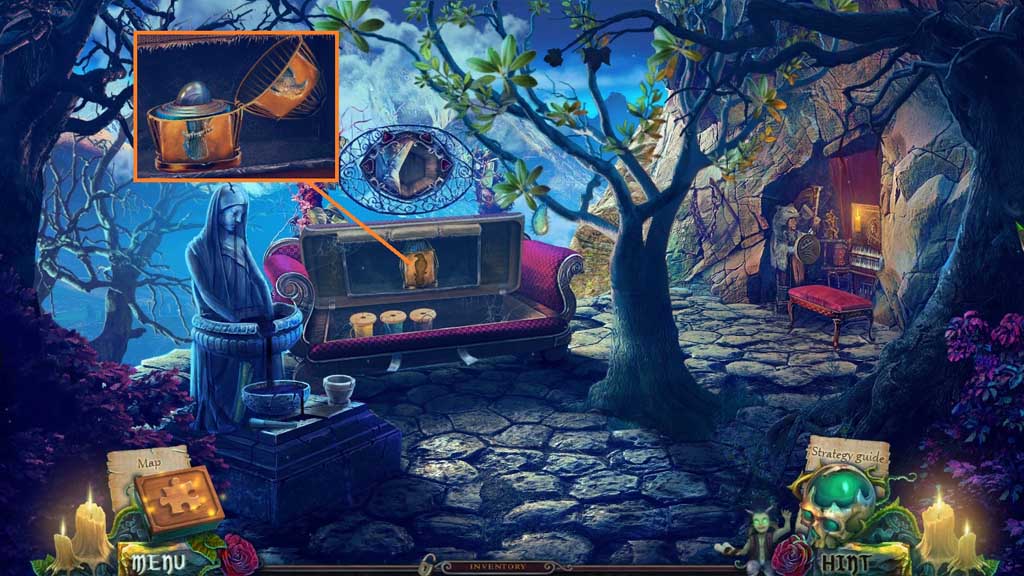
- Insert the steel raven.
- Click the dolls; collect the moonstone.
- Move down once.
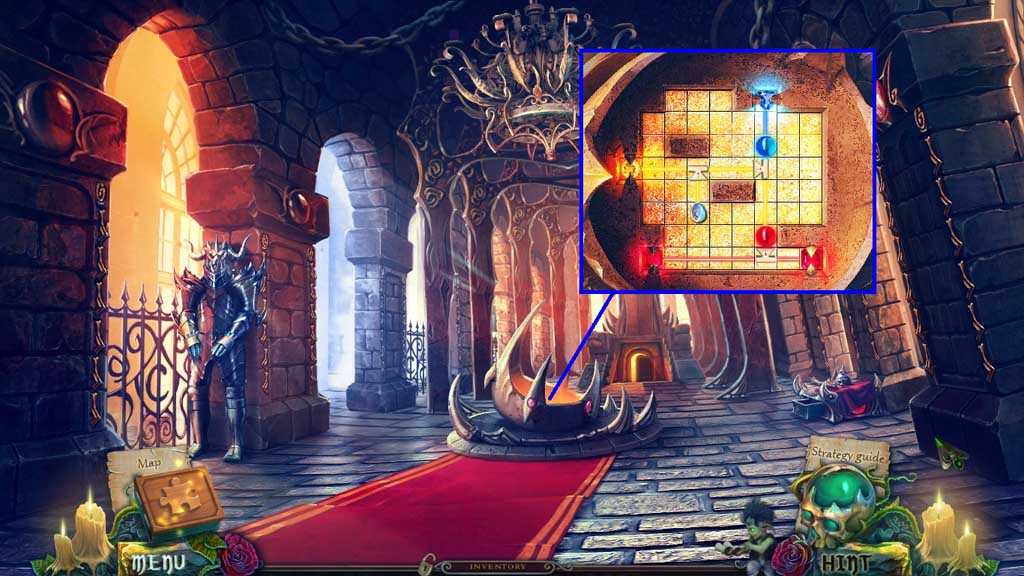
- Insert the moonstone to trigger a mini game.
- Solve the game by illuminating all of the gems.
- Move up the ladder.
Comments will load when you reach this part of the walkthrough.