Bonus Game
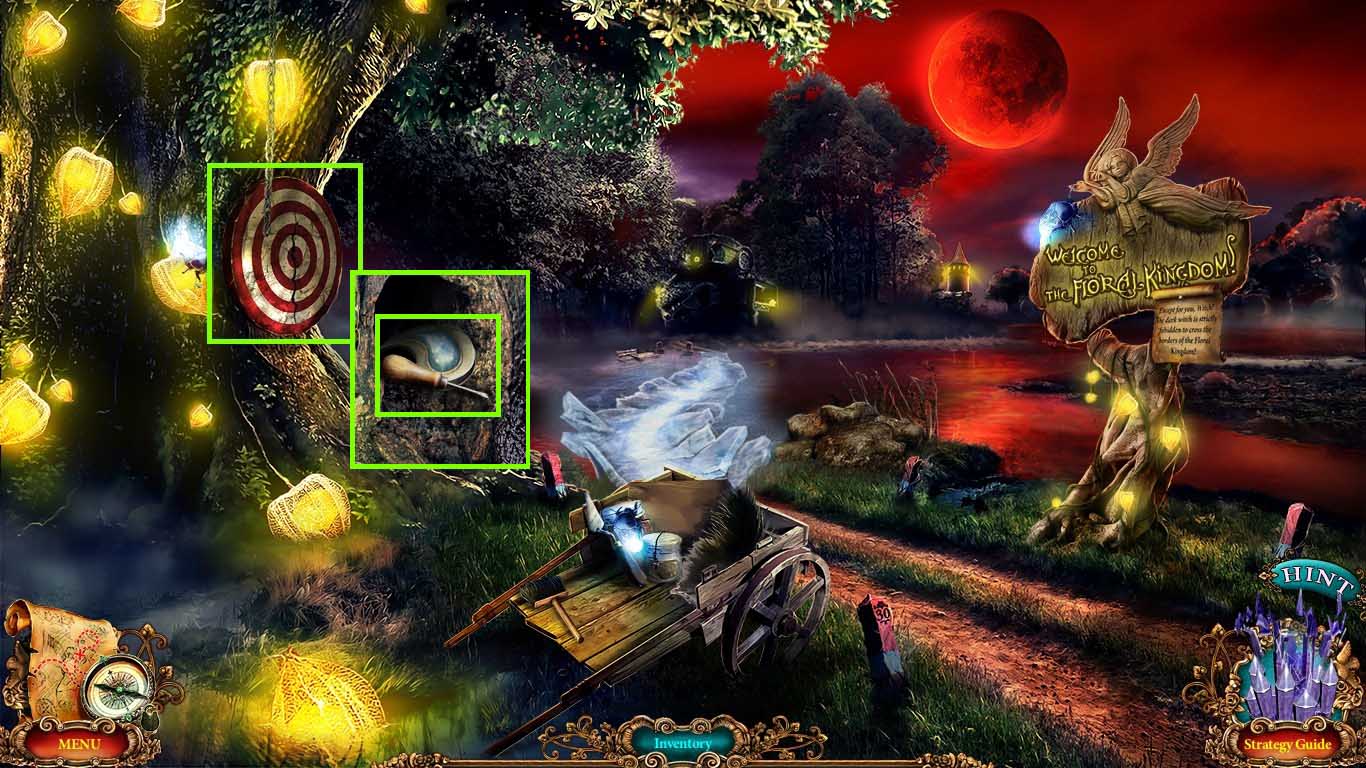
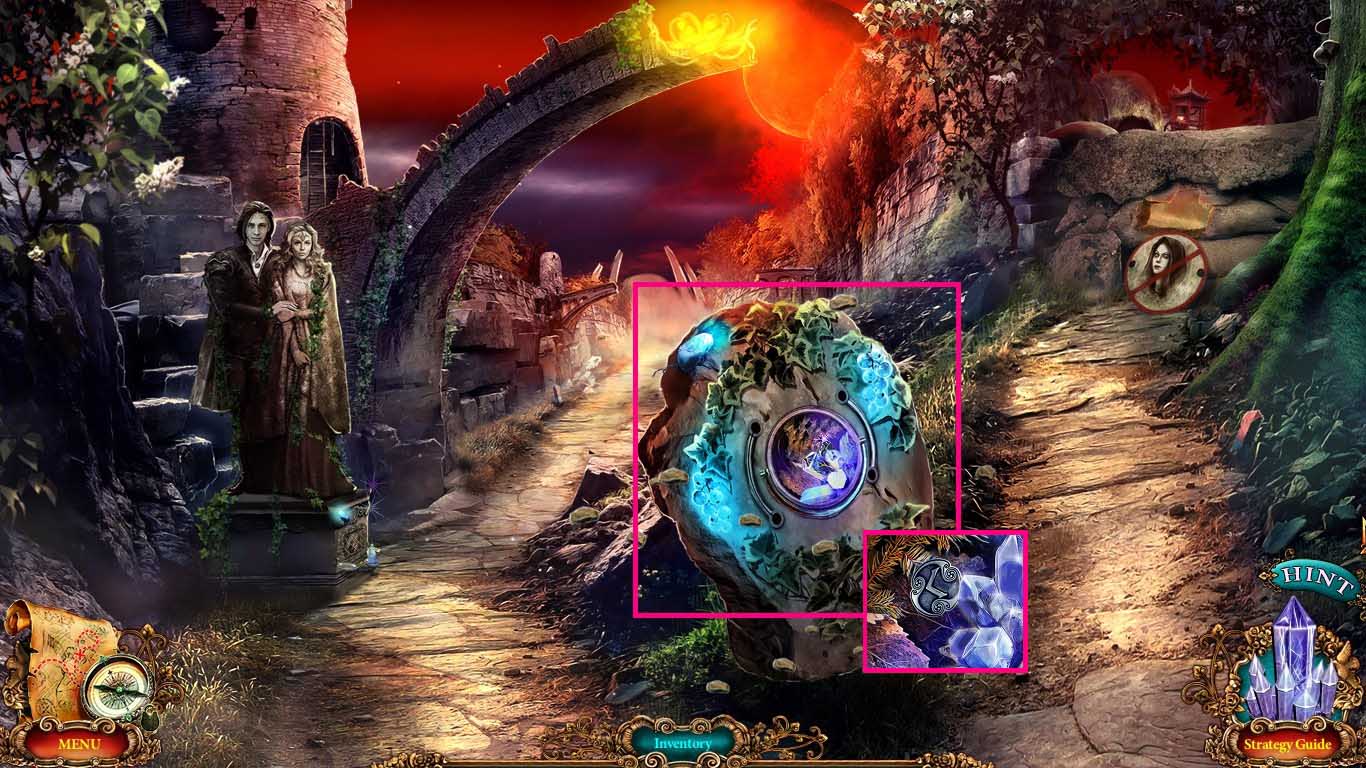
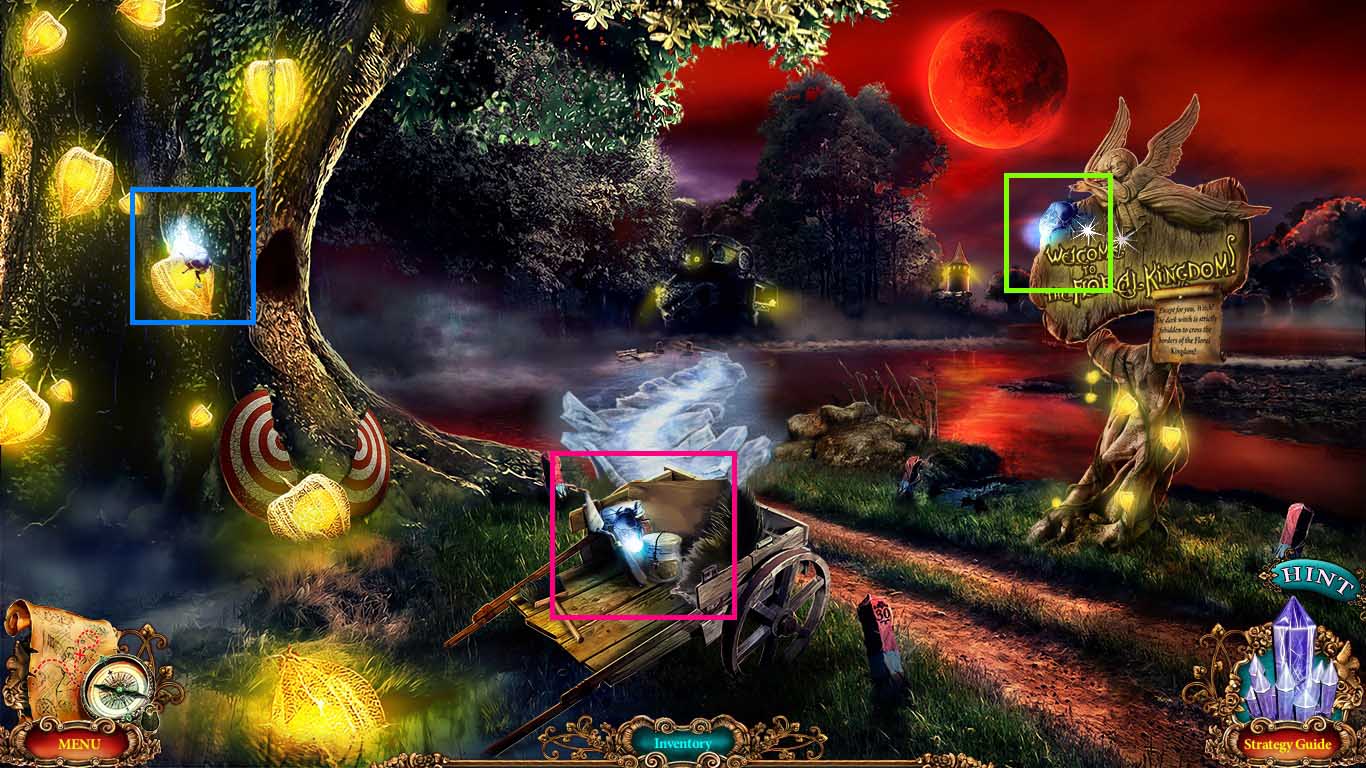
- Zoom into the cart.
- Collect the magical crystal.
- Collect the minion spell.
- Zoom into the sign; collect the mirror shard 1 / 4.
- Zoom into the target; collect the harpoon.
- Use the minion spell on the frog; collect the minion.
- Use the minion on the tree; collect the freeze spell.
- Use the freeze spell on the water.
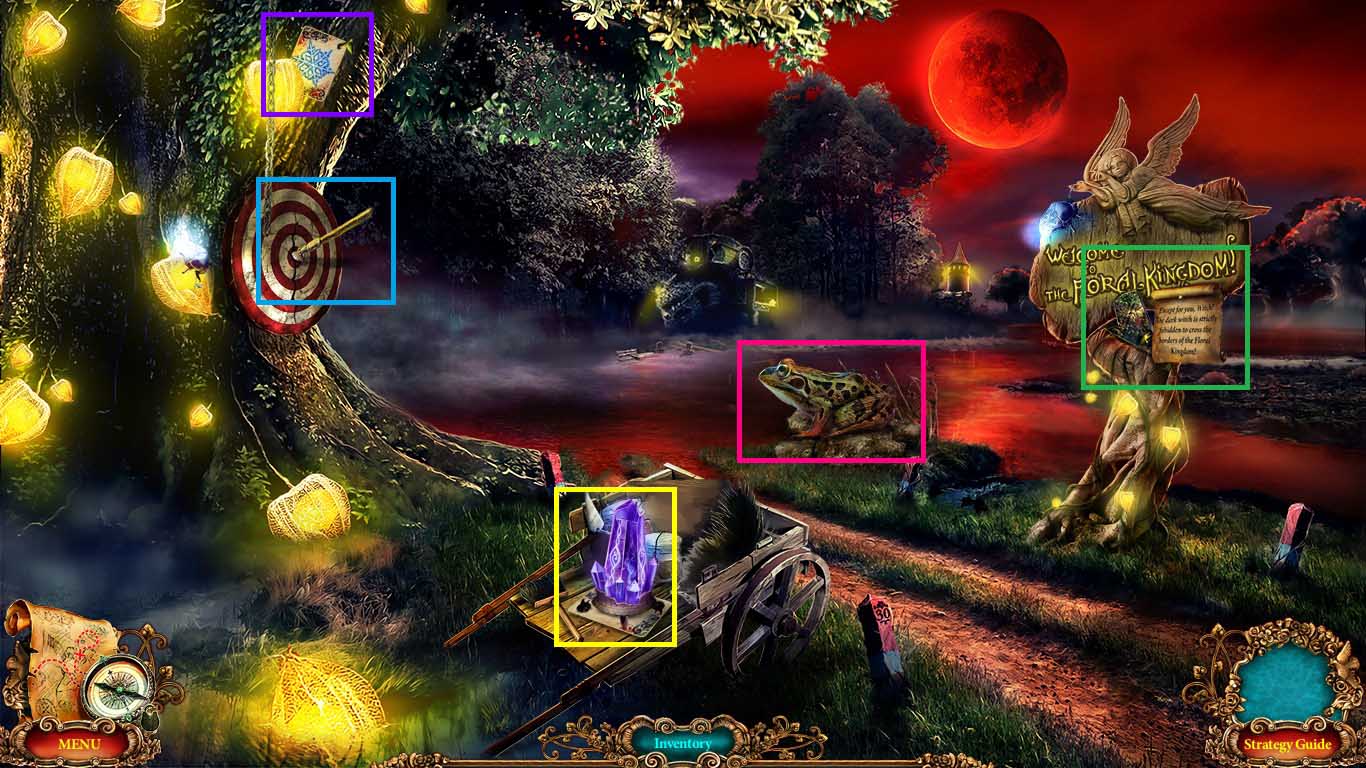
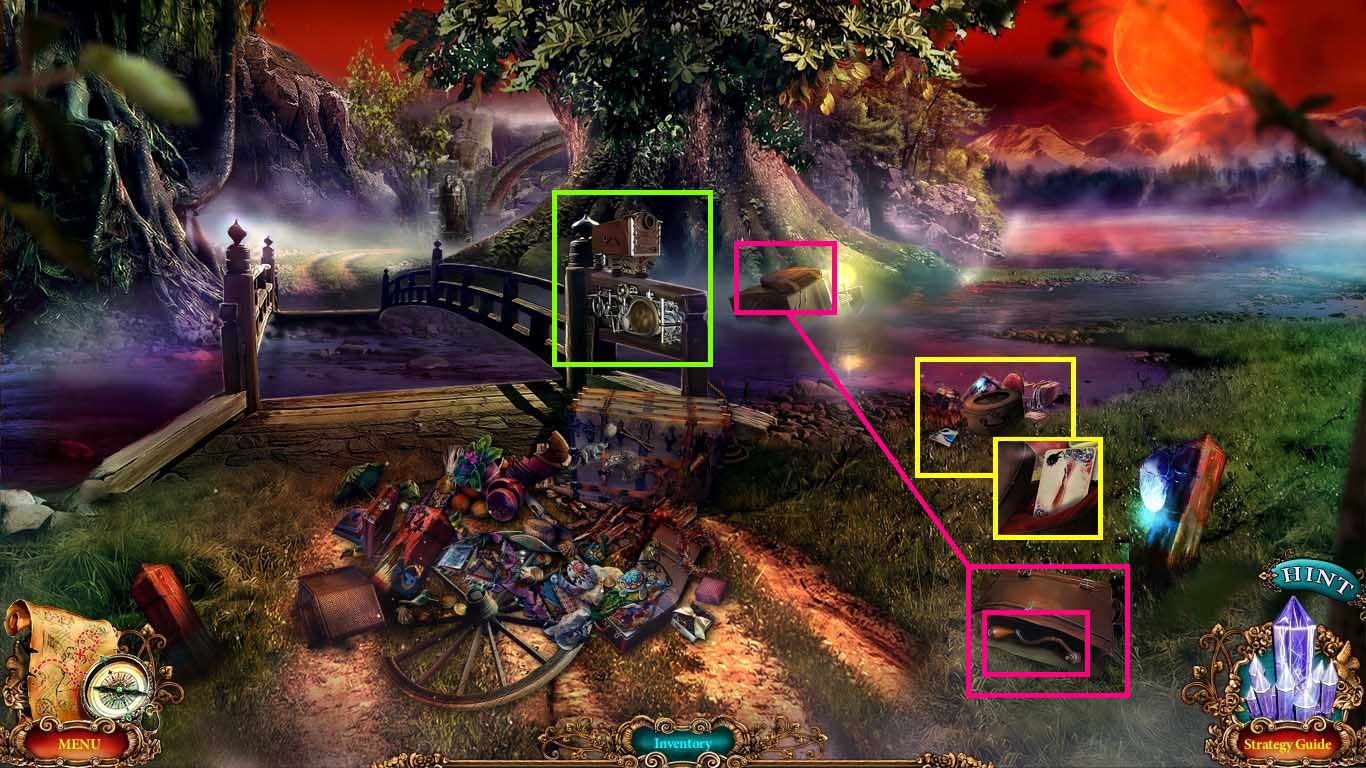
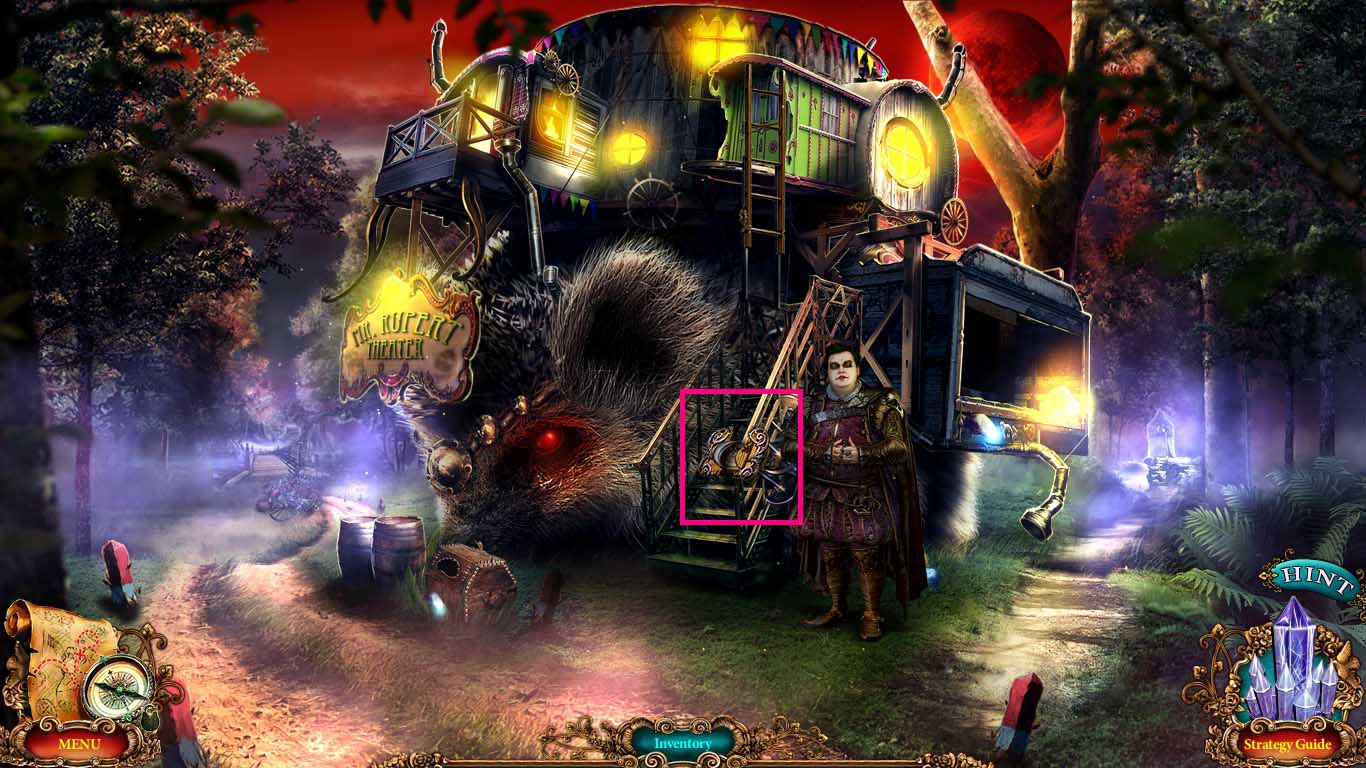
- Move to the traveling theatre.

- Zoom into the mechanism.
- Collect the sign fragment.
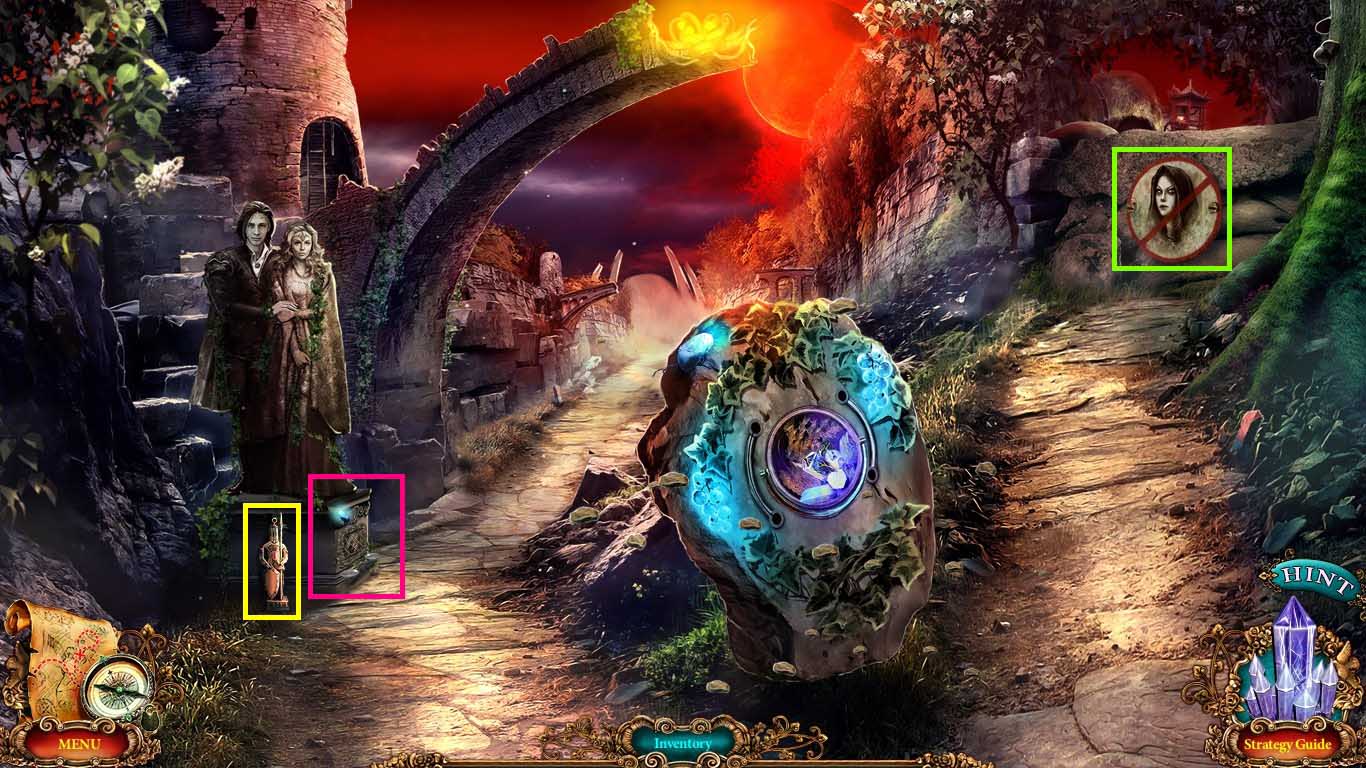
- Go to the farmer’s bridge.
- Collect the 2nd sign fragment.
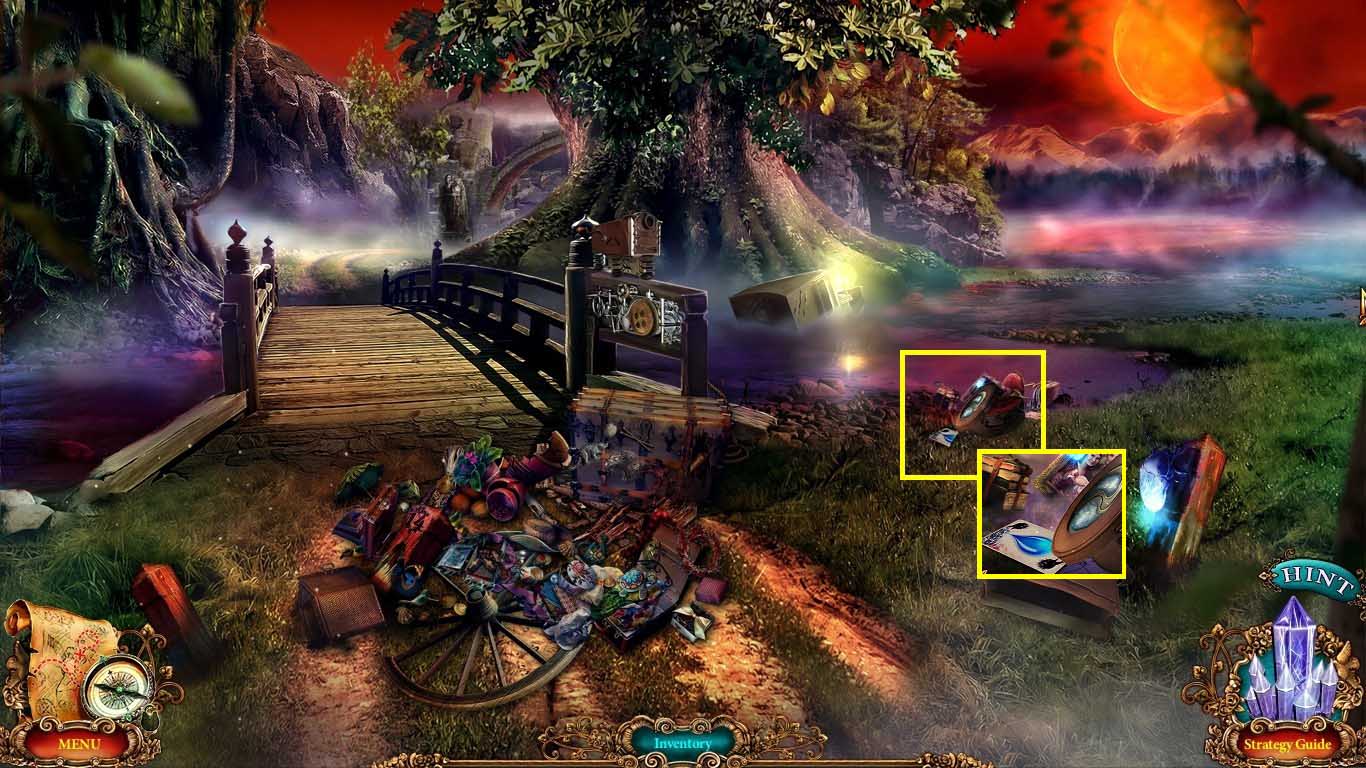
- Zoom into the bridge control and collect the water-emblem.
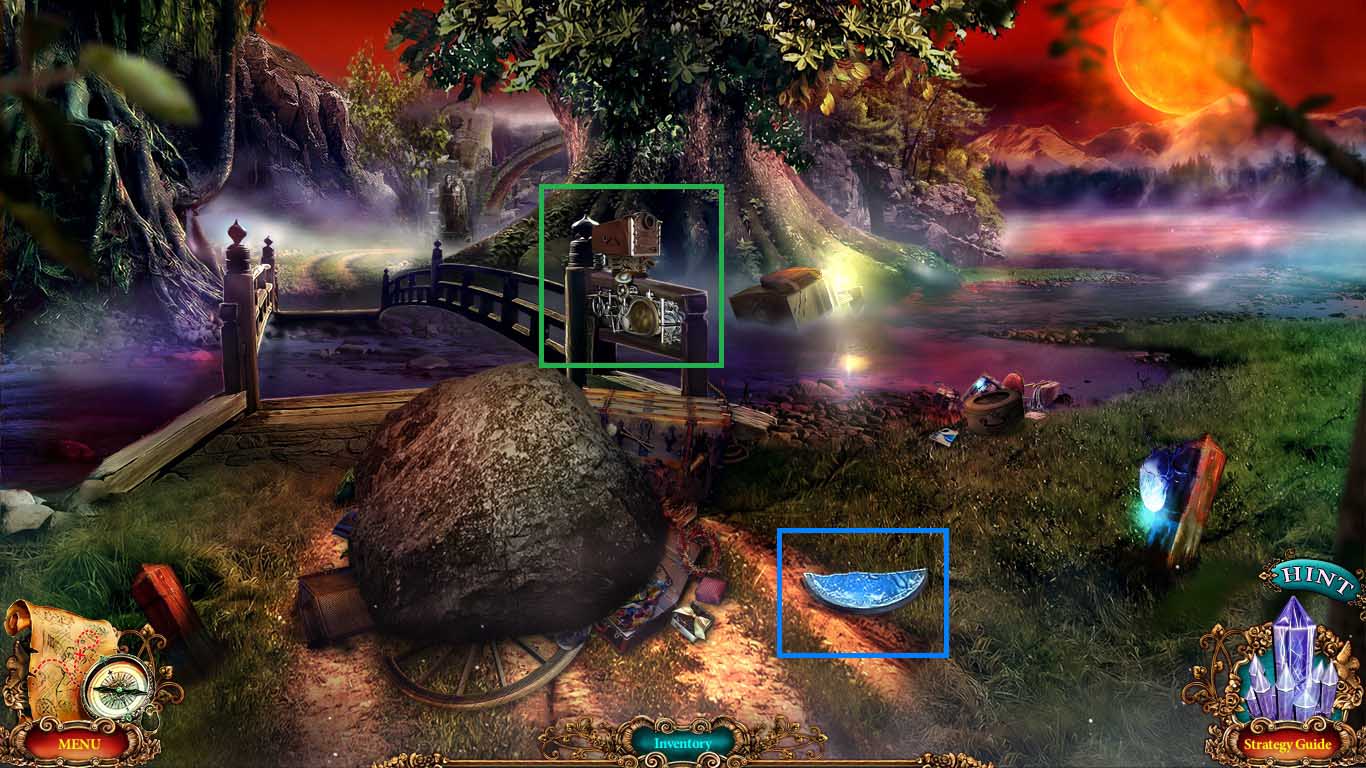
- Go to the forest path.
- Zoom into the tree base; collect the lotus.
- Use the minion on the hole to collect the silver key.
- Zoom into the pier and collect the ruler.
- Zoom into the stone path; use the harpoon onto the stone.
- Collect the 3rd sign fragment.
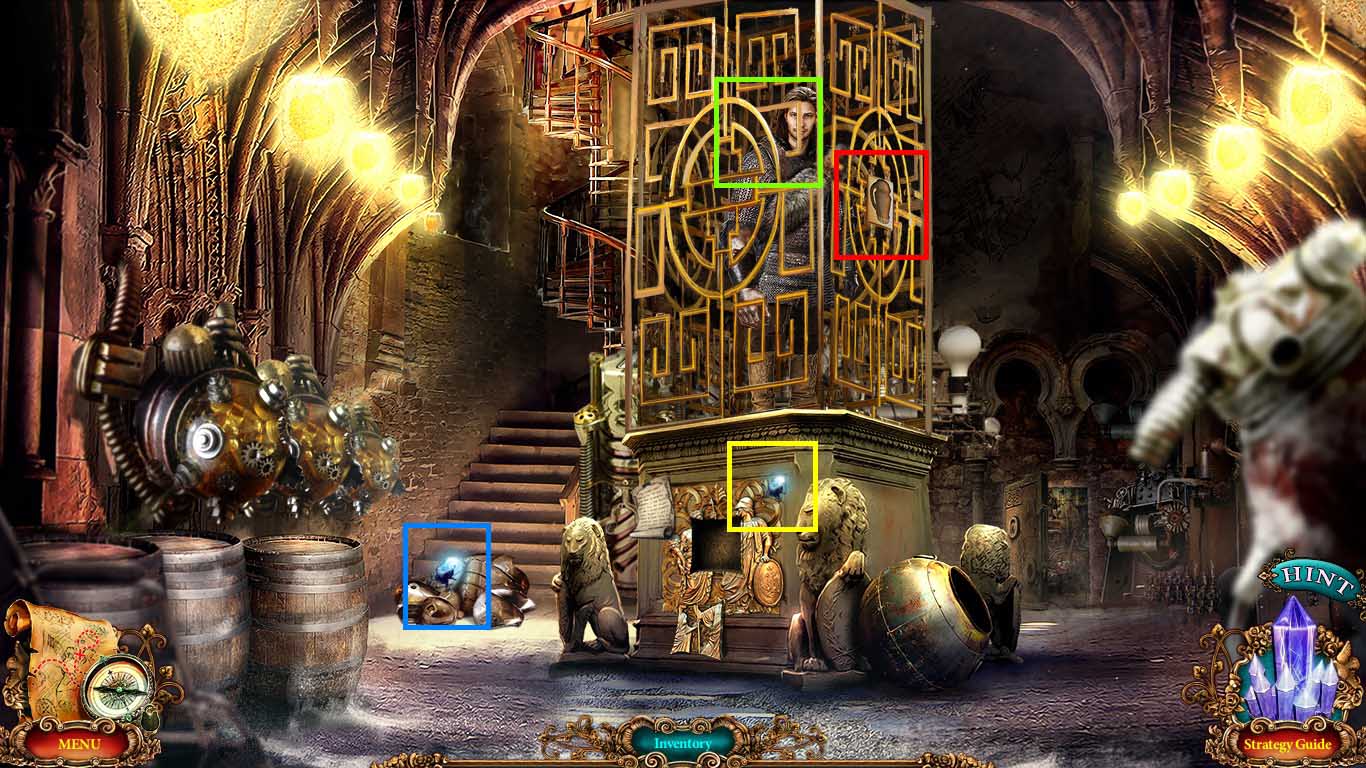
- Zoom into the tower and insert the 3 sign fragments on the lock to trigger a puzzle.
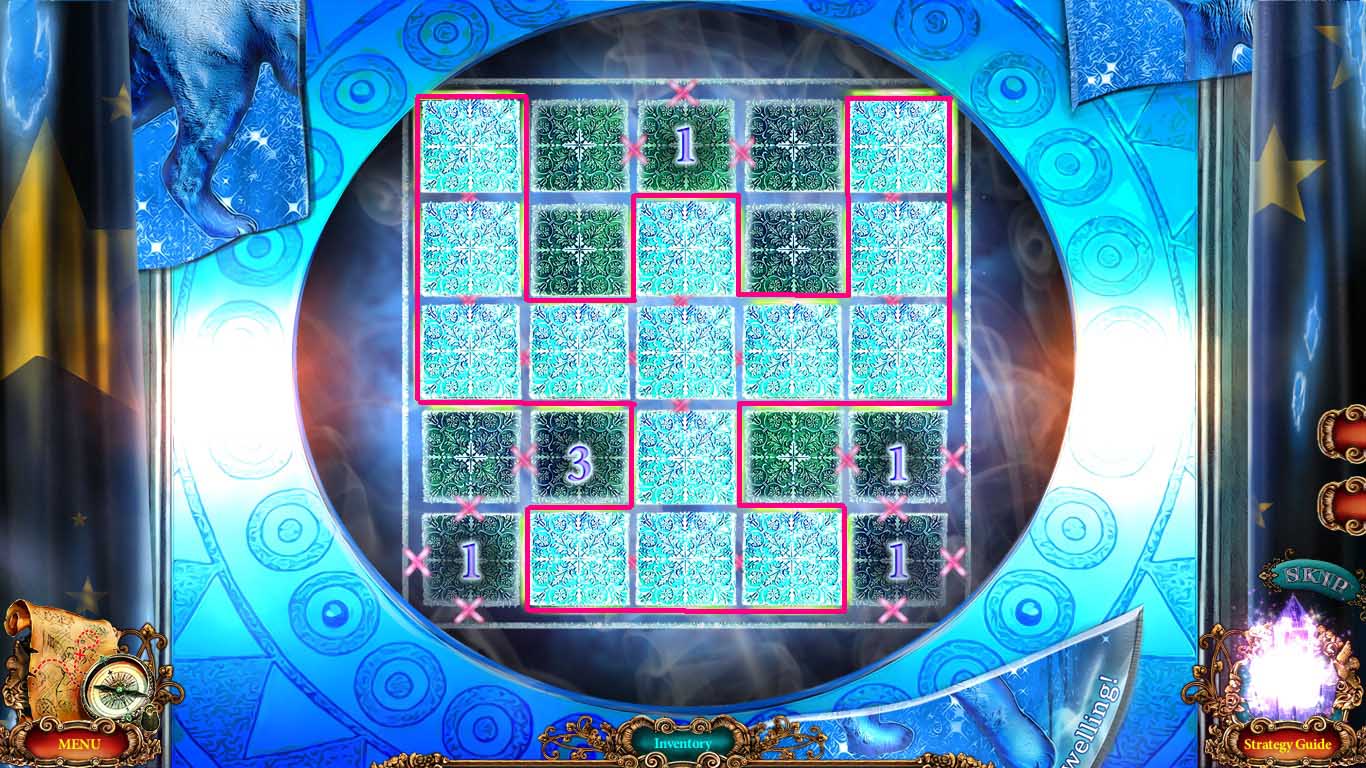
- Solve as shown above.
- Create a continuous barrier; illuminating the number of spaces as indicated on the squares.
- Go into the wizard’s tower hall.
- Zoom into the table.
- Collect the force spell.
- Zoom into the stair landing; collect the spring.
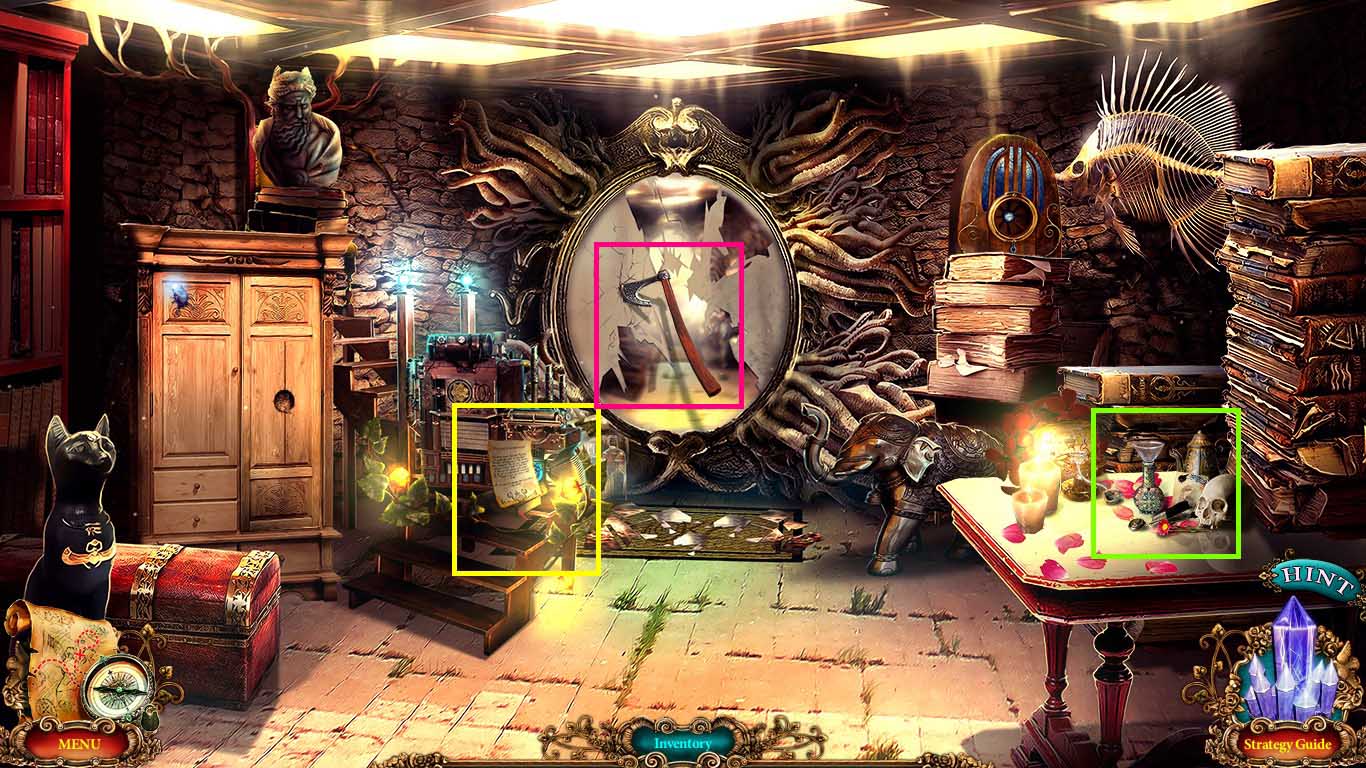
- Use the minion on the axe.
- Move to the farmer’s bridge.
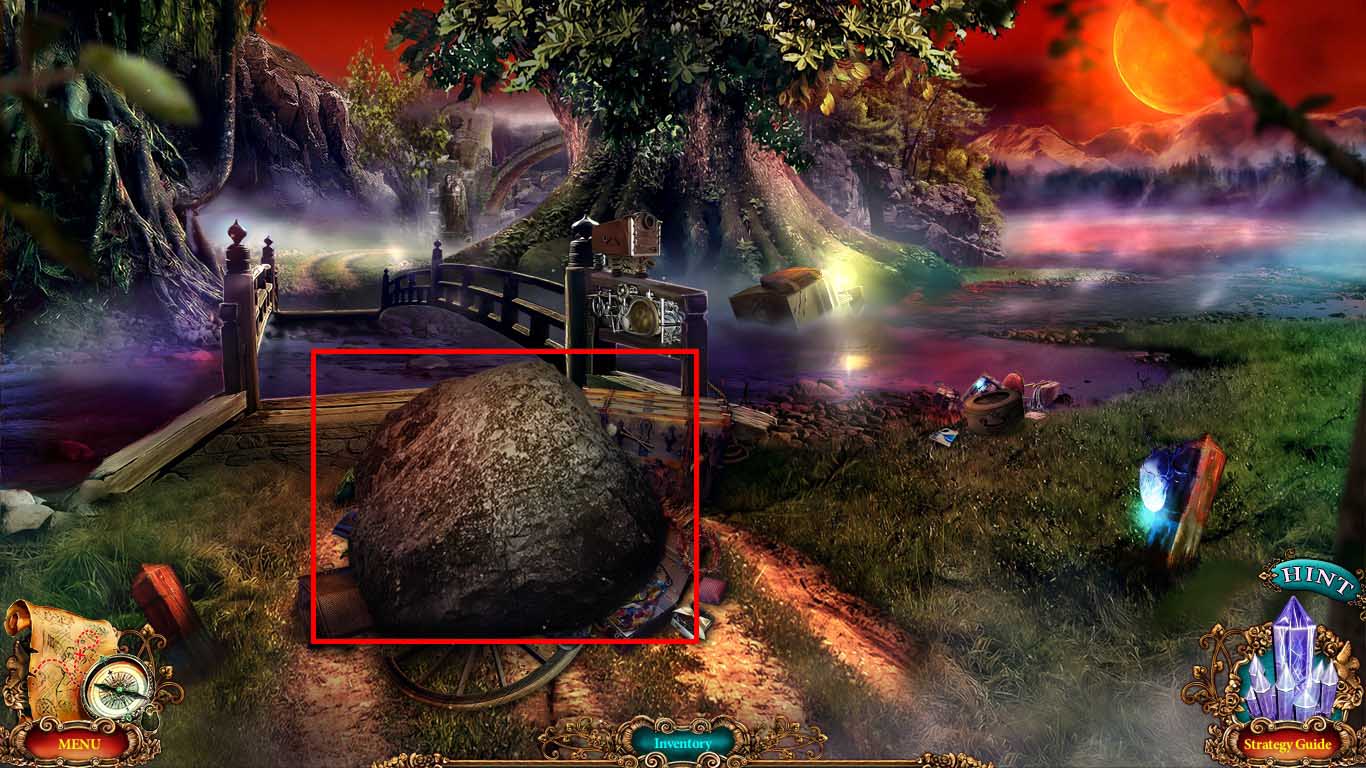
- Use the force spell on the boulder.
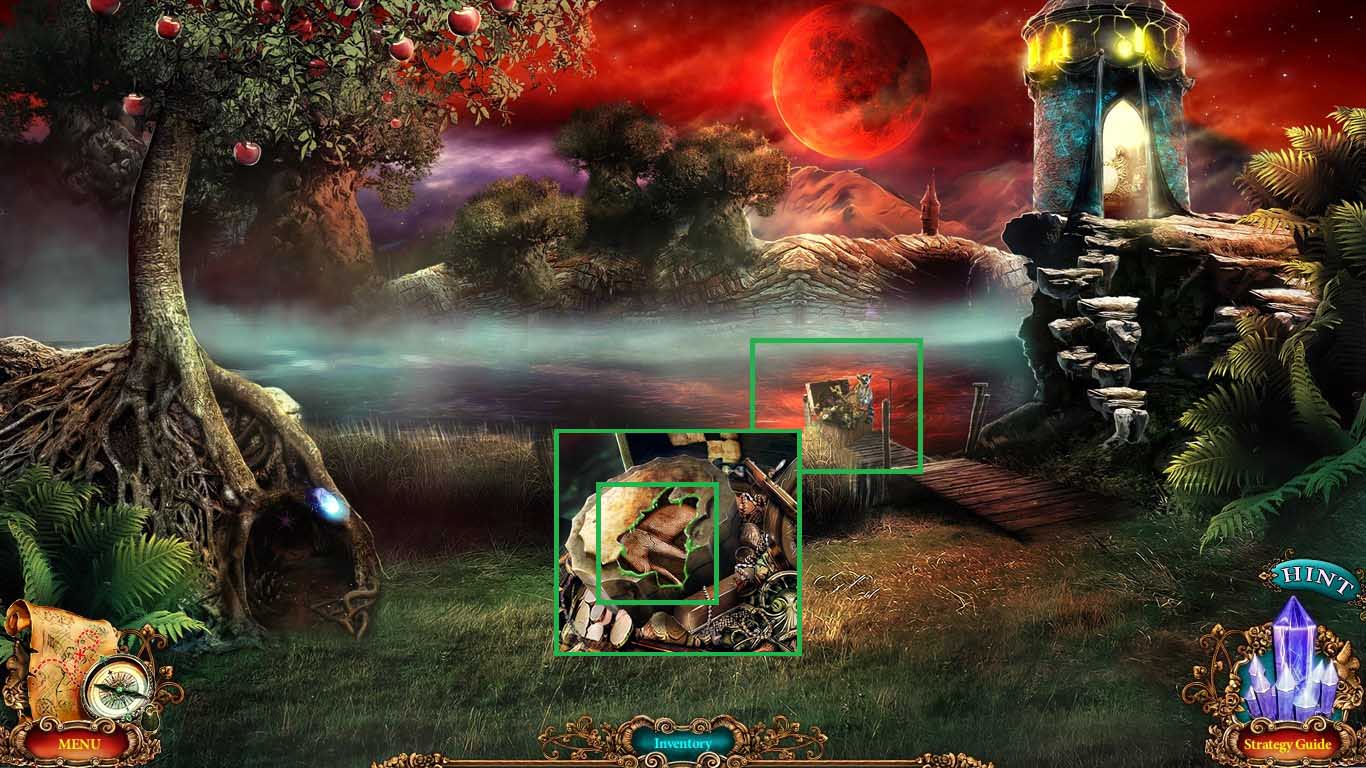
- Zoom into the area under the boulder to access a hidden objects area.
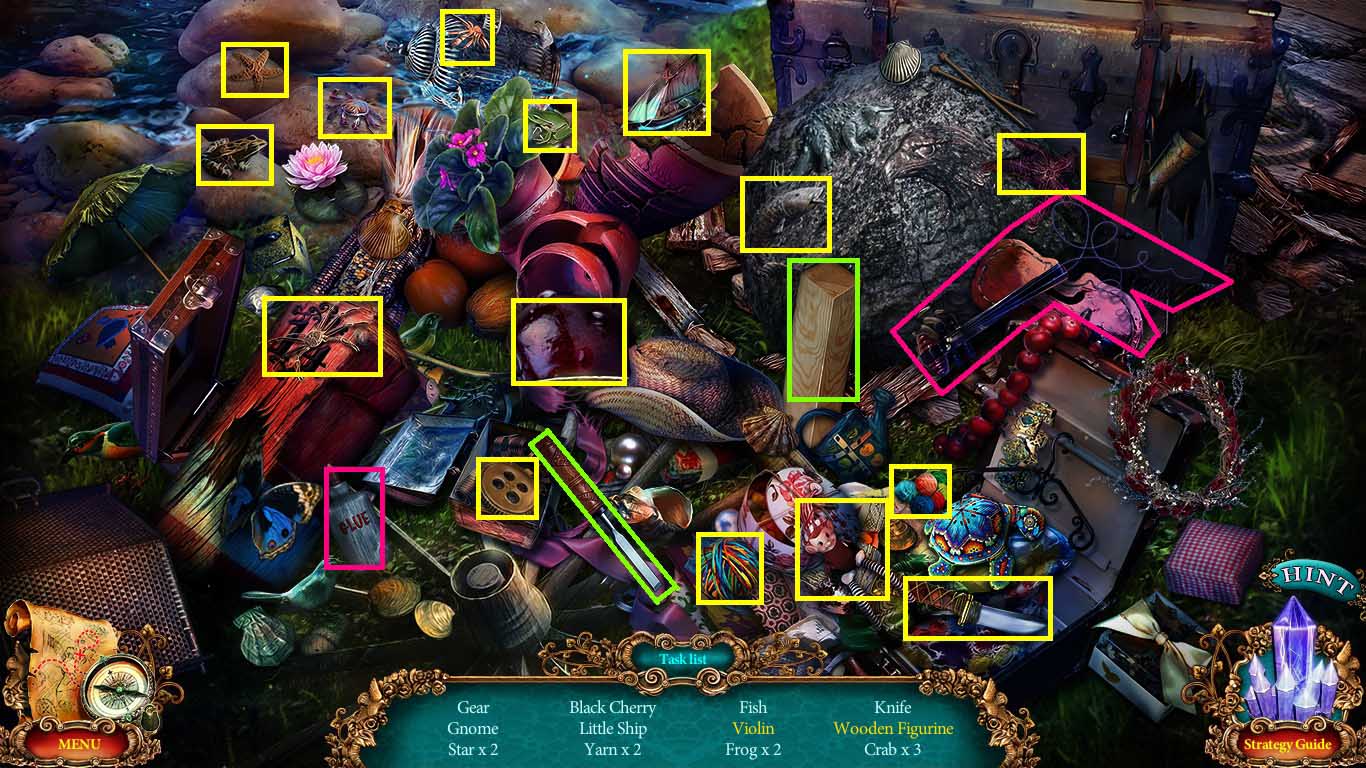
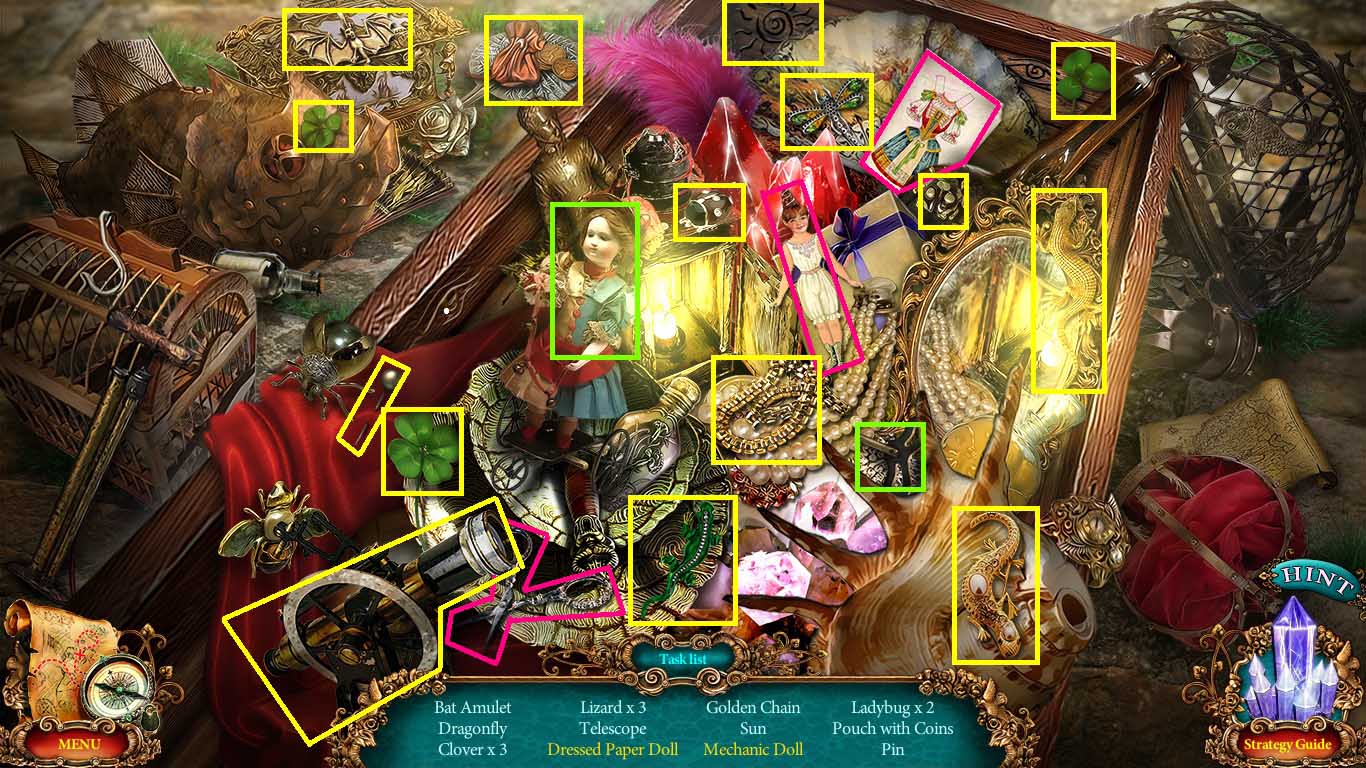
- Find the listed items.
- Get the wooden figurine by using the chisel on the wood.
- Use the glue on the broken violin to collect a violin.
- Collect a cogwheel.
- Move to the forest edge.
- Use the minion with the axe on the target.
- Collect the water emblem 2 / 2.
- Collect the screwdriver.
- Go to the farmer’s bridge.
- Zoom into the box and insert the 2 water emblems onto the top.
- Click the lid and collect the reach spell.
- Use the reach spell on the bag.
- Zoom into the bag and click it open.
- Collect the lever.
- Zoom into the mechanism and click the broken spring.
- Insert the spring, cogwheel and the lever.
- Click the lever.
- Go to the crossroads.
- Zoom into the sign and use the screwdriver.
- Collect the amulet half.
- Collect the knight figurine 1 /2.
- Zoom into the statue base; collect the valve.
- Go to the city gates.
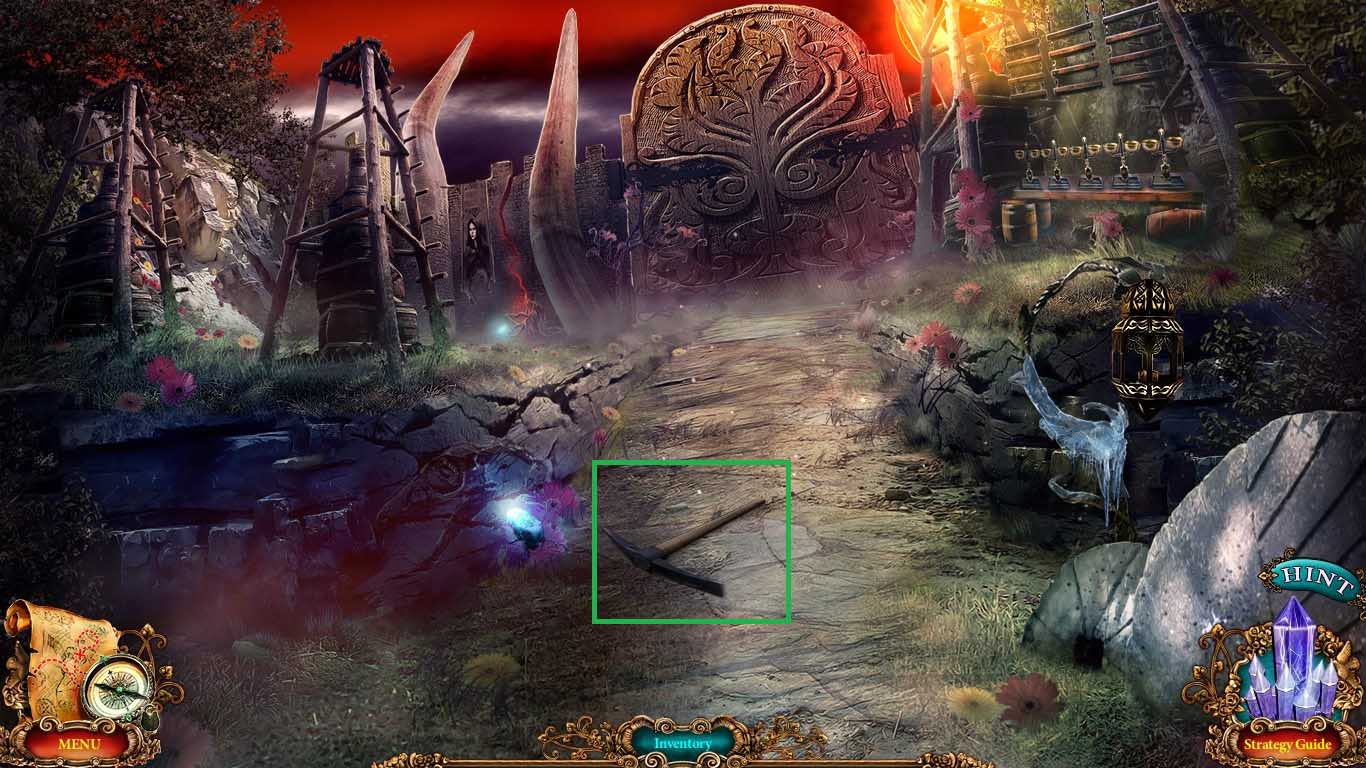
- Collect the pick.
- Go to the traveling theatre.
- Zoom into the mechanism; insert the amulet half.
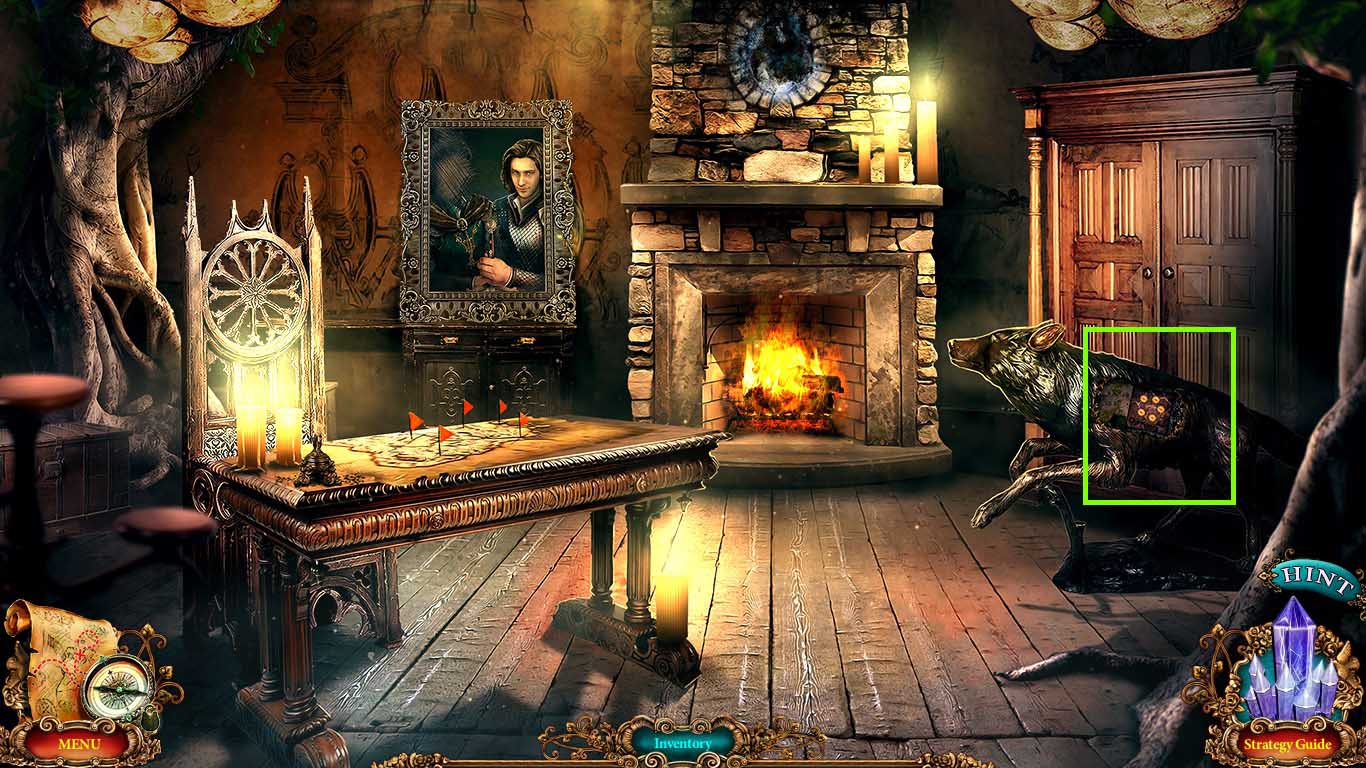
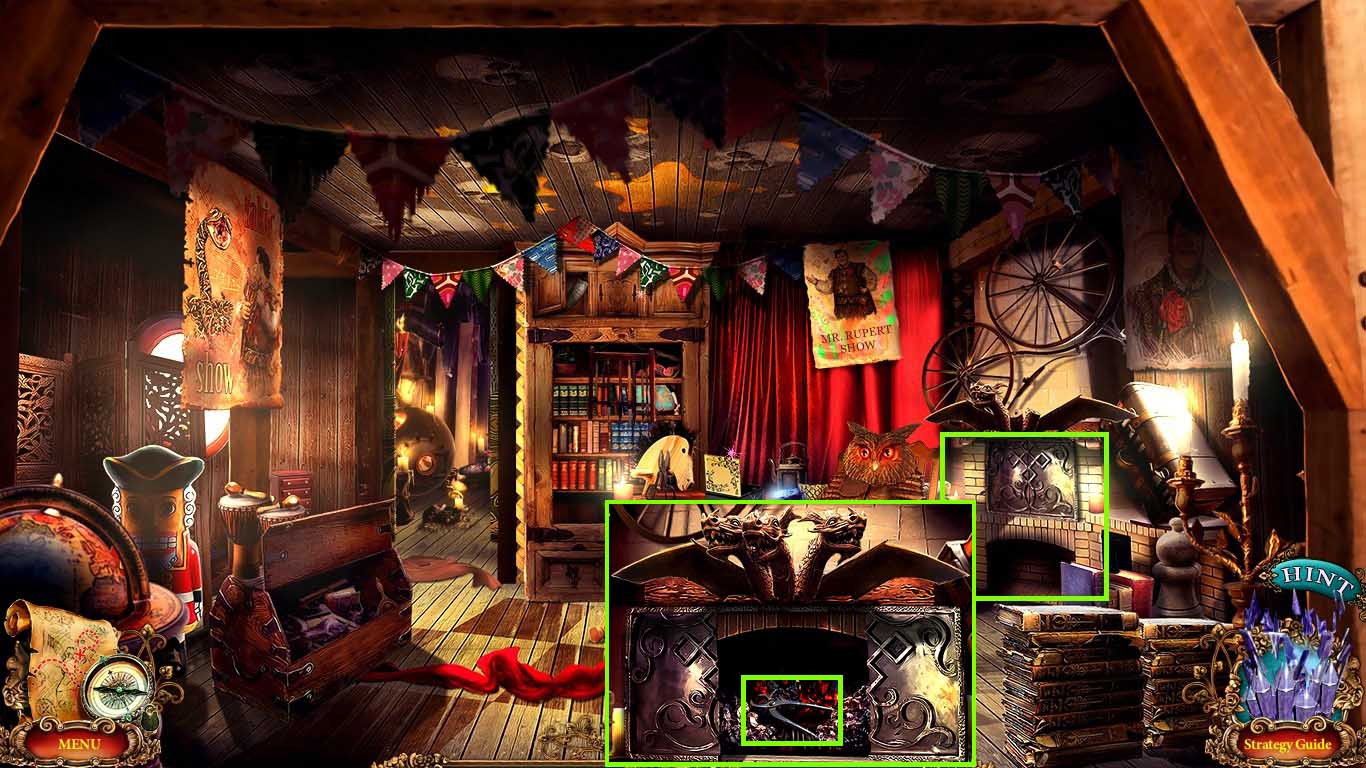
- Move to the main tent.
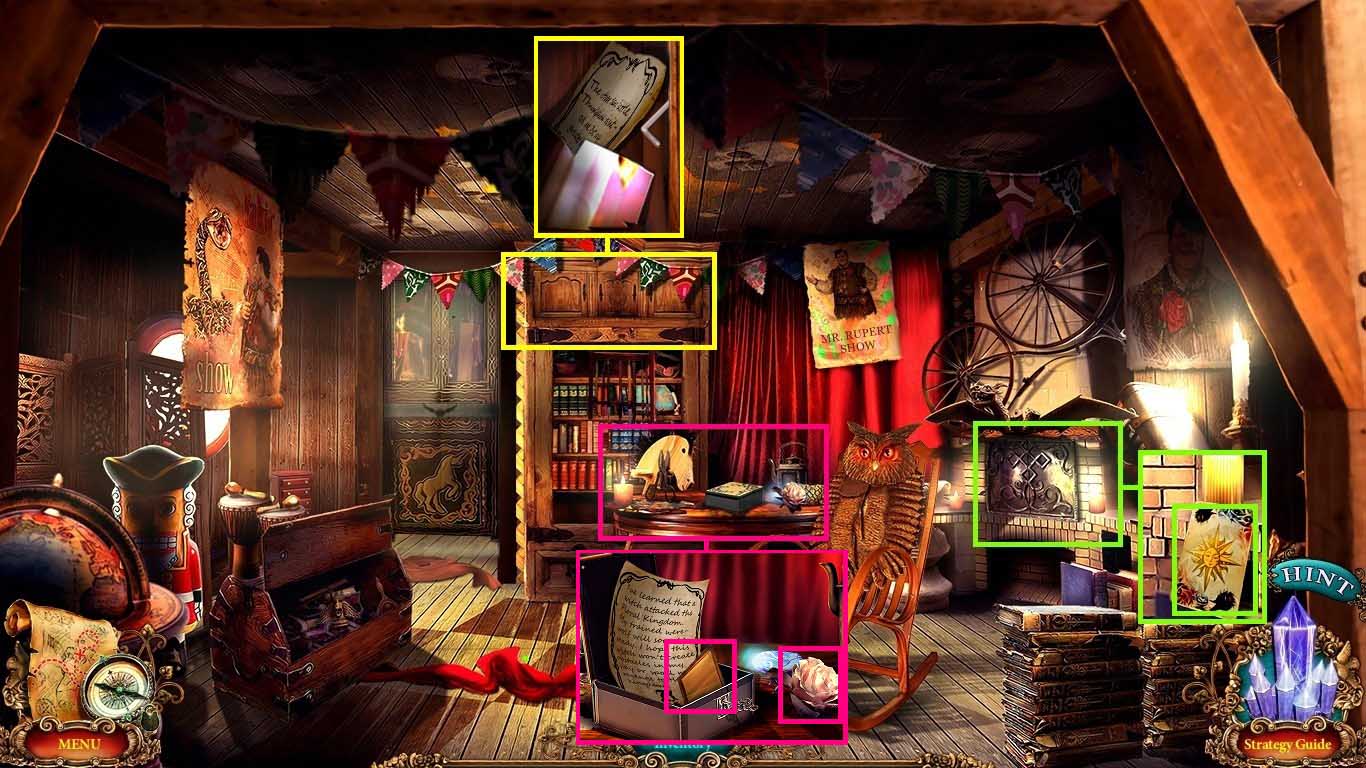
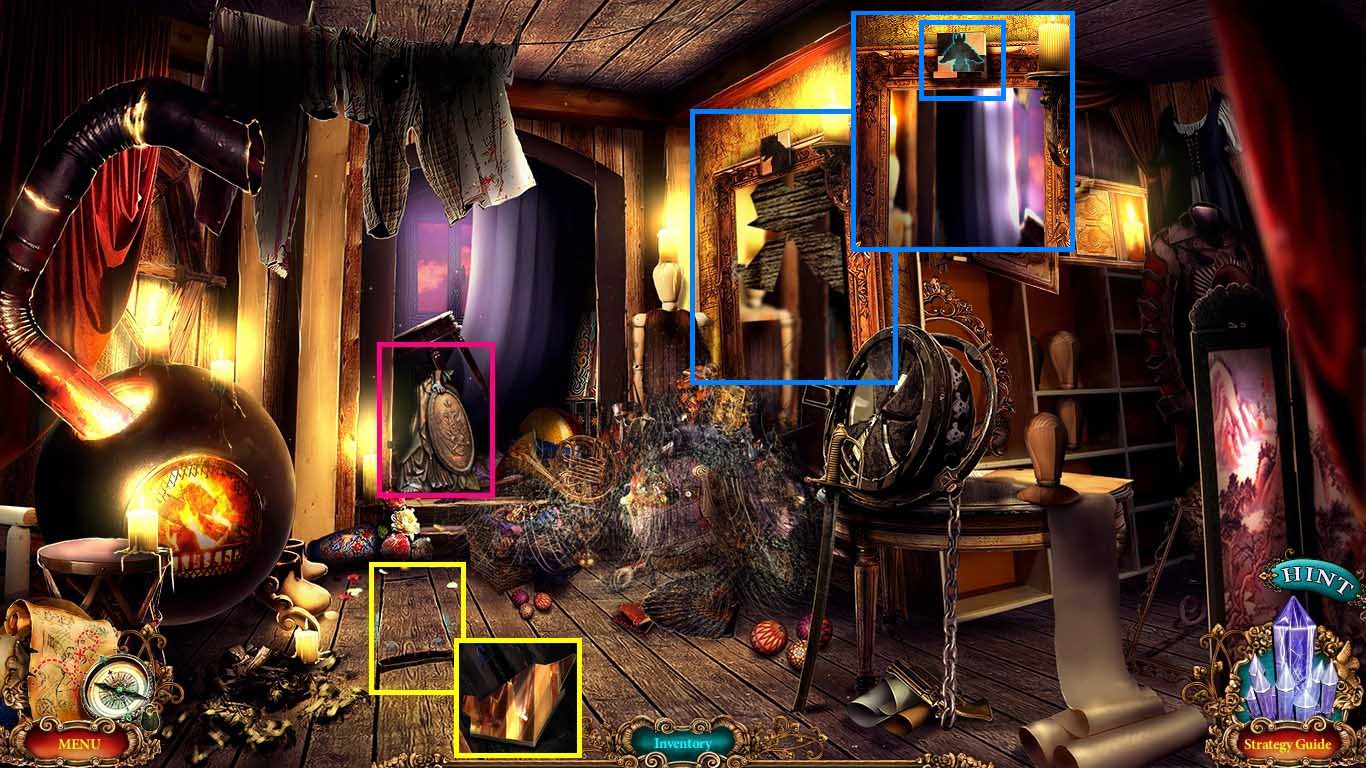
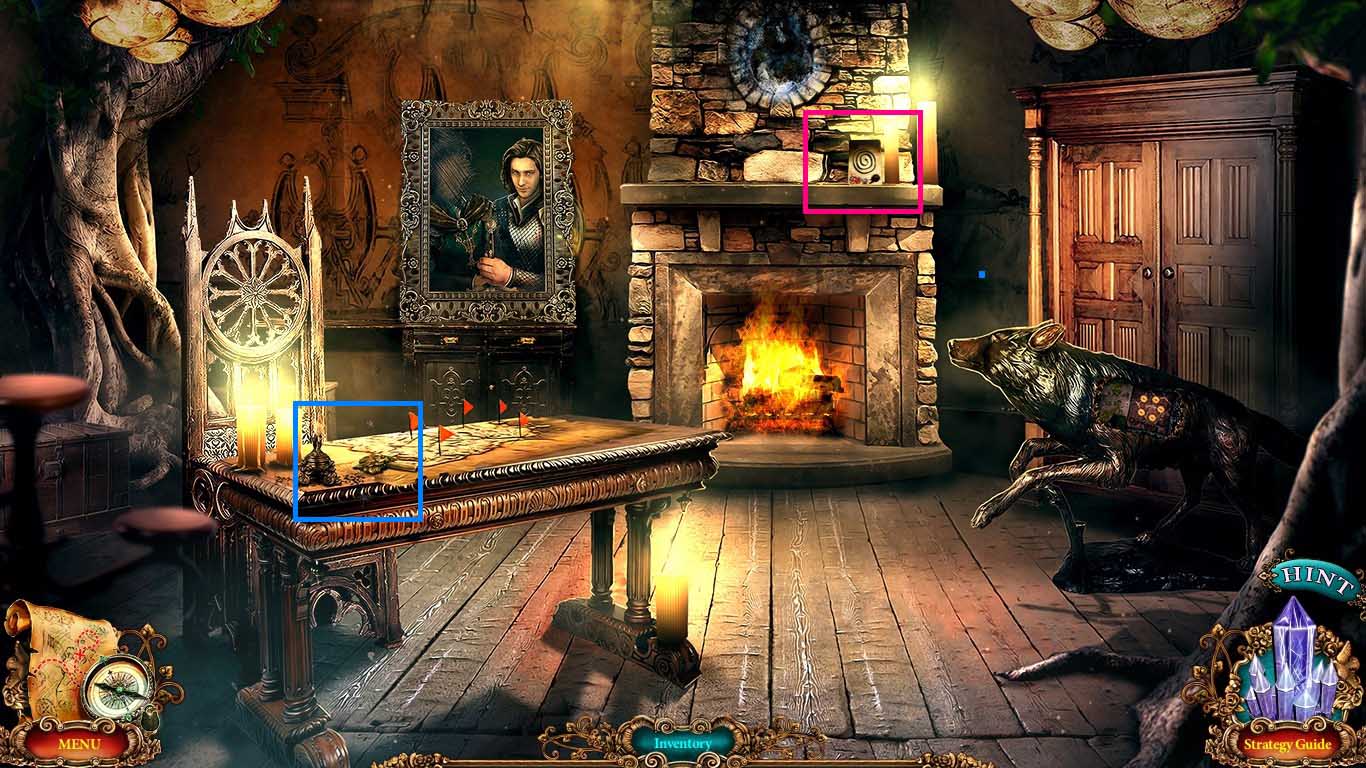
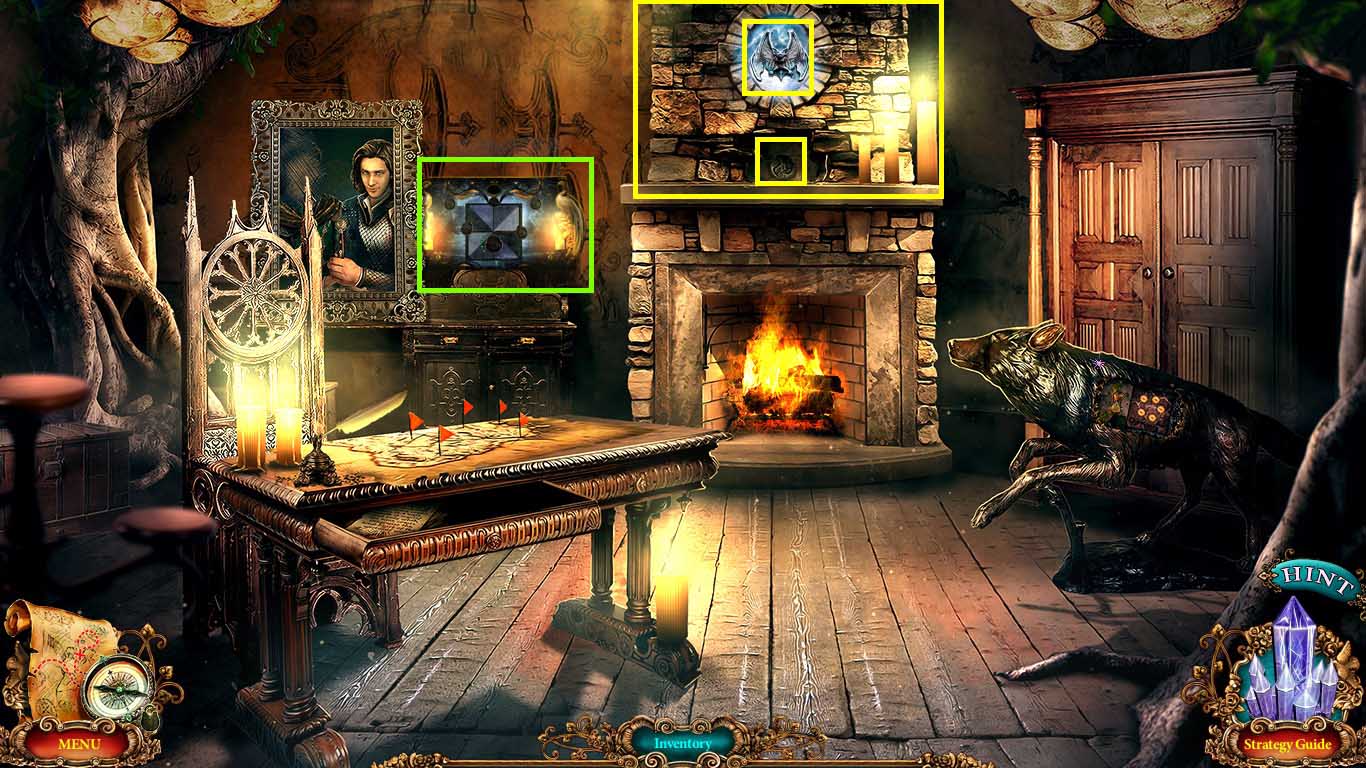
- Zoom into the fireplace; collect the heat spell.
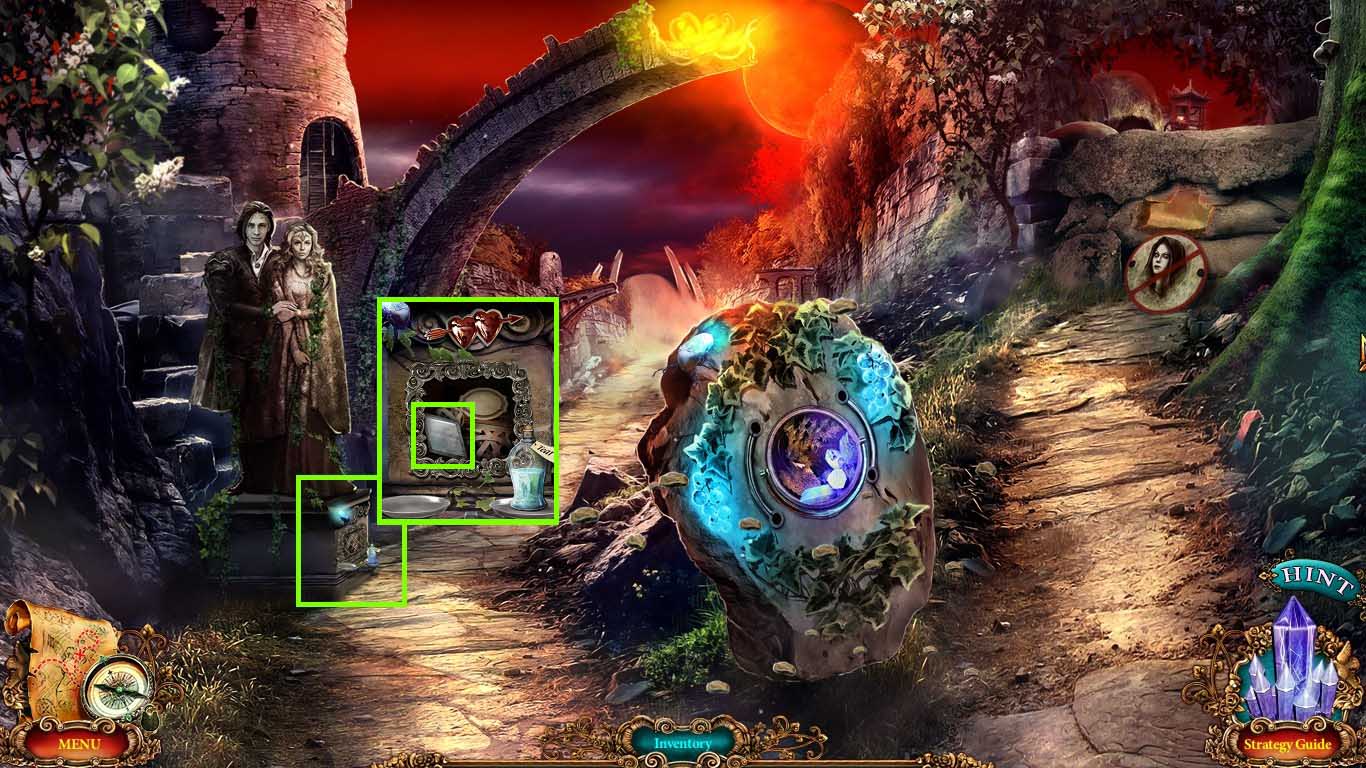
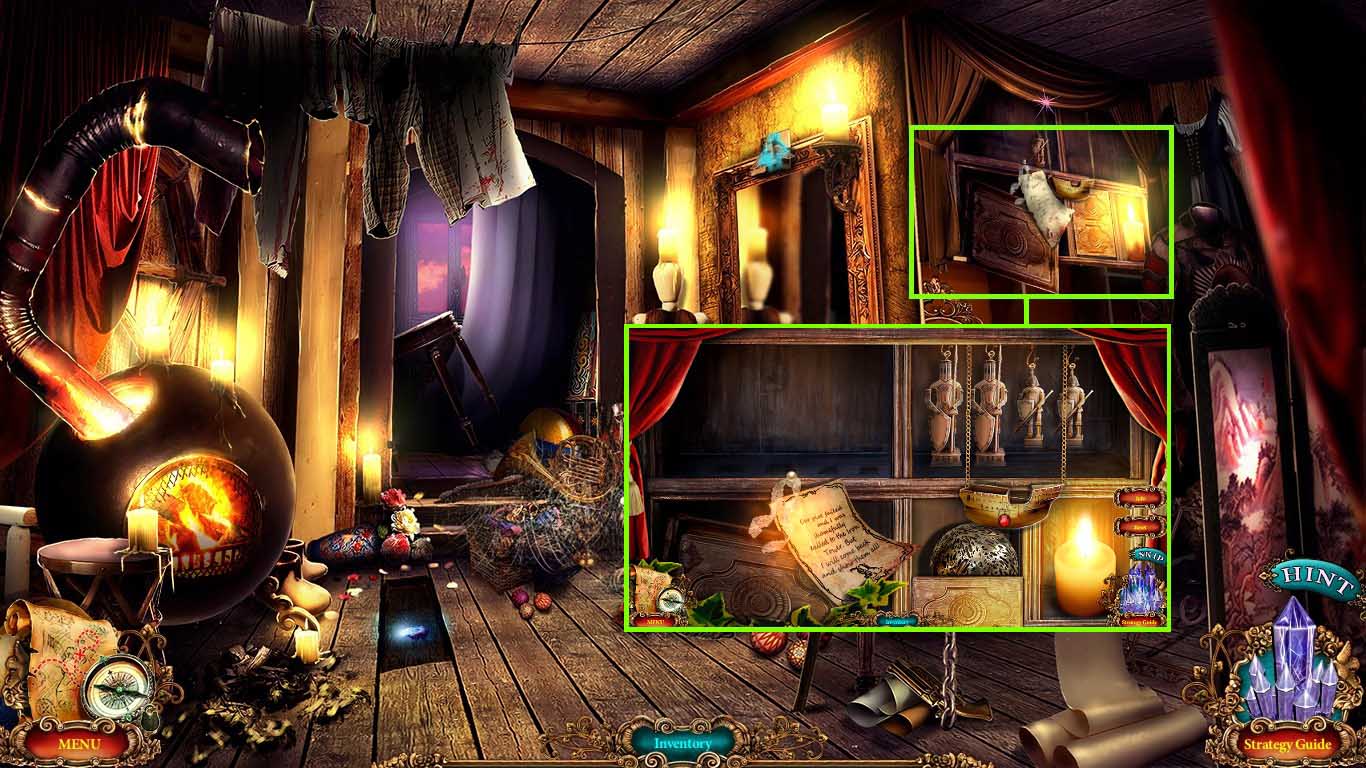
- Zoom into the cupboard; use the ruler on the latch.
- Read the note and collect the mirror shard 2/ 4.
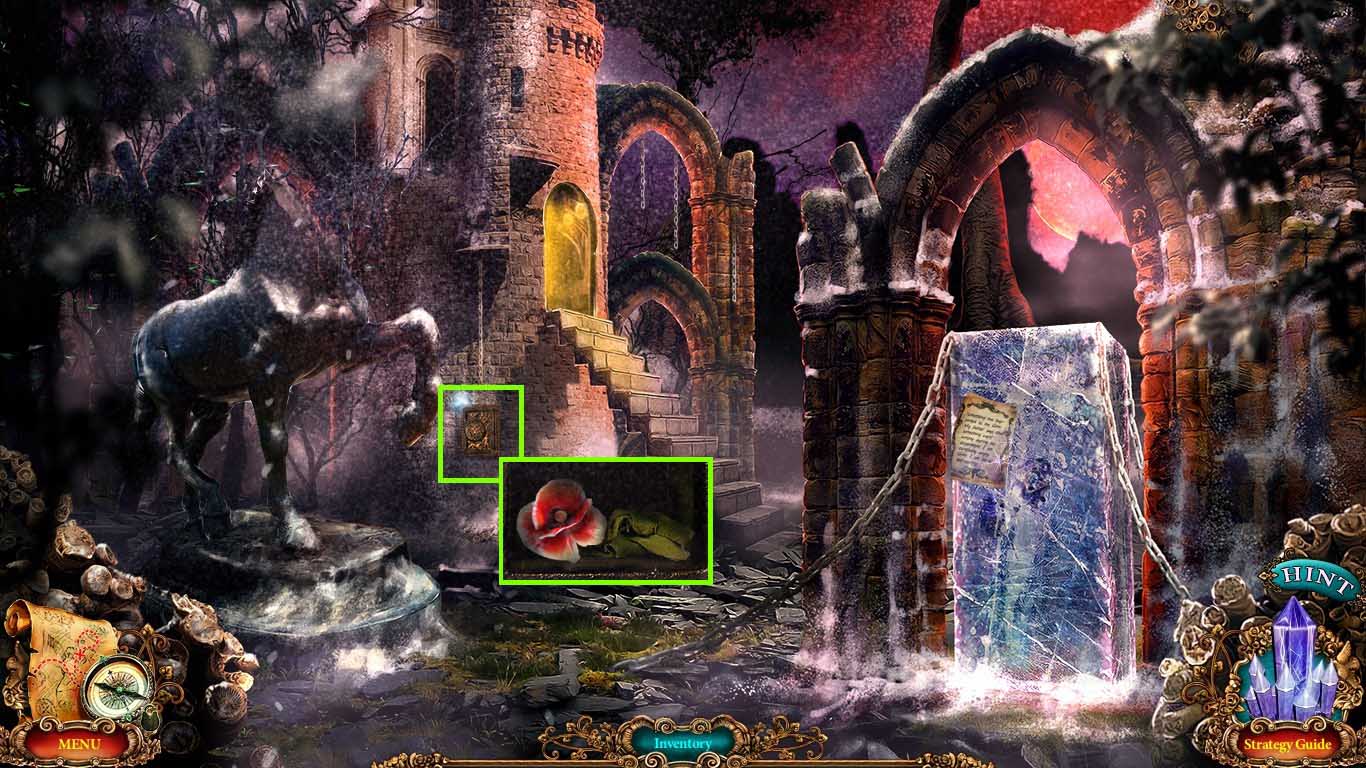
- Zoom into the table.
- Use the silver key to open the box.
- Collect the bronze.
- Read the note and collect the rose.
- Move to the wizard’s tower hall.
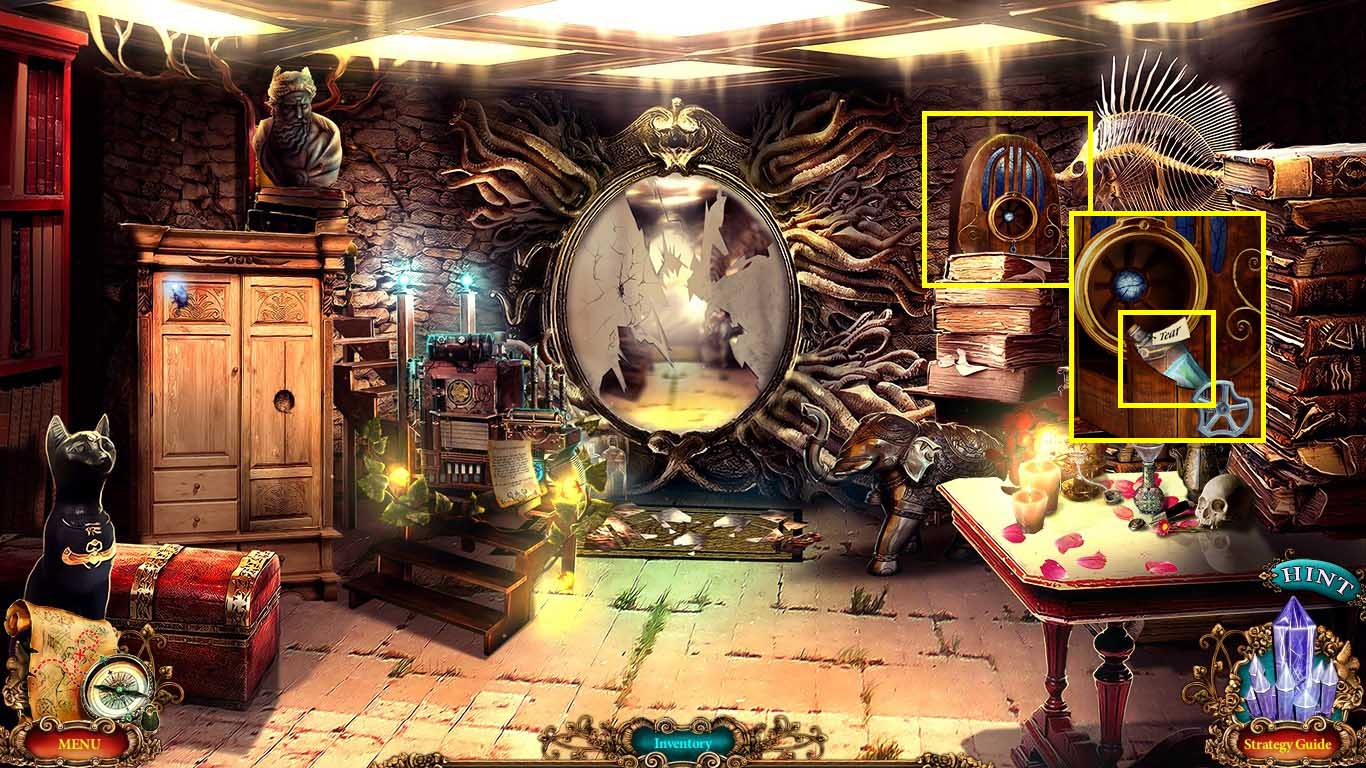
- Zoom into the device; place the valve into the hole.
- Click the valve and collect the bottle with tears.
- Move to the cross roads.
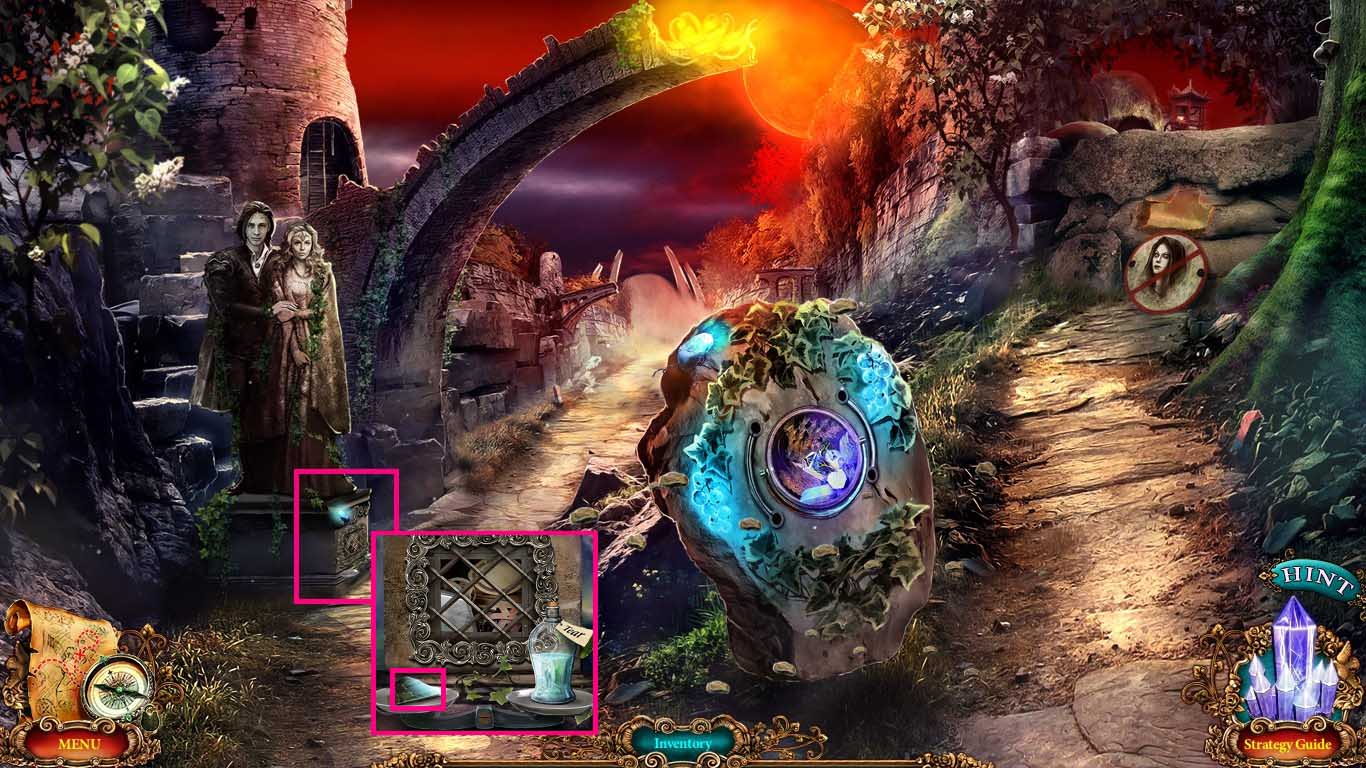
- Zoom into the statue base.
- Put the bottle with tears onto the scale.
- Collect the mirror shard 3/ 4.
- Zoom into the stone; use the pick to collect the gold-veined crystal.
- Collect the rune 1/ 5.
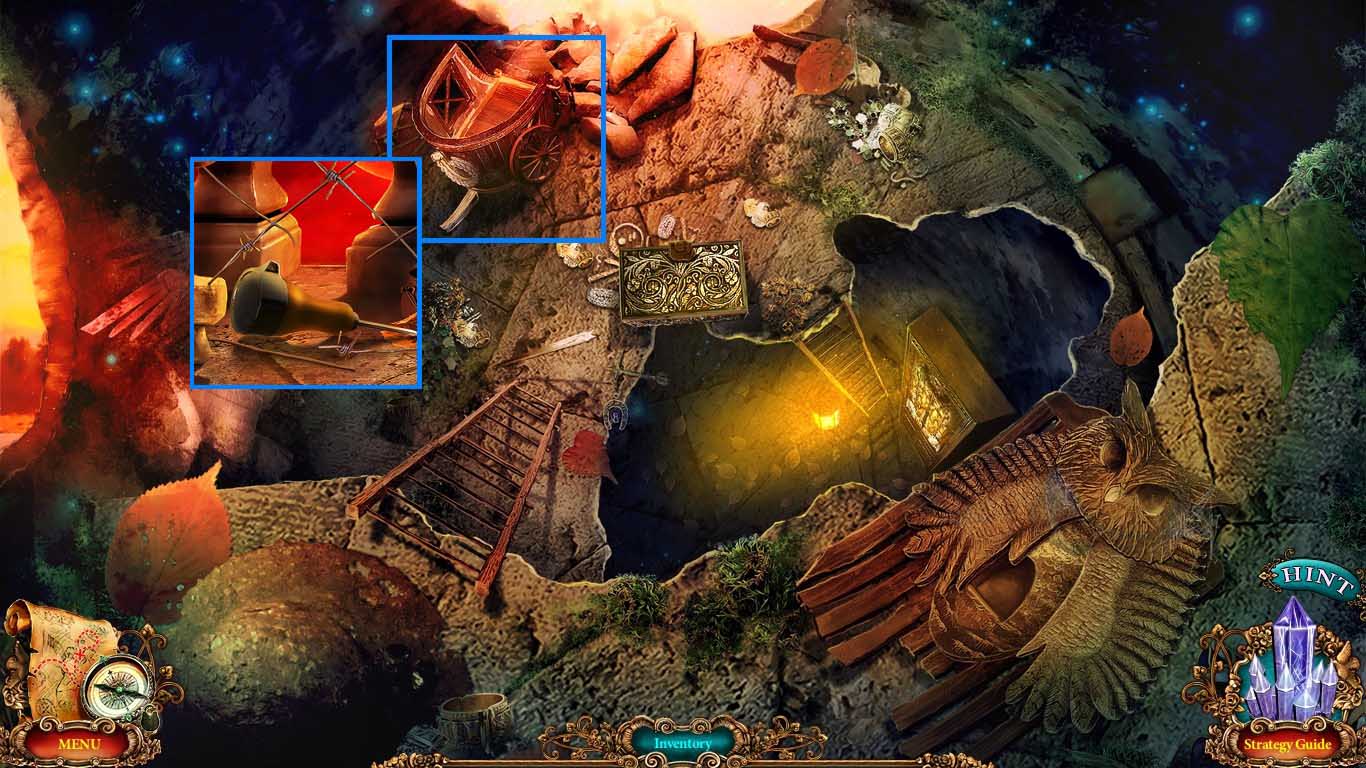
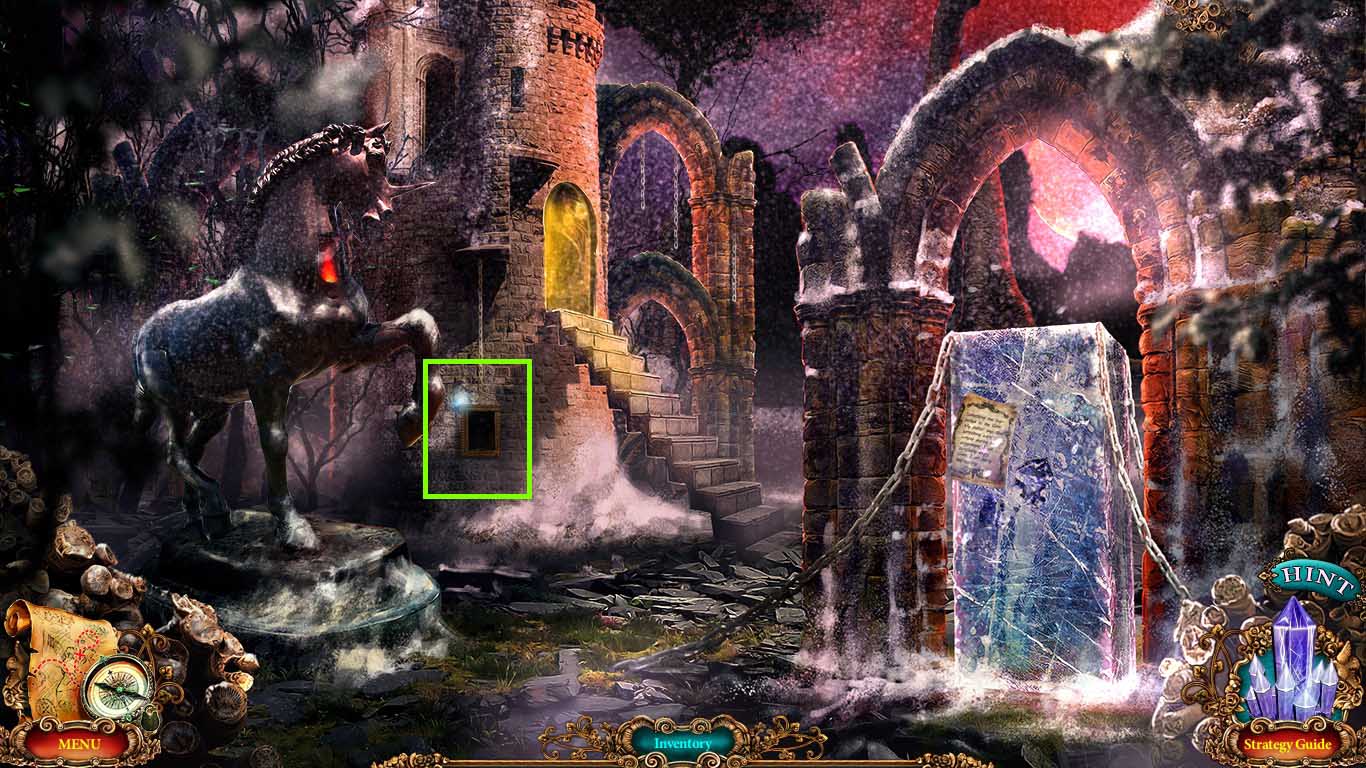
- Go to the destroyed tower.
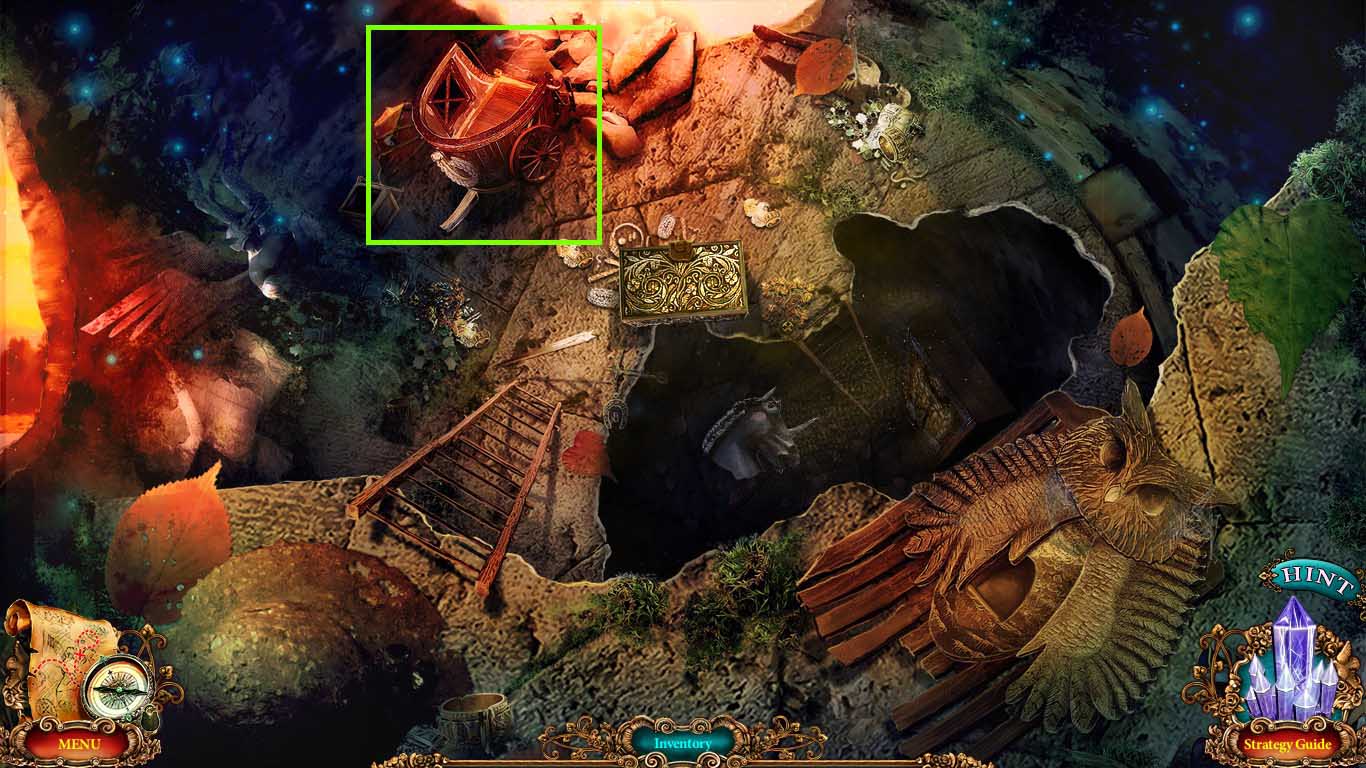
- Zoom into the chariot.
- Collect the nail puller.
- Move to the city gates.
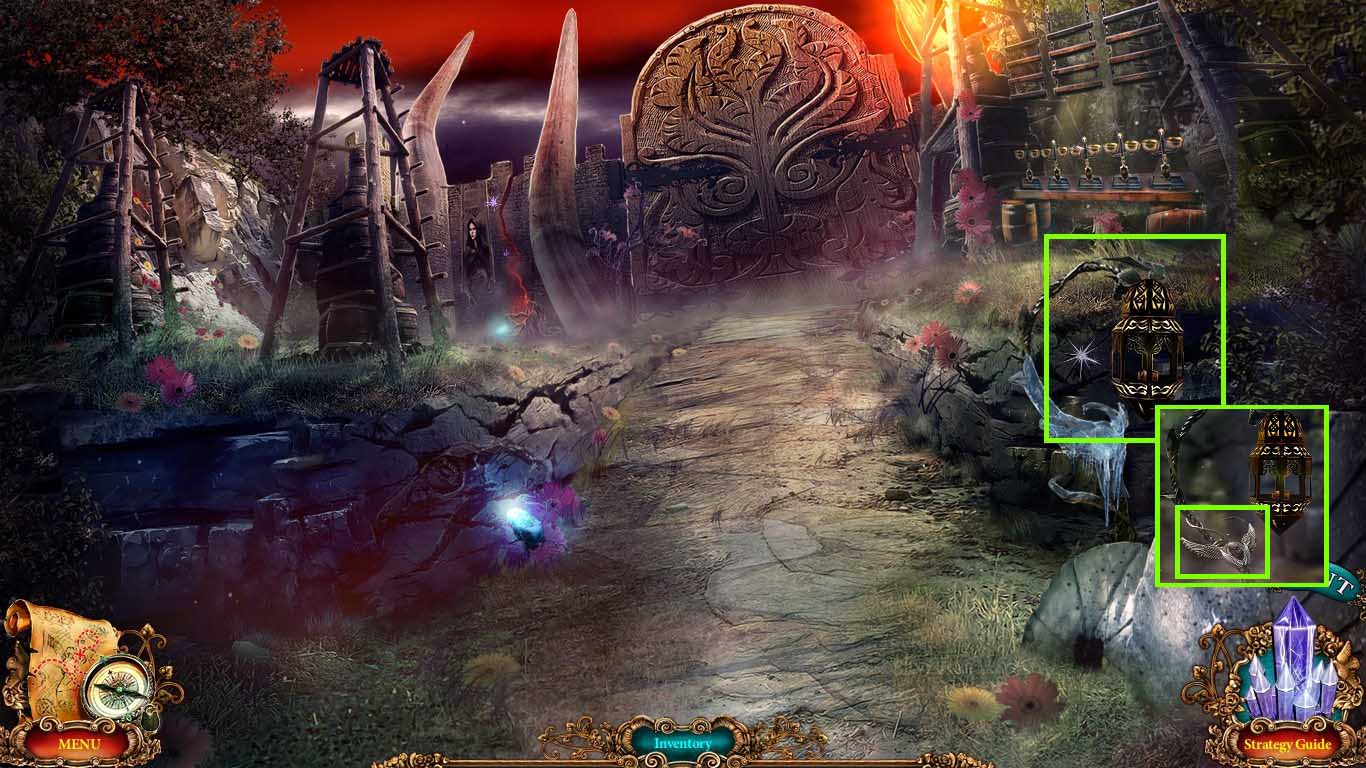
- Zoom into the lamp.
- Use the heat spell on the lamp.
- Collect the winged symbol.
- Move to the main tent.
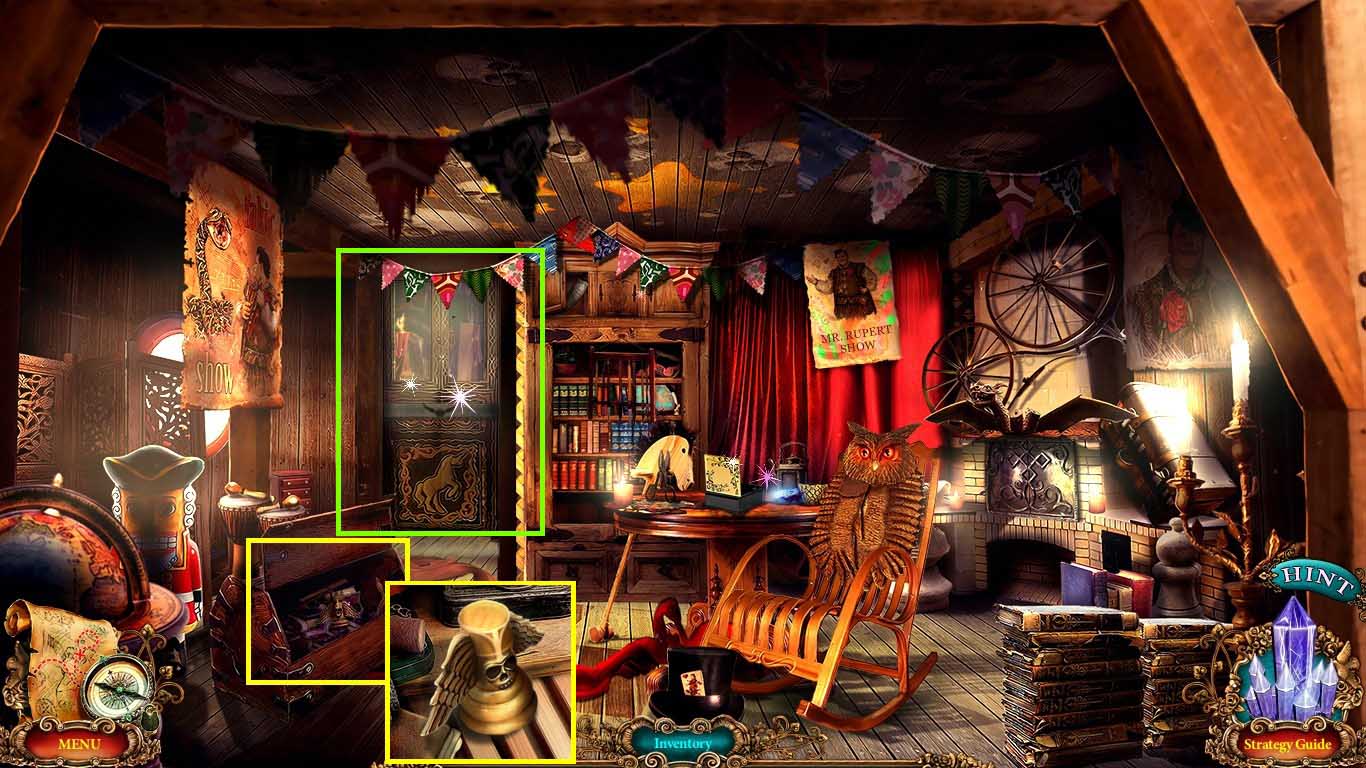
- Zoom into the chest; collect the iron tower.
- Zoom into the door and insert the winged symbol onto it.
- Go into the dressing room.
- Collect the part of the bas-relief.
- Zoom into the floorboard.
- Use the nail puller on the floor board to collect the mirror shard 4/ 4.
- Zoom into the broken mirror and insert the 4 mirror shards.
- Put the iron tower on the top of the mirror.
- Go into the iron tower.
- Zoom into the headless statue.
- Collect the half of spell card.
- Move to the farmer’s bridge.
- Zoom into the box; insert the half of spell card onto the spell piece.
- Collect the water spell.
- Go to the iron tower.
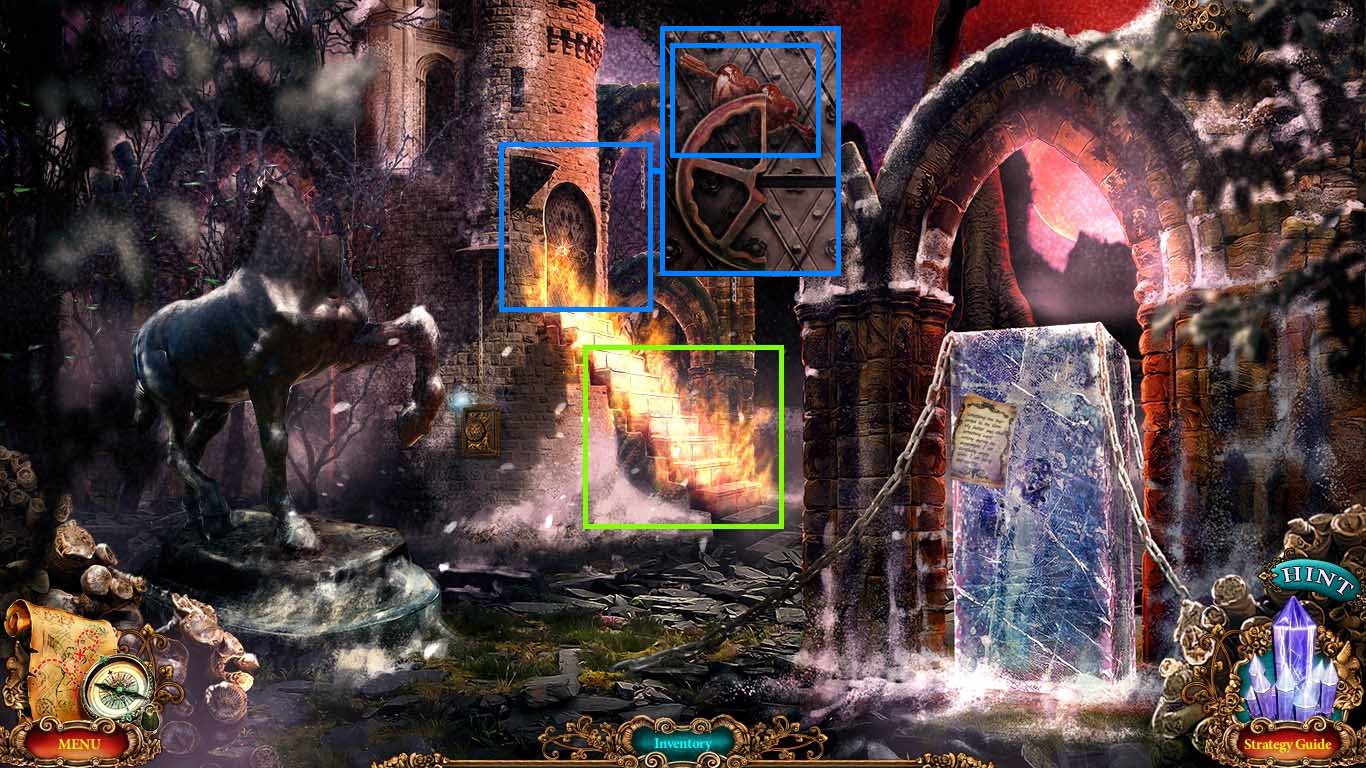
- Use the water spell on the fiery staircase.
- Zoom into the door and collect the medallion.
- Move to the cross roads.
- Zoom into the statue base.
- Insert the medallion into the top groove.
- Collect the silver.
- Move to the wizard’s tower hall.
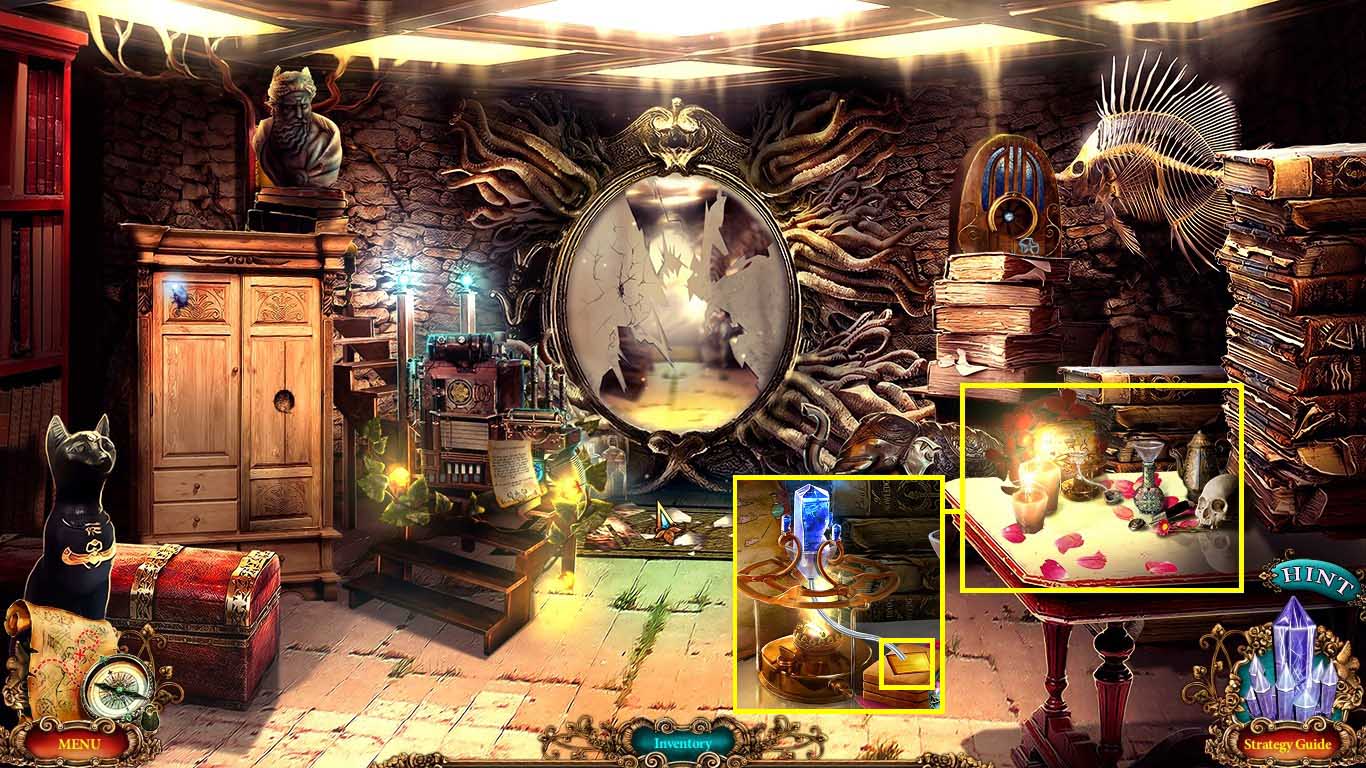
- Zoom into the table.
- Put the gold-veined crystal into the burner.
- Click the burner knob and collect the gold.
- Move to the iron tower.

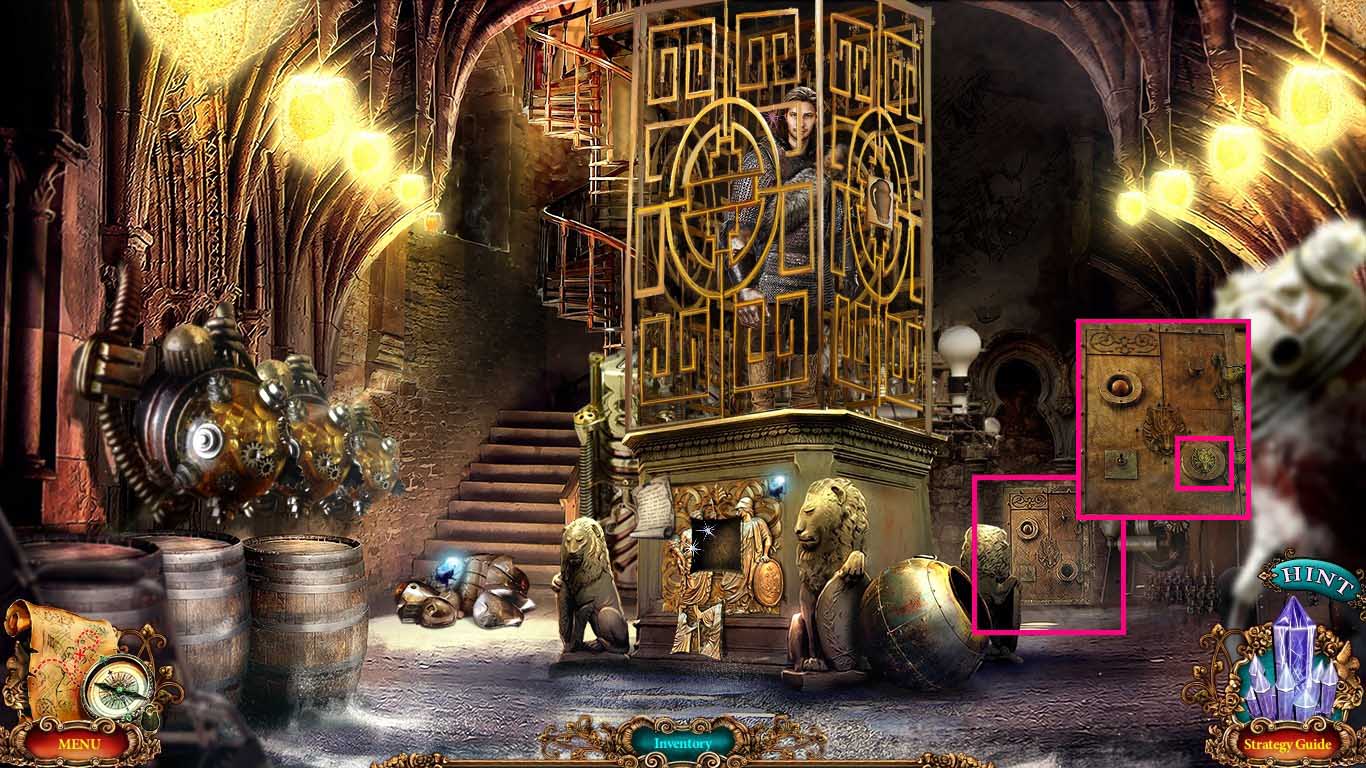
- Zoom into the door.
- Insert the silver, bronze and gold into the grooves.
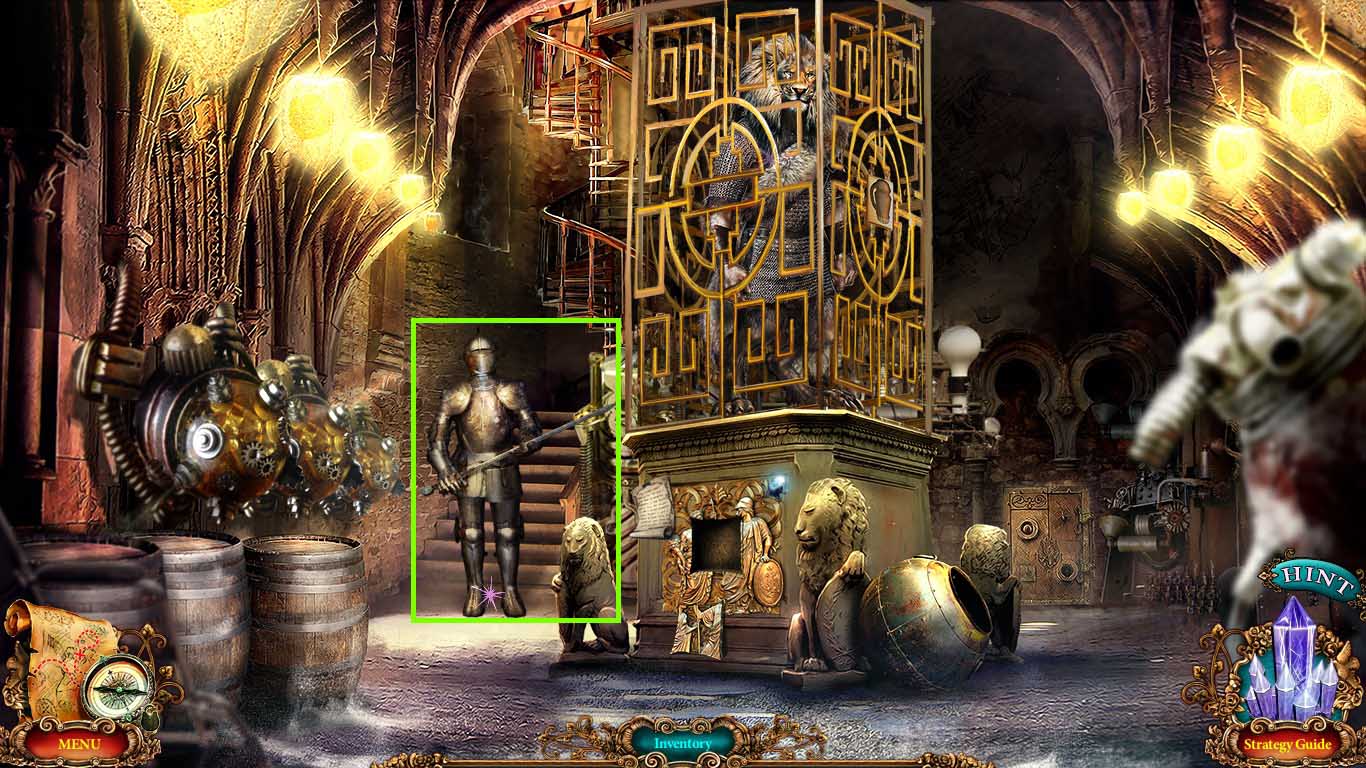
- Go into the iron tower hall.
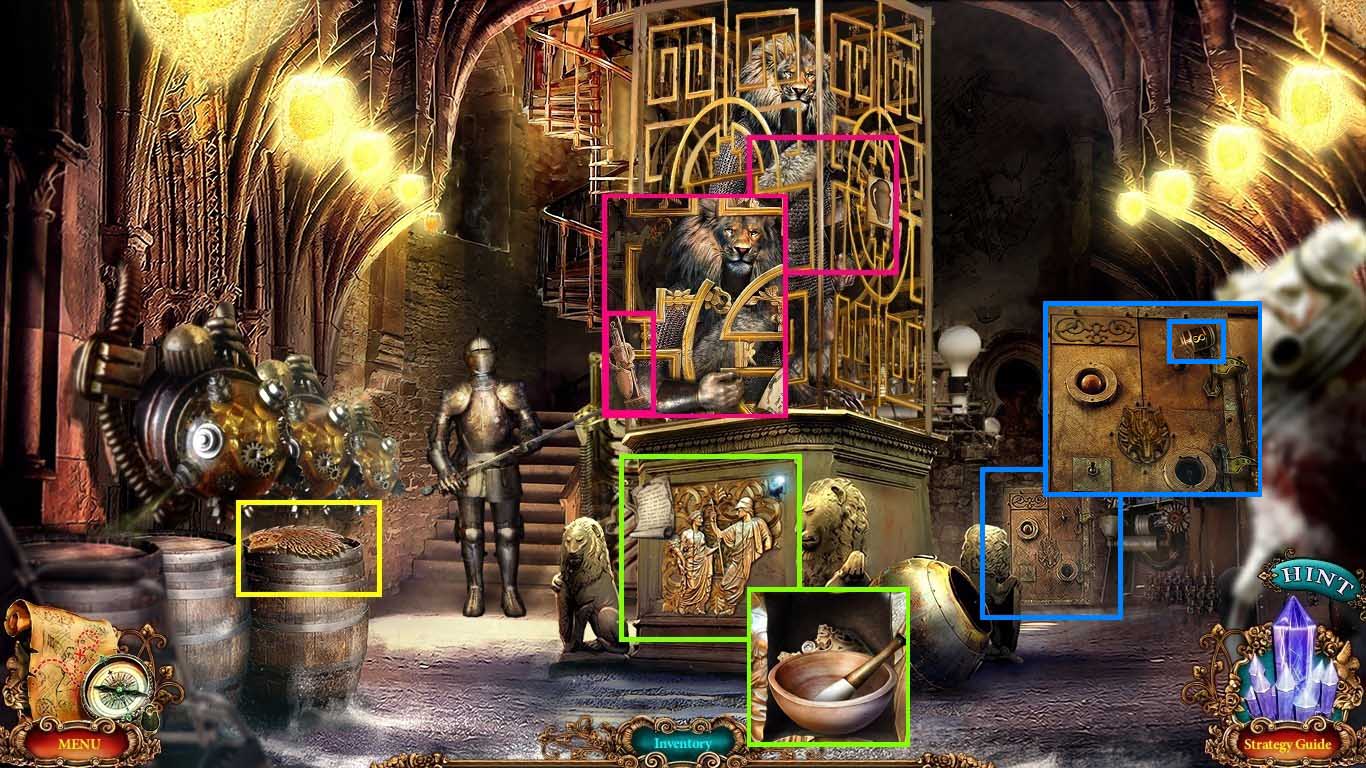
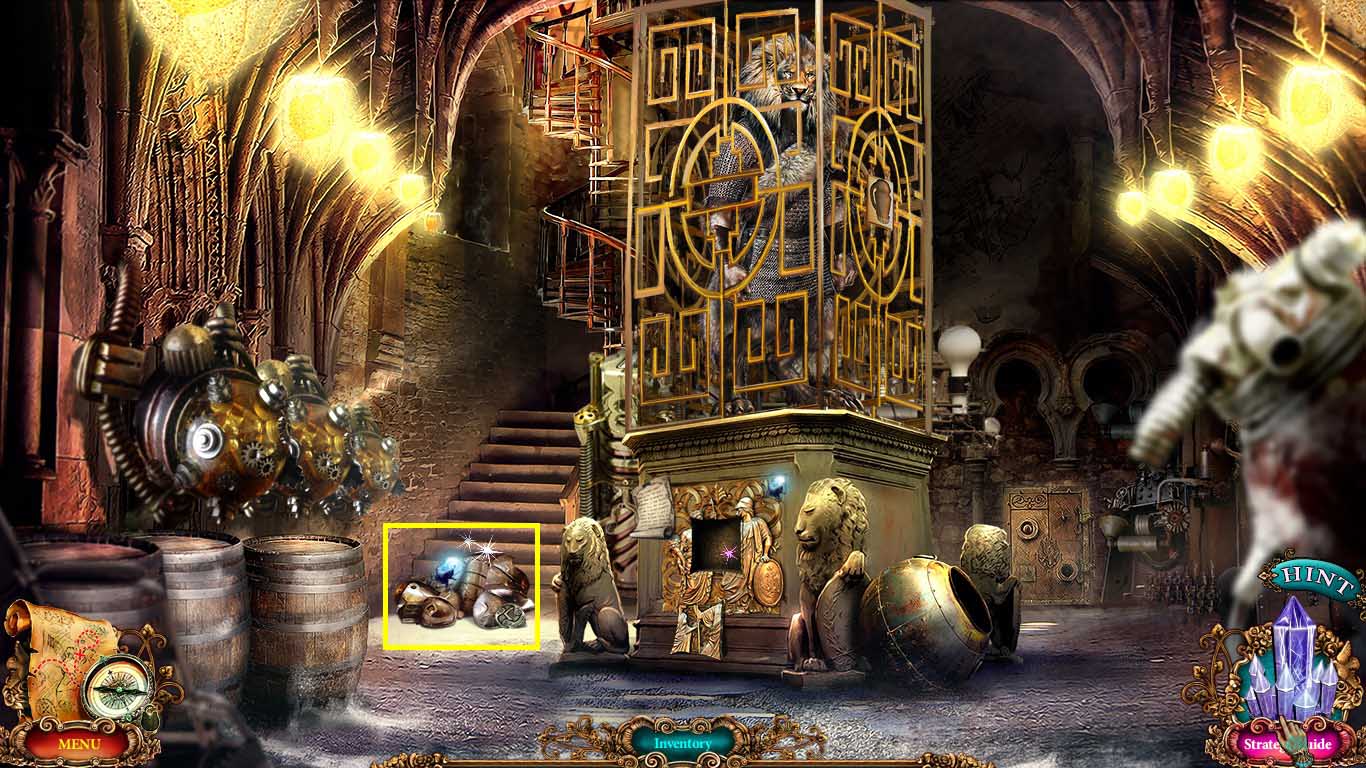
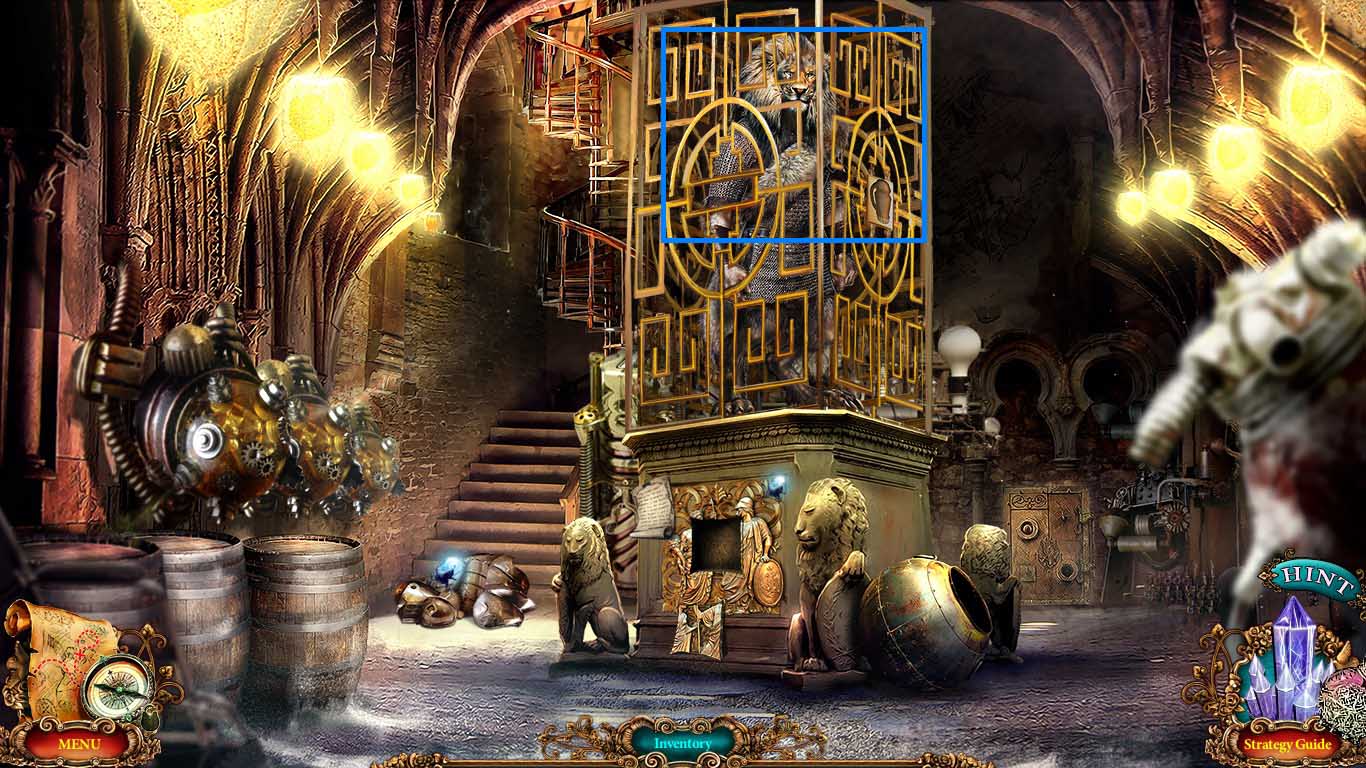
- Zoom into the cage.
- Collect the knight figurine 2/ 2.
- Collect the hedgehog medallion.
- Zoom into the cage pedestal; insert part of the bas-relief into it.
- Collect the mortar and pestle and the iron crown.
- Zoom into the safe; collect the weight.
- Move to the city gates.
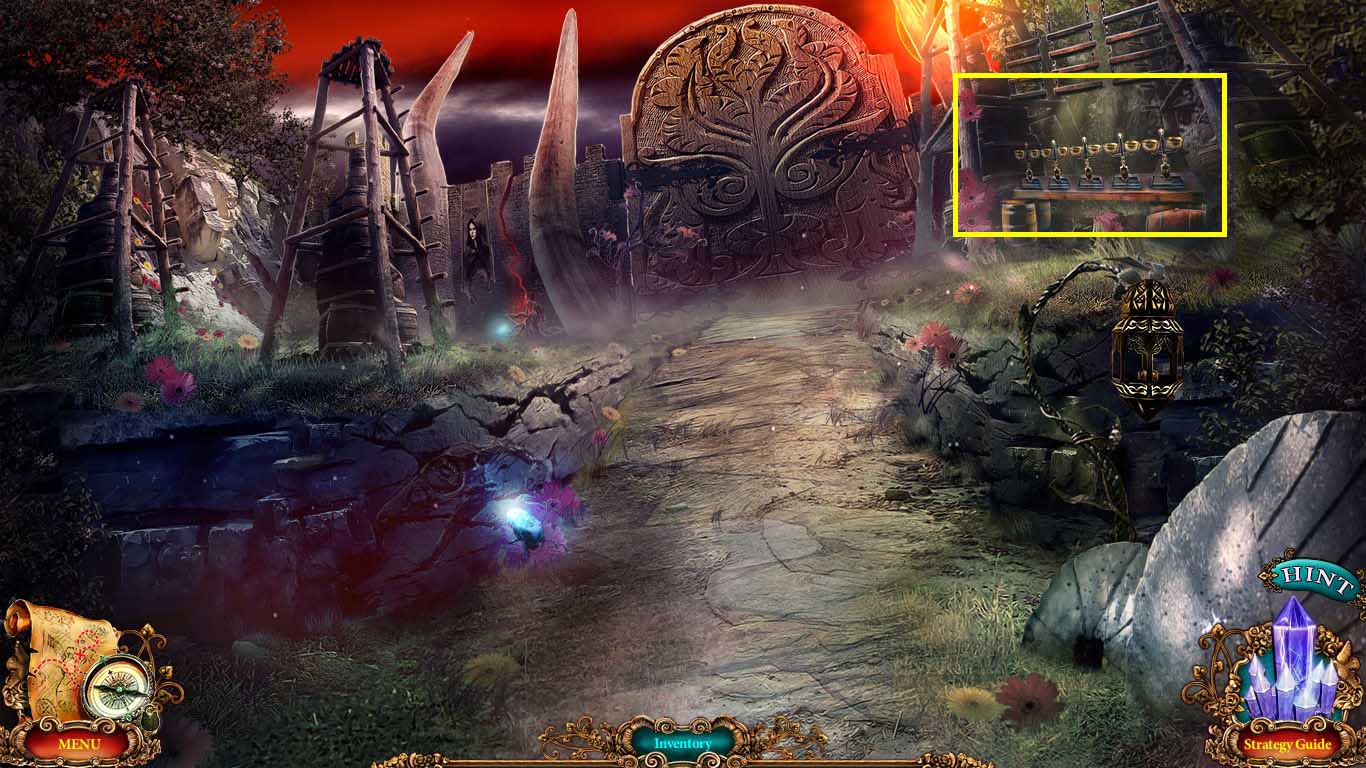
- Zoom into the scales.
- Put the weight on the shelves.
- A puzzle will trigger.
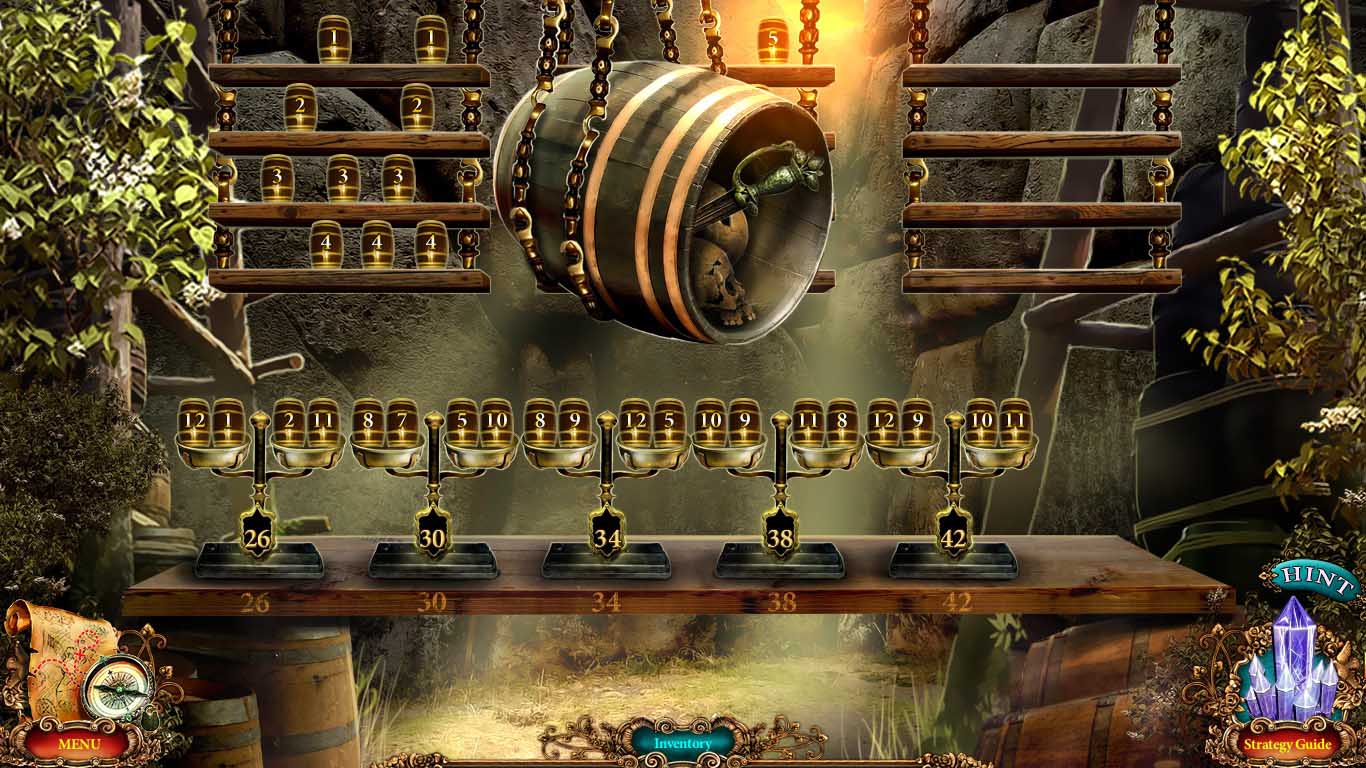
- Use the weights to balance the scales.
- Solve as shown above.
- Use the minion in the barrel to make a minion with sword.
- Move to the iron tower hall.
- Use the minion with sword on the guard.
- Zoom into the armor; collect the rune 2 / 5.
- Go upstairs to the tower top.
- Zoom into the mantle.
- Collect the scroll spell.
- Zoom into the table and collect the iron key.
- Move to the iron tower.
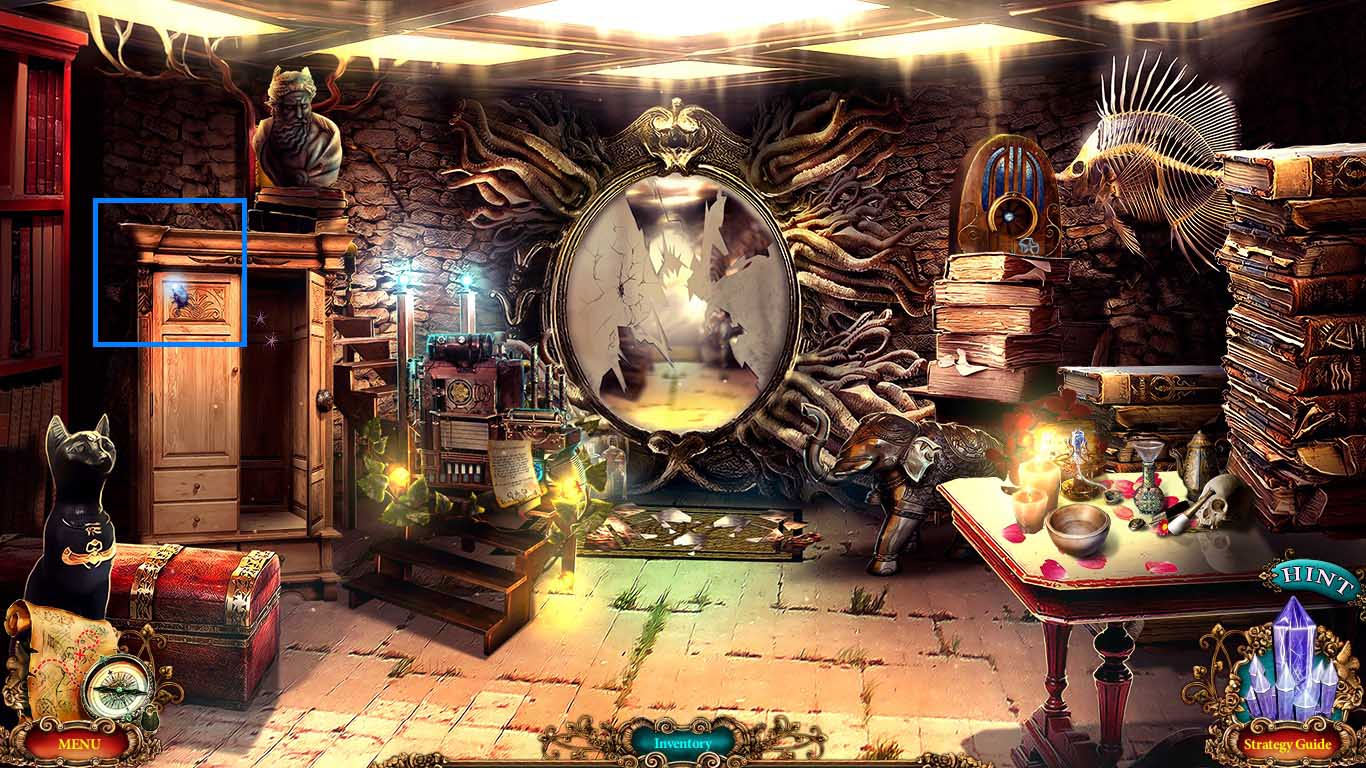
- Zoom into the cabinet.
- Insert the iron key and click it.
- Collect the poppy and the cloth.
- Move to the city gates.
- Zoom into the cracked wall; use the scroll spell on the banner.
- Use the minion to collect the hourglass.
- Move to the wizard’s tower hall.
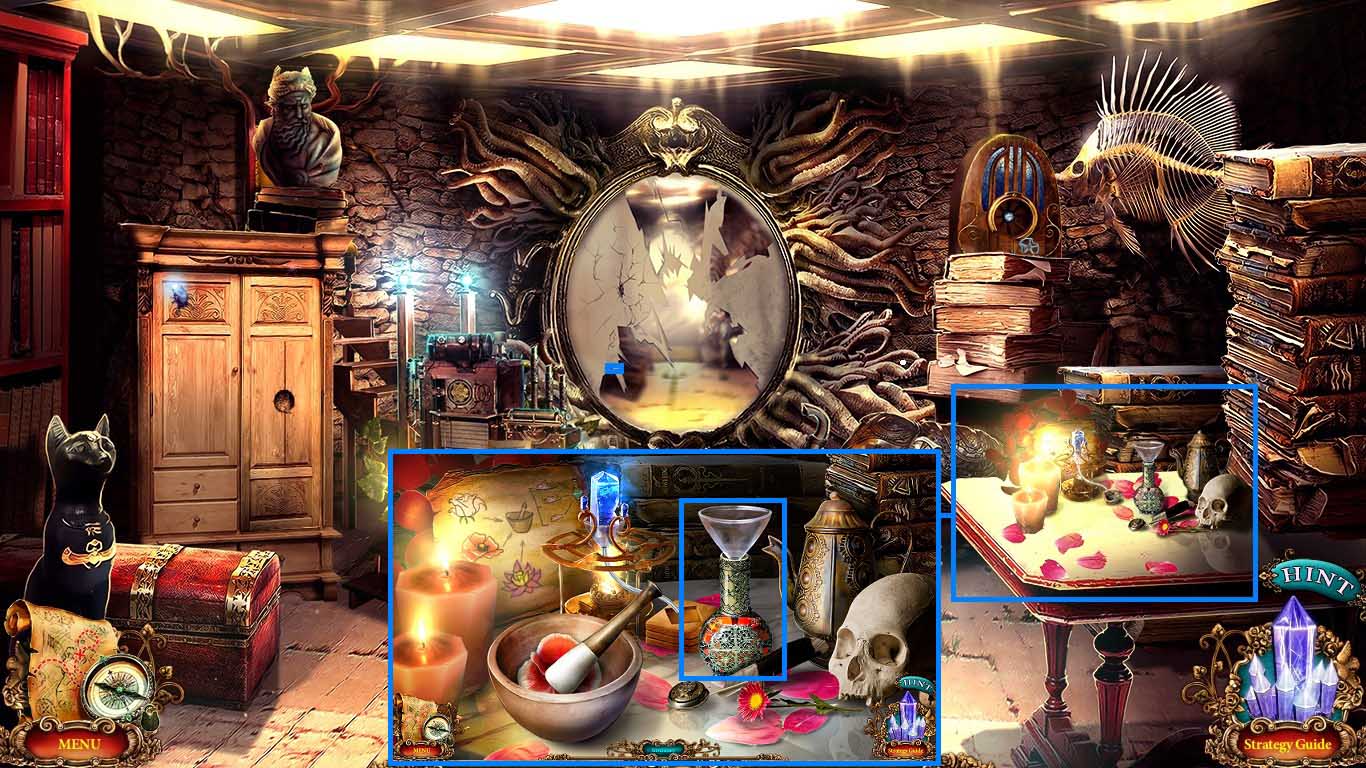
- Zoom into the table and put the mortar and pestle onto the table.
- Put the poppy in the mortar; click the pestle.
- Put the ground poppy into the funnel.
- Put the rose into the mortar; click the pestle.
- Put the lotus in the mortar; click the pestle.
- Collect the memory elixir.
- Move to the iron tower hall.
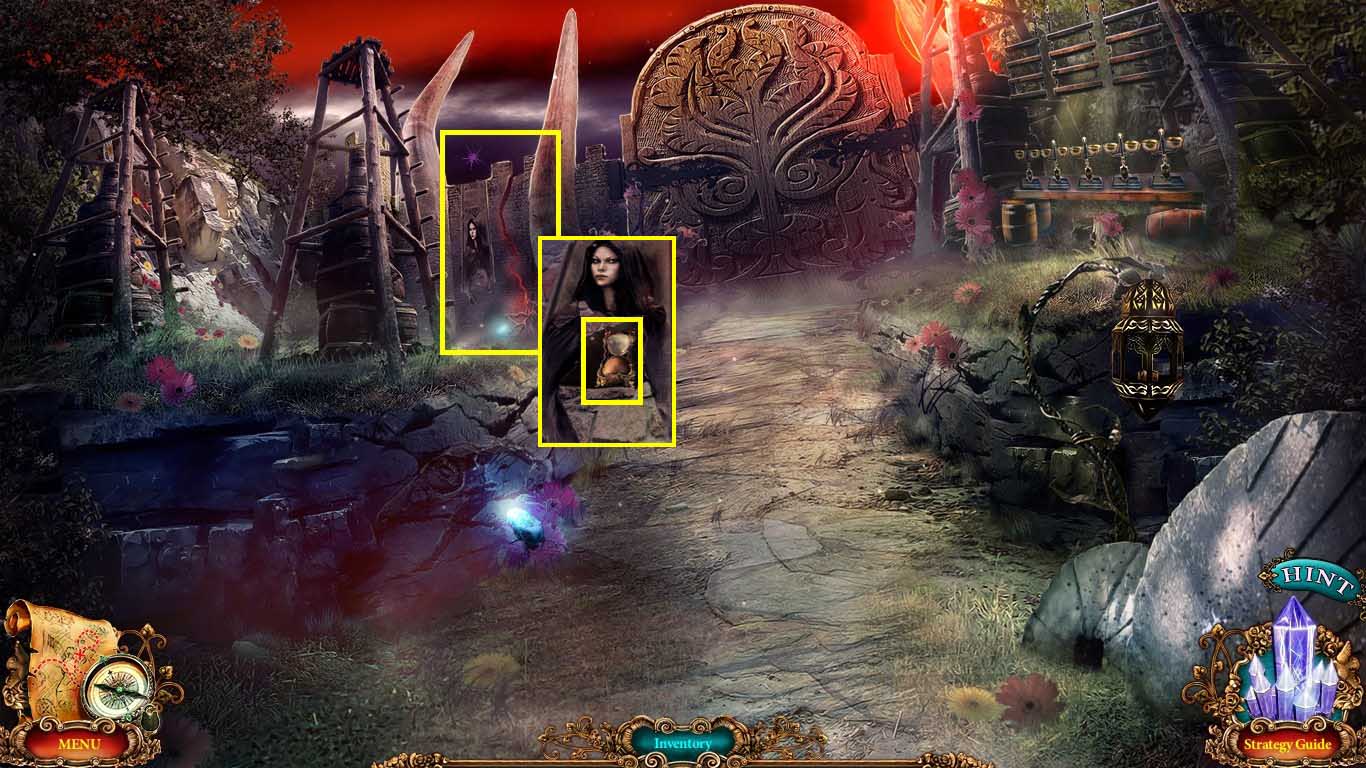
- Zoom into the cage.
- Use the memory elixir on the prince.
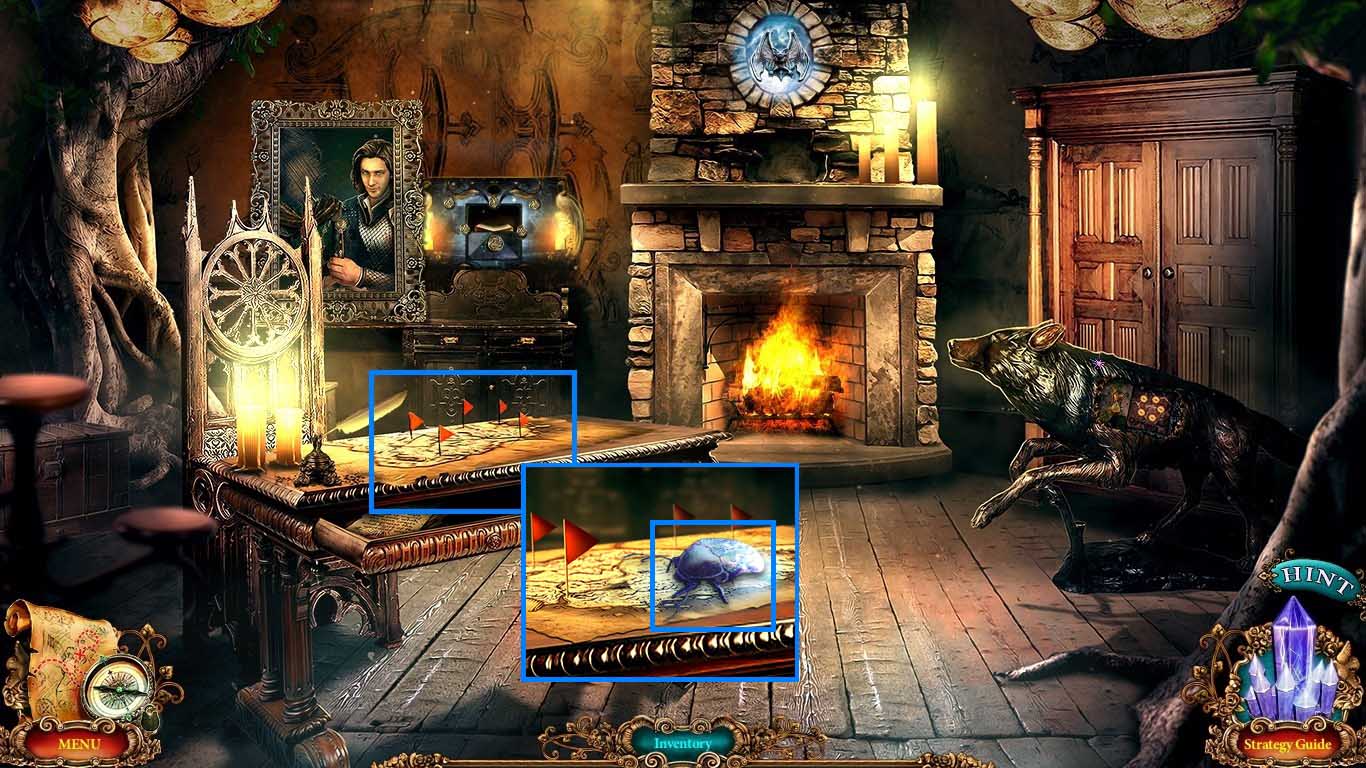
- Move to the traveling theatre.
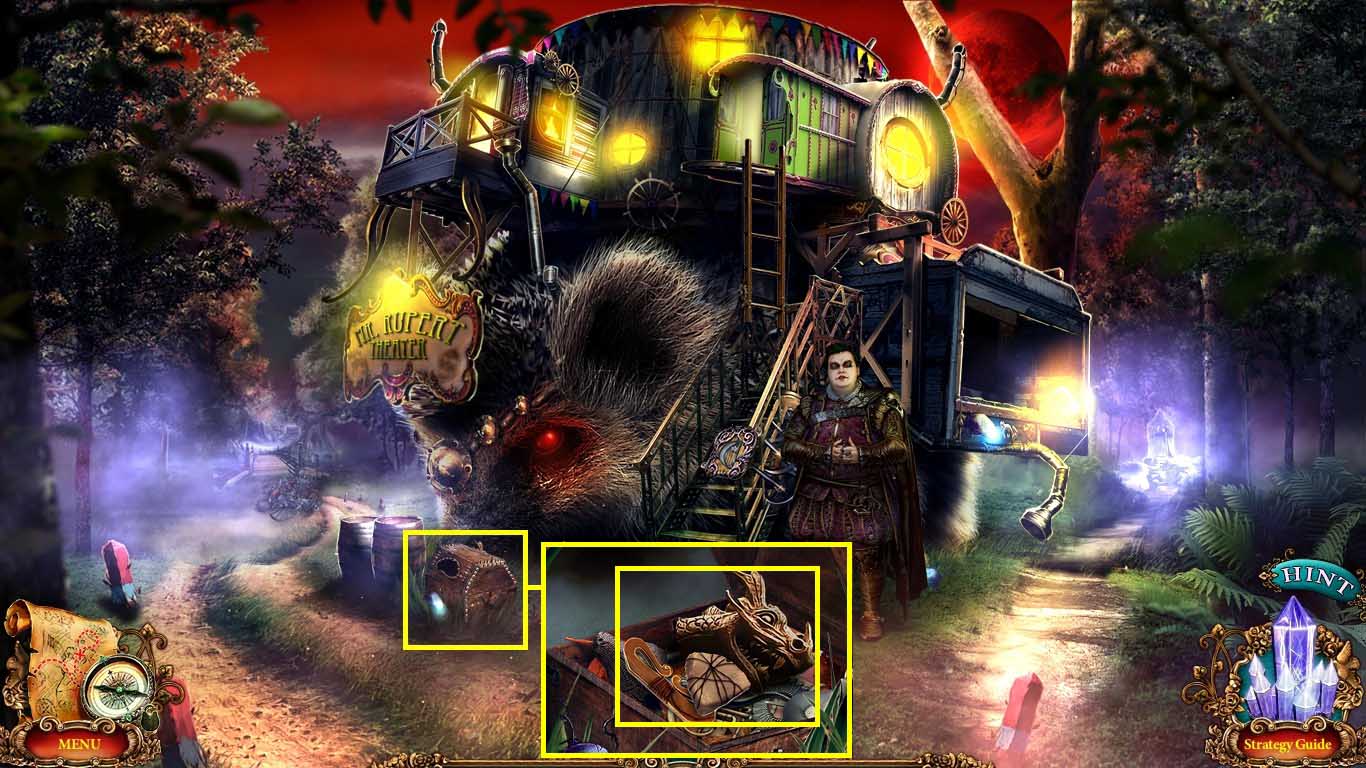
- Zoom into the chest.
- Insert the hedgehog amulet on the chest.
- Collect the flint and the dragon head 1 /2.
- Move to the city gates.
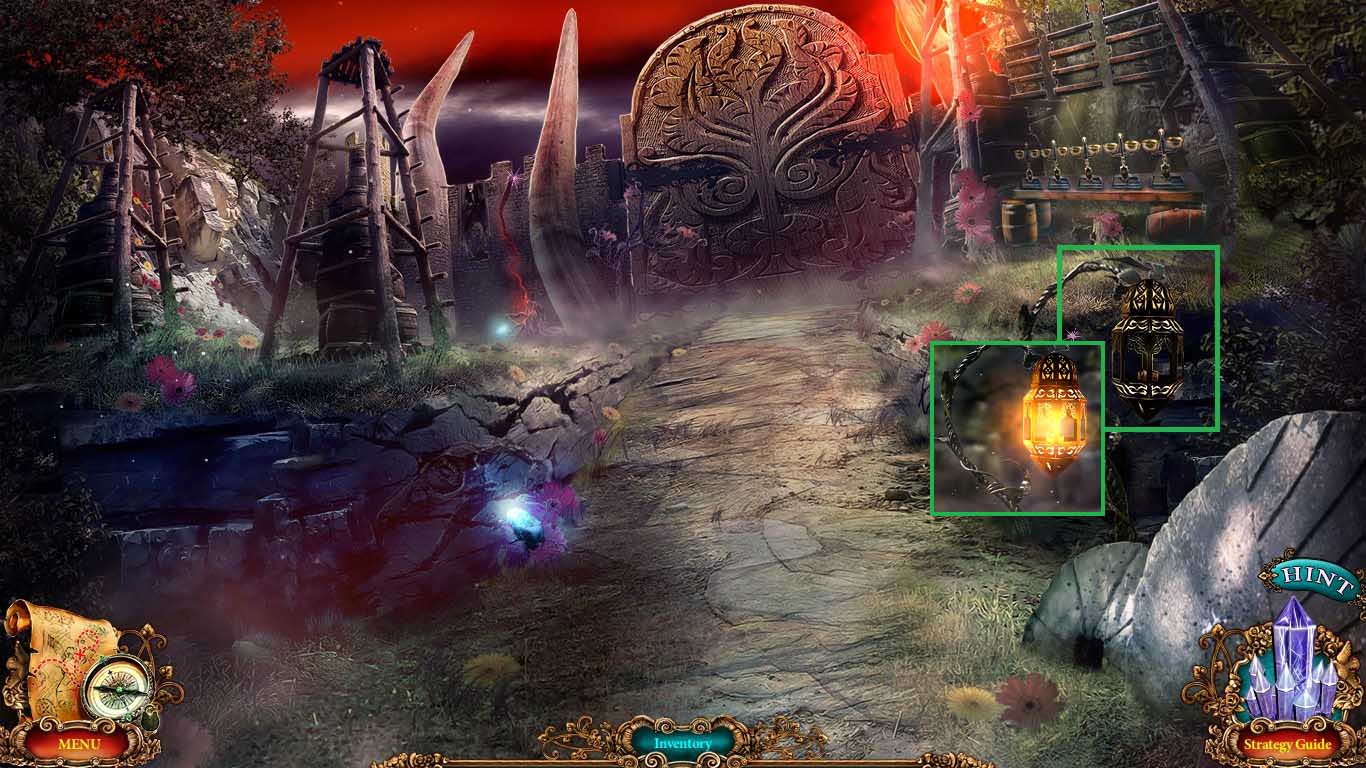
- Zoom into the lantern; use the flint on it.
- Collect the lit lamp.
- Move to the destroyed tower.
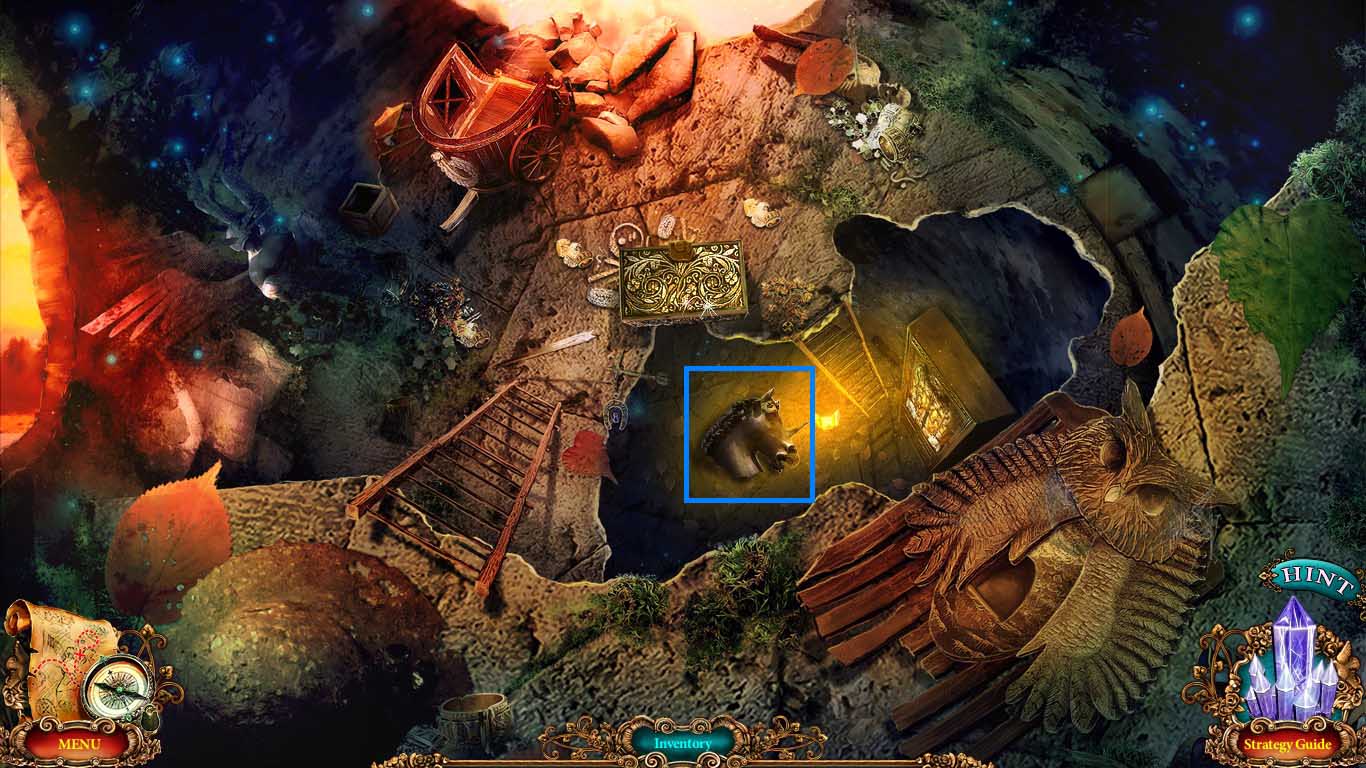
- Use the lit lamp inside the cavern.
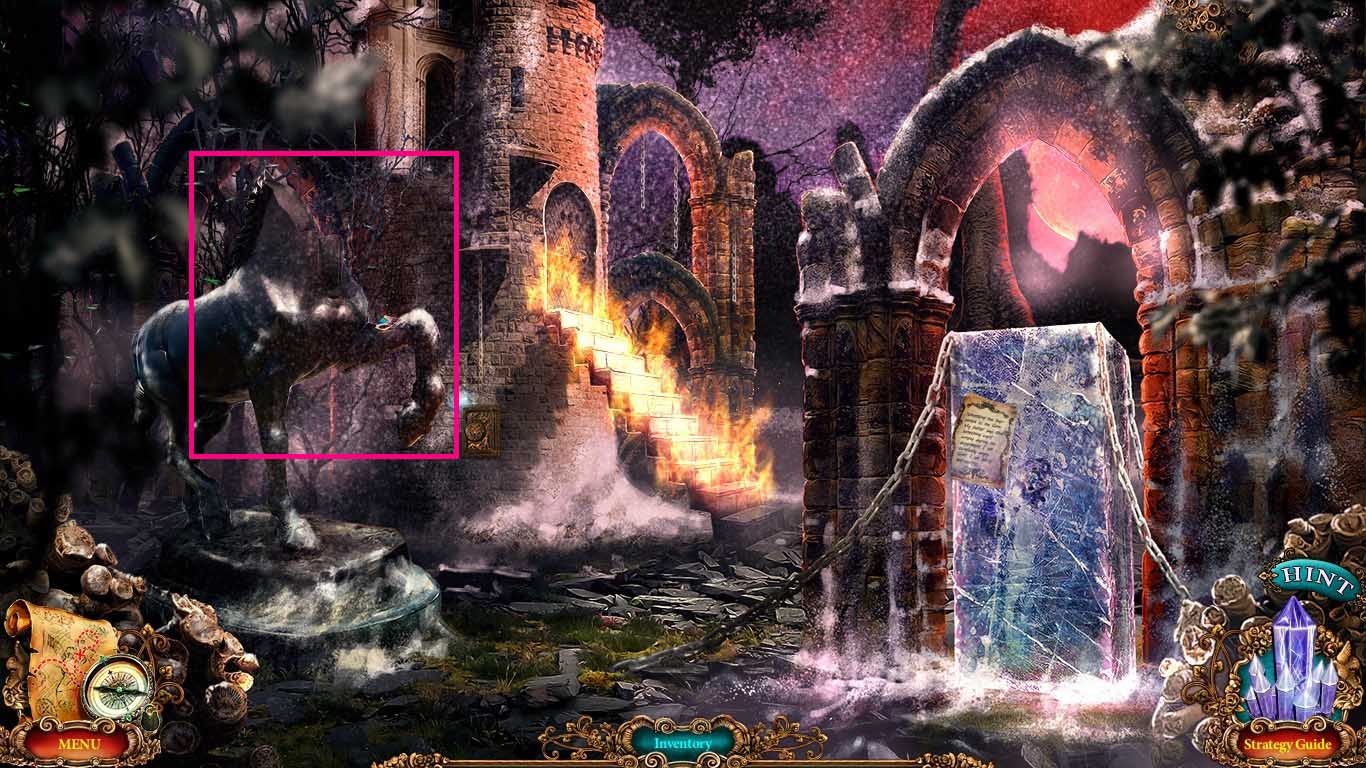
- Collect the unicorn head.
- Move to the iron tower.
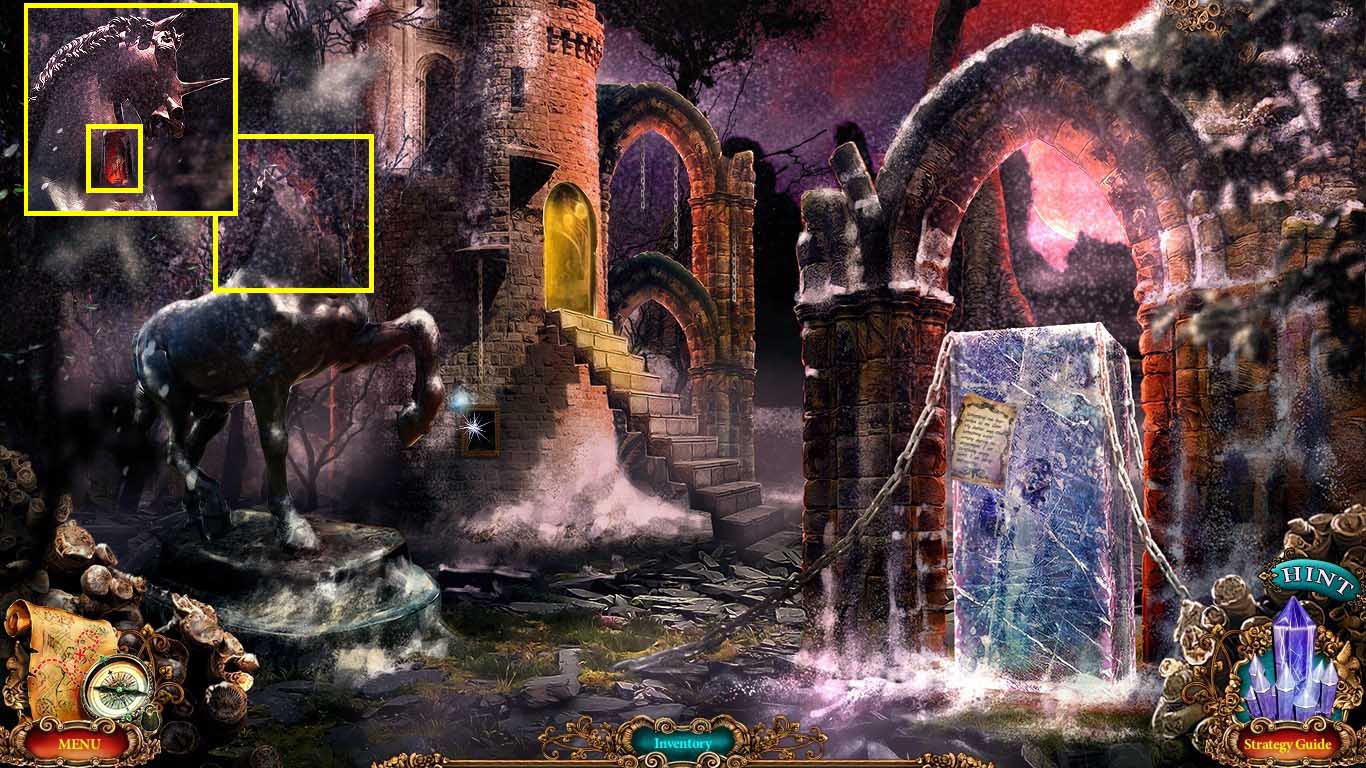
- Zoom into the unicorn neck; put the unicorn head onto it.
- Collect the small knight figurine.
- Move to the tower top.
- Zoom into the wolf; insert the hourglass into the groove for a puzzle to trigger.
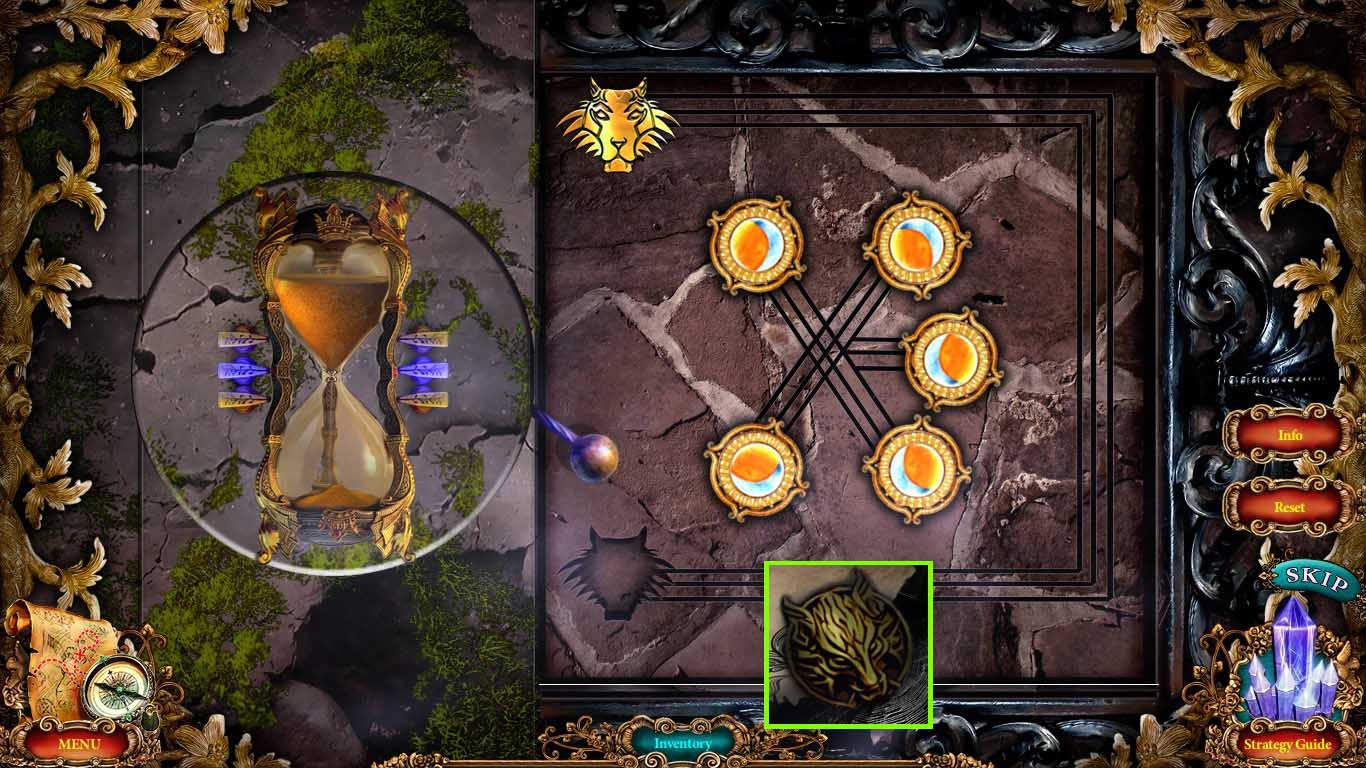
- Move the moon and sun so that the wolf can go through the path at night.
- Solve as shown above.
- Collect the wolf stamp.
- Go to the iron tower hall.
- Zoom into the cabinet and insert the wolf stamp.
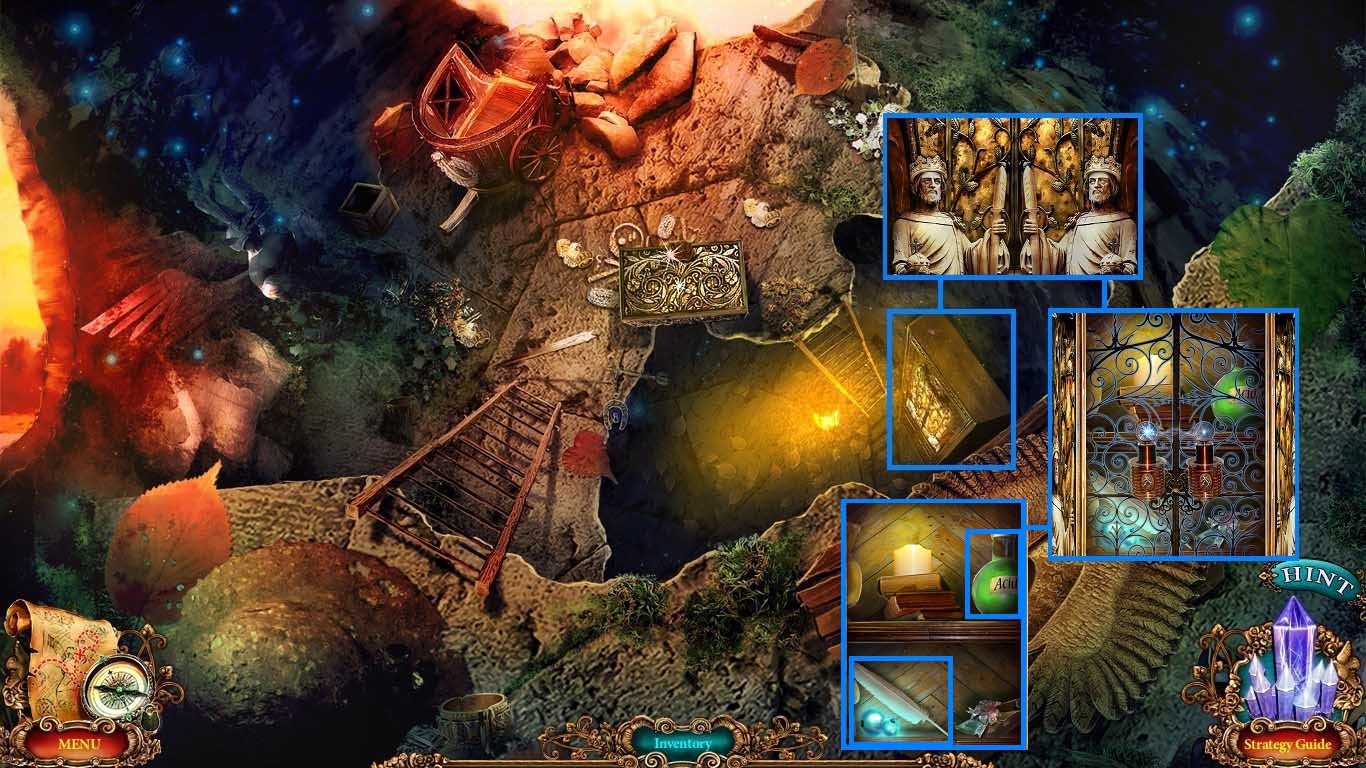
- Zoom into the cabinet to access a hidden objects area.
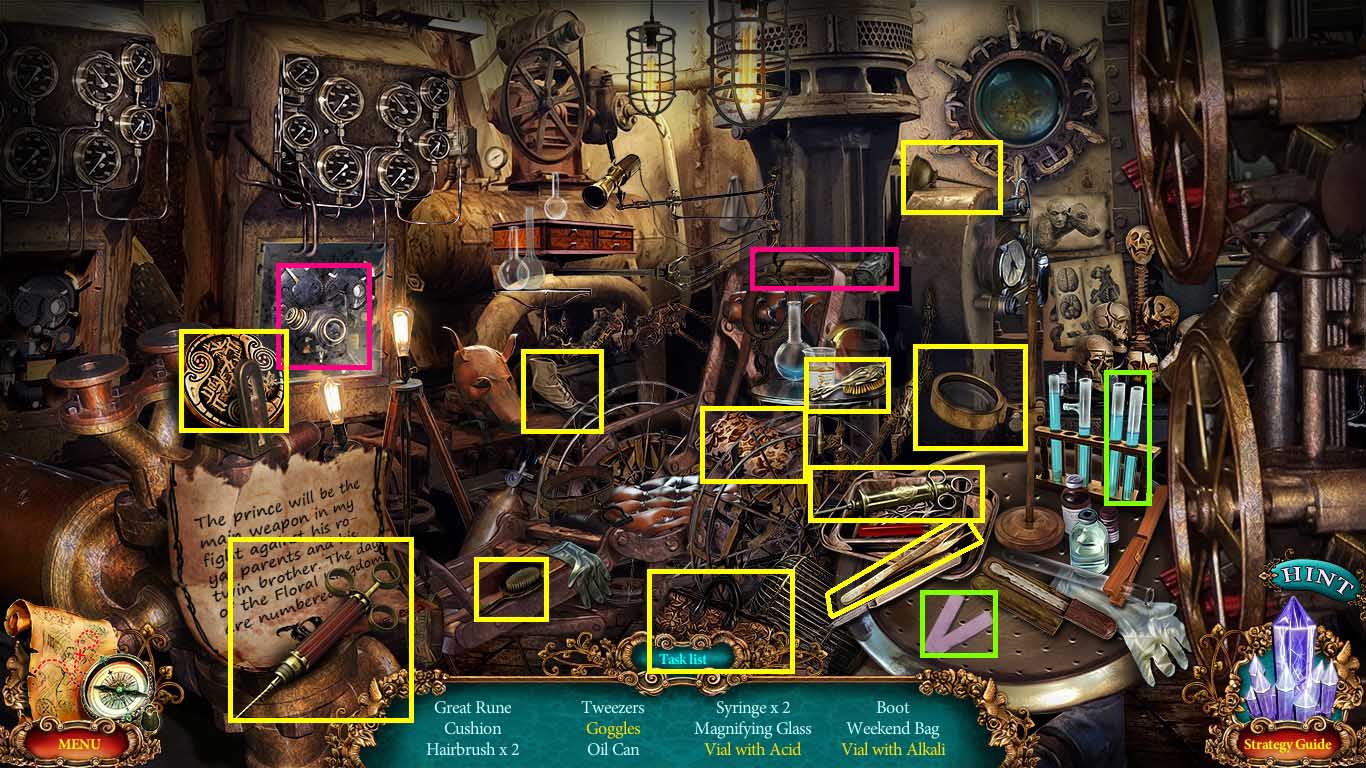
- Find the listed items.
- Get the goggles using the hammer on the glass cabinet.
- Get the vial with alkali and the vial with acid by using the test strips on the vials.
- Collect the great rune.
- Move to the dressing room.
- Zoom into the cabinet and insert the 2 knight figurines and the small knight rune on the shelf.
- A puzzle will trigger.
- Solve the puzzle using the following pattern:
- 2 small – boat – 1 small – boat – small on boat – 1 large – boat – large on boat – small – boat- small – boat – 1 small on boat – boat, small on boat, large, boat, large on boat, small ,boat, small , boat, 2 small on boat.
- Collect the metal ball.
- Move to the wizard’s tower hall.
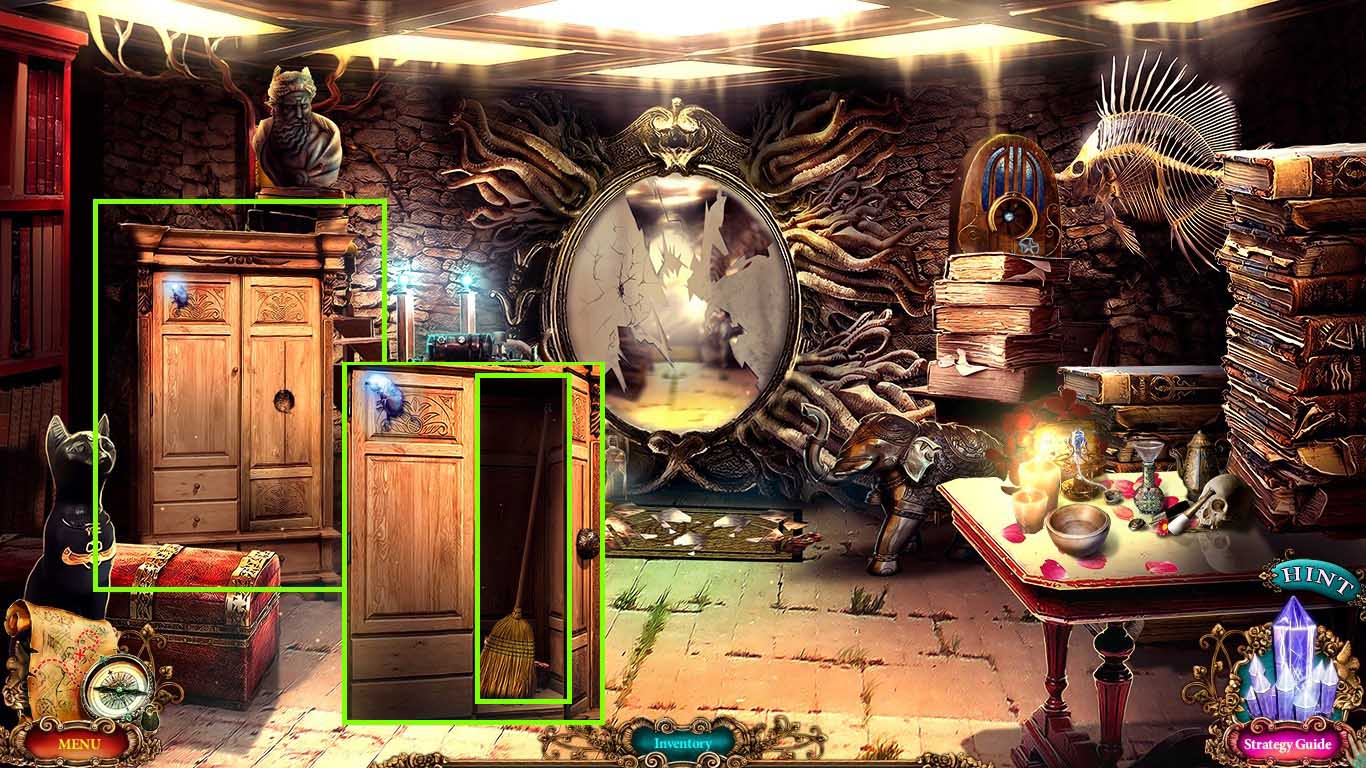
- Zoom into the cabinet and insert the metal ball onto the right door.
- Collect the broom and the dragon head 2/2.
- Move to the dressing room.
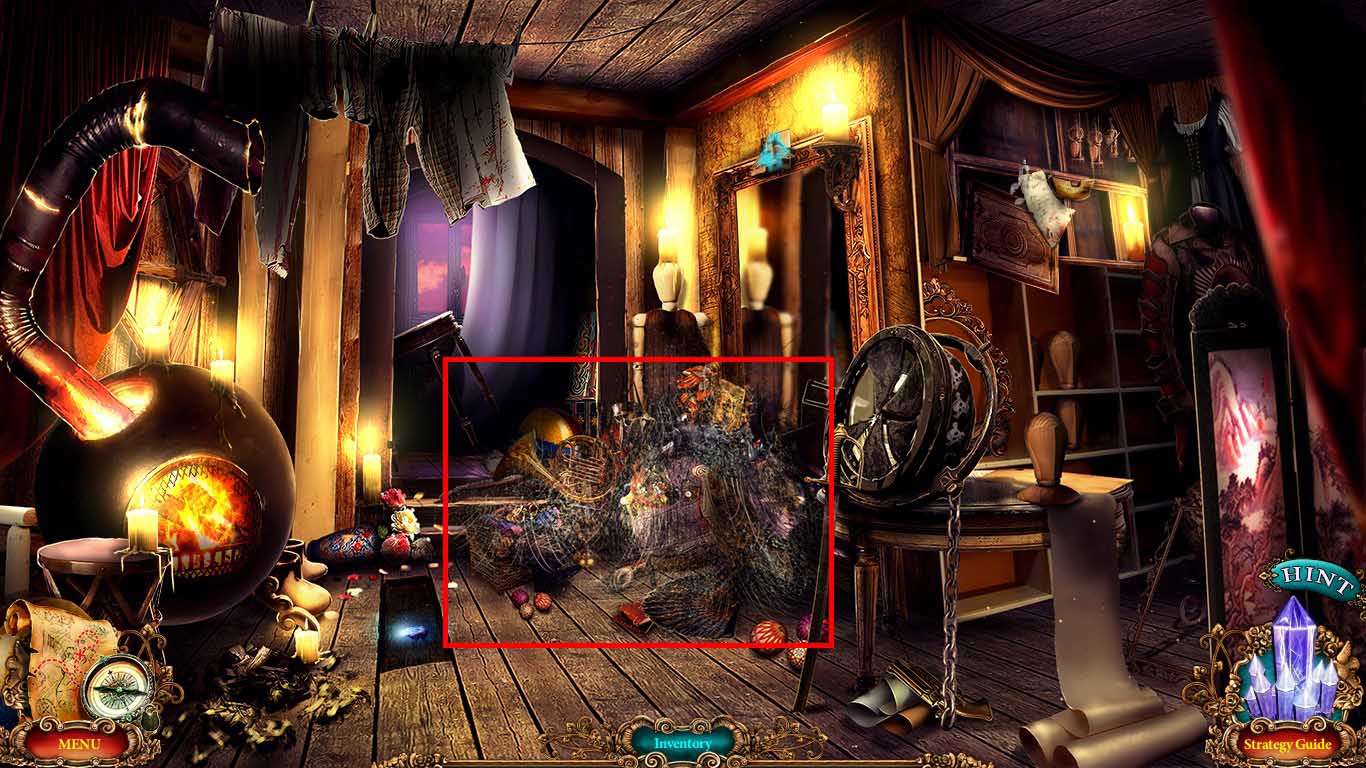
- Use the broom to clear the cobwebs.
- Zoom into the pile to access the hidden objects area.
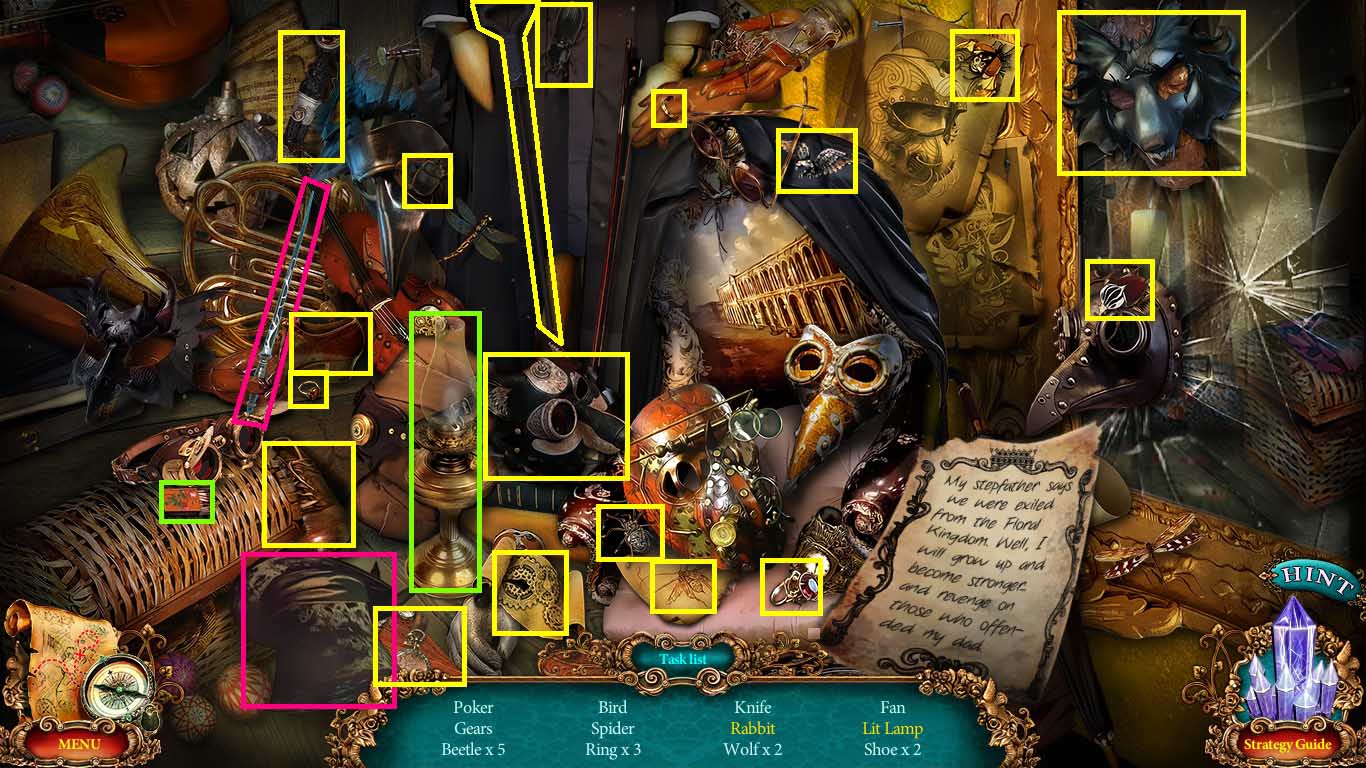
- Find the listed items.
- Get the rabbit using the wand on the top hat.
- Get the lamp lit by using the matches on the lamp.
- Collect the poker.
- Move to the main tent.
- Zoom into the fireplace insert the 2 dragon heads.
- Use the poker on the coals.
- Collect the cutters.
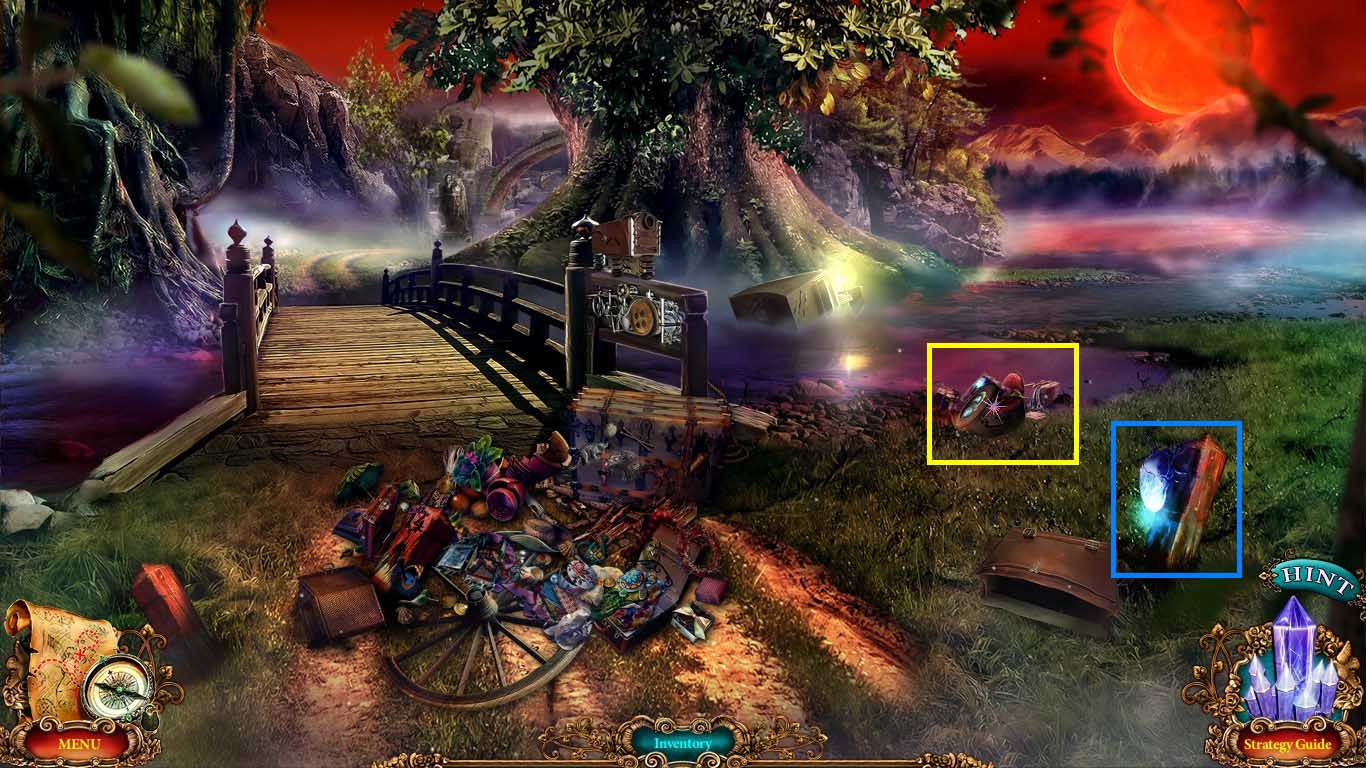
- Move to the destroyed tower.
- Zoom into the chariot.
- Cut the wires with the cutters.
- Collect the ice pick.
- Move to the iron tower.
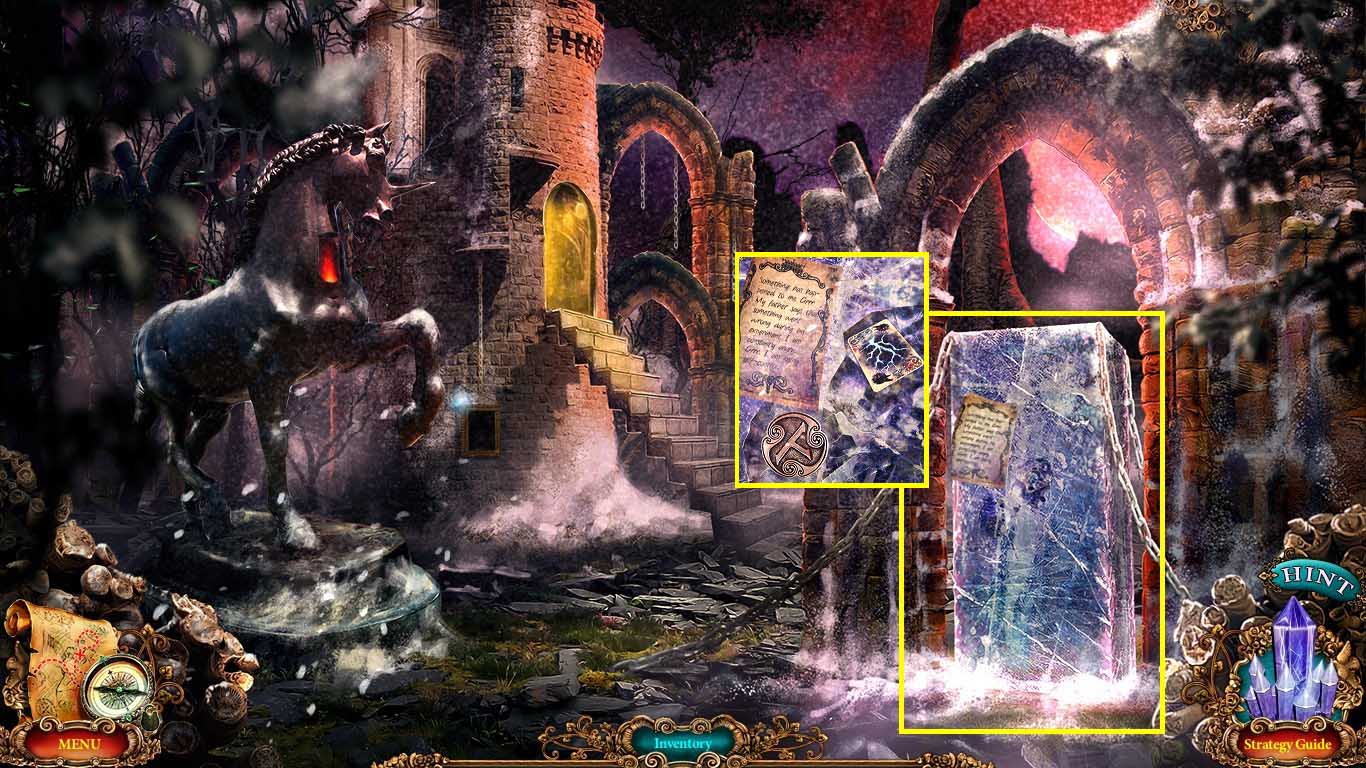
- Zoom into the block of ice.
- Use the ice pick on the ice.
- Collect the lighting spell and the rune 3/5.
- Go to the destroyed tower.
- Zoom into the cabinet and insert the iron crown.
- Use the lightning spell on the lock.
- Collect the quill and the vial with acid.
- Move to the forest path.
- Zoom into the end of the pier.
- Use the vial with acid on the box.
- Collect the elephant emblem.
- Move to the tower top.

- Zoom into the table.
- Put the quill into the inkpot.
- Collect the rune 4/5.
- Zoom into the note.
- Move to the destroyed tower.

- Zoom into the chest; insert the elephant emblem.
- Zoom into the opened chest to access a hidden objects area.
- Find the listed items.
- Use the scissors on the paper dress.
- Put the paper dress on the doll and collect the paper doll.
- Create the mechanic doll using the wind up key on the doll.
- Collect the bat amulet.
- Move to the tower top.
- Zoom into the fireplace chimney.
- Use the cloth on the dirt.
- Insert the bat amulet into the groove.
- Collect the rune 5/5.
- Click the portrait and zoom into the safe.
- Insert the 5 runes and the great rune into the groove.
- A puzzle will trigger.
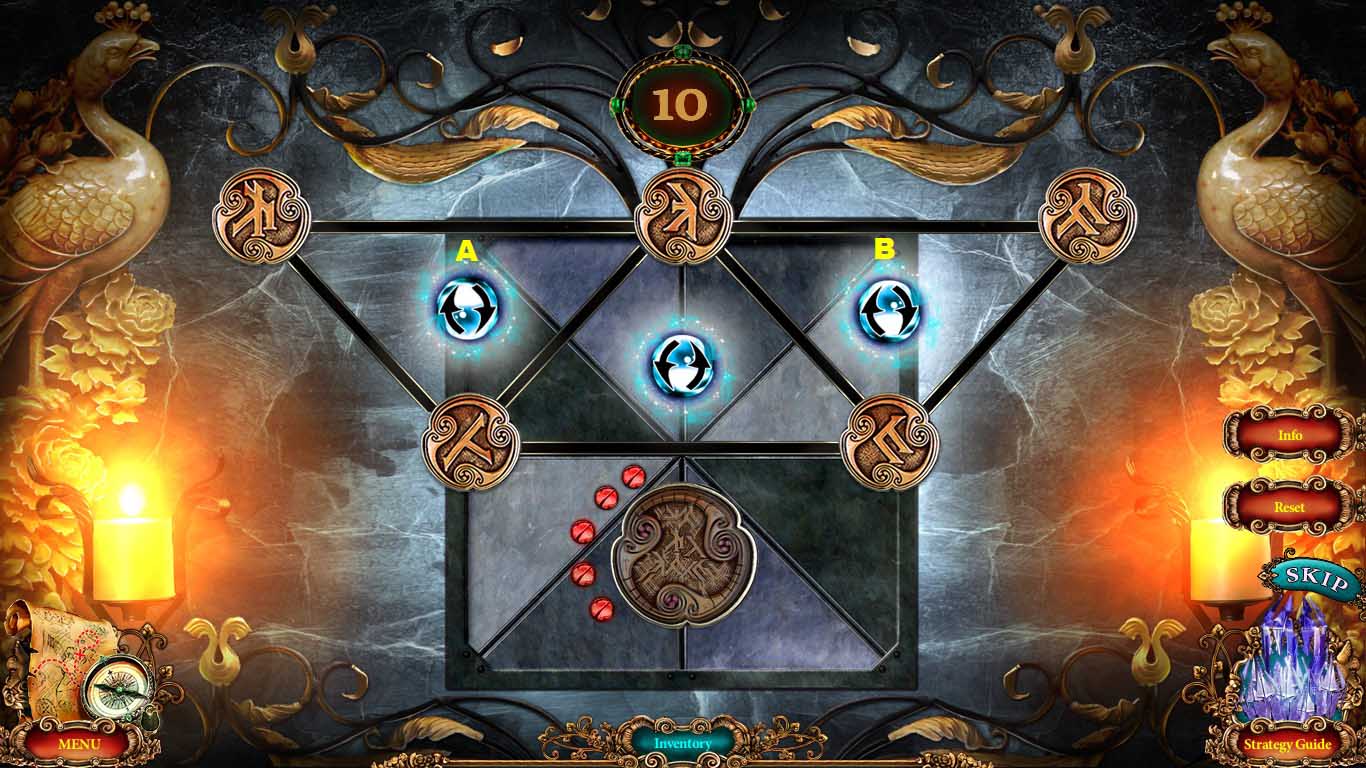
- Move the runes into the correct position.
- Solve the puzzle as shown above.
- Solve as follows:
- B: 1 x
- A: 2 x’s.
- Click the great rune.
- Zoom into the diary; collect the diary record.
- Move to the tower hall.

- Zoom into the cage.
- Give the prince the diary record.
- Collect the werewolf blood.
-
Move to the traveling theatre.
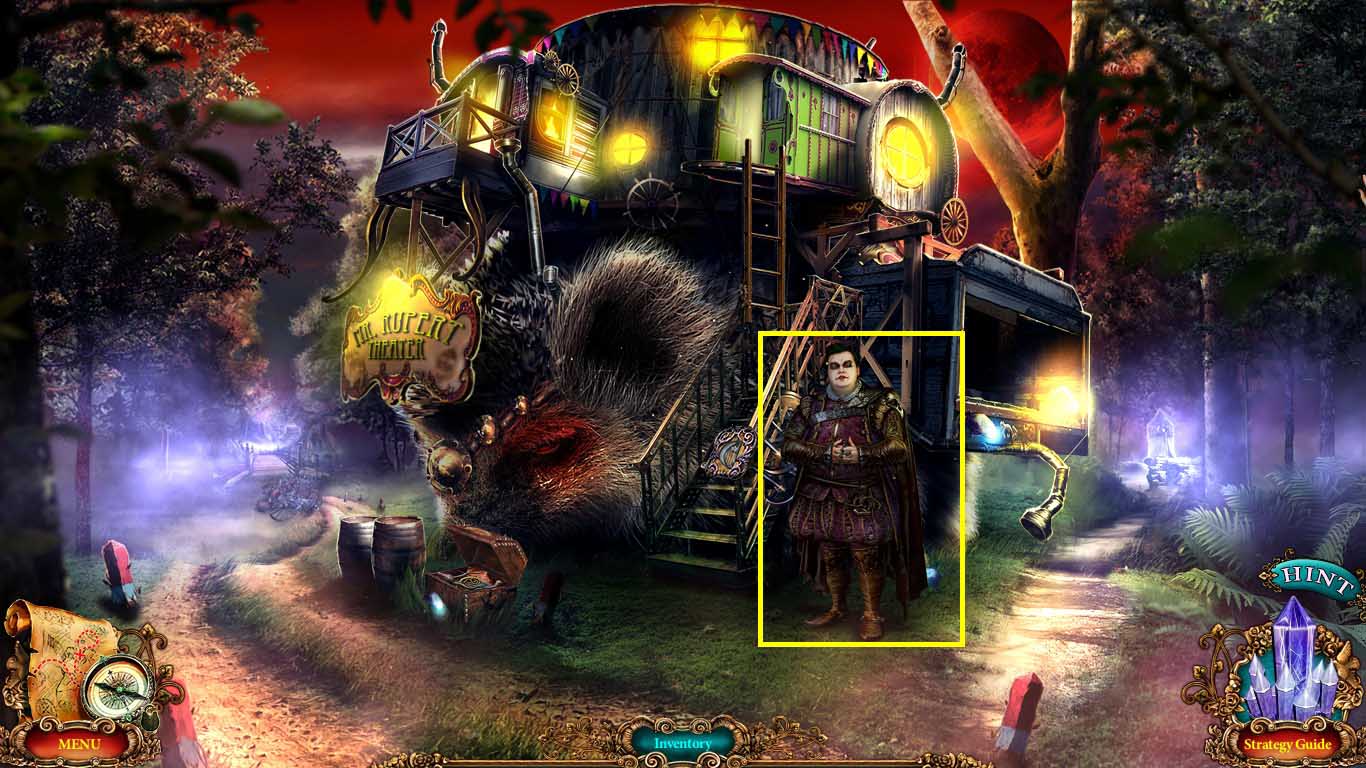
- Use the werewolf blood on Mr. Rupert.
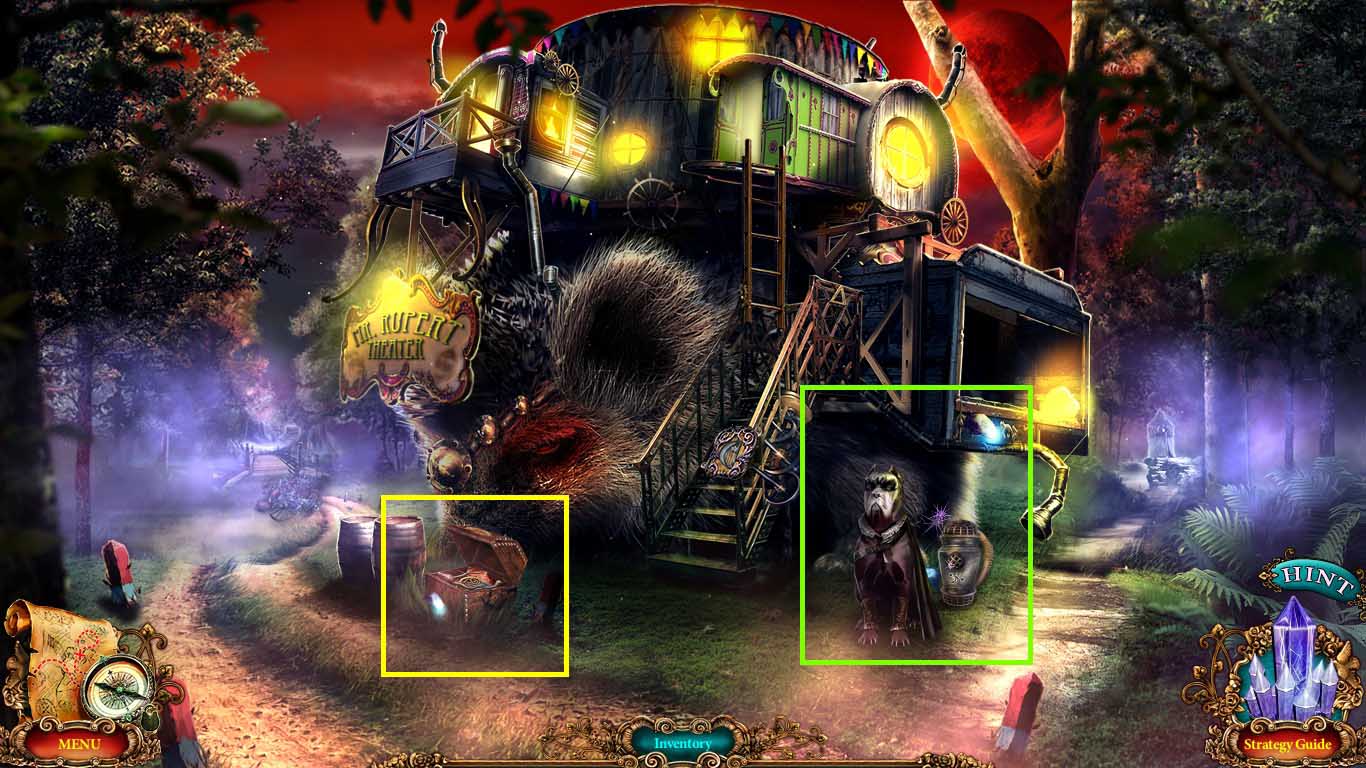
- Zoom into the dog; collect the curse reverse spell and the discharged night light battery.
- Collect 20 fireflies using the discharged night light battery.
- Zoom into the dog; collect the fireflies 1 /20 and 2 /20.
- Zoom into the chest; collect firefly 3/20.
- Go to the forest edge.
- Zoom into the cart.
- Collect firefly 4/20.
- Zoom into the tree hole and collect firefly 5/20.
- Zoom into the sign and collect firefly 6/20.
- Move to the farmer’s bridge.
- Collect firefly 7/20.
- Zoom into the box; collect firefly 8/20.
- Move to the cross roads.
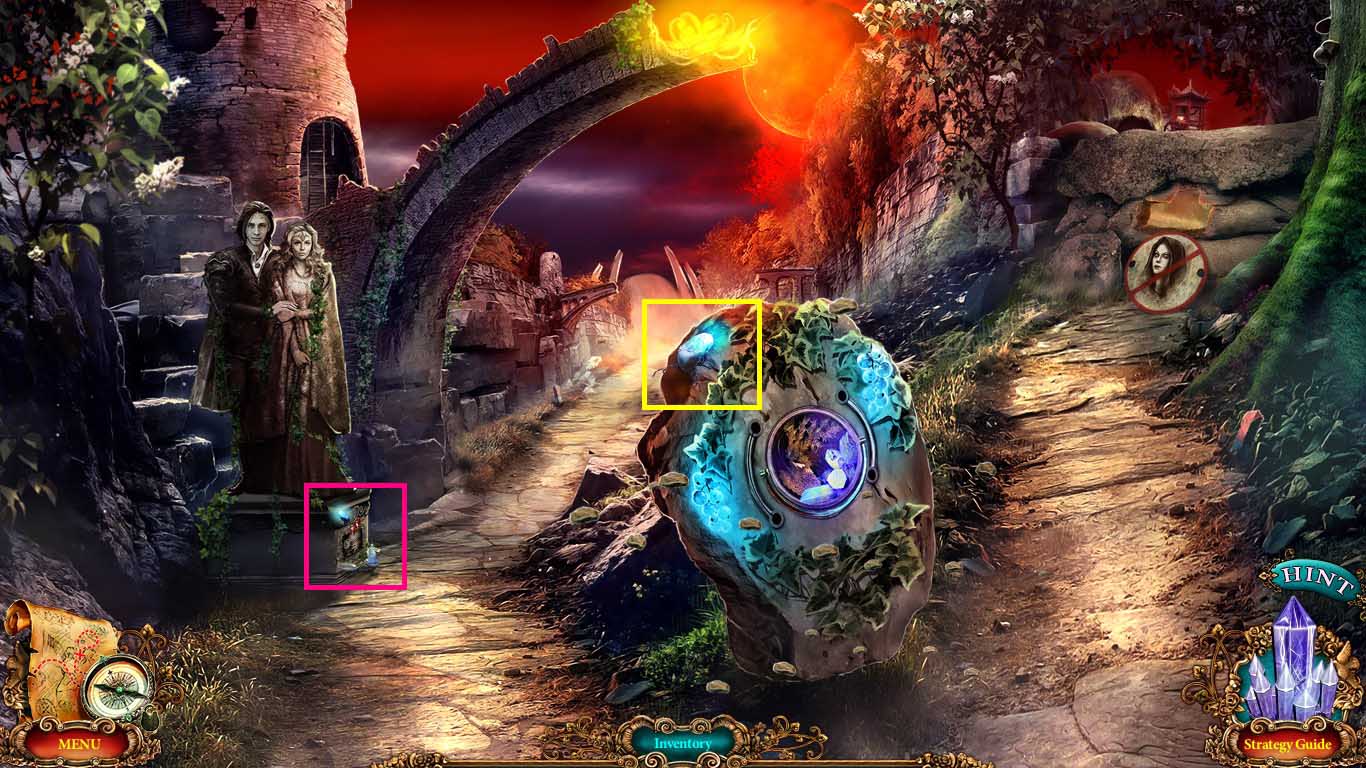
- Zoom into the statue base; collect firefly 9/20.
- Collect firefly 10/20.
- Move forward to the city gates.
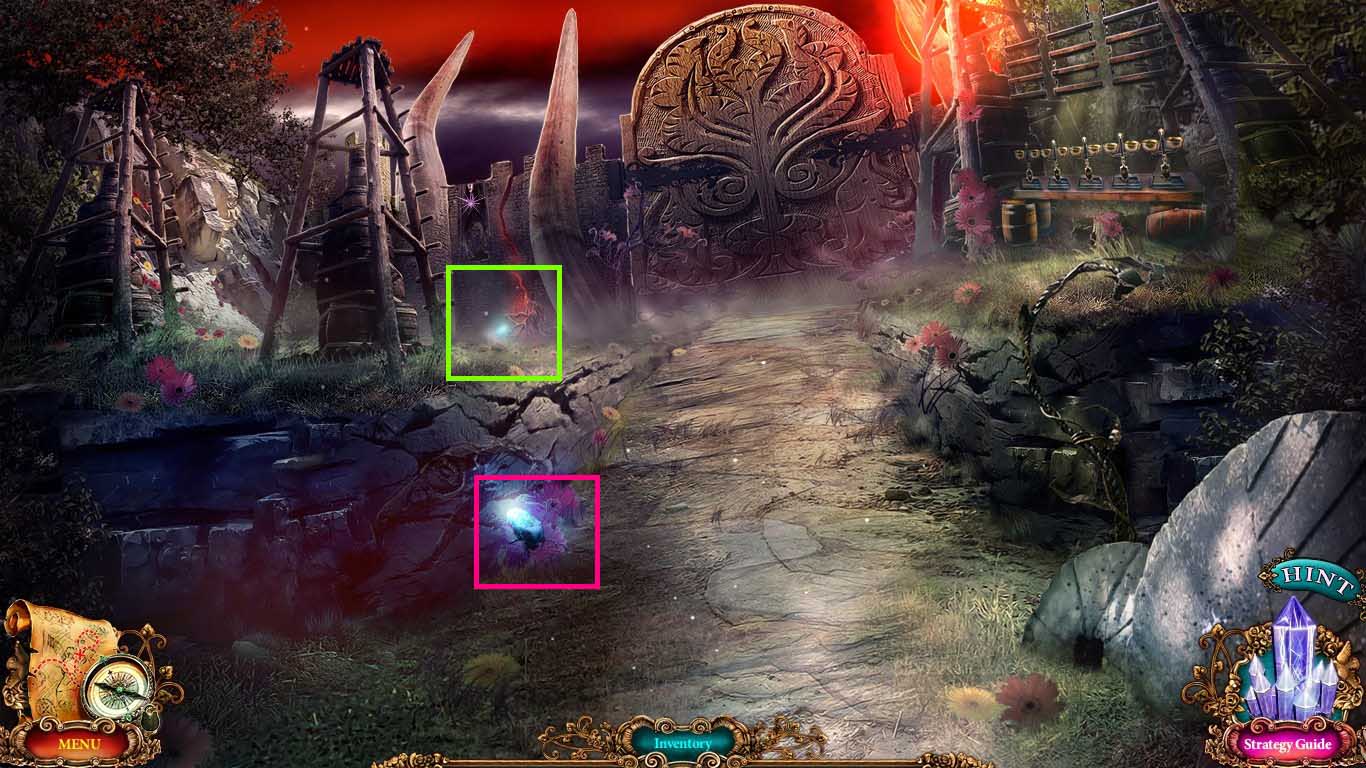
- Zoom into the cracked wall; collect firefly 11/20.
- Collect firefly 12/20 and move to the main tent.
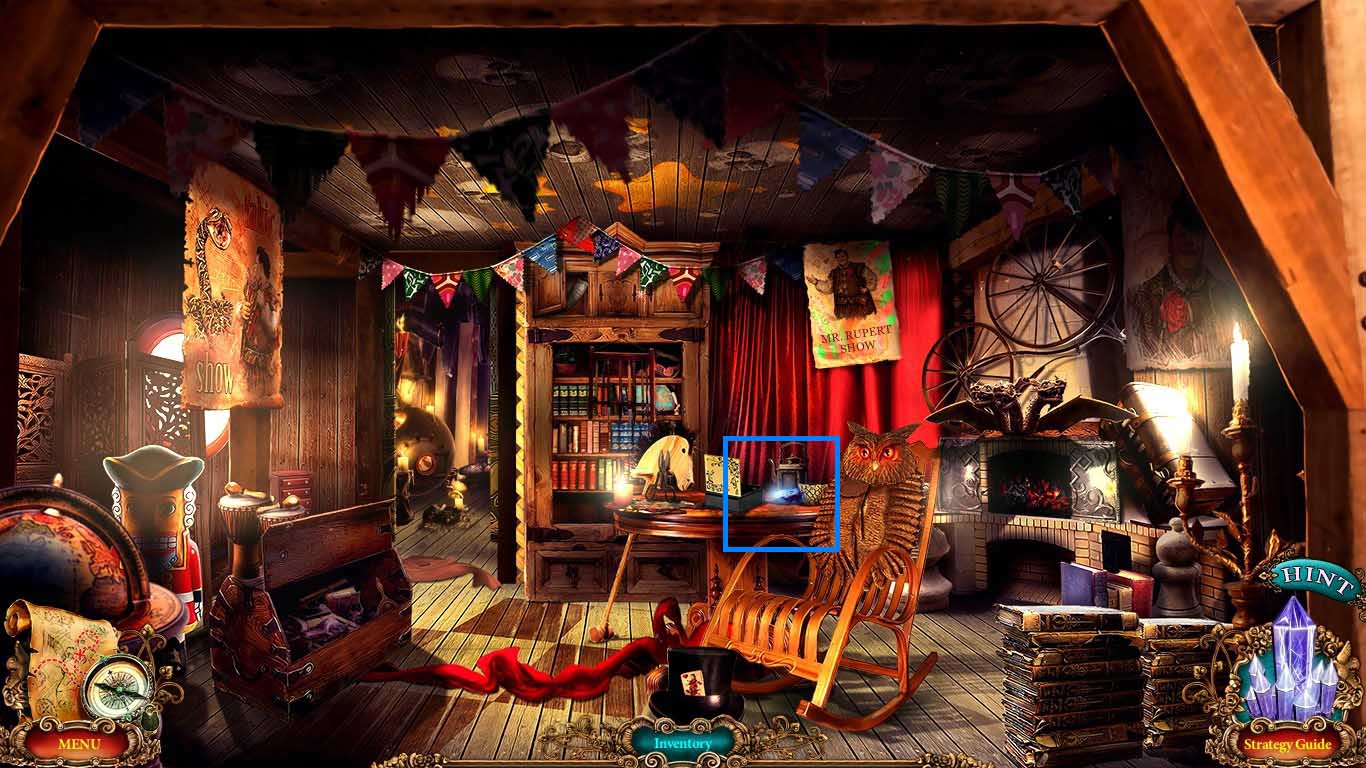
- Zoom into the table to collect firefly 13/20.
- Go to the dressing room.
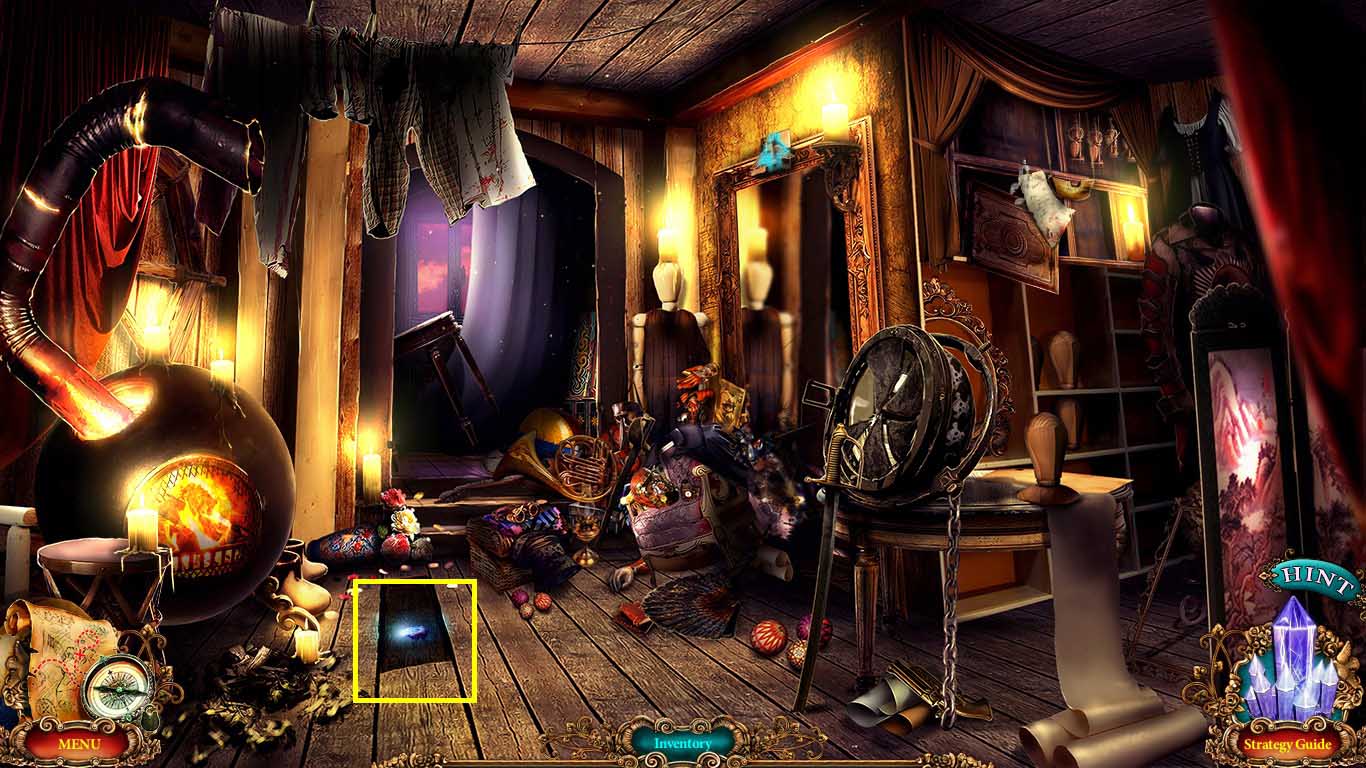
- Zoom into the floor and collect firefly 14/20.
- Move to the iron tower.
- Zoom into the cabinet; collect firefly 15/20.
- Move to the forest path.
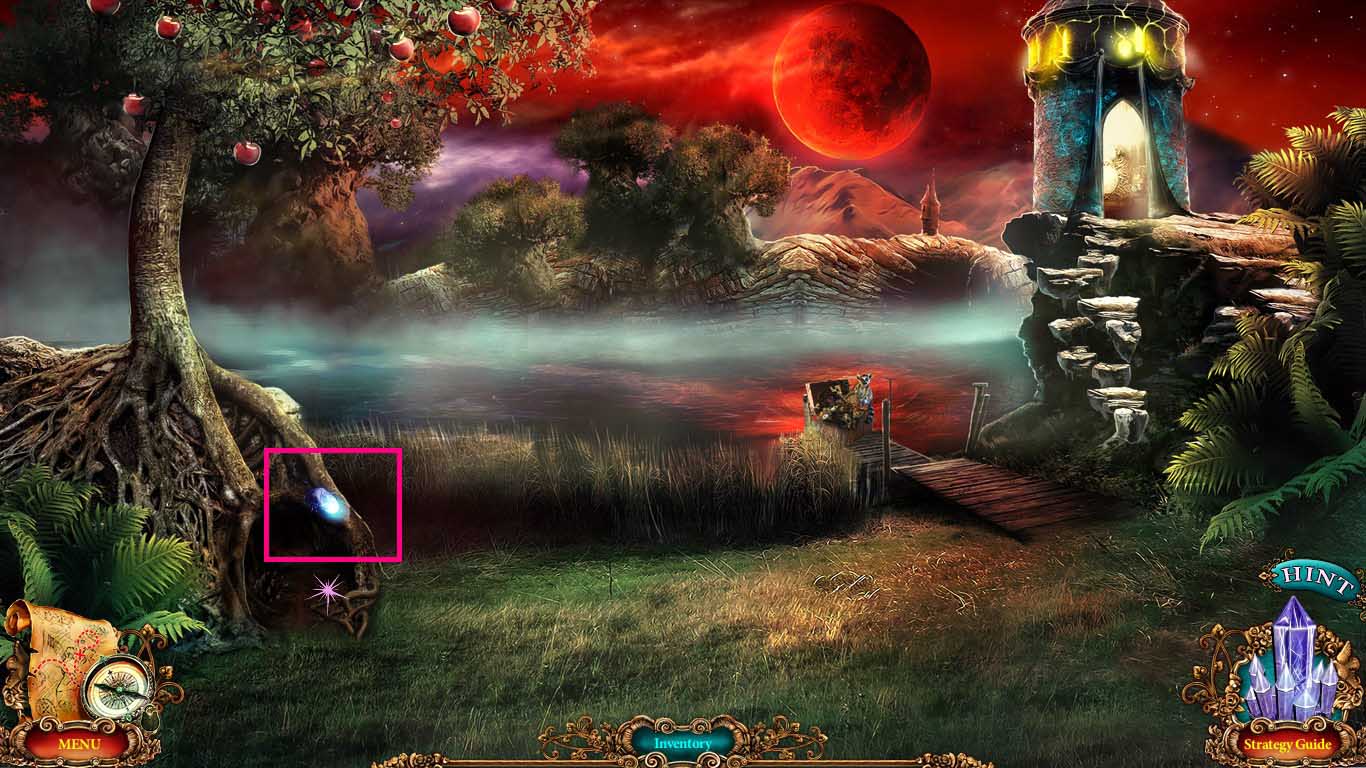
- Zoom into the tree base; collect firefly 16/20.
- Move to the wizard’s tower hall.
- Zoom into the cabinet; collect firefly 17/20.
- Move to the tower top.
- Zoom into the table and collect firefly 18/20.
- Go to the iron tower hall.
- Zoom into the armor and collect firefly 19/20.
- Zoom into the base of the cage and collect firefly 20/20.
- Zoom into the cage; use the curse reverse spell on the prince.
- Insert the discharged night light battery into the lock.
Congratulations! You have successfully completed Unfinished Tales: Illicit Love!
Comments will load when you reach this part of the walkthrough.