

Chapter 4: The Hospital
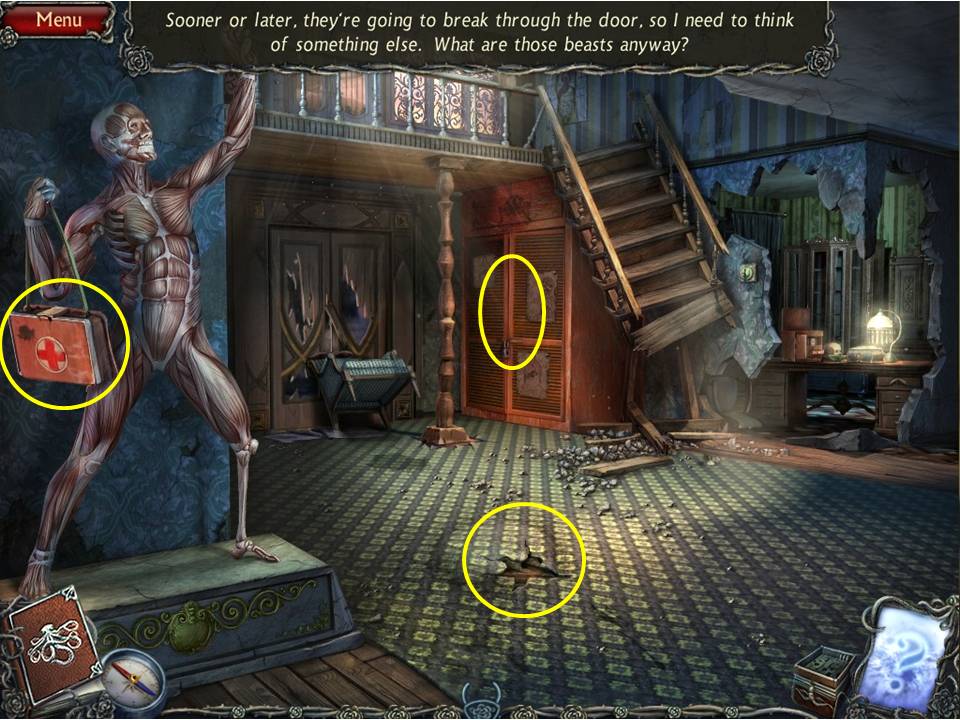
- Open the first aid kit.
- Take the SCISSORS.
- Zoom into and cut the carpet with the SCISSORS.
- Take the CLOSET KEY.
- Zoom into and open the closet with the CLOSET KEY.
- Open the curtain.
-
Take the GLASS EYE and the MEDICAL CROSS.
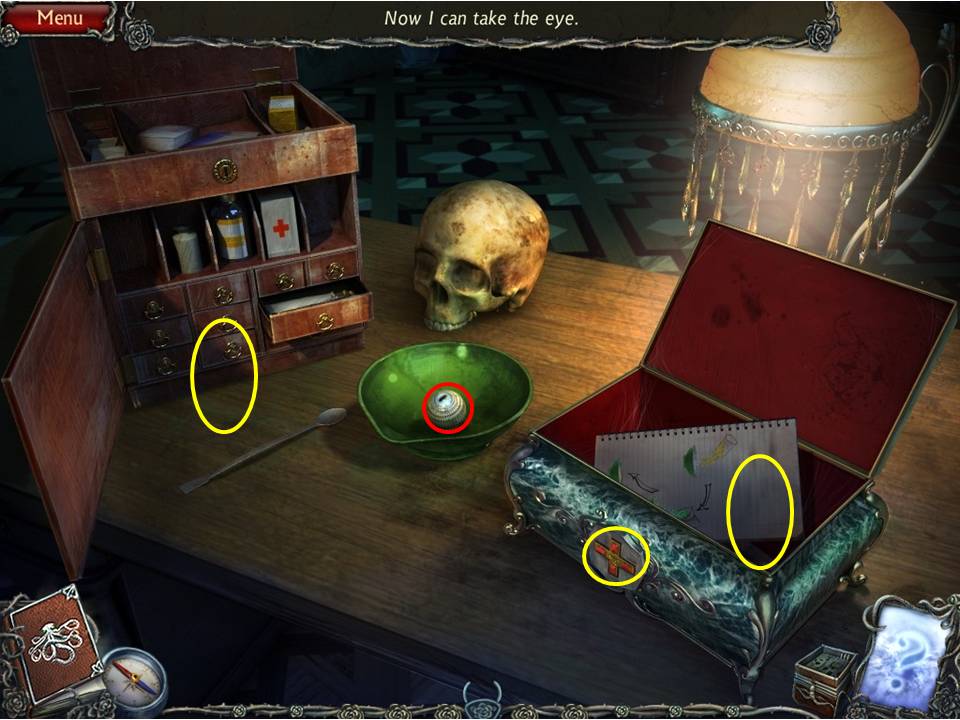
- Zoom into the desk.
- Take the YELLOW POWDER.
- Put the MEDICAL CROSS in the slot.
- Take the GREEN POWDER.
- Read the note.
- Place the YELLOW POWDER and the GREEN POWDER in the bowl.
- Take the second GLASS EYE.
- Zoom out of the desk and into the puzzle on the carpet.
-
Place the two GLASS EYES in the slots to initiate.
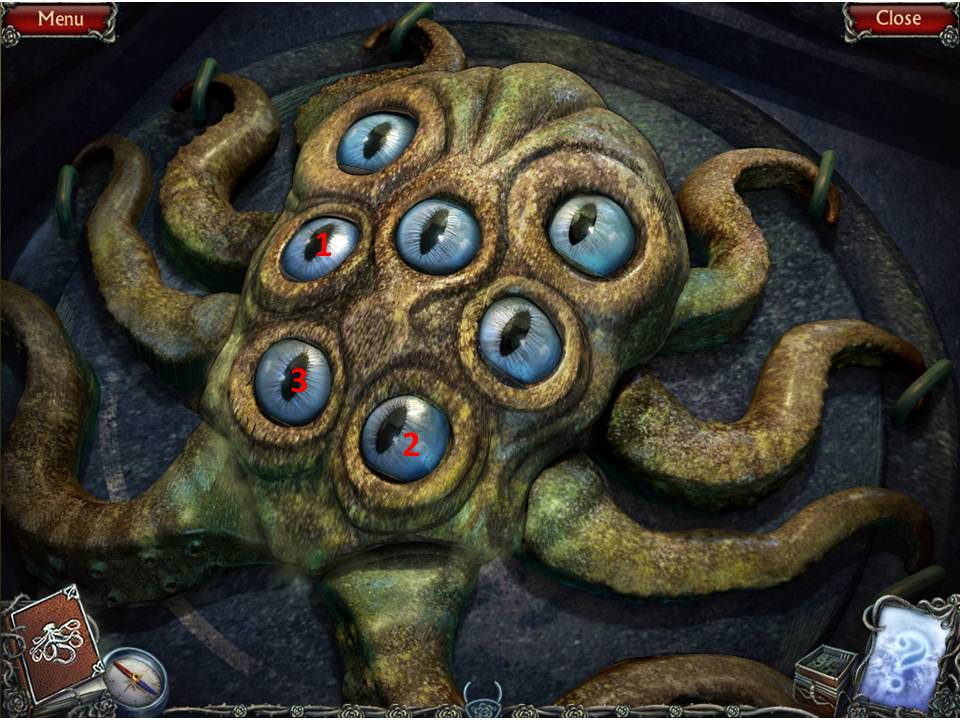
- The object of the puzzle is to click on the eyes until all are open.
- Click the eyes as indicated on the screenshot.
- Go down the hatch.
-
Turn left and follow the passage to the end until you reach the colonnade.
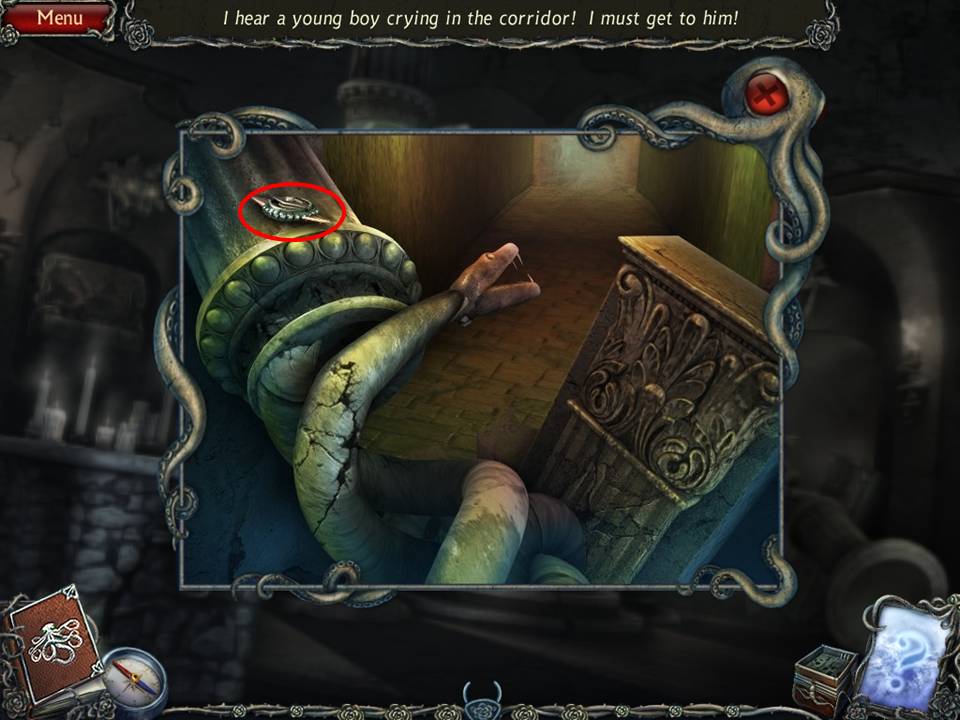
- Zoom into the fallen column at right.
- Take the KNOB.
-
Zoom back and initiate the HOA puzzle to the left.
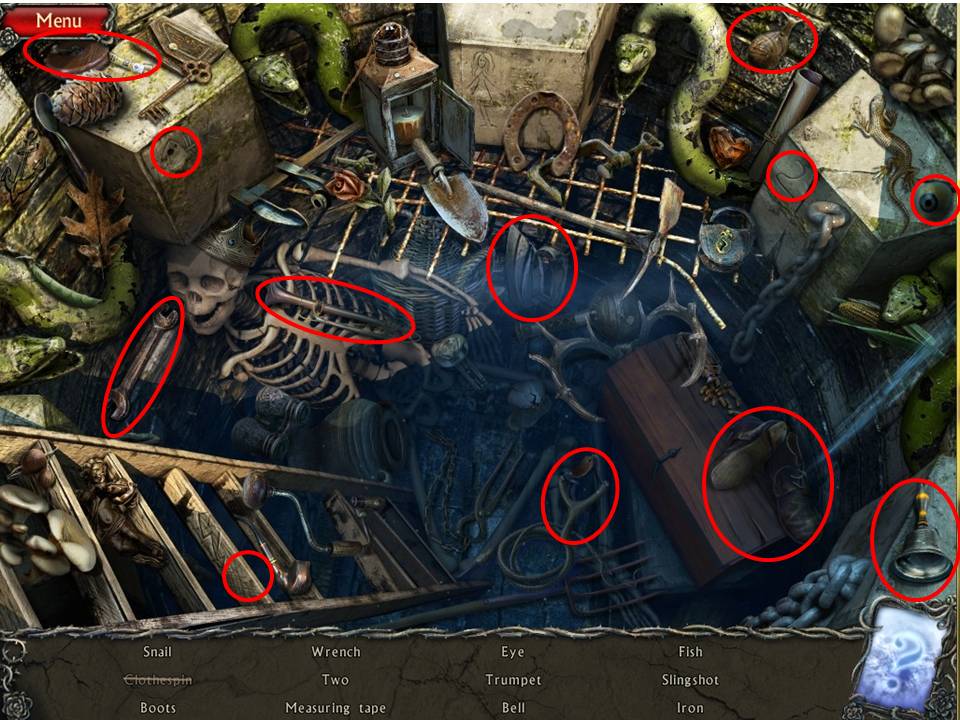
- Find the items listed.
-
Receive the WRENCH.
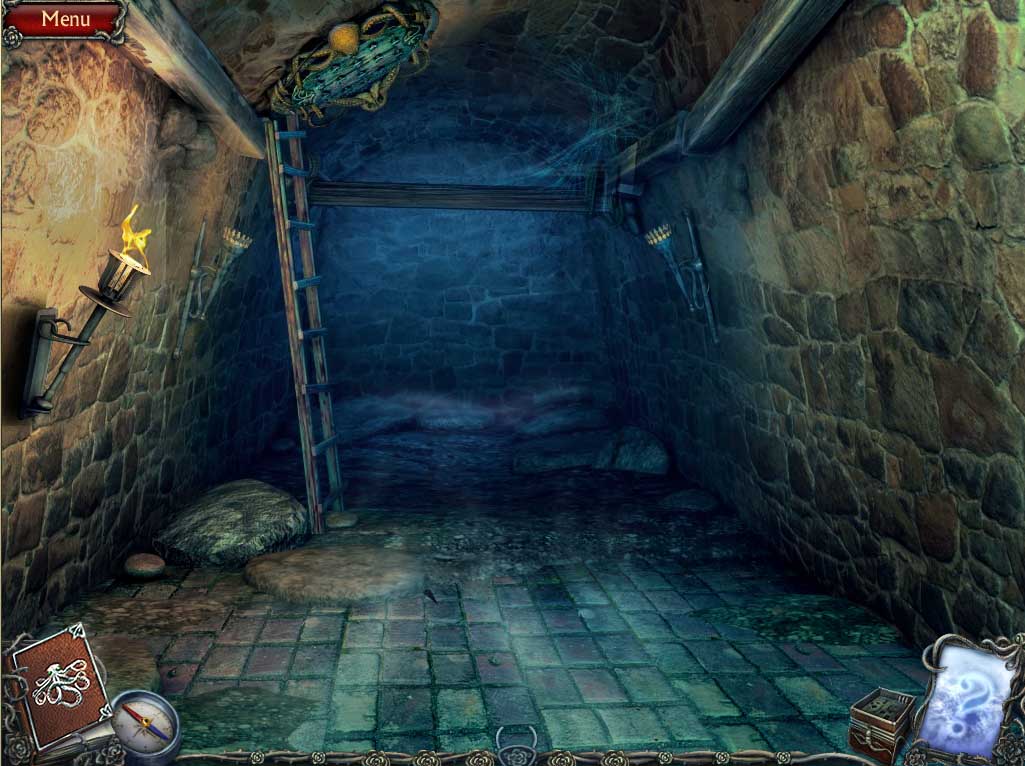
- Return to the main passage and go through the doorway on the right.
- Zoom into the hatch above the ladder.
-
Place the KNOB on the hatch to initiate a puzzle.
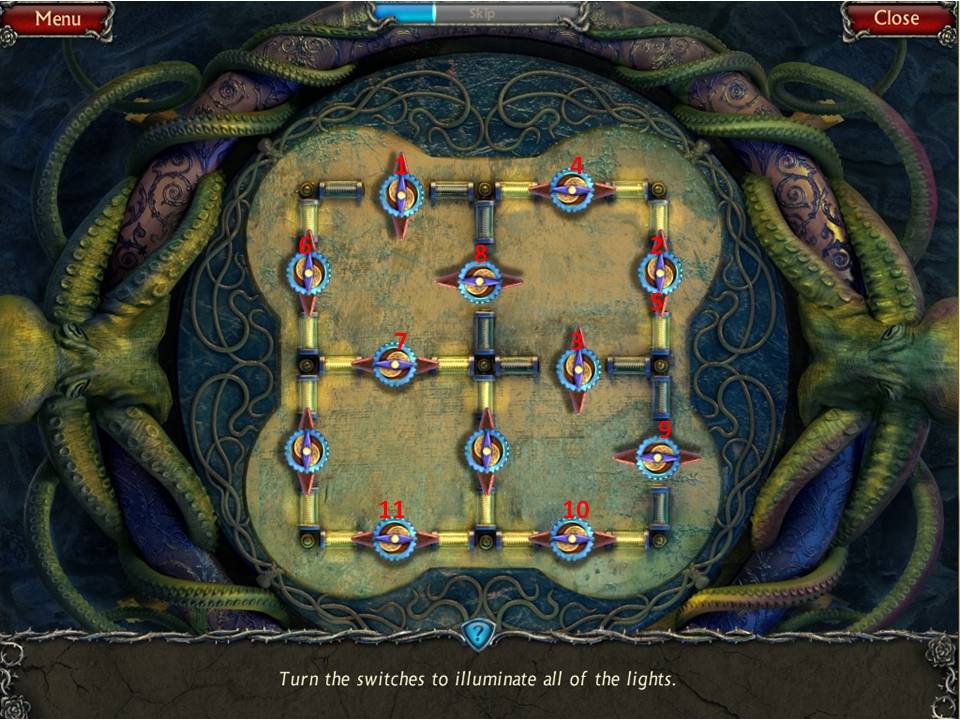
- The object of the puzzle is to turn the switches to illuminate all the lights.
- Note the screenshot and the numbers, which indicate the sequence with which you have to press each switch.
- When complete the hatch will open.
-
Proceed up and out into the hospital yard.
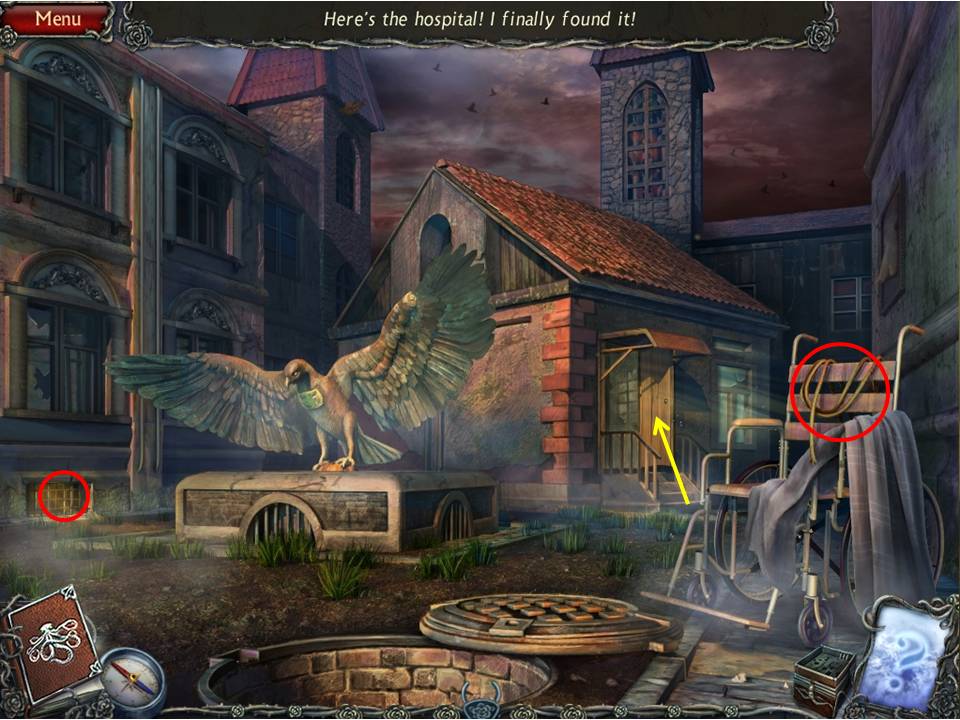
- Take the ROPE hanging on the wheelchair.
- Zoom into the grate.
- Take the GREEK LETTER.
-
Proceed up the steps and into the procedure room.
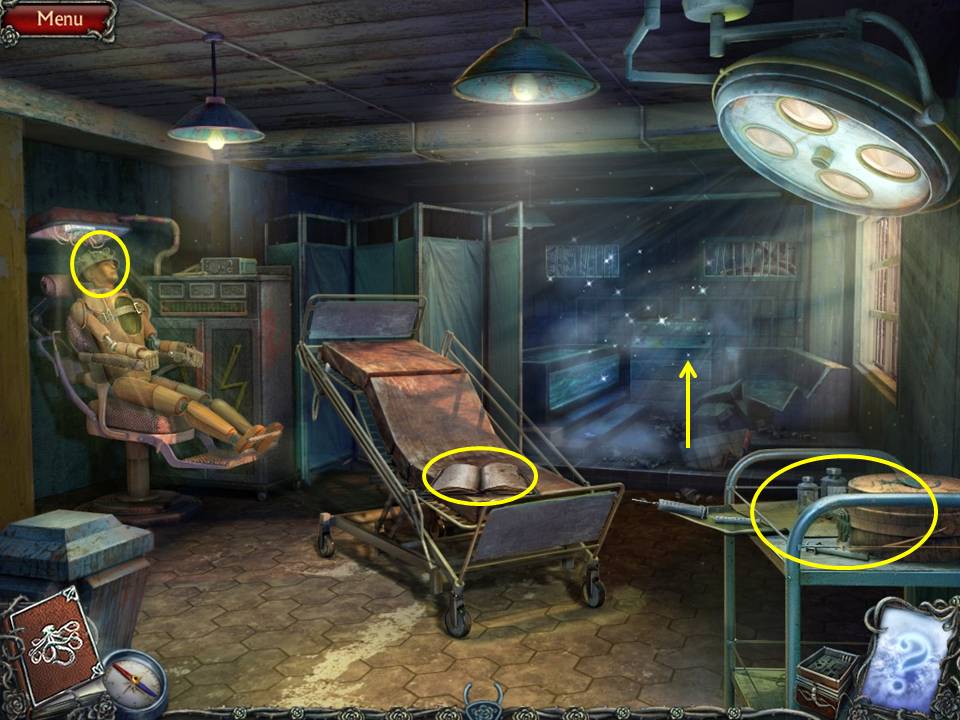
- Zoom into the book.
- Turn the pages.
- Zoom into the tray table.
- Place the Greek LETTER in the slot.
- Take the SULFURIC ACID.
- Take the OCTOPUS and put it in the case.
- Zoom into the dummy.
- Loosen the bolts on the helmet with the WRENCH and remove it.
- Take the VALVE HANDLE inside the head – getting weird, or is it just me?
-
Zoom into the HOA in the background to initiate it.
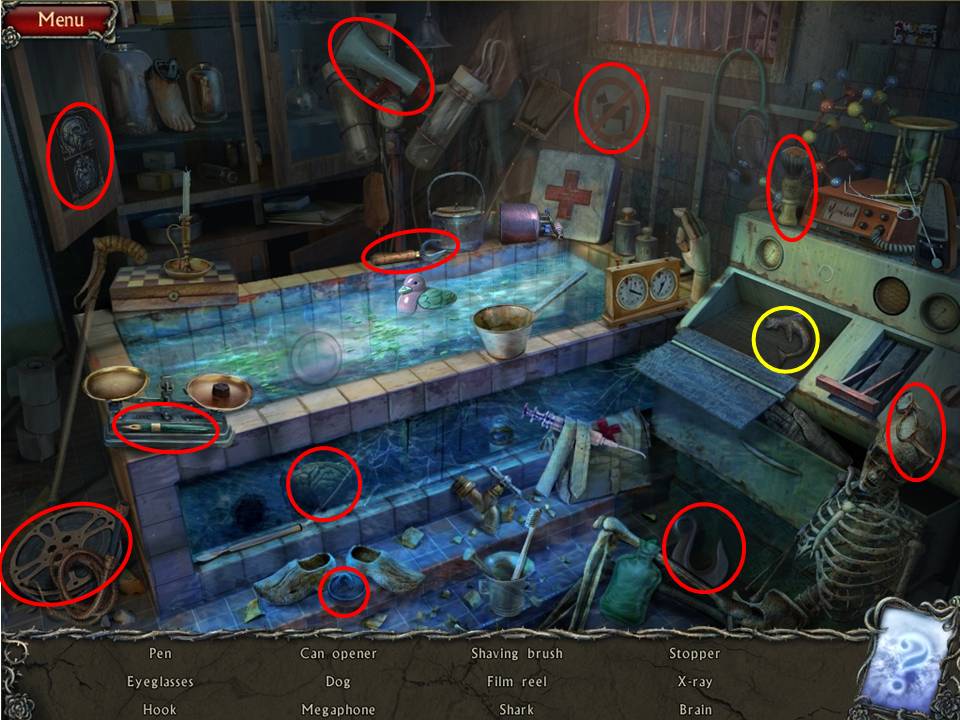
- Find the items listed.
-
Pull the lever to get the SHARK.
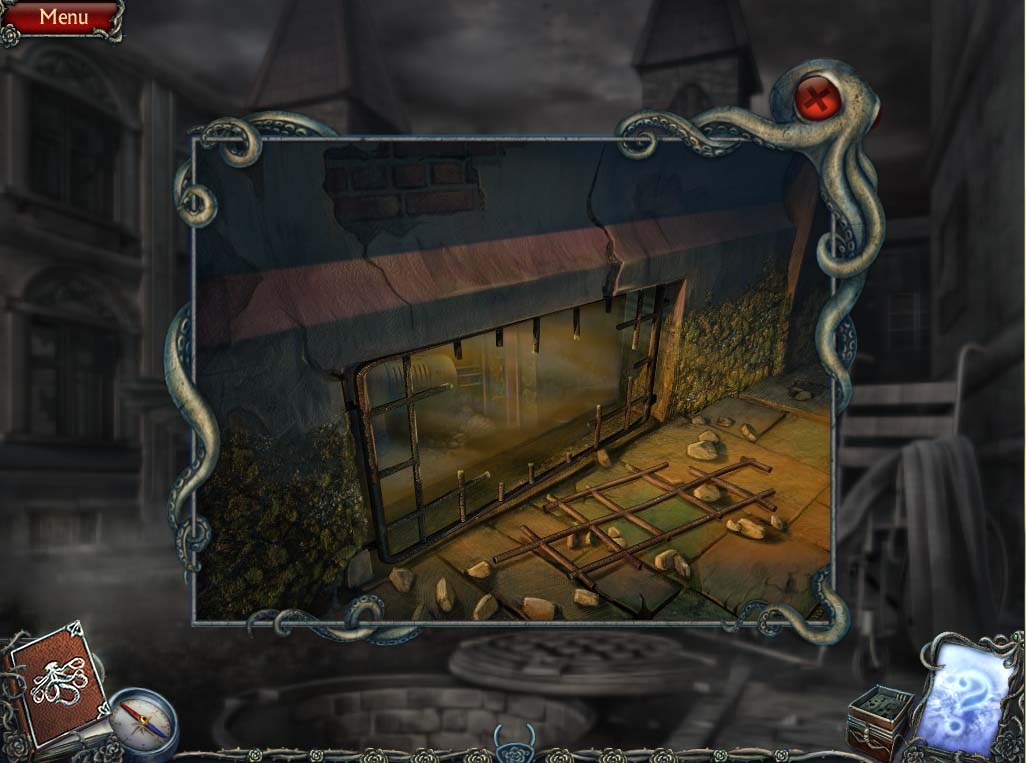
- Zoom into the grate.
- Pour the SULFURIC ACID on the bars.
- Go through the window to access the basement and hope like heck that you don’t disembowel yourself on the jagged sections of bar still sticking up.
-
Take the steps on the right to reach the rose door room.
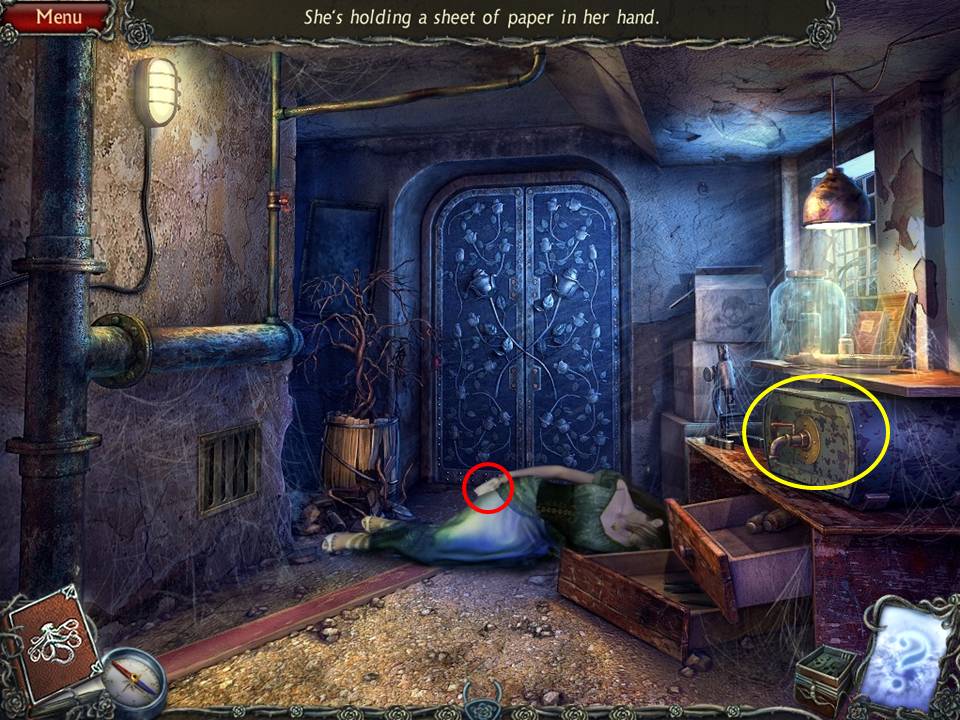
- Talk to Teresa.
- Read the instructions in her hand.
- Zoom into the device.
- Take the CADUCEUS and put it on the board when it appears.
- Exit to return to the scene at the hospital.
-
Retreat out through the hospital yard, back down the hatchway, and proceed to the colonnade via the left doorway in the tunnel.
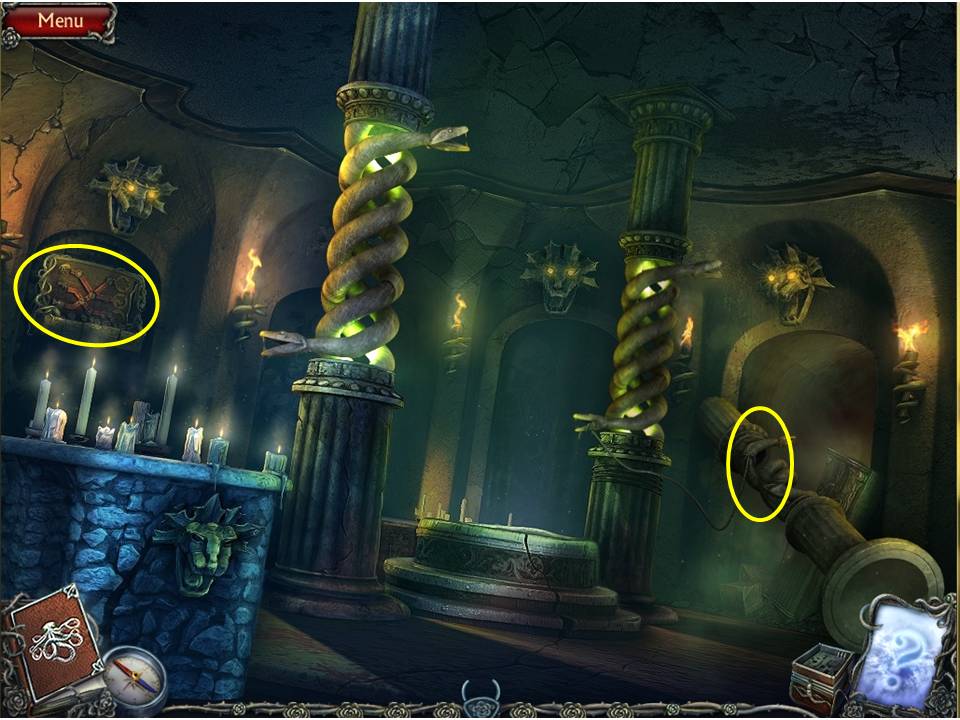
- Zoom into the fallen column at right.
- Place the ROPE around it.
- Zoom into the mechanism.
- Place the SHARK on the board.
- Pull the lever.
-
Go through the right door.
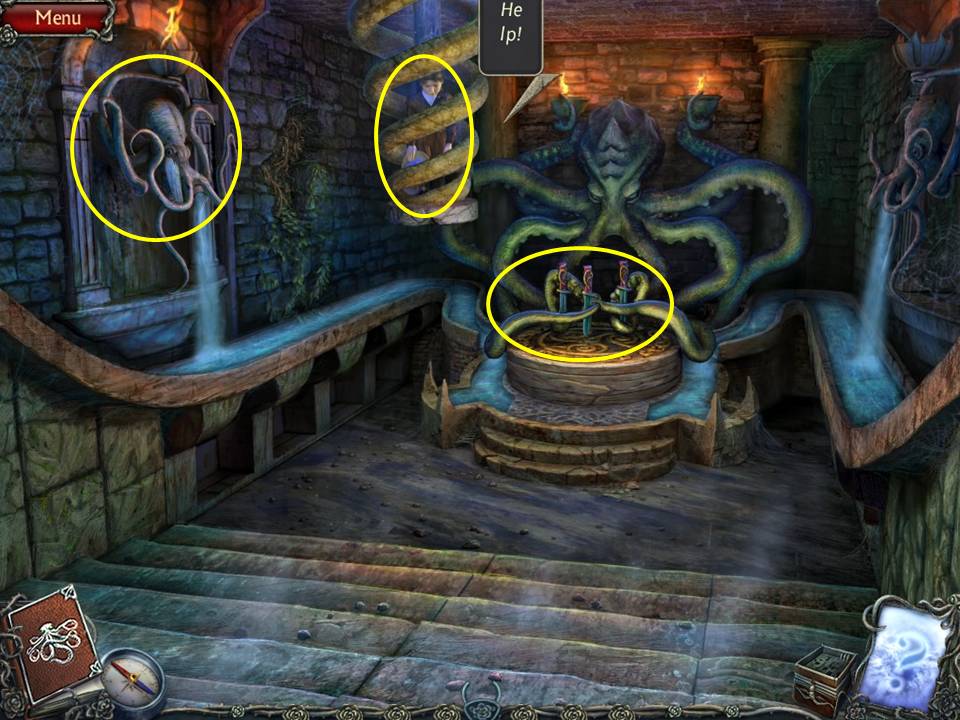
- Inspect the octopus water fountain to the left and take the METAL PLATE.
-
Zoom into the octopus at the centre of the room and take the POLICE STATION and place it on the board when it appears.
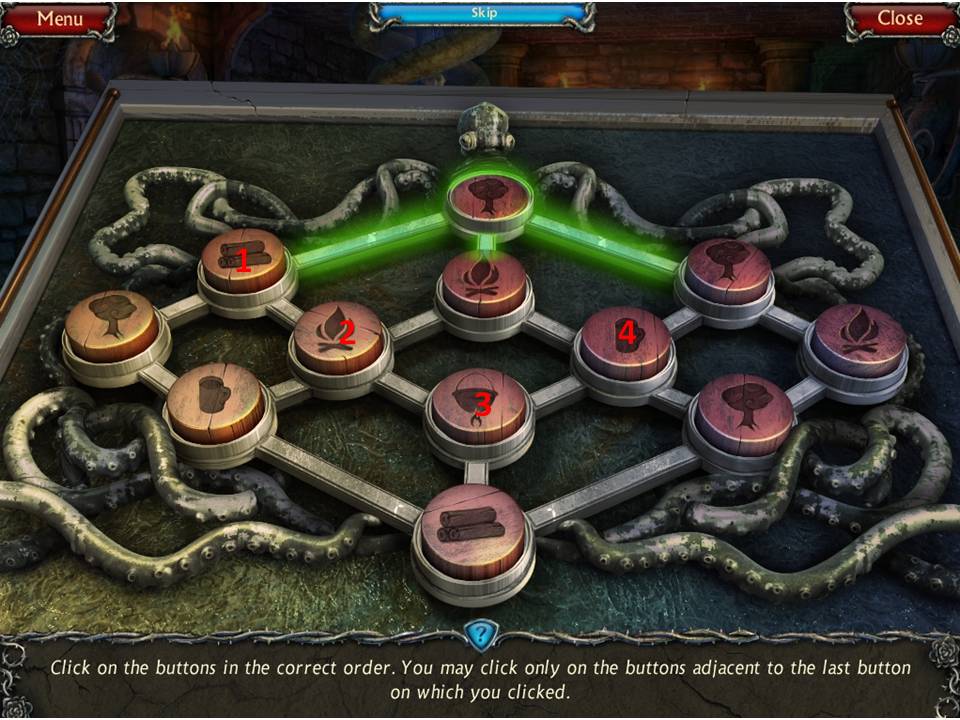
- The board will slide away again and reveal a similar button sequence puzzle as before.
- The idea is to press the buttons in the correct order to brew up some coffee – or is it tea? So what’s the natural sequence?
- From tree we go to firewood, then a fire, followed by a pot of boiling water, finishing off with a mug of hot brew.
- Note the screenshot for the solution.
-
Take the DAGGER when complete.
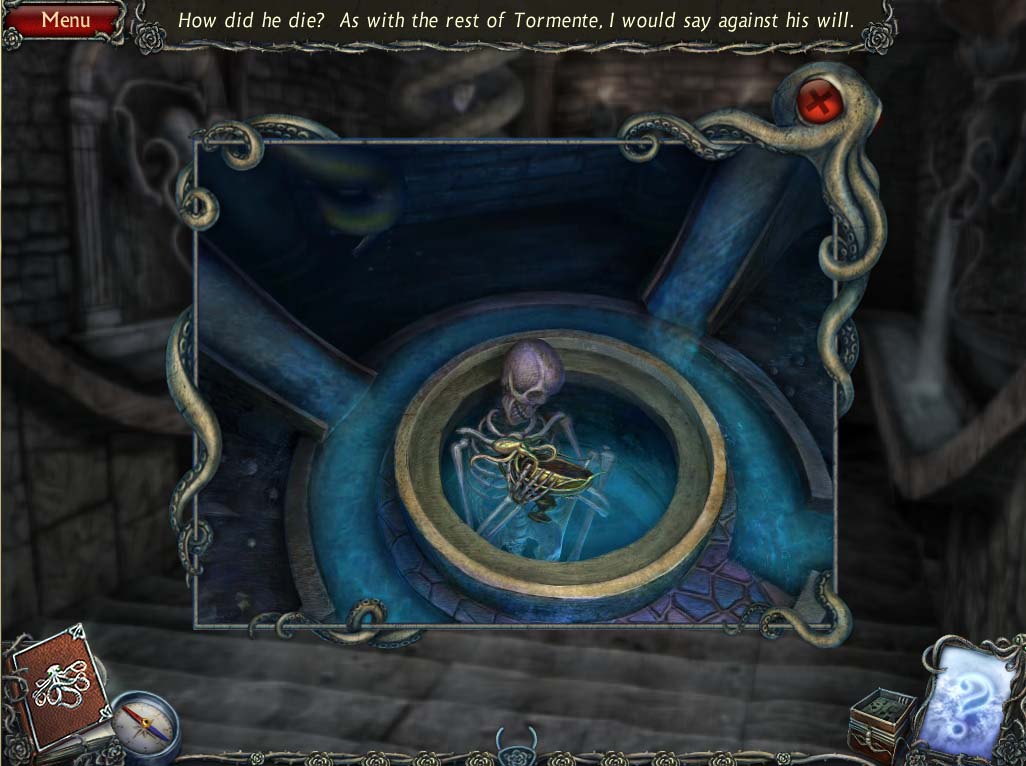
- Note Ernesto trapped in the coils to the left.
- Talk to him and ask him some pertinent questions.
- Zoom into the mechanism again.
- Place the DAGGER on it and take the DIRTY BOWL.
- Zoom into the octopus on the wall to the left.
- Wash the DIRTY BOWL in the water to get a CLEAN BOWL.
-
Return to the room with the colonnade.
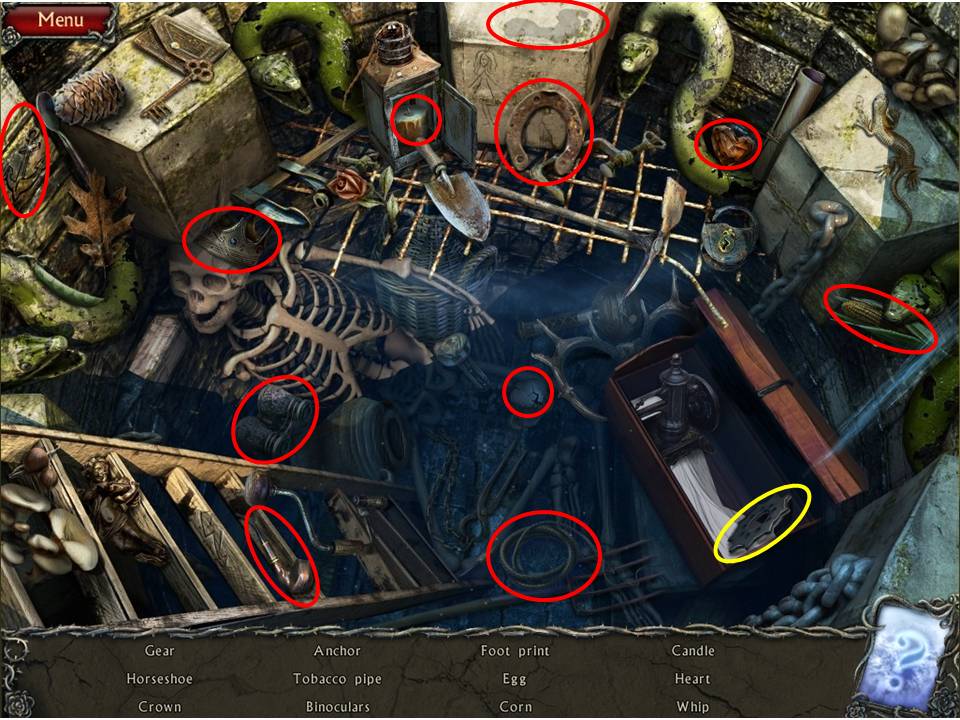
- Zoom into the area in the back of the room to initiate the next HOA puzzle.
- Find the items listed.
-
Open the trunk to get the GEAR.
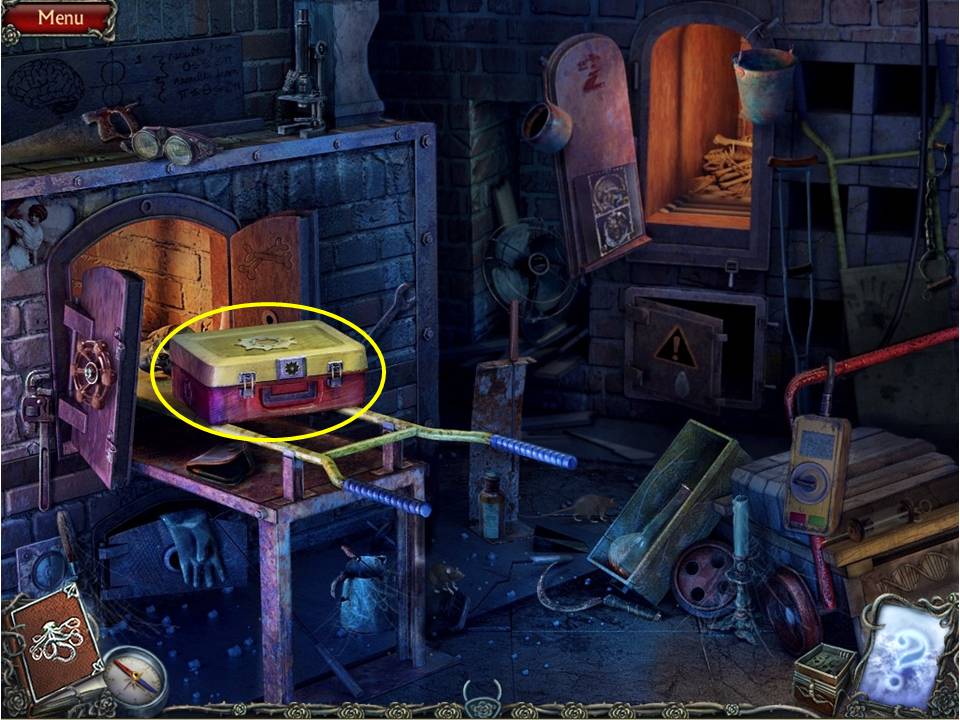
- Return to the yard via the hatch, and enter the hospital basement again via the grill.
- Enter the doorway beneath the light and zoom into the box.
- Place the GEAR in the lock.
- Take the SCREWDRIVER and REAGENT.
-
Return to the procedure room.
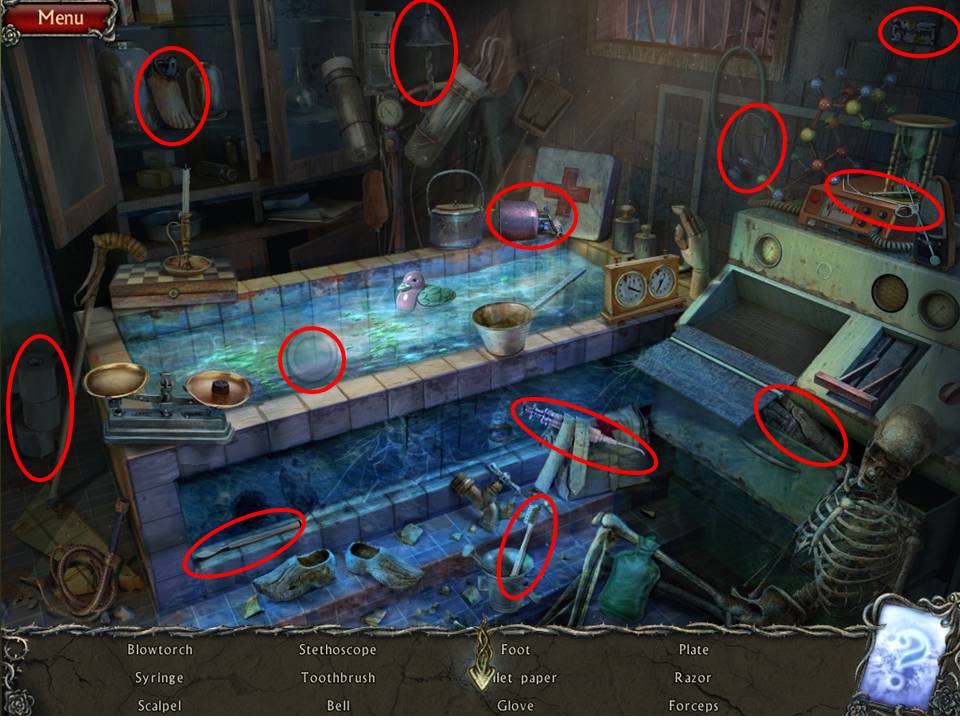
- Initiate the next HOA puzzle there.
- Find the items listed.
- Receive the BLOWTORCH.
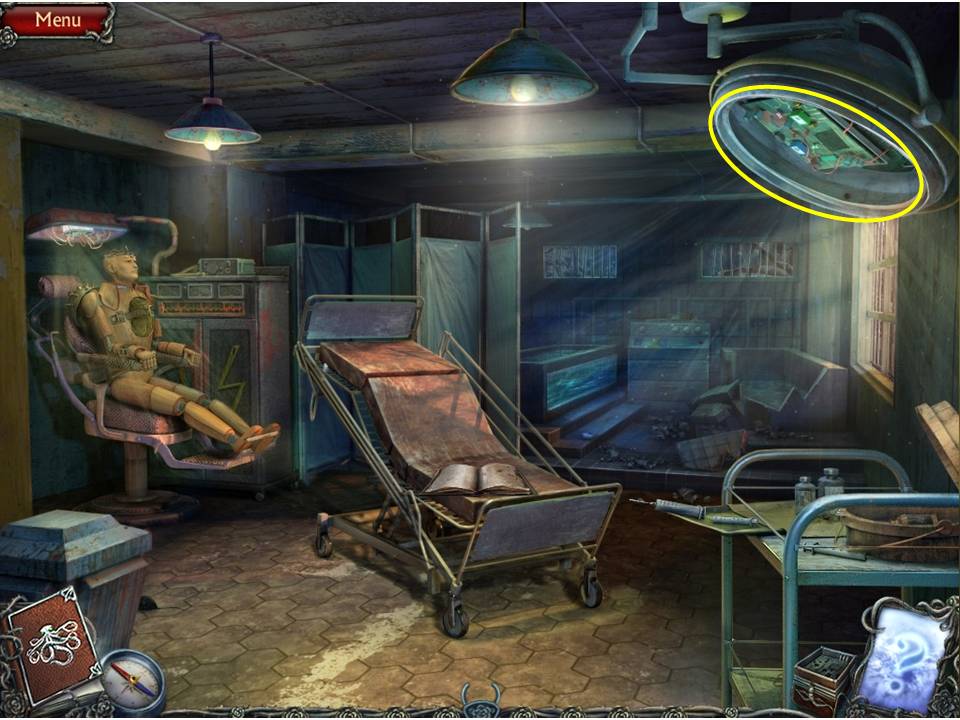
- Zoom into the light.
- Remove the cover.
- Unscrew the screw with the SCREWDRIVER.
- Take the MICROCHIP.
-
Return to the hospital basement.
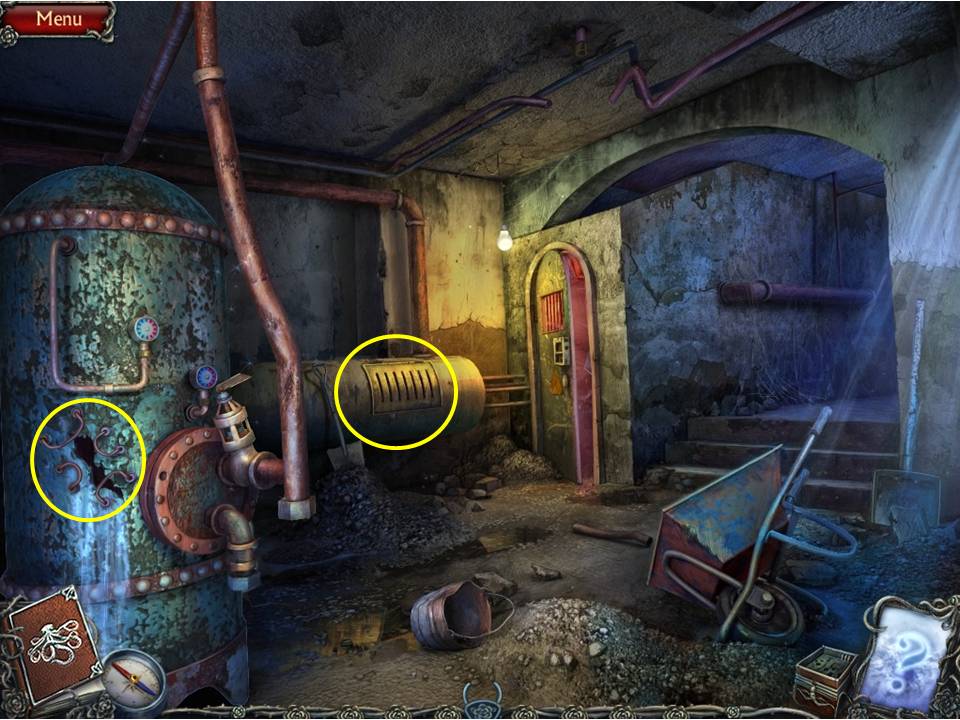
- Zoom into the boiler.
- Place the METAL PLATE on the brackets.
- BLOWTORCH that area.
- Zoom into the pipes.
- Remove the cover.
- Place the VALVE HANDLE on it.
- Turn the valves.
-
You will be transported to the rose door room.
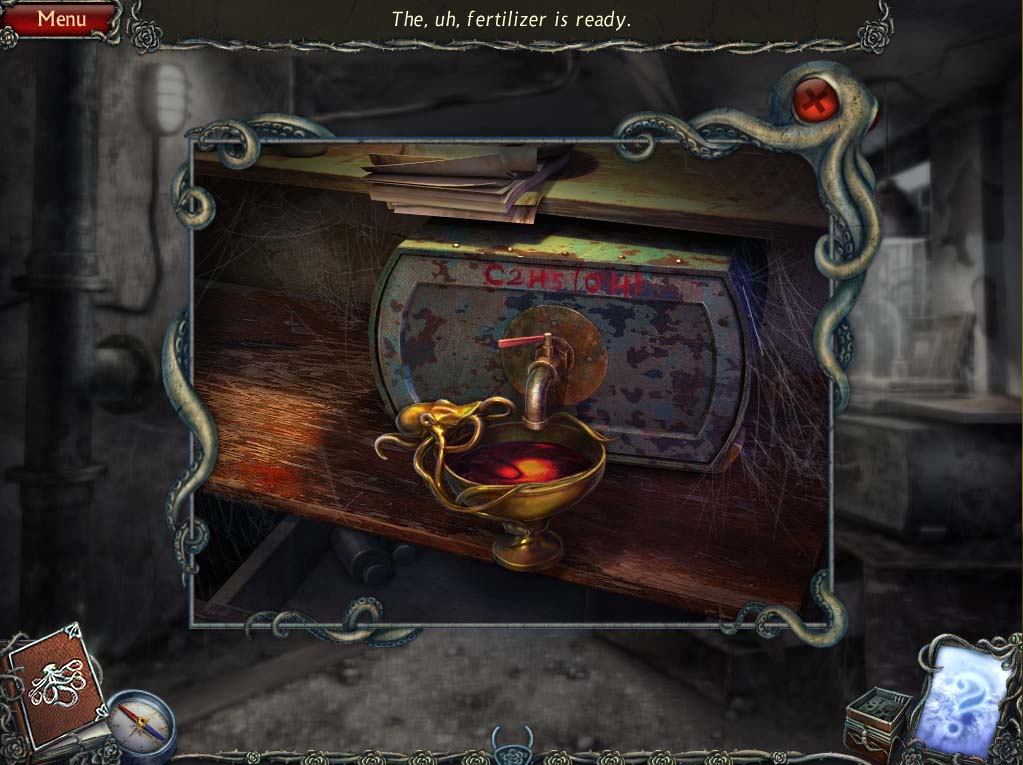
- Zoom into the device.
- Put down the CLEAN BOWL.
- Turn the valve.
- Pour the REAGENT in the bowl.
- Take the BOWL OF LIQUID and pour it on the plant.
- Take the BIRD KEY from Teresa.
-
Return to the yard.
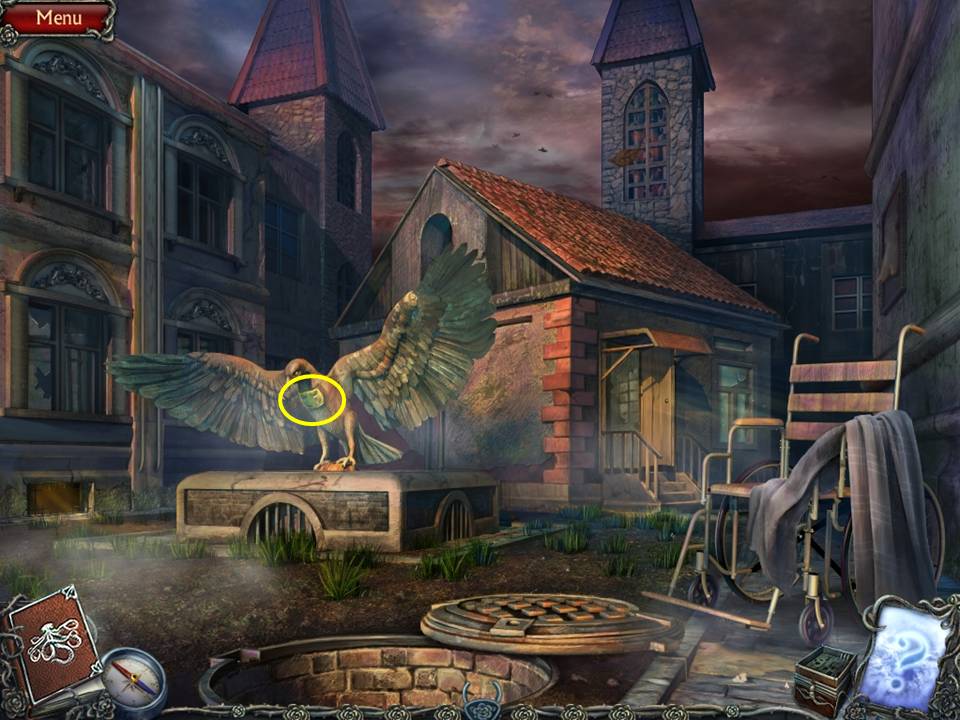
- Zoom into the eagle.
- Use the BIRD KEY in the lock.
- Zoom into the board.
- Place the MICROCHIP on it.
- Click on “need to hurry” when things get nasty again and return to the basement where a heartwarming scene takes place between Teresa and Ernesto – makes your heart just glow to be such a hero, right?
-
Now exit right and then through the rose door.
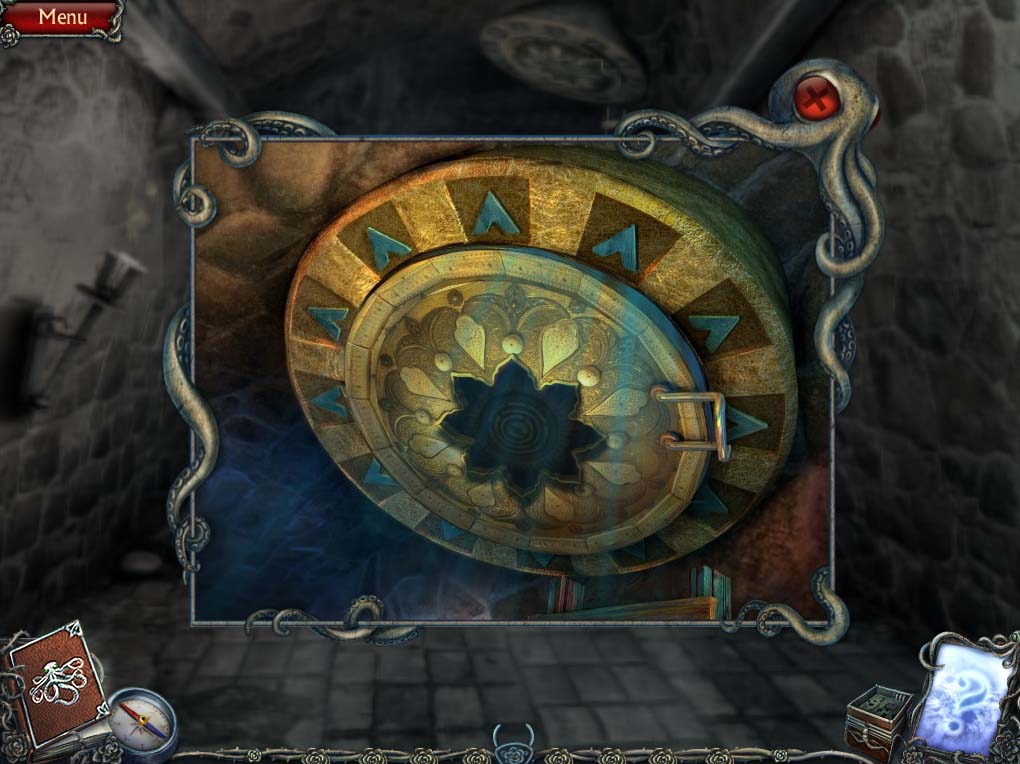
- Note the SUN-SHAPED KEY lying on the floor to the left – take it.
- Go right and out through the hatch, using the SUN-SHAPED KEY to unlock it.
Comments will load when you reach this part of the walkthrough.