

Chapter Four: Secrets Revealed
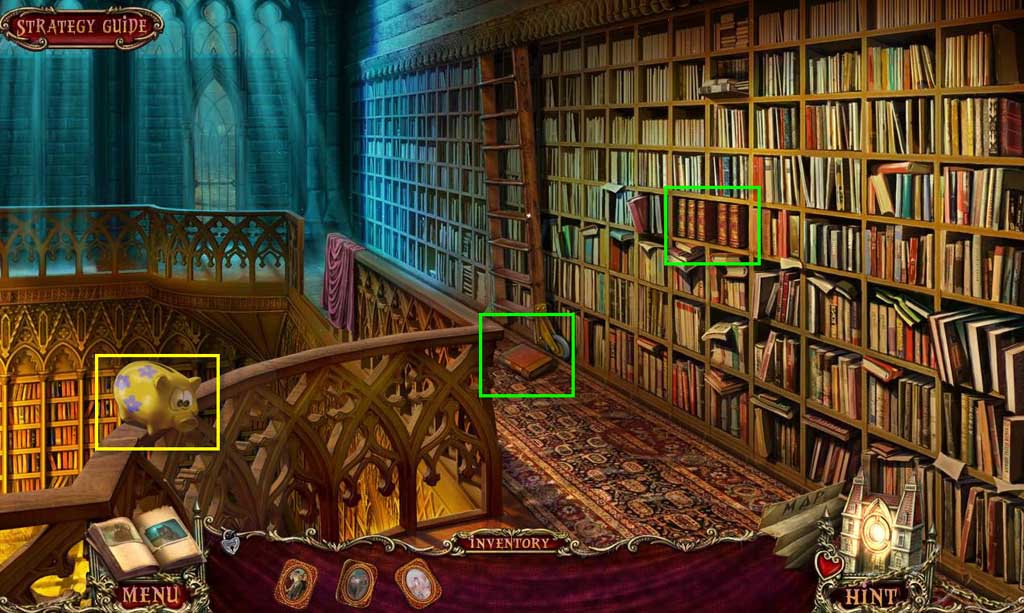
- Click on the pig.
- Zoom in on the book on the floor.
- Take the Book.
- Zoom in on the bookshelf.
- Use the Book in the empty slot.
- Click on the books to arrange them in the correct order from 1 to 6.
- Take the Corkscrew.
- Click on the pig again.
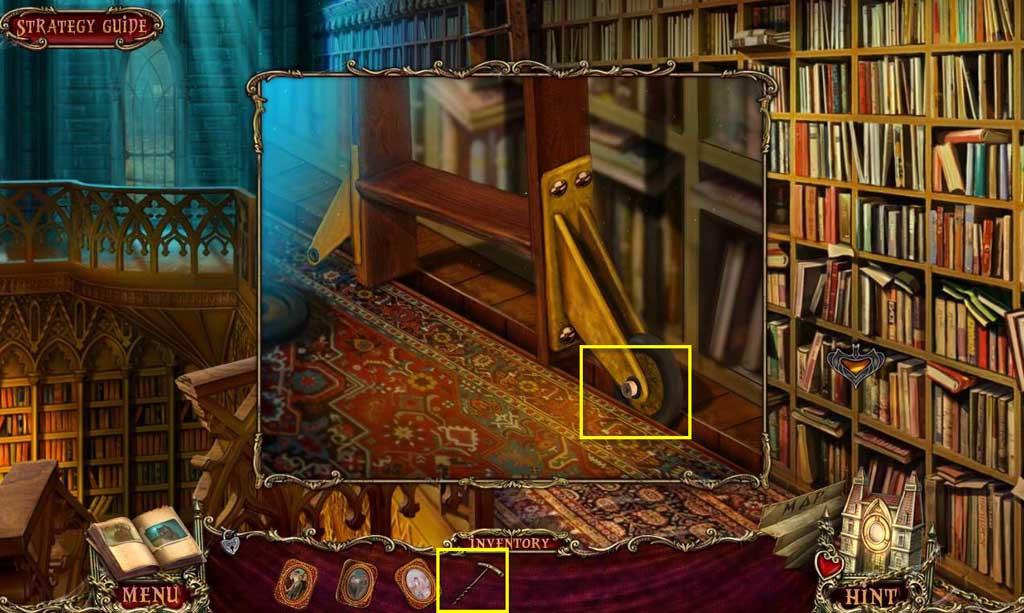
- Zoom in on the ladder wheel.
- Click on the ladder wheel; this will loosen the cork holding.
- Use the Corkscrew to remove the cork.
- Click on the ladder.
- Go down the ladder.
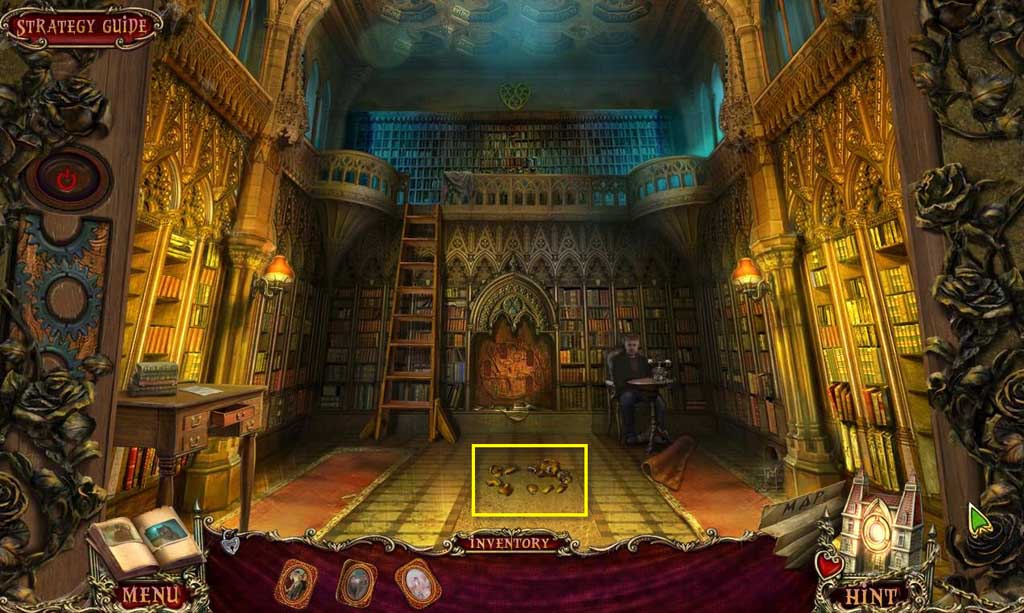
- Zoom in on the floor.
- Play the mini-game.
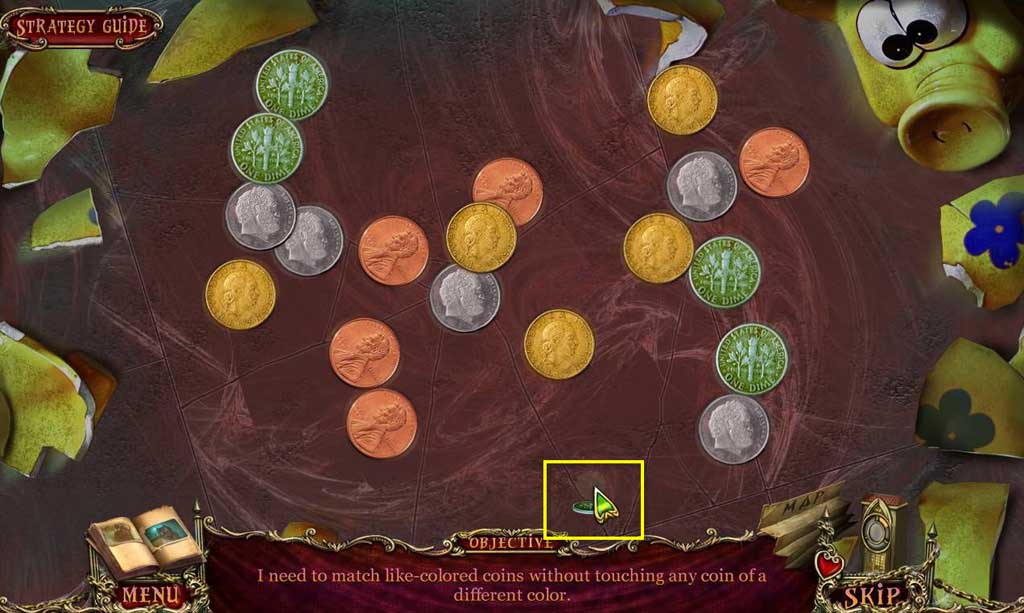
- You need to match coins of the same color, but you can't touch any other coin of a different color.
- You will receive the Ring Key when you are done.
- Go back up the ladder.
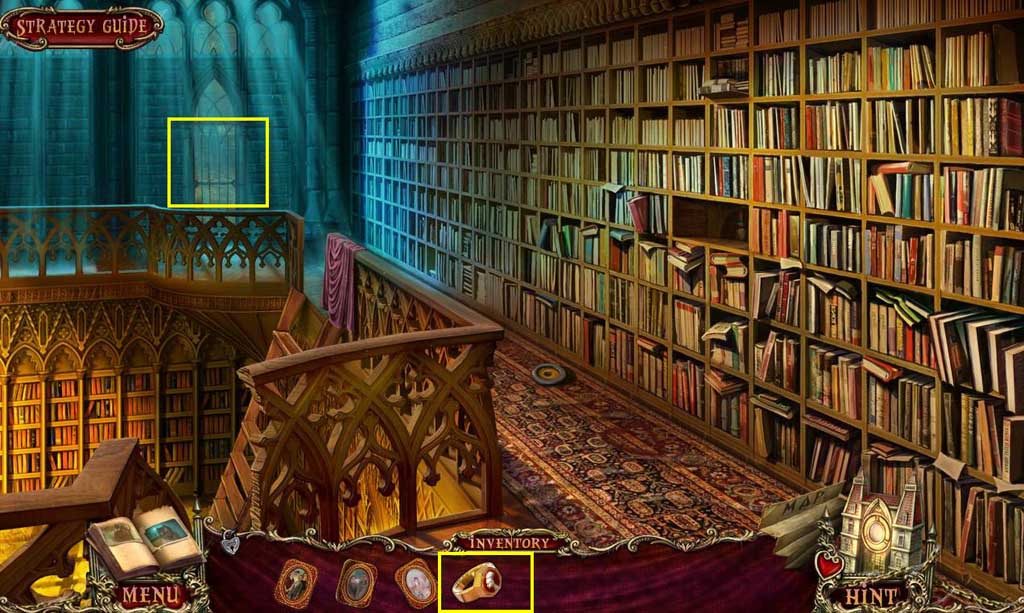
- Zoom in on the door.
- Use the Ring Key on the lock.
- Go forward.
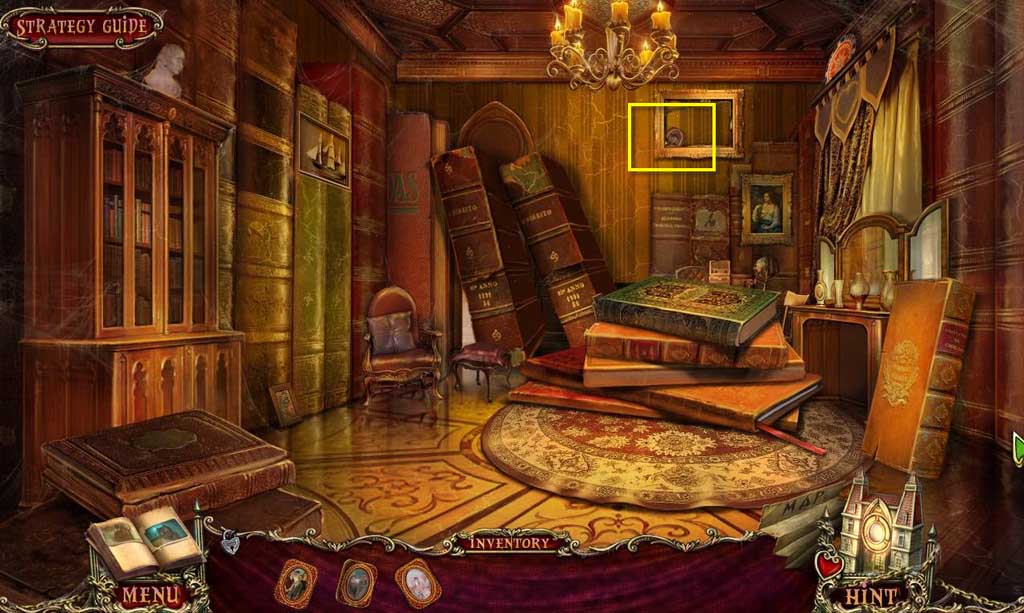
- Zoom in on the frame on the wall.
- Take the Photo.
- Go back one screen and then go down the ladder.
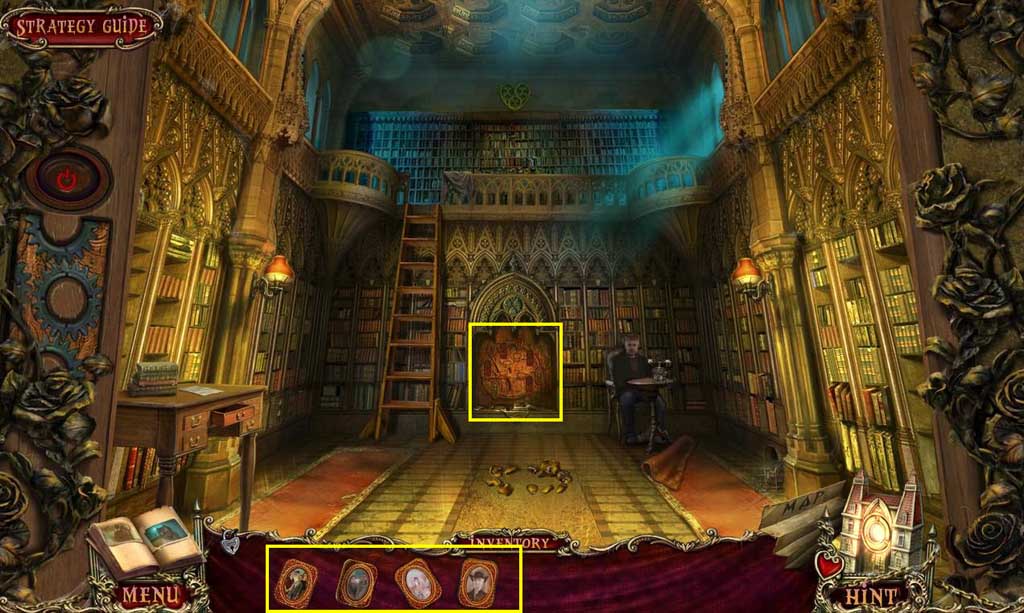
- Zoom in on the wall.
- Use the 4 Photos on the empty slots.
- Play the mini-game.
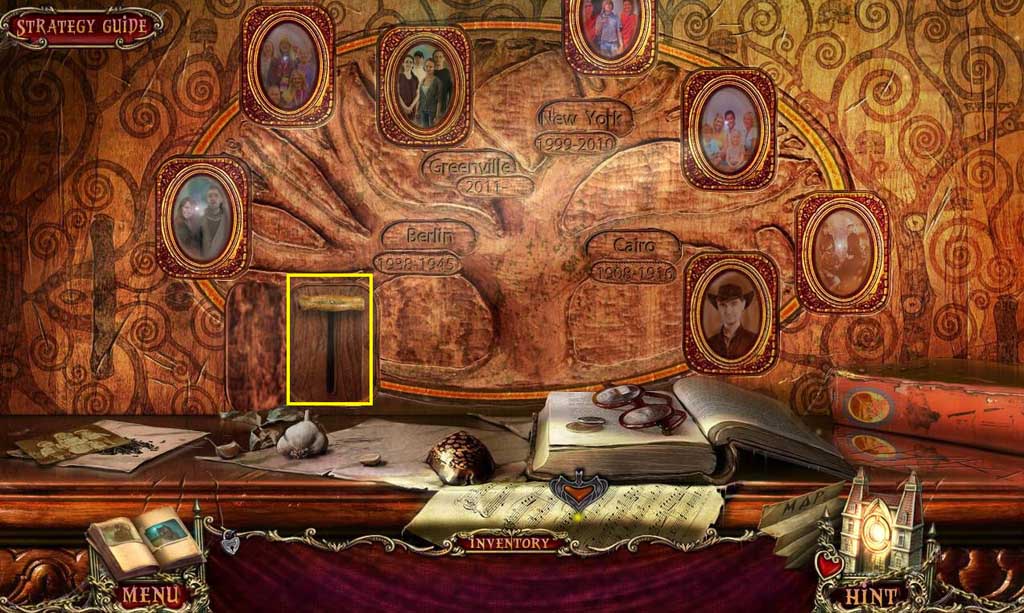
- Pick up the tiles on the shelf and place them on the wall.
- When they are in the correct place, they will lock.
- Click on the handle that appear when you are done.
- Go forward.
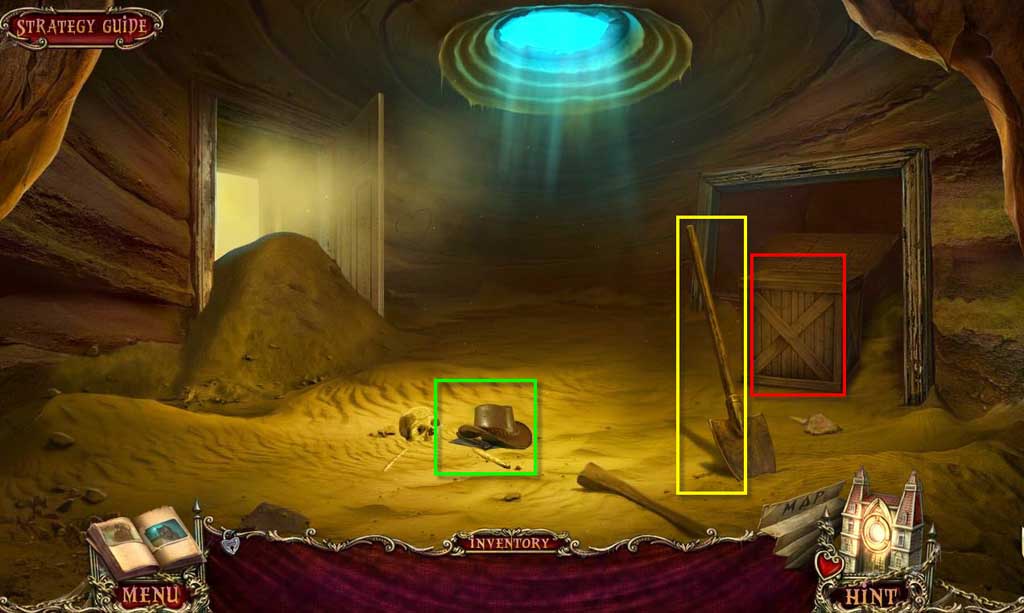
- Take the Shovel.
- Click on the box to move it.
- Zoom in on the hat.
- Click to open the satchel.
- Take the Film and the notes.
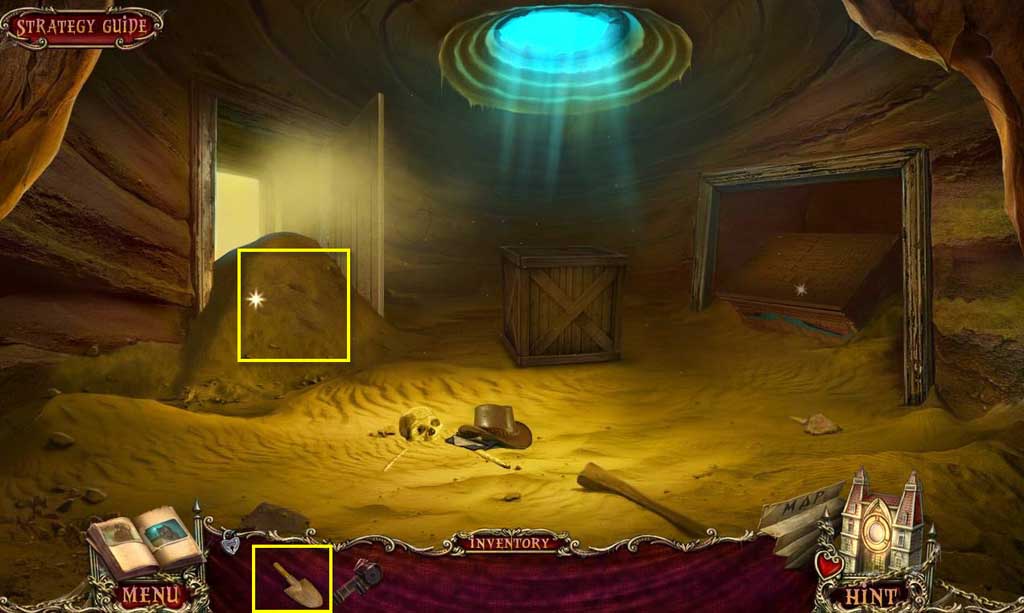
- Zoom in on the sand.
- Use the Shovel twice.
- Take the box.
- Go through the door.
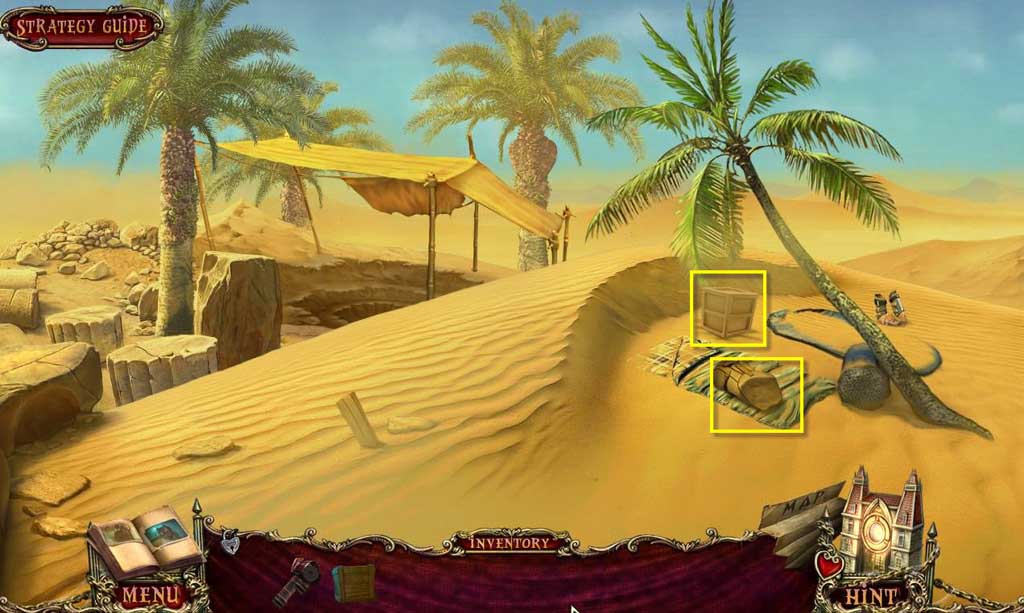
- Take the Box.
- Click on the backpack.
- Take the Latin Reference.
- Click on the handkerchief.
- Take the Brush.
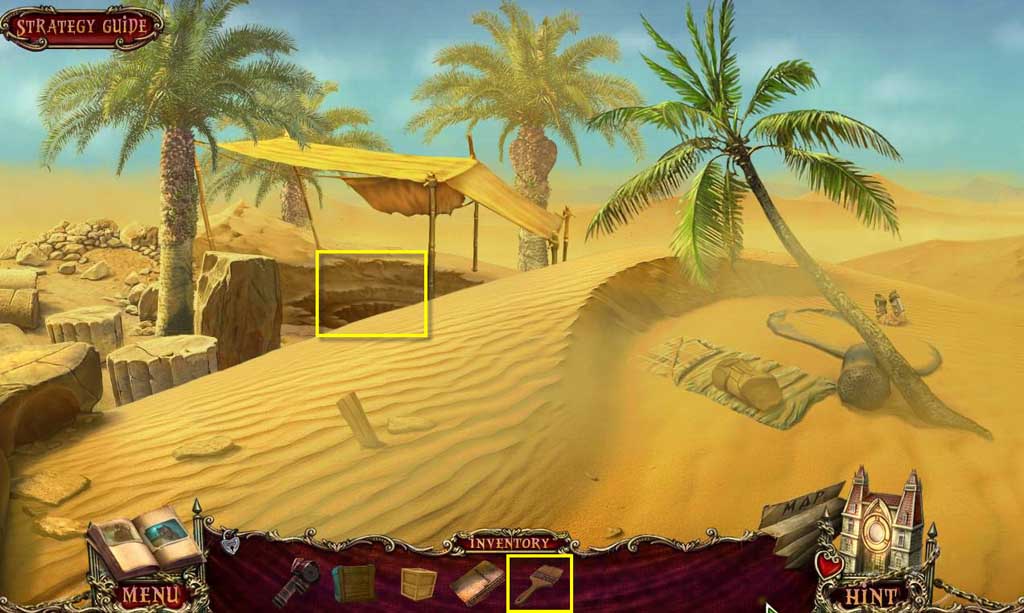
- Zoom in on the hole on the left.
- Use the Brush.
- Play the mini-game.
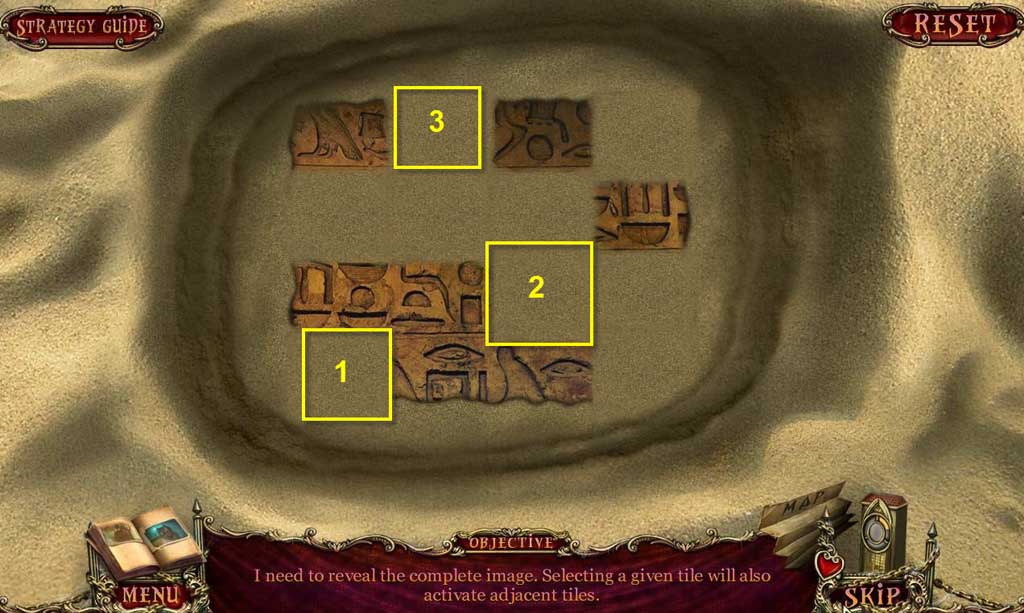
- You need to use the brush to reveal the image.
- Click on the correct areas 1 to 3.
- See the screenshot for the solution.
- Take the Hieroglyphs Plate.
- Go back one Screen.
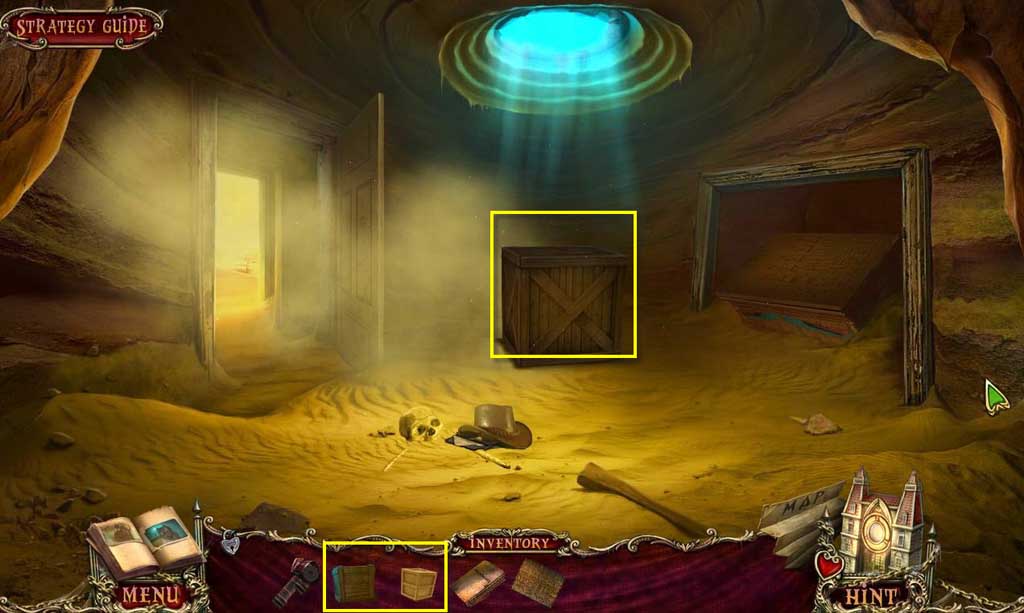
- Use the 2 Boxes on the larger box.
- Go up.
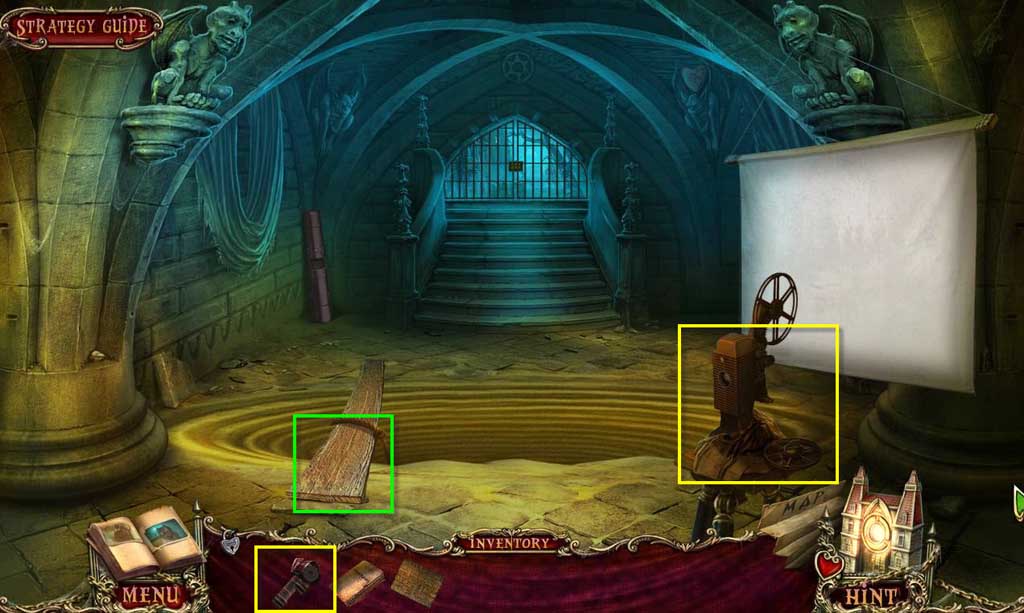
- Click on the board to move it.
- Zoom into the projector.
- Move the handle onto the projector.
- Take the Clock Hand.
- Use the Film on the reel.
- Watch the film
- Zoom back into the projector.
- Take the Code.
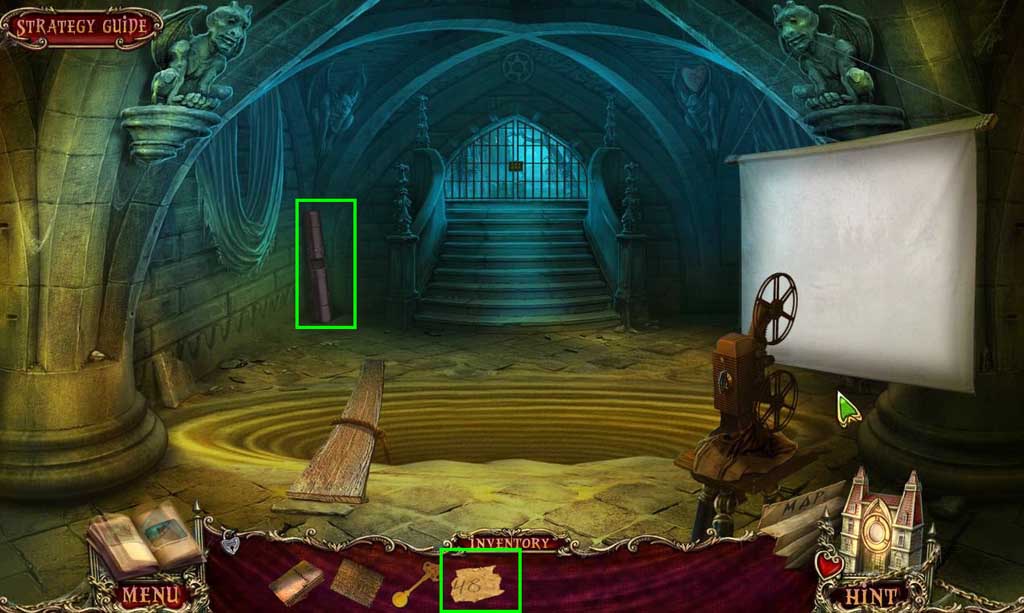
- Zoom in on the container in the corner.
- Use the Code on the paper.
- Enter 7348.
- Take the Painting.
- Go back one screen.
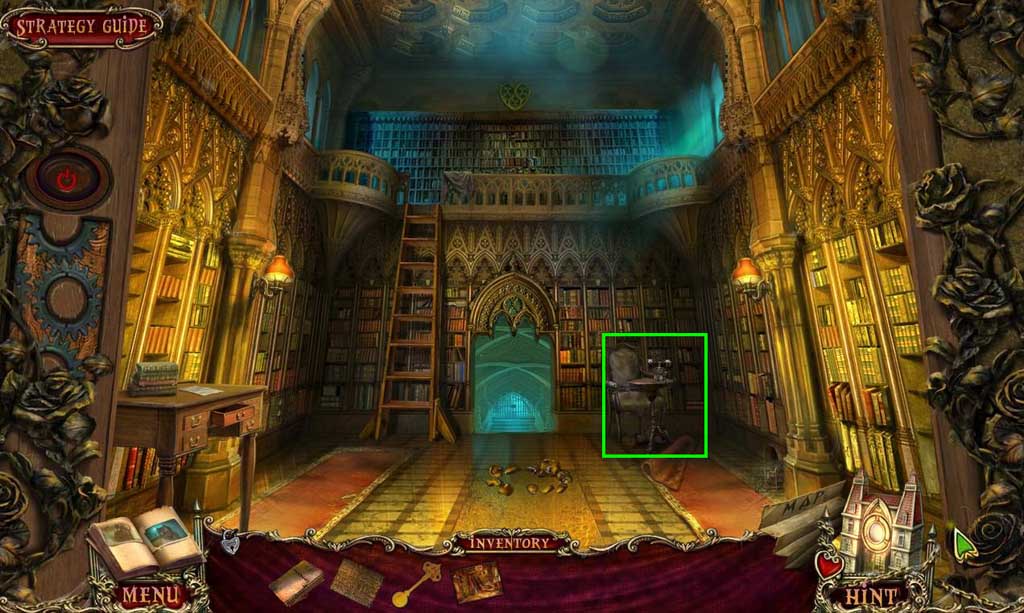
- Zoom in on the table.
- Answer the phone.
- Go up the ladder.
- Go forward one screen.
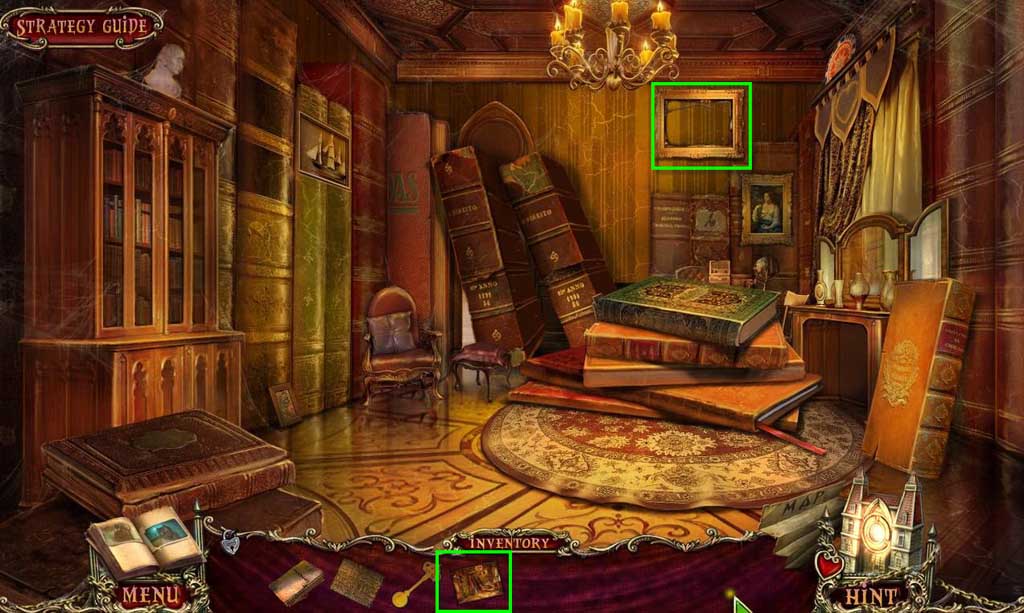
- Zoom in on the empty frame.
- Use the Painting in the empty place.
- Play the mini-game.
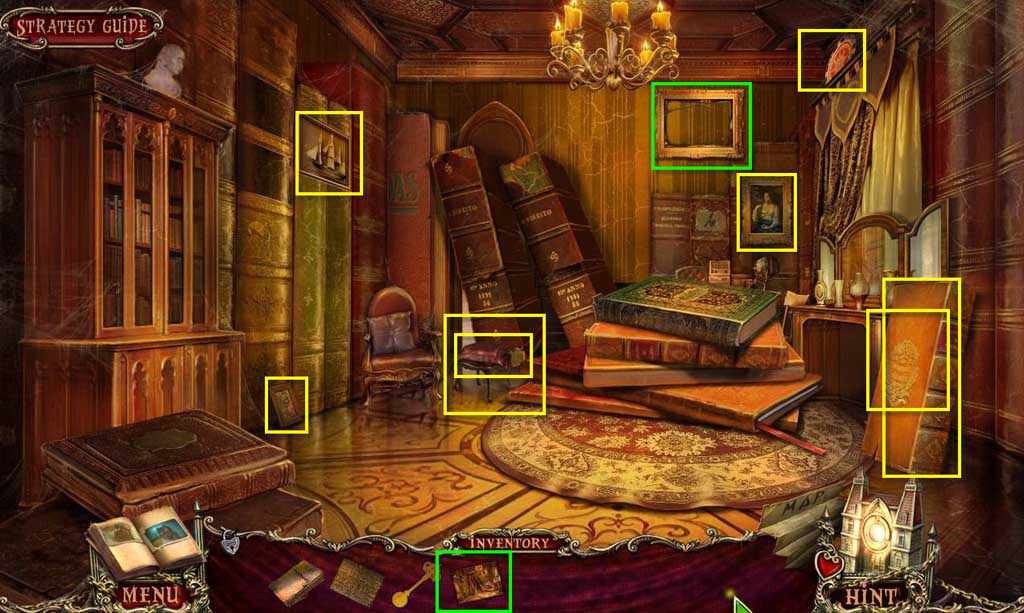
- Click on the 8 items that are out of place.
- See the screenshot for the solution.
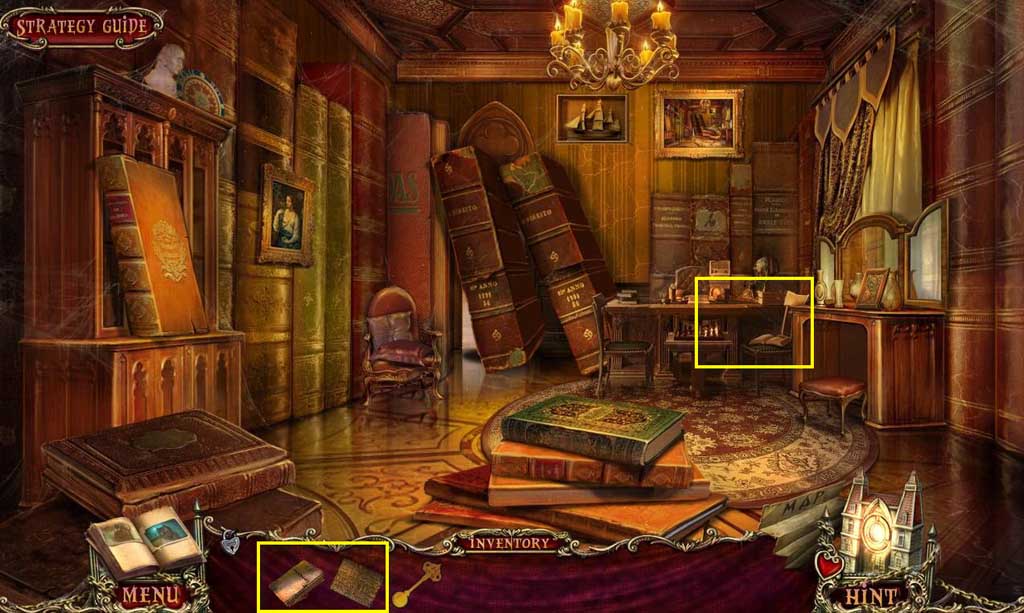
- Zoom in on the desk.
- Use the Latin Reference and the Hieroglyphs Plate
- Play the mini-game.
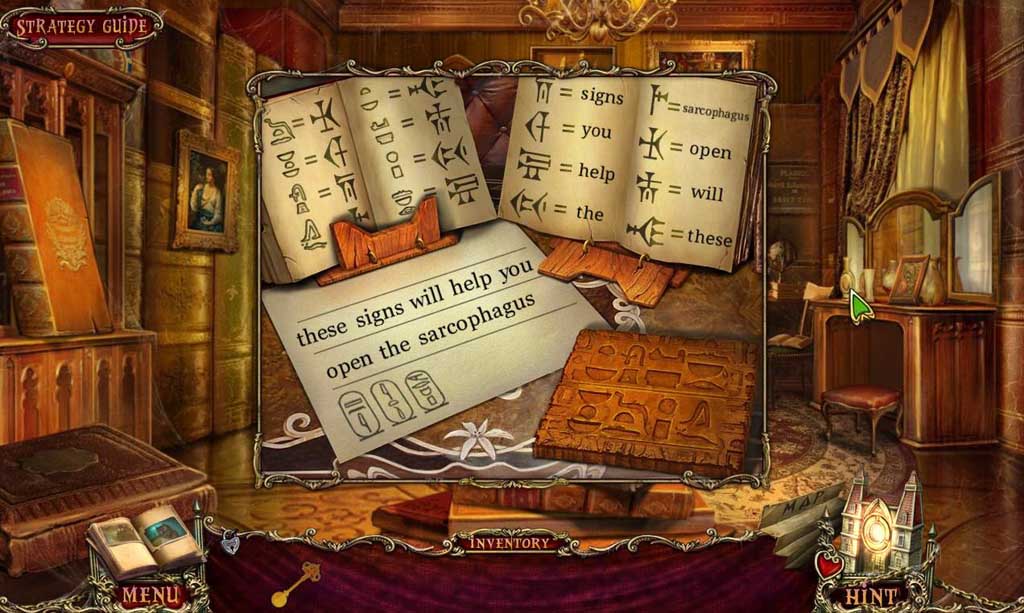
- Click on the word in english to spell out the message.
- The message is: These signs will help you open the sarcophagus.
- Go back one screen.
- Go downstairs.
- Go forward.
- Climb down.
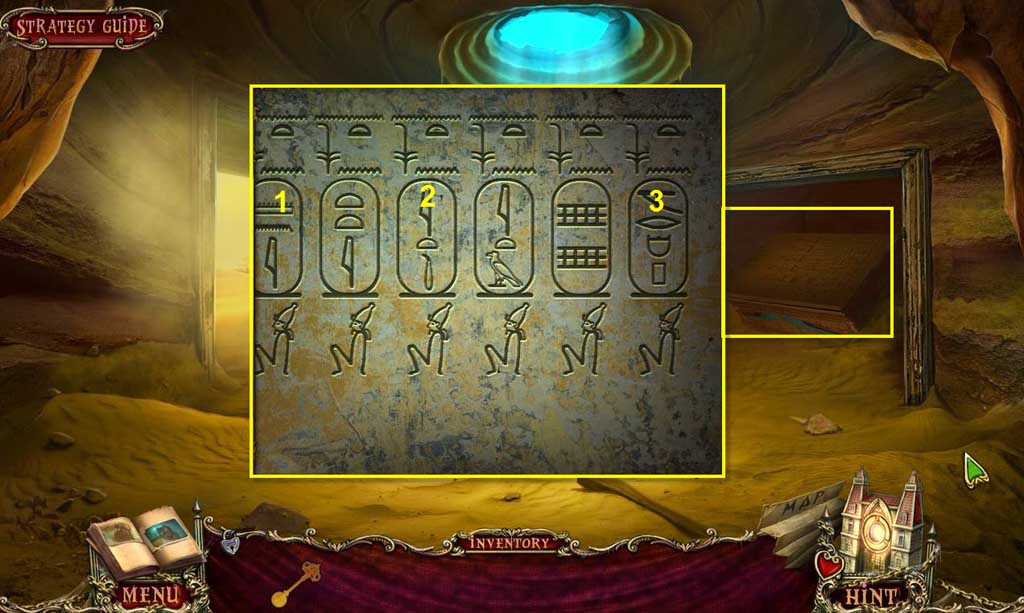
- Zoom in on the sarcophagus.
- Click on the correct runes.
- Click on each gem to move them.
- Take the Gems.
- Go back up.
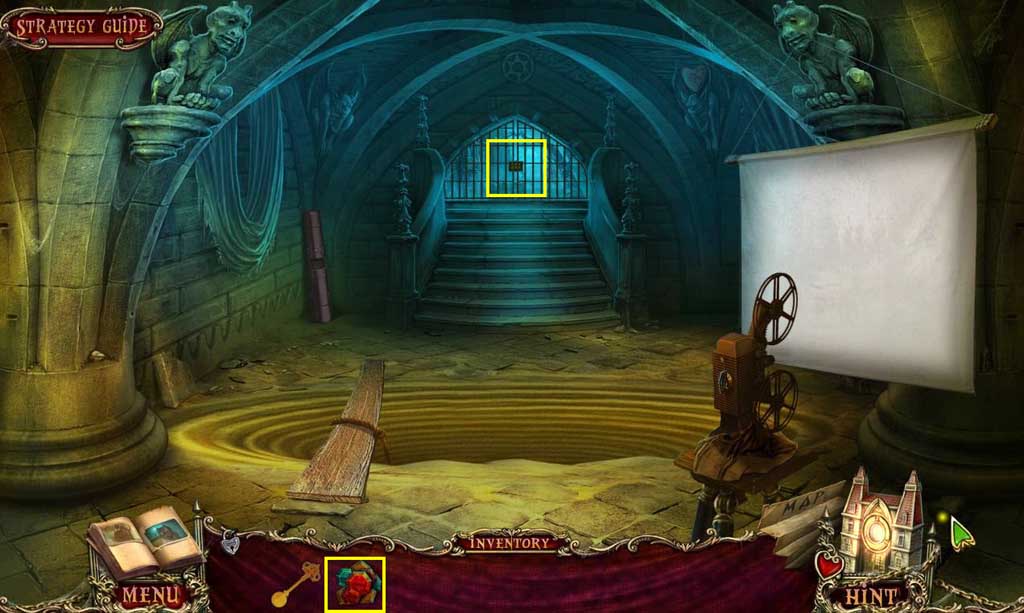
- Zoom in on the gate.
- Use the Gems.
- Play the mini-game.
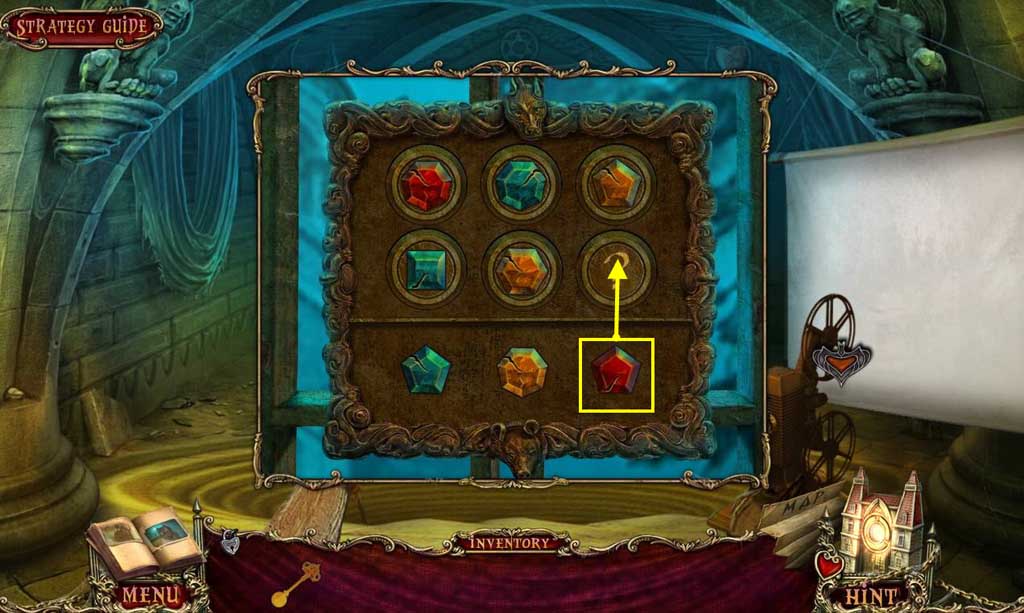
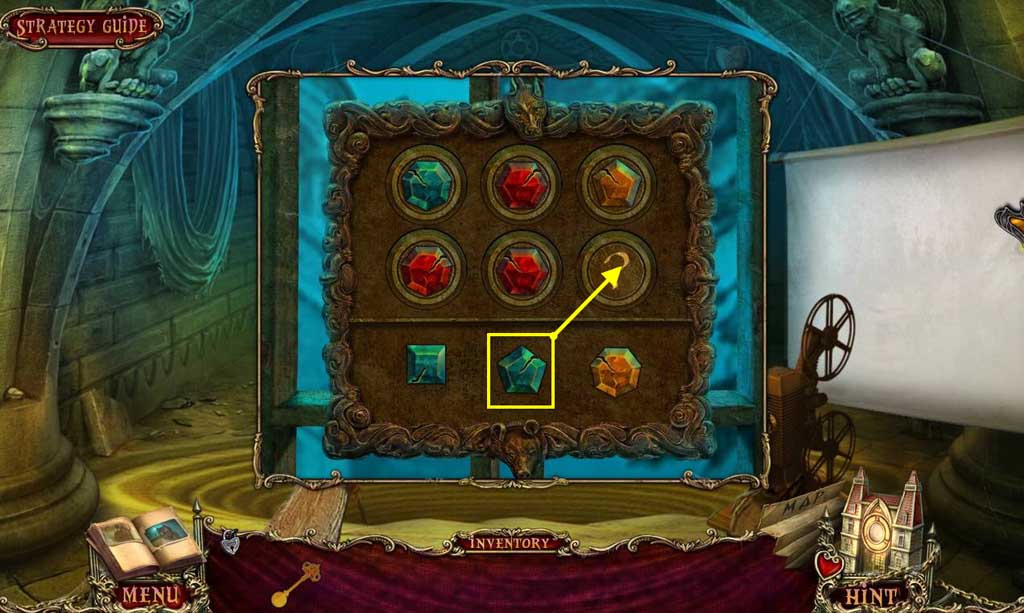
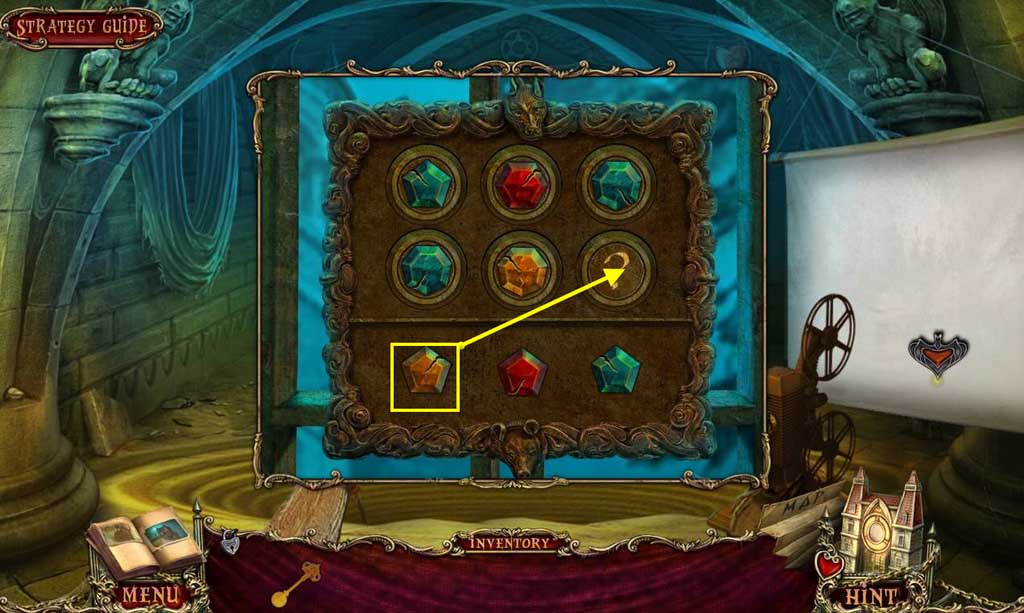
- Find the gem that fits in the empty spot.
- See the above screenshots for the solution.
- Go forward.
Comments will load when you reach this part of the walkthrough.