

Chapter Five: The Captured Brother
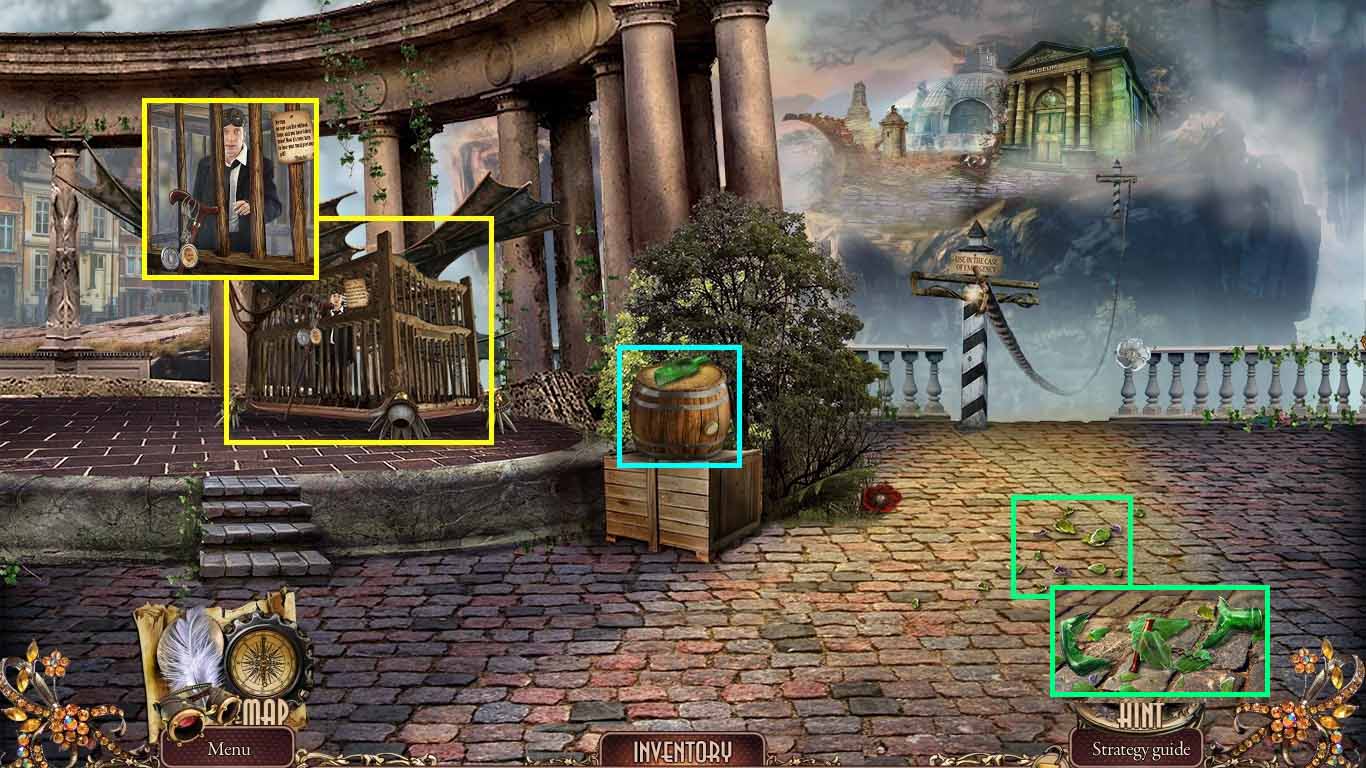
- Examine the cage.
- Read the note.
- Collect the locket and the cane.
- Examine the barrel.
- Collect the bottle with corkscrew.
- Examine the floor.
- Place the bottle with the corkscrew down.
- Collect the glass shard and the corkscrew.
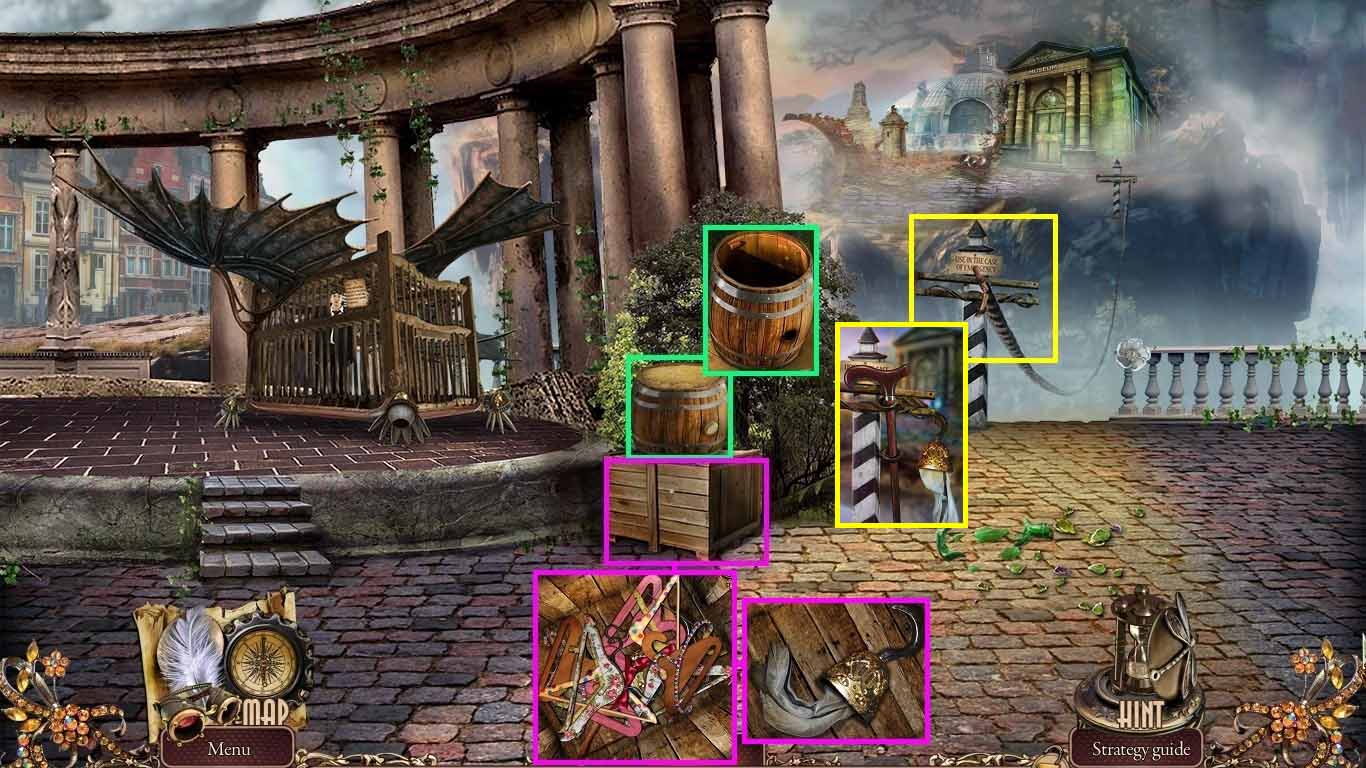
- Examine the barrel.
- Use the corkscrew to remove the cork.
- Remove the barrel.
- Click the box open and remove the pair of hangers.
- Collect the hook.
- Examine the rope.
- Replace the broken beam with the cane.
- Use the hook to get across the abyss.
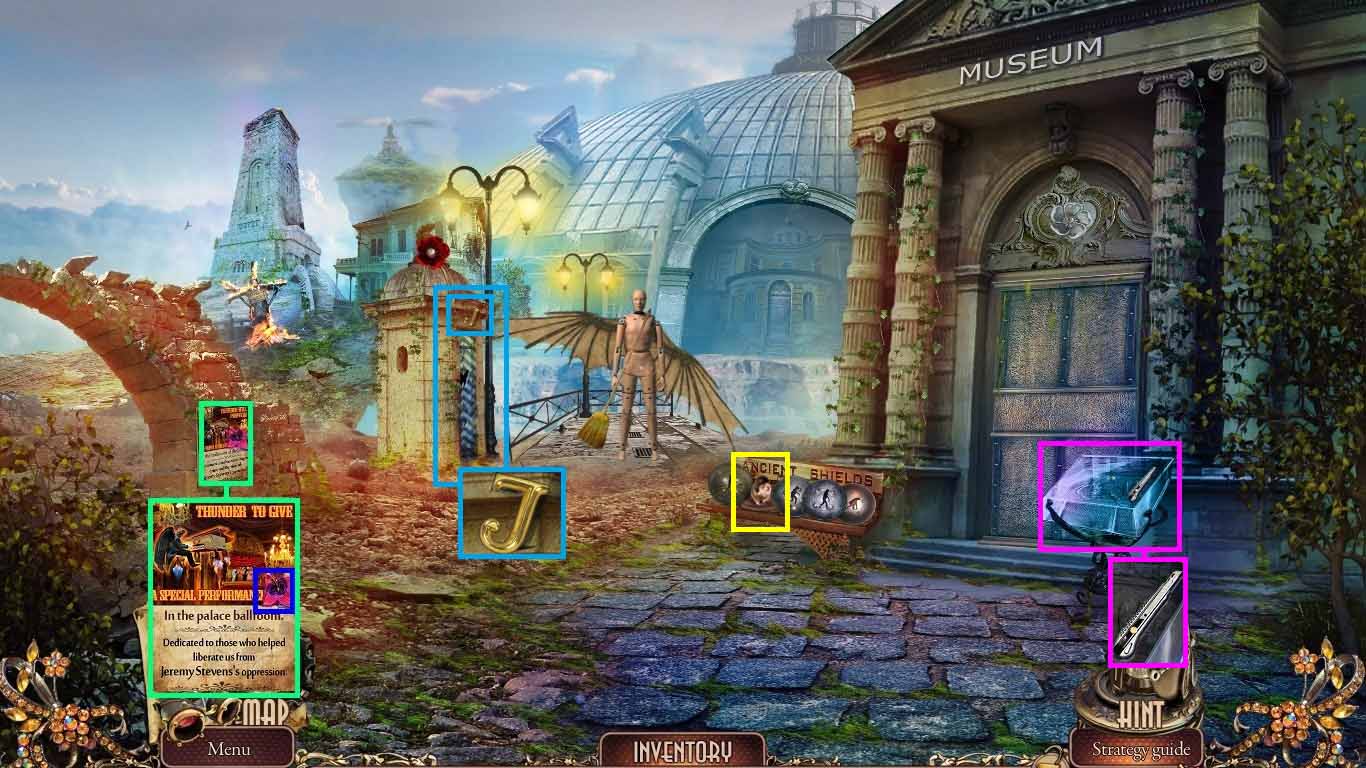
- Examine the poster; collect the 1/ 3 flower.
- Examine the booth; collect the letter “J.”
- Examine the glass display; collect the utility knife.
- Examine the shield; collect the hamster.
- Place the shield into its place.
- Play the mini-game.
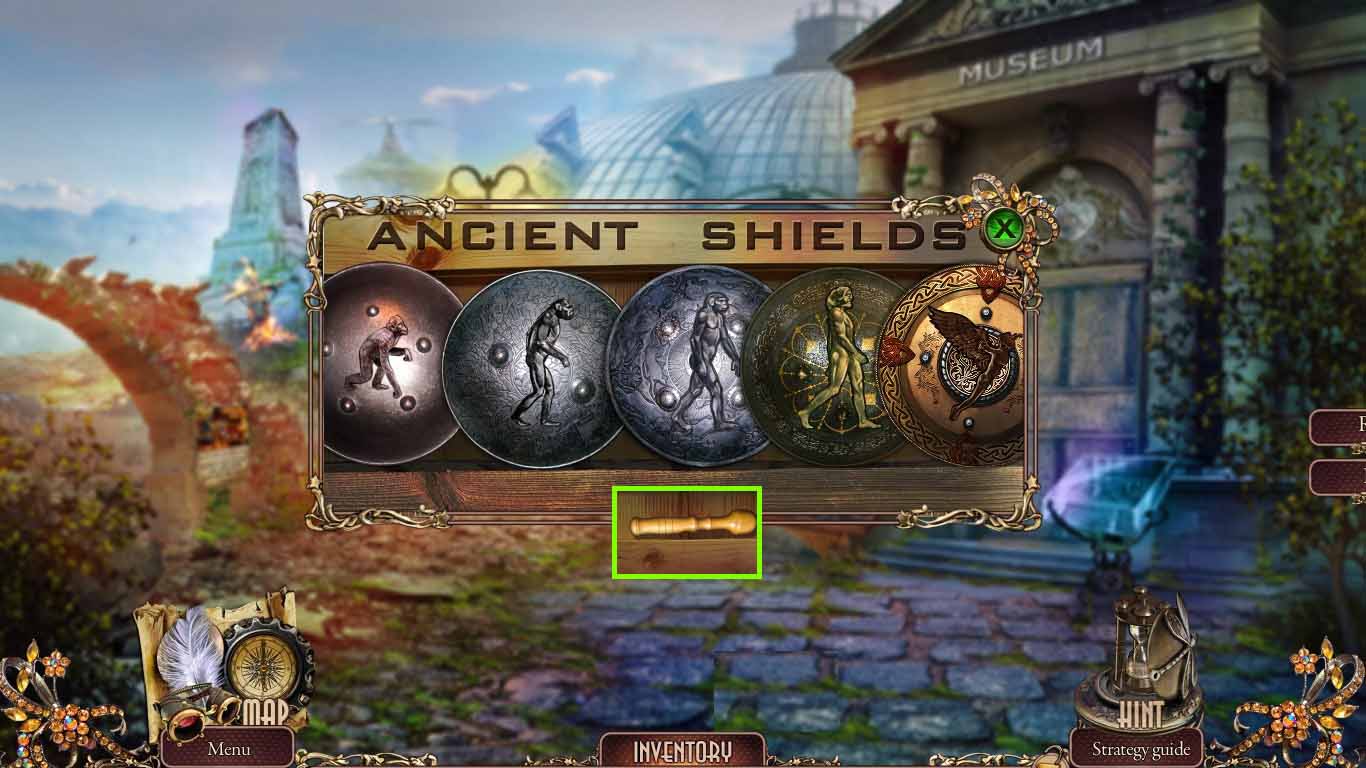
- Move the shield to reflect the development of human evolution.
- Collect the pestle.
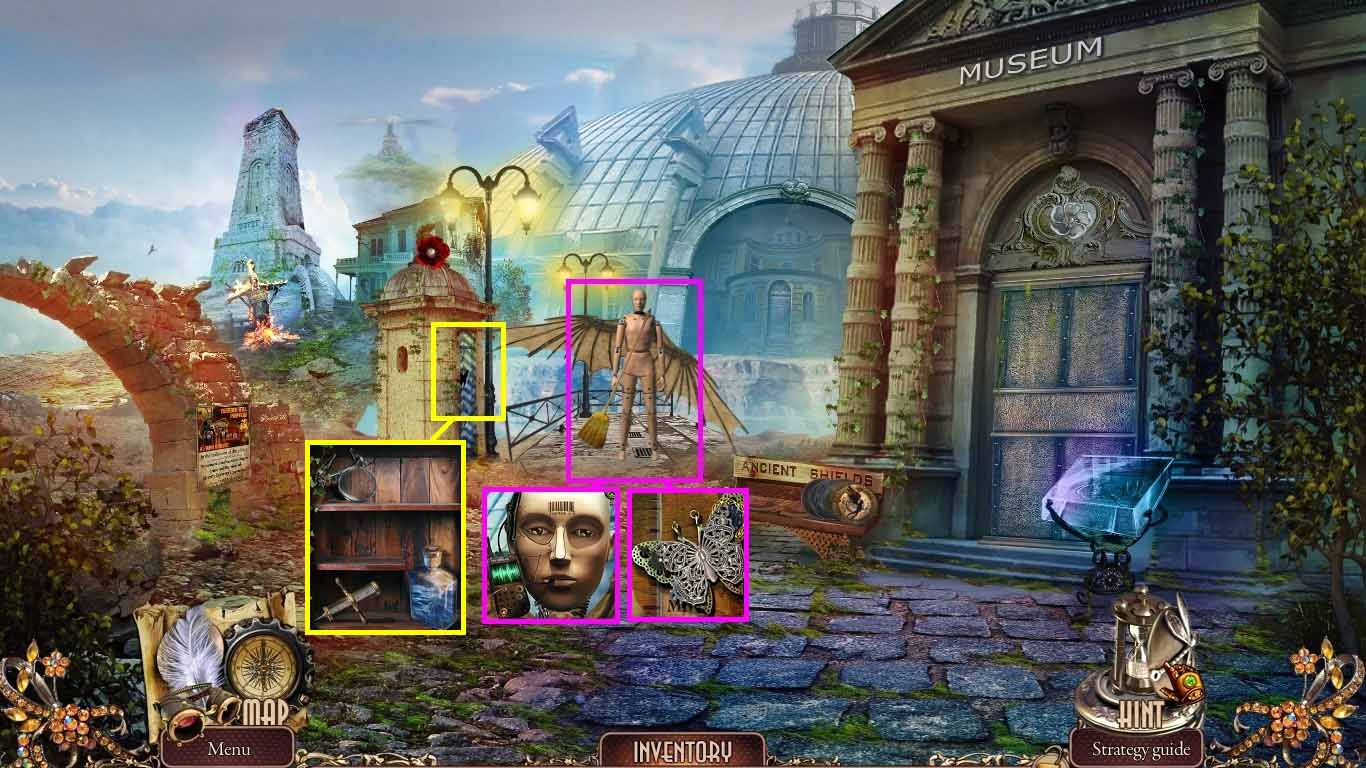
- Examine the robot; attach the radio to the robot.
- Examine the robot again; collect the Ivanhoe’s amulet.
- Examine the booth; insert the Ivanhoe’s amulet.
- Collect the jeweler’s lens and the bottle of water.
- Go forward.
- Play the hidden objects area.
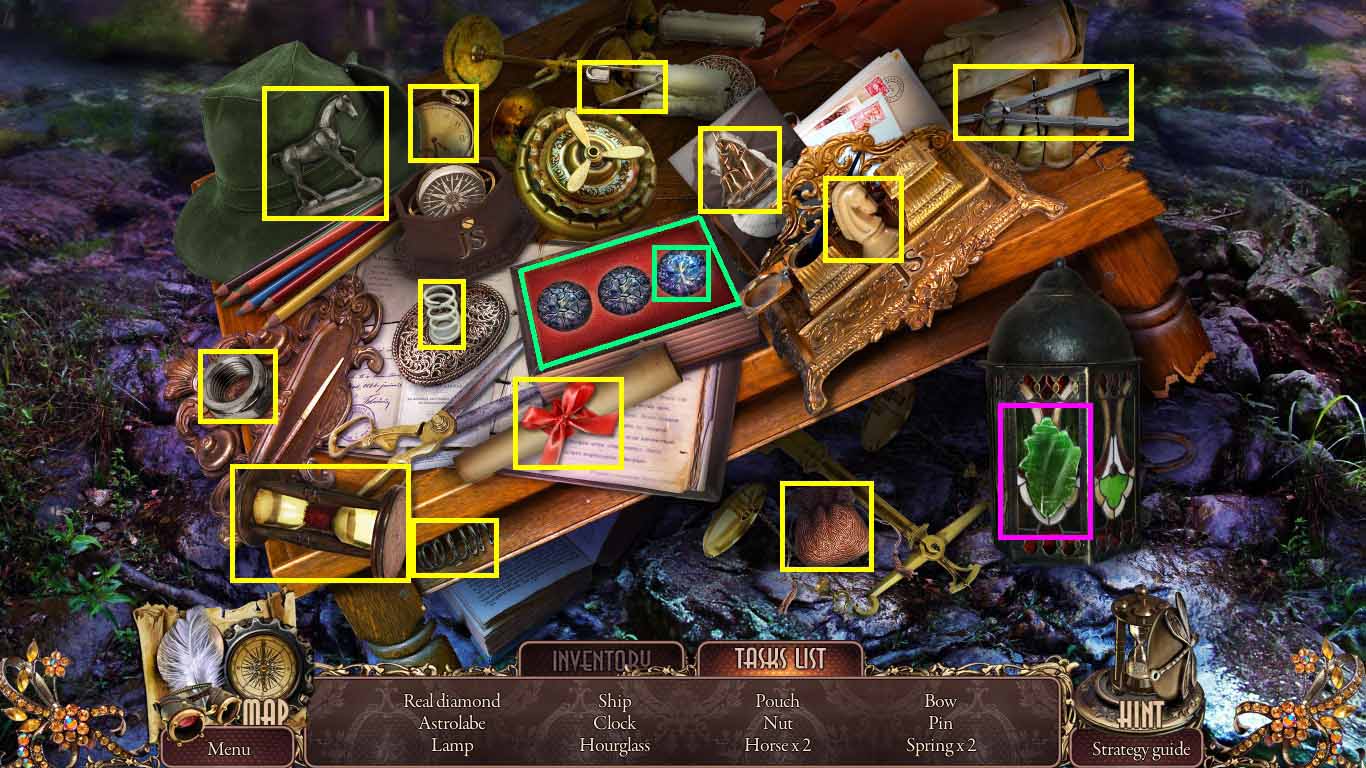
- Collect the jeweler’s lens from the inventory.
- Use it to determine to real diamonds; collect the real diamond.
- Collect the glass shard from the inventory.
- Place it into the lamp; collect the lamp.
- Collect the diamond.
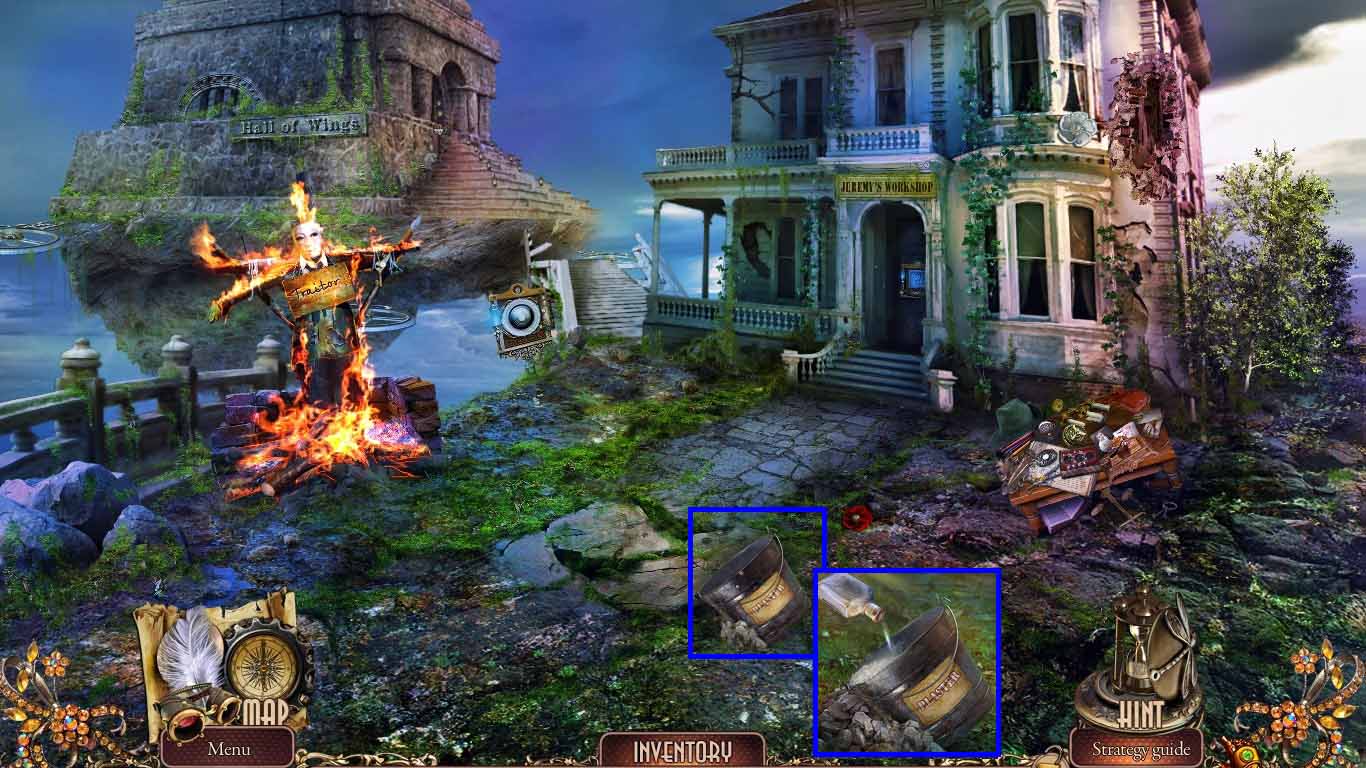
- Examine the bucket.
- Pour the bottle with water into the bucket.
- Collect the bucket with plaster.
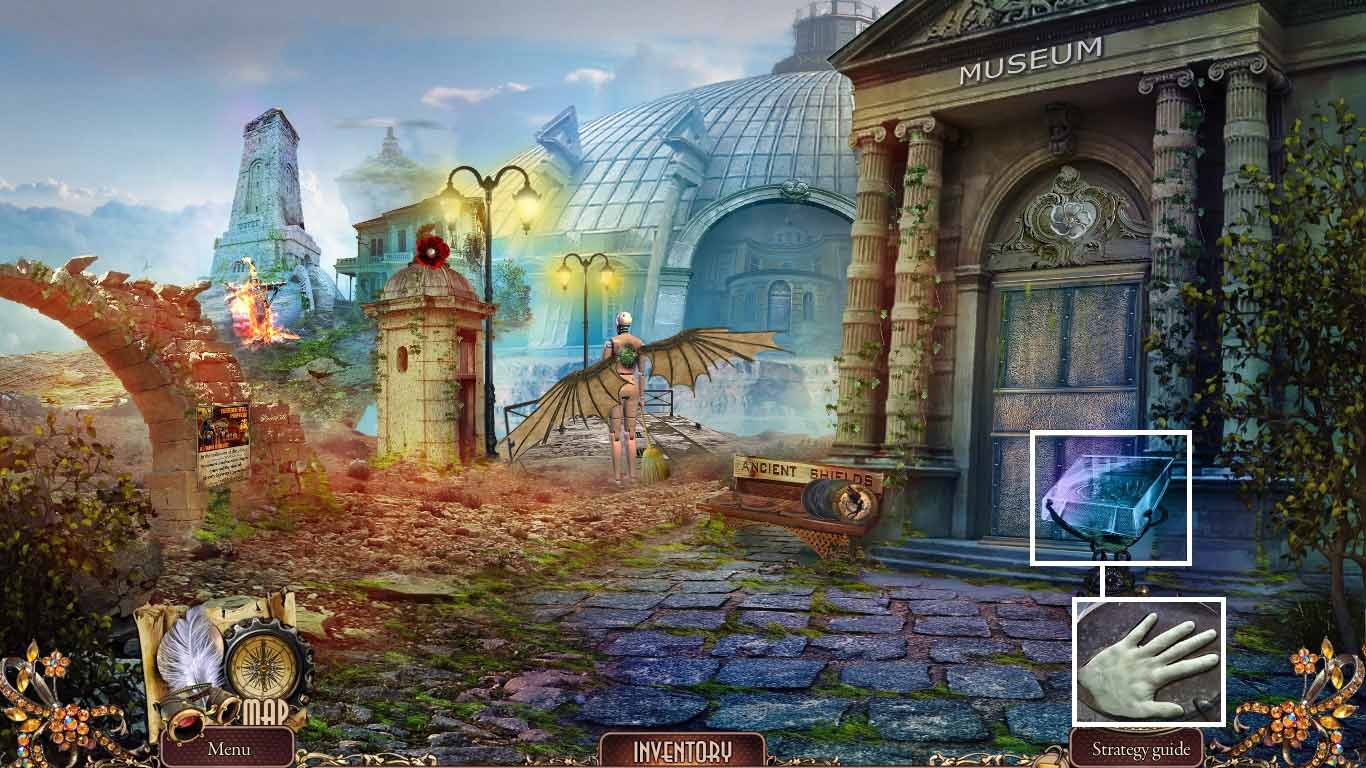
- Examine the glass display; use the diamond to cut it open.
- Pour the bucket with plaster into the hand shape and collect the handprint.
- Go forward.
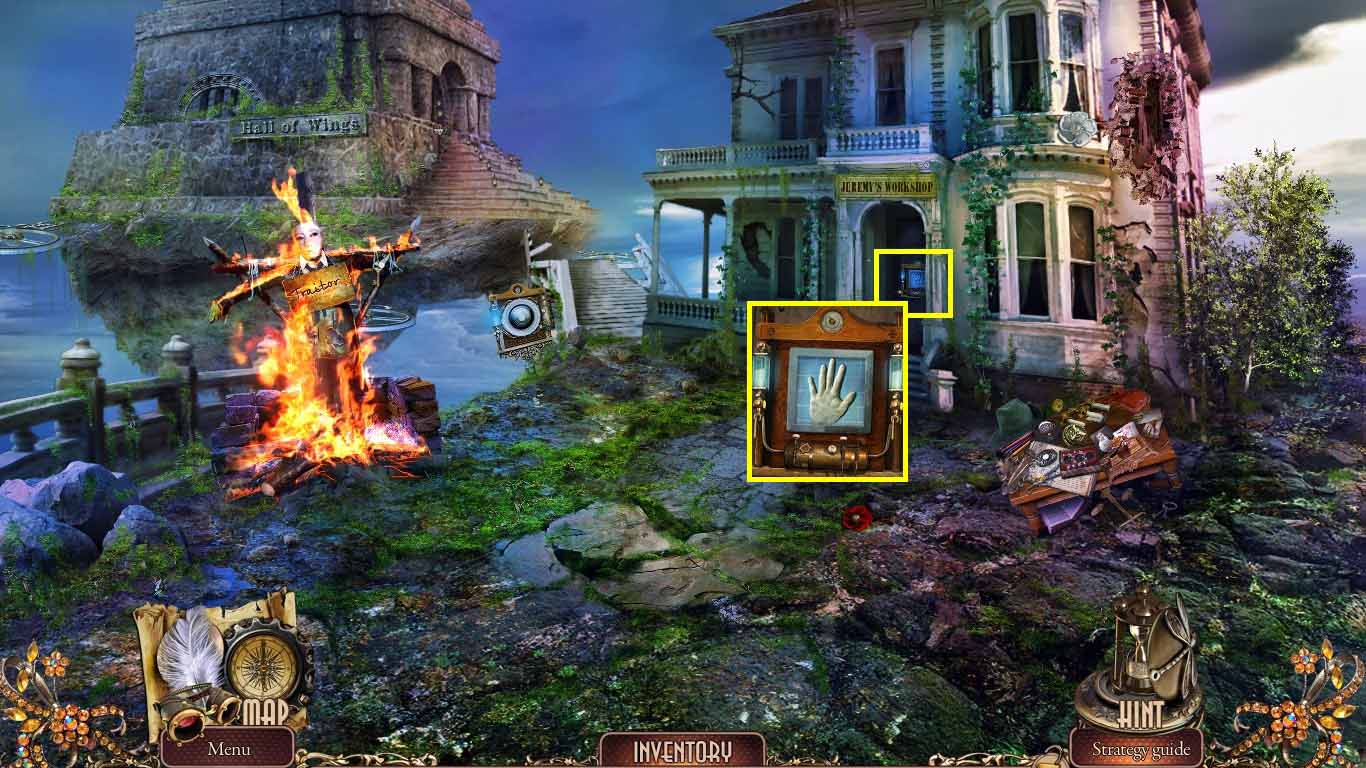
- Examine the door; insert the handprint.
- Go into the workshop.
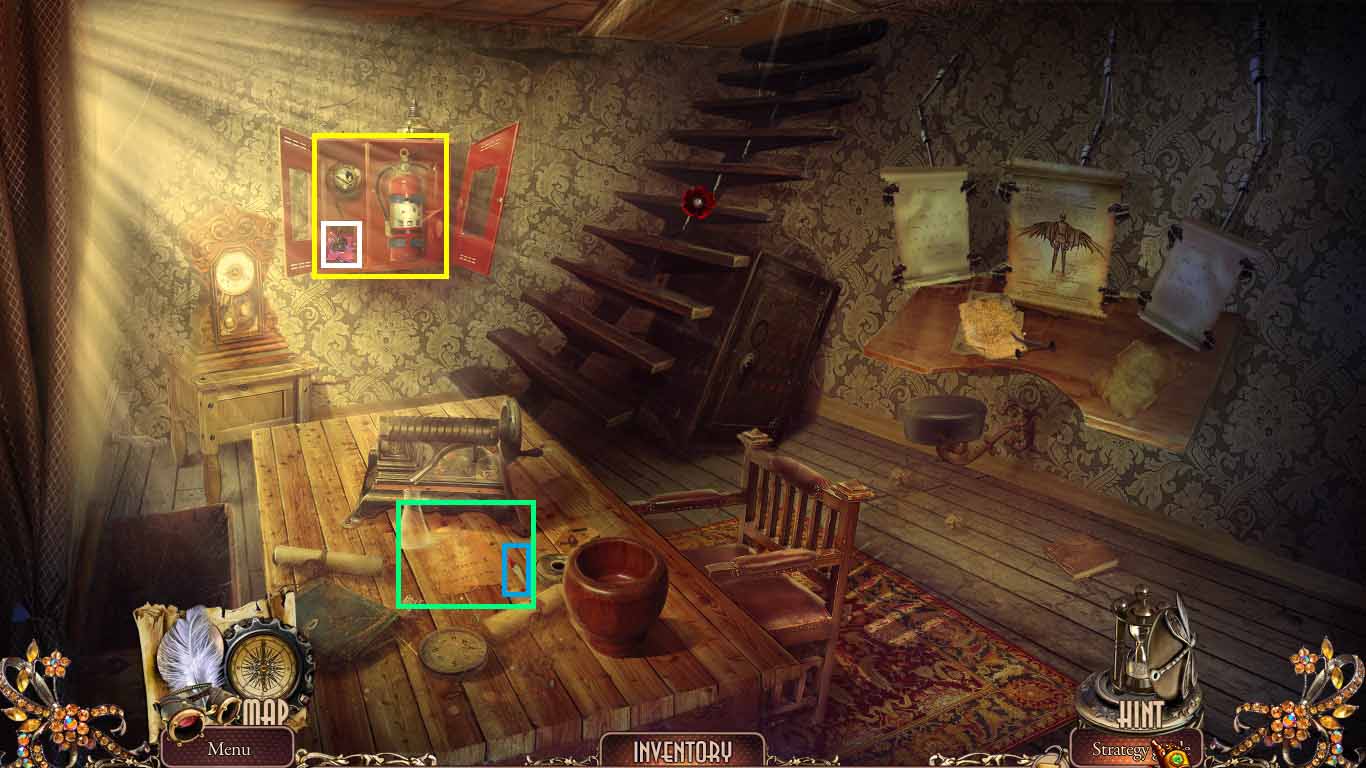
- Examine the extinguisher.
- Collect the 2 /3 flower.
- Examine the table; read the note and collect the compass arrow.
- Move down one time.
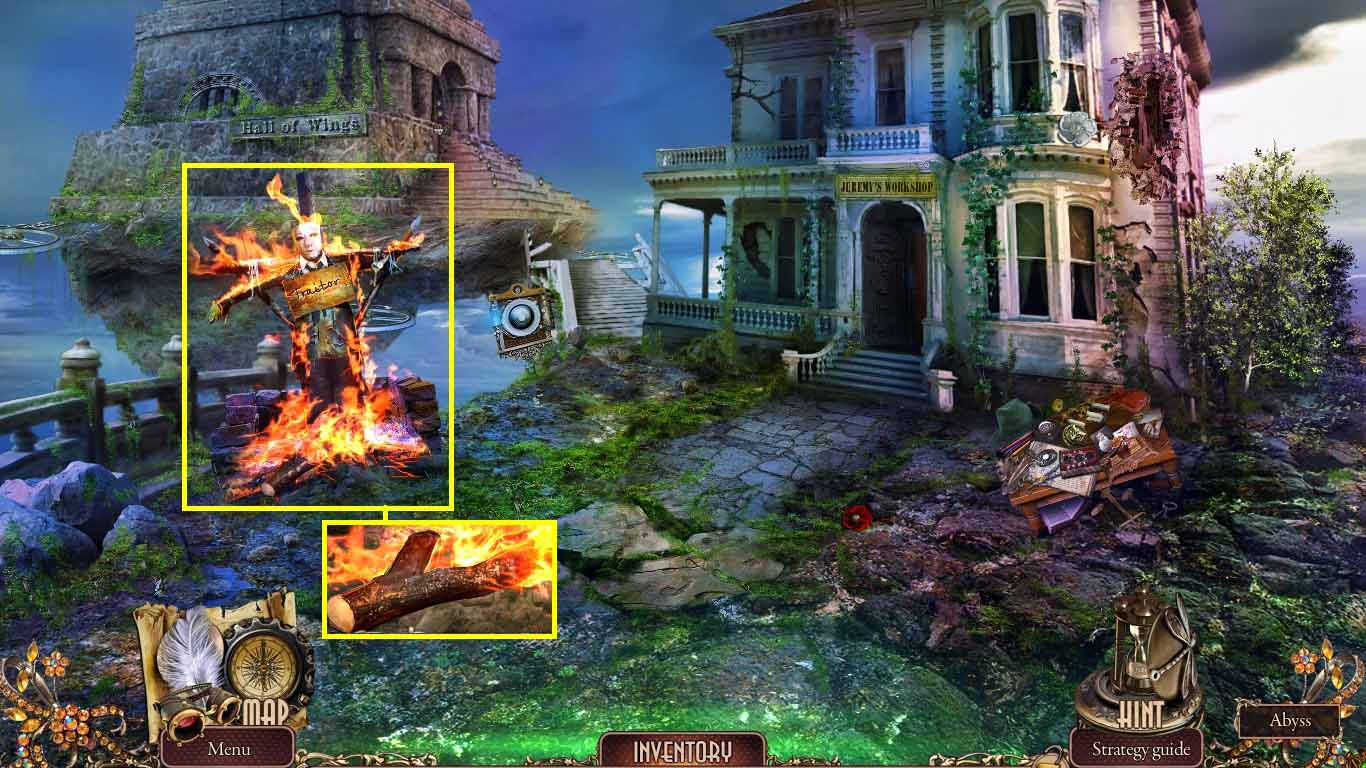
- Examine the burning effigy.
- Collect the burning stick.
- Go forward.
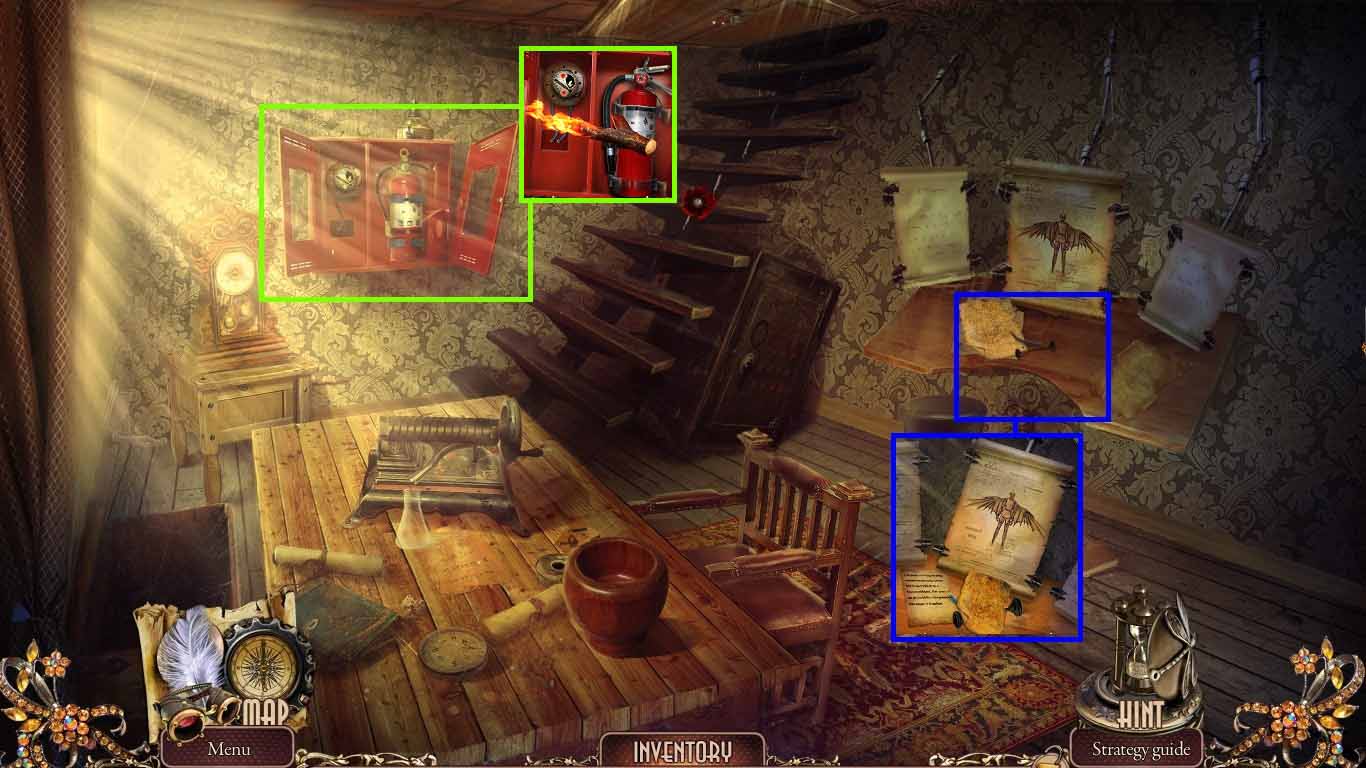
- Examine the desk; collect the flight log.
- Collect the syringe plunger and the wire.
- Read the note.
- Examine the extinguisher and place the wire down.
- Place the burning stick next to the extinguisher and collect the fire extinguisher.
- Move down once.
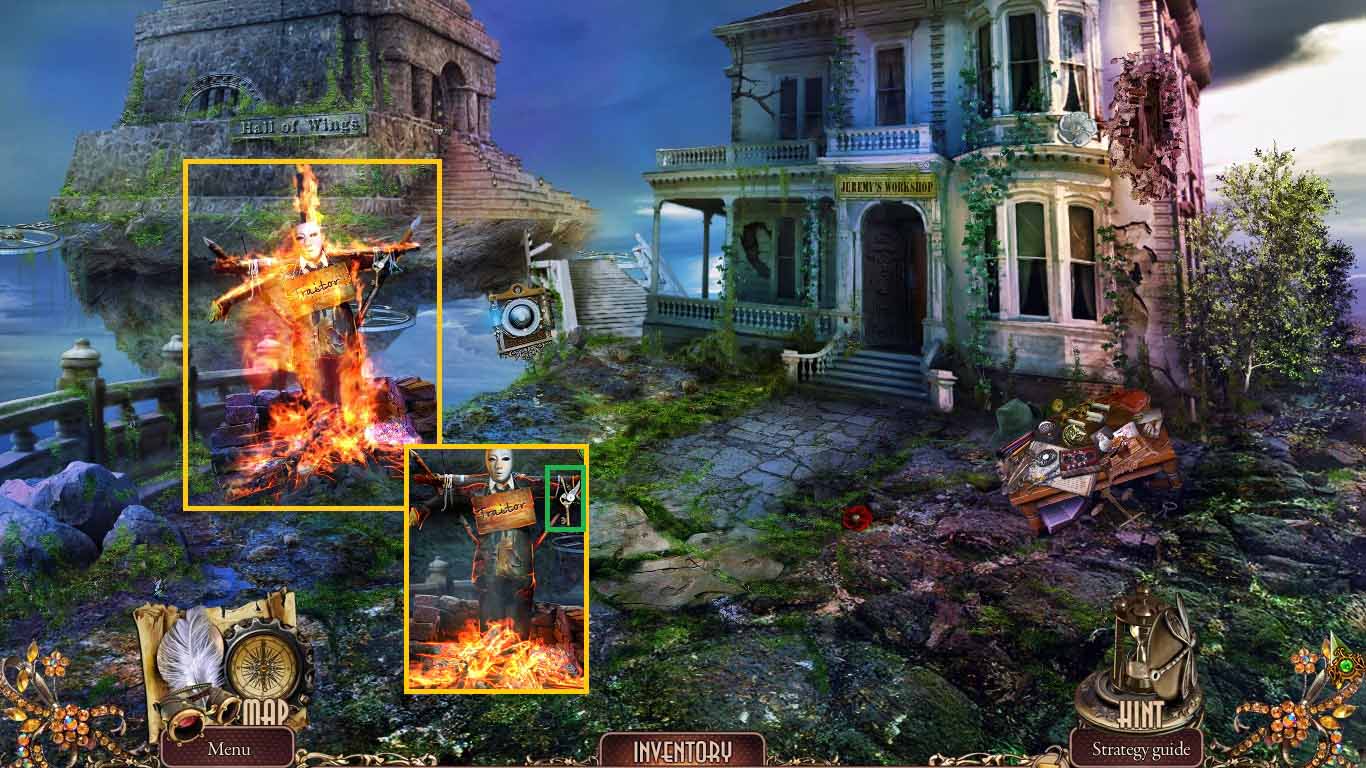
- Examine the burning effigy.
- Use the fire extinguisher to out the fire.
- Collect the office key.
- Move into the workshop.
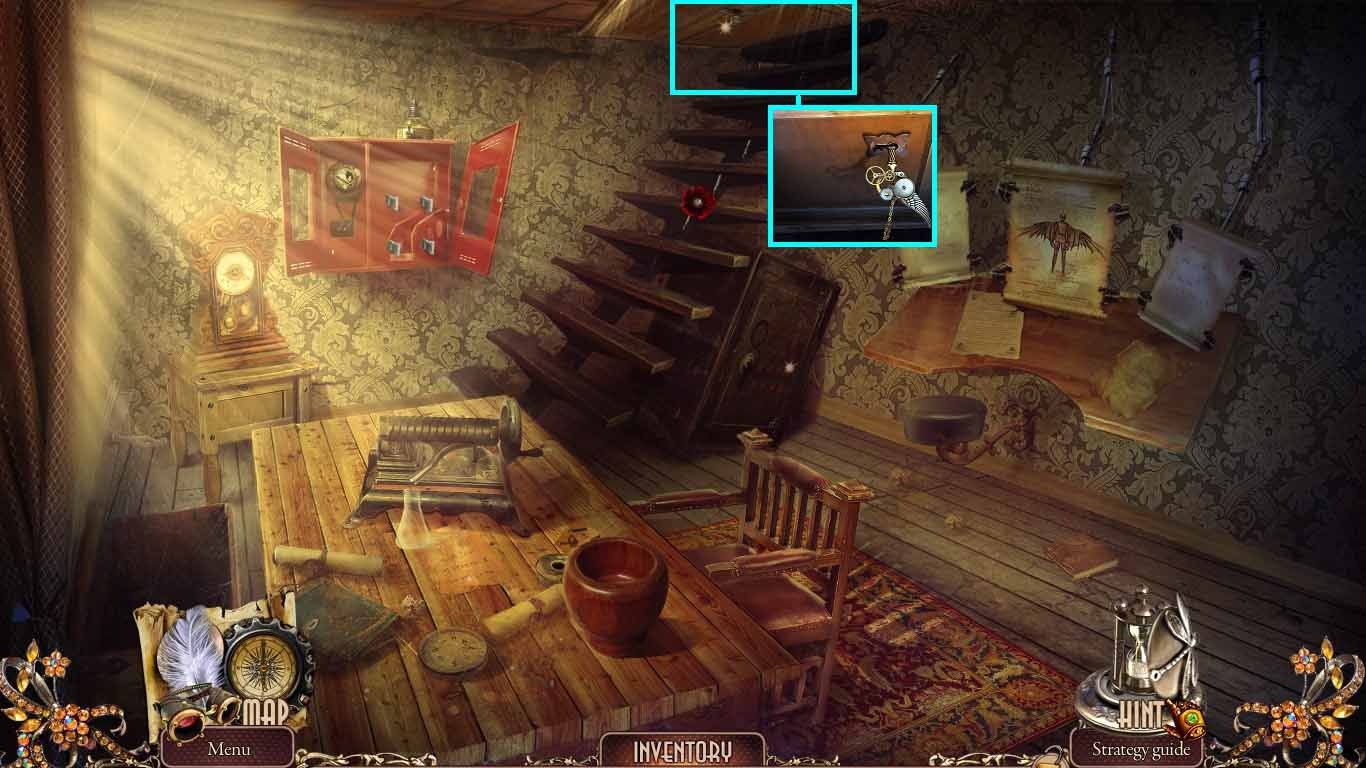
- Examine the lock; insert the office key.
- Click it once.
- Move upstairs.
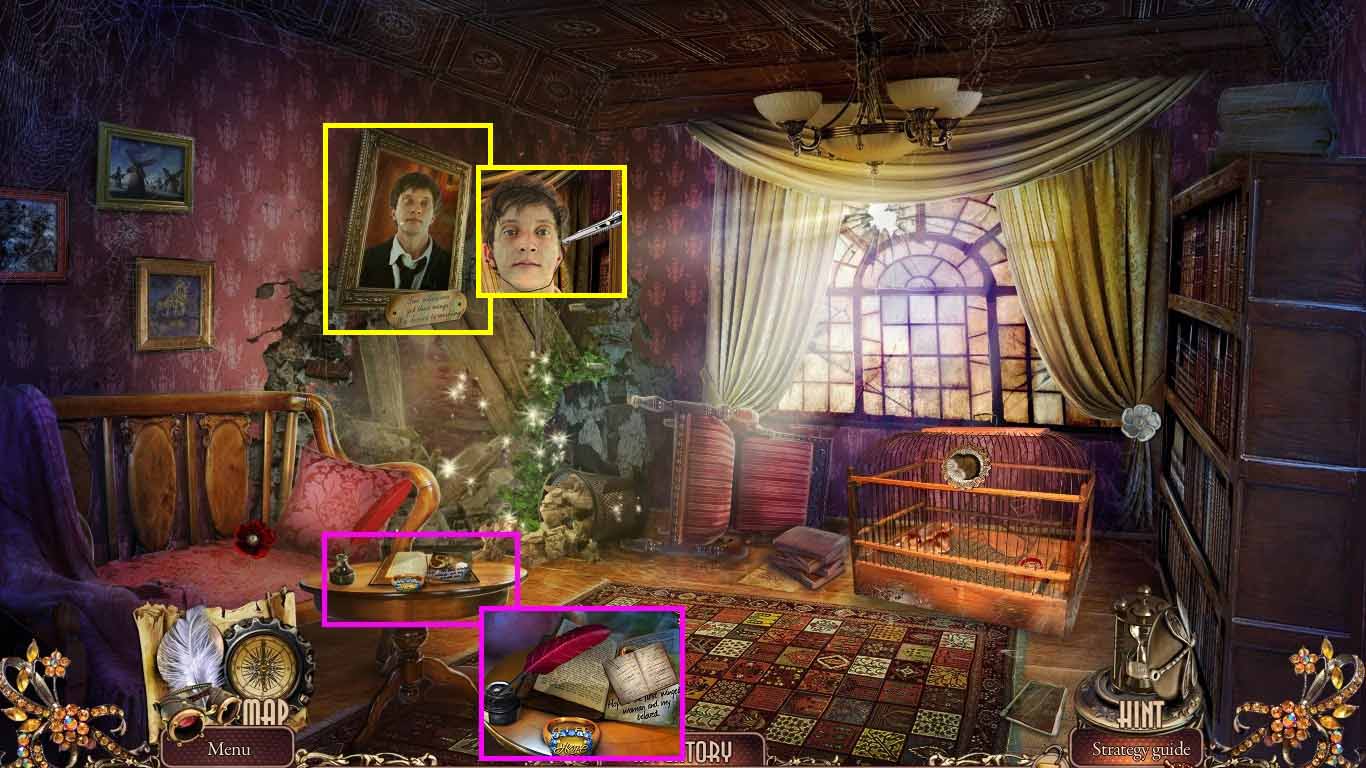
- Examine the table; collect the note.
- Collect Hope’s ring and the letter “S.”
- Examine the portrait.
- Use the paper knife to cut out the face; collect Jeremy’s portrait.
- Move down once.
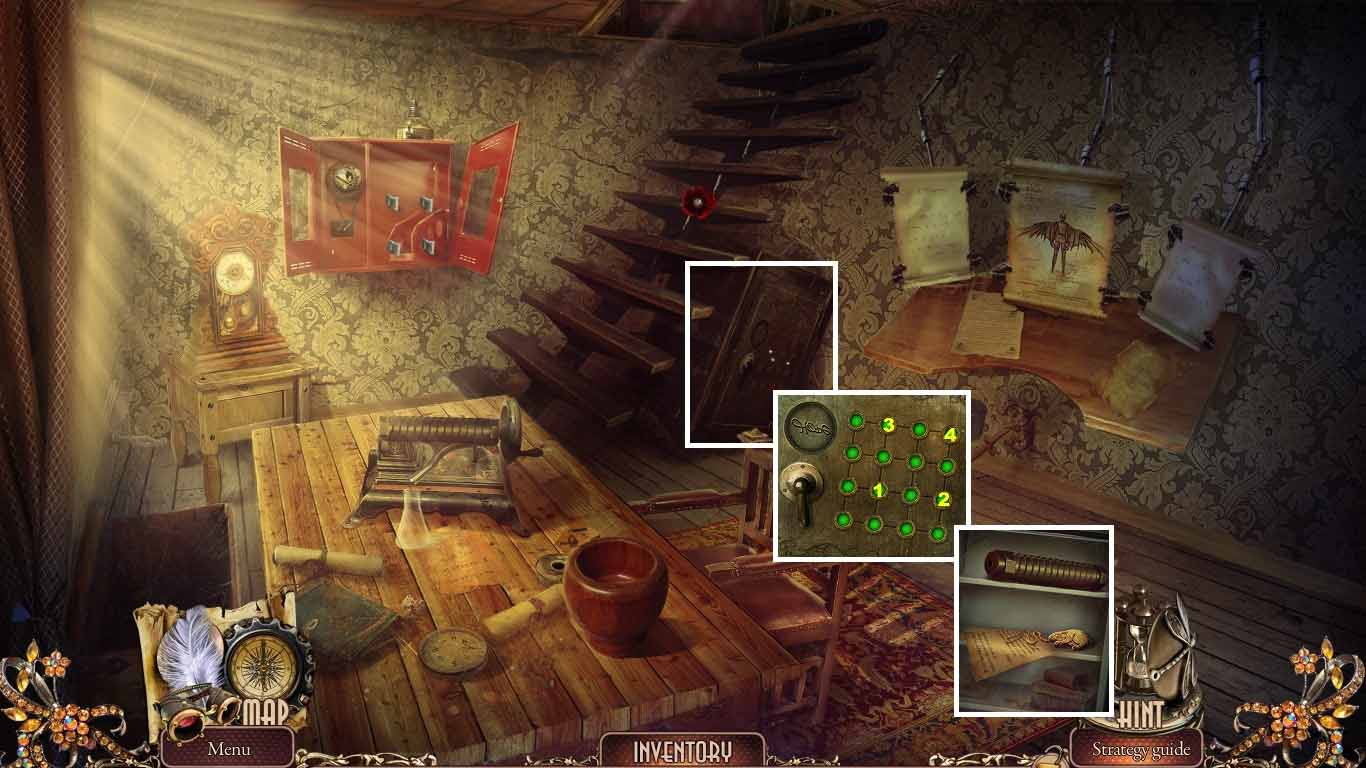
- Examine the safe.
- Insert Hope’s and play the mini-game.
- To solve this puzzle, click the buttons (1-4).
- Collect the hamster’s amulet, the grinder and read the note.
- Move down one time.
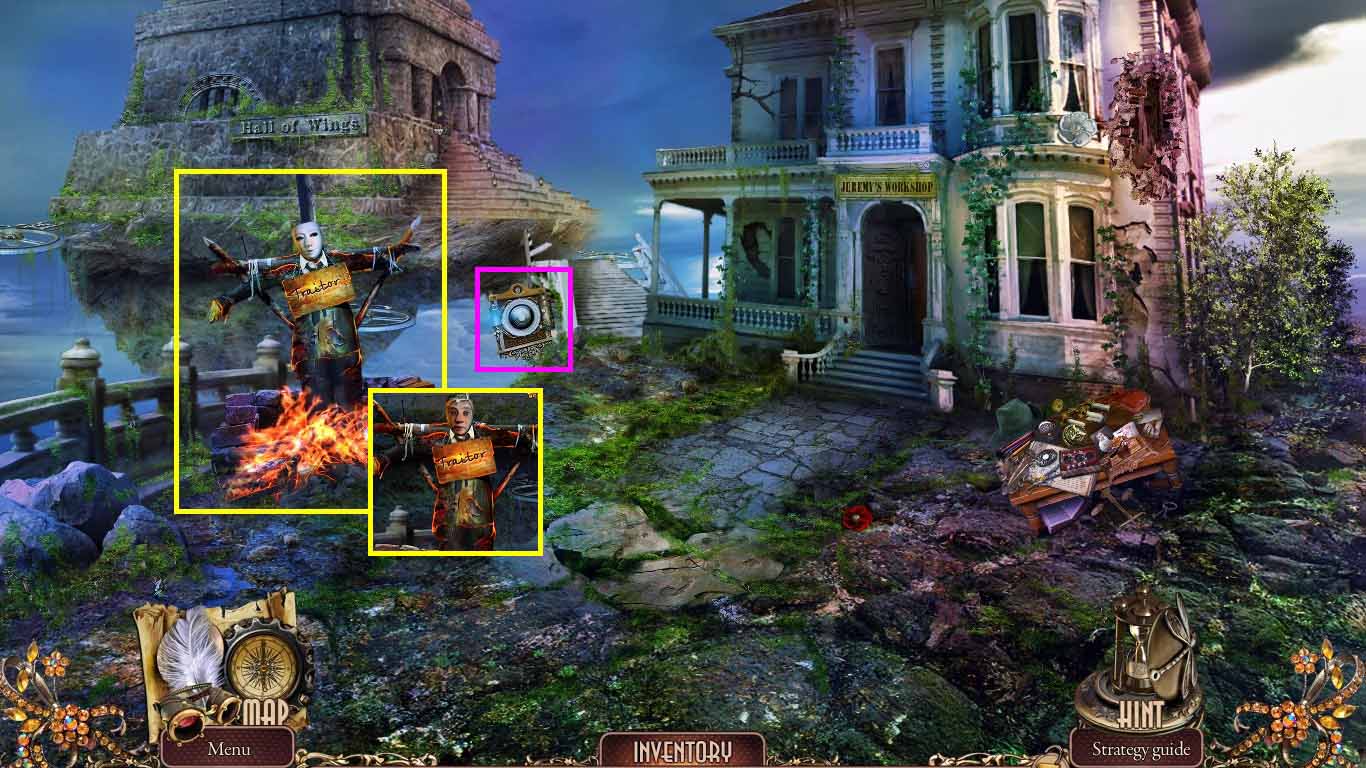
- Examine the effigy.
- Place Jeremy’s portrait onto the mask; collect Jeremy’s mask.
- Examine the panel; place Jeremy’s mask into the shape.
- Go forward.
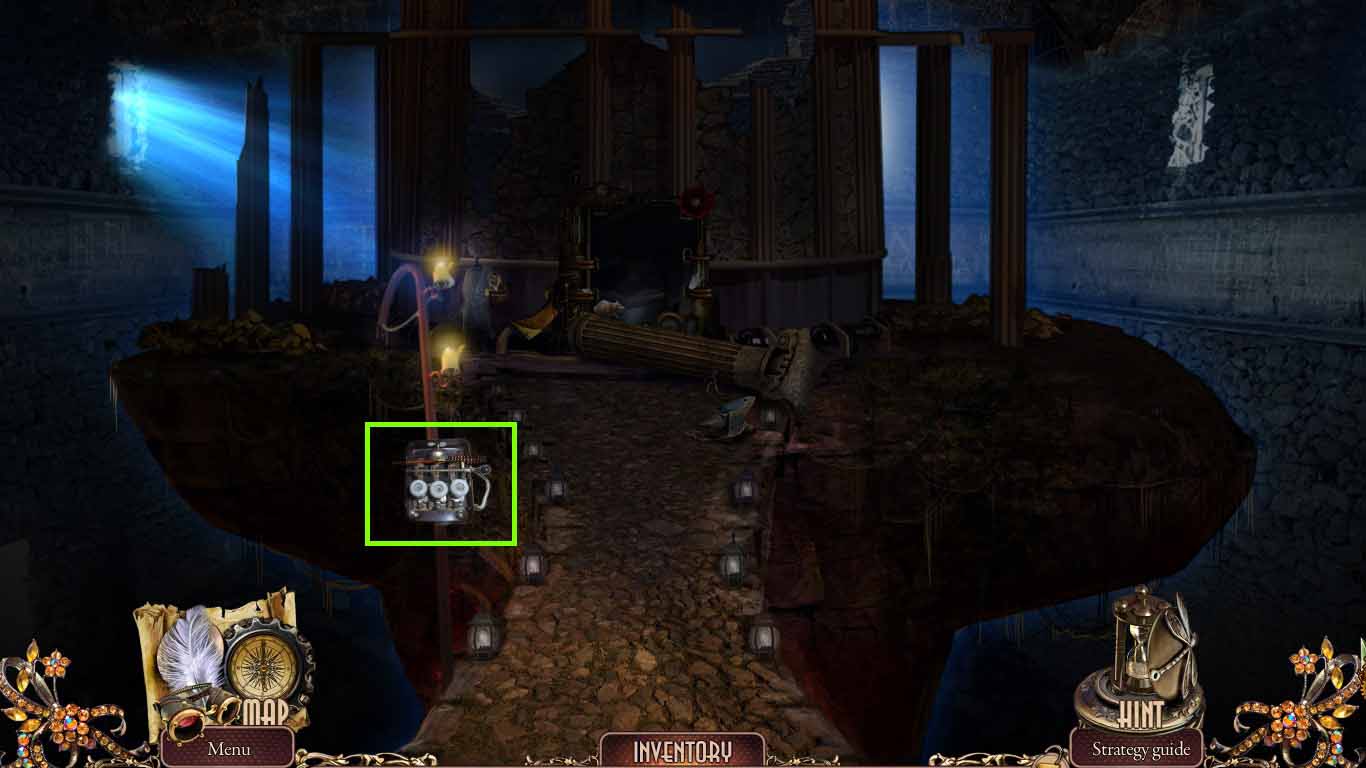
- Examine the machine.
- Collect the brush and the alarm bell.
- Move down once, enter the workshop and go upstairs.
- Play the hidden objects area.
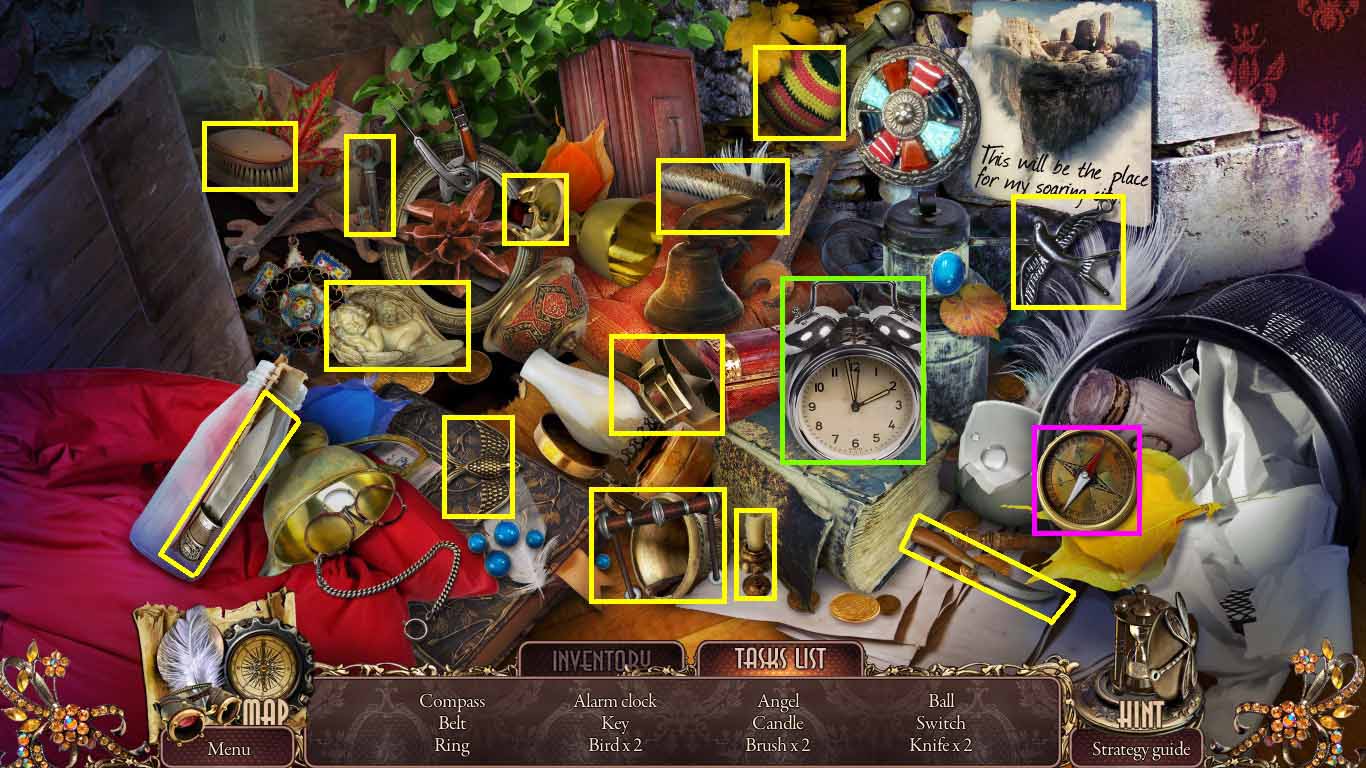
- Collect the alarm bell from the inventory.
- Place it into the clock and collect the alarm clock.
- Collect the compass arrow from the inventory.
- Place it into the compass and collect the compass.
- Collect the switch handle.
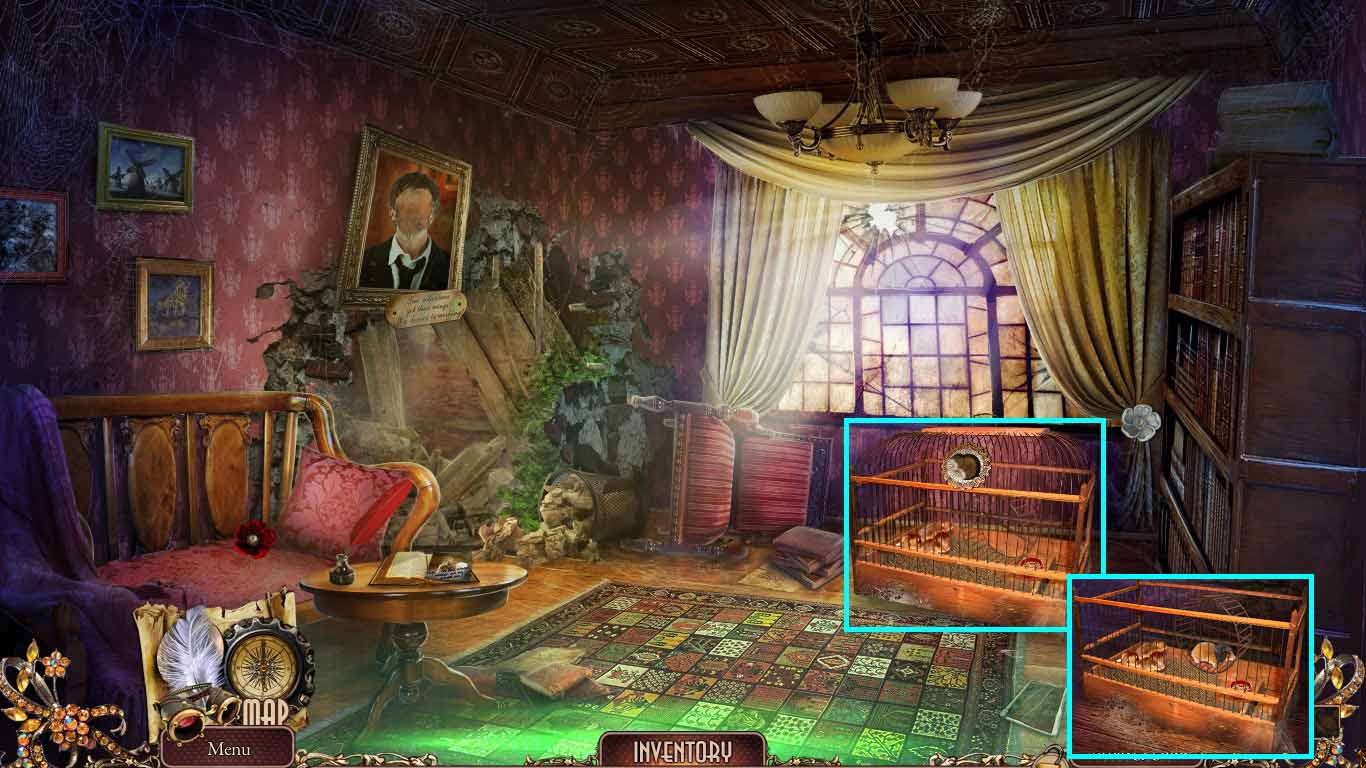
- Examine the cage.
- Insert the Hamster’s amulet.
- Place the hamster into the cage.
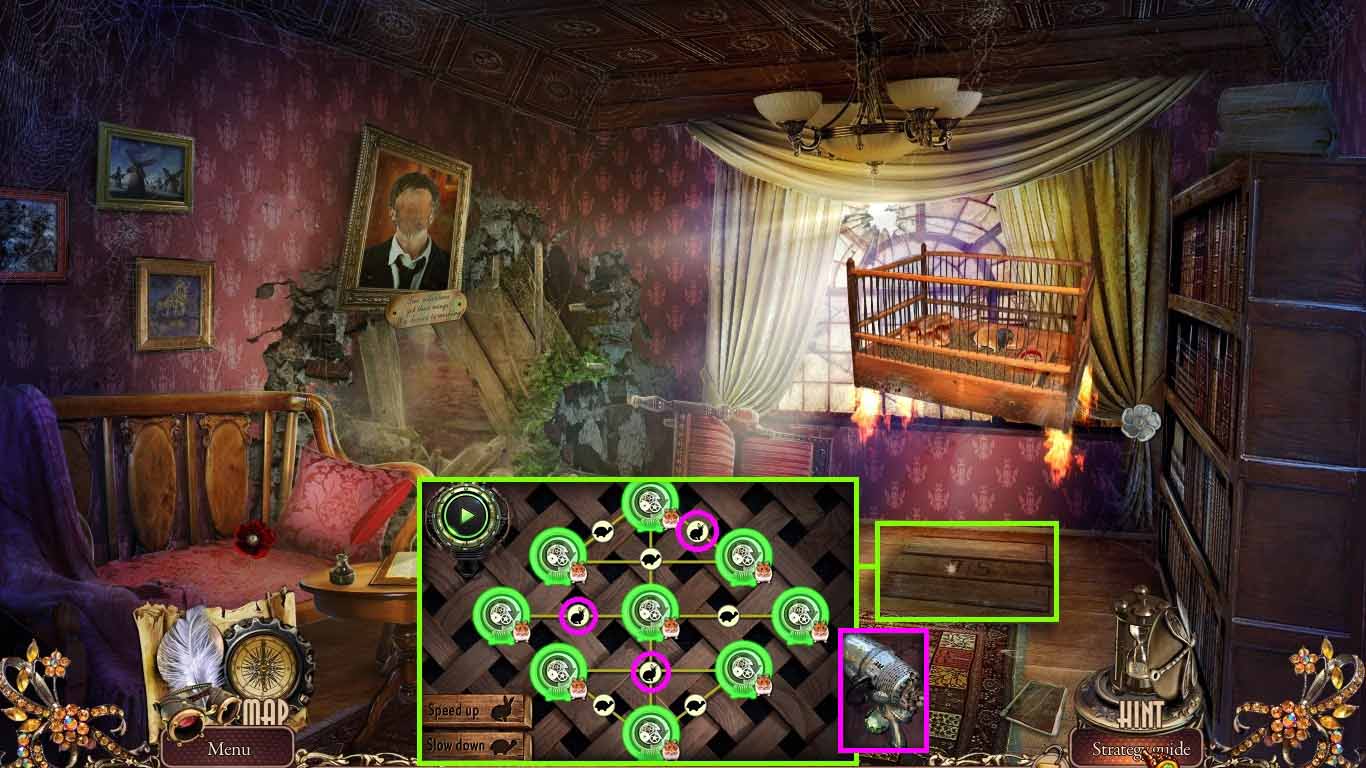
- Examine the trapdoor.
- Insert the letters “J” and “S.”
- Play the mini-game.
- Place the rabbit buttons into the areas specified.
- Collect the net pistol and the emerald.
- Move down three times.
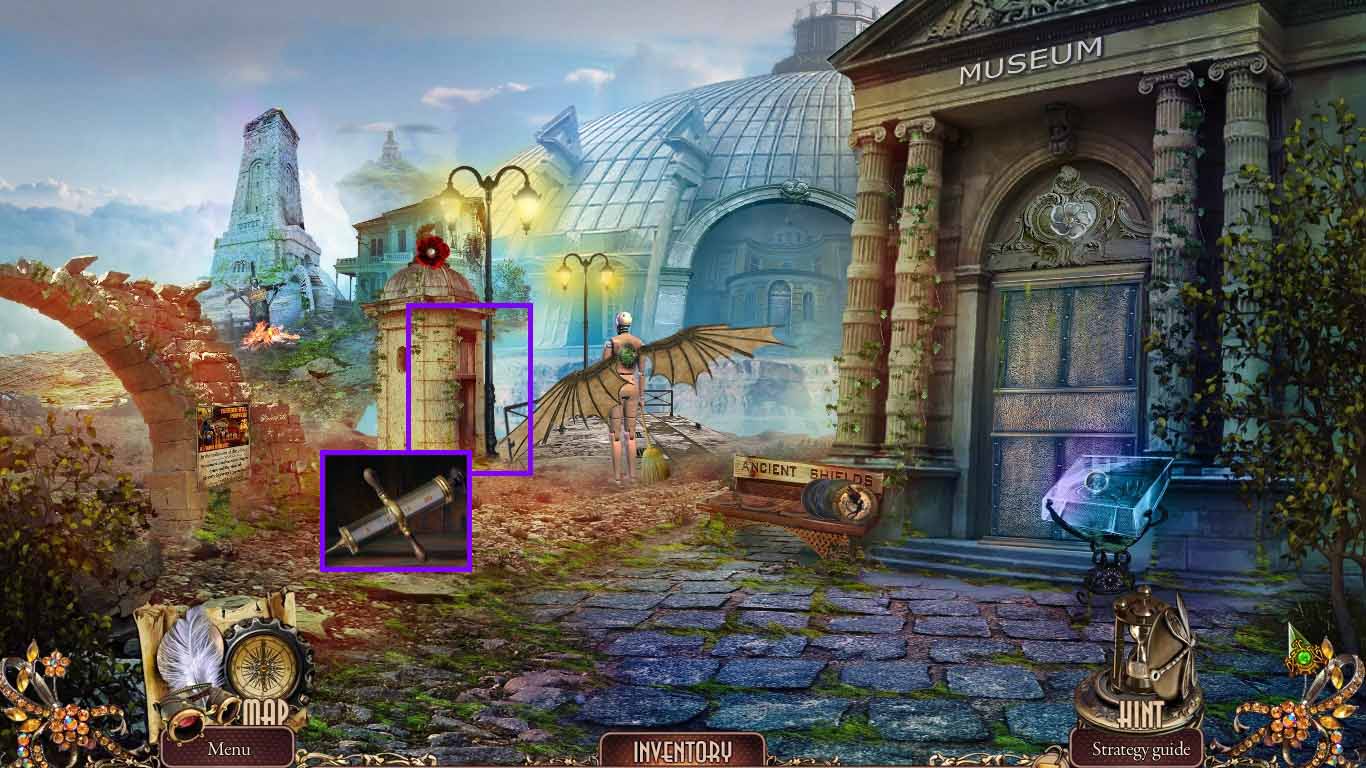
- Examine the booth.
- Attach the syringe plunger and the syringe head.
- Collect the syringe.
- Move to the hall of wings.
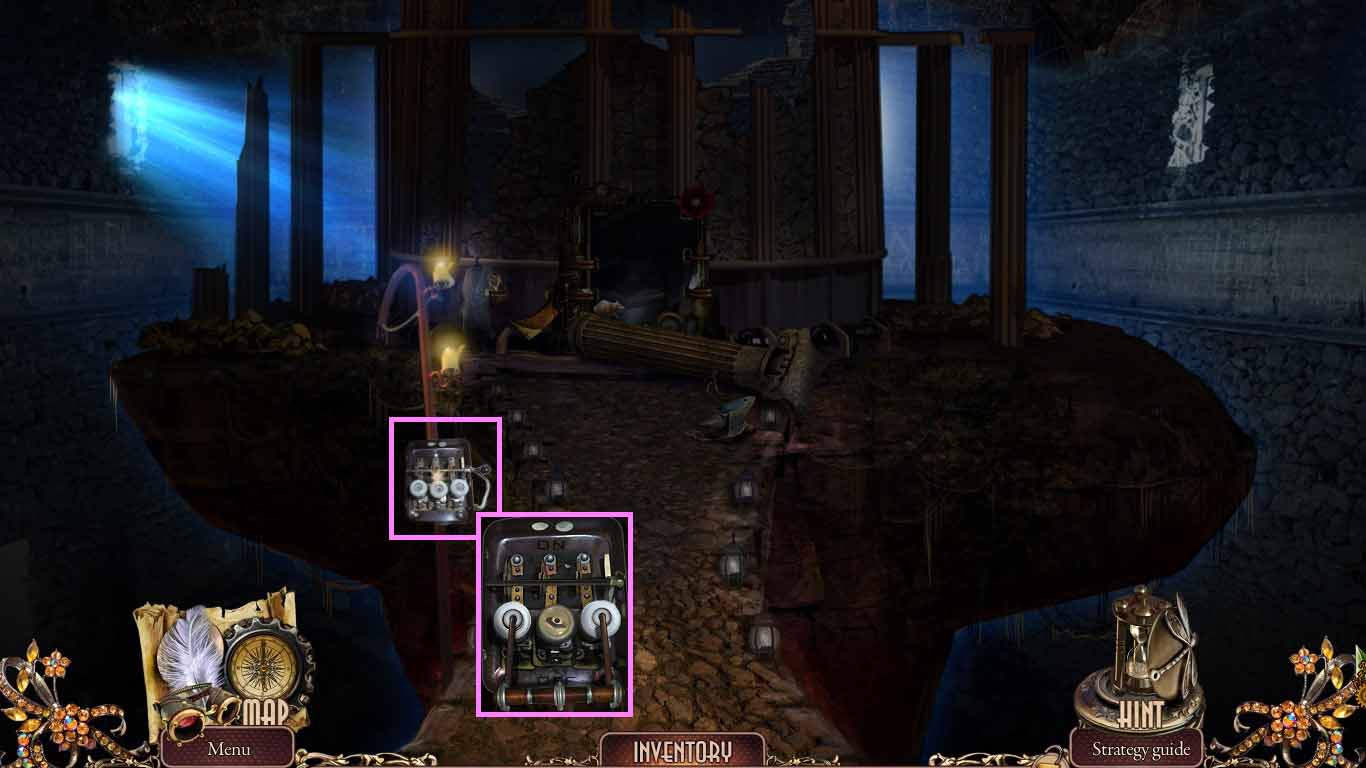
- Examine the mechanism.
- Attach the switch handle.
- Click the handle.
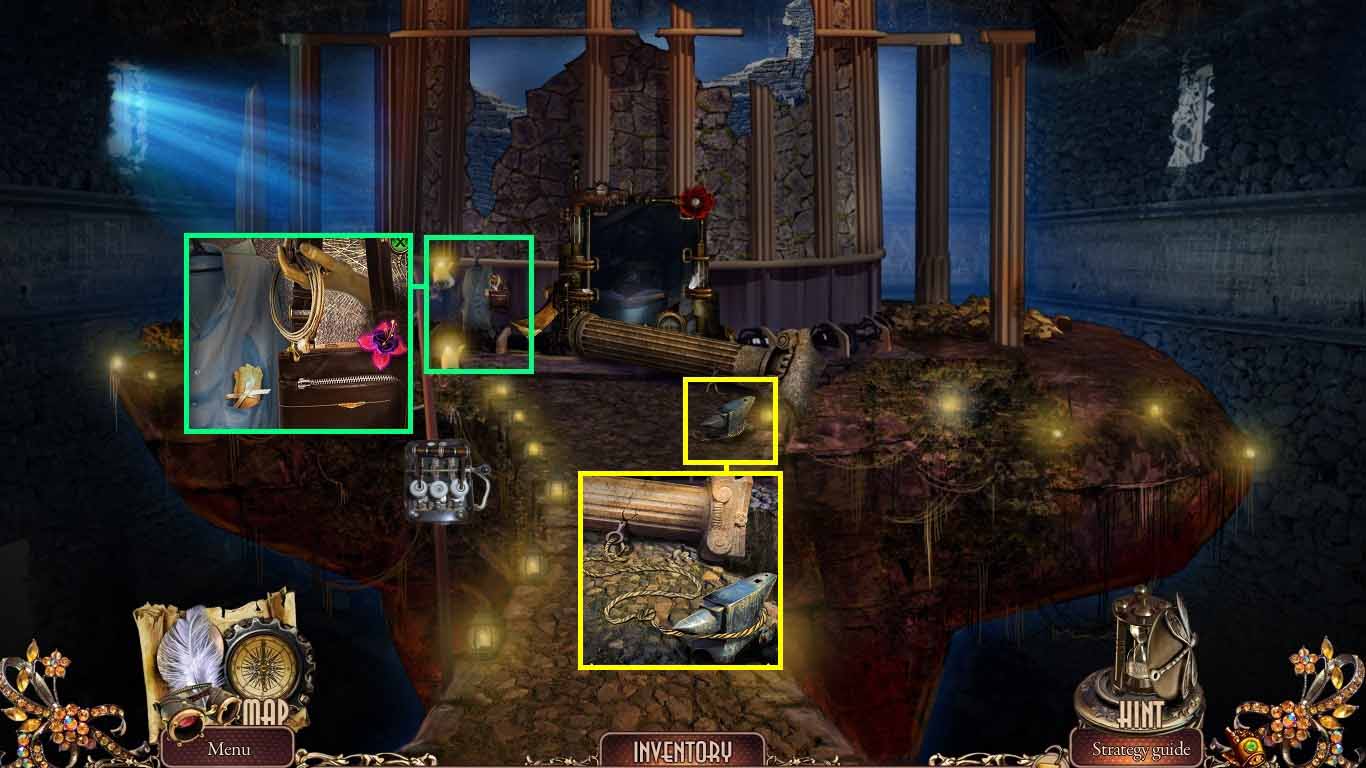
- Examine the coat.
- Collect the 3/ 3 flower and the rope.
- Read the note.
- Examine the anvil; place the rope down.
- Click the anvil twice.
- Move down once and enter the workshop.
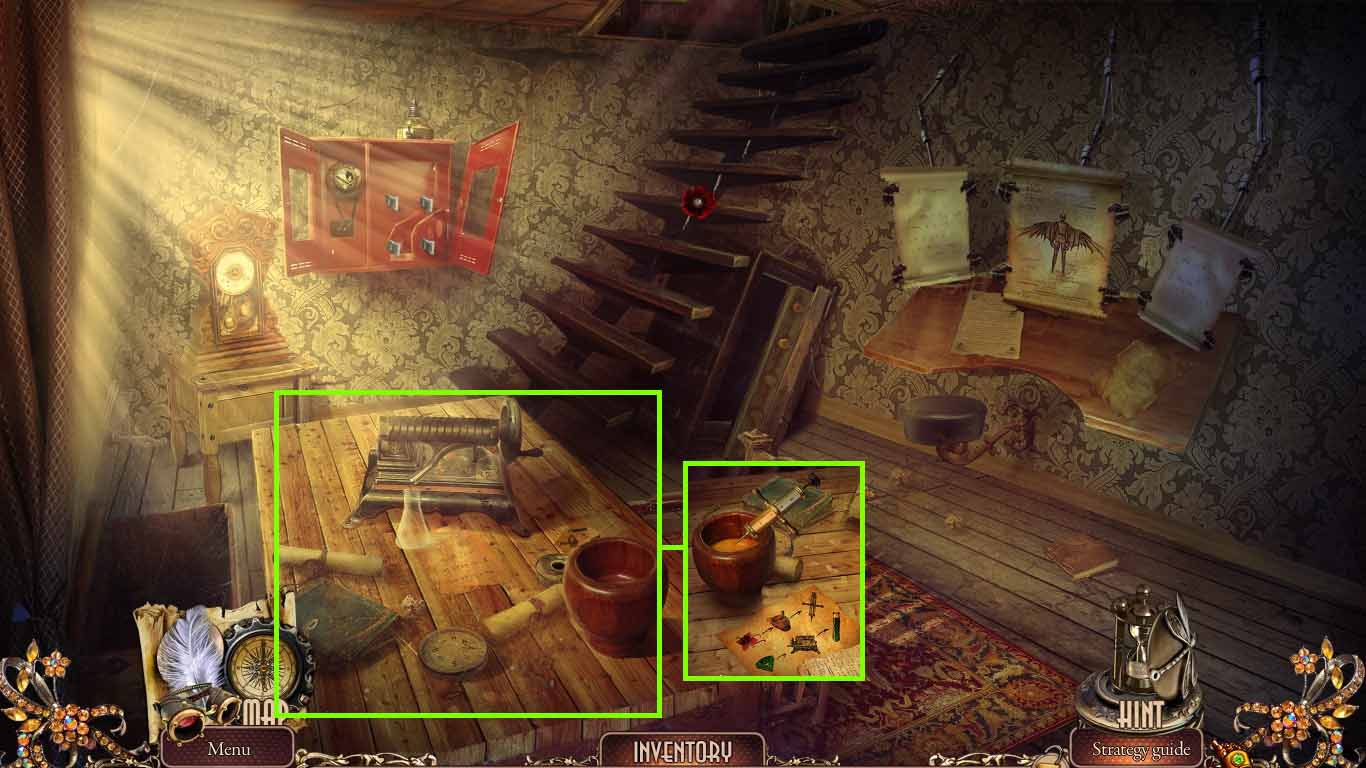
- Examine the table.
- Place the grinder down and the 3 flowers.
- Place the emerald into the grinder; click the lever.
- Crush the flowers using the pestle.
- Place the syringe into the mortar.
- Collect the flower nectar and collect the emerald powder.
- Move down two times.
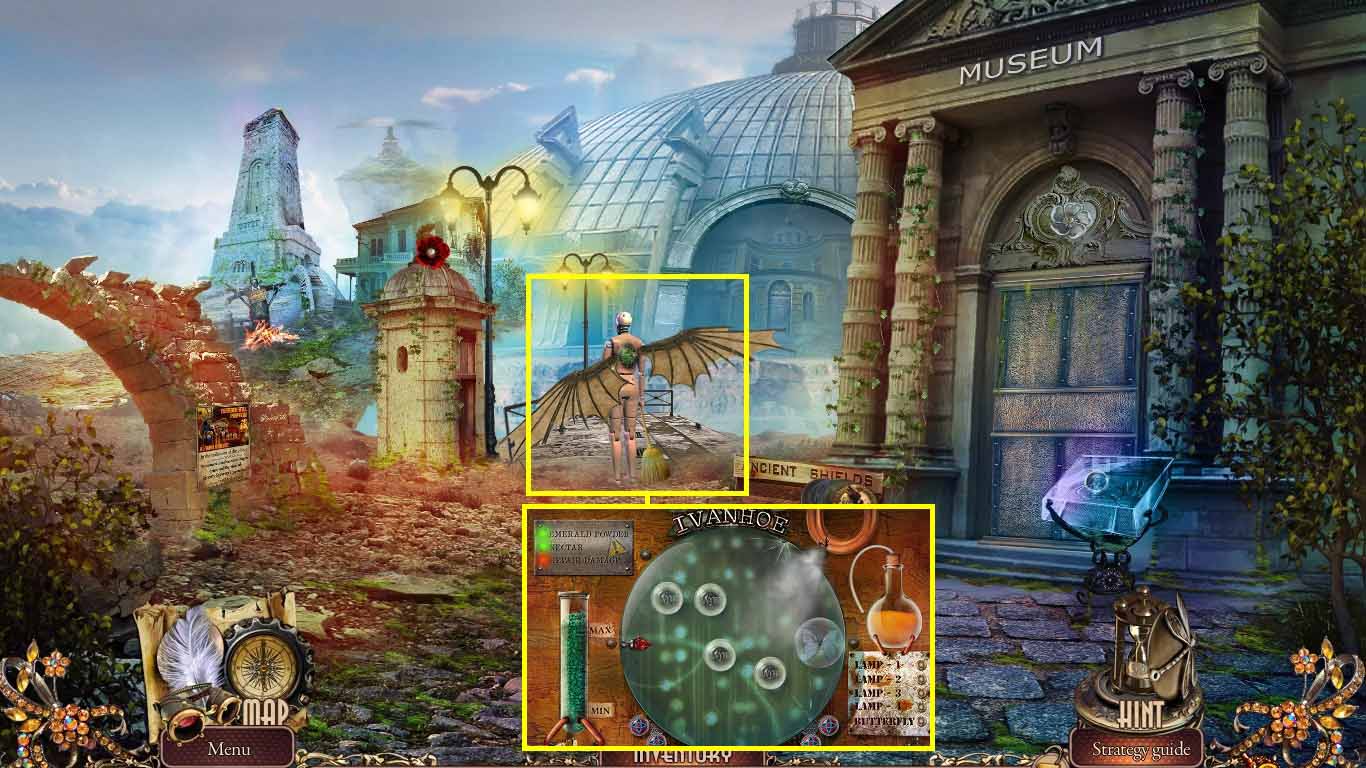
- Examine the robot.
- Place the flower nectar into the container and the emerald powder into the container.
- Move to the hall of wings.
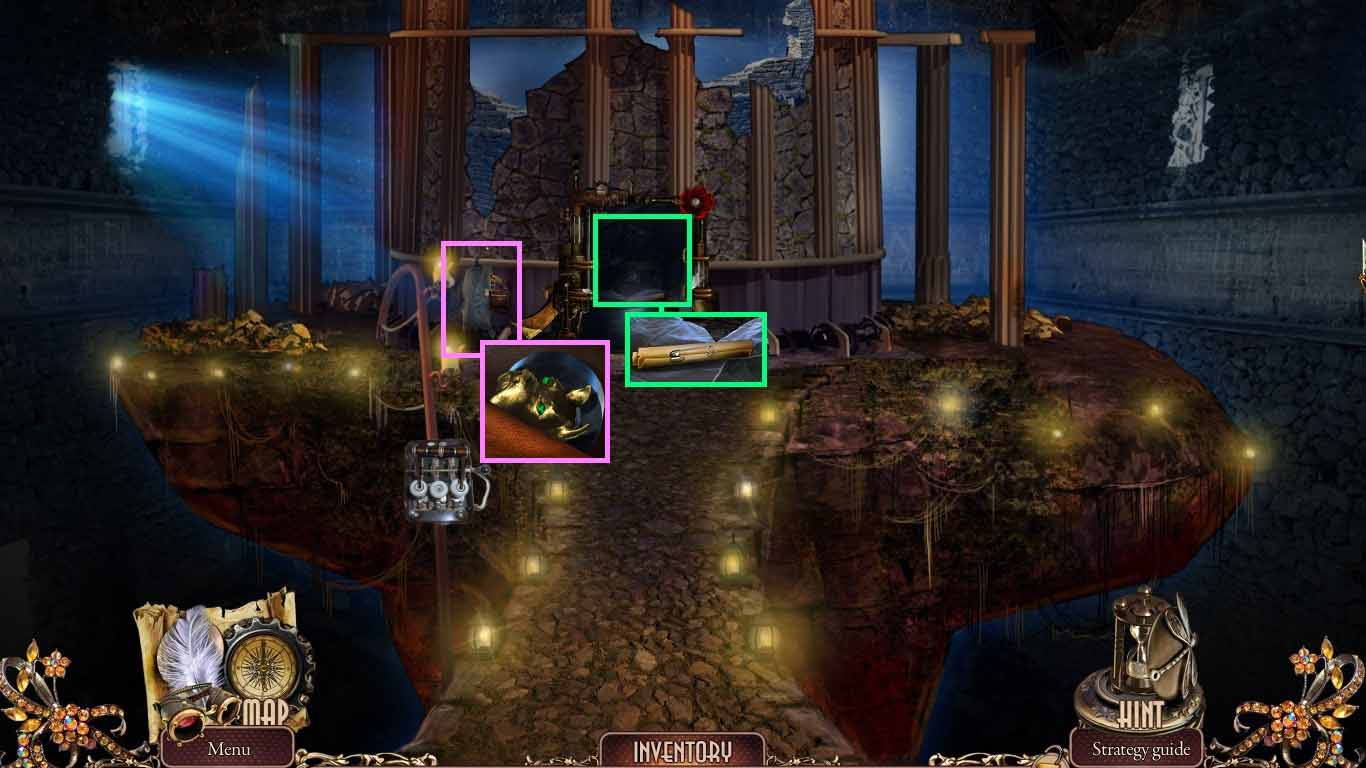
- Examine the cell; collect the pin.
- Examine the coat; place the pin onto the bag and open the bag.
- Collect the 1/ 2 copper dog handle and the black tape.
- Move down twice.
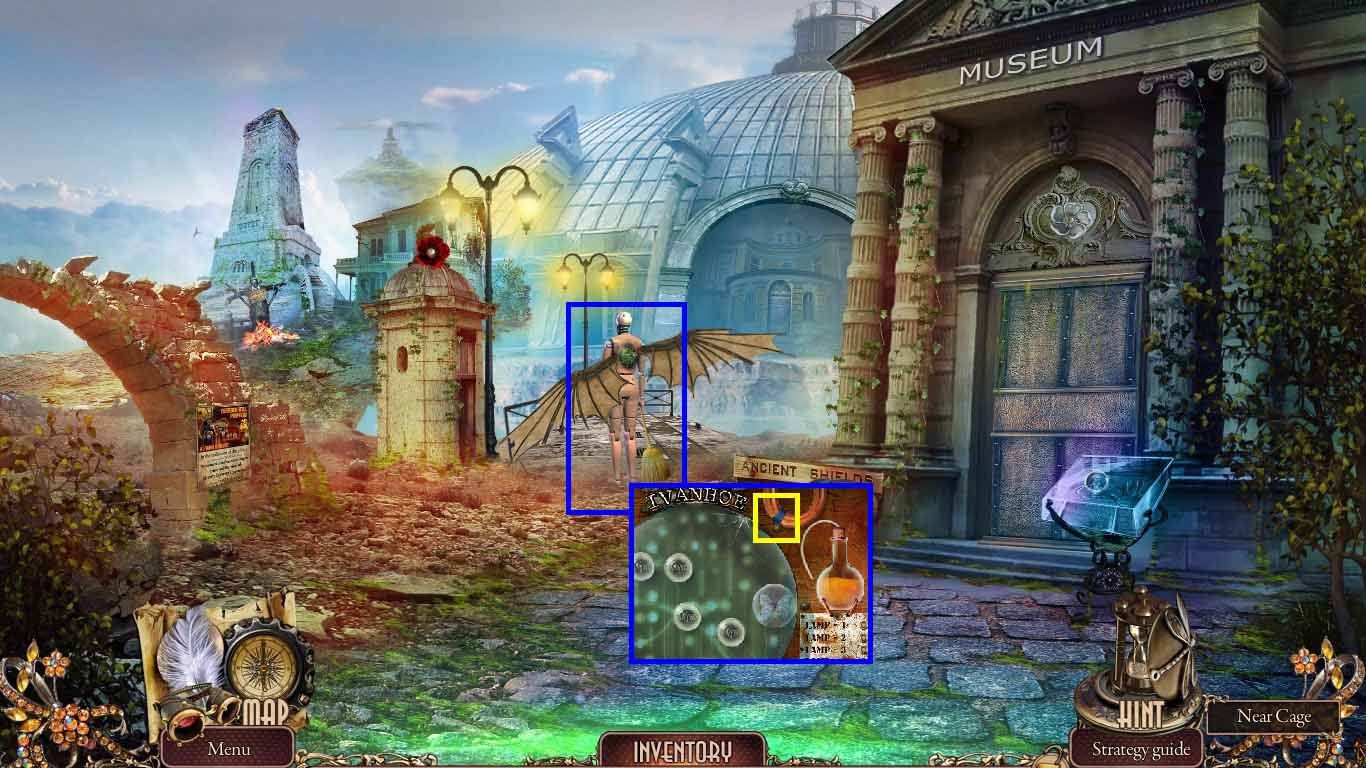
- Examine the robot.
- Use the black tape to seal the leak.
- Play the mini-game.
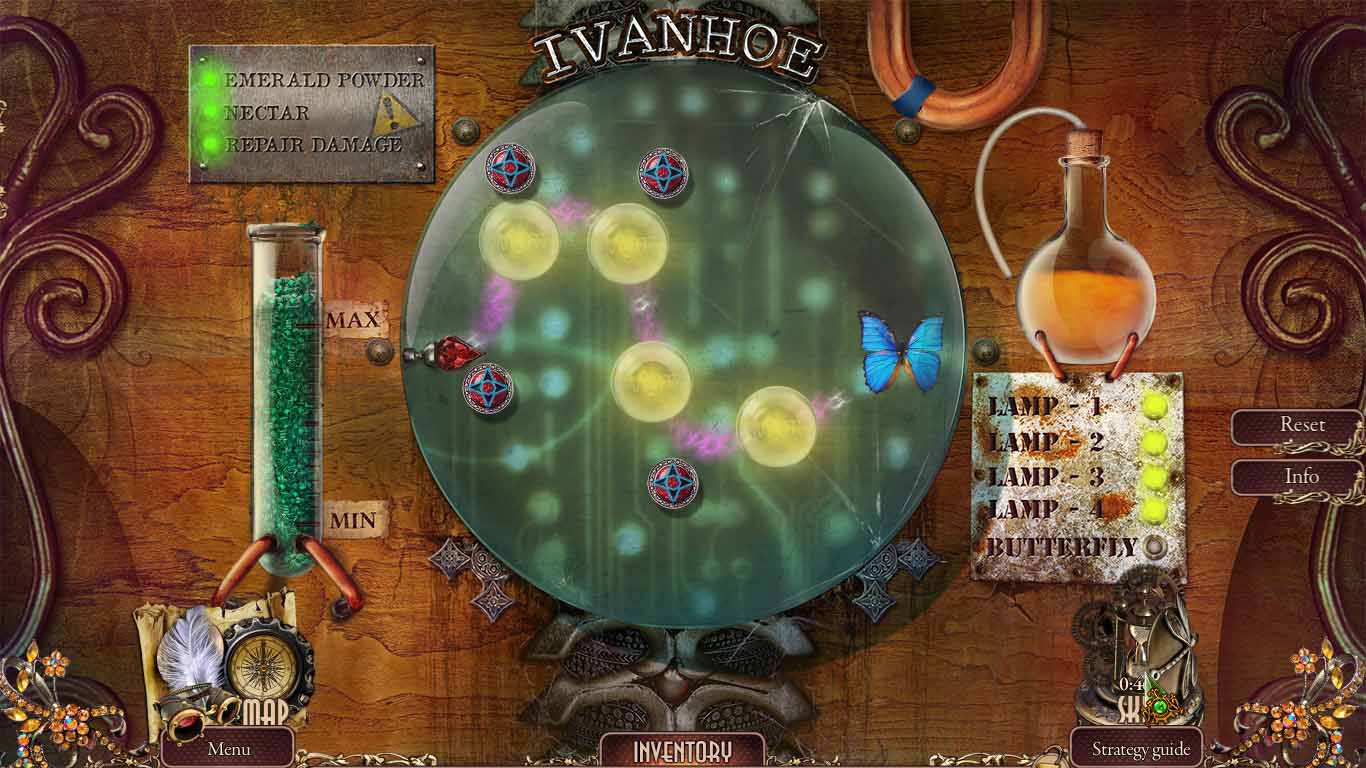
- Place the magnets so the beam glows toward the butterfly.
- Move to the Palace entrance.
Comments will load when you reach this part of the walkthrough.