
Chapter Three: What About Kevin
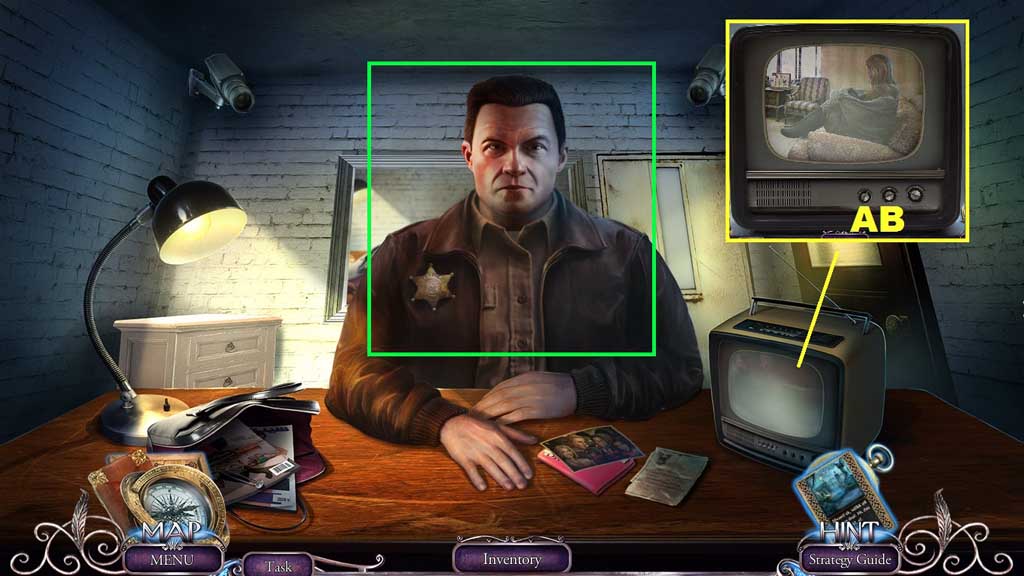
- Click the policeman.
- Click the knobs as follows: A x 2 – B x 3
- Click the policeman.
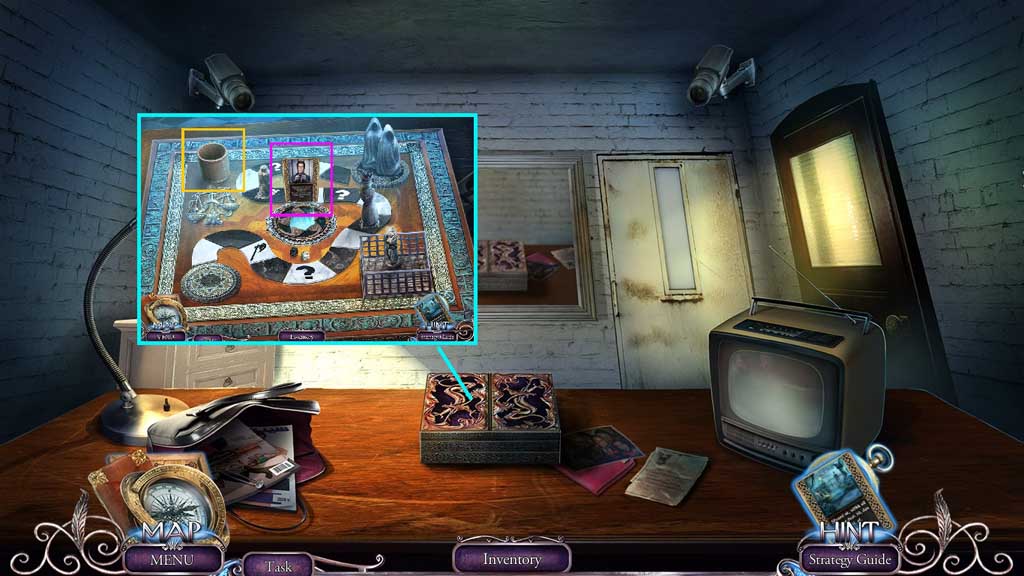
- Click the box.
- Click the cup.
- Read the card.
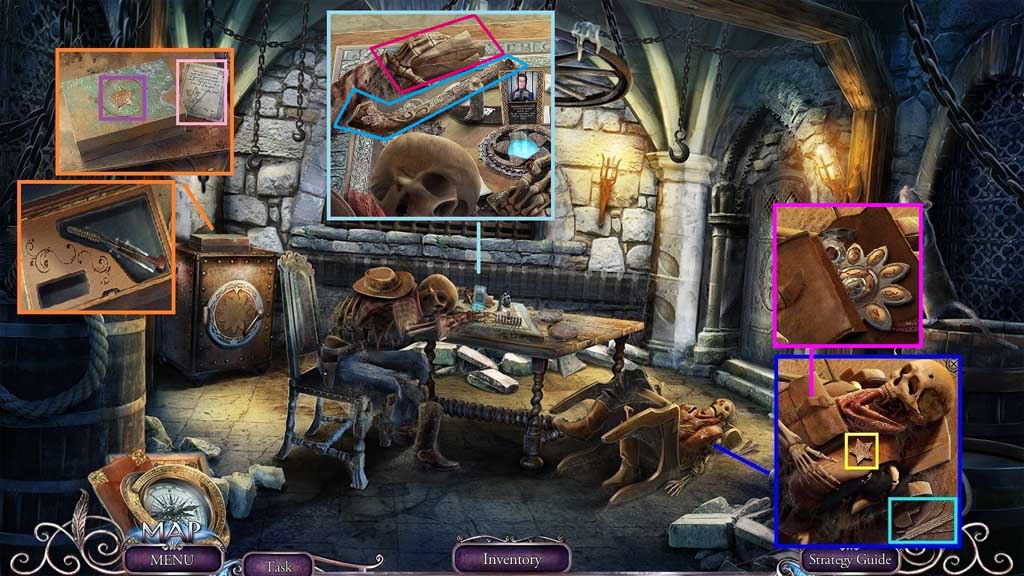
- Collect the sheriff’s badge and the feathers.
- Insert the sheriff’s badge and click it once.
- Collect the ramrod and the razor blade.
- Read the note.
- Select the razor blade to slice the bag open; collect the safe emblem and the 1st ring part.
- Read the note; collect the unloaded revolver.
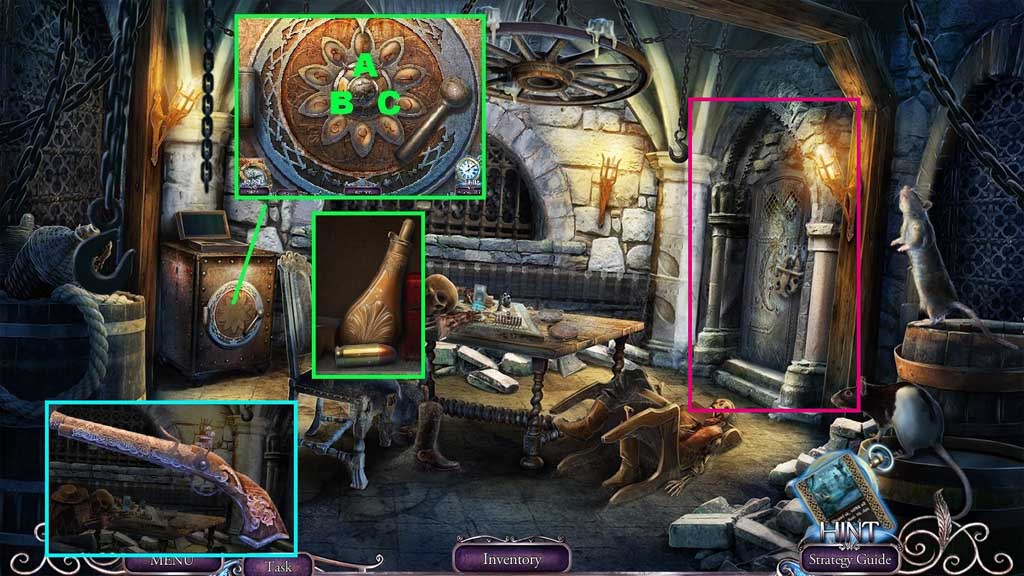
- Insert the safe emblem to trigger a mini game.
- Solve the game by unlocking the safe.
- Use the following sequence to solve: B – A – B x 2 – A – B x 2 – A – C – A – C x 3 – A – C x 2 – A – B – A – B x 2 – A – C x 5
- Collect the bullet and the gunpowder.
- Select the unloaded revolver and insert the gunpowder, the bullet and the ramrod to create the revolver.
- Shoot the revolver toward the door.
- Move ahead.
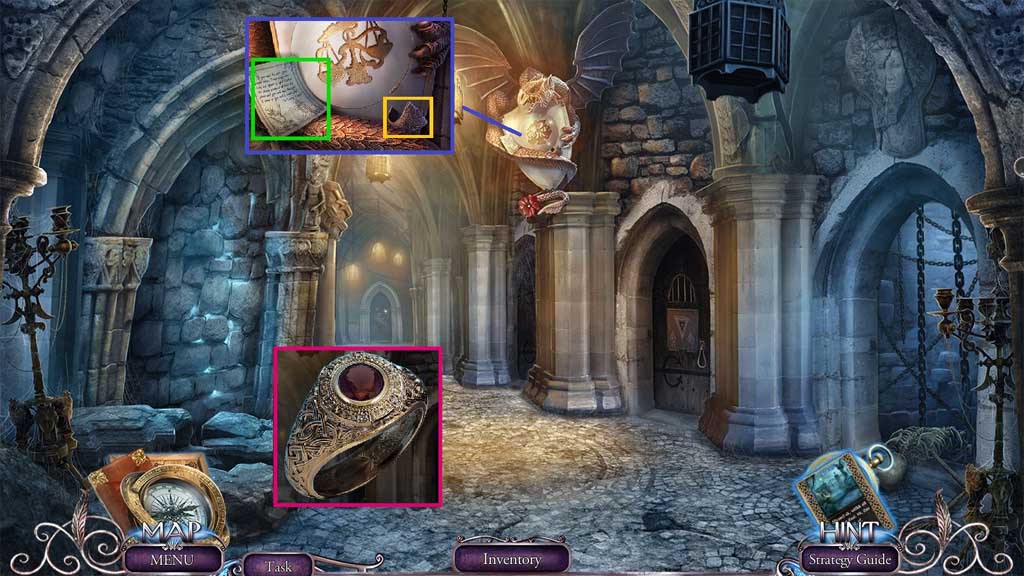
- Read the note; collect the 2nd ring part.
- Attach the 2 ring parts to create the skeleton ring.
- Move down once and click the table.
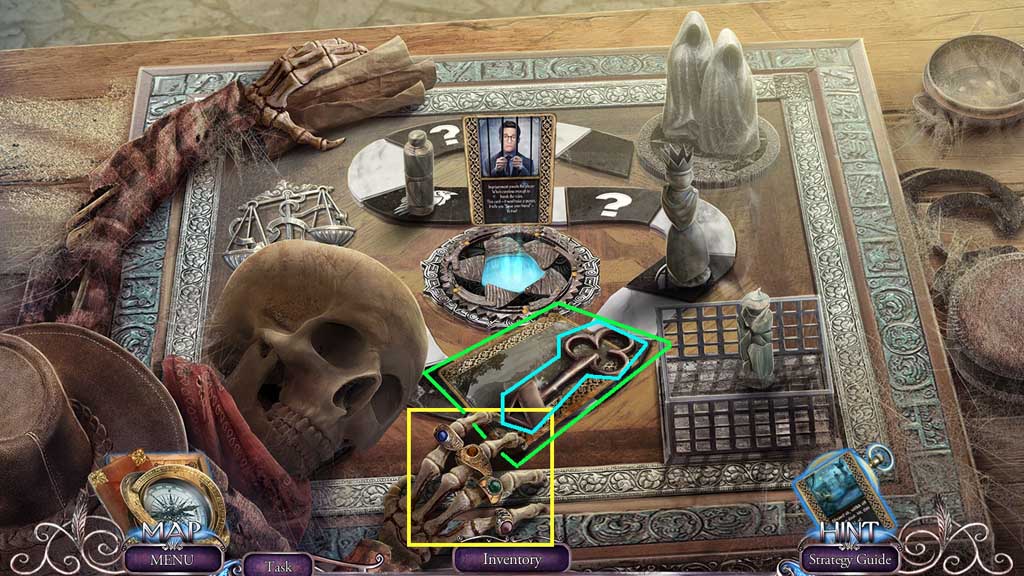
- Place the skeleton ring onto the skeleton’s finger.
- Arrange the rings correctly.
- Collect the triangular key and the mysterious card.
- Move ahead.
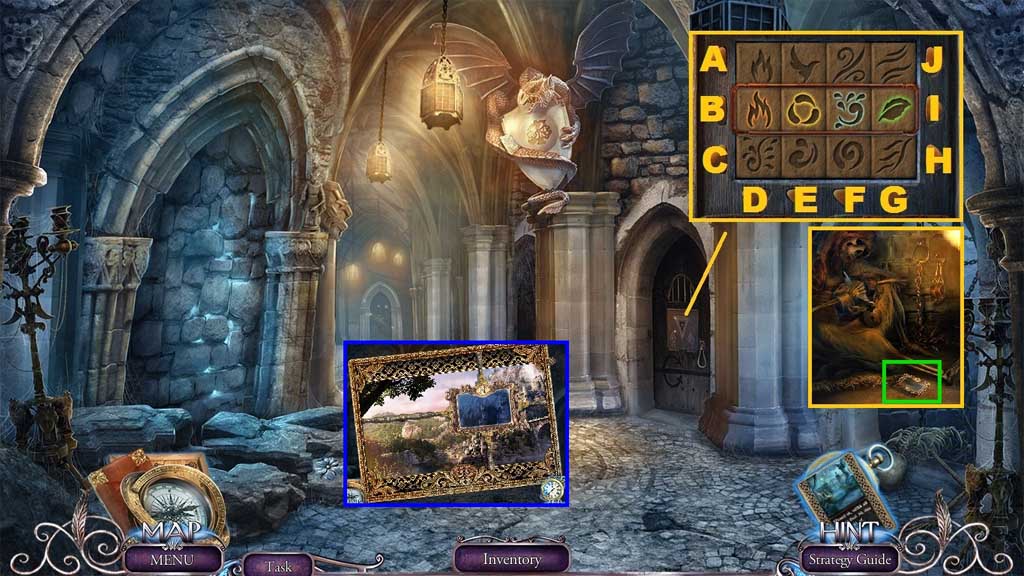
- Insert the triangular key; click it once.
- Use the following sequence to open the lock: B – C x 2 – E x 2 – H – F x 2 – J x 2 – G
- Collect the viewfinder and insert the mysterious card into it to trigger a mini game.
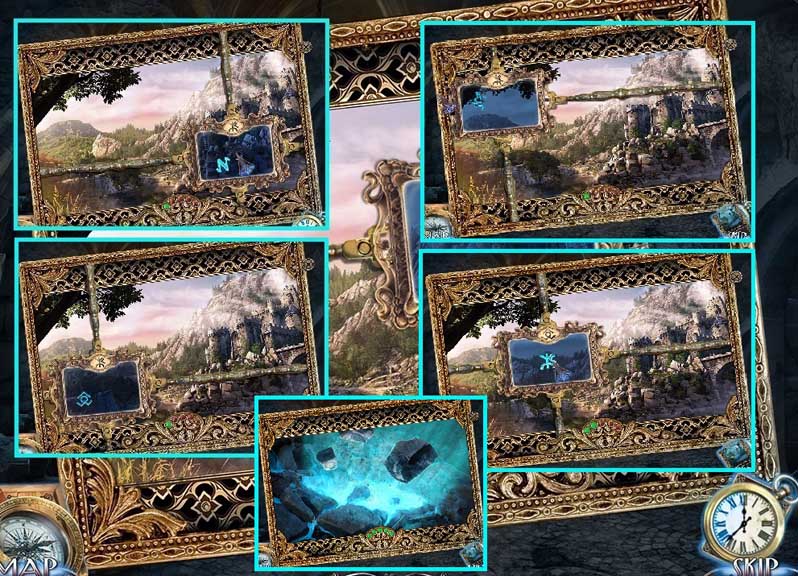
- Select the view finder to find the hidden symbols.
- Collect the hidden mystery card.
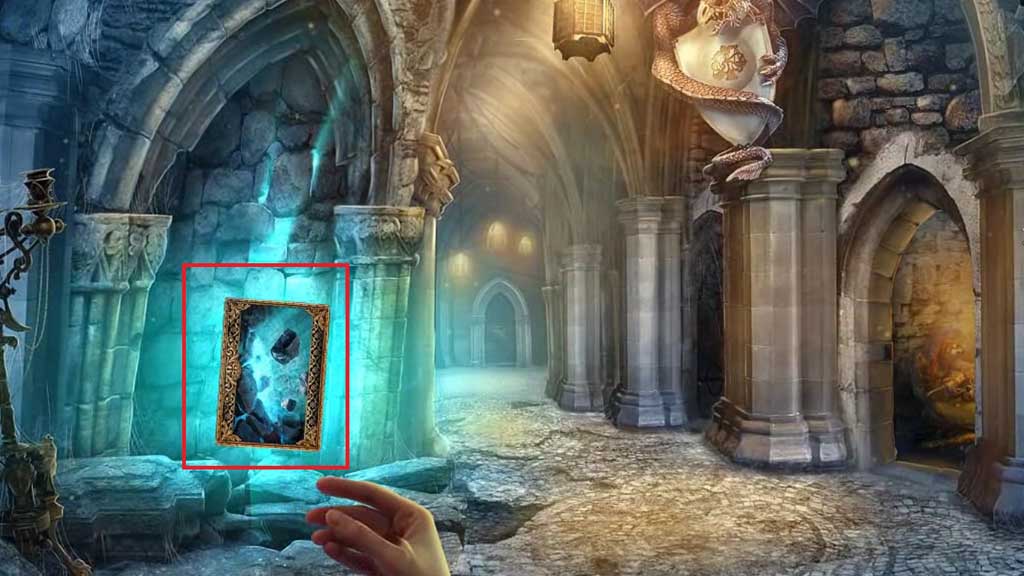
- Select the hidden mystery card to reveal the hidden objects area.
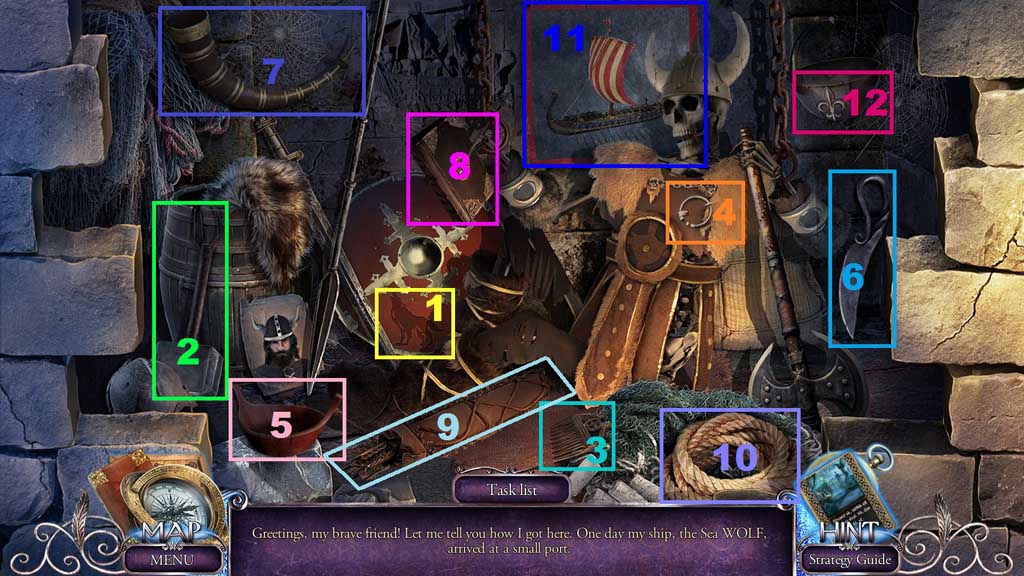
- Find the items based on the clues.
- Collect the eagle ring.
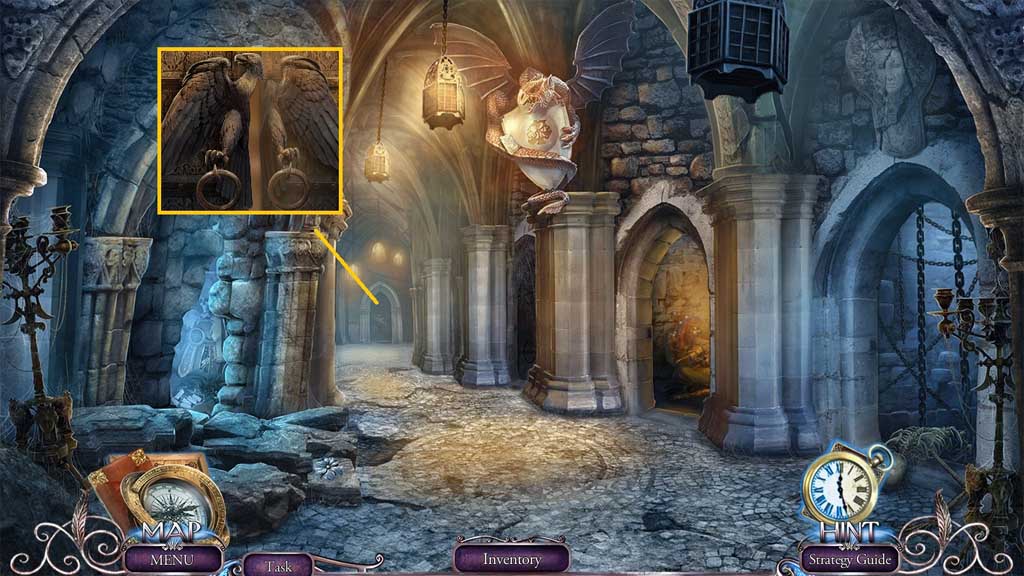
- Attach the eagle ring.
- Move ahead.
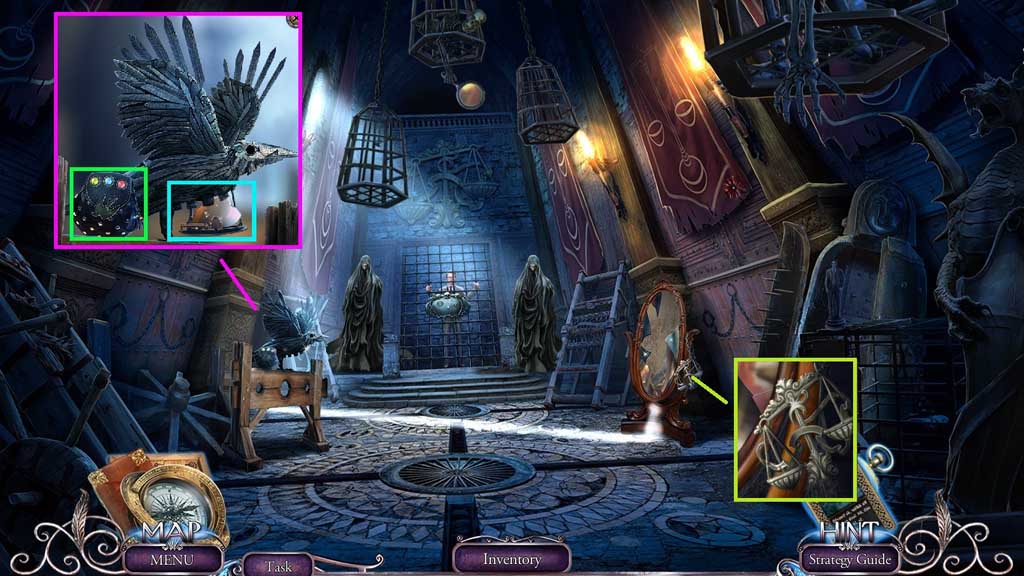
- Collect the lady’s handbag.
- Insert the feathers and arrange them correctly.
- Collect the shackle key and 1 /4 mirror shards.
- Collect the scale emblem.
- Move down once.
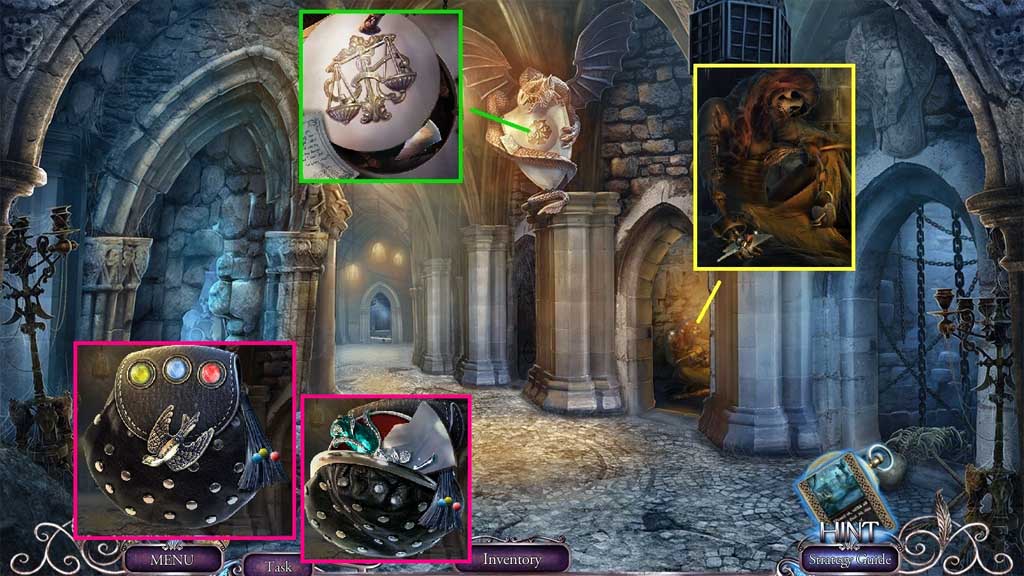
- Insert the scale emblem; collect 2 /4 mirror shards.
- Insert the shackle key; collect 3 /4 mirror shards and the bird medallion.
- Select the lady’s handbag and attach the bird medallion.
- Click blue – yellow – red; collect 4 /4 mirror shards and the 1st precious flower.
- Move ahead.
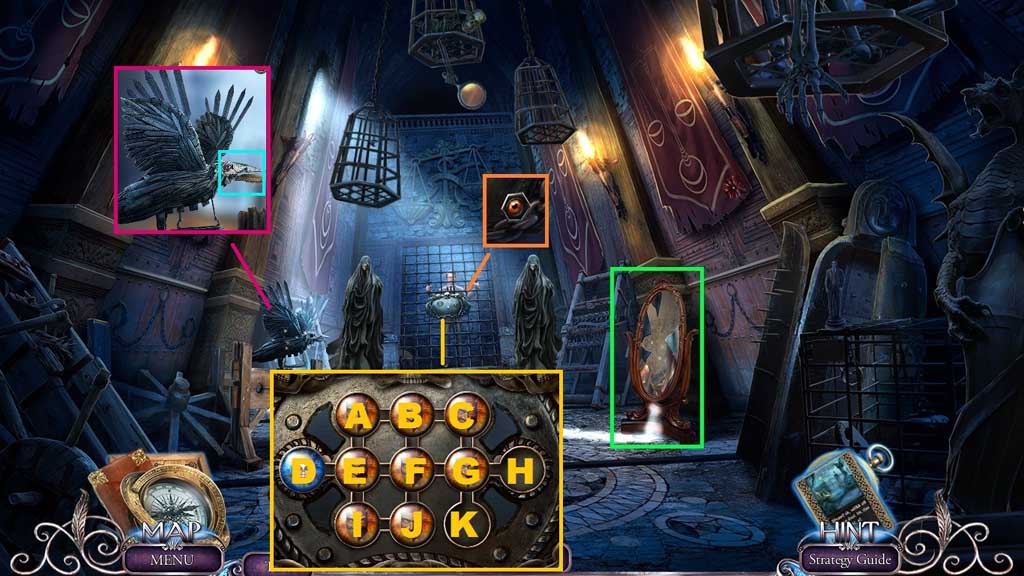
- Insert the 4 mirror shards and reassemble the mirror; click it 3x’s.
- Collect the raven eye and insert it into the statue; collect the gear.
- Insert the gear to trigger a mini game.
- Solve the game by guiding the masks to move the blue mask to the other side.
- Use the following sequence to solve: G – H / G – K / B – C / E – A / E – D / J – I / F – J / A – B / E – A / J – I / F – J / C – B / G – H / G – C / E – D / G – K / G – H
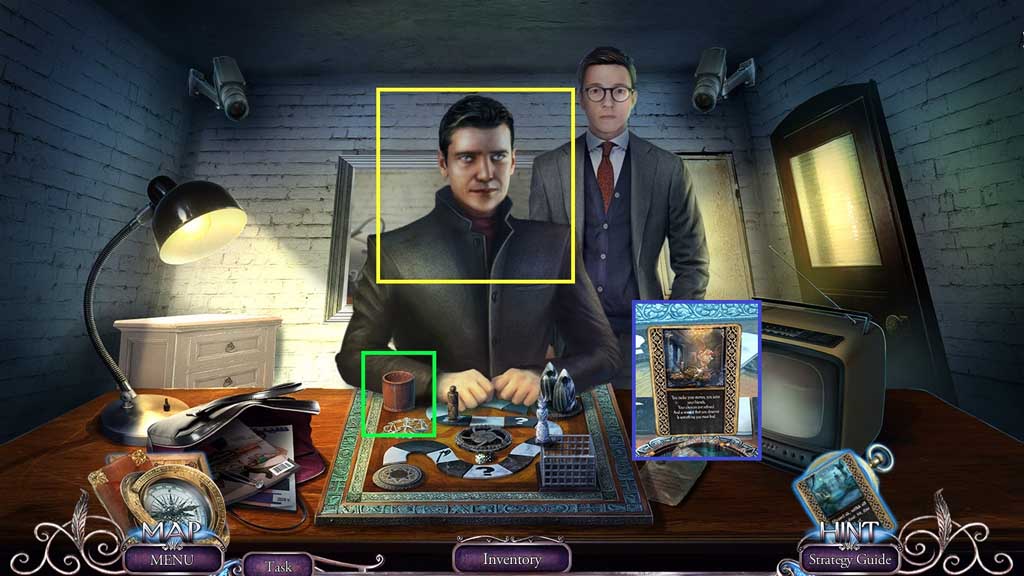
- Speak to the stranger.
- Click the cup.
- Read the card to trigger a hidden objects area.
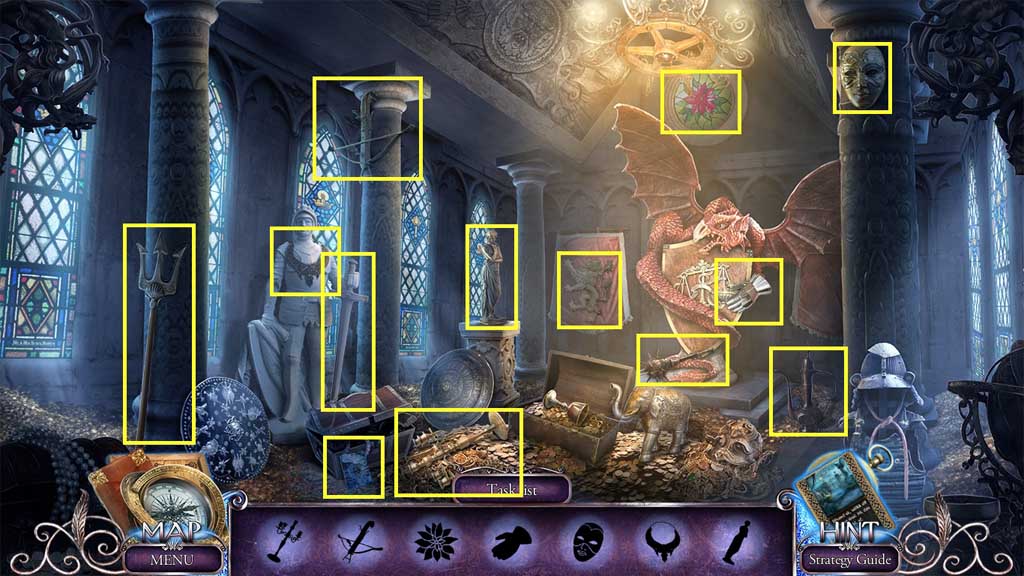
- Find the items.
- Collect the frozen card.
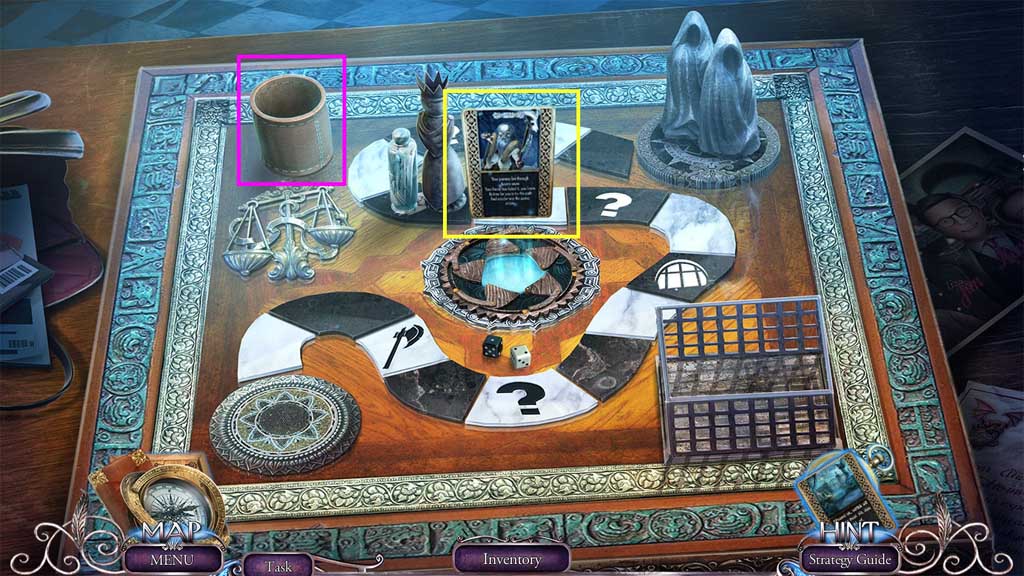
- Click the cup.
- Read the card.
Comments will load when you reach this part of the walkthrough.