

Chapter Three: The Secret Passage
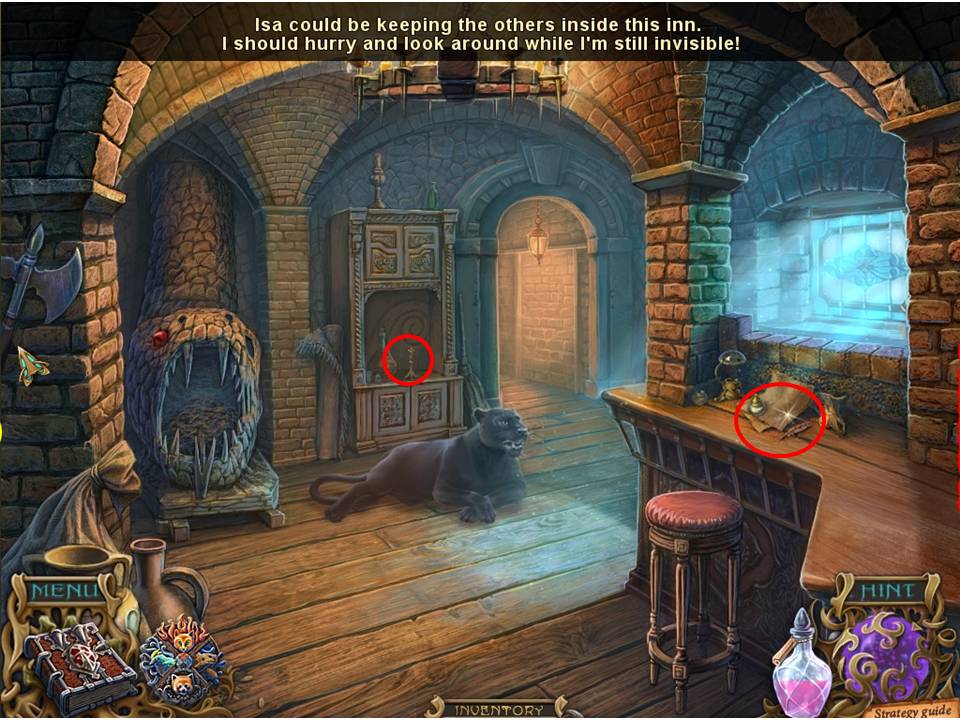
- Zero in on the table and take the POT OF MILK, then the PAGE, noting the instruction to heat it in order to read the invisible content.
- Zoom in on the cabinet in the background to take the CANFLE WAX 2/3.
-
Exit through the doorway.
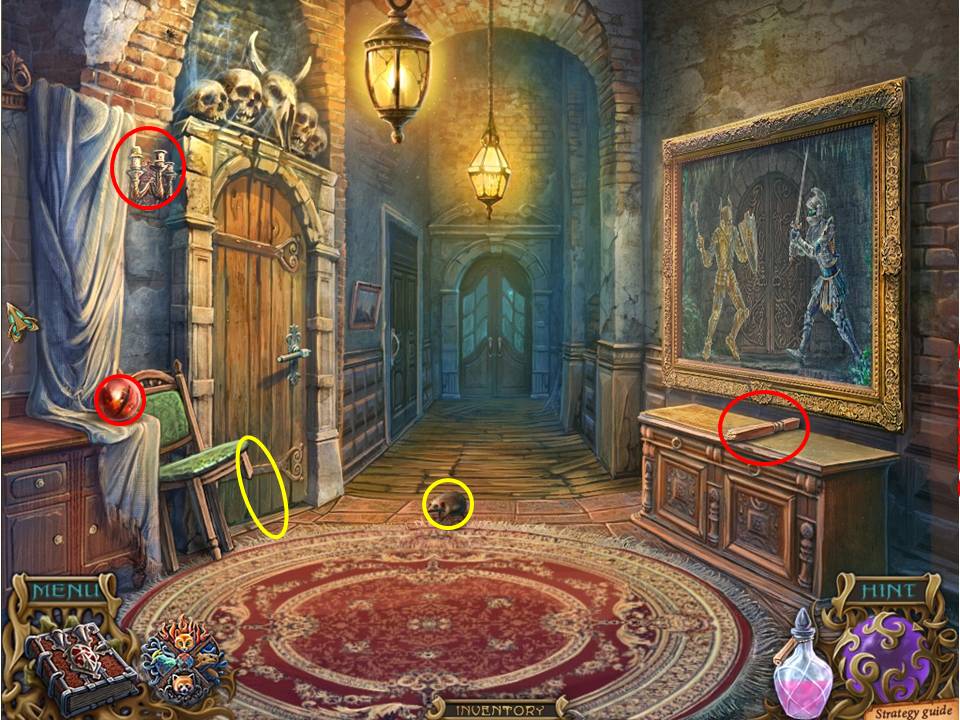
- Note the cabinet on the right with the CHAIR LEG waiting for you to appropriate – you never know when you might come across a broken chair that needs mending. Oh, wait! There’s one on the other side of the room – lucky chair!
- Put the CHAIR LEG in place and use the TAPE to effect a very flimsy repair job, and while there, take the SNAKE EYE resting on the curtain next to it.
- Glance down at the carpet , say hi to the mouse with a pat, and pick up the PIECE OF YARN.
- Next, take a closer look at the picture to the right and touch it.
- Finally, zoom in on the candleholder up high on the left and take the CANDLE WAX 3/3.
-
Return the hotel foyer.
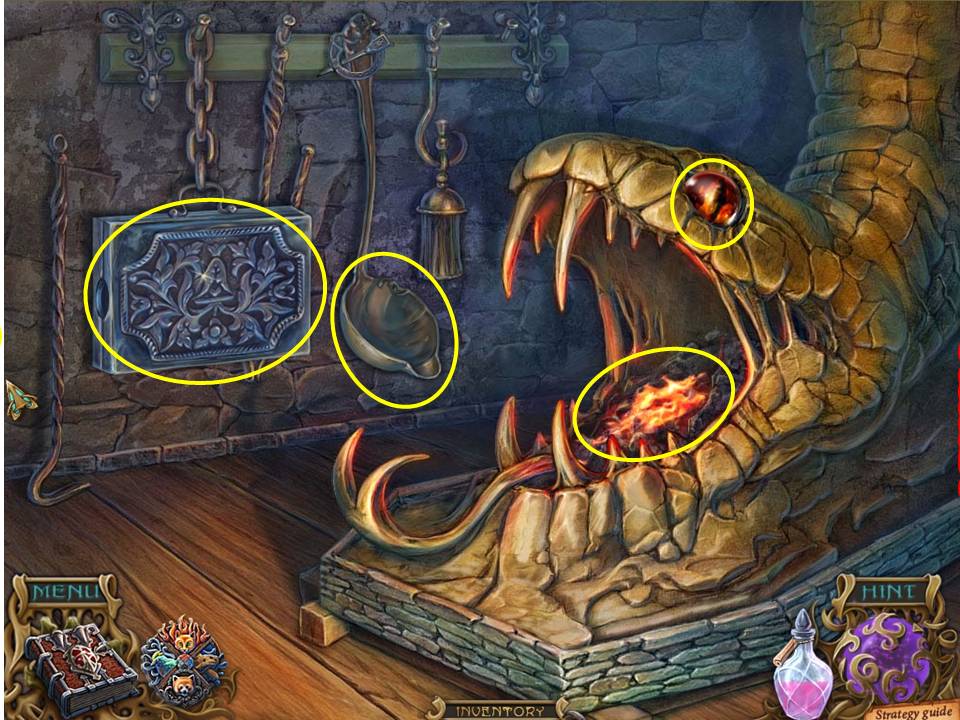
- Zoom in on the snake-shaped fireplace and place the FIREWOOD in its mouth.
- Next take the SNAKE-EYE and insert it into the appropriate socket on the head, at which point the snake will literally fire up.
- Take the ladle hanging on the wall and place it in the fire, then take the three lots of CANDLE WAX and melt them inside the ladle.
- Click on the box hanging against the wall, open it, and insert the PIECE OF YARN into it.
- Click on the box to close it and stand it up, then click on the ladle to pour the melted wax inside the box.
- Open the box and take the newly formed CANDLE, then place it in the fire to turn it into a LIT CANDLE.
-
Exit back to the view of the foyer.
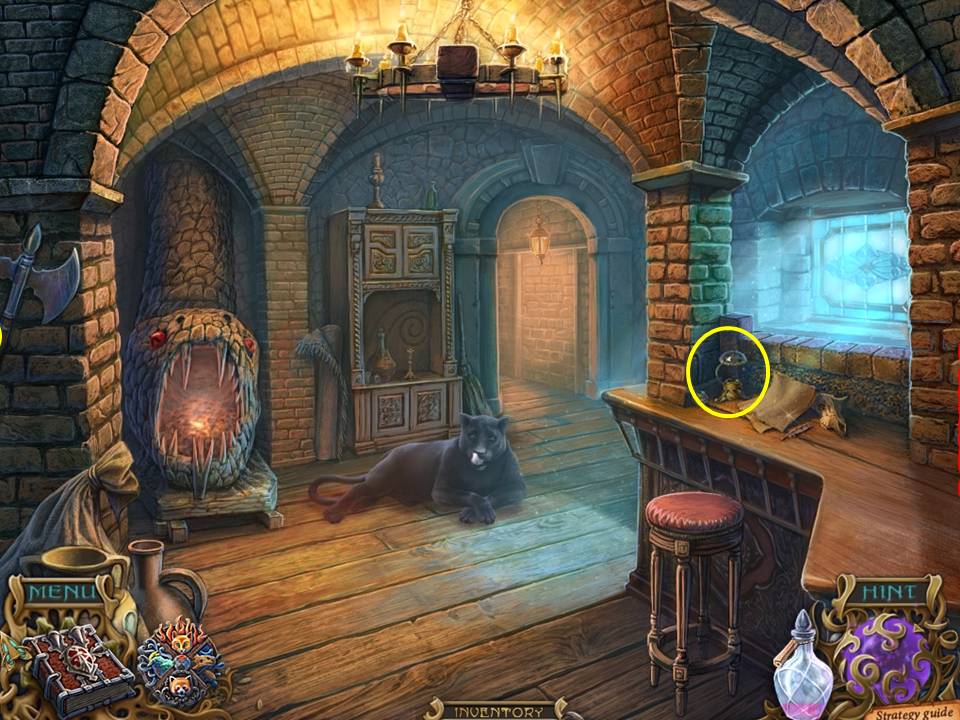
- Zoom into the bench to the right and place the LIT CANDLE inside the lamp on the desk.
- Use the heat from the lamp to highlight the hidden message written on the BOOK PAGE.
-
Exit back through to the corridor.
-
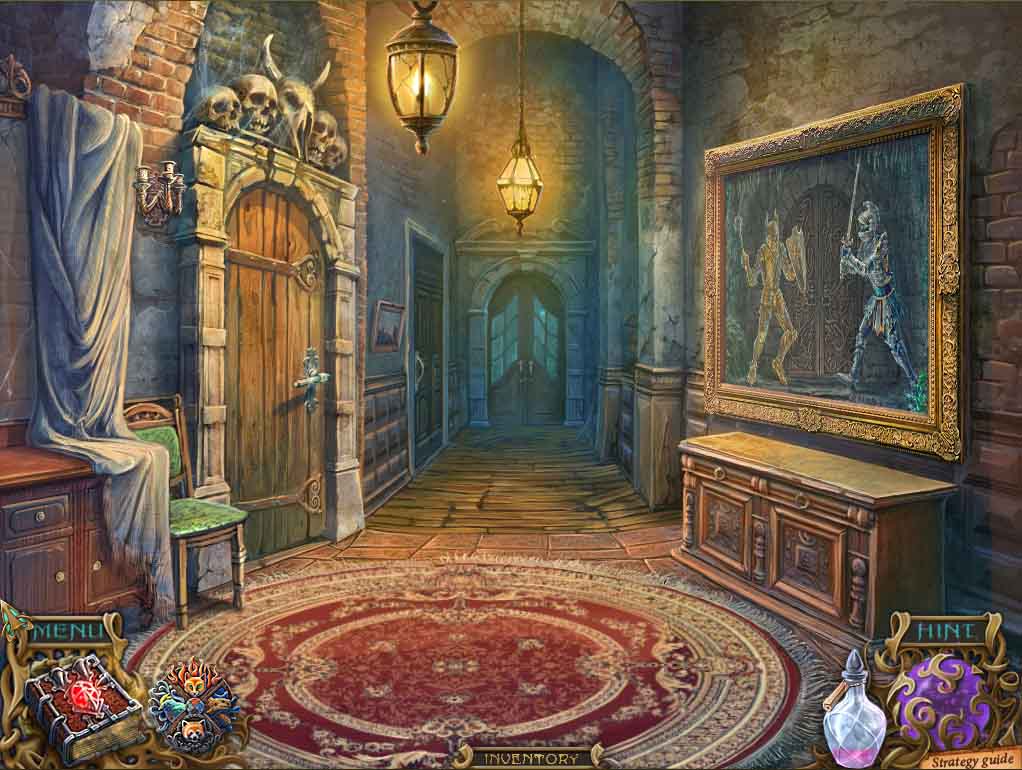
Noting the symbols on the BOOK PAGE, approach the door to the left and use the key to enter in.
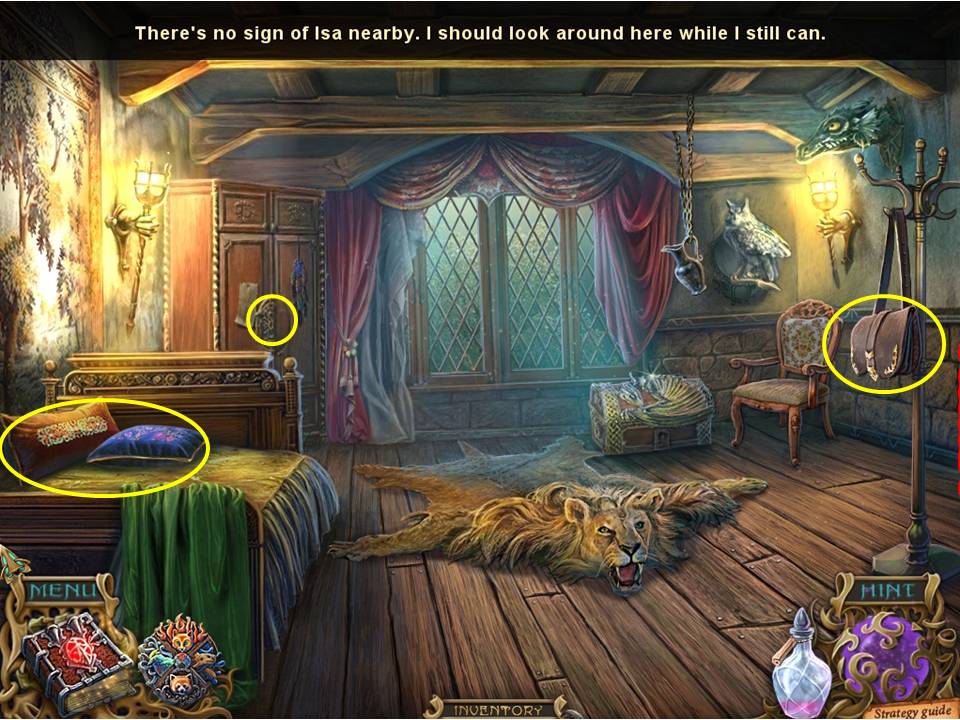
- Zoom into the satchel on the right and take the book inside, as well as the VOLCANIC ASH.
- Take a closer look at the pillows to the left, underneath you’ll find the LOCK PART for the cabinet at the back of the room.
-
Put the part in place and open the cabinet to reveal the next HOA puzzle.
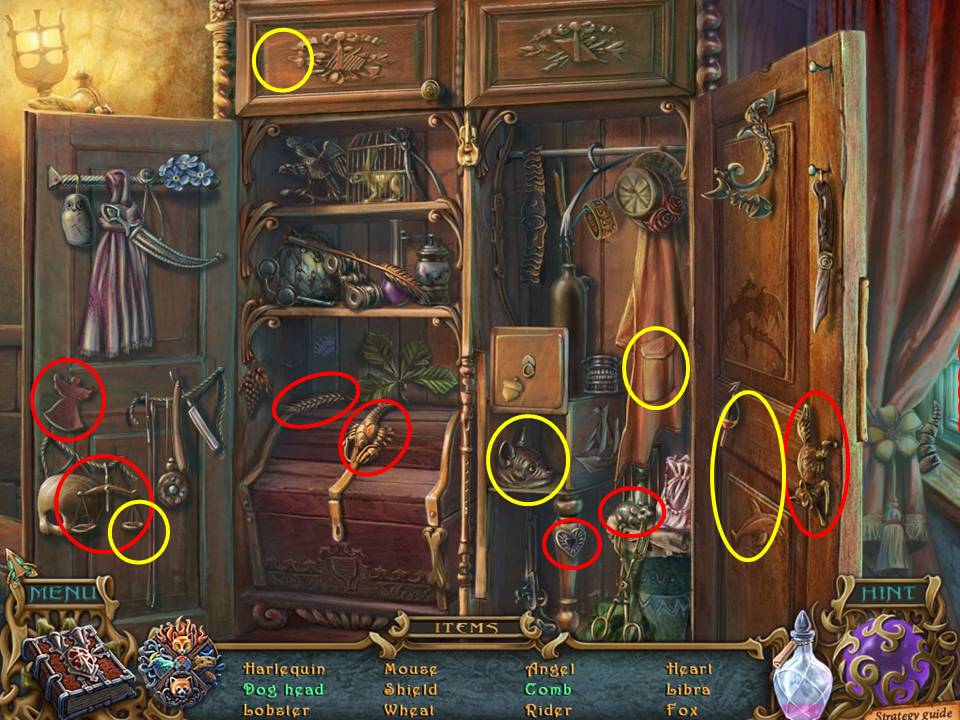
- Acquire the items circled in red, and note that the objects circled in yellow require multiple moves.
- Note that the upper and lower doors will need to be open or closed at need to find certain items.
- When finished, take the SHIELD. Watch the following scene play out as the invisibility potion wears off and Isa comes into the room.
- An apparently contrite Isa will end up by giving you a PUZZLE PART.
-
Pull the lion rug away from the floor, open the trap door underneath, and exit down into the passage below.
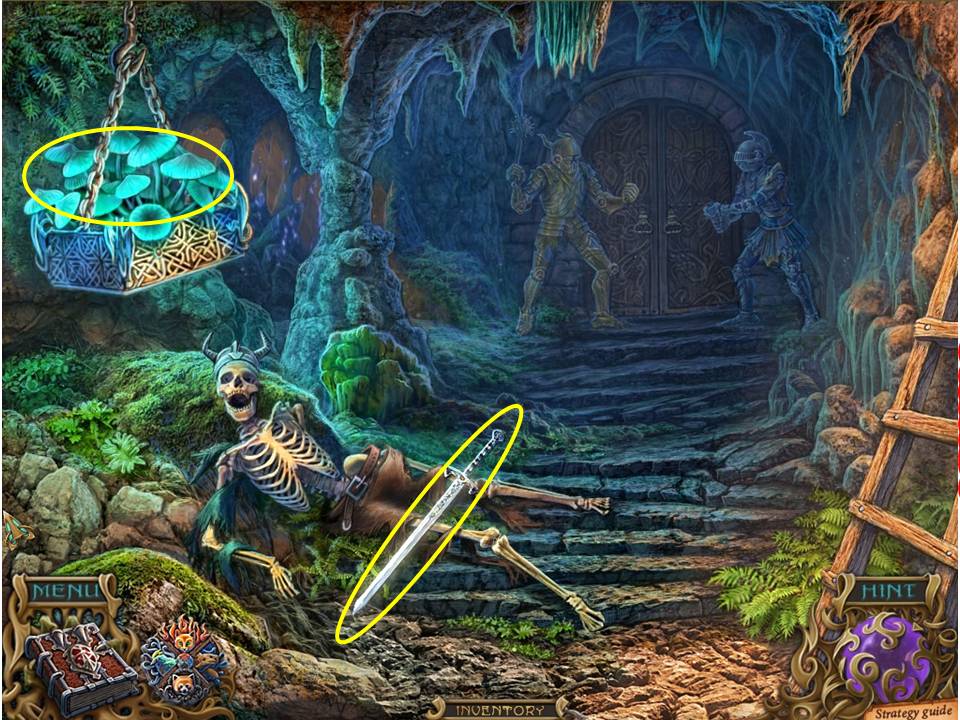
- Note the basket hanging in the darkness to the left.
- Place the LINIMOUS FUNGI SPORES and the VOLCANIC ASH inside – wow! What a great way to save on power! AND when you get hungry, you can eat the light source as well!
-
Take the SWORD from the skeletal figure lying front of you, then click on the glowing area behind the basket to initiate the next HOA puzzle.
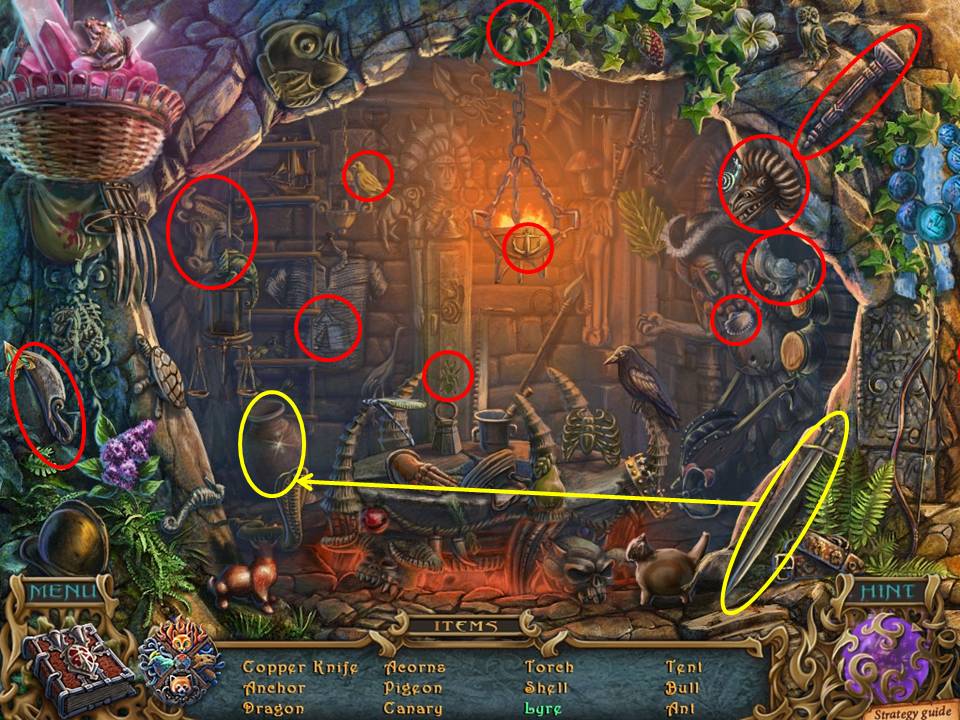
- Use the lighter up on the right to light the lamp hanging from the ceiling in the center of the room.
- Use the sword lying to the right to crack open the vase over to the left – take the lyre inside.
- Pick up the other items circled in red on the screenshot.
-
When complete, take the COPPER KNIFE.
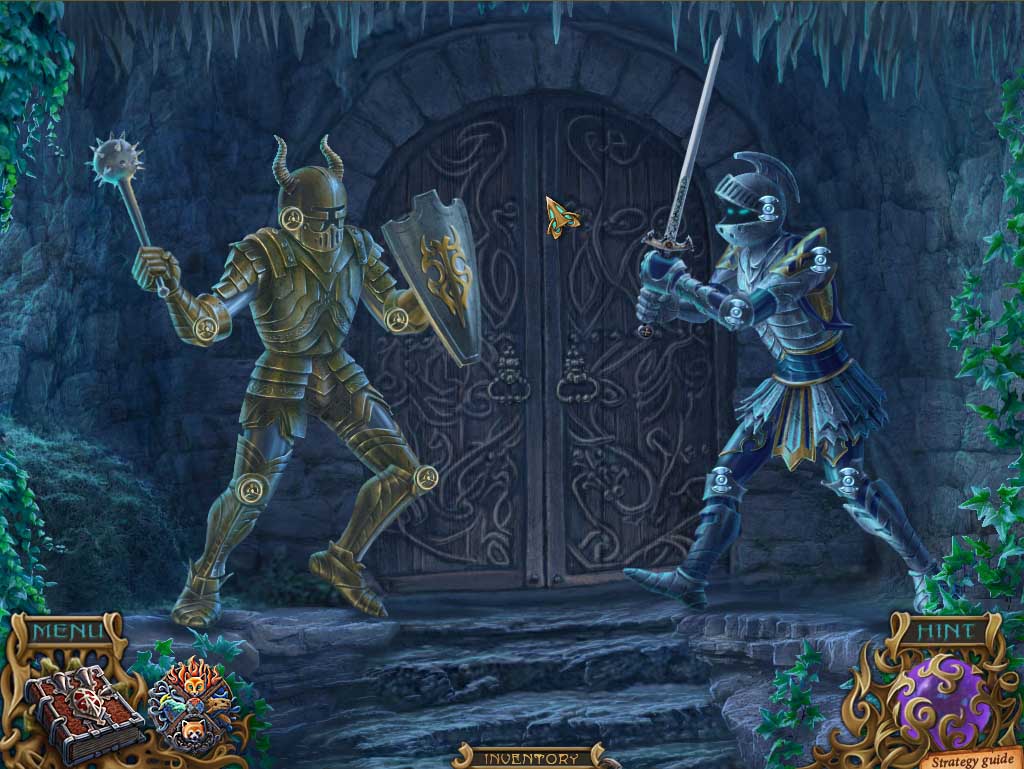
- Zero in on the two armored figures in the background.
- Place the SHIELD and SWORD on the knights, then orientate the two figures to match the picture in the journal, noting the five swivel points on each figure.
- Use the screenshot for guidance.
- When complete, go through the doorway.
Comments will load when you reach this part of the walkthrough.