

Chapter Two: Get Lost
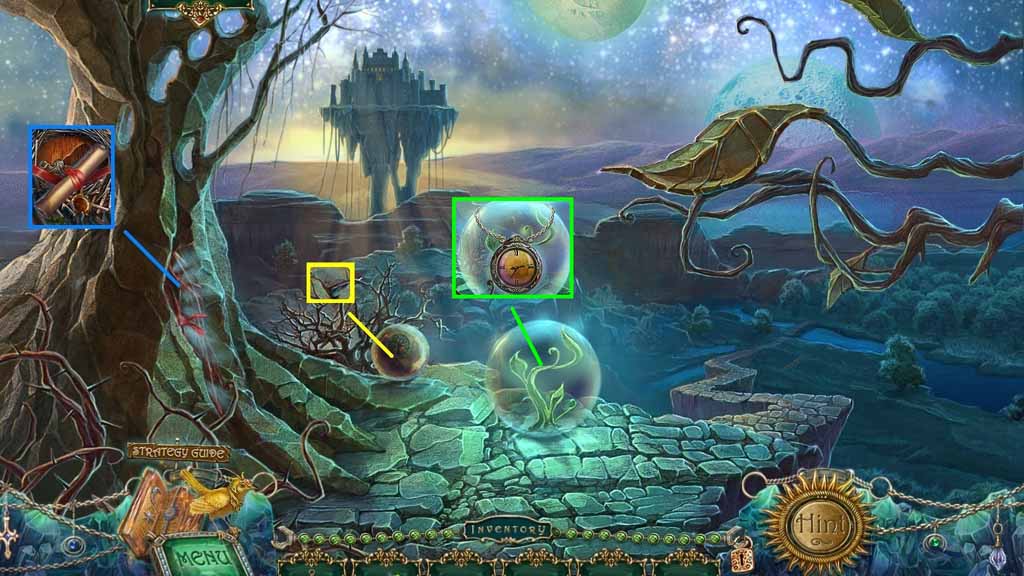
- Collect the map and octopus.
- Collect the puzzle part.
- Click the bubble and collect the clock.
- Move ahead.
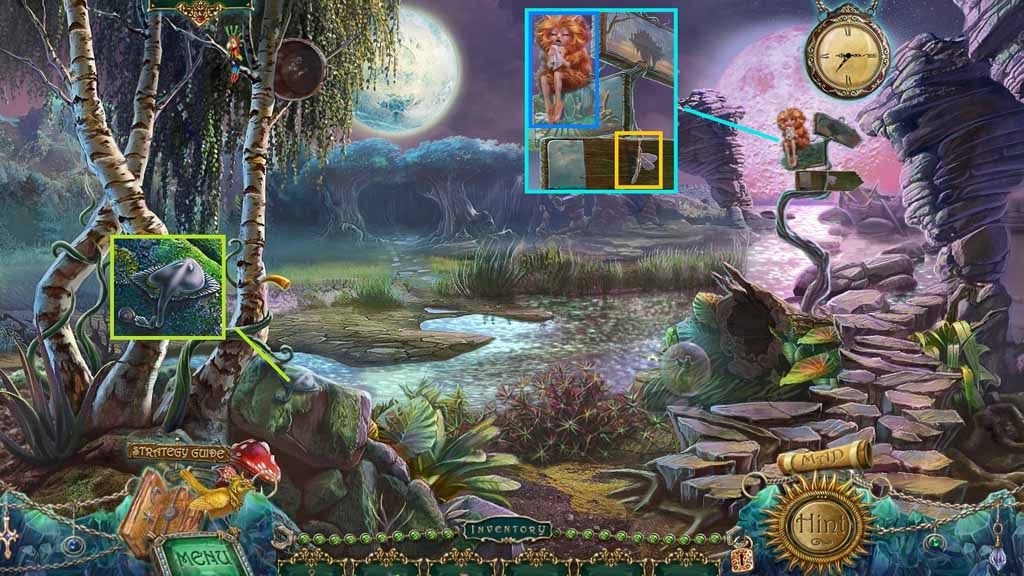
- Collect the skate.
- Collect the 1/2 dragonfly halves.
- Speak to the weepie.
- Move to the right.
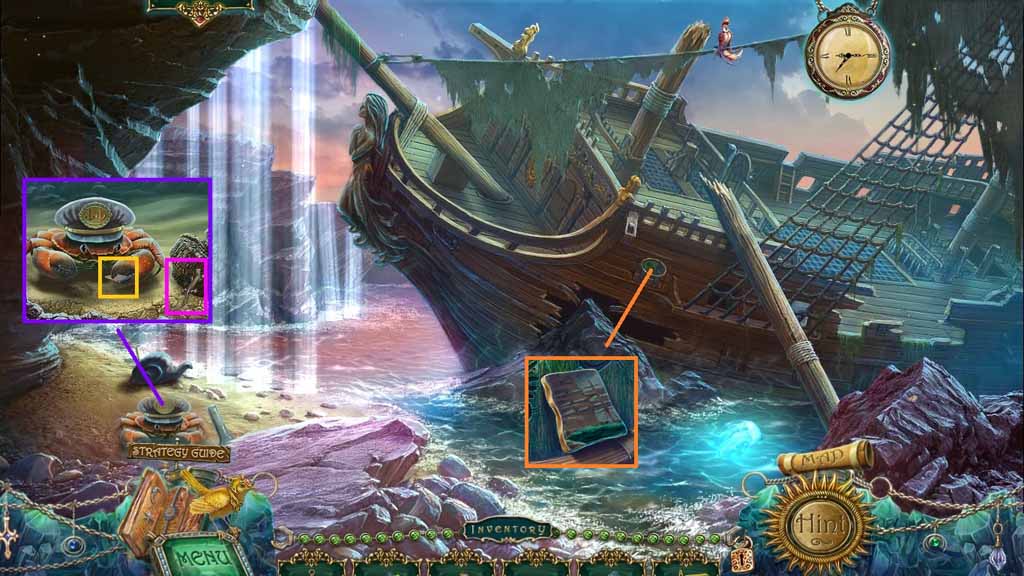
- Place the anchor onto the crab’s hat.
- Collect 2/3 puzzle parts and collect the lizard.
- Collect 3/3 puzzle parts.
- Move down one time.
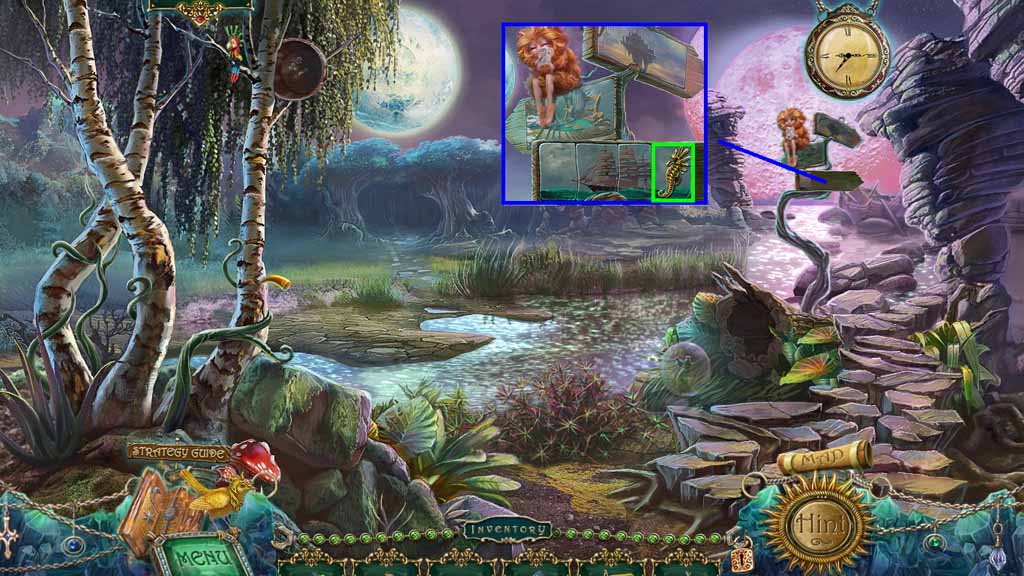
- Insert the three puzzle part into the signs to trigger mini puzzle.
- Solve the puzzle by moving the pieces and restoring the picture.
- Collect the seahorse.
- Move to the right.
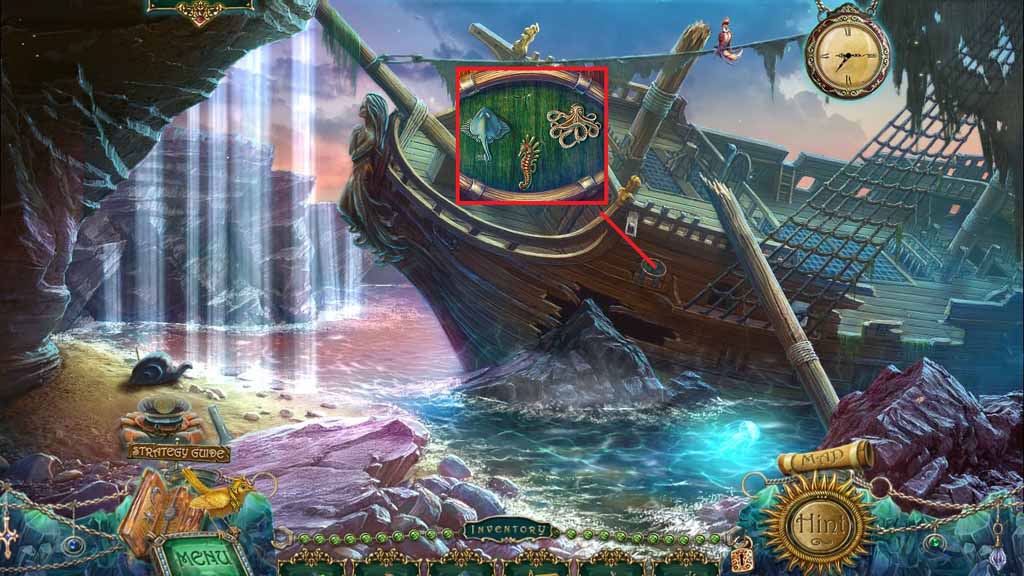
- Insert the skate octopus and the seahorse into the grooves.
- Click the opening to trigger a hidden objects area.
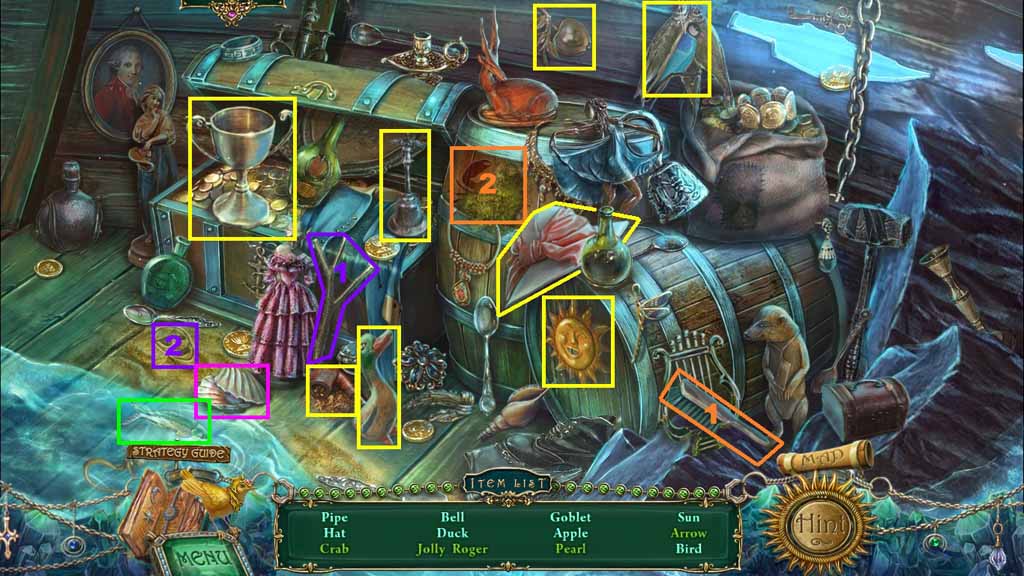
- Find the listed items.
- Select the brush to scrub the barrel; collect the crab.
- Select the stick to draw in the sand; collect the Jolly Roger.
- Click the shell to collect the pearl.
- Click the fish to collect the arrow.
- Collect the bird.
- Move down two times.
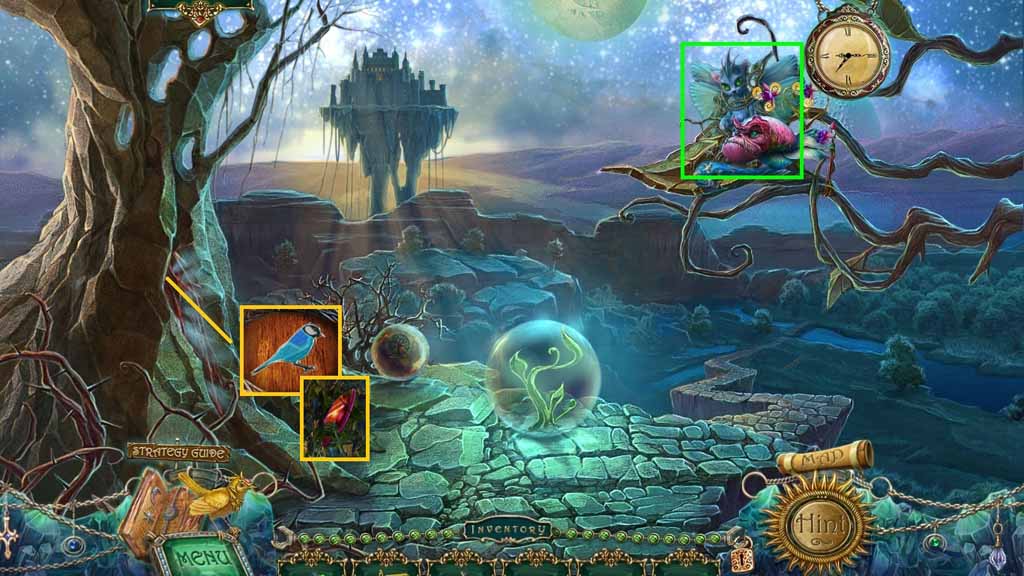
- Speak to little Johnny.
- Insert the bird into the groove.
- Collect the Ruby.
- Move the shipwreck.
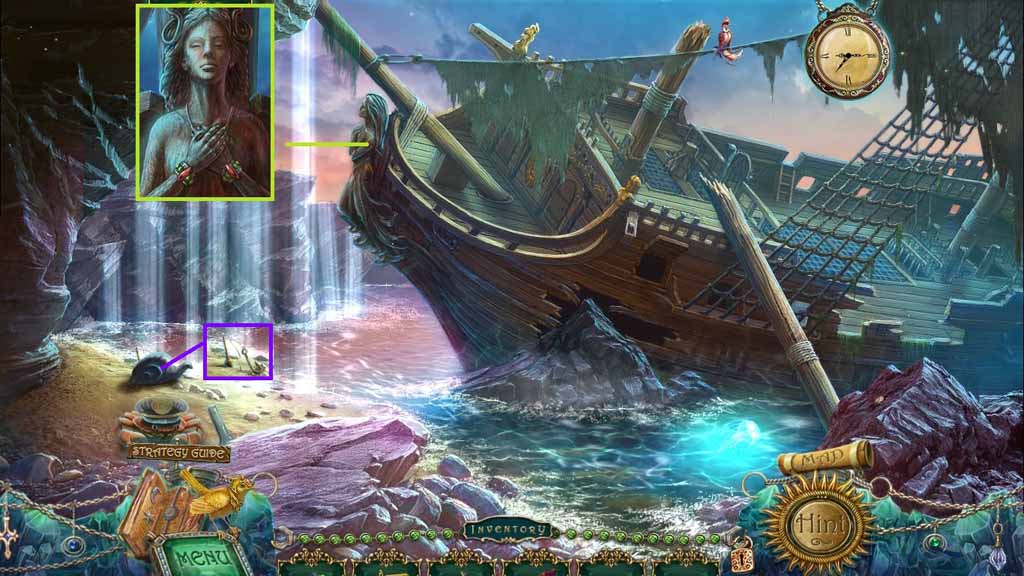
- Place the bracelet onto the figurehead.
- Insert the Ruby into the bracelet.
- Collect the hook.
- Move down once.
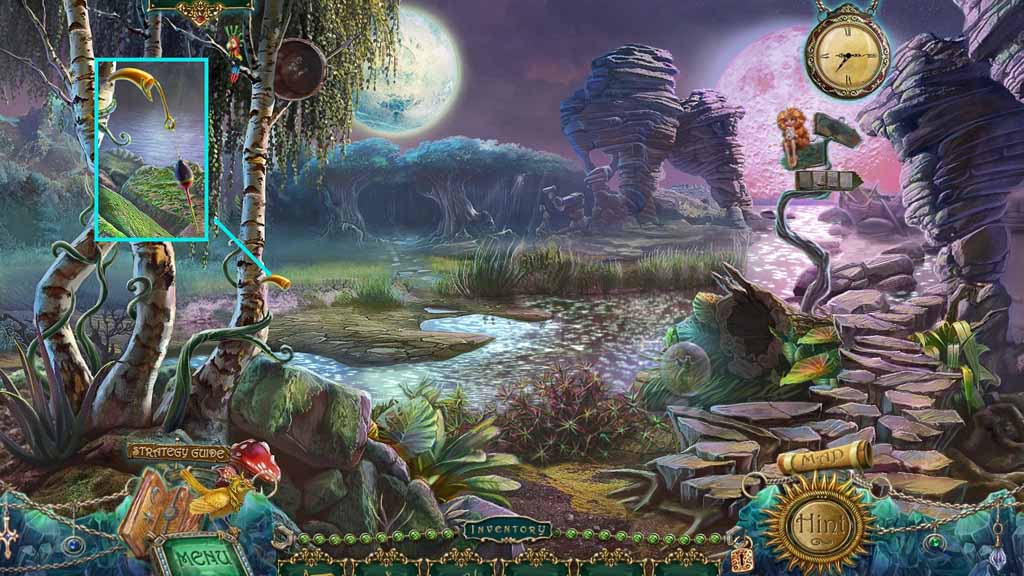
- Select the hook to collect the claw.
- Move to the right.
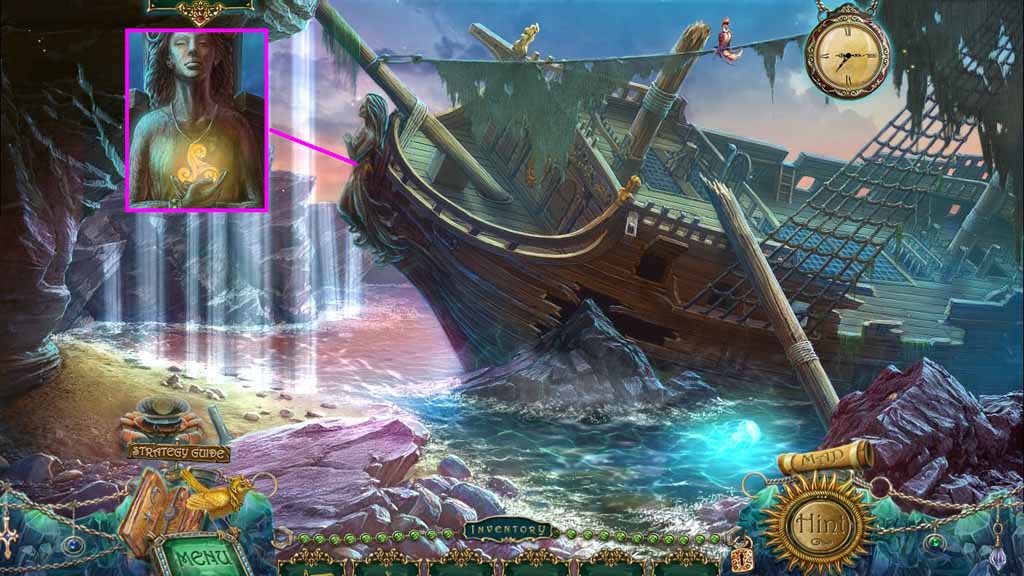
- Place the claw onto the figurehead.
- Collect the magic fan.
- Move down two times.
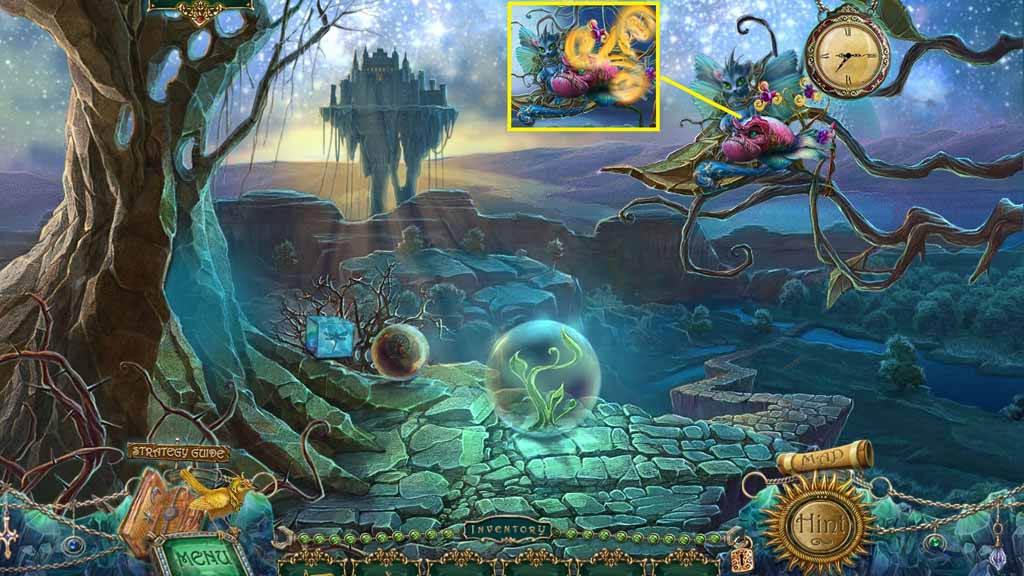
- Place the magic fan onto the flower.
- Collect little Johnny and the feather.
- Move ahead.
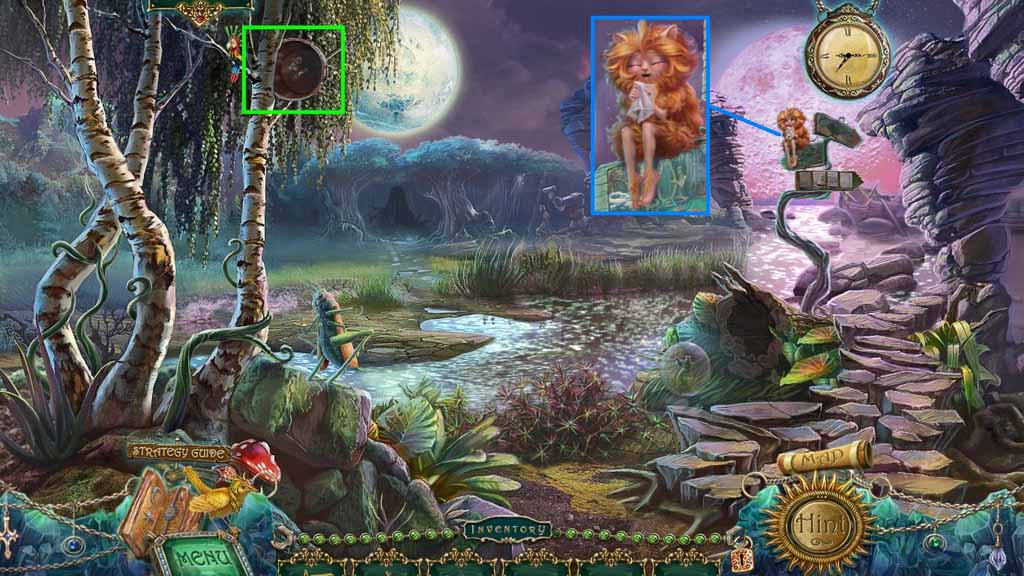
- Use little Johnny to move up the tree and collect the pot.
- Select the feather to use on the weepie; collect the handkerchief and the weepie.
- Move to the right.
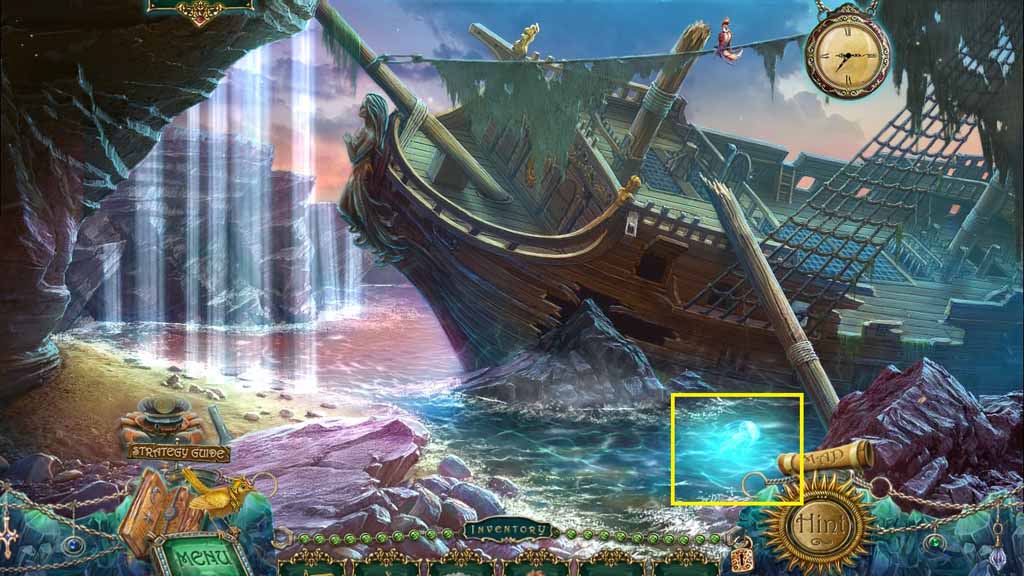
- Select the pot to collect the glowing jellyfish.
- Move down one time.
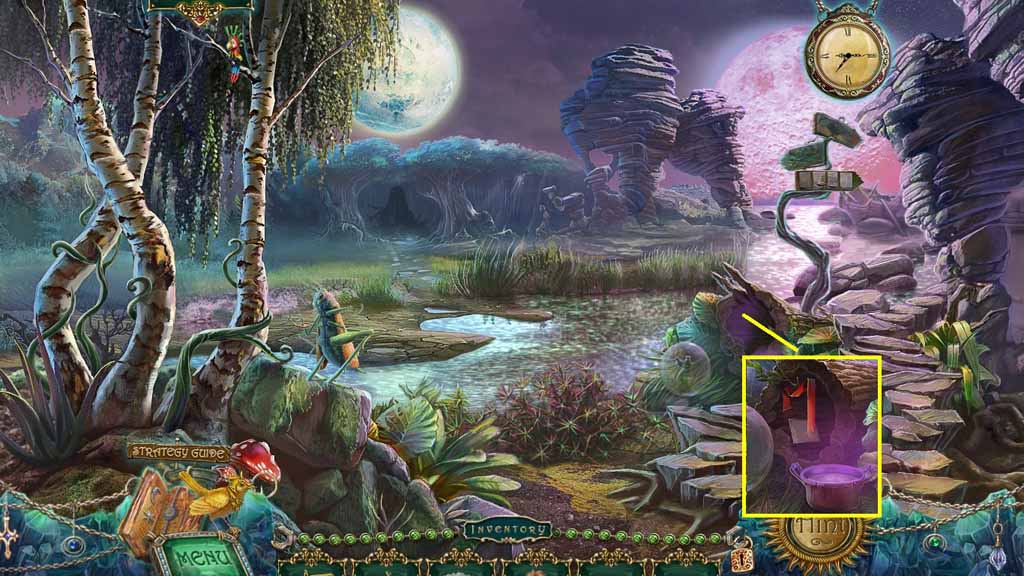
- Place the glowing jellyfish near the log.
- Collect the notes and the ribbon.
- Move down one time.
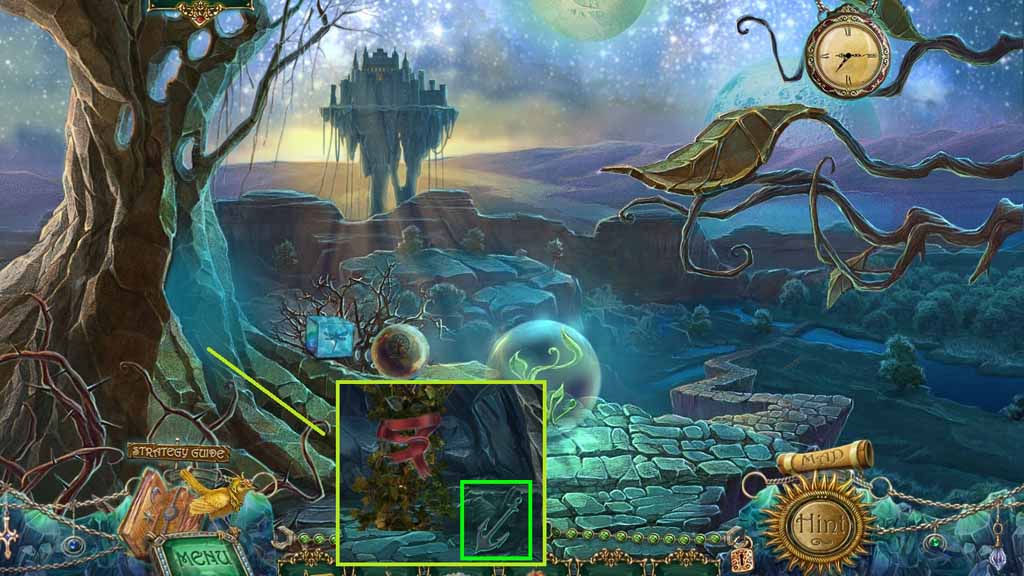
- Select the ribbon to use on the vines.
- Collect the anchor.
- Move to the shipwreck.
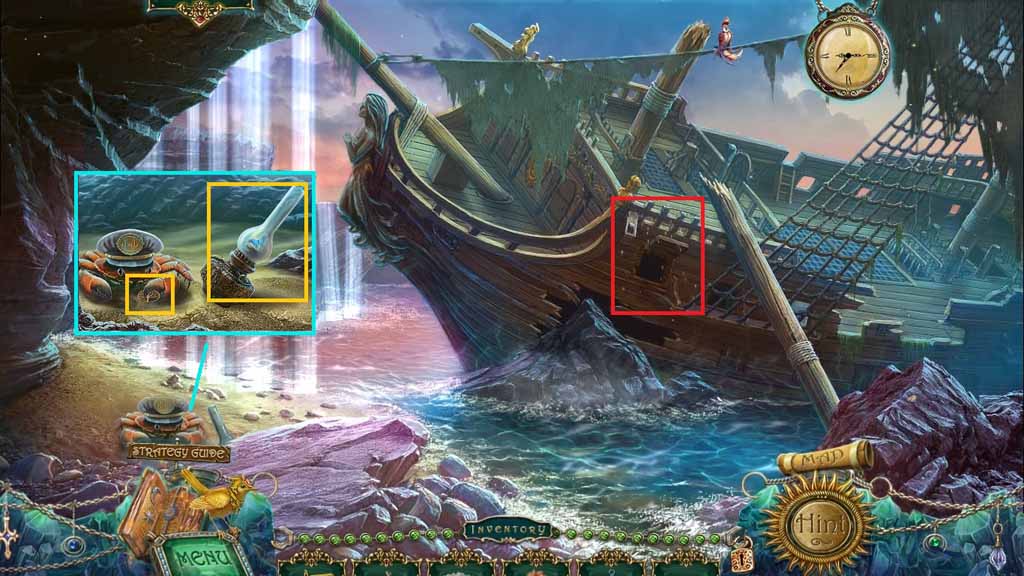
- Place the anchor onto the crab’s hat.
- Collect the tree.
- Select the handkerchief to use on the lamp and free the butterfly.
- Click the opening to trigger a hidden objects area.
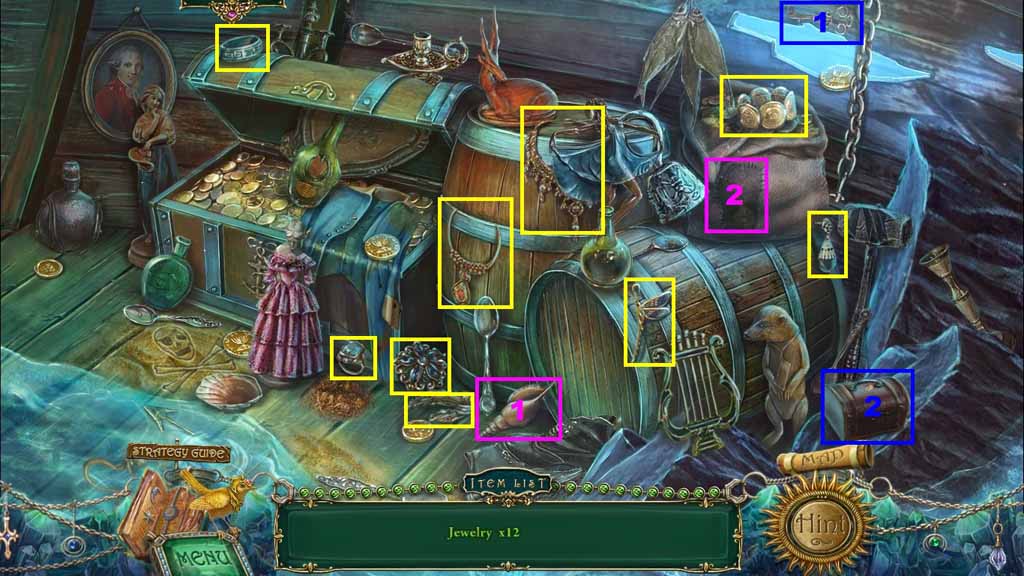
- Find the 12 items of jewelry.
- Select the shell and use it to slice the bag and collect the earring.
- Select the key to open the chest; collect the ring and the earring.
- Collect the 2/2 dragon halves.
- Move down once.
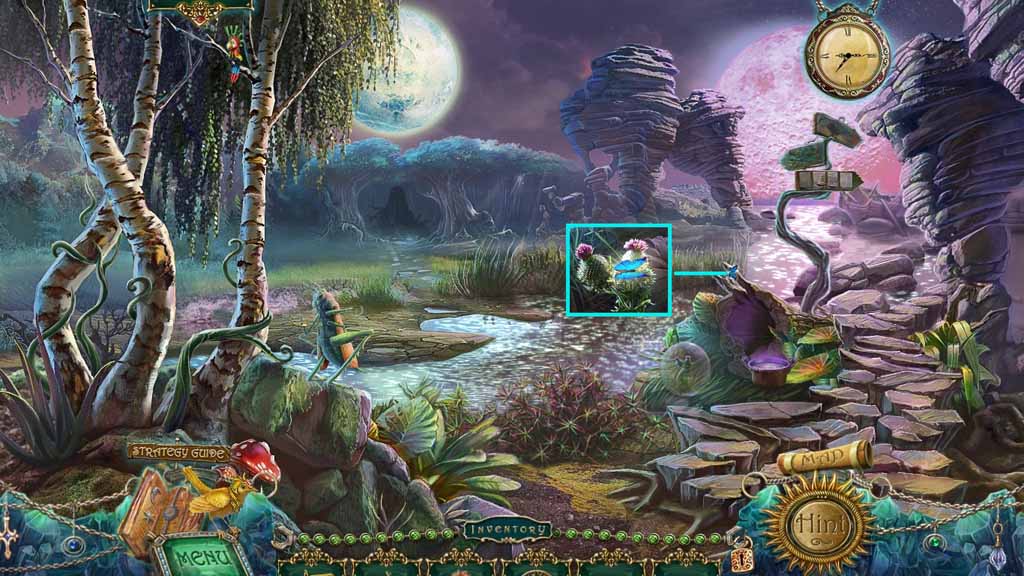
- Collect the butterfly.
- Move down one time.
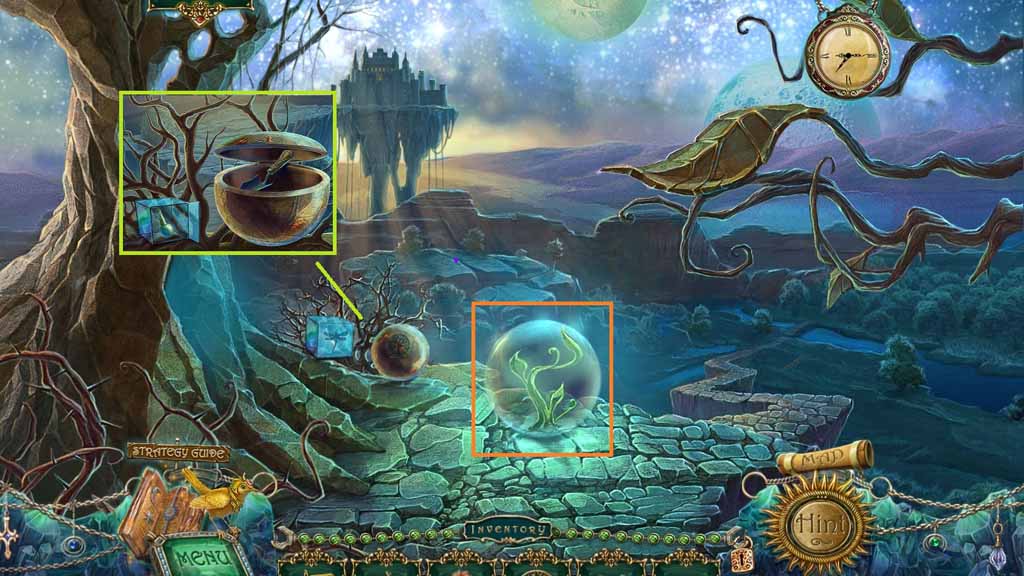
- Place the 2 dragonfly halves onto the box and collect the dirt vial.
- Place the tree onto the orb.
- Click the orb and collect the shovel.
- Pop the bubble using the butterfly and use the shovel to collect the sapling.
- Move to the shipwreck.
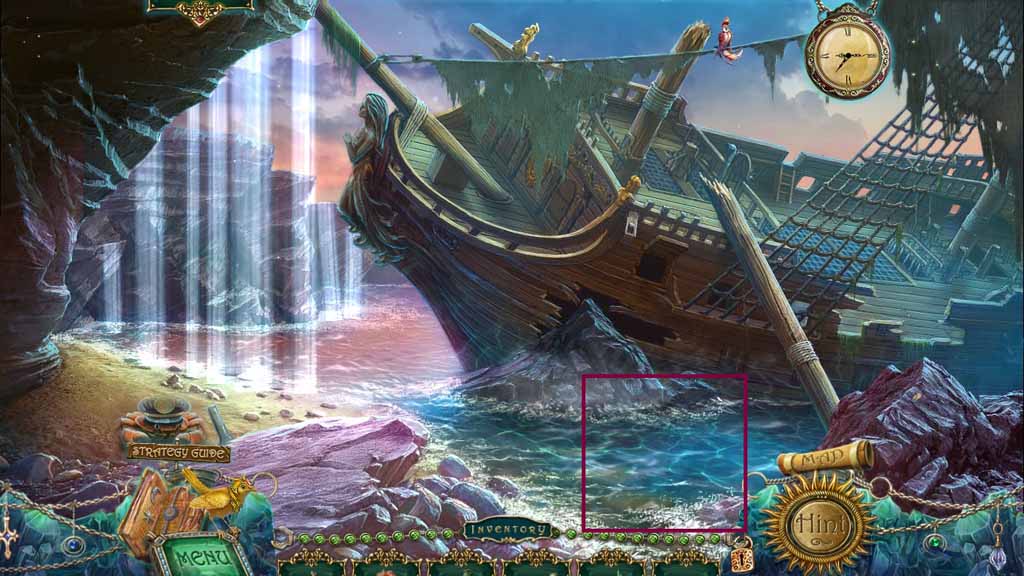
- Place the dirt vial into the water and collect the vial.
- Move down one time.
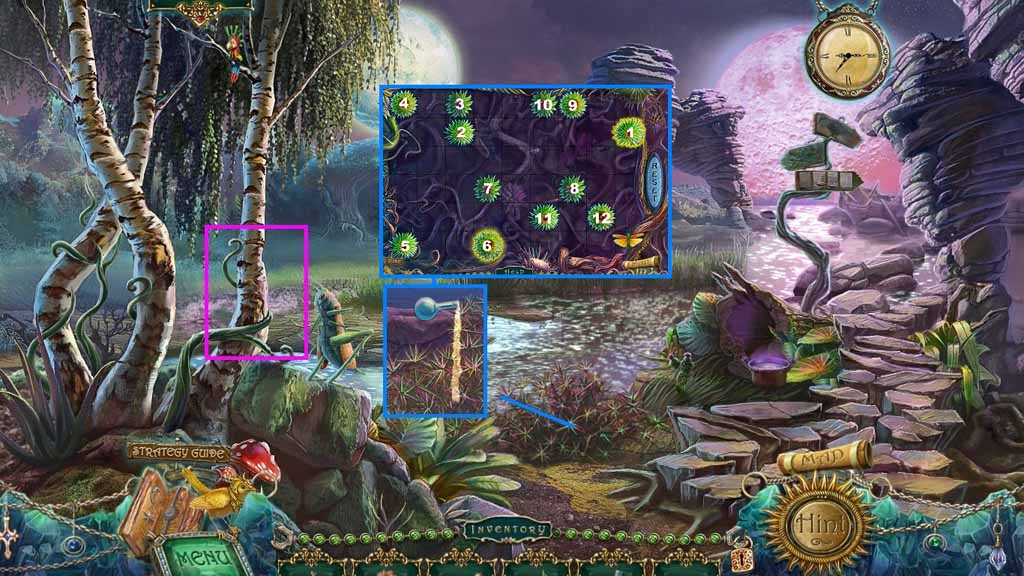
- Select the vial to collect the birch juice from the tree.
- Pour the birch juice onto the weeds.
- Click the weeds to trigger a mini puzzle.
- Solve the puzzle by moving the Locust through all the flowers.
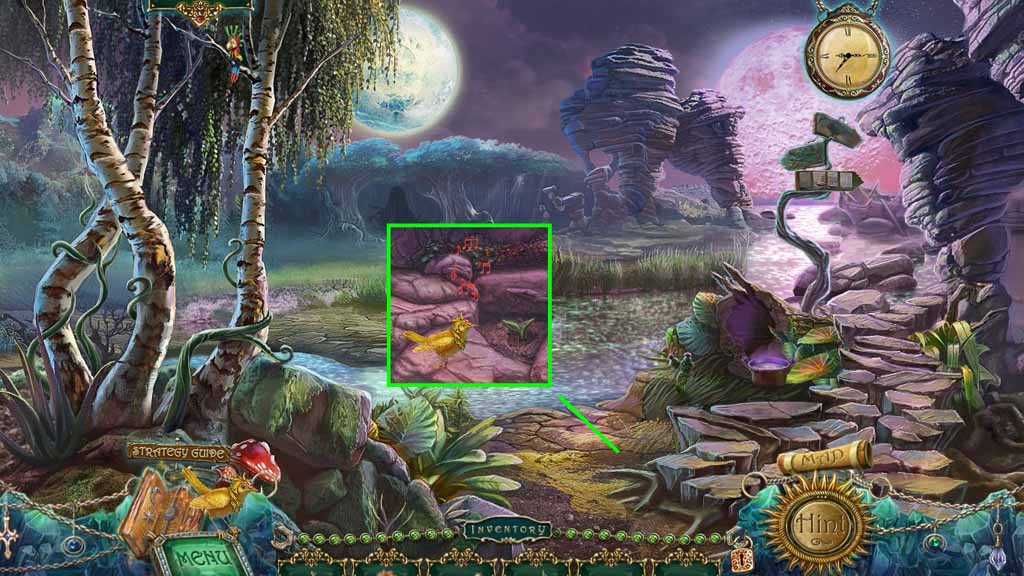
- Select the shovel to dig a hole and insert the sapling.
- Select the Nightingale to use on the sapling.
- Move across the bridge.
Comments will load when you reach this part of the walkthrough.