

Chapter One: Visit the Hotel
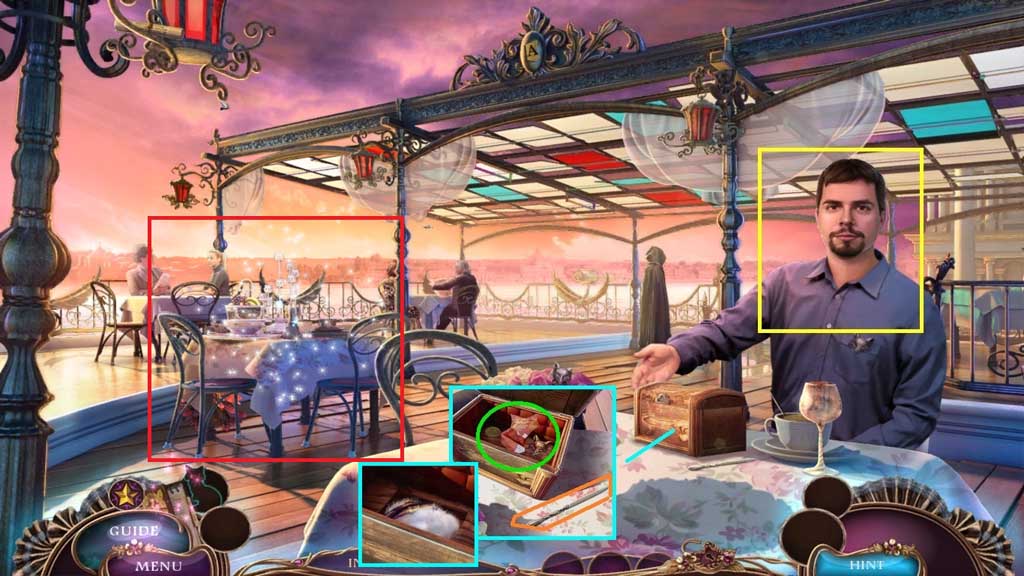
- Speak to the man.
- Collect the knife.
- Click the box; collect the invitation note, the coin and the fox head.
- Select the knife to pry open the base of the box; collect the cotton ball and 1 /2 wires.
- Click the hidden objects area.
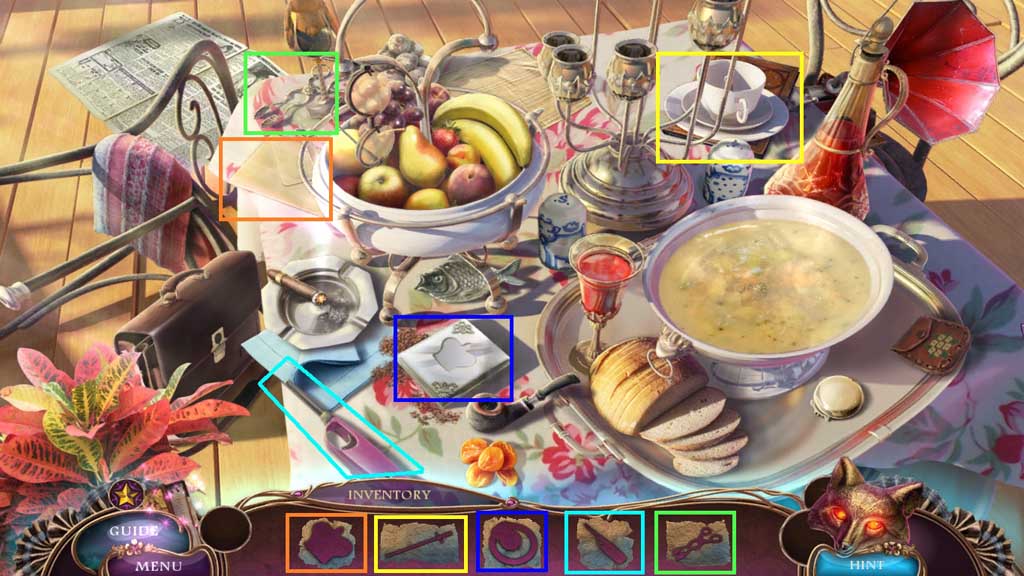
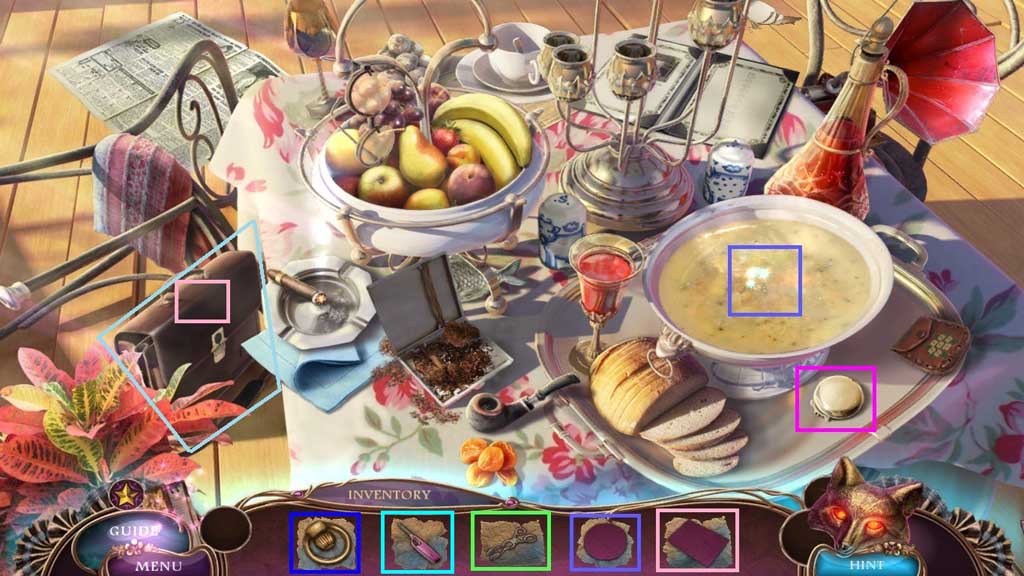
- Find the listed items.
- Click the tea cup and the menu beneath it to uncover and collect the letter opener.
- Use the letter opener to open the envelope; collect the crown.
- Insert the crown into the groove; collect the watch part.
- Select the tongs to collect the bag buckle from the hot soup.
- Select the watch part and attach it onto the watch to reveal a combination.
- Attach the bag buckle onto the briefcase; enter the combination 9437.
- Use the lighter to burn the knot.
- Collect the press pass.
- Move ahead.
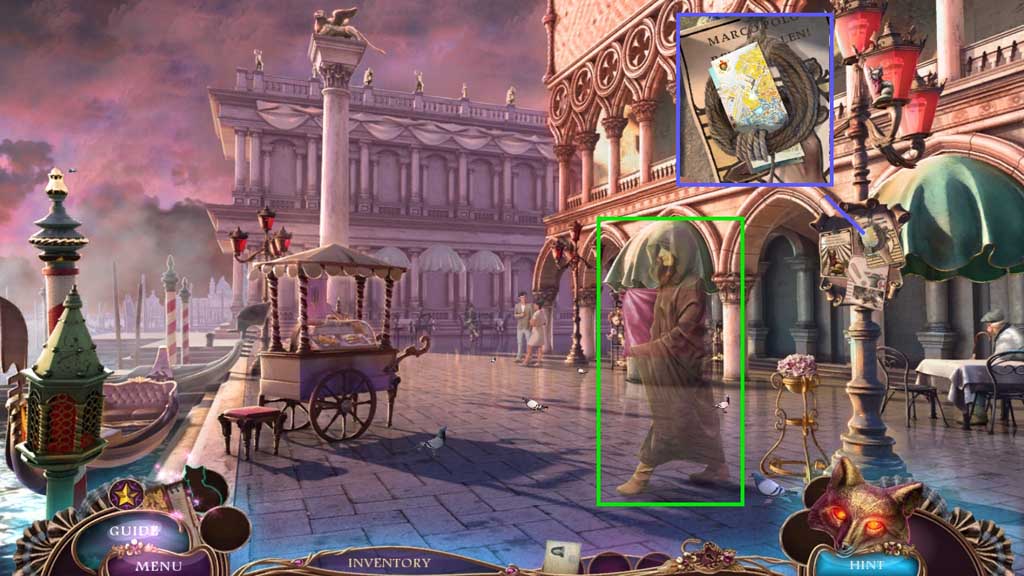
- Speak to the lady.
- Collect the map and the rope.
- Move to St. Mark’s Square.
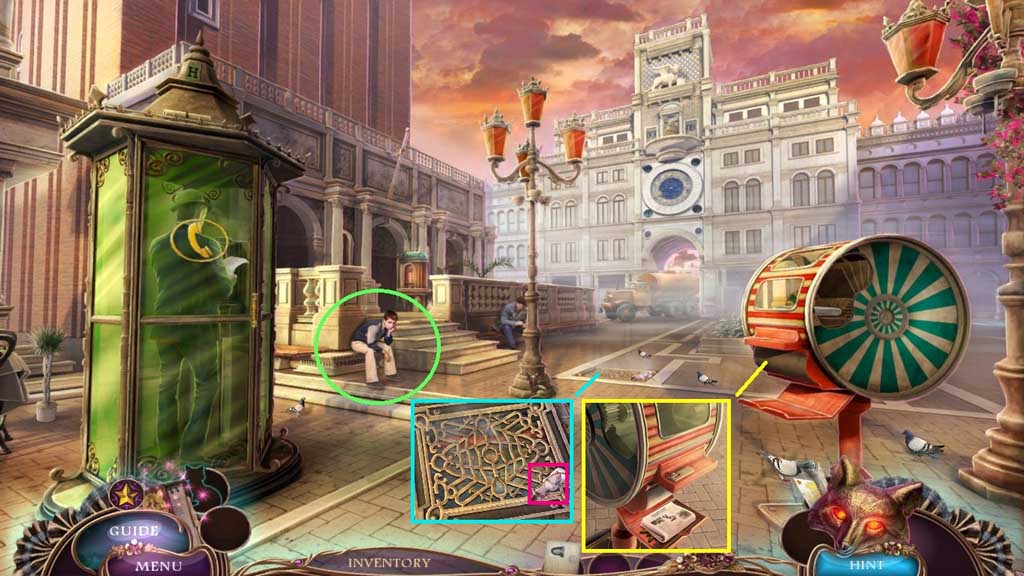
- Speak to the young man,
- Insert the coin; zoom into the newspaper and collect the sun emblem.
- Collect the souvenir; click the grate.
- Move down once.
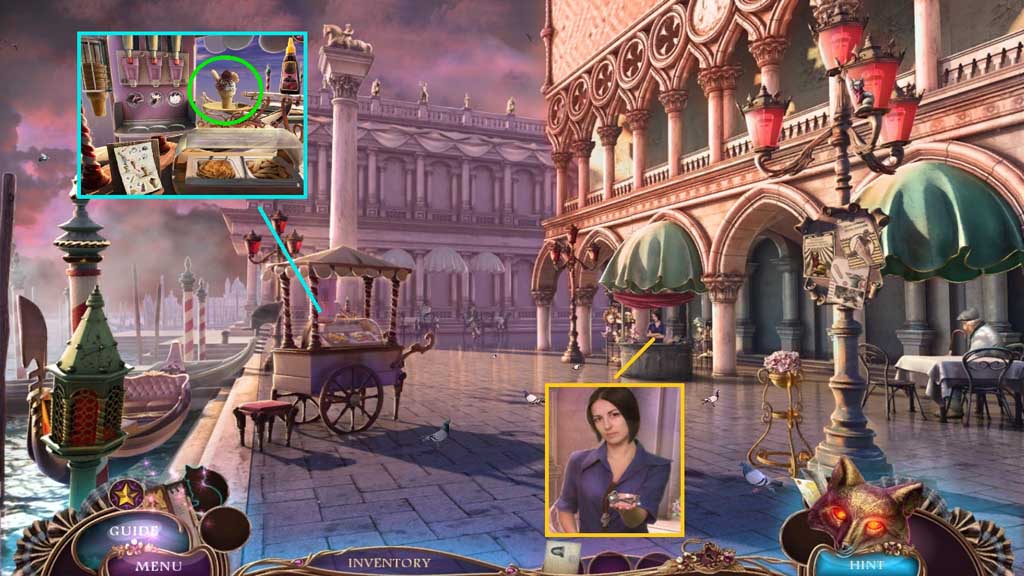
- Speak to the lady and give her the press pass and the souvenir.
- Collect the ice cream key; insert it into the lock.
- Zoom into the recipe and follow it.
- Collect the ice cream.
- Move to St. Mark’s Square.
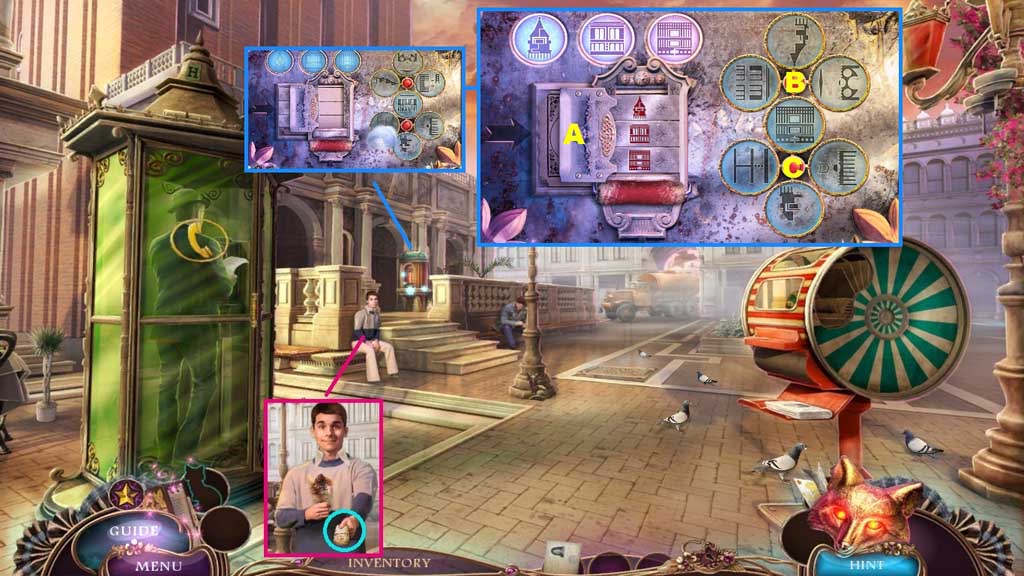
- Give the young man the ice cream; collect the bell tower ticket.
- Zoom into the kiosk.
- Use the cotton ball to clean the lens; insert the bell tower ticket to trigger a mini game.
- Solve the mini game by recreating the ticket stamps.
- B x 1 – C x 2 – B x 1 – C x 3 – B x 3 – C x 1
- Move into the elevator.
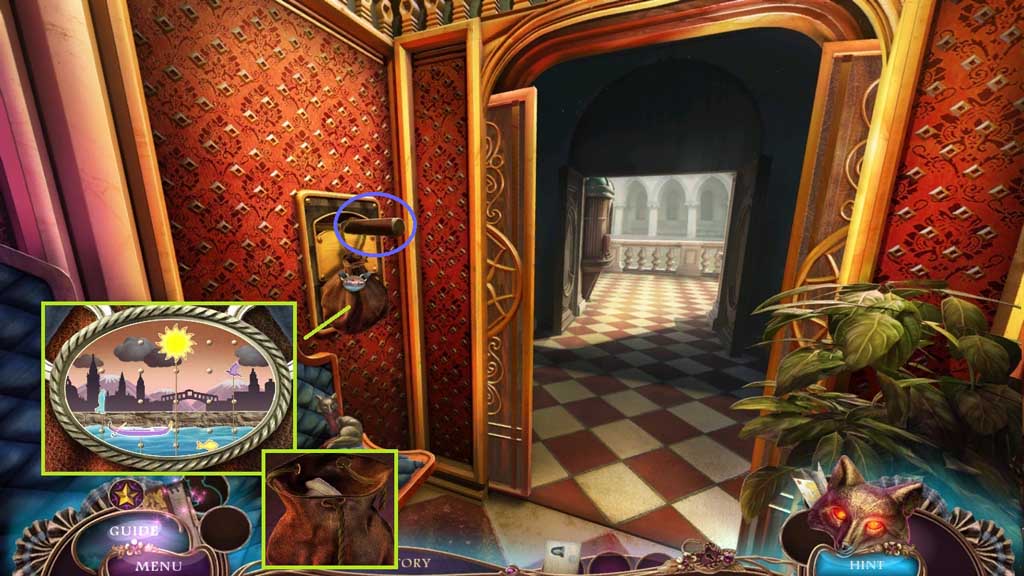
- Collect the leather pouch; click it once.
- Arrange the items correctly.
- Collect 1 / 2 lion’s fangs.
- Click the handle.
- Exit the elevator.
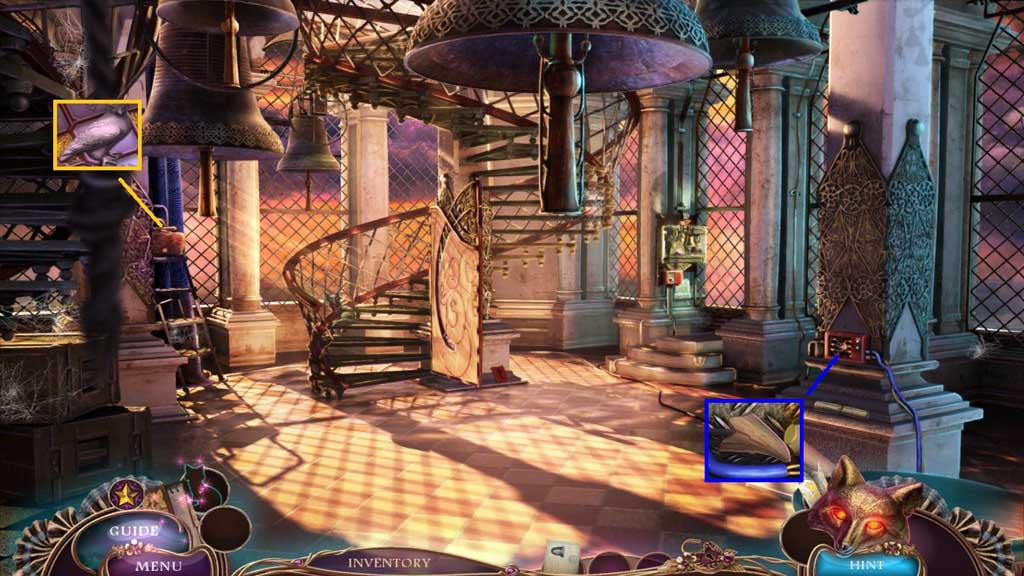
- Collect 1 /3 crest pieces and 2 / 2 lion fangs.
- Move to the Observatory.
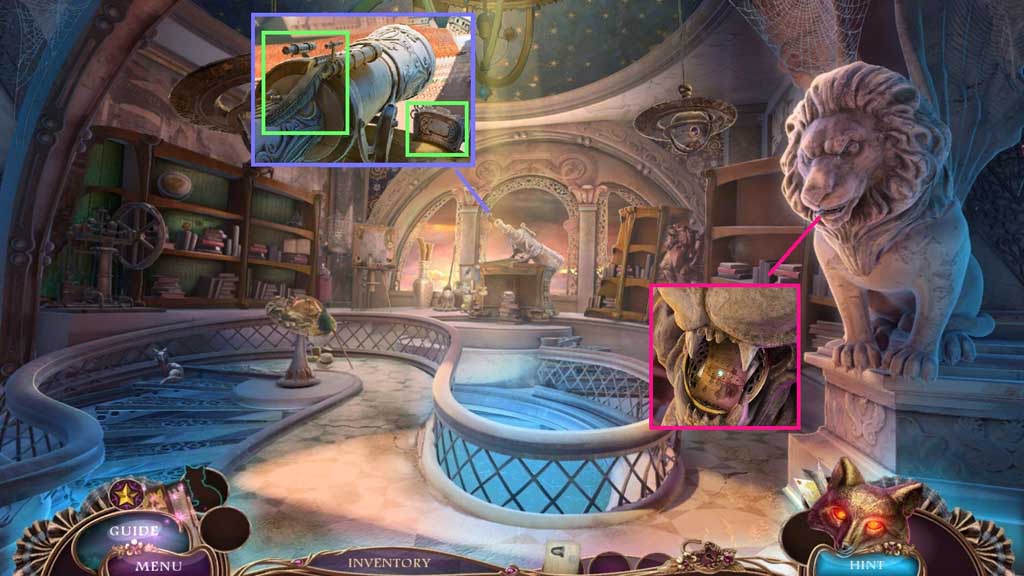
- Collect 2 / 2 wires and the feather.
- Read the note.
- Insert the 2 lion’s fangs; collect the clue and the zoom filter.
- Move down once.
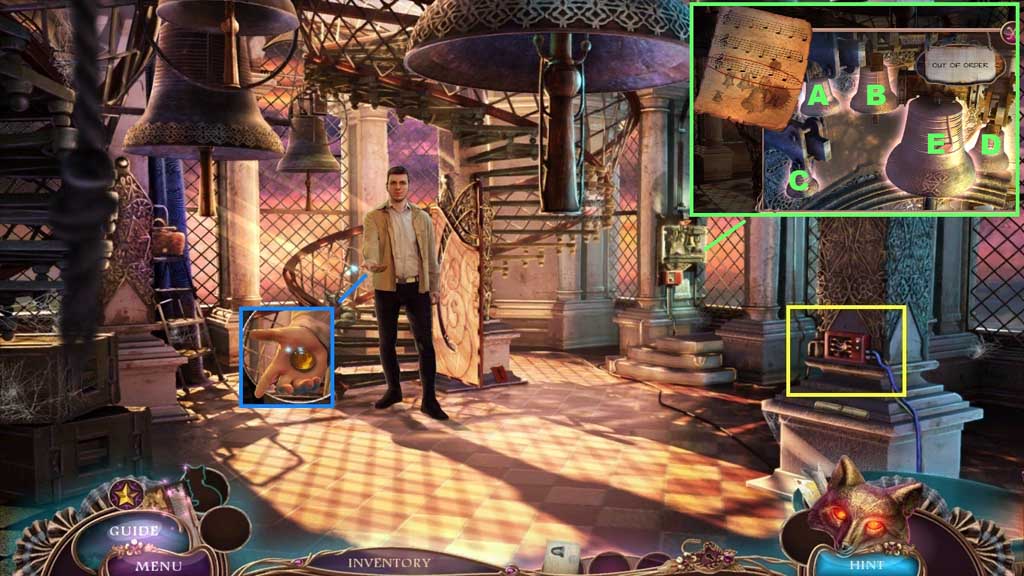
- Insert the 2 wires to trigger a mini game.
- Ring the bells in the correct sequence.
- Give La Volpe the invitation note; collect the button.
- Move to the Observatory and click the hidden objects area.
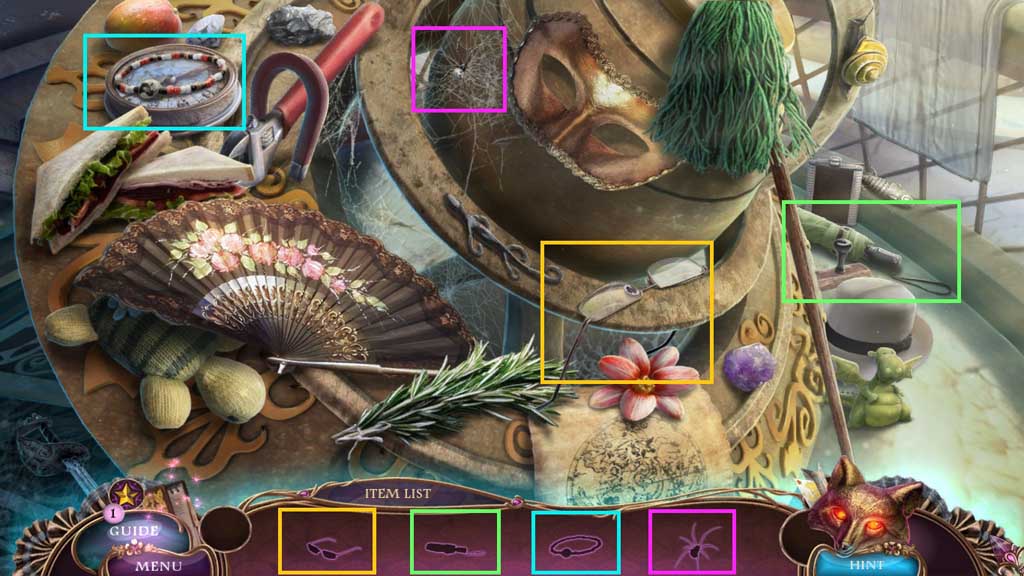
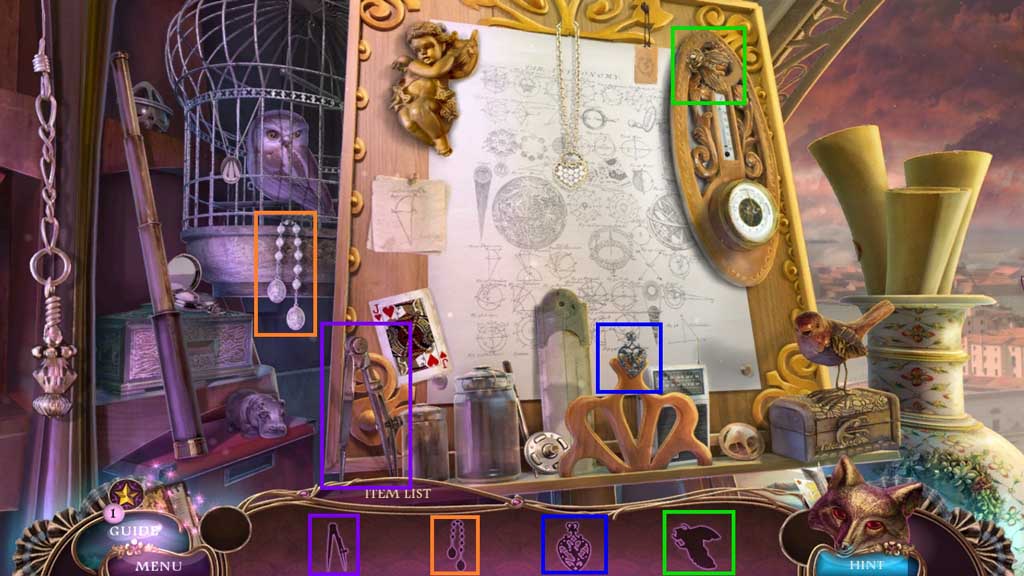
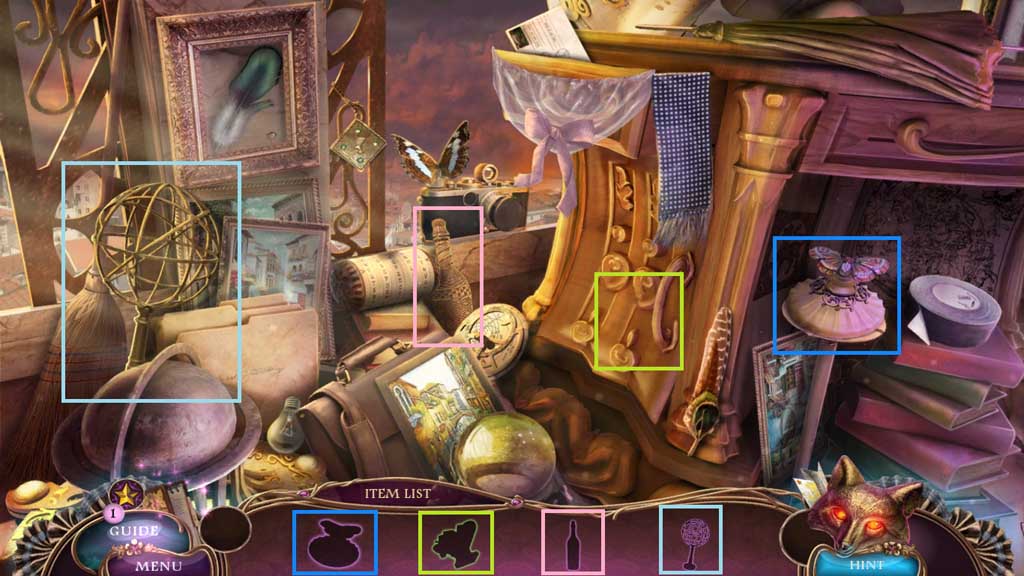
- Find the silhouetted items.
- Collect the camera.
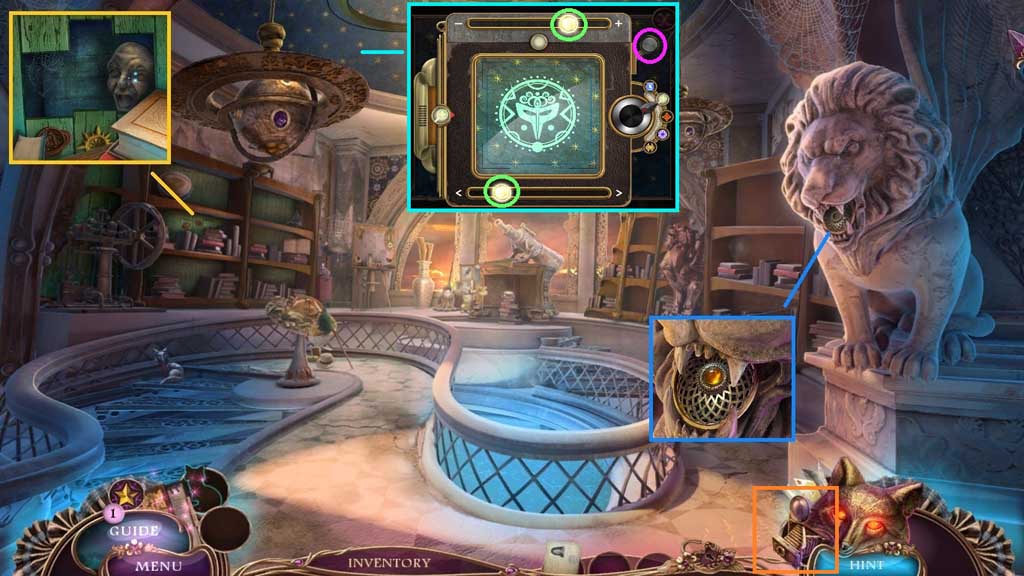
- Insert the sun emblem; collect the agony mask.
- Insert the button; click it once.
- Zoom into the starry sky to trigger a mini game.
- Select the camera and place the zoom filter onto it.
- Solve the mini game by clicking and dragging the sliders to re-create the images shown on the right side.
- Click the button.
- Move down once.
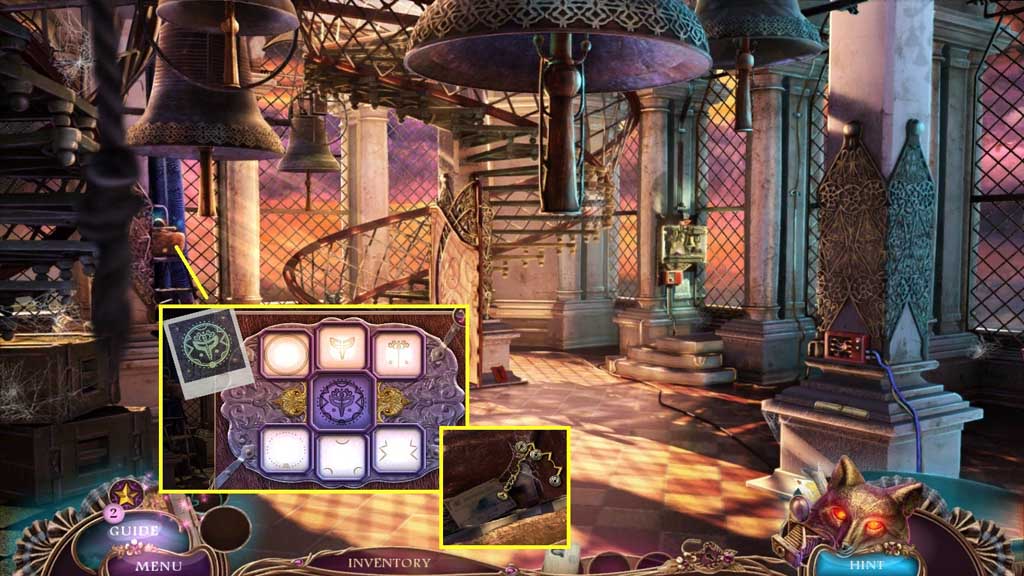
- Click the puzzle.
- Solve the puzzle by clicking the icons to create the parts of the symbol in the middle.
- Collect the sword ornament and the construction office business card.
- Move down once.
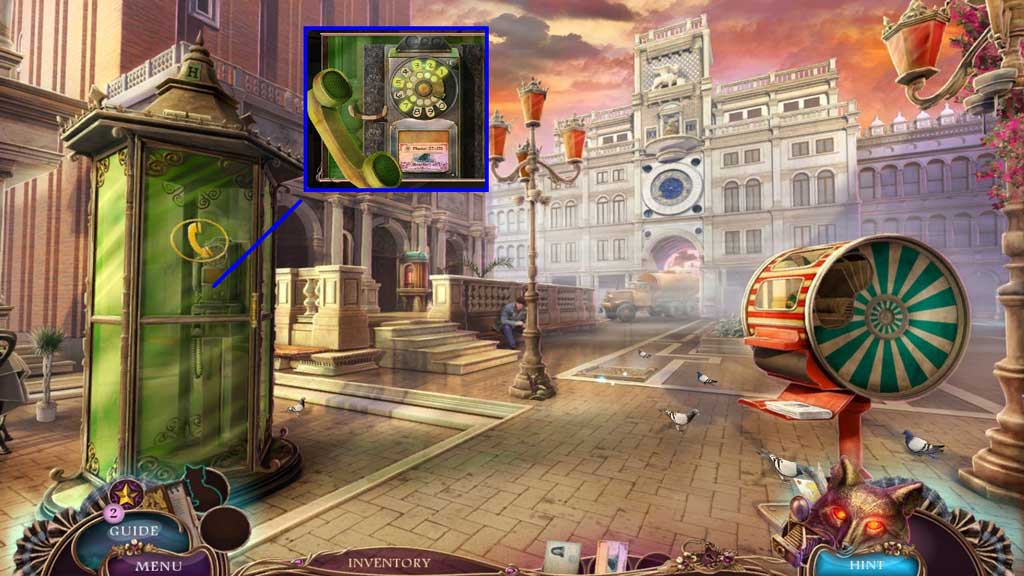
- Click the door; insert the construction office business card into the phone base.
- Click the receiver; dial 27-351.
- Move to the Bridge.
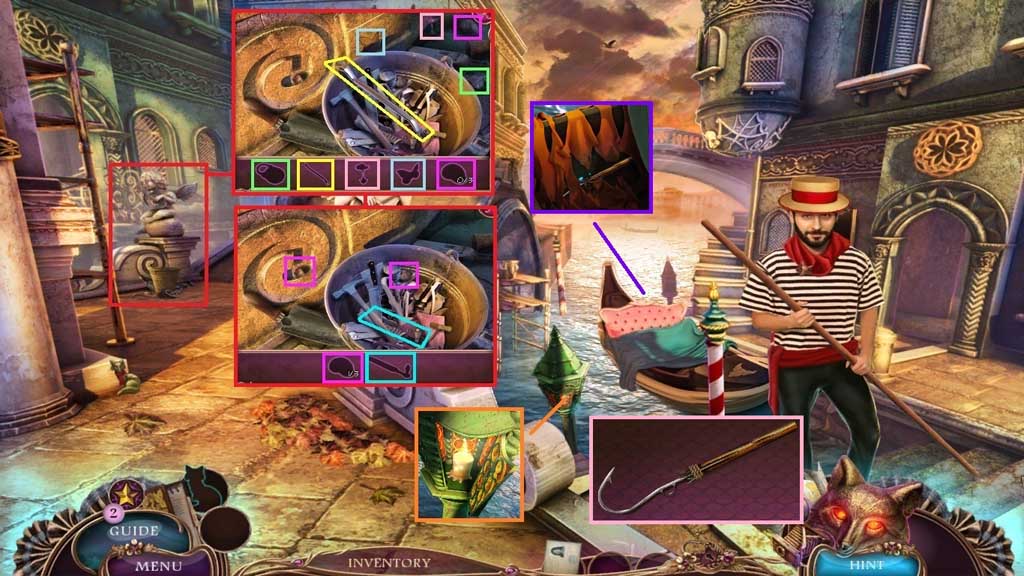
- Click the hidden objects area.
- Find the silhouetted items.
- Collect the ratchet wrench.
- Click the lantern door; collect the candle.
- Select the candle to burn the rags; collect the fishing gaff.
- Click the fishing gaff and attach the rope.
- Move down once.
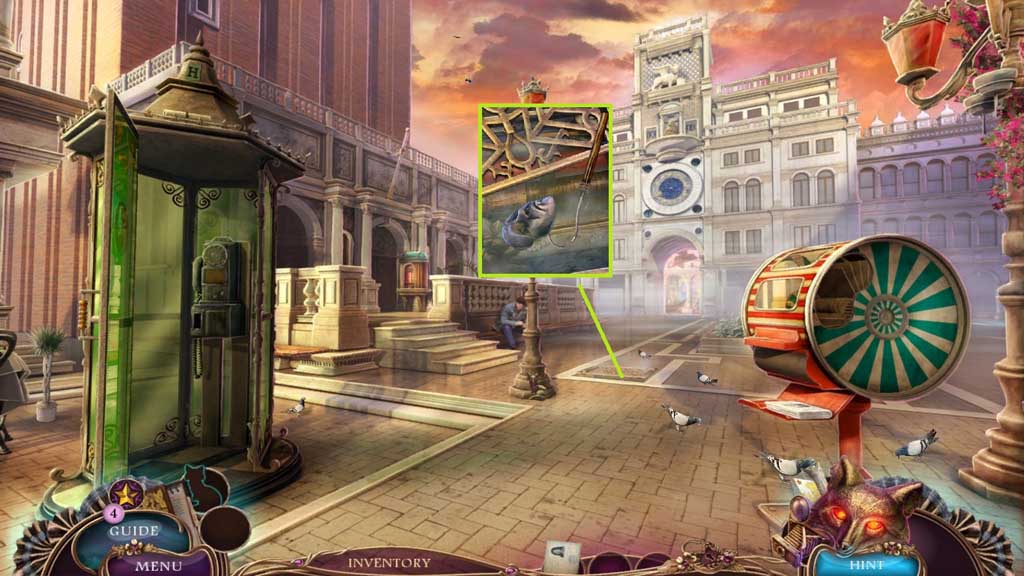
- Select the fishing gaff to collect the sad mask.
- Move to the Bridge.
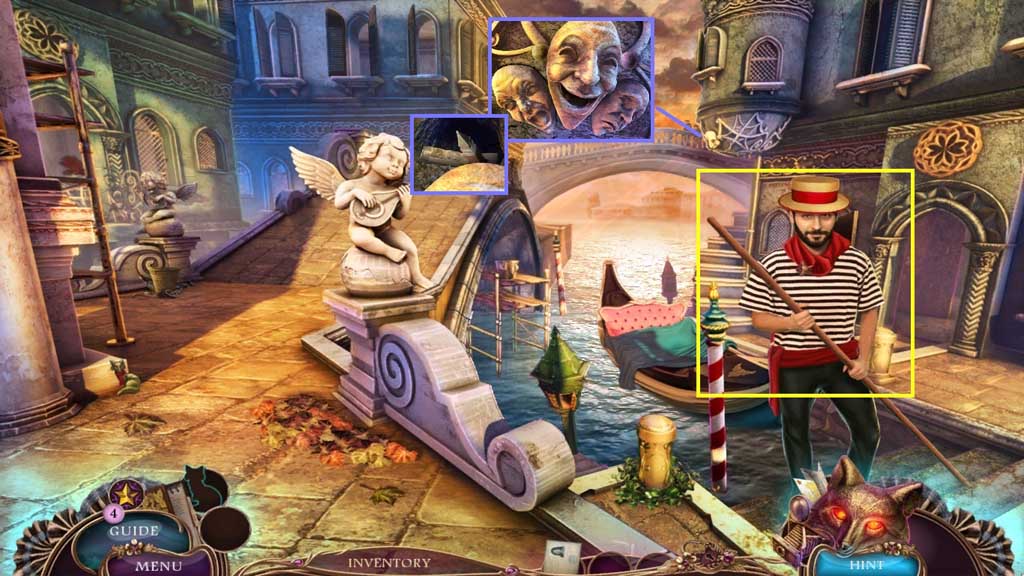
- Insert the agony and sad masks
- Collect the bell tower miniature and the hotel business card.
- Give the gondolier the hotel business card.
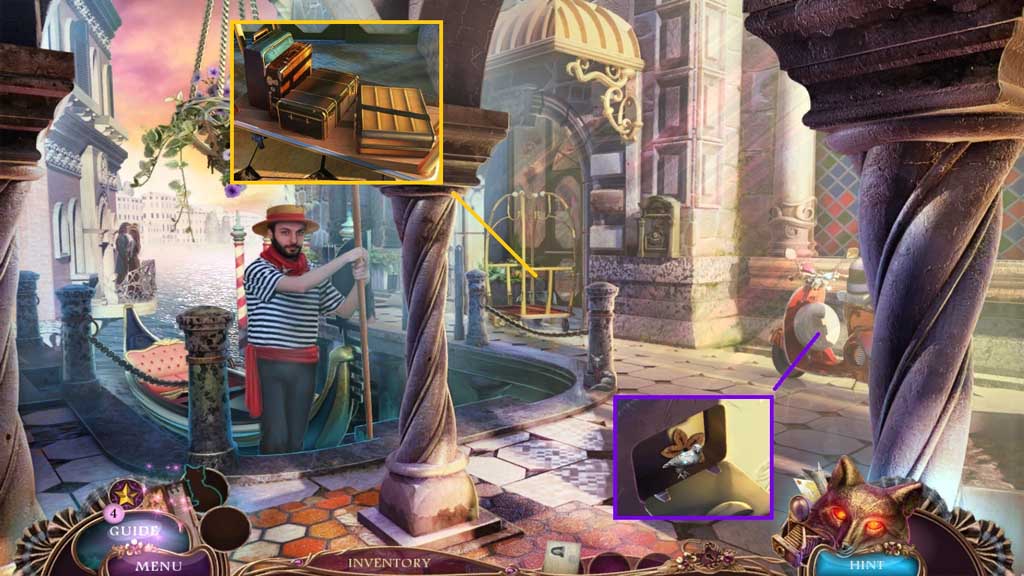
- Click the compartment.
- Collect 2 /3 crest pieces and 1 /2 wooden flower pieces.
- Place the 4 suitcases onto the cart and click it once.
- Move into the Hotel Lobby.
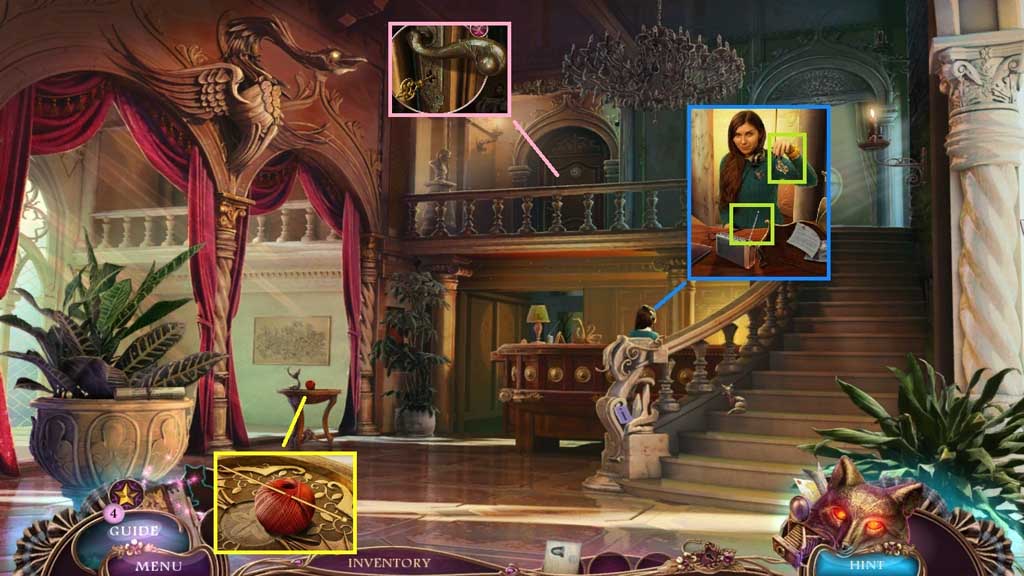
- Click the antenna.
- Speak to the lady and give her the press pass; collect the room key.
- Collect the knitting needle and click the yarn.
- Insert the room key; click the handle.
- Move into the Hotel Room to access the hidden objects area.
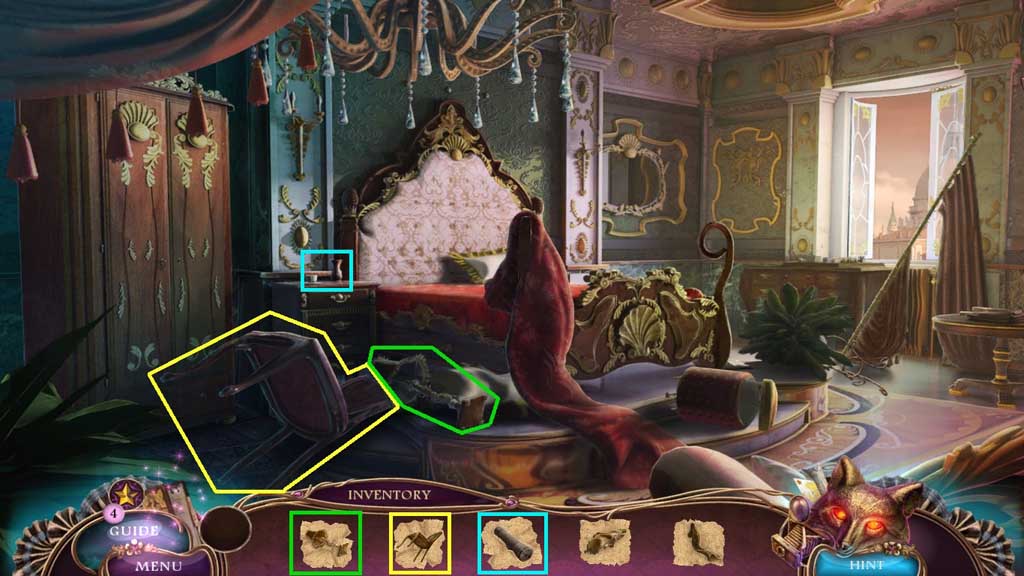
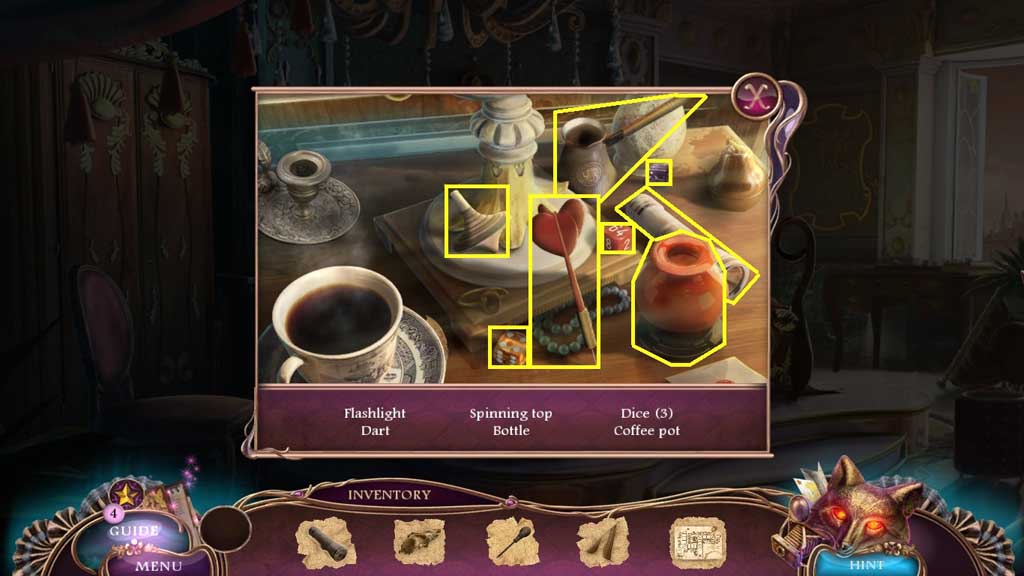
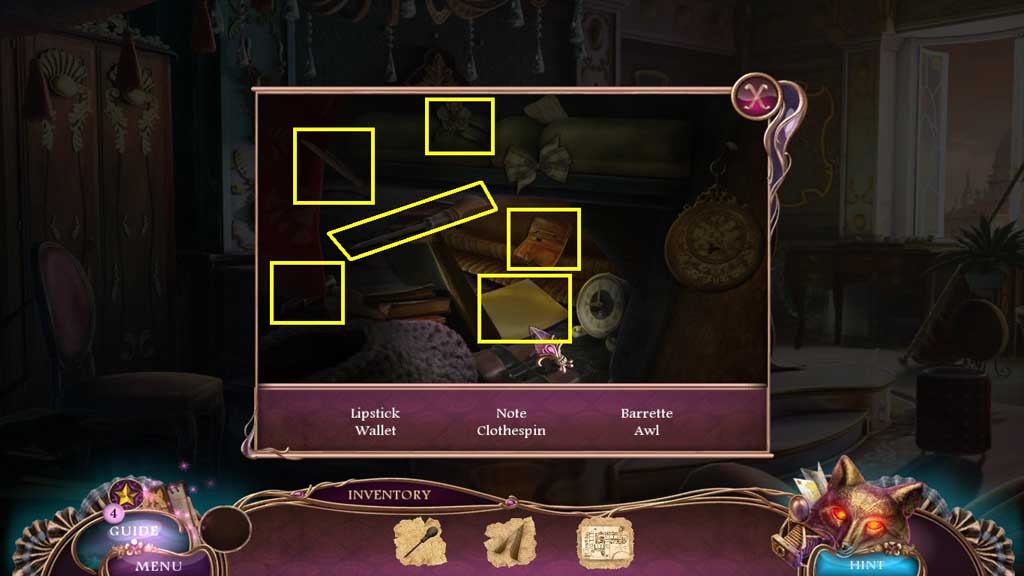
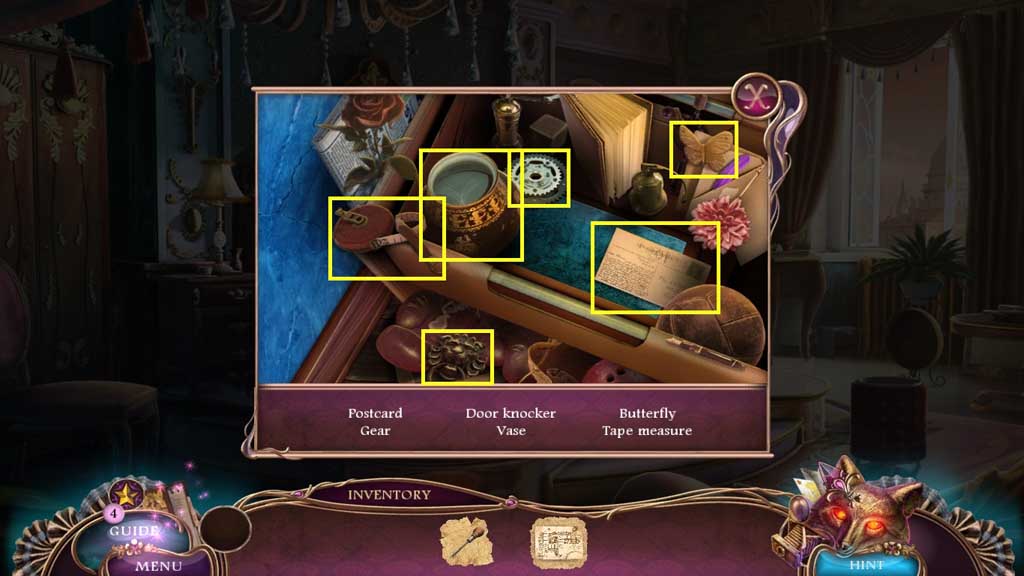
- Find the items.
- Click the night table to trigger a mini hidden objects area; collect the flashlight.
- Use the flashlight to illuminate the bed base and trigger a mini hidden objects area; collect the awl.
- Click the desk near the window to trigger a mini hidden objects area; use the awl to open the hidden compartment beneath the items.
- Collect the route to the museum.
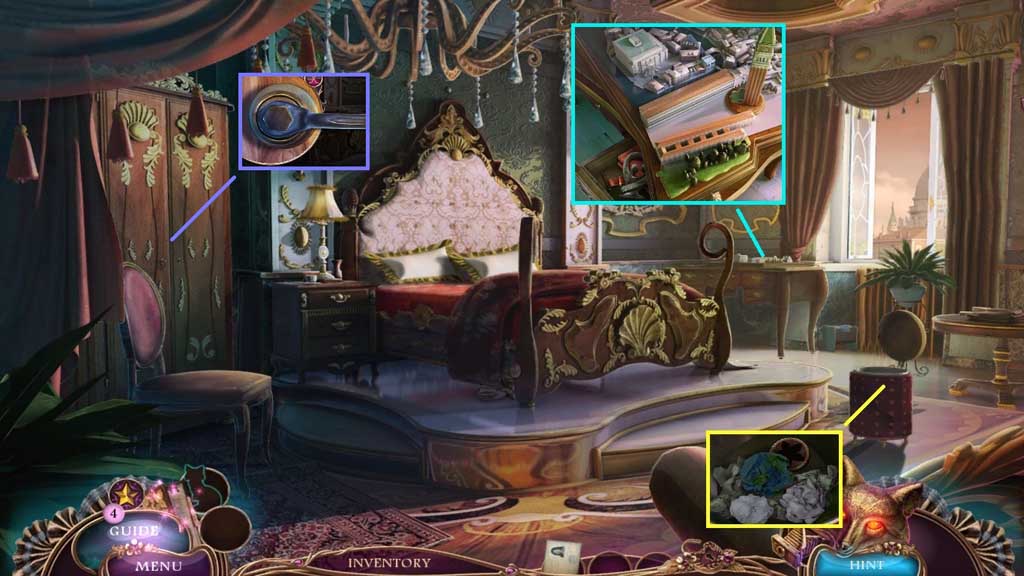
- Clear away the trash and collect 2 /2 wooden flower pieces.
- Place the bell tower miniature into the space; collect the sculpture and the flag.
- Select the ratchet wrench to remove the bolt.
- Move down once.
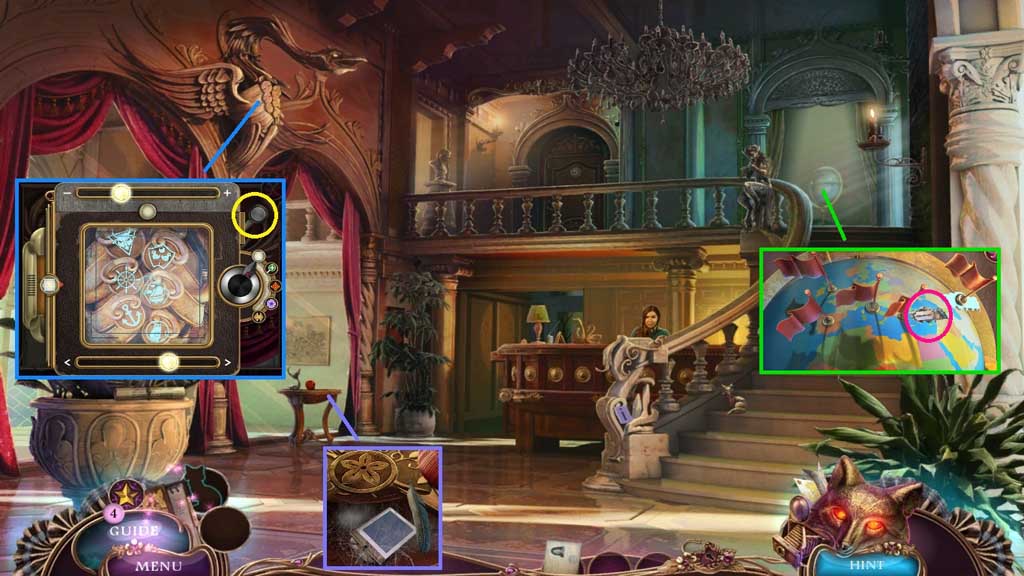
- Insert the 2 wooden flower pieces.
- Clear the cobwebs using the feather; collect the scanner filter.
- Zoom into the bird carving.
- Select the camera and connect the scanner filter to trigger a mini game.
- Solve the mini game by clicking and dragging the sliders to guide the images into the grooves correctly.
- Click the button.
- Insert the flag into the globe; click it and collect the razor blade.
- Move to the Hotel Room.
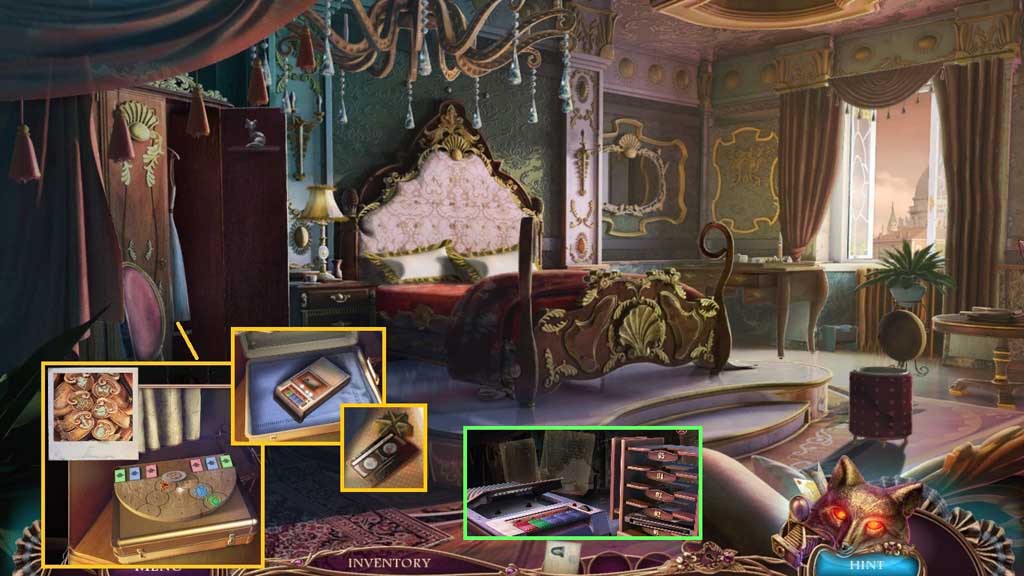
- Play the puzzle.
- Solve the puzzle by aligning the icons as shown.
- Collect the tape recorder.
- Click the cloth; collect the tape and the mailbox knob.
- Play the tape in the recorder.
- Move down 2 times.
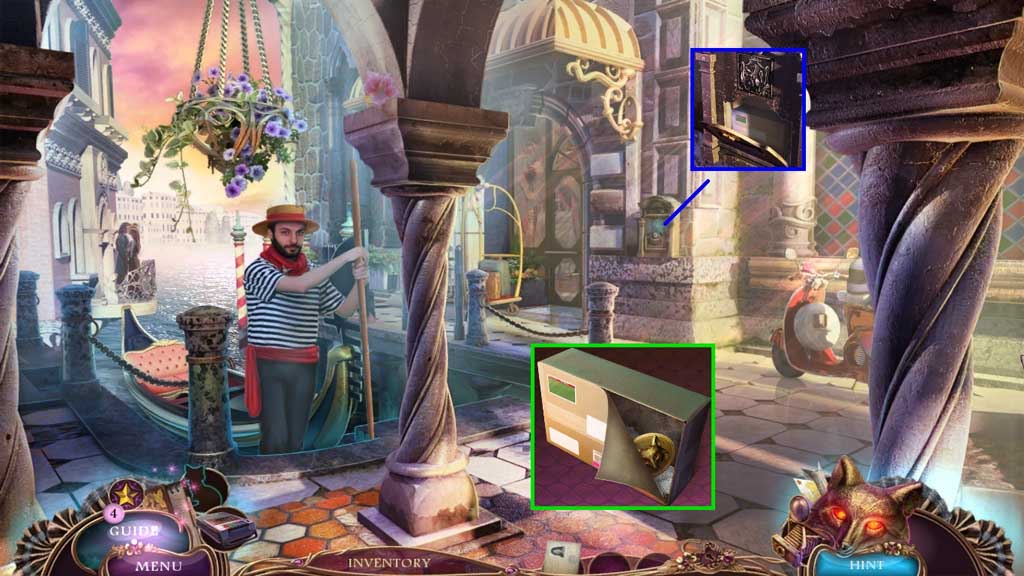
- Attach the mailbox knob; collect the package.
- Open the package using the razor blade; collect the fox emblem.
- Move to the Hotel Lobby.
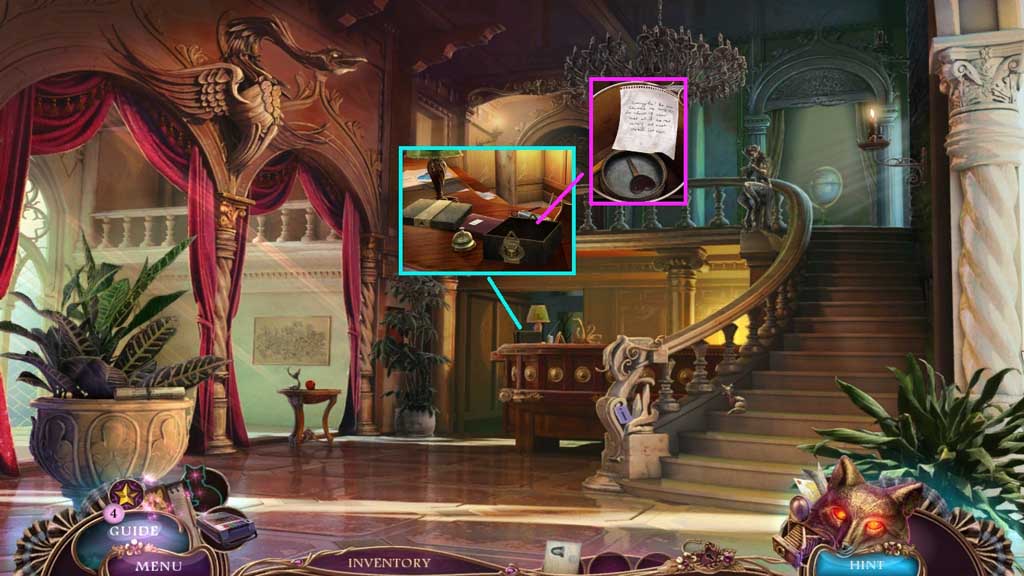
- Insert the fox emblem.
- Click the box; read the note and collect the scooter key.
- Move down once.
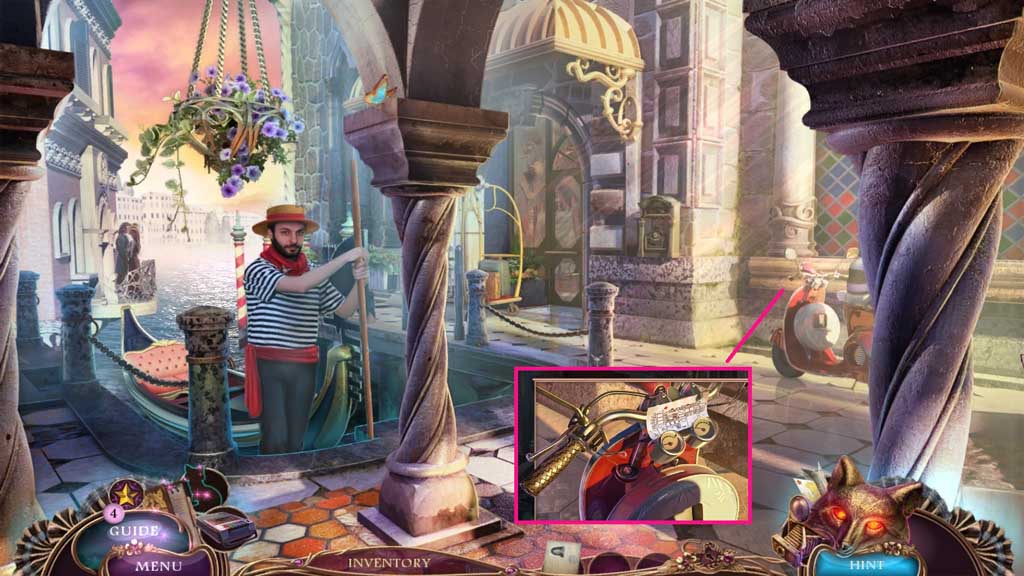
- Place down the route to the museum.
- Insert the scooter key into the ignition.
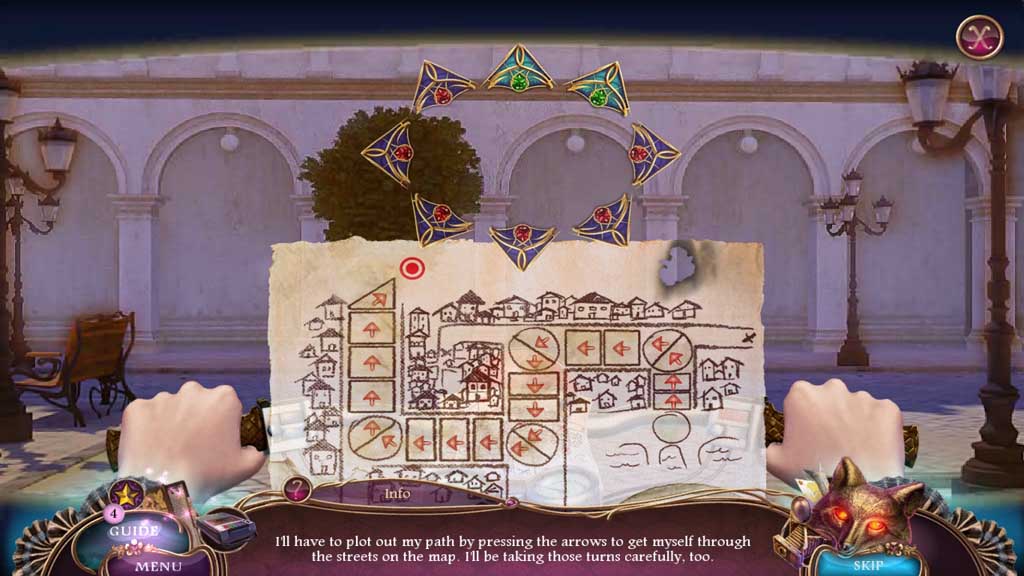
- Follow the steps as shown on the map.
- (W – W – SW – S) (S – S - SW – W) (W – W – W – NW – N) (N – N – N – NE).
Comments will load when you reach this part of the walkthrough.