

Chapter Two: The Backroom
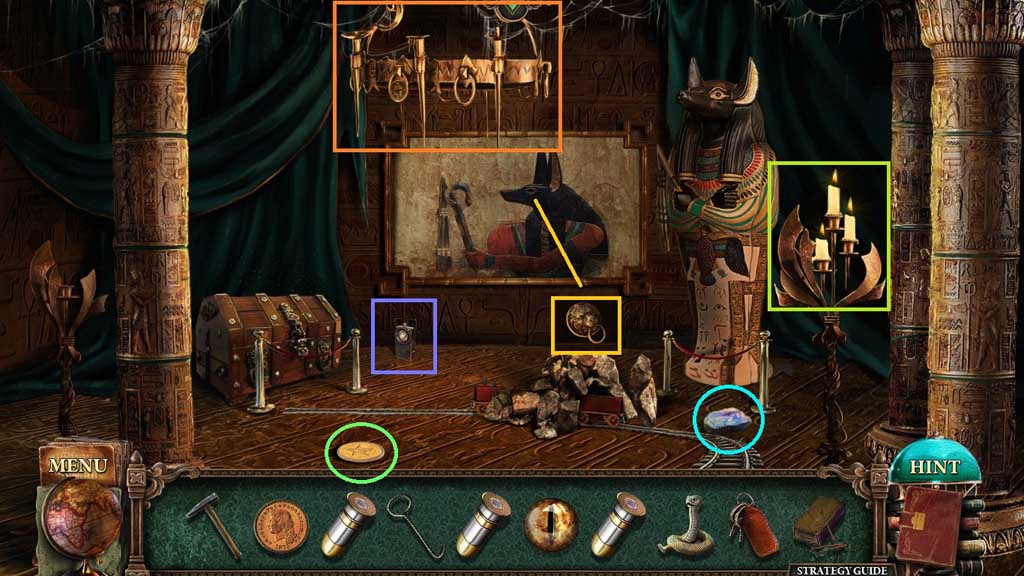
- Click the chandelier.
- Select the matches to re-light the candelabra.
- Collect the moon stone, the coin and the flashlight.
- Insert the eye; collect the drawer handle.
- Move to the Town Hall.
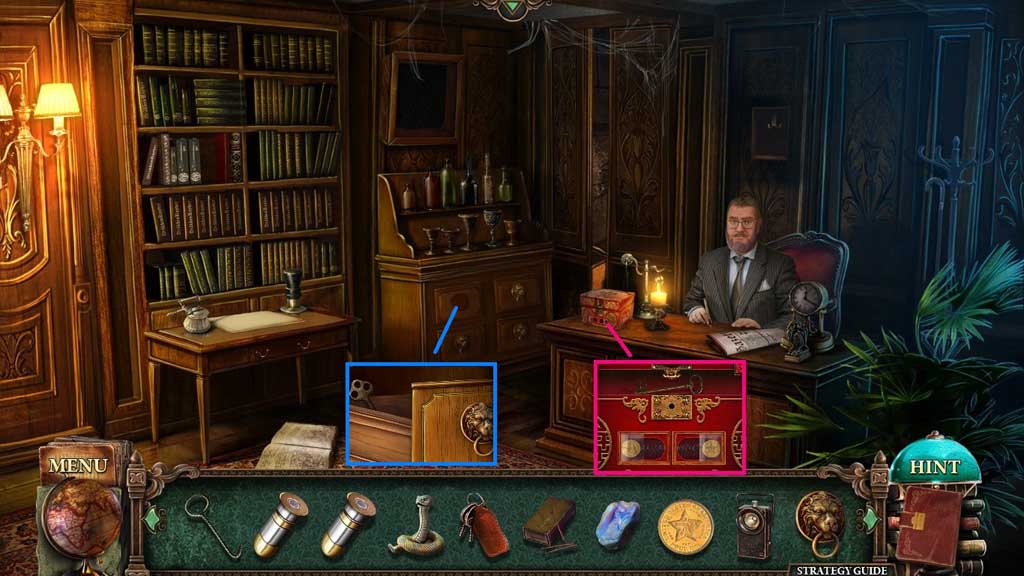
- Insert the 2 coins; collect the key.
- Attach the drawer handle and click it once.
- Collect the key.
- Move to the Museum and move left.
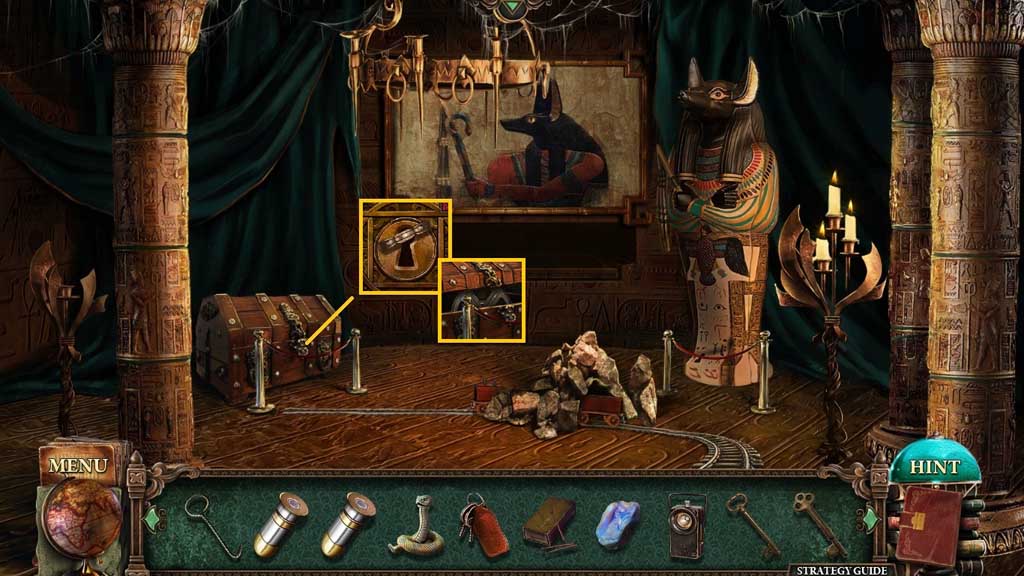
- Insert the key and click it 2 times.
- Collect the film.
- Move down once.
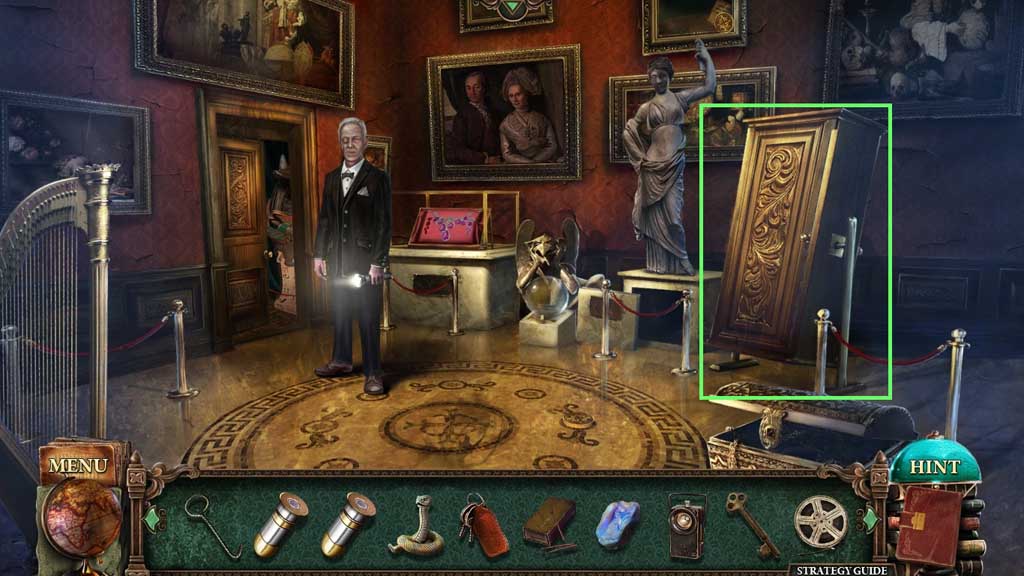
- Insert the key and click it once.
- Move to the Professor’s House.
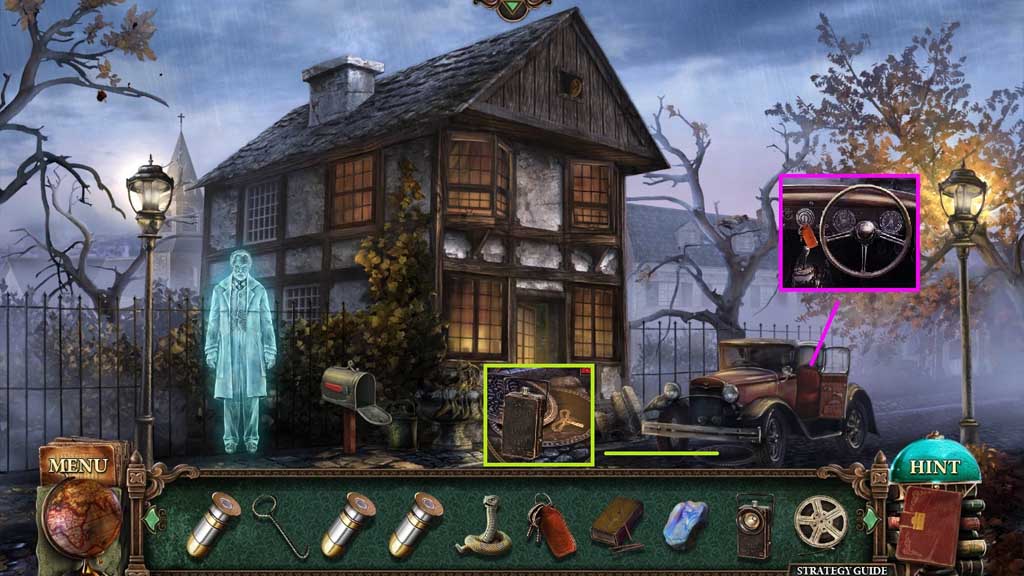
- Zoom into the car.
- Insert the car keys; click it once.
- Select the hook and the flashlight to collect the key.
- Move ahead 2 times and click the hidden objects area.
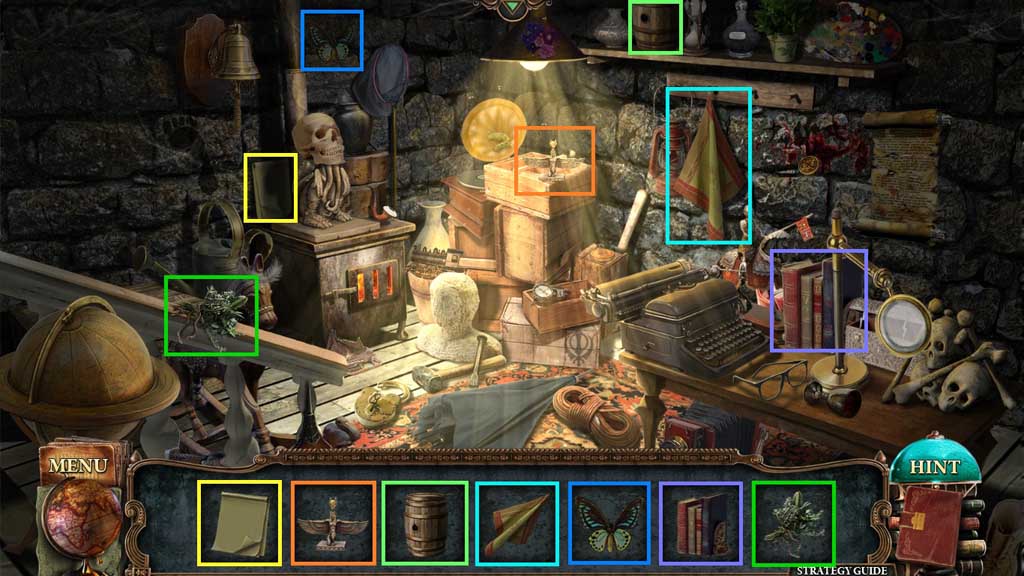
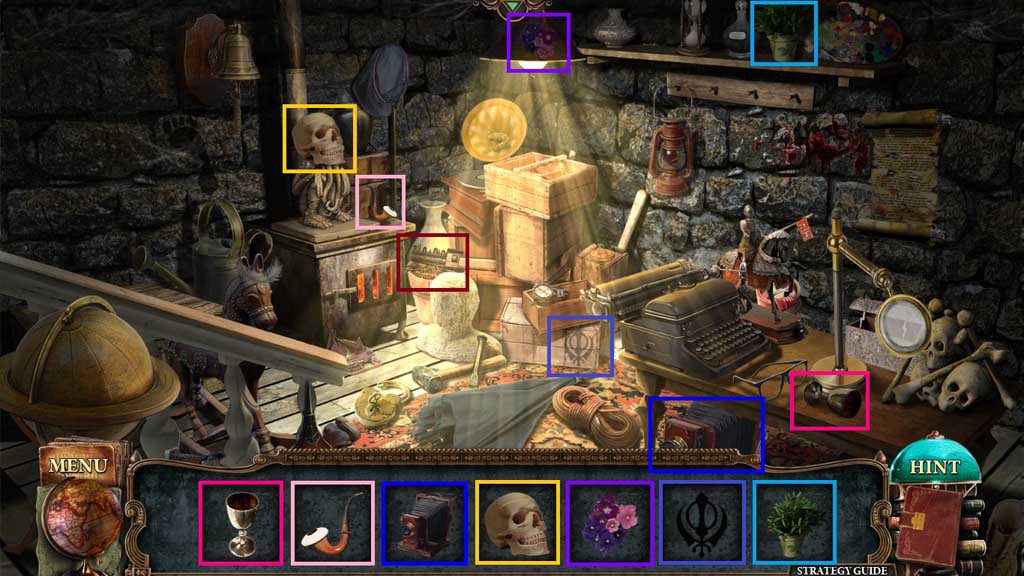
- Find the items.
- Collect the engine.
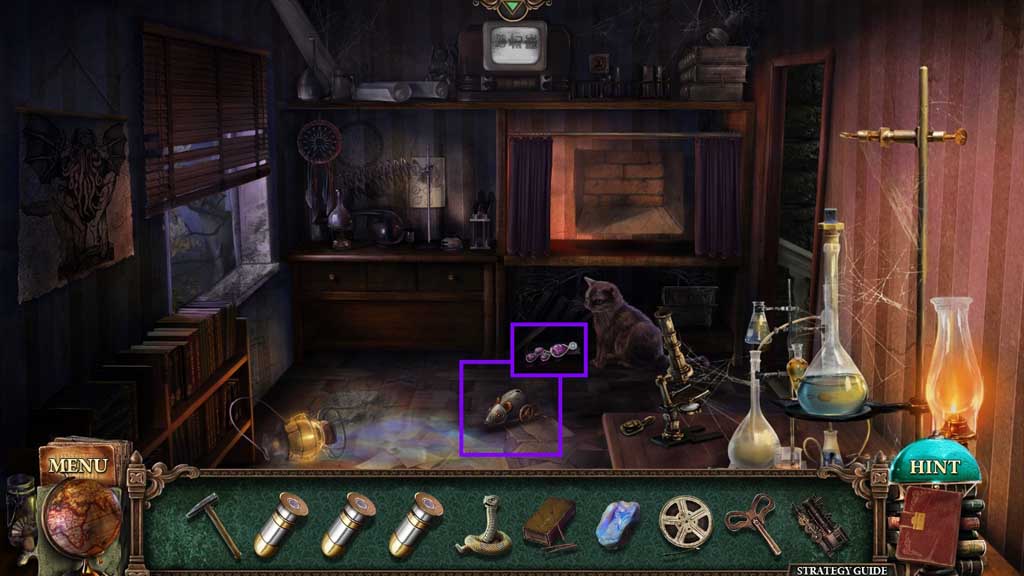
- Insert the key and click it 2 times.
- Collect the jewelry.
- Move to the Museum.
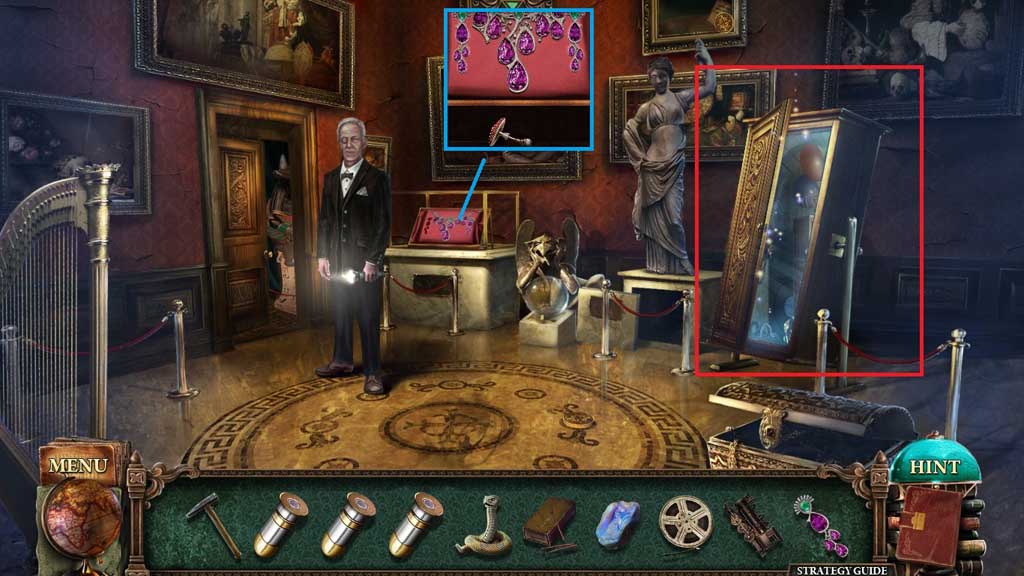
- Place the jewelry down; collect the toadstool.
- Click the hidden objects area.
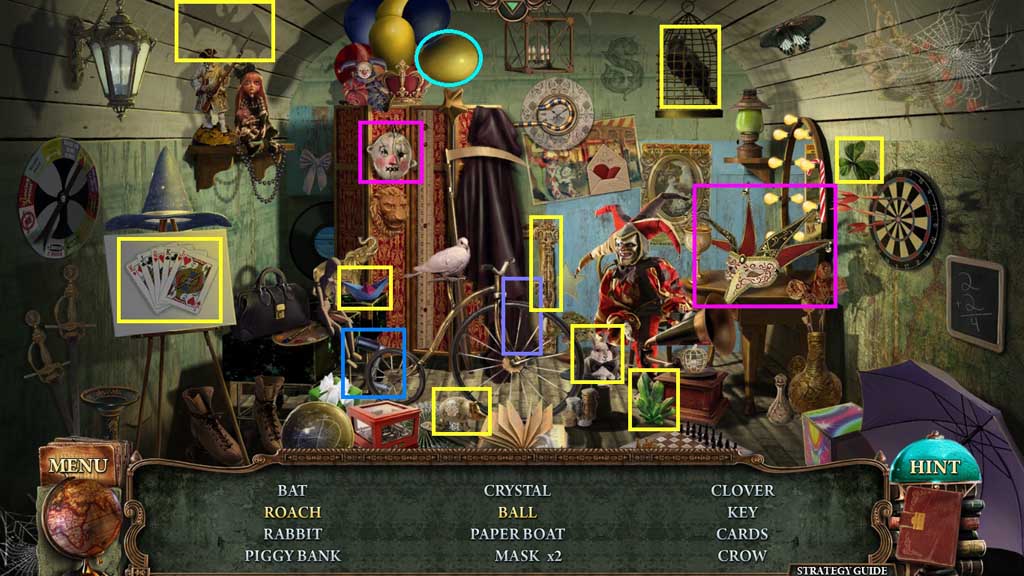
- Find the items.
- Click the yellow balloon; collect the roach.
- Click the curtain; collect the ball.
- Collect the projector handle.
- Move left.
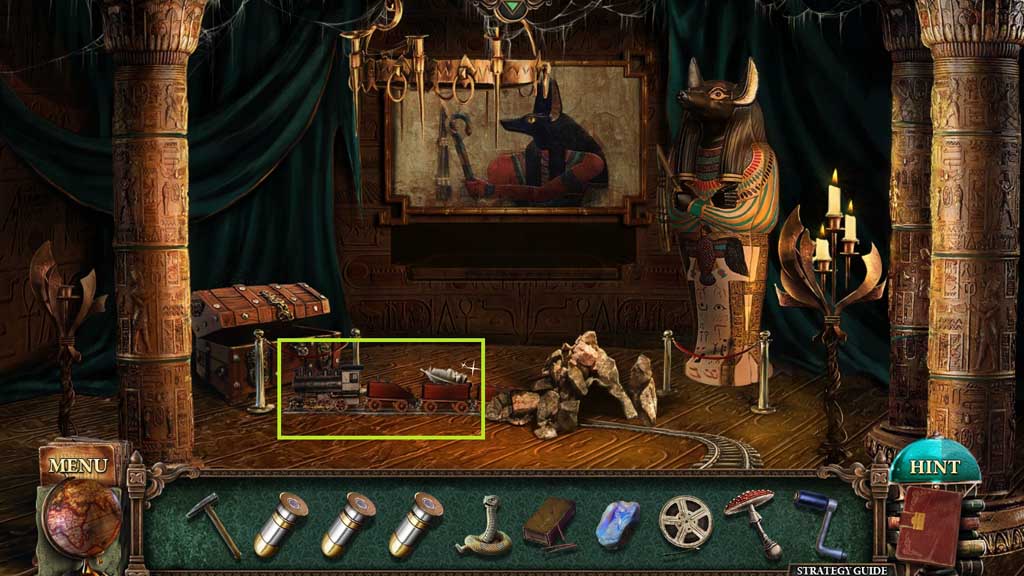
- Attach the engine; collect the feather.
- Move to the Professor’s House and go forward once more.
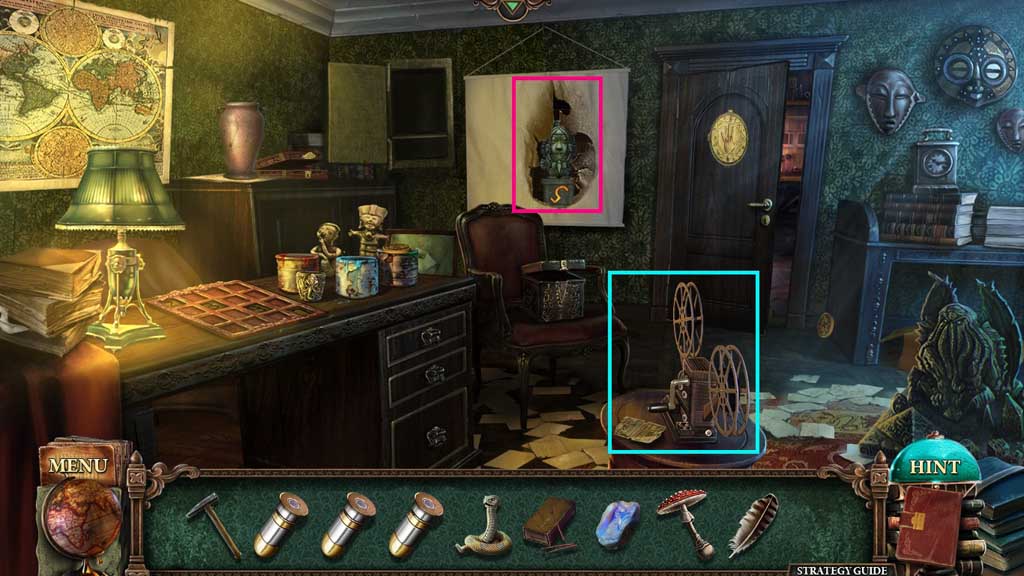
- Attach the projector handle and the film.
- Click the handle.
- Collect the figurine.
- Move to the Portal.
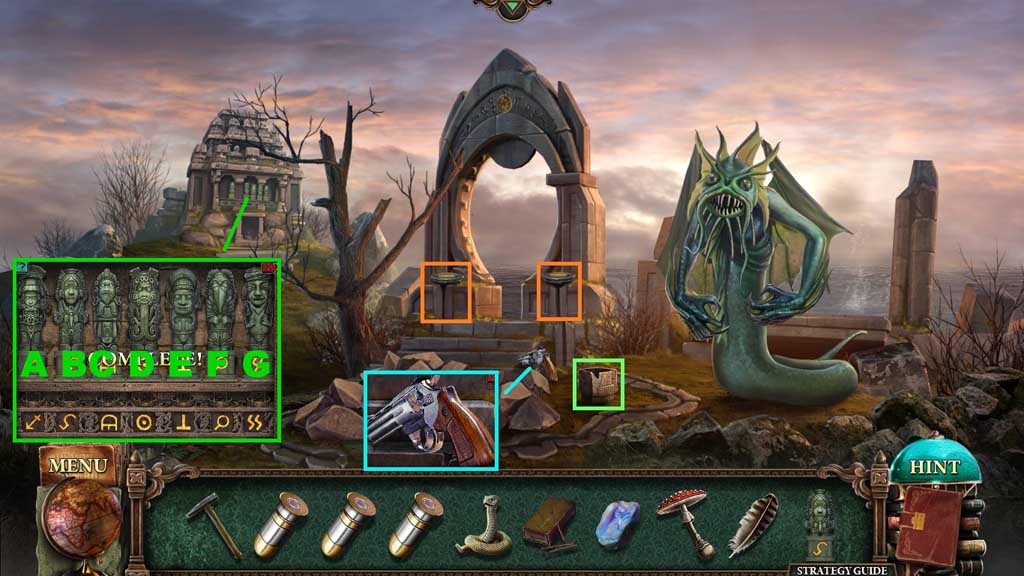
- Collect the statue part.
- Insert the 3 bullets and click the cylinder; receive the revolver.
- Zoom into the building and place down the figurine to trigger a mini game.
- Solve the game by aligning the statues correctly.
- Use the following sequence to solve: A – B –E – G – E – G – F – G - E
- Receive the statue part.
- Select the matches to ignite the torches.
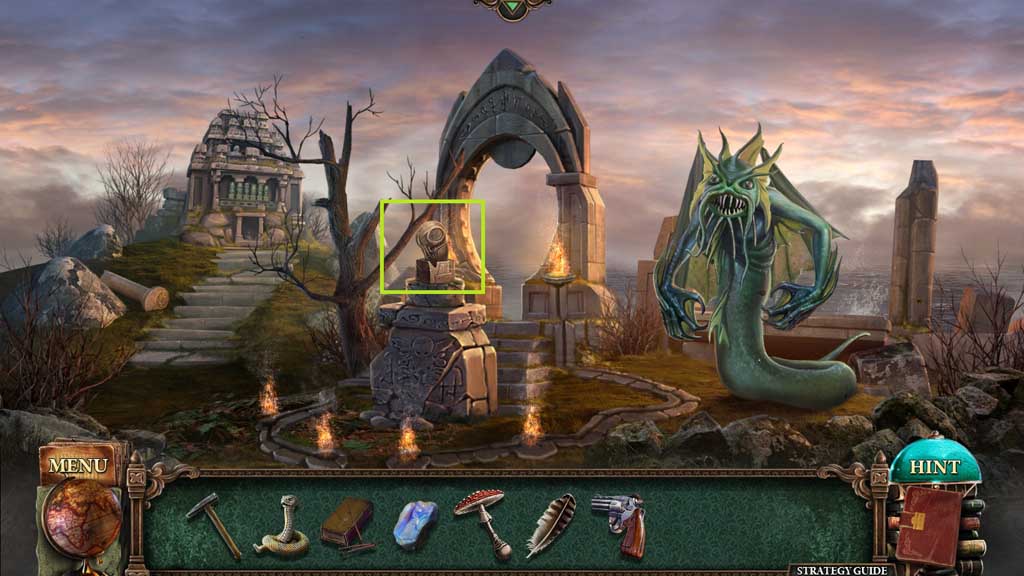
- Attach the 2 statue parts.
- Move to the Professor’s House and go forward 2 times.
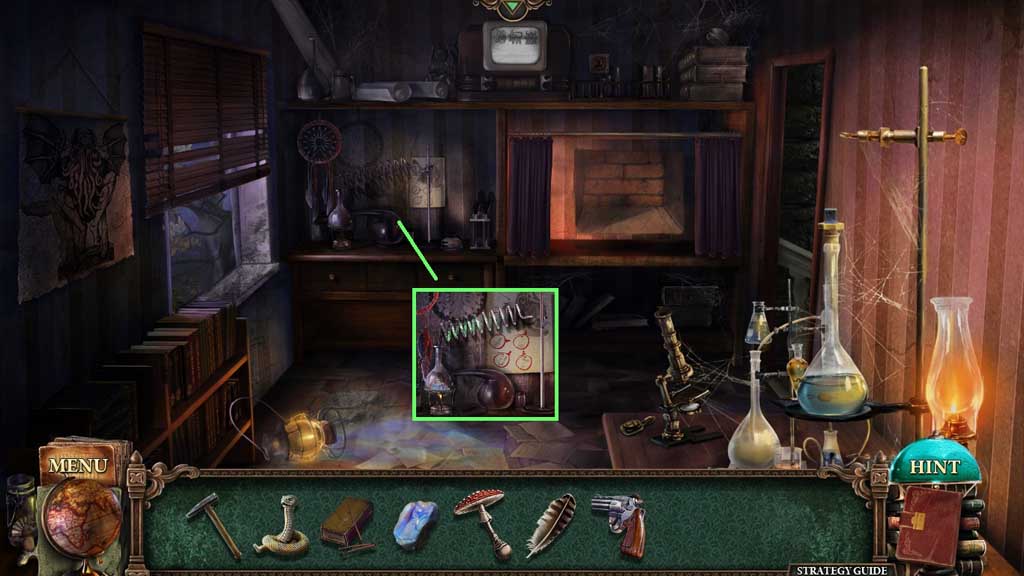
- Select the matches, the moonstone, the toadstool and the feather to use as shown in the diagram.
- Move to the Town Hall and click the hidden objects area.
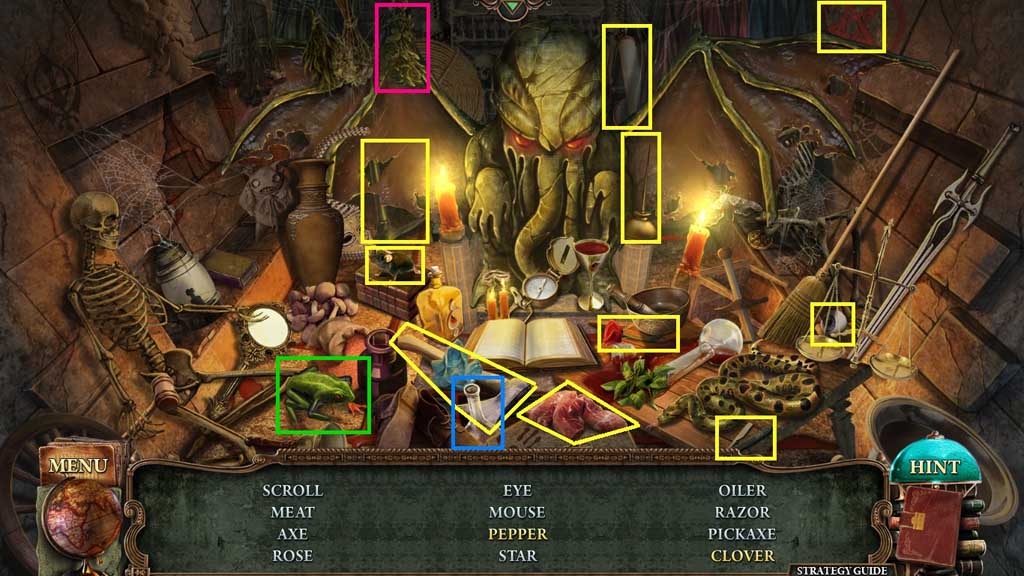
- Find the items.
- Click the herb; collect the pepper.
- Click the frog; collect the clover.
- Collect the flask.
- Move to the Professor’s House and go forward 2 more times.
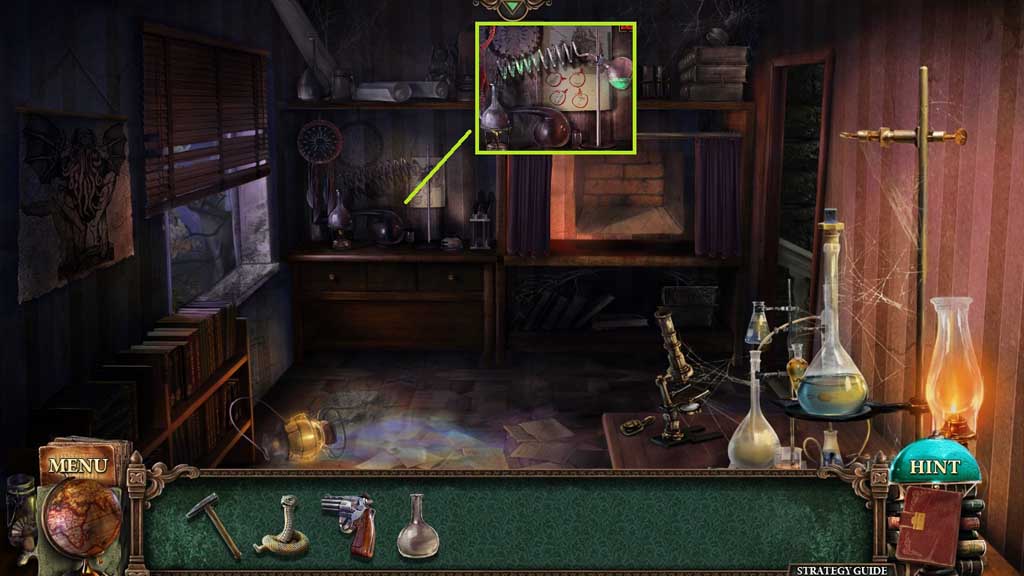
- Attach the flask; collect the potion.
- Move to the Portal.
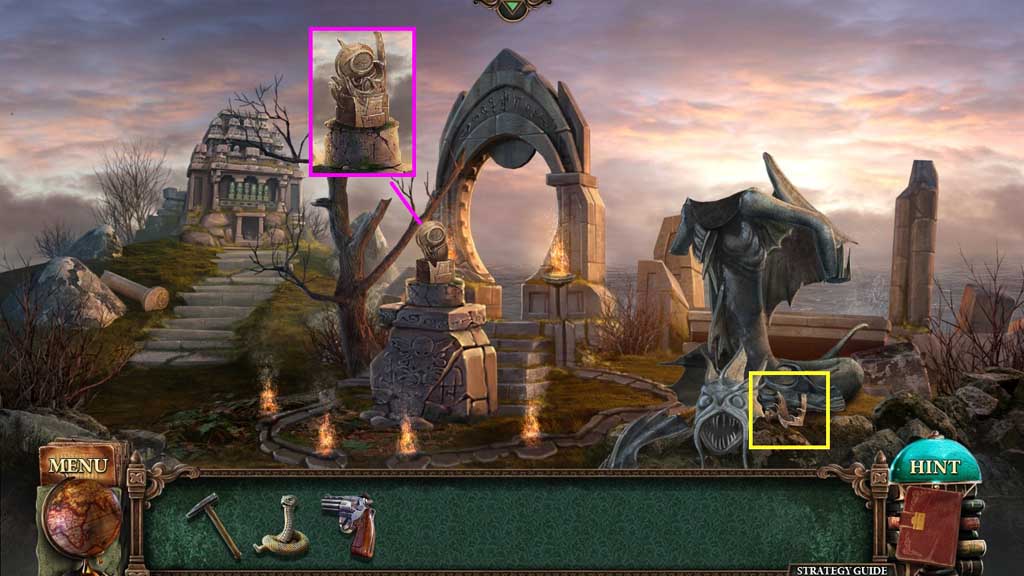
- Toss the potion toward the monster.
- Collect and place the statue part.
- Move ahead.
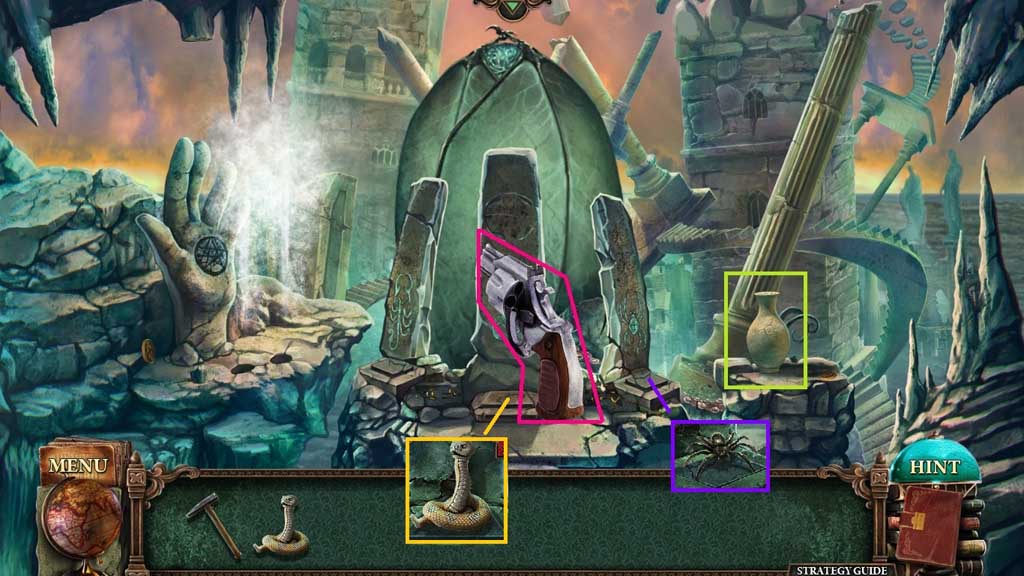
- Select the revolver and shoot it 3 times.
- Select the hammer to smash the vase; collect the spider figurine.
- Place down the spider and snake figurines.
- Move to the Museum and click the hidden objects area.
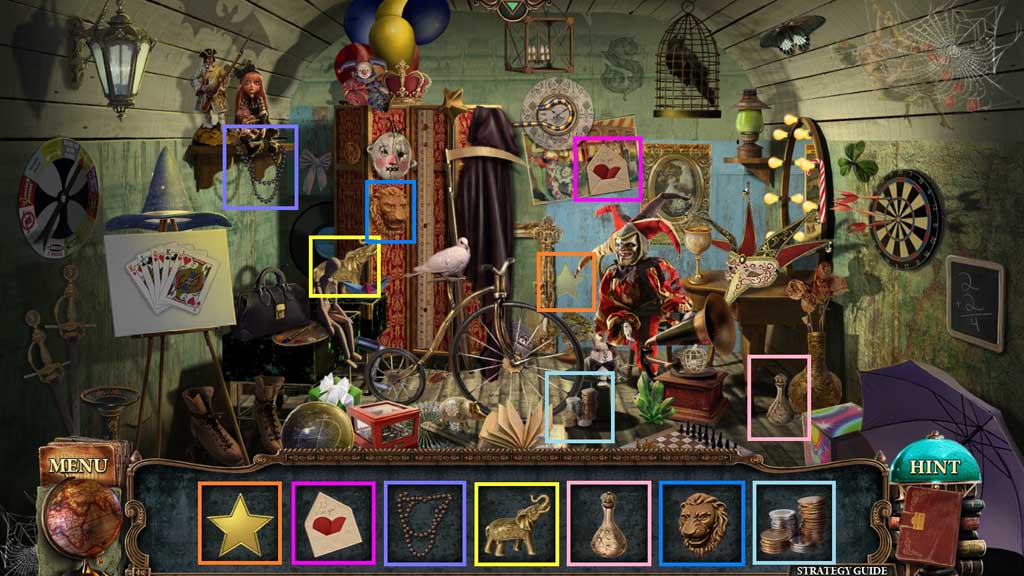
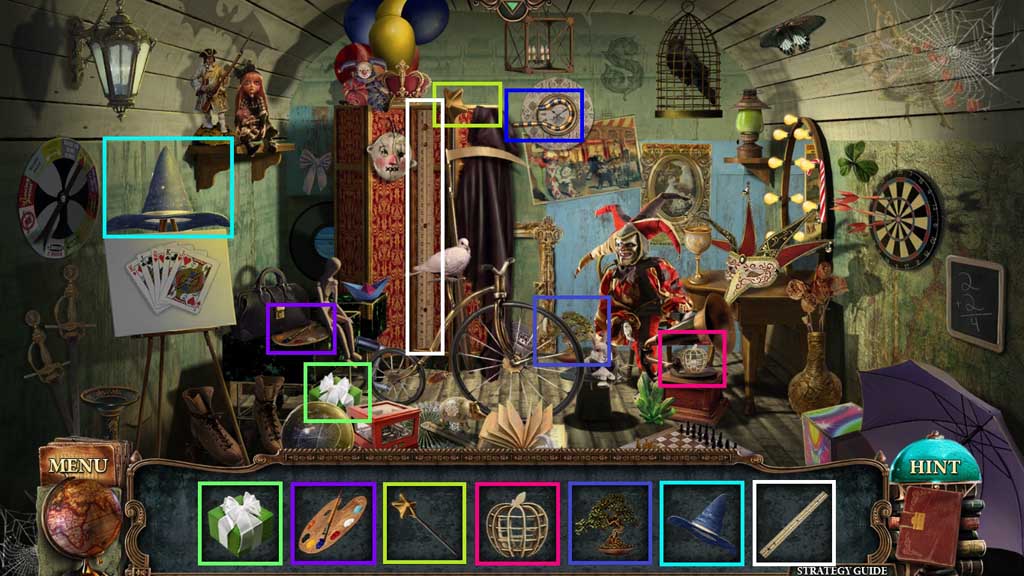
- Find the items.
- Collect the scepter.
- Move ahead.
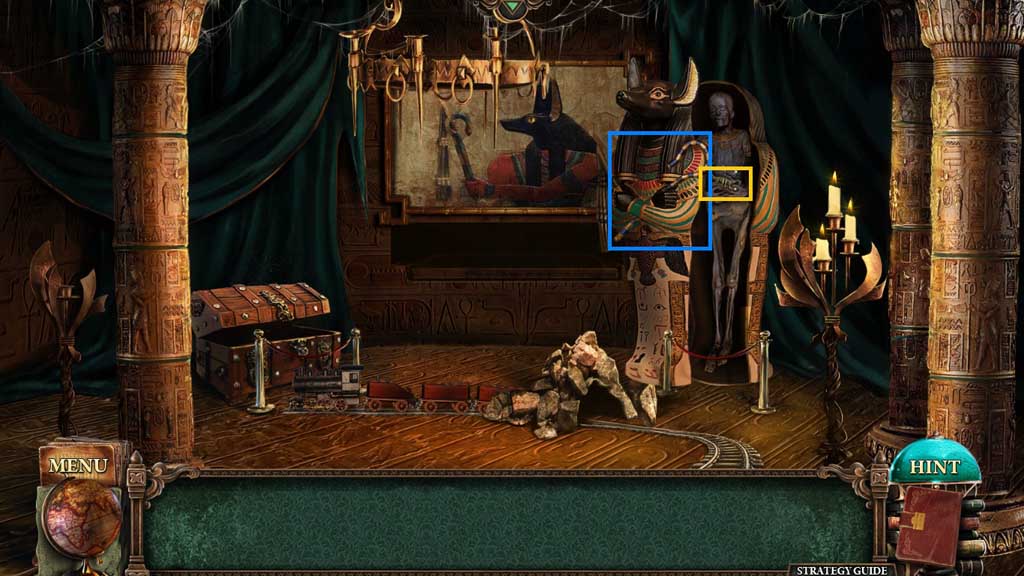
- Attach the scepter; collect the scorpion figurine.
- Move to the Portal and move ahead once more.
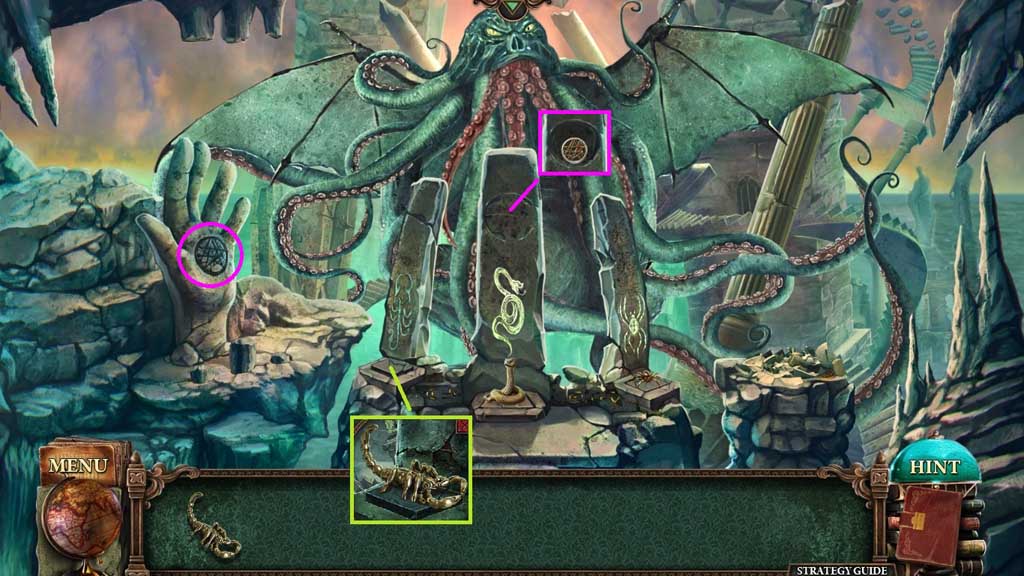
- Place the scorpion figurine down.
- Collect the amulet and insert it into the groove.
Comments will load when you reach this part of the walkthrough.