
Chapter Five: Lift
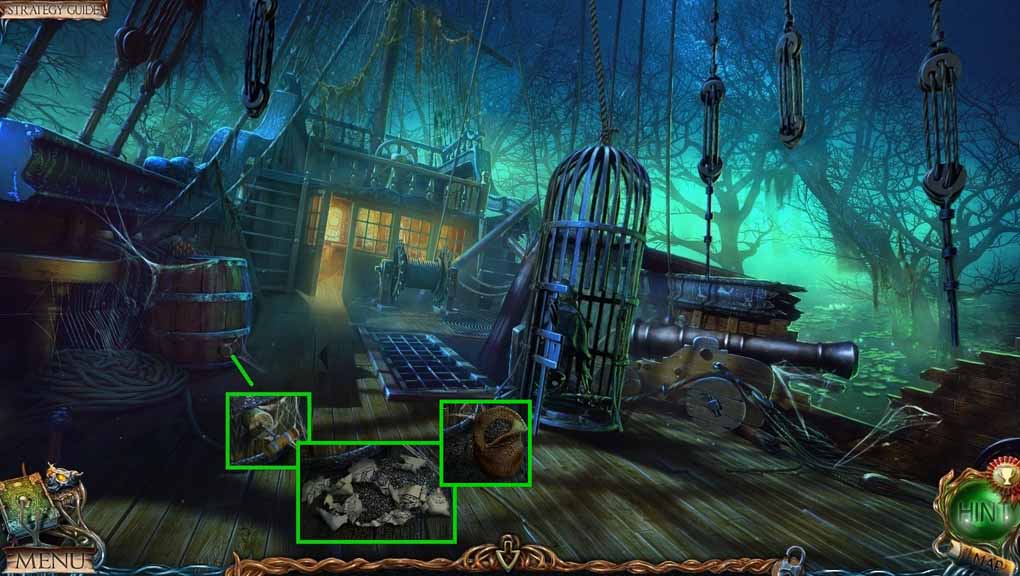
- Zoom into the barrel and click the lid; collect the statue head.
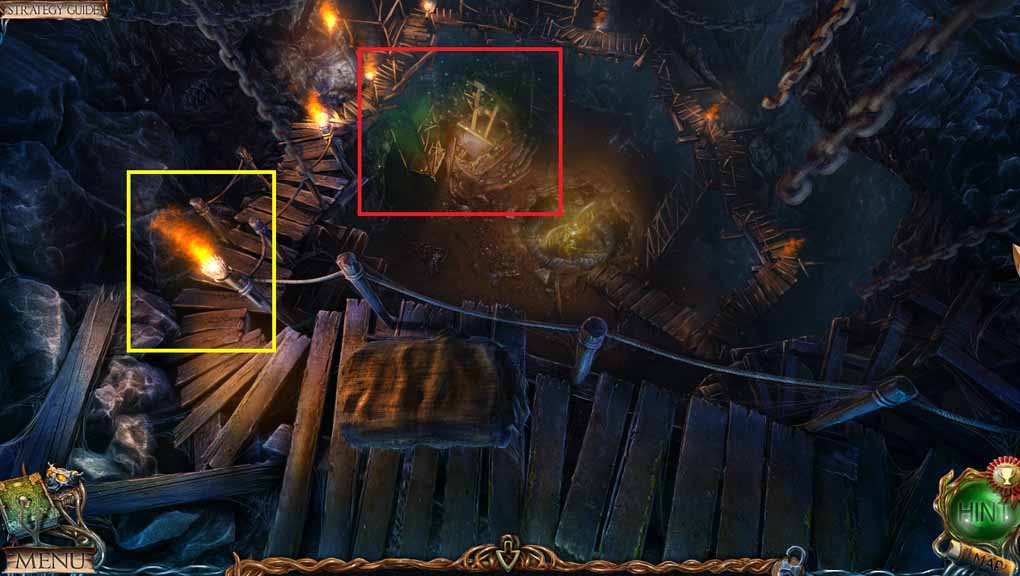
- Click the torch 3 times to collect it.
- Move to the Underground Descent.
- Select the boat hook to remove the sack.
- Collect the lever and the sack.
- Move back once.
- Insert the lever into the slot.
- Click the 2 levers and collect the tar.
- Move back once.
- Place the tar into the pot and dip the torch into it.
- Collect the torch.
- Move to the Underground Descent.
- Select the torch to ignite the other torch.
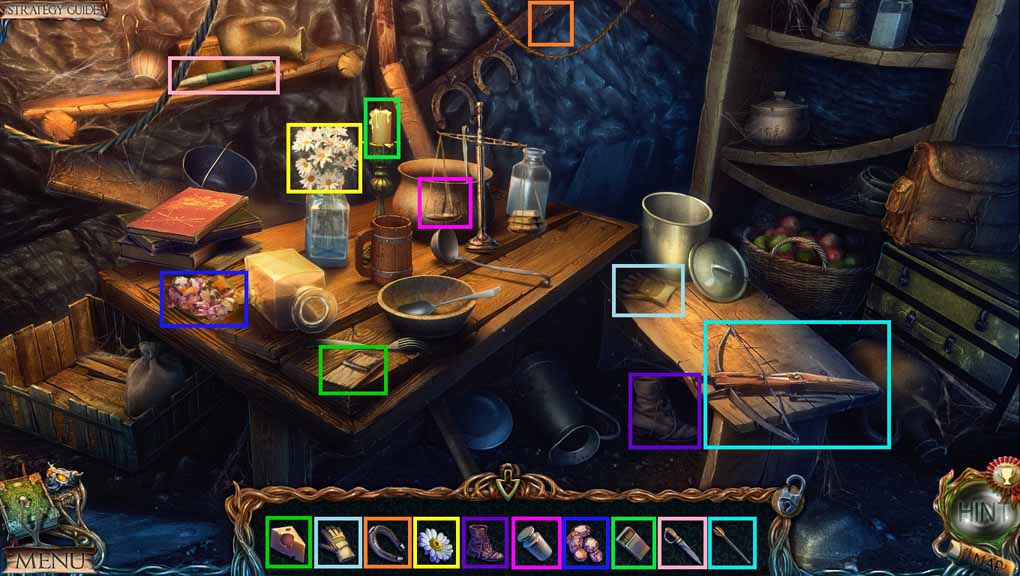
- Click the hidden objects area.
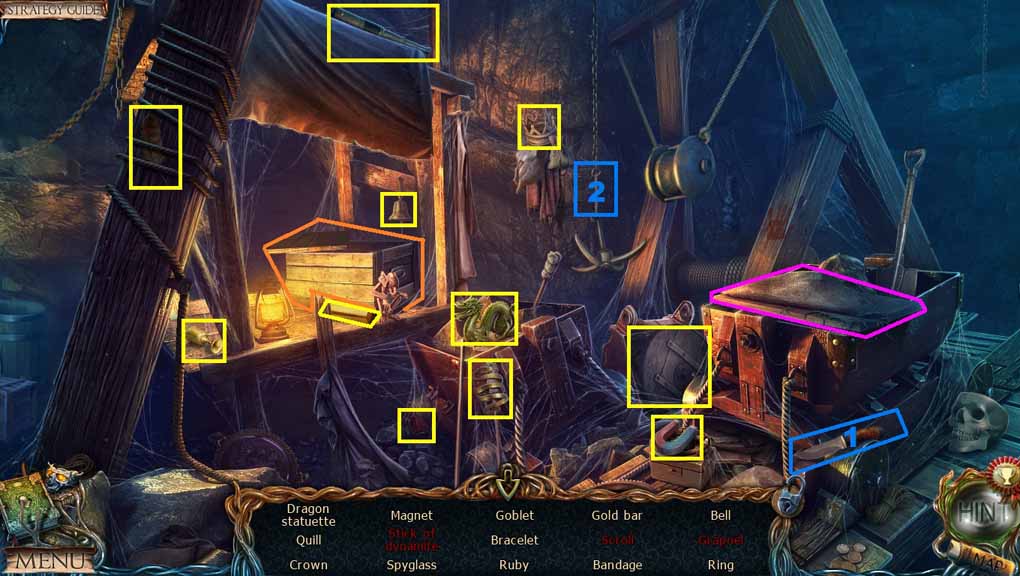
- Find the listed items.
- Zoom into the crate; collect the bandage and the ring.
- Click the cover; collect the stick of dynamite.
- Click the wheel; collect the scroll.
- Select the knife to slice the rope; collect the grapnel.
- Collect the dynamite.
- Collect the spade and the emerald behind it.
- Move to the Underground Lake.
- Collect the handle.
- Move to the Demon Statue.
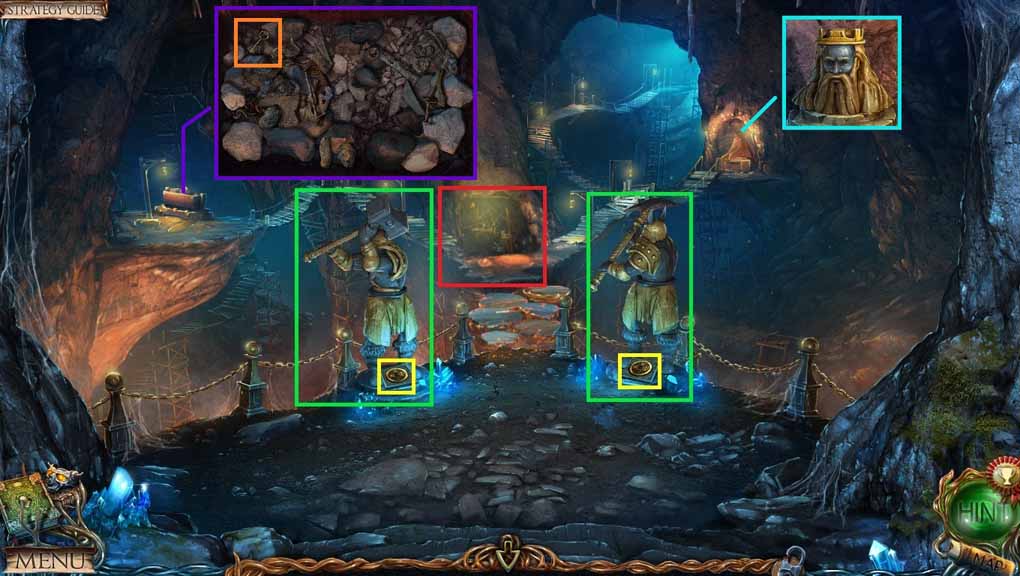
- Click the broken handle and replace it using the handle.
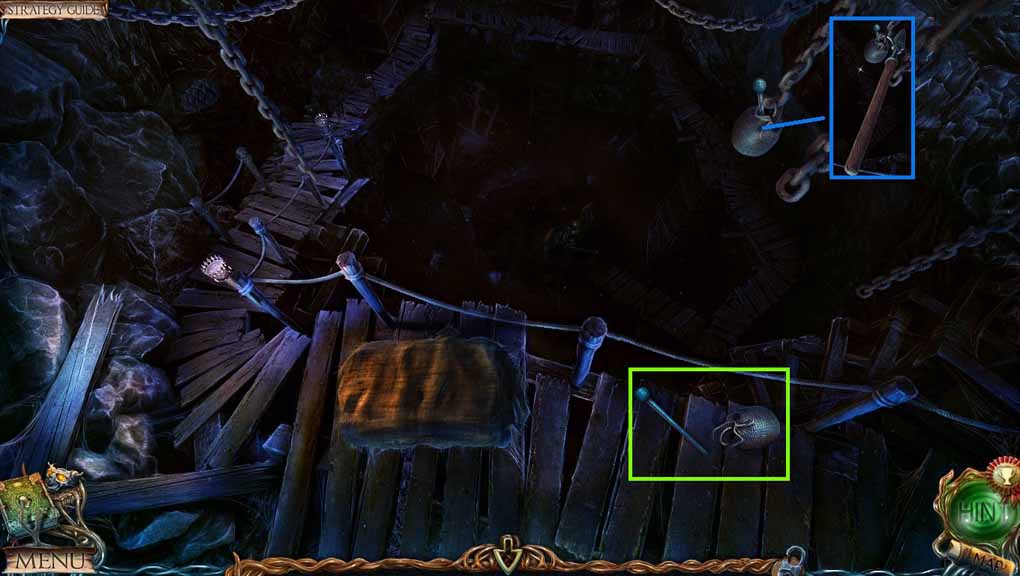
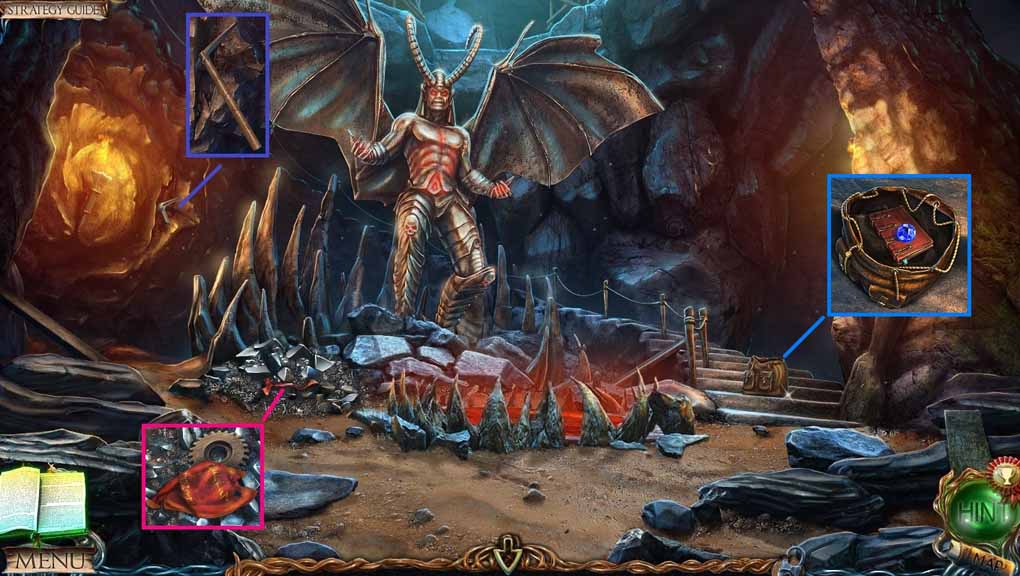
- Click the 2 times and collect the pick.
- Select the spade to clear the rubble.
- Click the tapestry; collect the wooden cog.
- Select the dagger to slice the rope; collect the 2nd sapphire and read the book.
- Move back once.
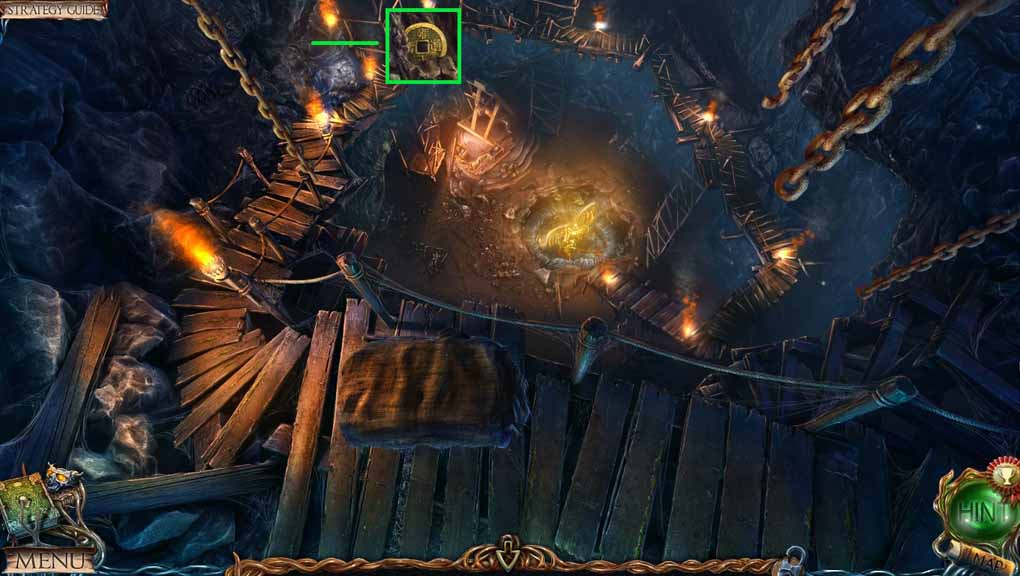
- Select the pick to smash the wall; collect the 2nd coin.
- Move to the Underground Lake.
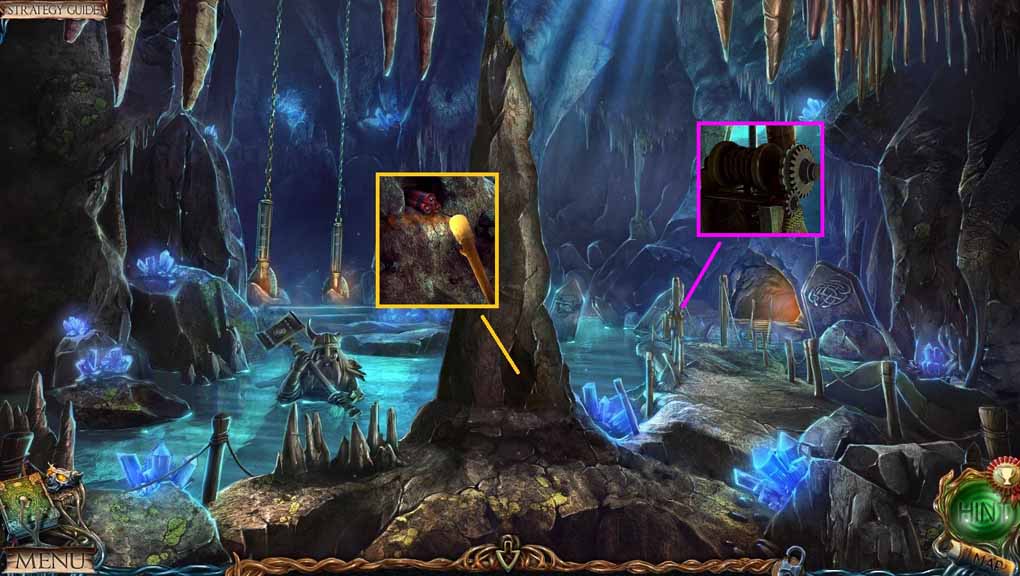
- Insert the dynamite into the hole; use the torch to ignite it.
- Attach the wooden cog onto the winch.
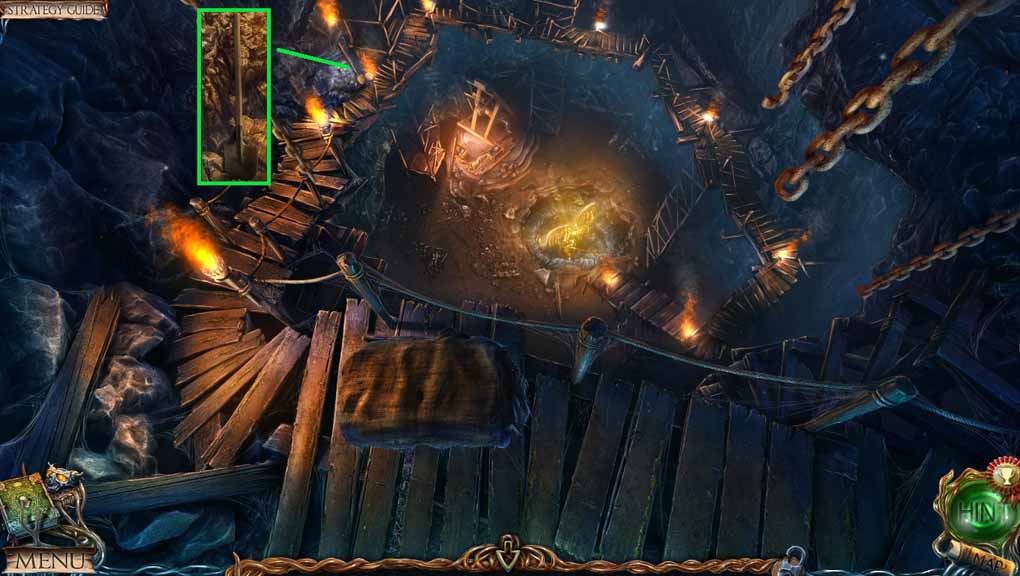
- Move to the Hanging Bridges.
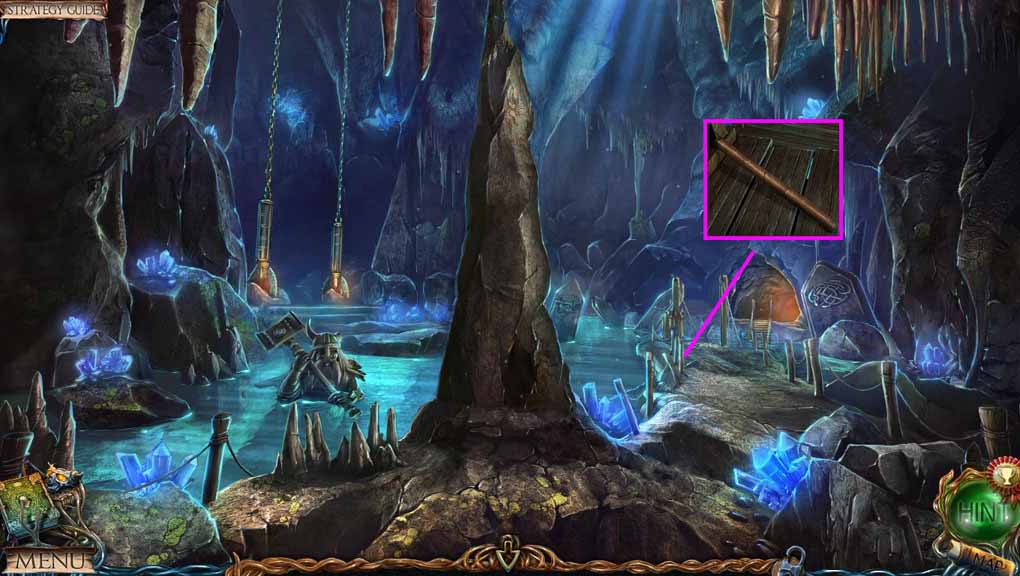
- Collect the corkscrew.
- Move to the Ship.
- Select the corkscrew to remove the cork; collect the torn page.
- Dip the sack into the powder; collect the gunpowder.
- Move ahead.
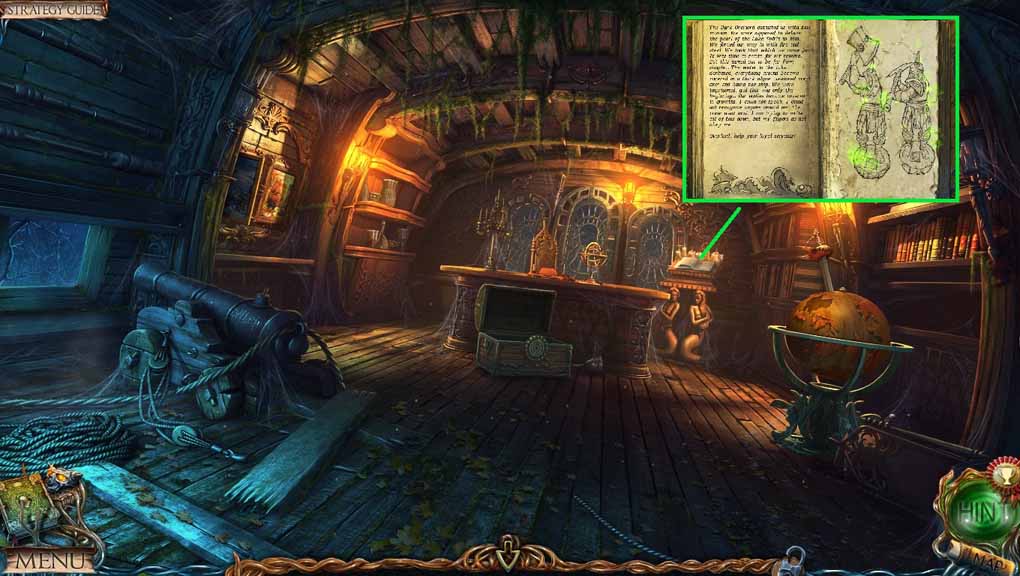
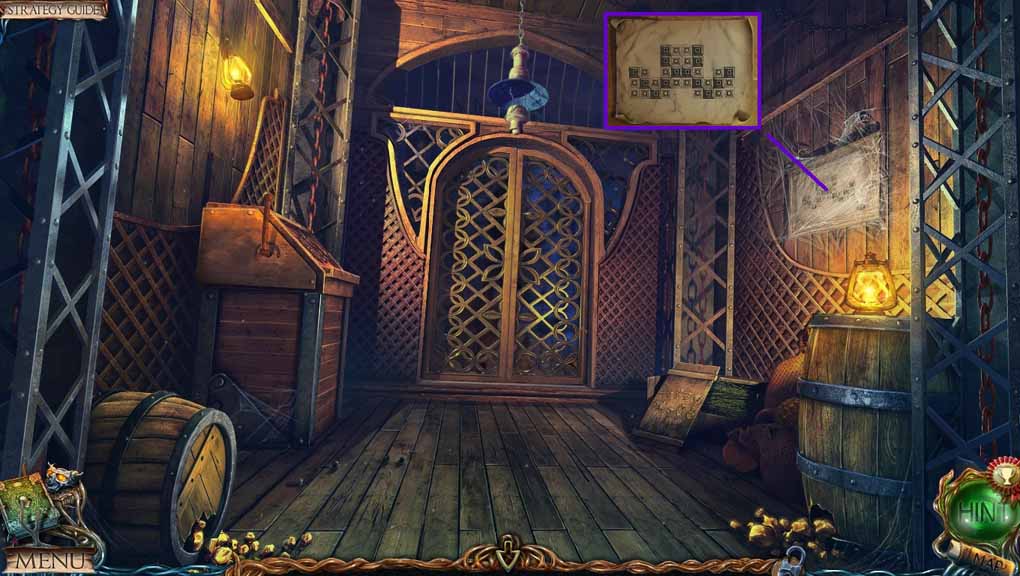
- Attach the torn page onto the book to trigger a puzzle.
- Solve the puzzle by assembling the page.
- Move to the Hanging Bridges.
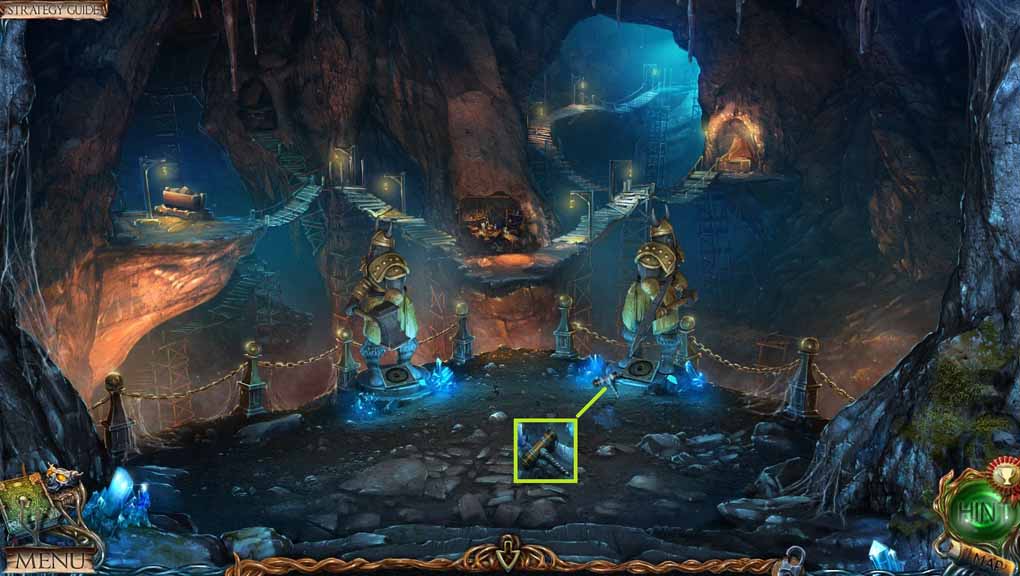
- Insert a coin into each of the bases.
- Align the statues based on the clue in the journal.
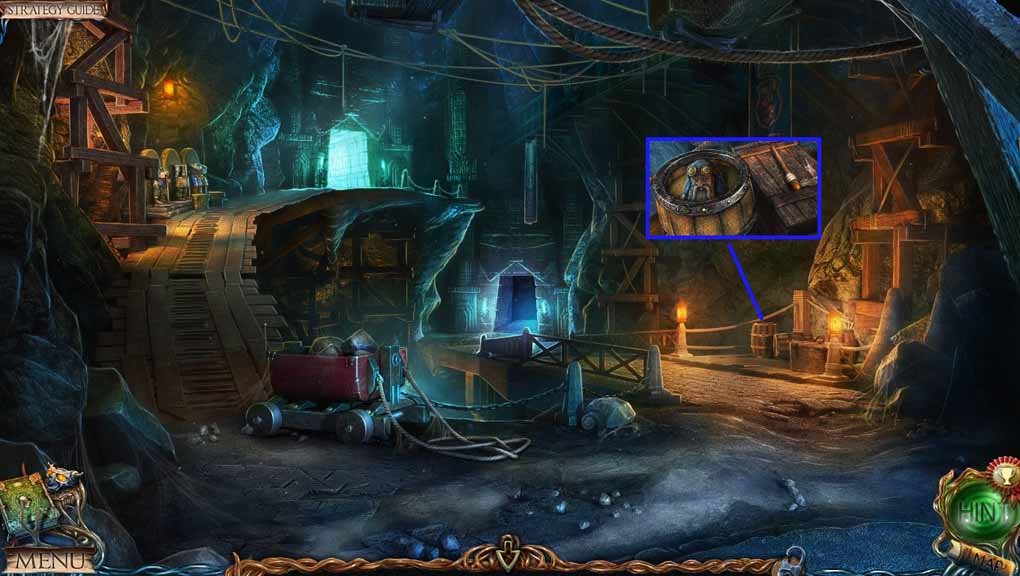
- Click the cover; collect the 2nd statue head.
- Click the items to uncover the key.
- Zoom into the alcove to trigger a hidden objects area.
- Place the pictured items with their matching objects.
- Collect the 3rd sapphire.
- Move to At the Lift.
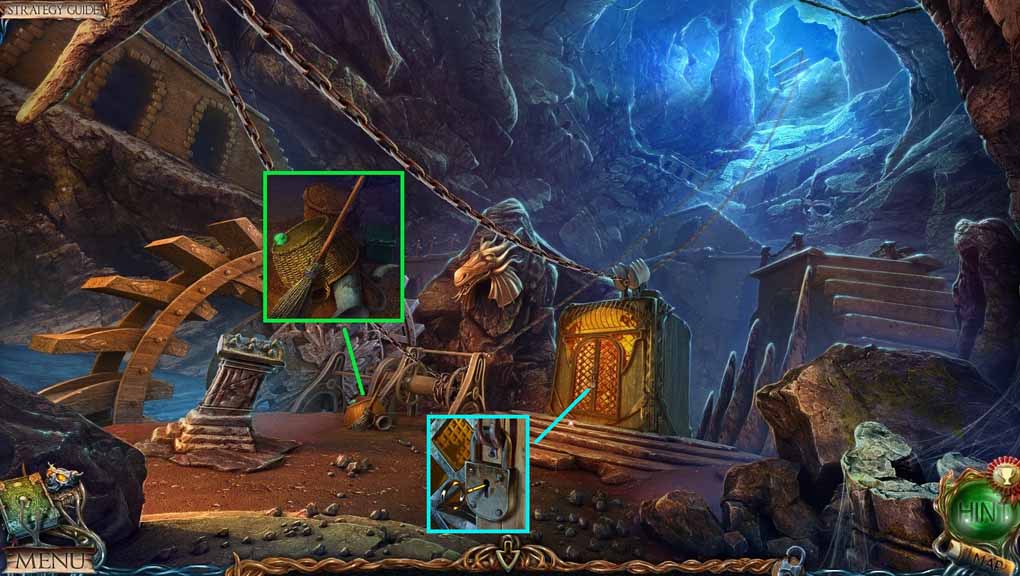
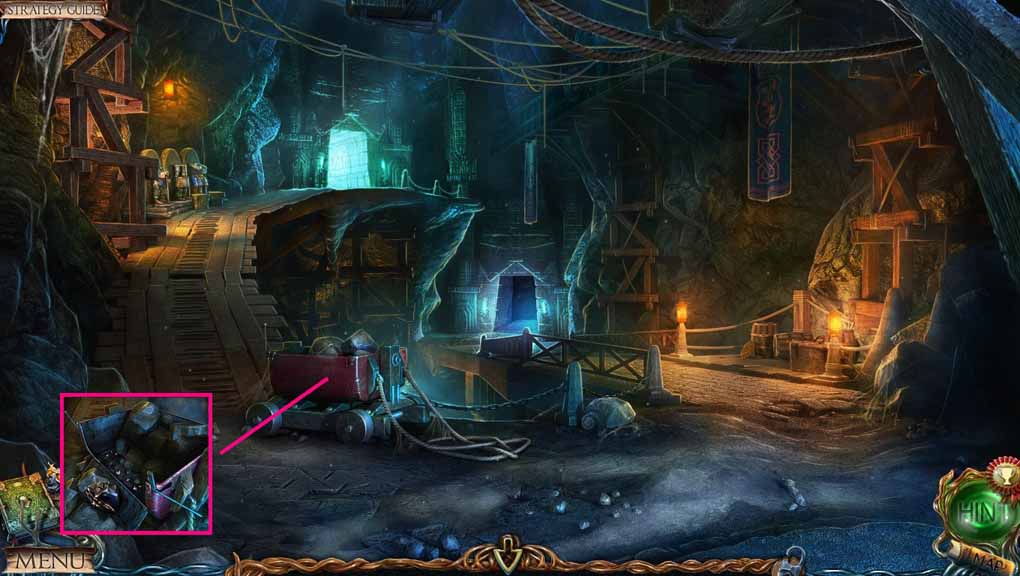
- Collect the broom, the 3rd emerald and the stone horn.
- Insert the key into the padlock.
- Click the padlock and move ahead.
- Select the broom to clear the cobwebs; collect the diagram.
- Move to the Underground Lake.
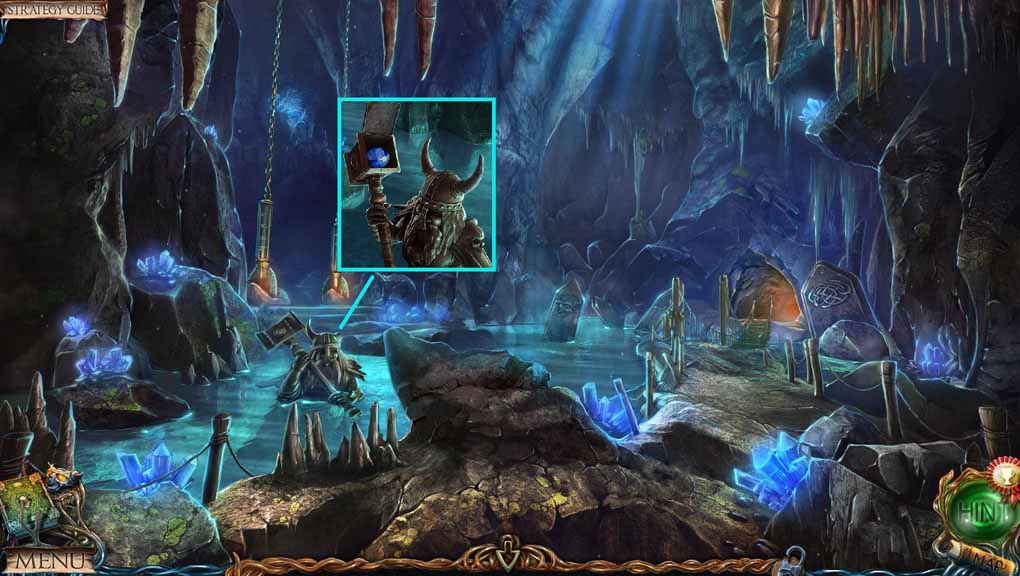
- Attach the stone horn onto the helmet.
- Collect the 4th sapphire.
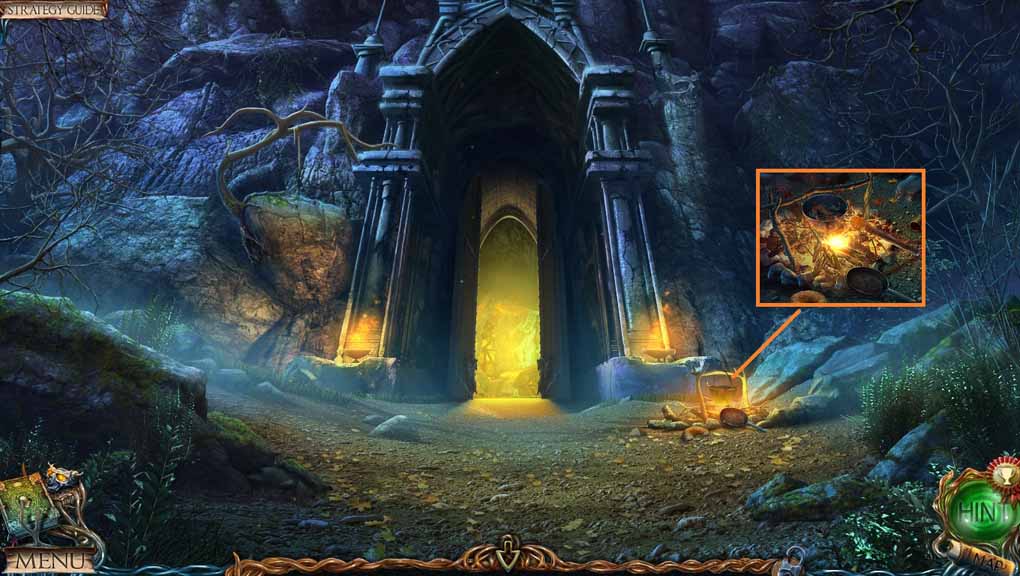
- Move ahead.
- Collect the 4th emerald.
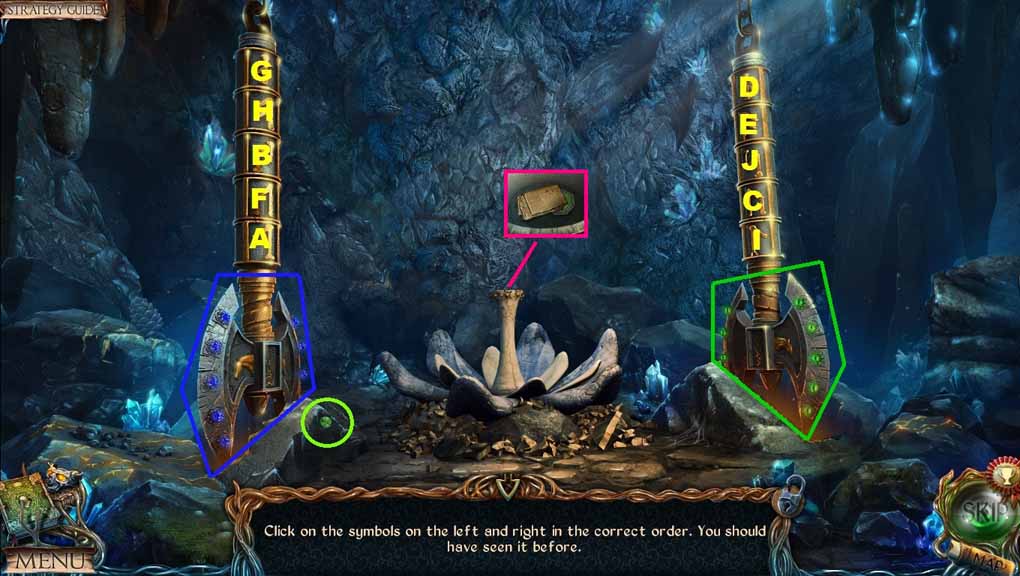
- Insert the 4 sapphires into the grooves.
- Insert the 4 emeralds into the grooves to trigger a puzzle.
- Solve the puzzle by clicking the runes in order.
- Read the note; collect the green octagon.
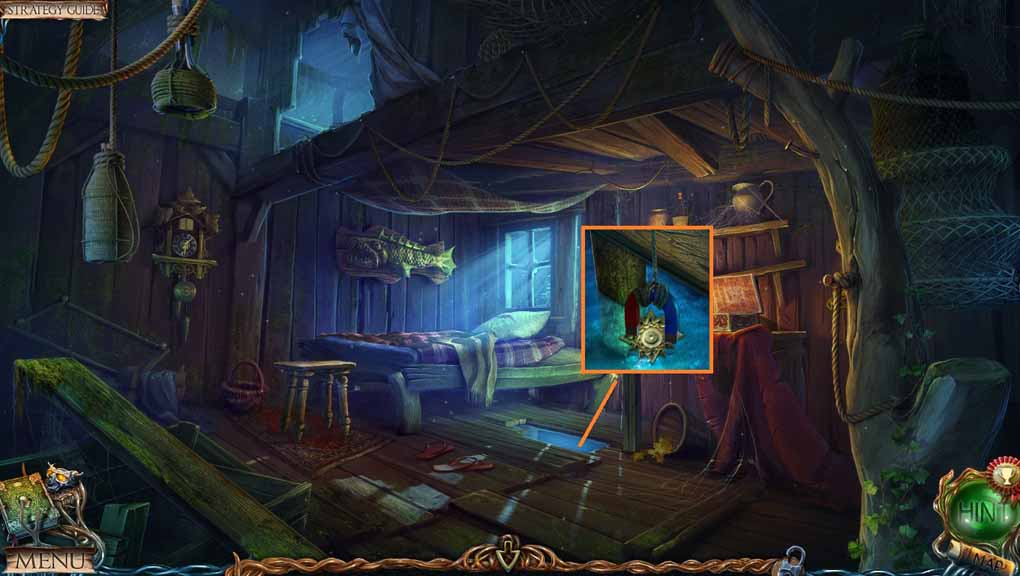
- Move to Uri’s Cottage.

- Click the cloth.
- Insert the red, purple, gold and green octagons into the grooves to trigger a puzzle.
- Solve the puzzle by placing the octagons into the correct color slots.
- Collect the solvent and the continent figure.
- Move to the Captain’s Cabin.
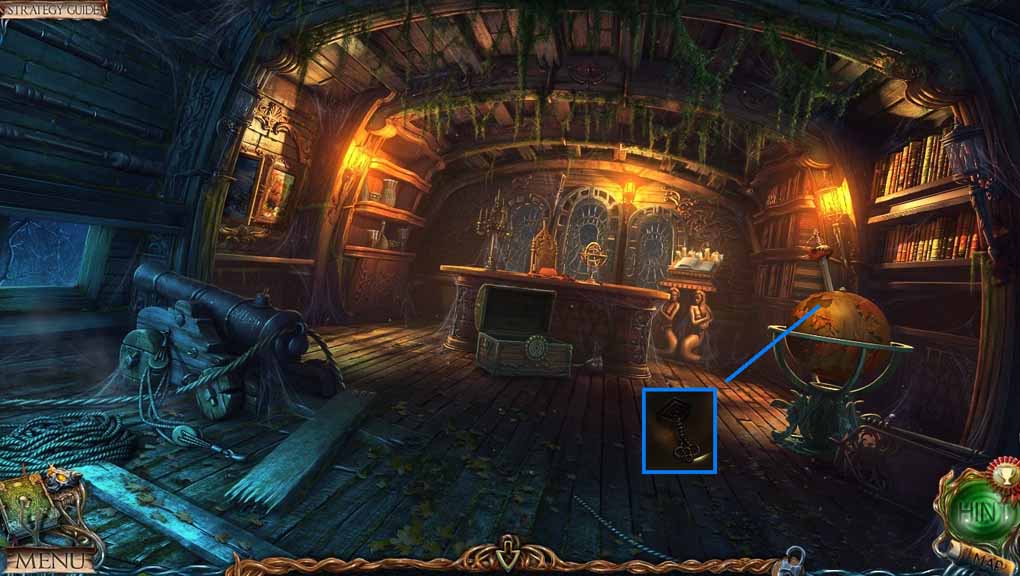
- Insert the continent figure into the globe.
- Collect the cross shaped key.
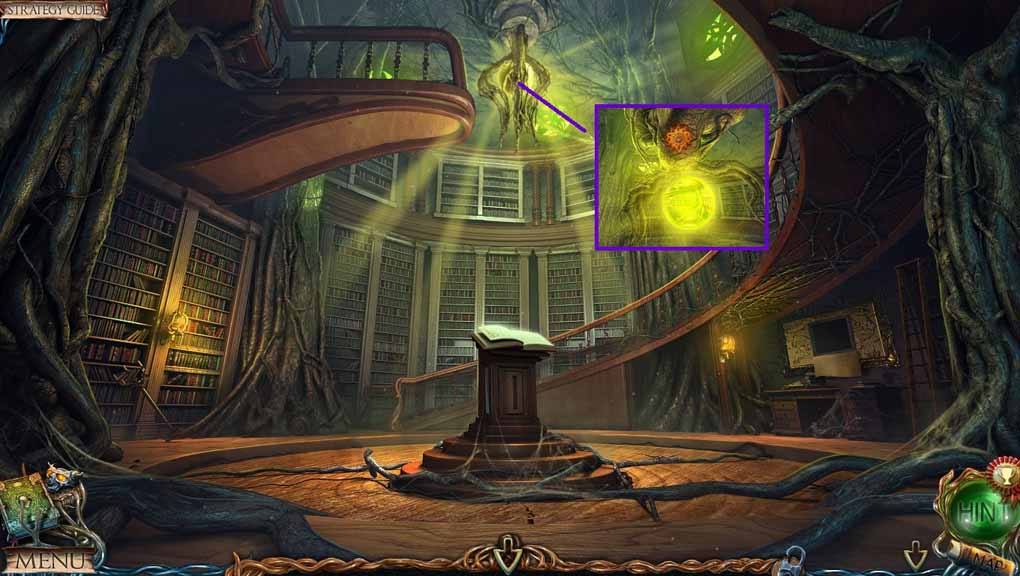
- Move to the Library.
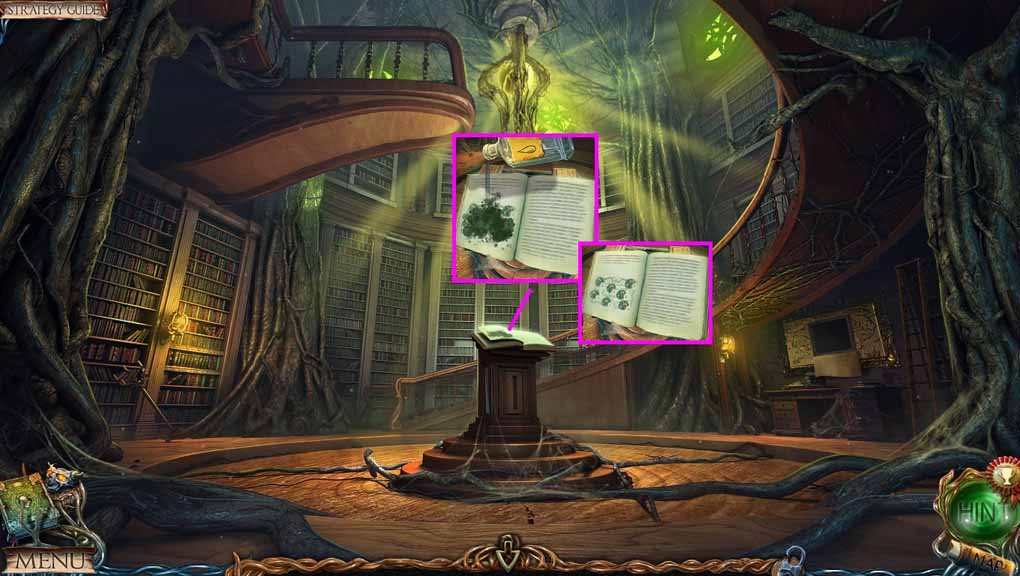
- Select the solvent and pour it onto the stain.
- Click the diagram and reveal a clue.
- Move to the Bank at the Cliff.
- Insert the cross shaped key into the lock.
- Collect the magnet.
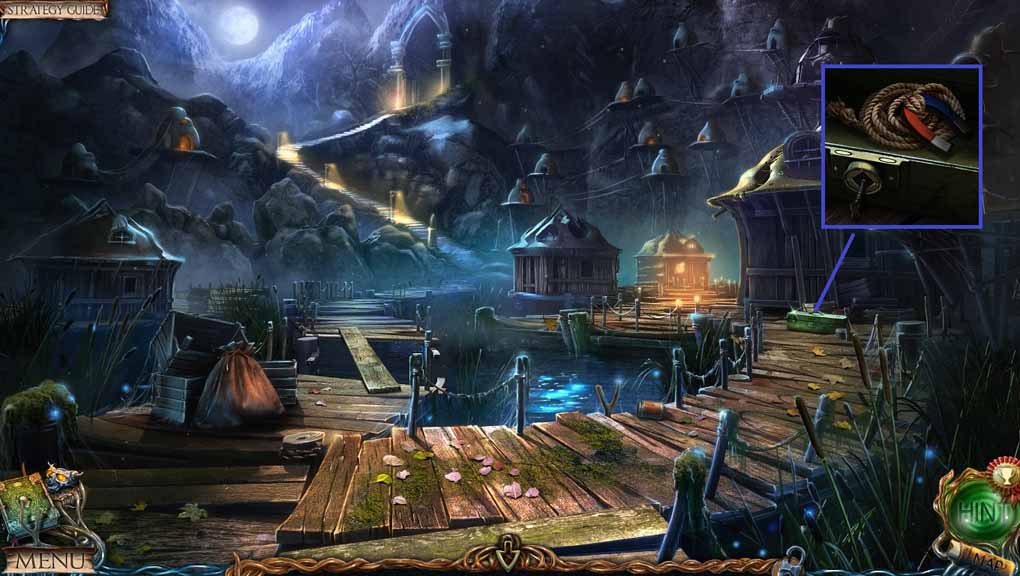
- Move to the Cottage on the Water.
- Select the magnet to collect the star medallion.
- Move to the area At the Lift.
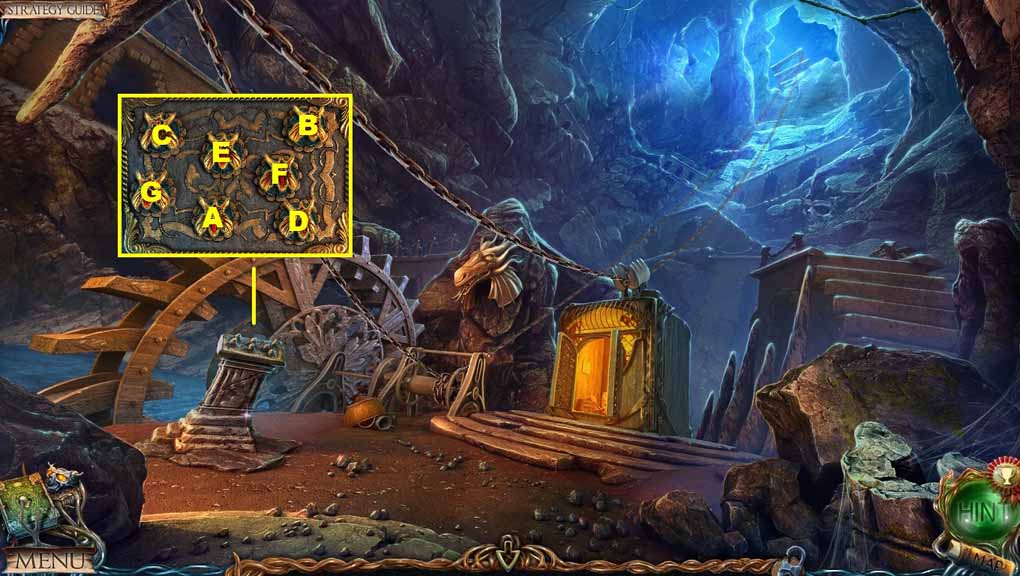
- Zoom into the pedestal to trigger a puzzle.
- Solve the puzzle by clicking the heads in ABC order.
- Move to the Library.
- Insert the star medallion into the groove.
- Collect the orb.
- Move to the Underground Lake Shore.
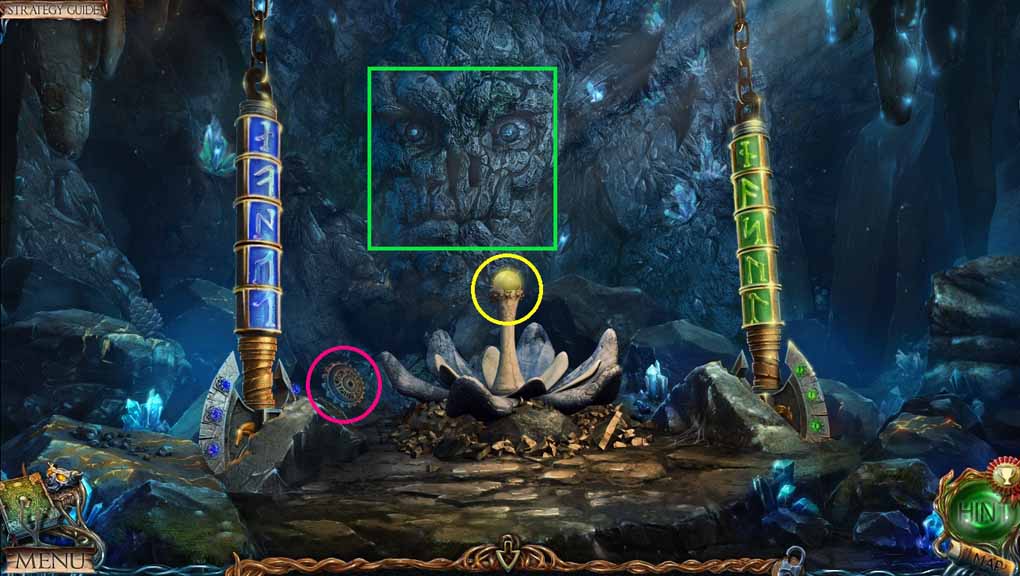
- Place the orb onto the pedestal.
- Speak to the spirit.
- Collect the cog.
- Move to the Lift.
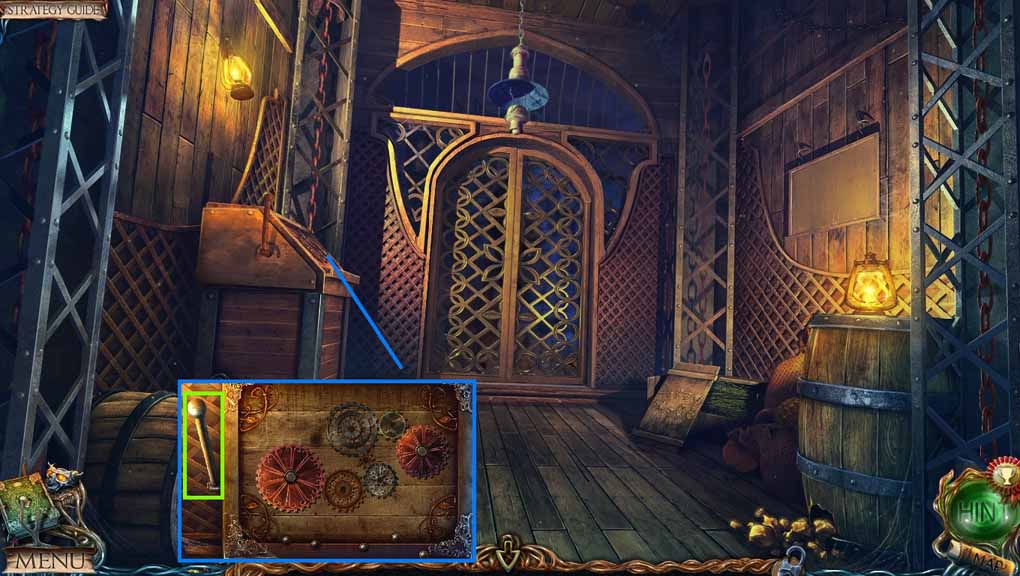
- Insert the cog into the panel to trigger a puzzle.
- Solve the puzzle by interlocking all of the cogs.
- Click the lever.
- Click the door.
- Move ahead.
Comments will load when you reach this part of the walkthrough.