
Chapter Four: Hot, Hot Fire!
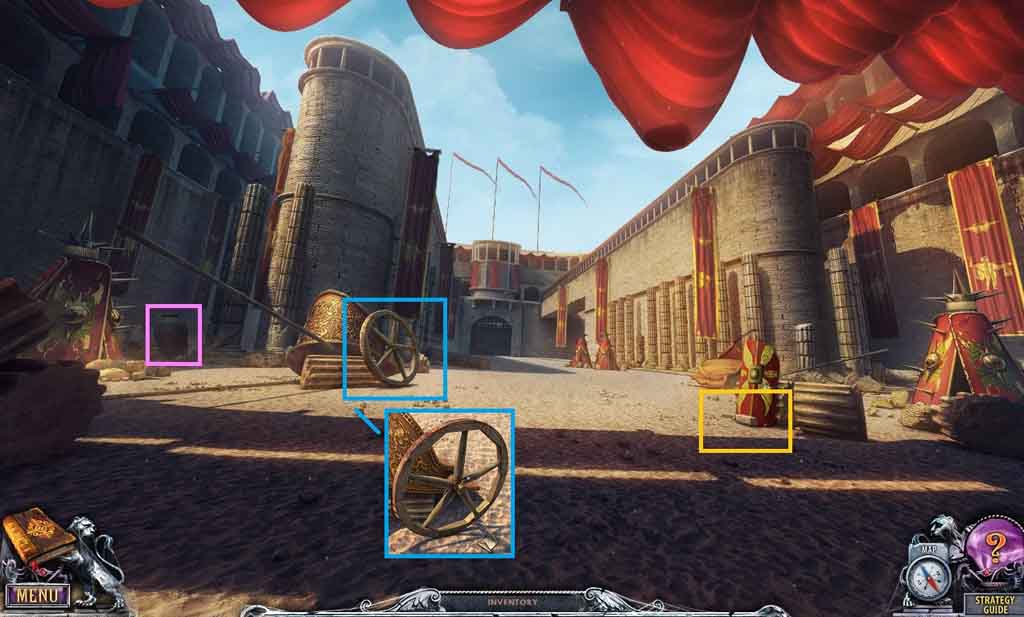
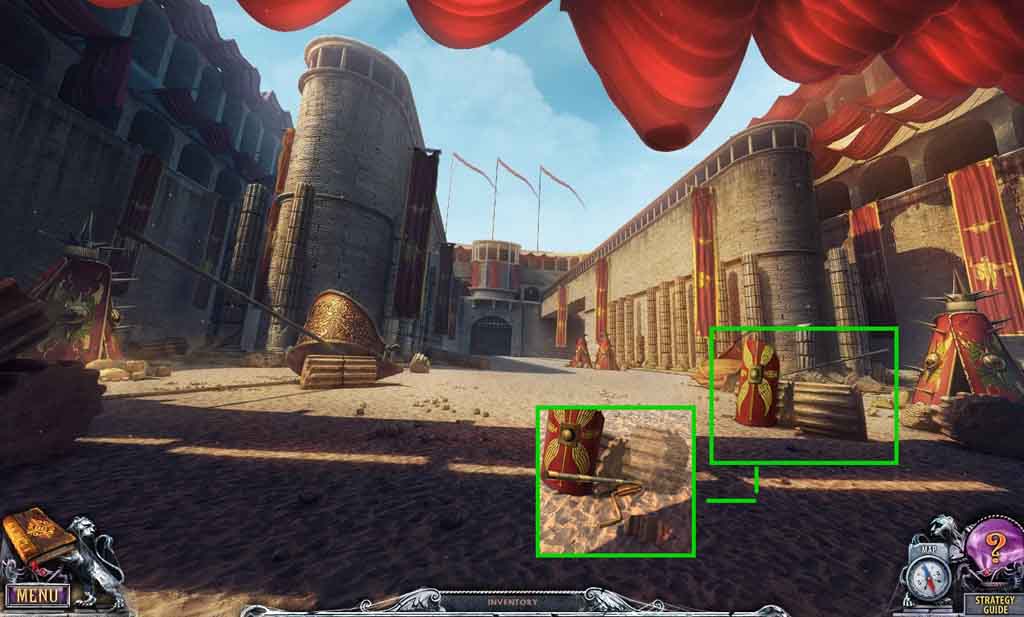
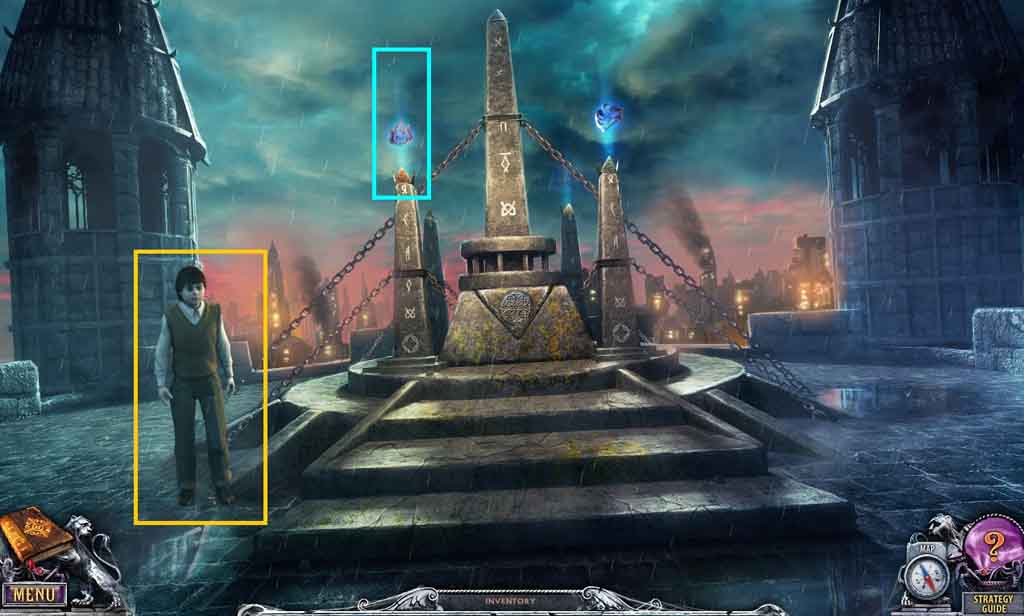
- Collect the 28th beyond object.
- Collect the brick.
- Zoom into the wheel; collect the star fragment.
- Select the brick to hit the peg and remove it from the axle; collect the wheel.
- Move to the Dungeon Entrance.
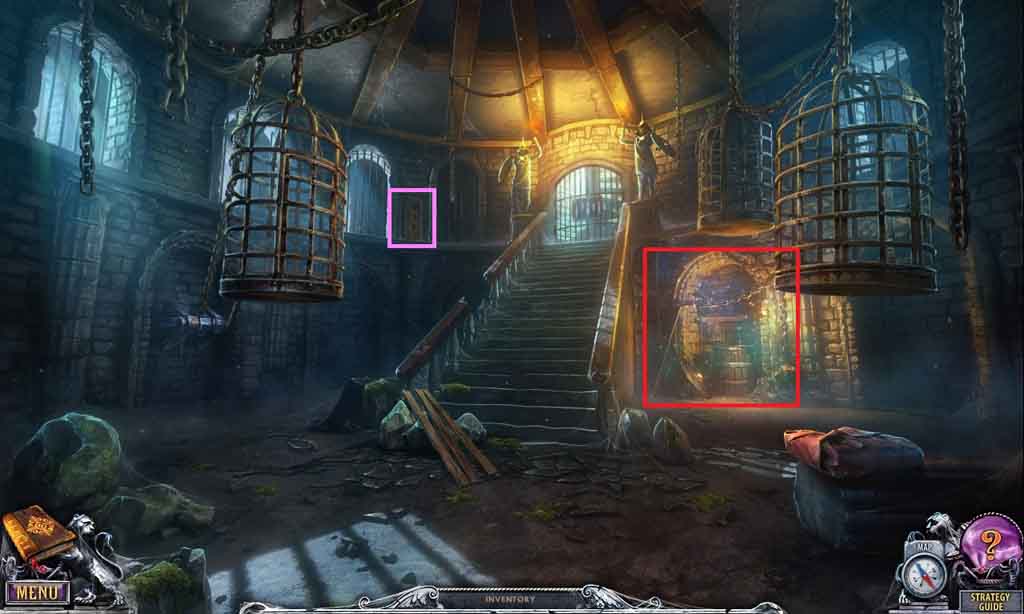
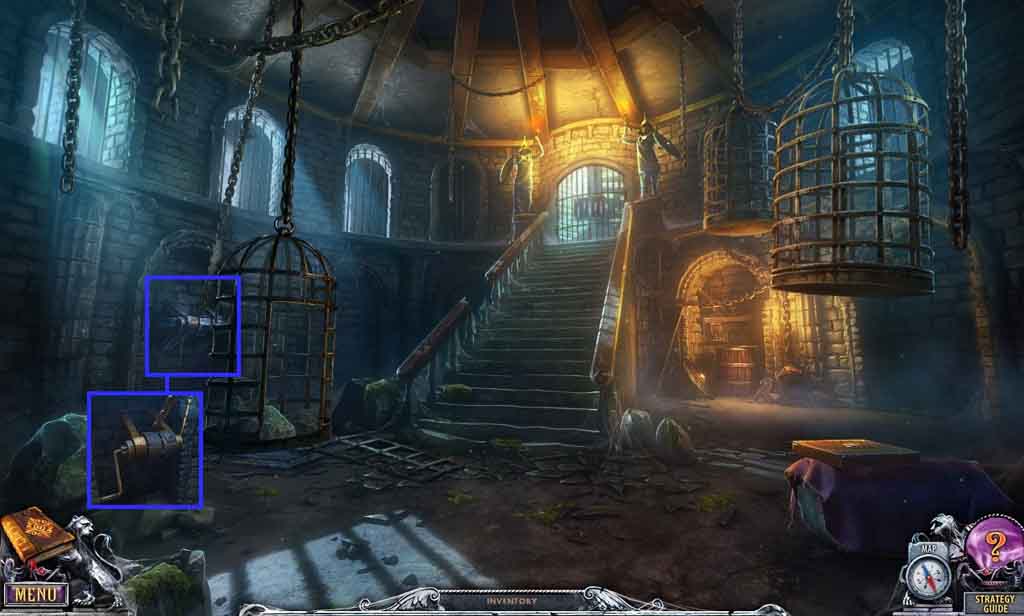
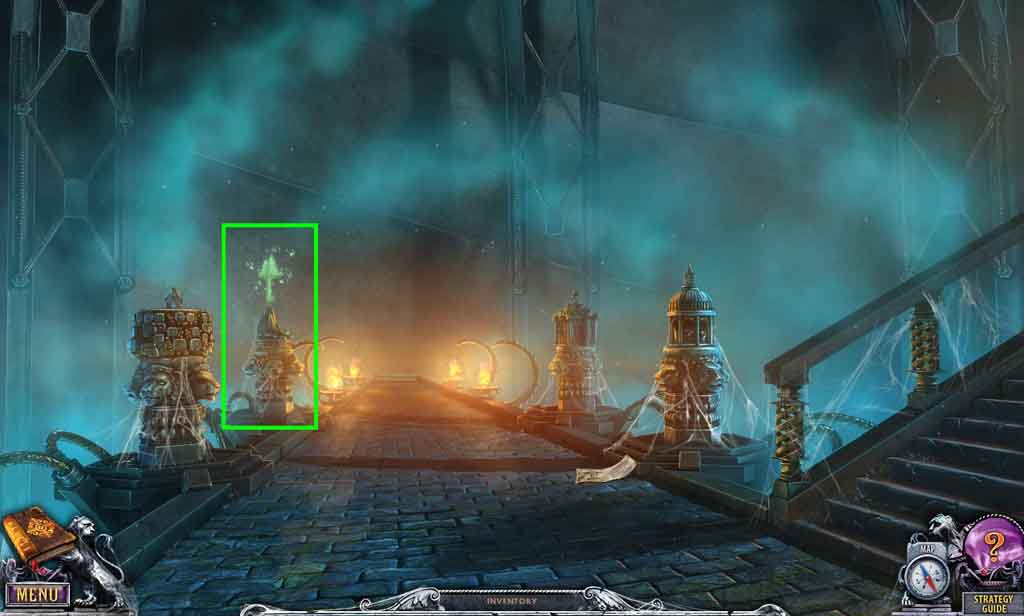
- Collect the 29th beyond object.
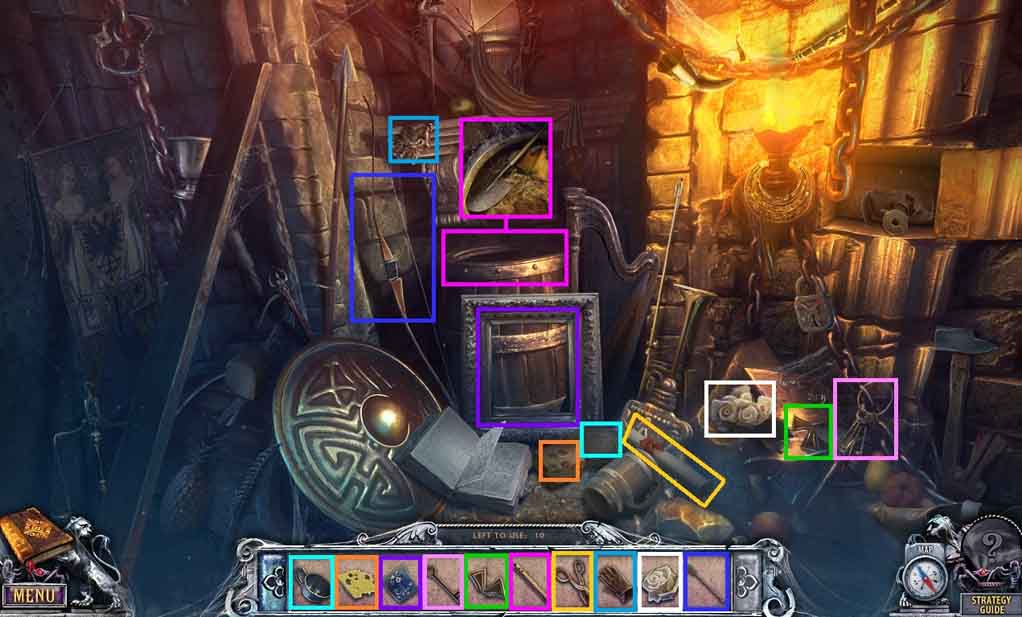
- Click the hidden objects area.
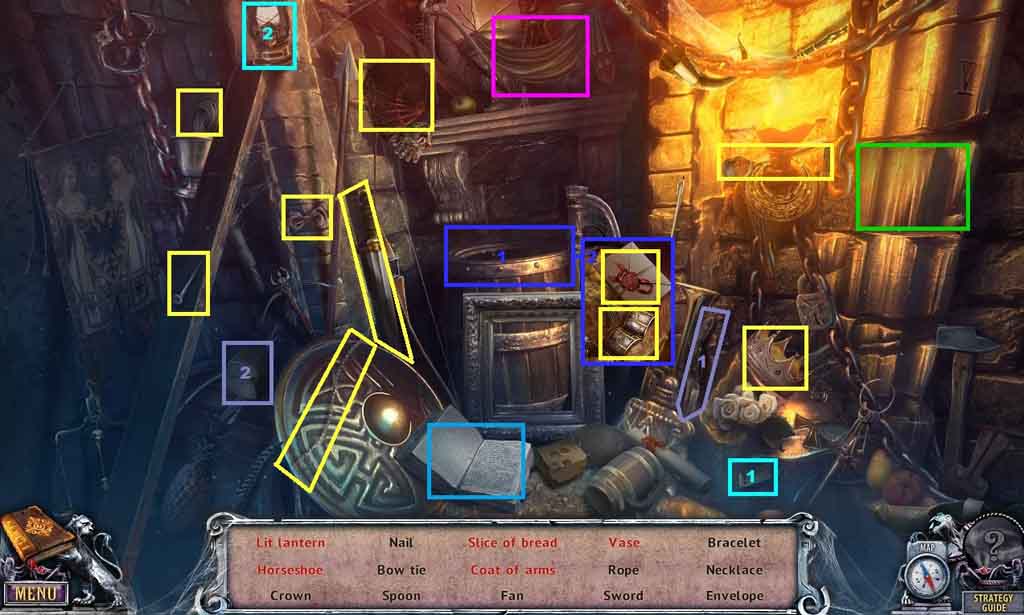
- Find the listed items.
- Select the matches and use them to ignite the lantern; collect the lit lantern.
- Click the brick to expose and collect the horseshoe.
- Select the knife and use it to slice the bread; collect the slice of bread.
- Click the book to collect the Coat of arms.
- Zoom into the barrel to collect the bracelet and the envelope.
- Click the cloth to expose and collect the vase.
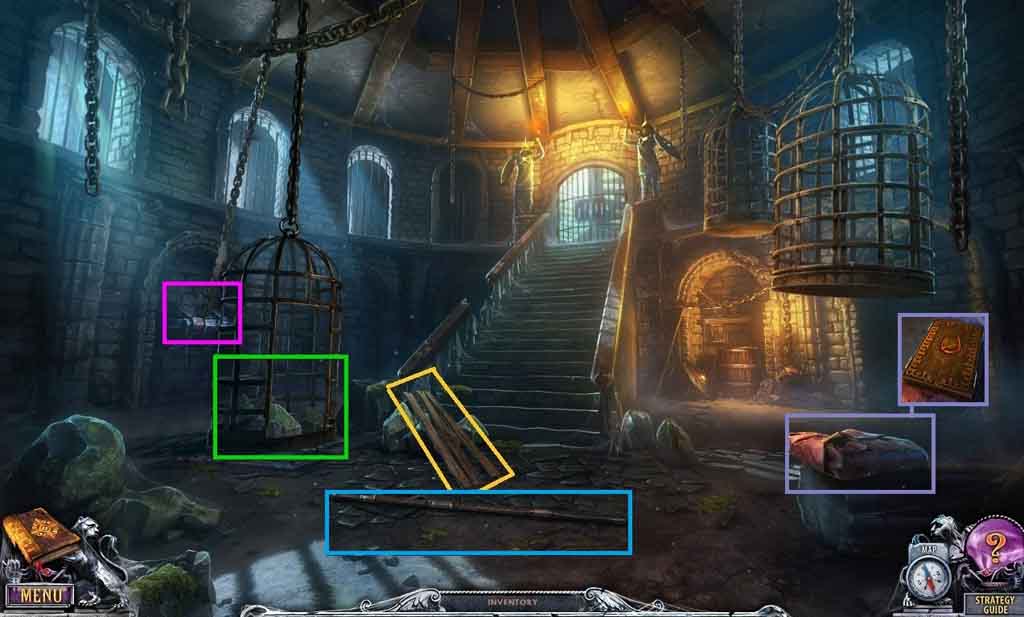
- Collect the planks.
- Click the lever.
- Collect the pole.
- Insert the stones into the cage.
- Click the cloth.
- Move to the Arena.
- Select the pole to move the column fragment.
- Collect the handle.
- Move to the Dungeon Entrance.
- Attach the handle to the winch.
- Click the winch.
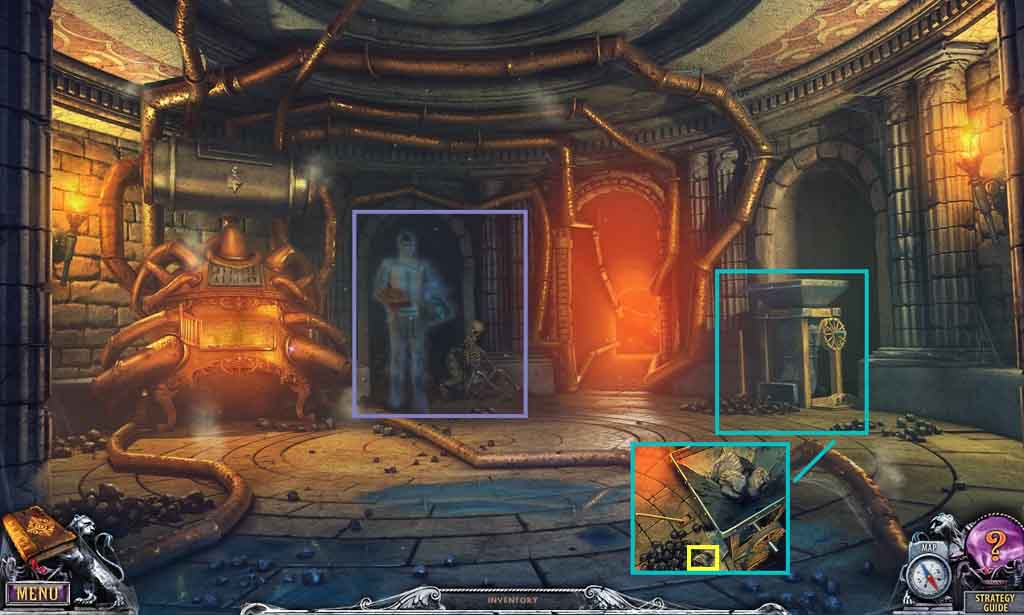
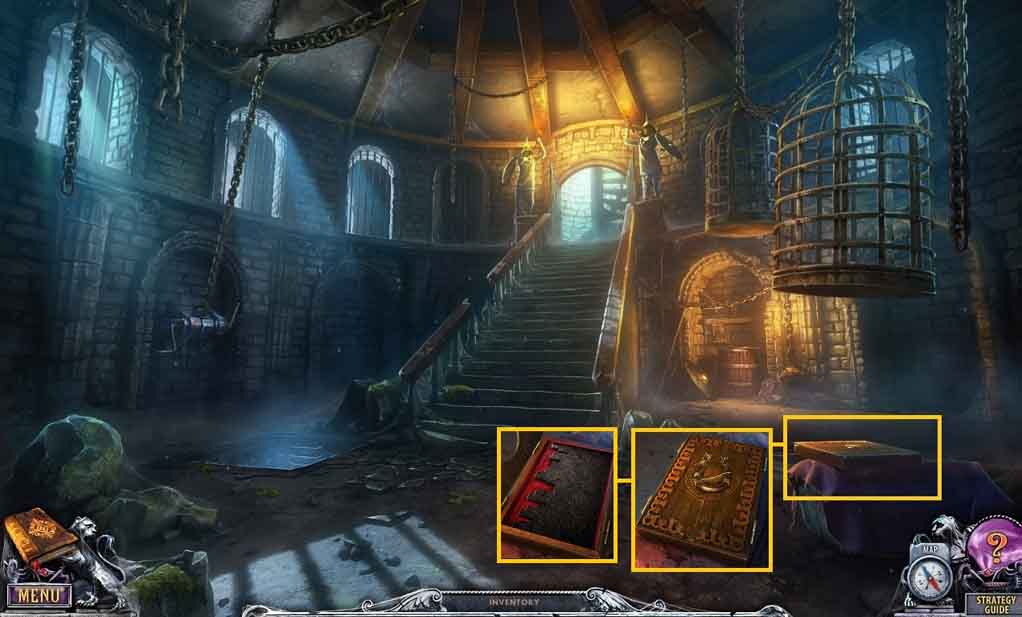
- Move into the Dungeon.
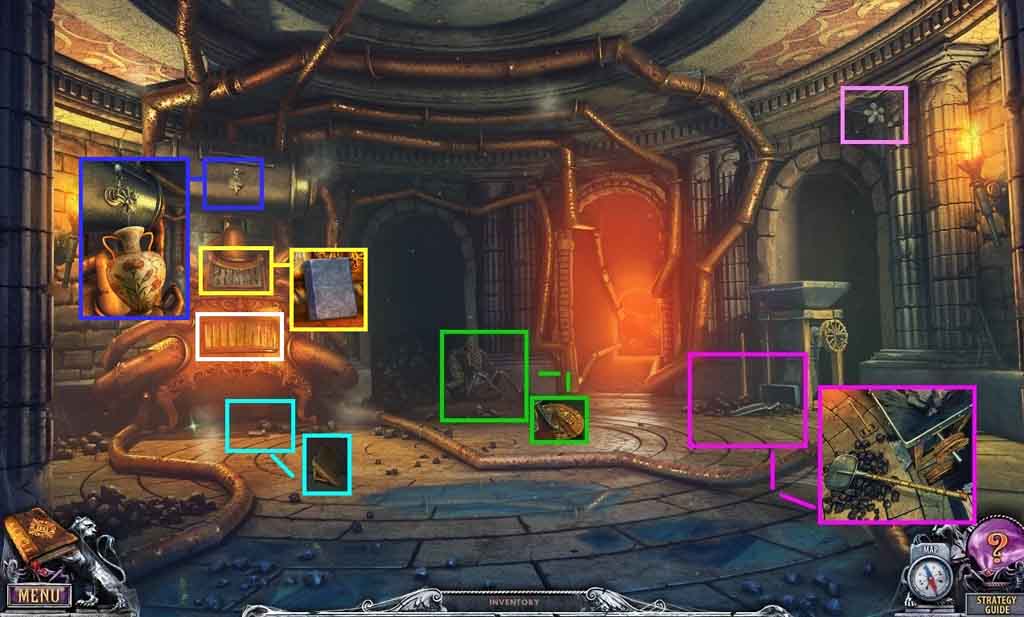
- Collect the 30th beyond object.
- Collect the gold locket near the Gladiator skeleton.
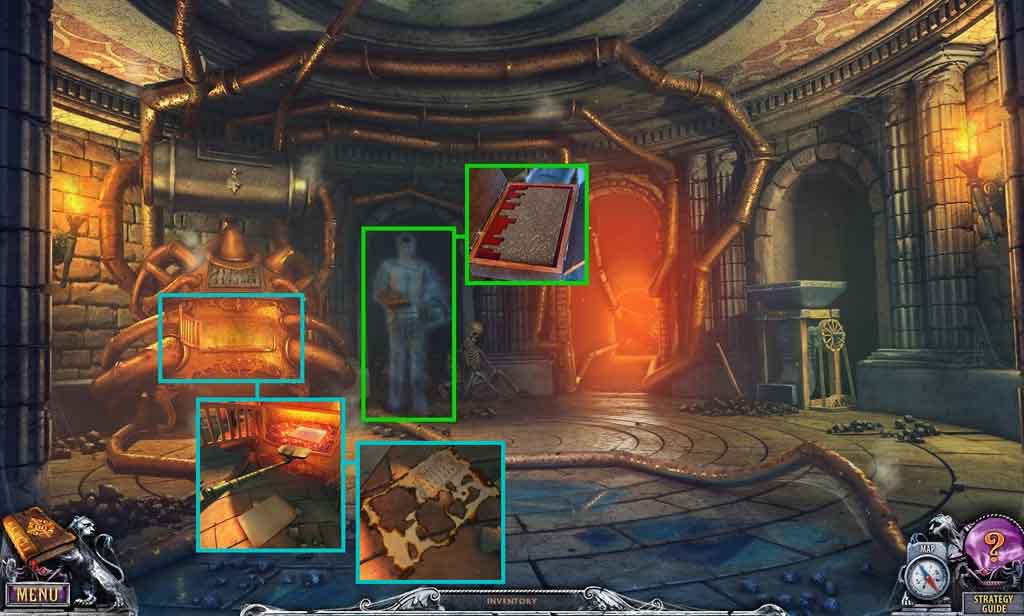
- Attach the pole to the shovel blade; collect the shovel.
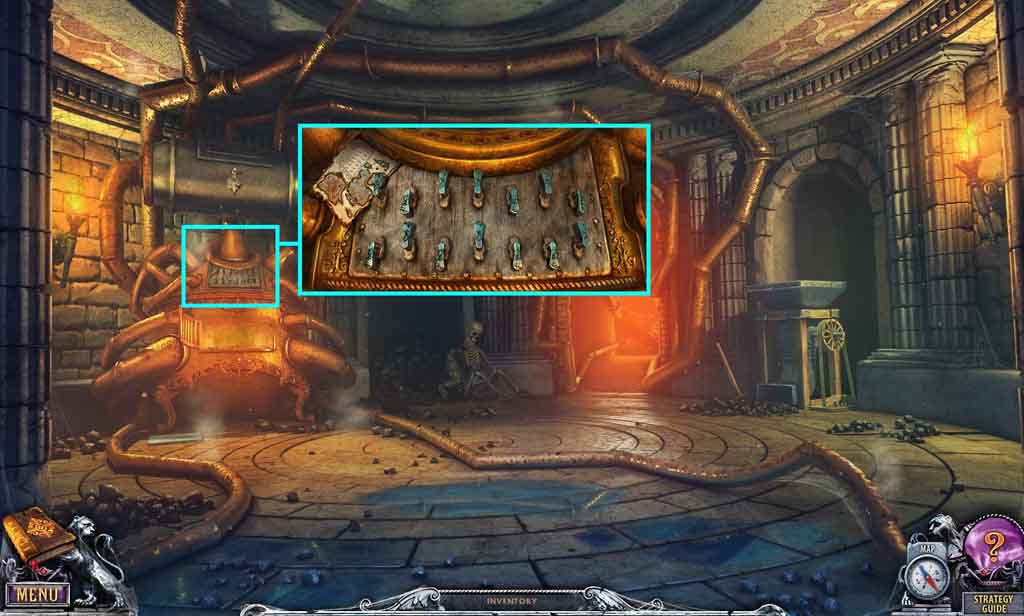
- Zoom into the furnace base; collect the star fragment.
- Click the furnace door.
- Click the tap and fill the vase with water and collect the vase of water.
- Click the top of the furnace; collect the tile.
- Move to the Basilisk.
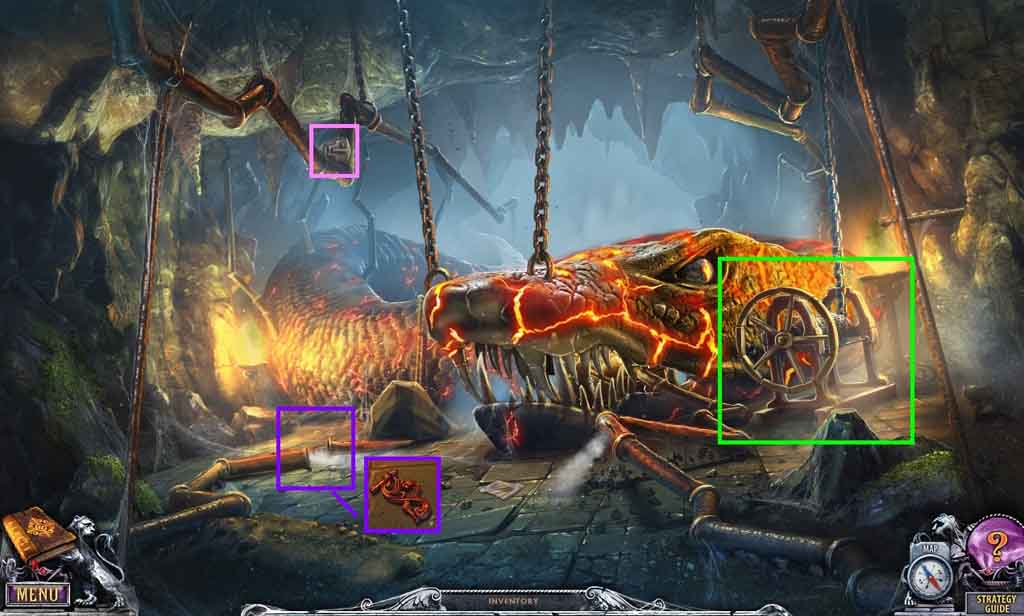
- Collect the 31st beyond object.
- Attach the wheel onto the winch and click it.
- Collect the valve handle.
- Move to the Dungeon Entrance.
- Insert the gold locket into the statue; collect the skull.
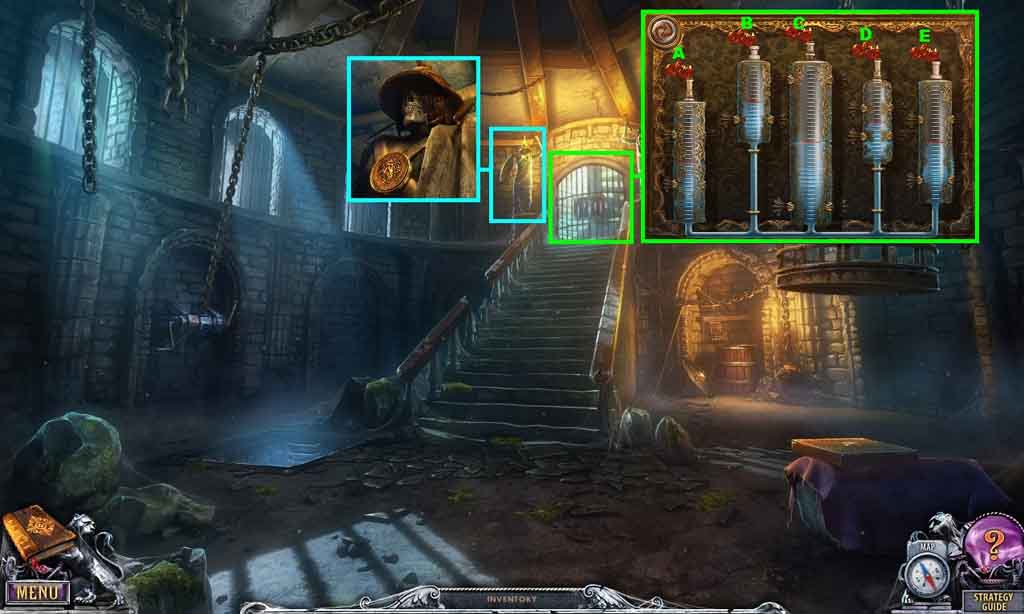
- Attach the valve handle onto the gate.
- Click the taps as follows: B – B – D – B – C – D – E
- Move into the Tribune.
- Collect the 32nd beyond object.
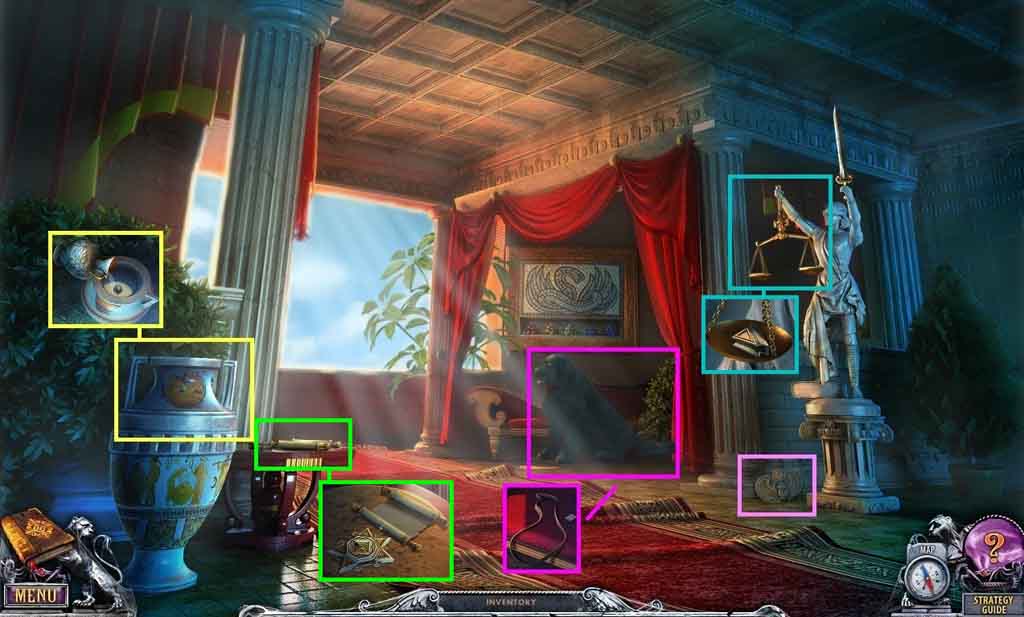
- Pour the vase of water into the larger vase; collect the ball.
- Throw the ball to the dog.
- Collect the drive belt and the tile.
- Zoom into the scales; collect the star fragment.
- Click the table; insert the star fragments into the correct area.
- Read the note.
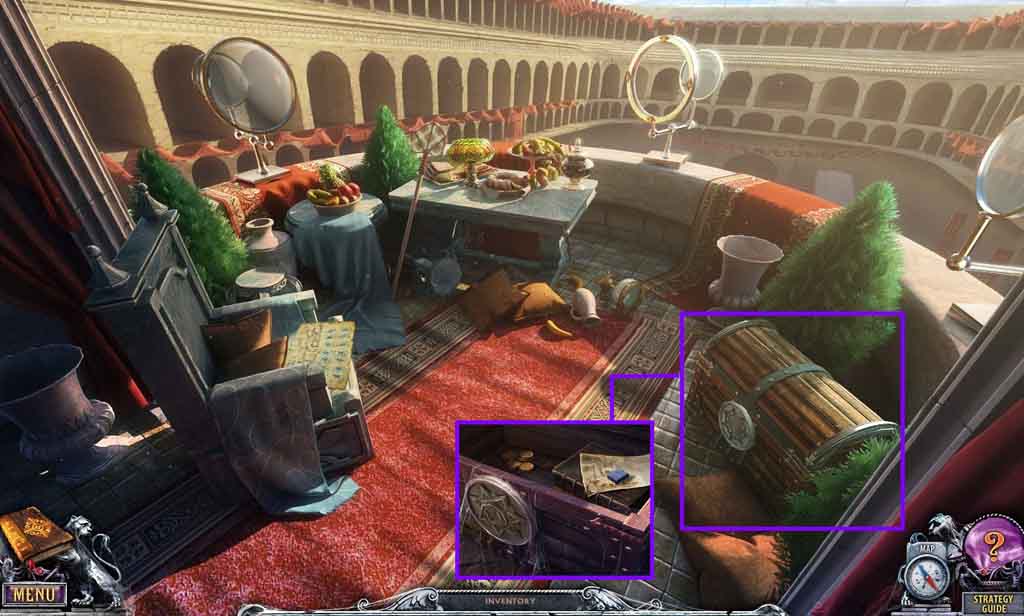
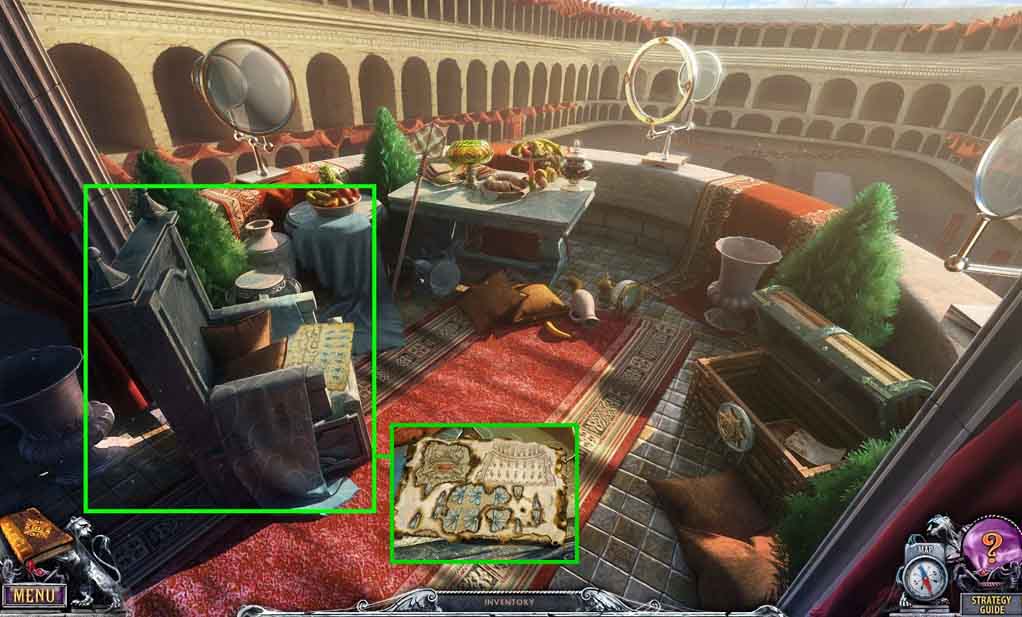
- Move to the Balcony.
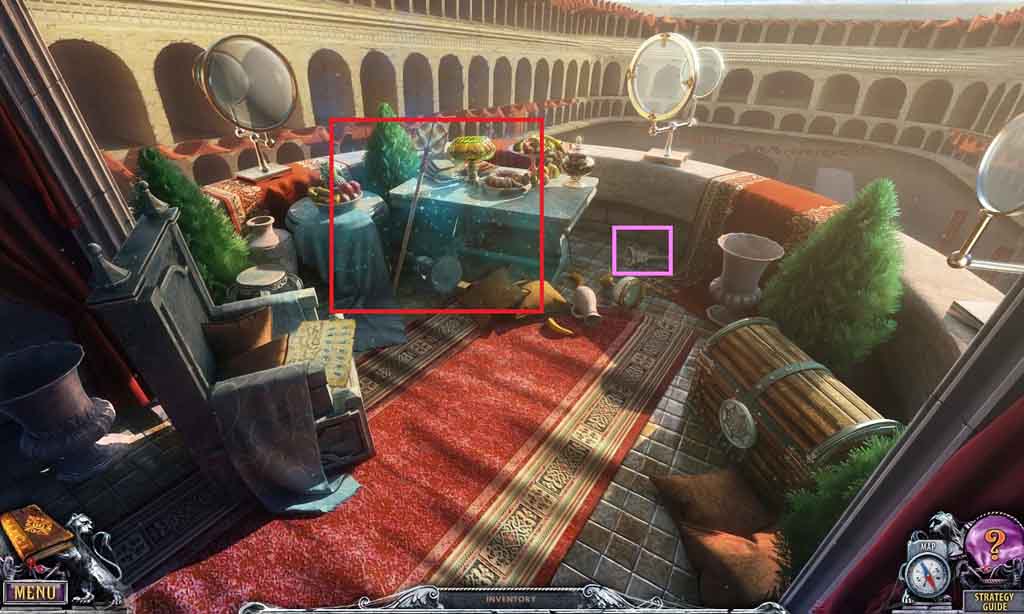
- Collect the 33rd beyond object.
- Click the hidden objects area.
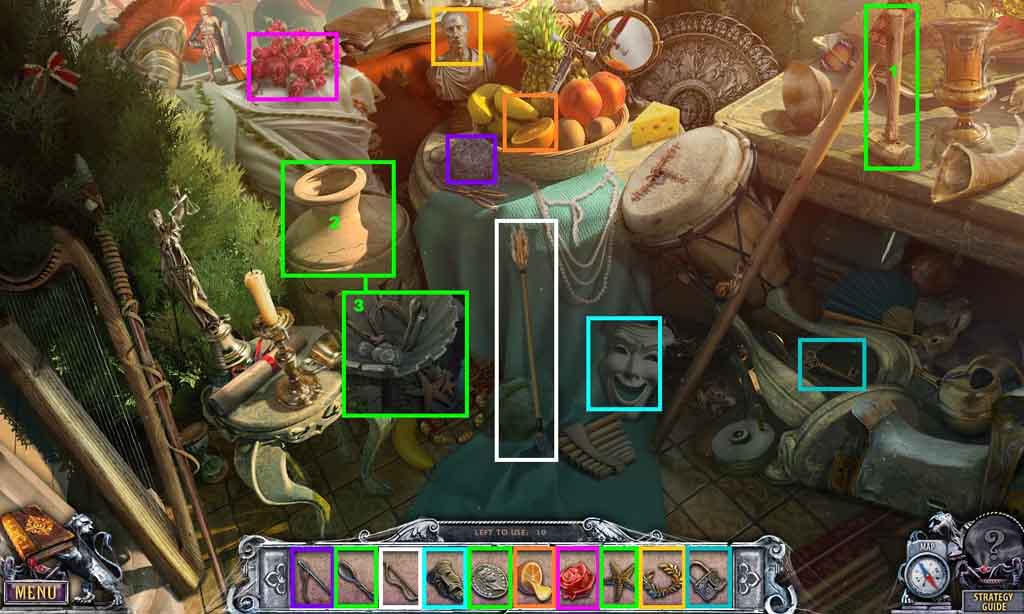
- Place the items into the correct areas.
- Select the hammer and use it on the vase.
- Zoom into the vase to place the spoon, coin and the starfish.
- Collect the needle.
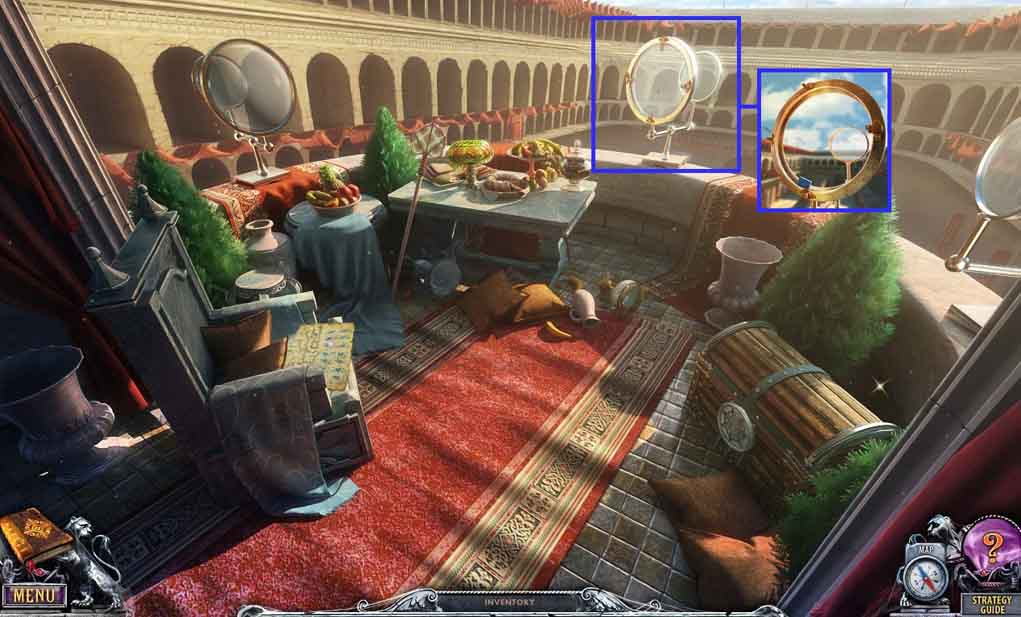
- Click the clamps on the lens; collect the lens and the tile.
- Move to the Dungeon.
- Attach the skull onto the skeleton.
- Speak to the Gladiator.
- Place the drive belt onto the mechanism and click the lever.
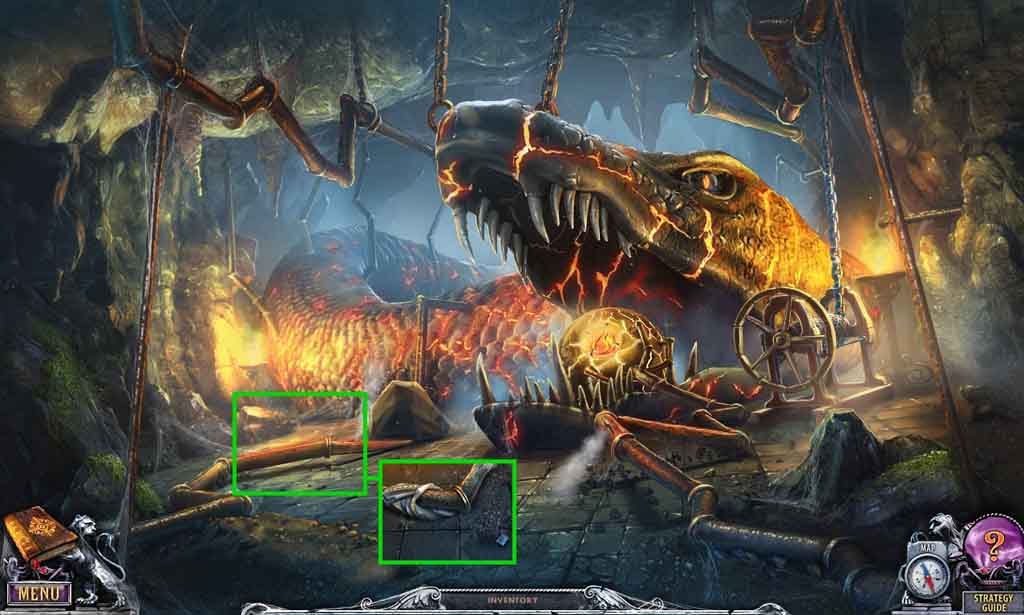
- Collect the dirty iron object.
- Move to the Basilisk.
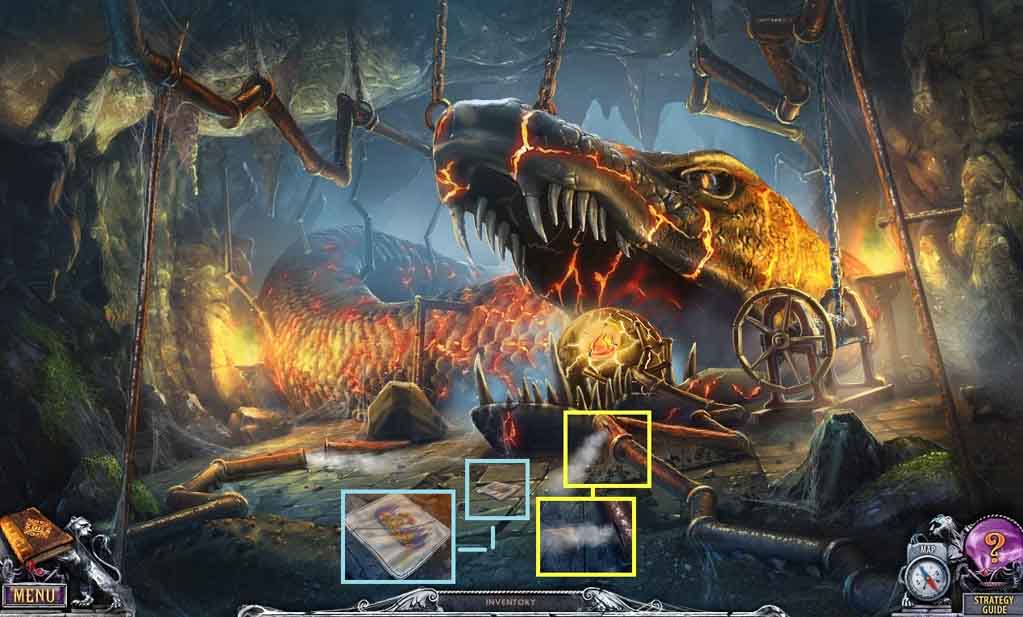
- Lay the dirty iron object near to the steaming pipe; collect the star fragment.
- Click the cloth pieces 2 times and secure them using the needle; collect the handkerchief.Move to the Tribune.
- Click the table.
- Insert the star fragment; collect the star.
- Place the handkerchief onto the puzzle.
- Move to the Balcony.
- Click the hidden objects area.
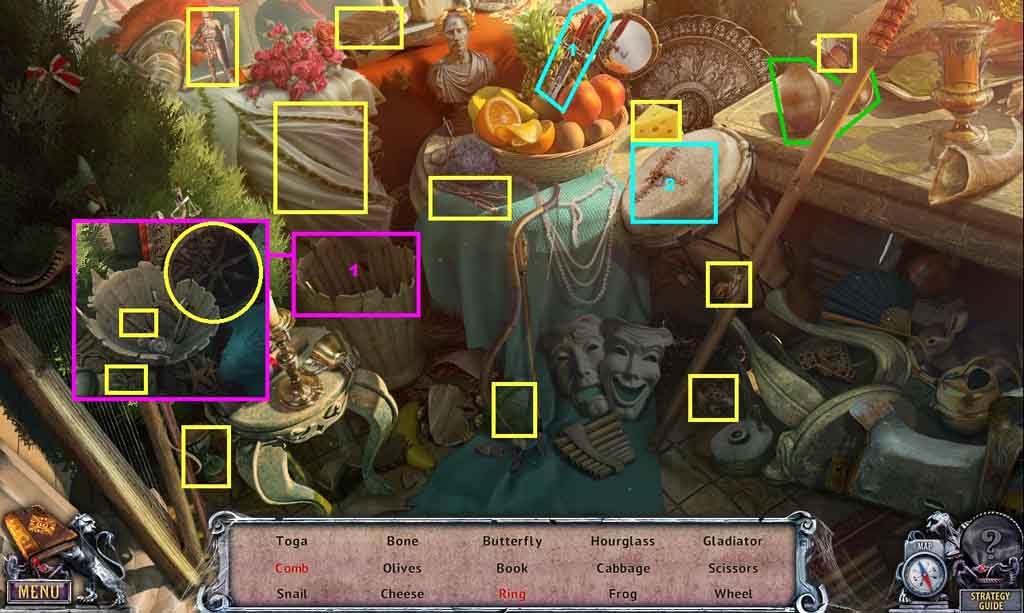
- Find the listed items.
- Select the knife and use it to cut the drum; collect the comb.
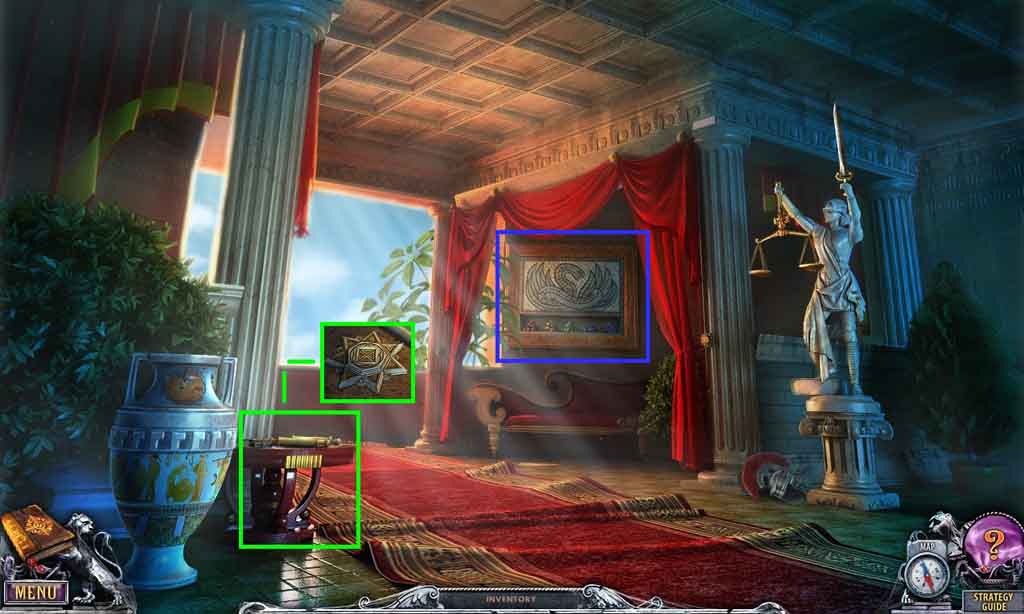
- Click the chalice; collect the ring.
- Zoom into the broken vase; collect the bone, olives and the wheel.
- Collect the toga.
- Click the chest; insert the star and collect the gold coins and the tile.
- Move to the Basilisk.
- Select the toga and wrap it around the pipe.
- Connect the pipes and collect the tile.
- Move to the Tribune.
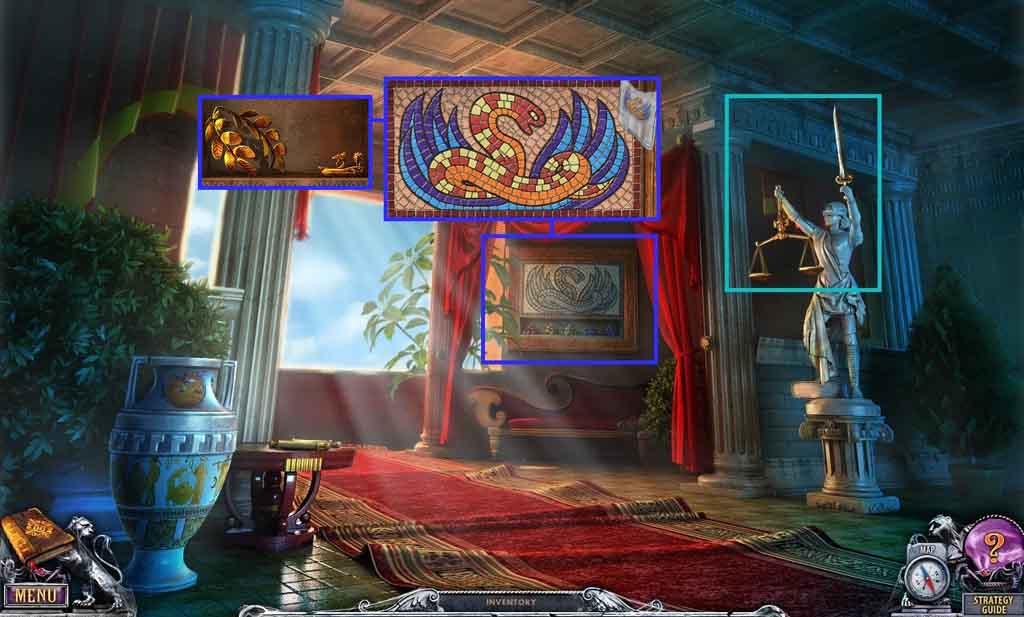
- Place the gold coins onto the scales; collect the sword.
- Zoom into the snake puzzle and place the tiles beneath the snake.
- Arrange the tiles as shown on the handkerchief.
- Collect the laurel wreath and the fibula.
- Move to the Dungeon Entrance.
- Click the hidden objects area.
- Place the items into the correct areas.
- Zoom into the barrel and attach the handle to the shovel head.
- Collect the parchment.
- Click the case; insert the fibula.
- Collect the plate part.
- Move to the Dungeon.
- Zoom into the gladiator; insert the laurel wreath into the box in his hand.
- Connect the plate parts; collect the plate.
- Insert the plate into the furnace.
- Lay the parchment on the floor.
- Select the shovel to remove the plate from the furnace; collect the layout filter.
- Move to the Balcony.
- Lay the layout filter on the sheet of paper onto the chair.
- Collect the layout.
- Move to the Dungeon.
- Zoom into the top of the boiler; attach the layout onto the boiler.
- Click the layout.
- Click the valve handles to turn off the pipes.
- Move to the Arena.
- Select the sword to slice the tent; collect the book.
- Move to Simon’s room.
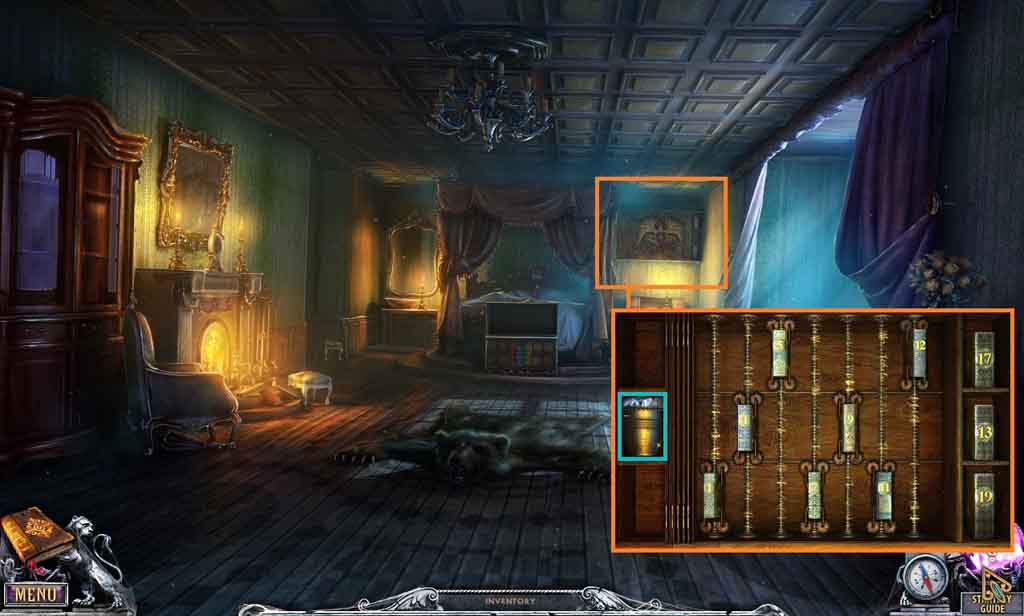
- Insert the book into the shelf.
- Align the books on the shelf so that the sum on each row equals the number on the right side.
- Collect the bucket of ice.
- Move to the Basilisk.
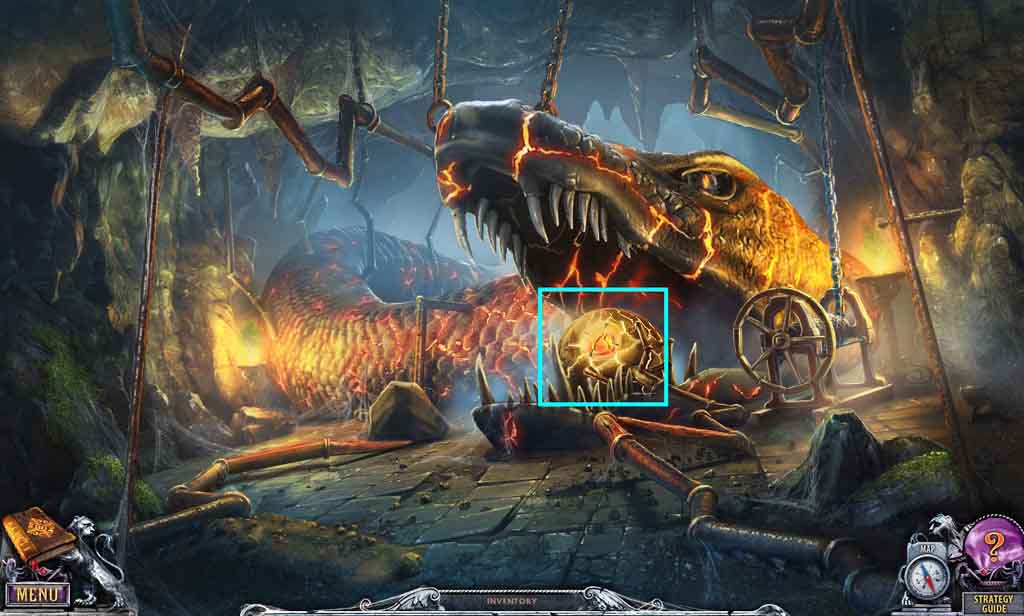
- Pour the bucket of ice into the snake’s mouth.
- Collect the fire element.
- Move to the mechanism.
- Speak to Sammy; collect the key.
- Insert the fire element into the mechanism.
- Move to the Portals.
- Insert the key to trigger the 4th portal.
- Move into the portal.
Comments will load when you reach this part of the walkthrough.