

Chapter One: Mystery and Magic
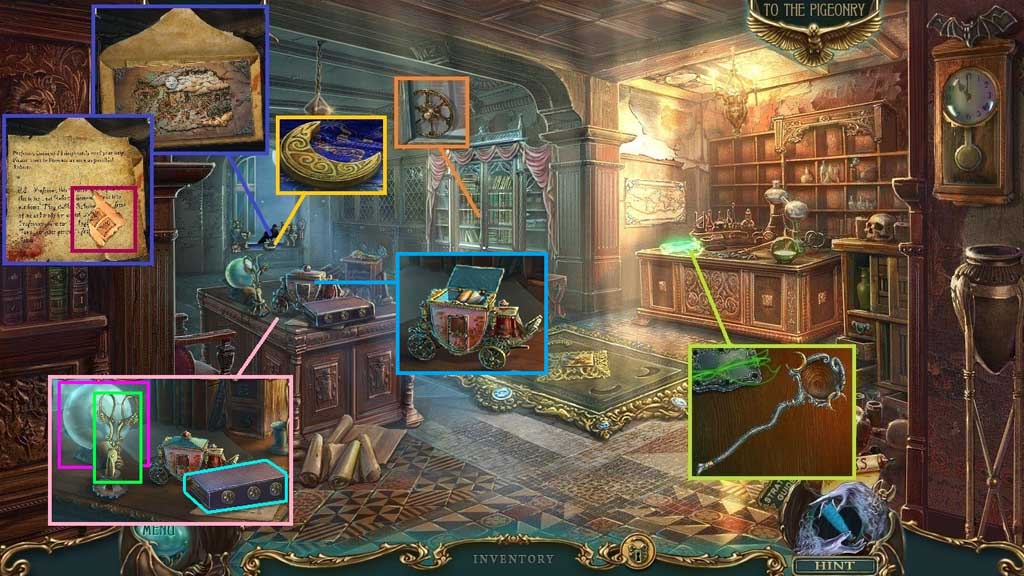
- Collect the toy wheel.
- Arrange the pieces of the staff.
- Collect the letter from the bird and click it open.
- Collect the map; click the letter.
- Collect the lock code.
- Collect the golden moon.
- Collect the scissors, the magic orb and the violet book.
- Attach the toy wheel onto the carriage and collect the bookcase key.
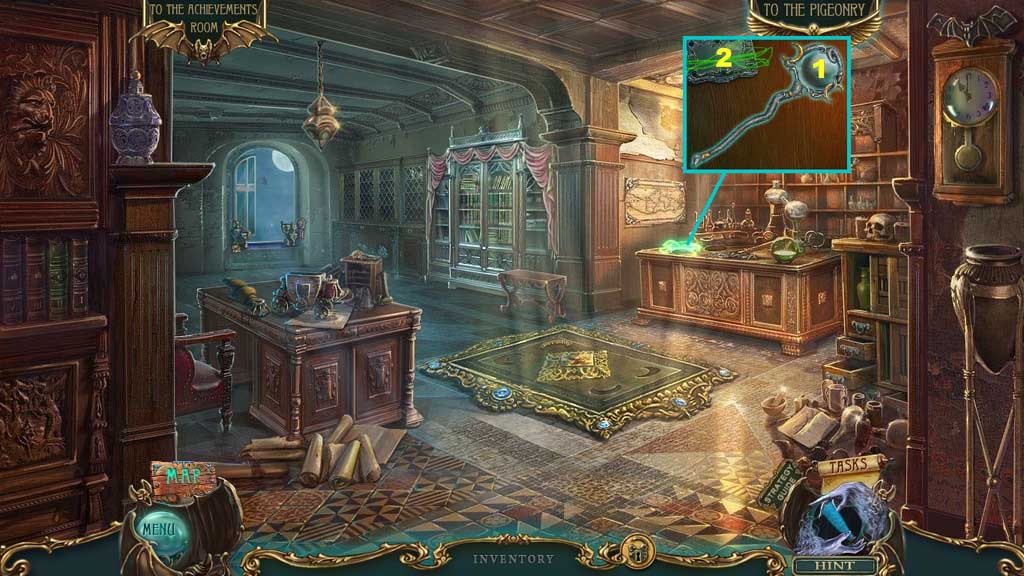
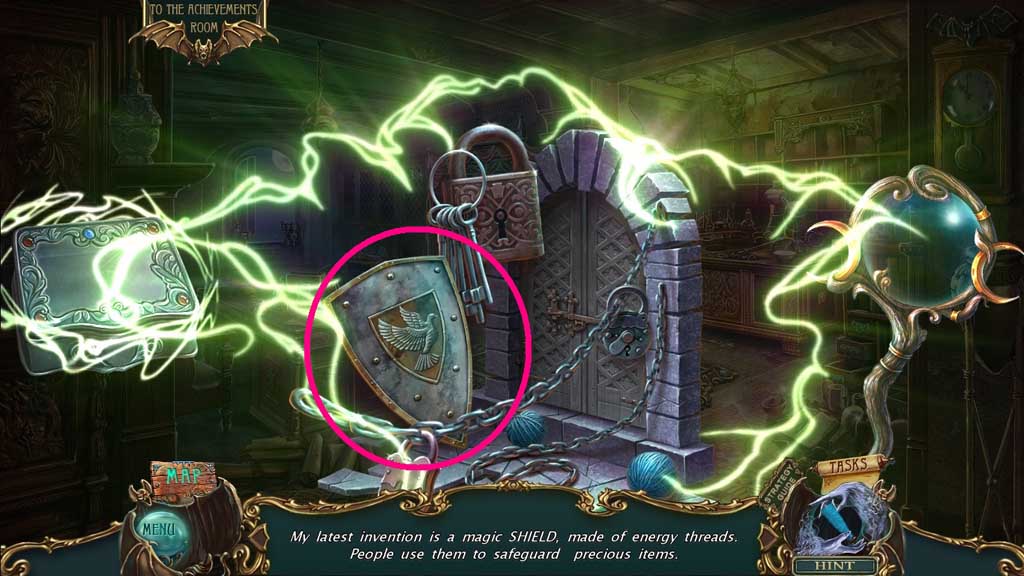
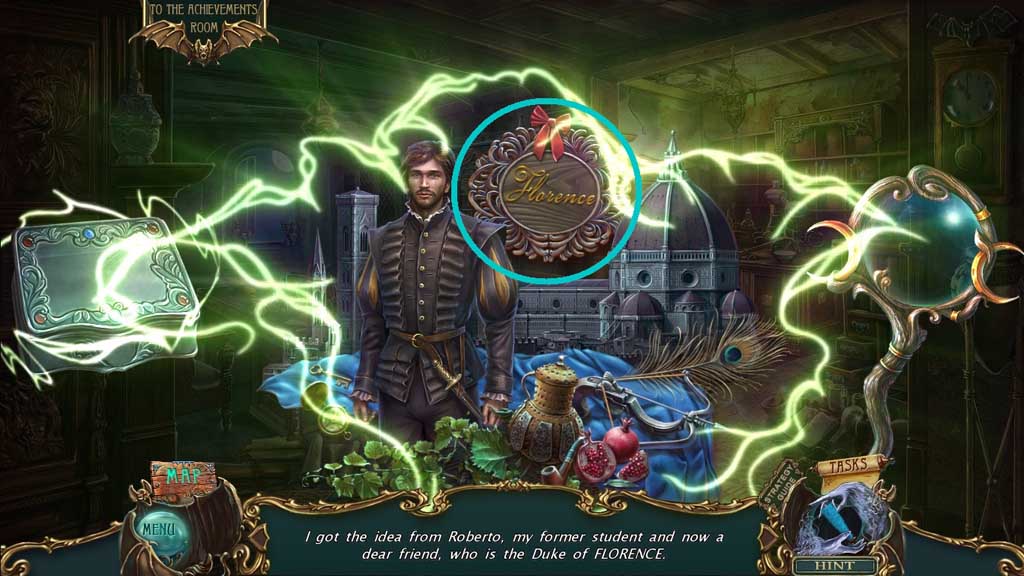
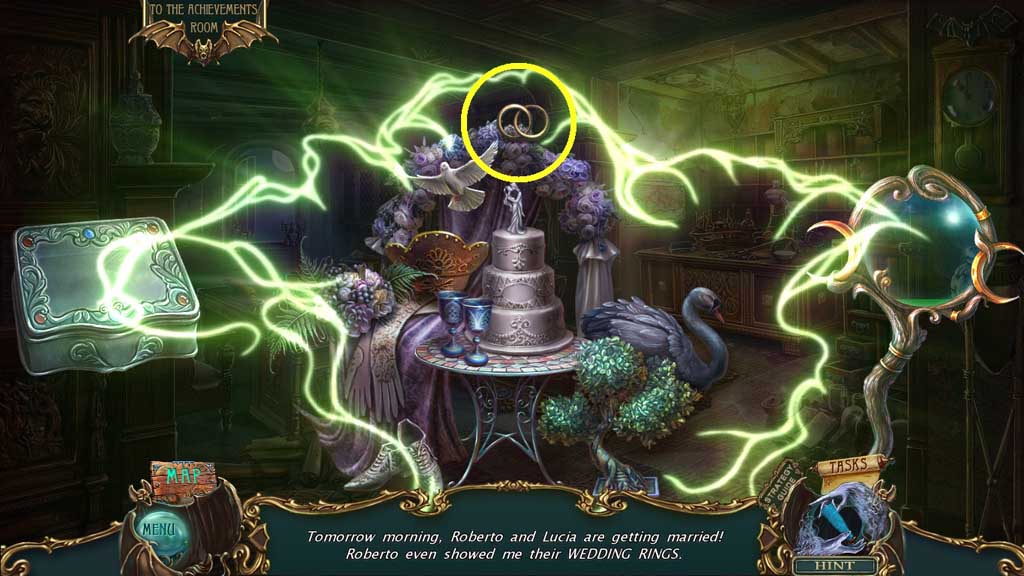
- Insert the magic orb into the staff and use it on the box to trigger a mini game.
- Solve the game by following the prompts correctly to select the items.
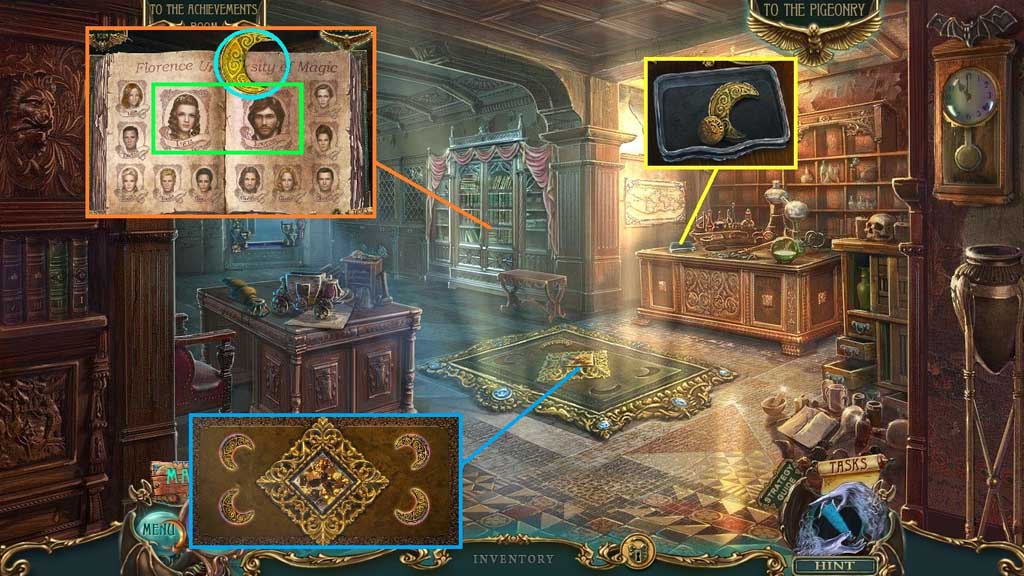
- Click the box; collect 1 /3 coins and the golden moon.
- Insert and click the bookcase key.
- Collect the golden moon.
- Zoom into Lucia and Roberto.
- Insert the golden moons.
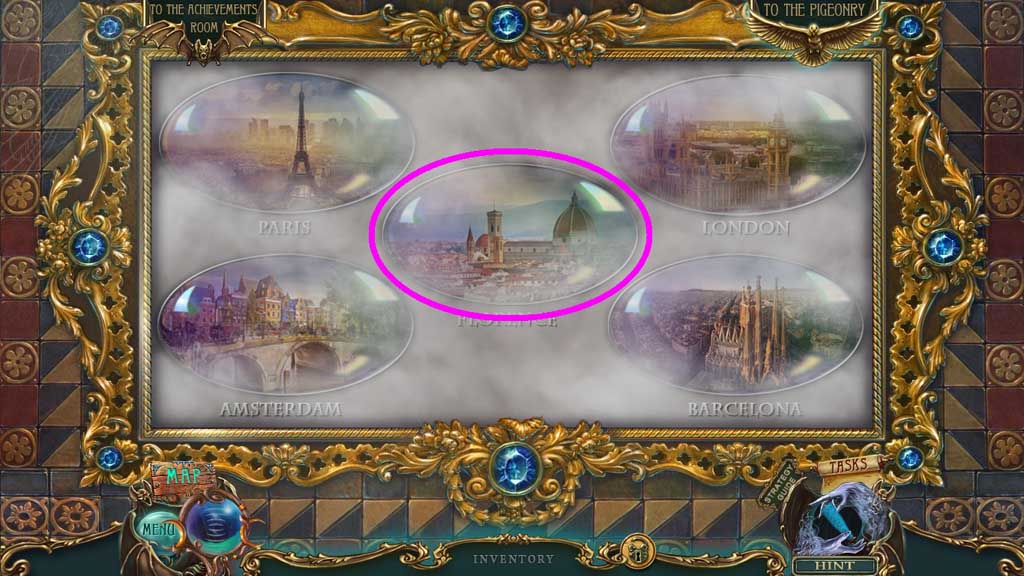
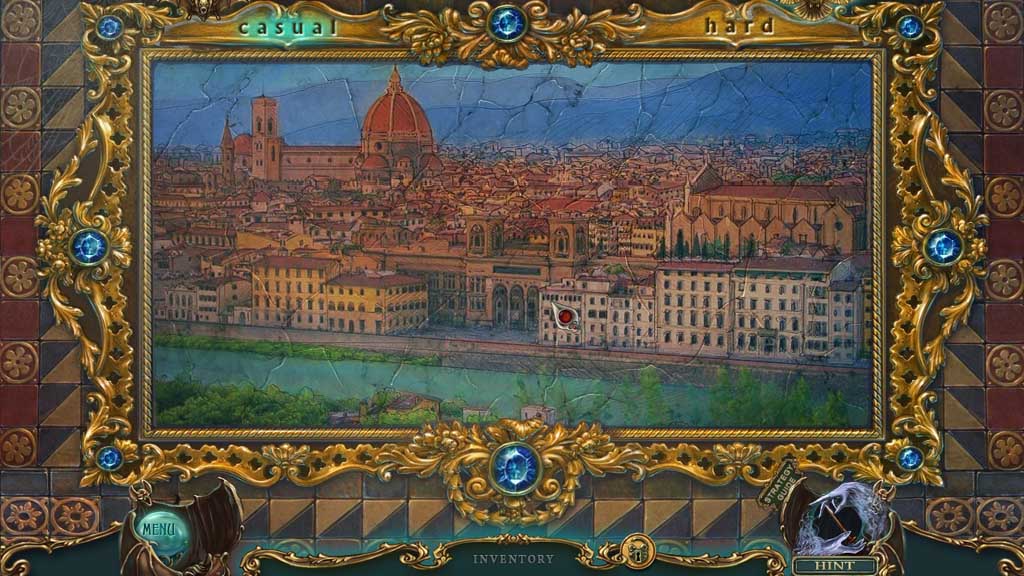
- Zoom into the frame of Florence to trigger a mini game.
- Solve the game by assembling the image correctly.
- Move down into the Portal.
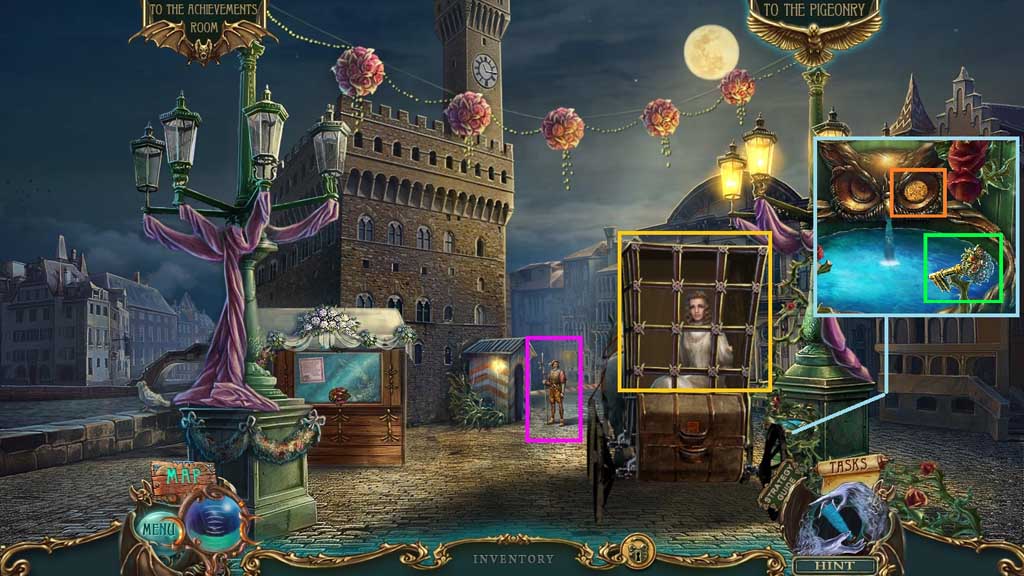
- Speak to Lucia.
- Speak to the guard 2x’s.
- Select the scissors 3x’s to collect 2 /3 coins and the bouquet key.
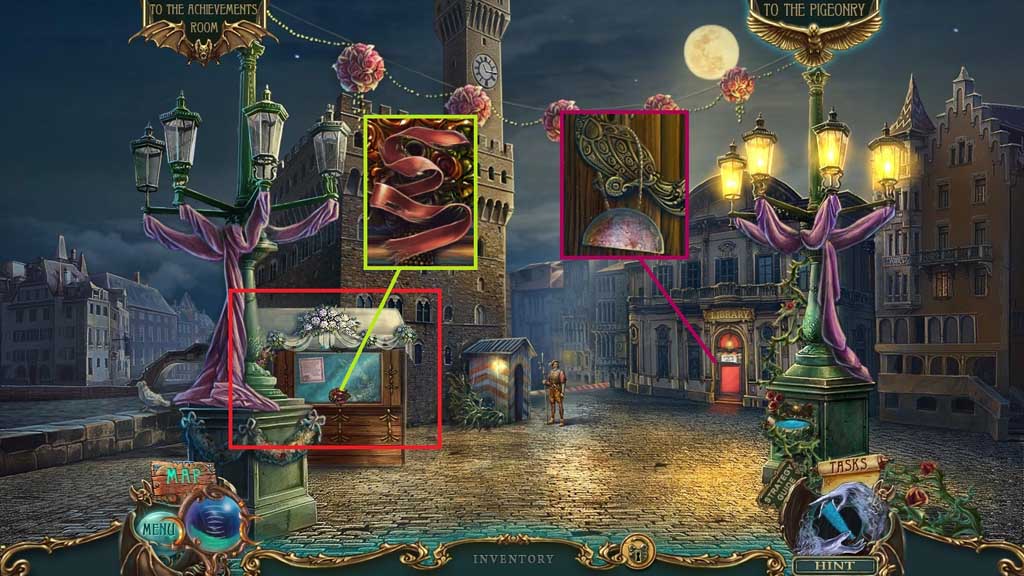
- Zoom into the sign; collect the half moon.
- Collect the red ribbon.
- Insert the bouquet key to trigger a hidden objects area.
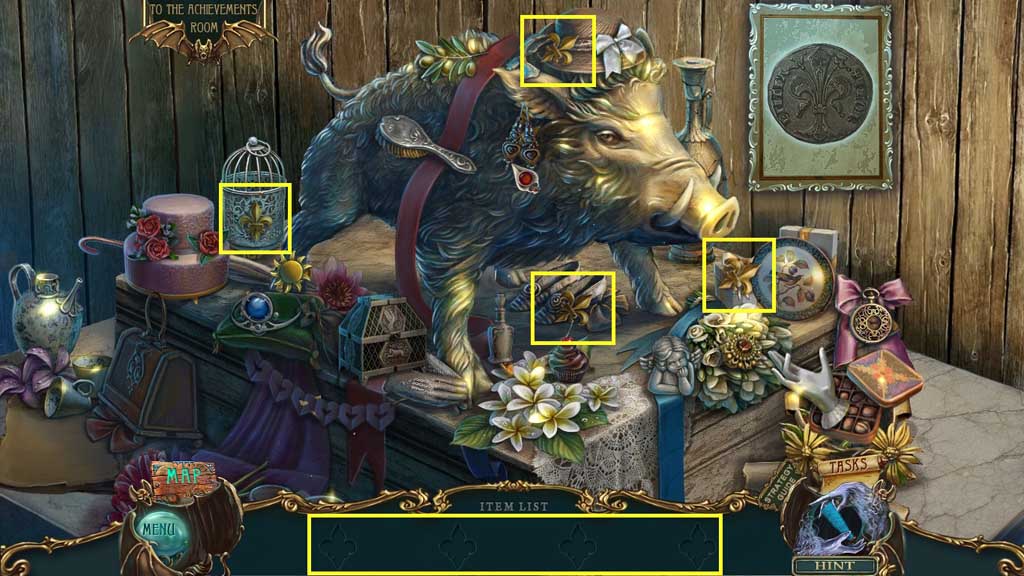
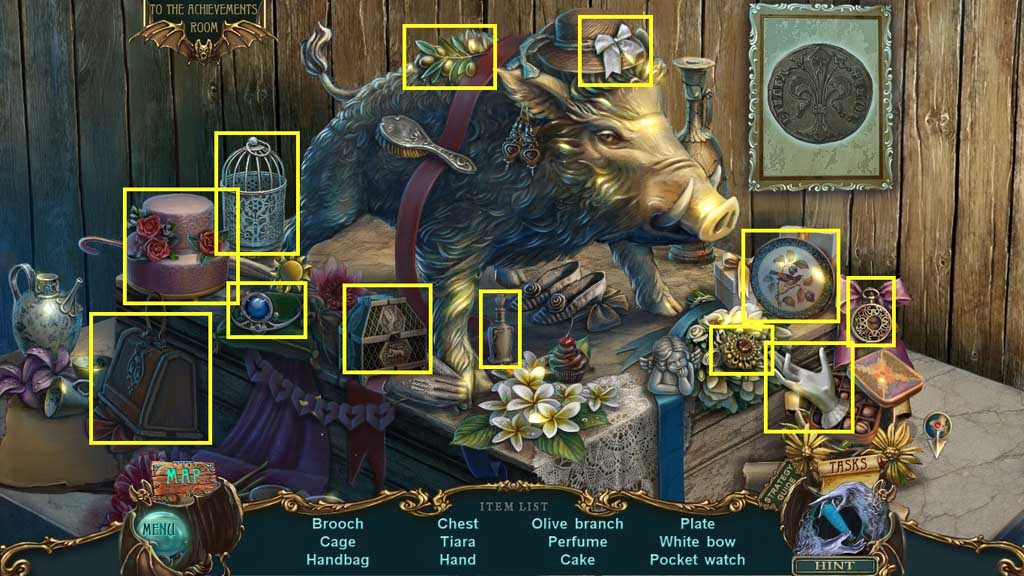
- Find the items.
- Collect 3 /3 coins.
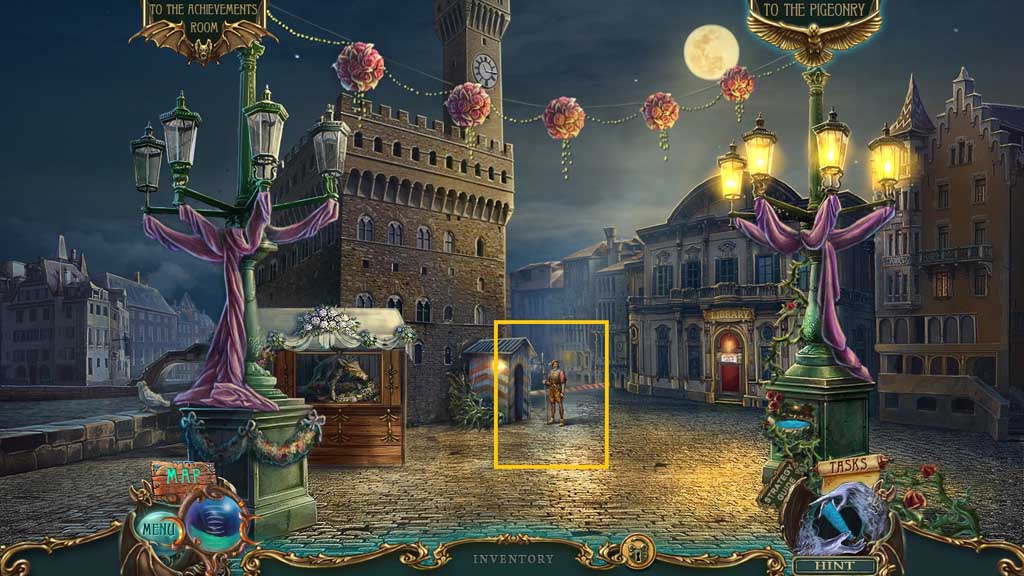
- Give the coins to the guard.
- Move ahead.
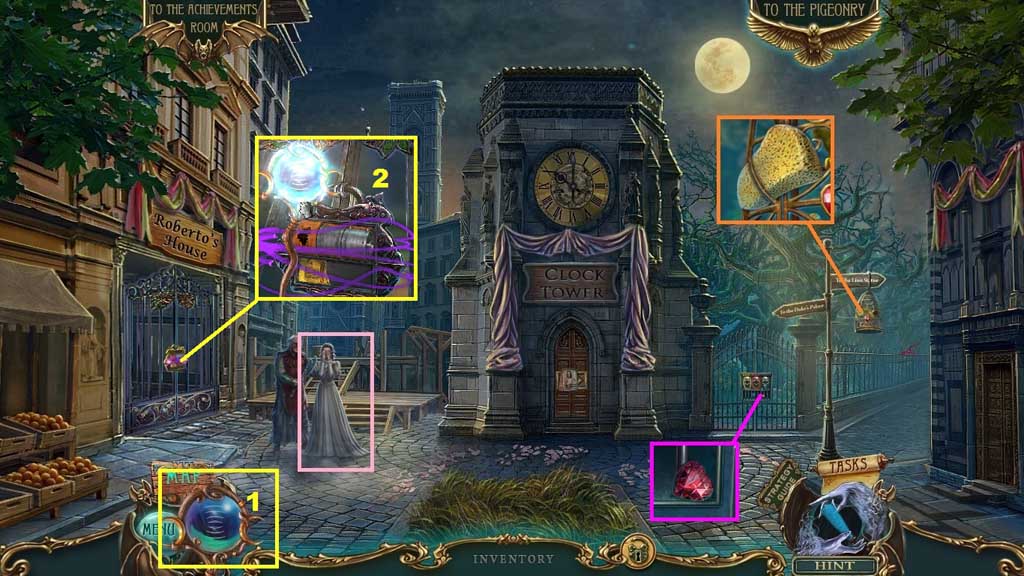
- Speak to Lucia.
- Collect the dry sponge.
- Collect 1 /2 crystal hearts.
- Select the staff to use on the lock to trigger a mini game.
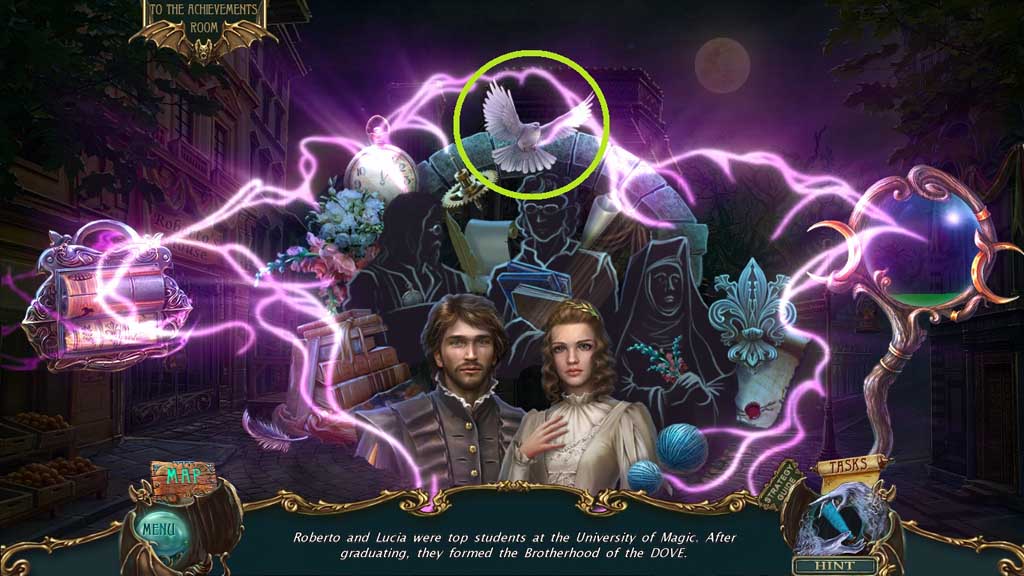
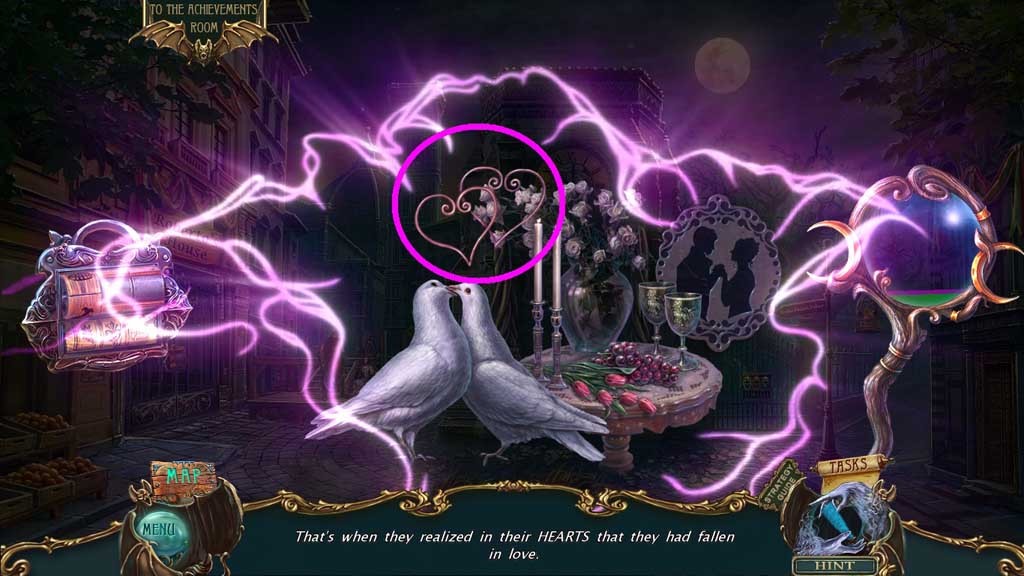
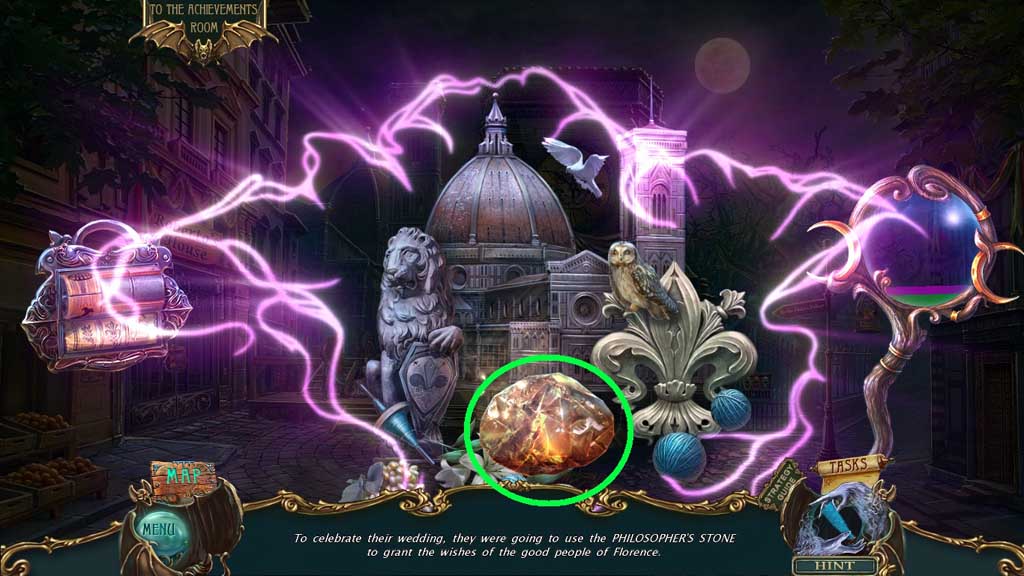
- Solve the game by following the prompts correctly to select the items.
- Move down once and click the hidden objects area.
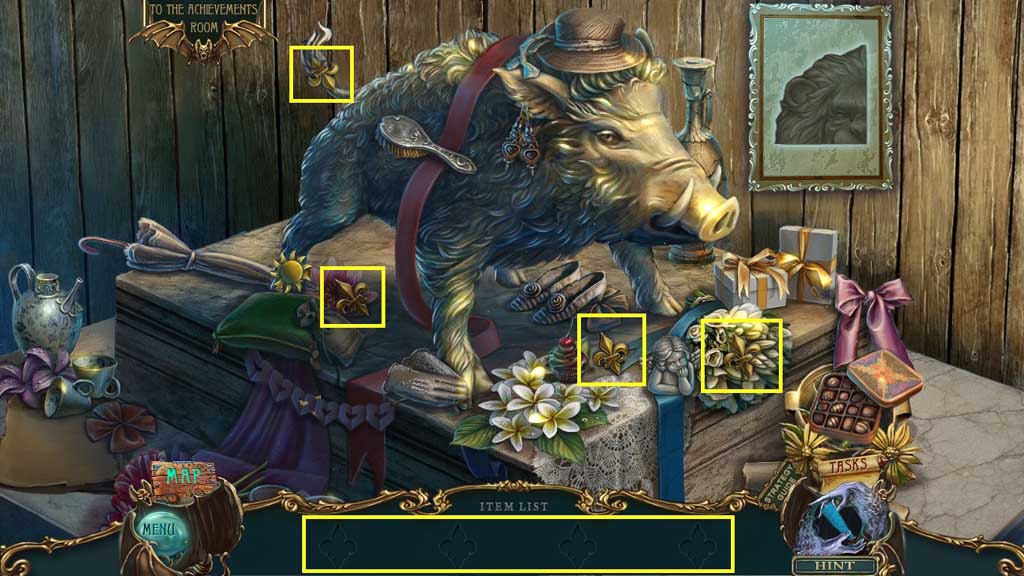
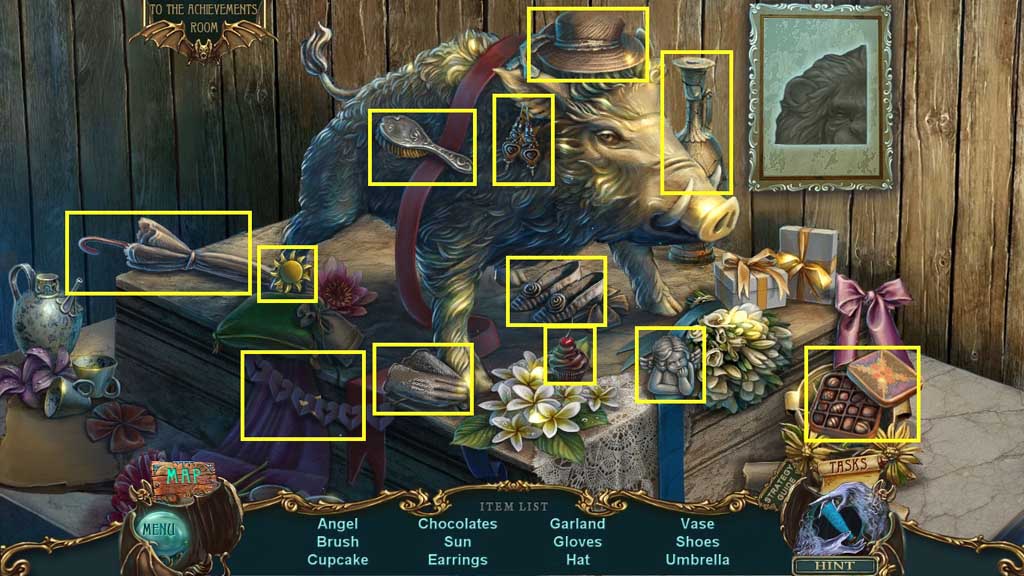
- Find the items.
- Collect the lion emblem.
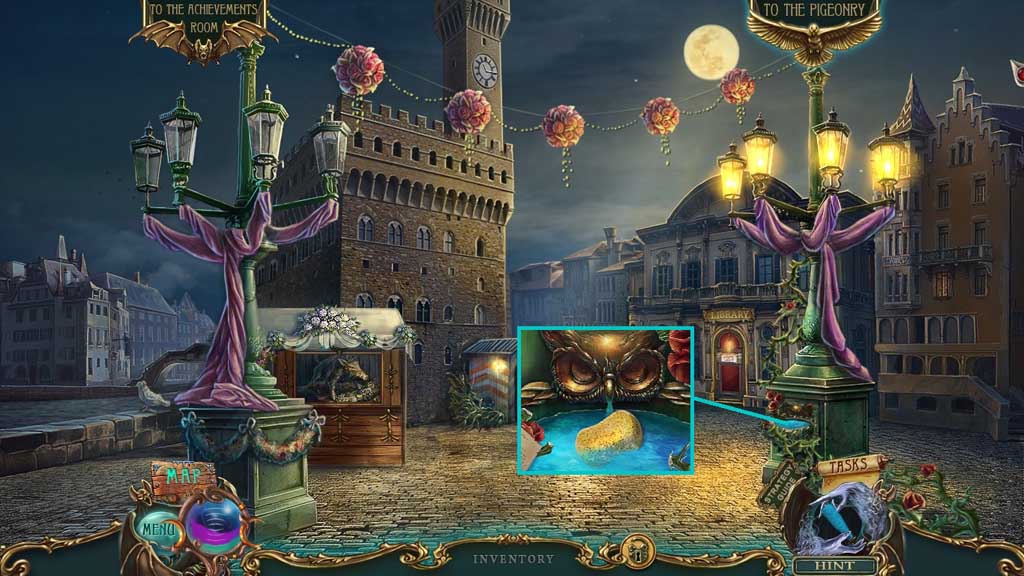
- Dip the dry sponge into the water.
- Move ahead and to the right.
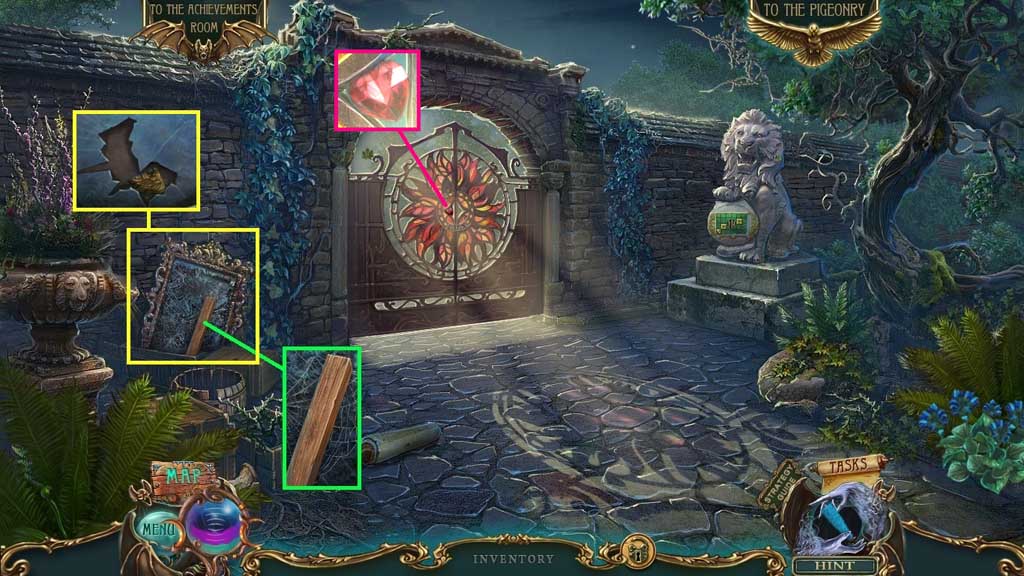
- Collect 1 /2 planks and use the wet sponge to clean the mirror.
- Collect the lion emblem.
- Collect 2 /2 crystal hearts.
- Move down once.
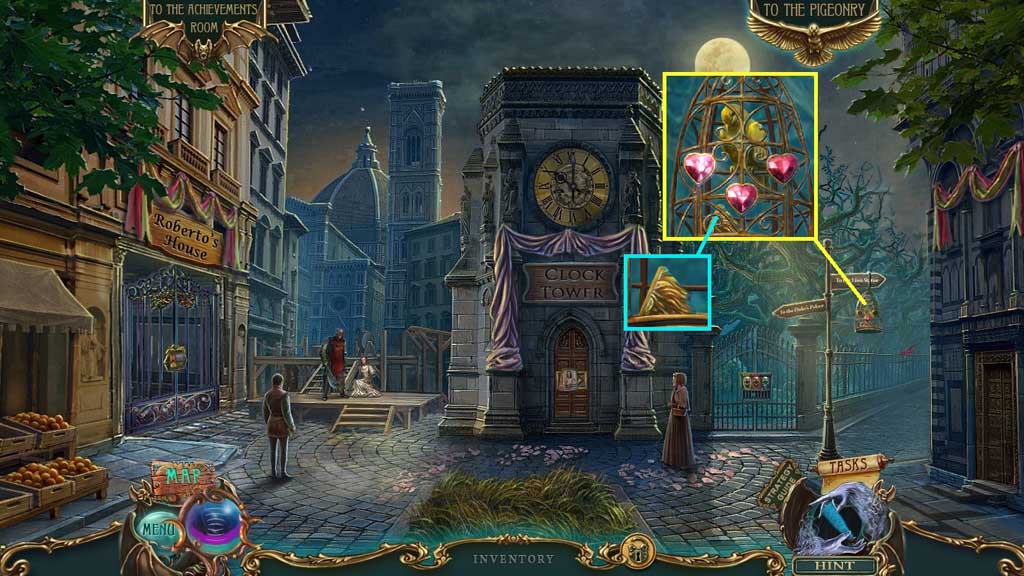
- Insert the 2 crystal hearts.
- Collect the lion emblem.
- Move to the right.
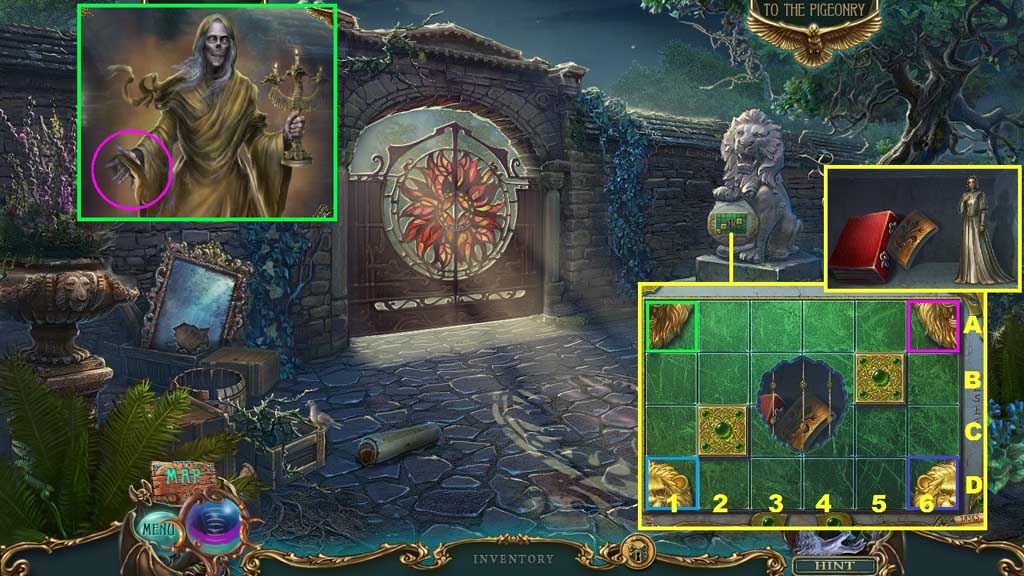
- Insert the lion emblem to trigger a mini game.
- Solve the game by moving the pieces to assemble the lion face.
- Solution: pink C 6 / pink C 3 / purple A 6 / green A 5 / blue A 1 / blue A 4 / purple D 6 / green A 6 / green C 6 / green C 4 / purple D 1 / purple A 1 / purple A 3 / purple B 3 / blue B 4
- Collect the Lucia figurine, the lock part and the red book.
- Speak to the Fate; collect the yellow ribbon.
- Move down once.
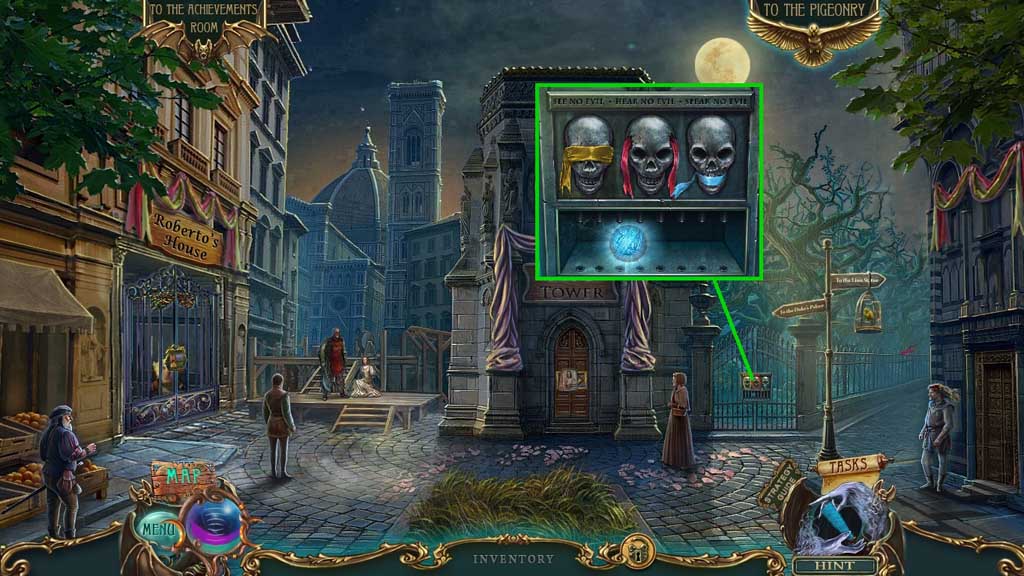
- Place the red and yellow ribbons.
- Collect the threads of fate.
- Move to the right.
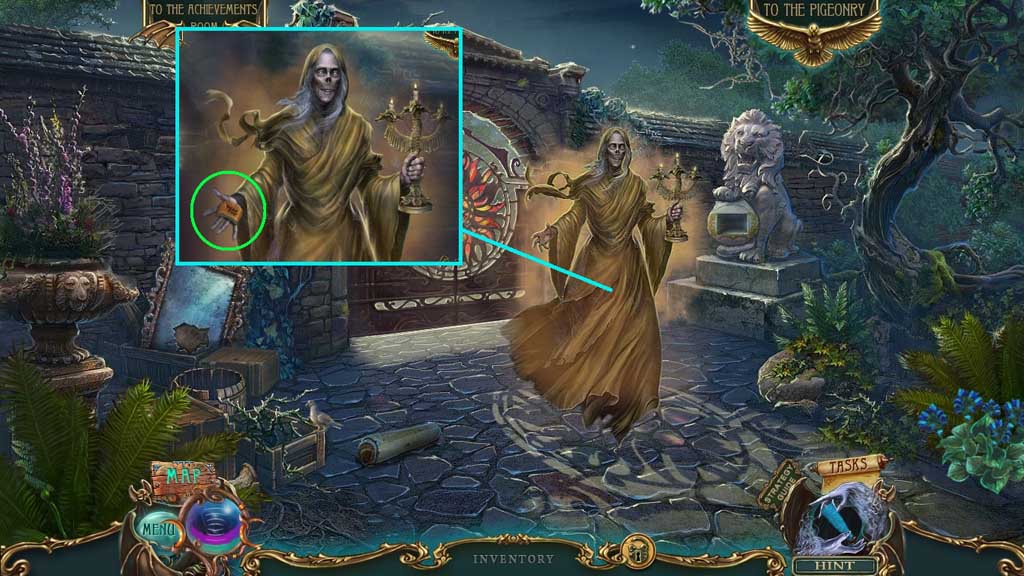
- Give the threads of fate to the Fate.
- Collect the lock part.
- Move down once.
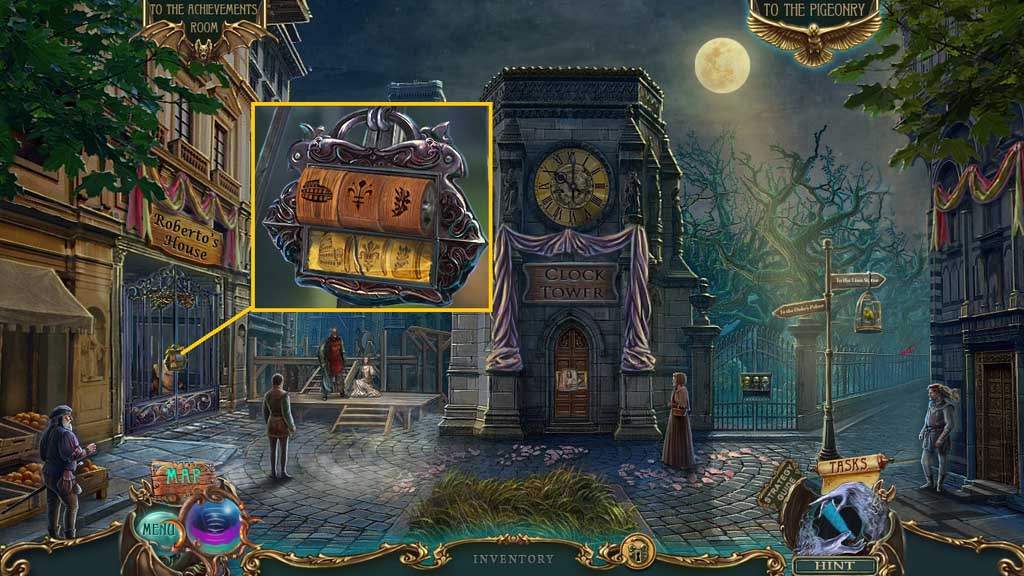
- Place the code and the lock parts onto the lock to trigger a mini game.
- Solve the game by spinning the lock parts to match the code.
- Move to the left.
Comments will load when you reach this part of the walkthrough.