

Chapter Four: The Lowdown
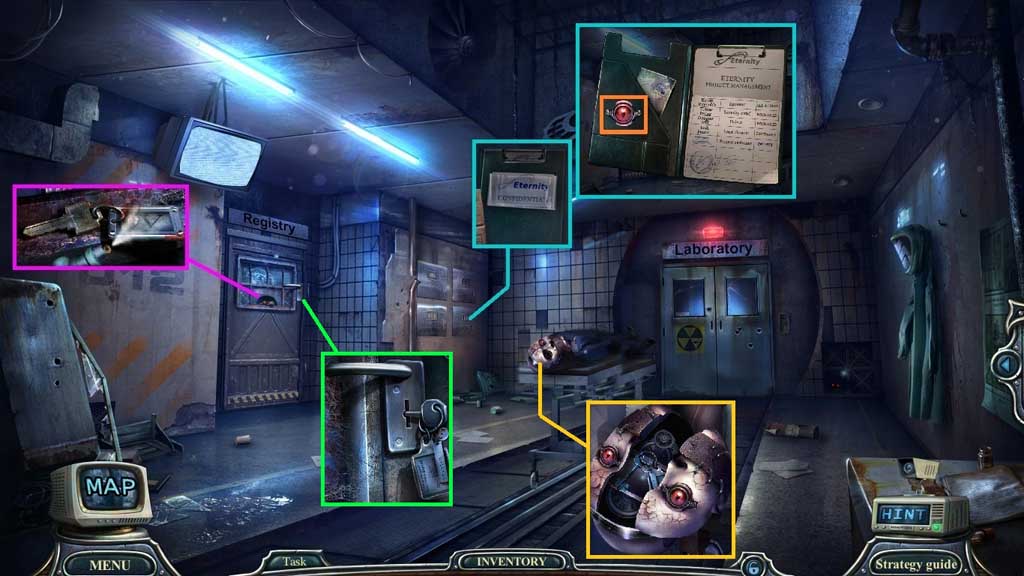
- Select the antitrust spray to collect morgue key 4.
- Insert morgue key 4; click the items aside and collect the registration entries and click it open.
- Collect Douglas’ amulet and insert it into the groove.
- Collect the registry key and insert and click it.
- Enter the Registry.
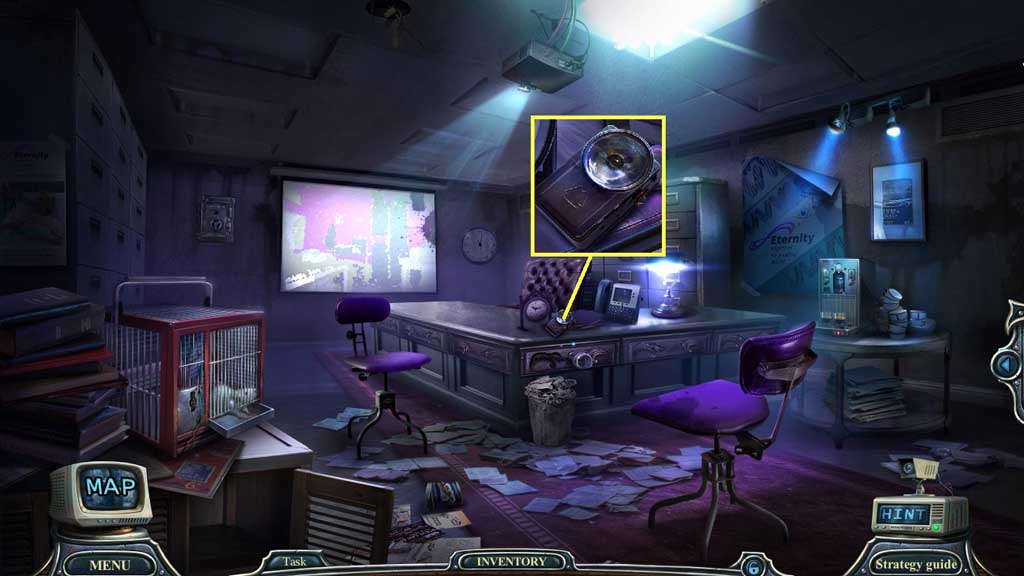
- Collect the flashlight.
- Move down once.
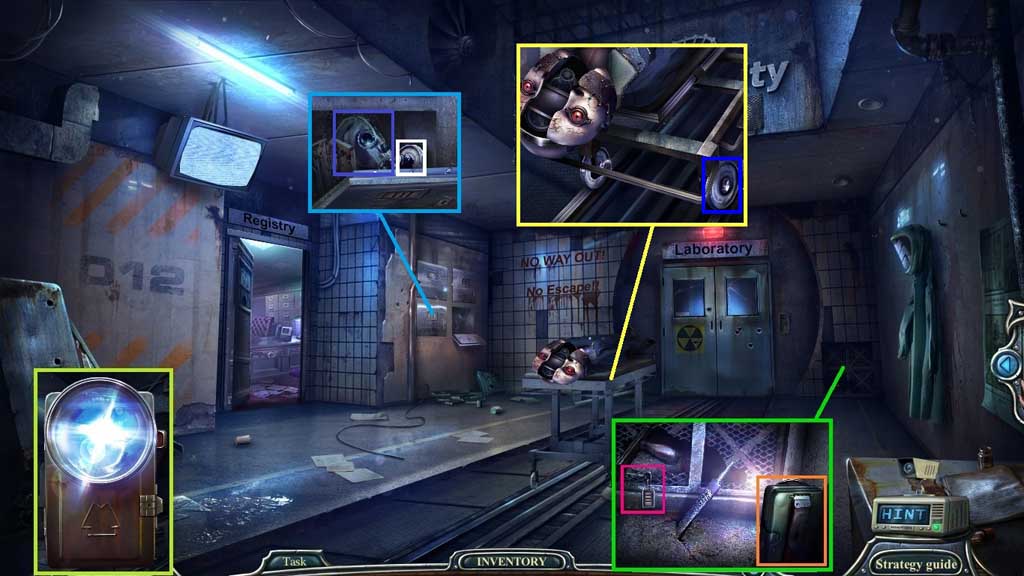
- Click the flashlight cover and insert the batteries.
- Click the cover followed by the red switch.
- Select the working flashlight to collect morgue key 3 and insert it into the lock.
- Collect the gas mask and the gurney wheel; attach the gurney wheel.
- Move into the Lab.
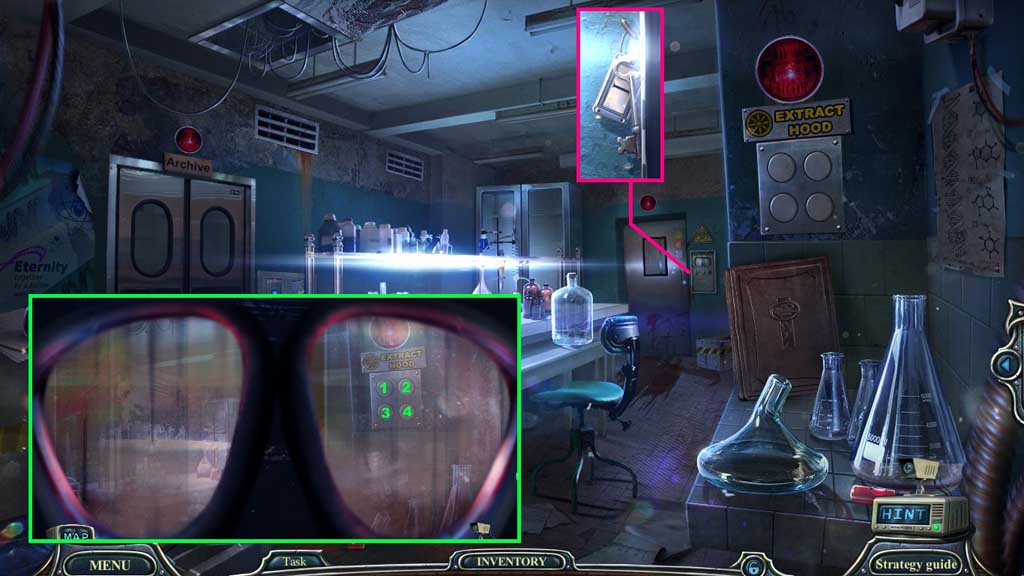
- Click the scene.
- Select the gas mask to
- Ventilate the lab: 3 – 2 - 1 – 4; collect the morgue key.
- Move down once.
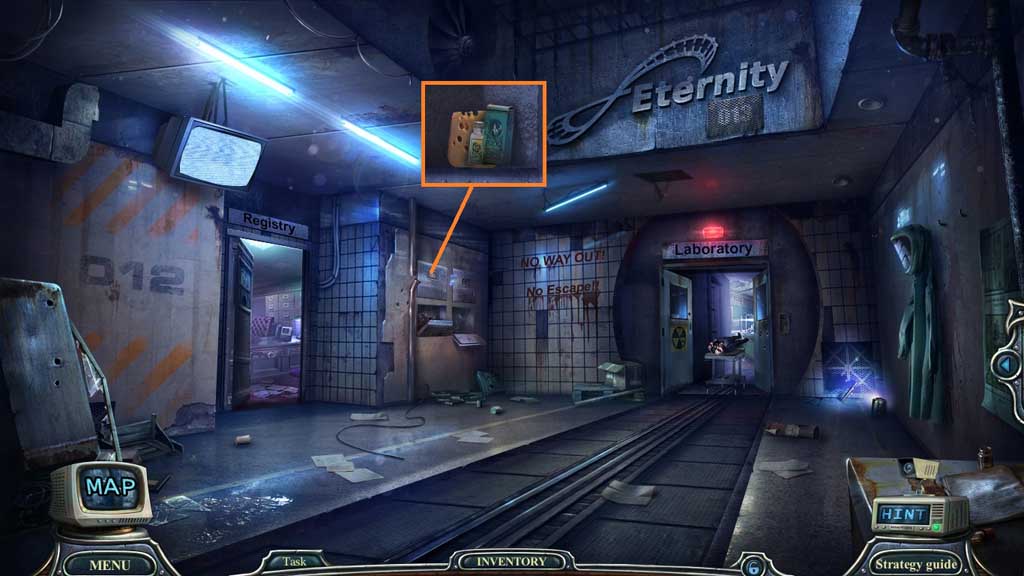
- Insert morgue key 1 and click the items aside.
- Collect the cheese.
- Move to the Registry.
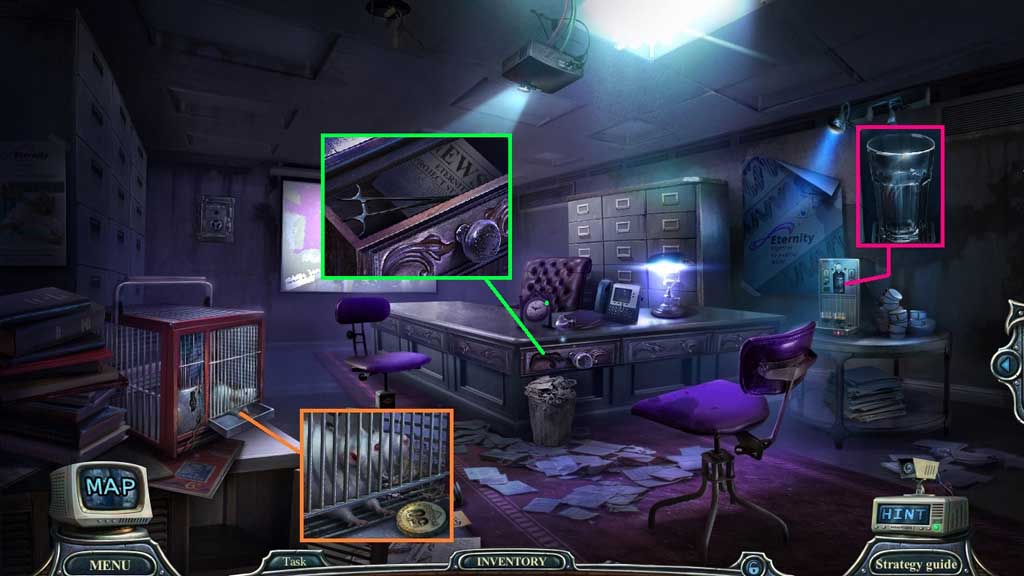
- Give the mouse the cheese; collect the coin and insert it into the machine.
- Click the switch.
- Collect the drawer carving and insert it into the drawer; click it once.
- Collect the surgical clip.
- Move down once.
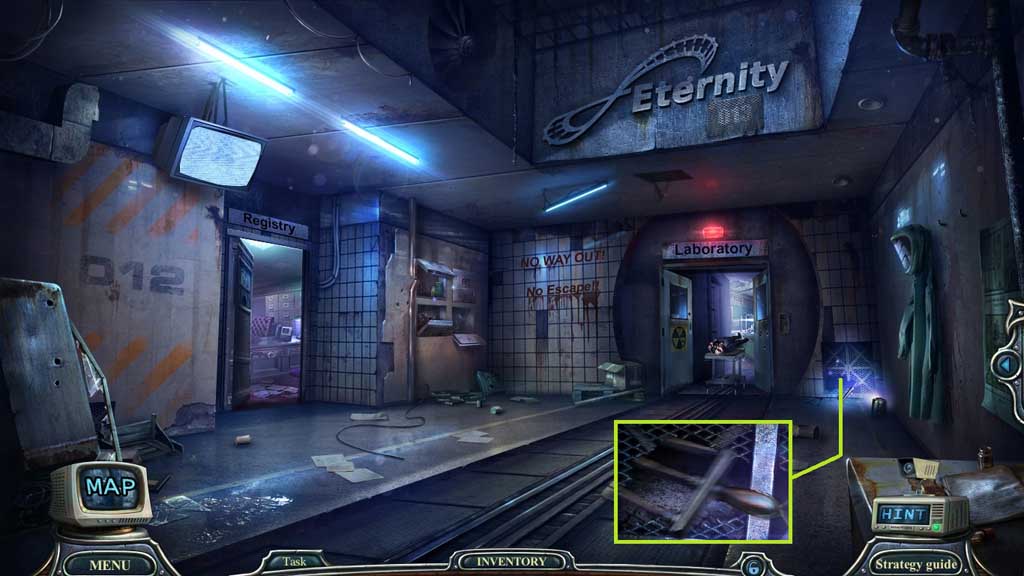
- Select the surgical clip to receive the master switch.
- Move to the Lab.
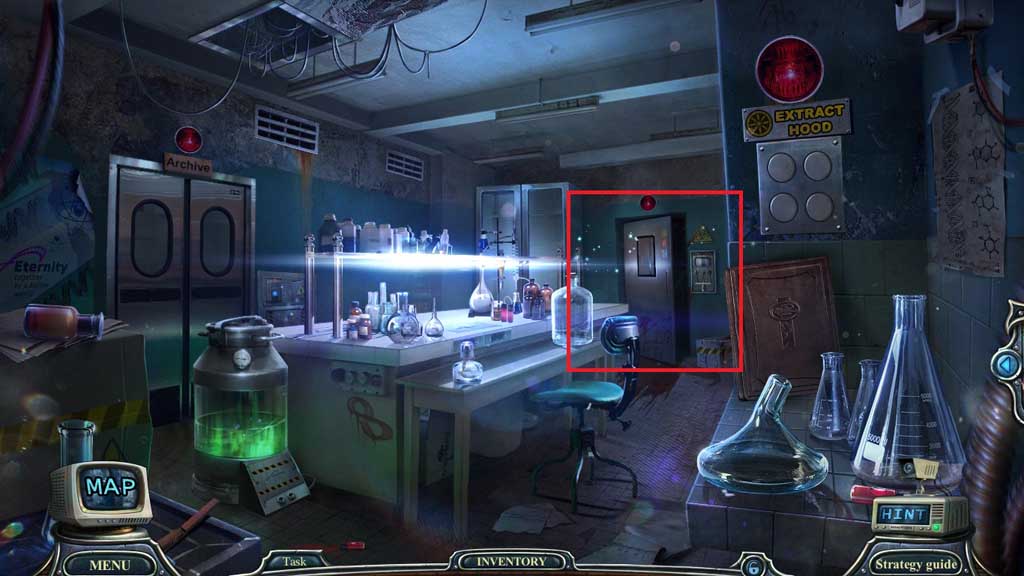
- Insert and click the master switch to trigger a hidden objects area.
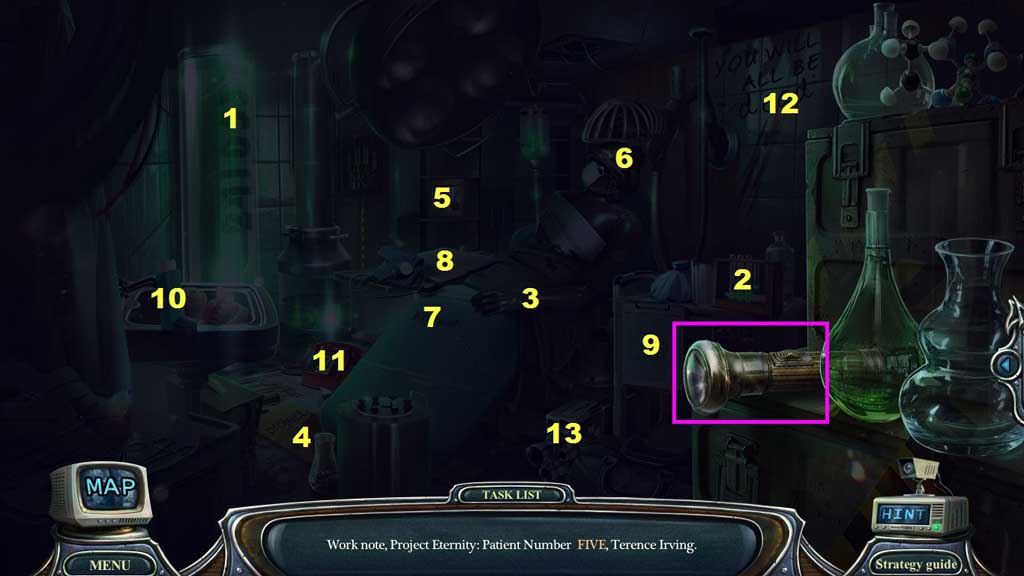
- Click the flashlight.
- Find the items.
- Collect the camera.
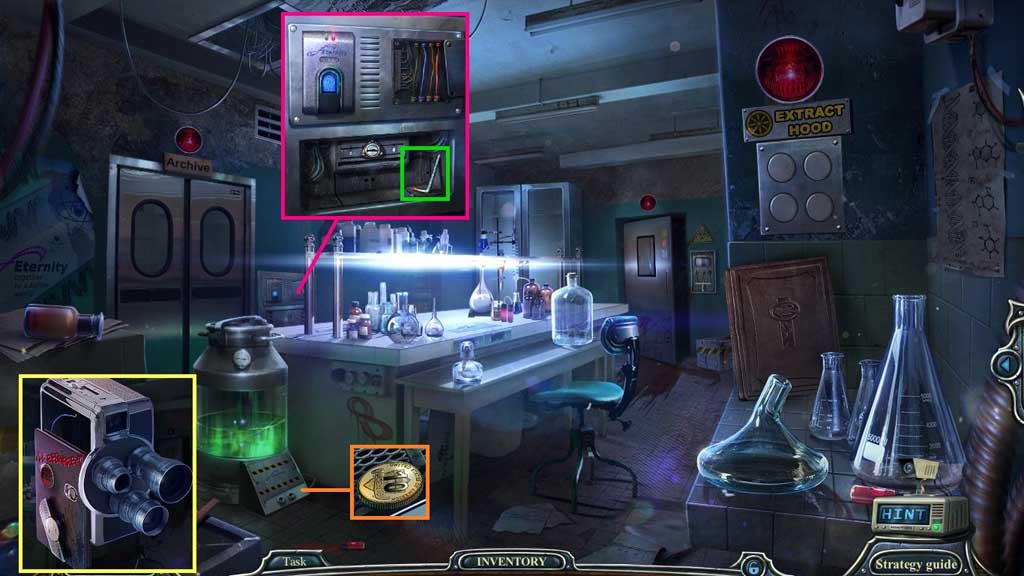
- Click the camera and click the record button; collect the blue wire.
- Click the panel and insert the red and blue wires.
- Collect the hex key and insert it into the base; collect the coin.
- Move to the Registry.
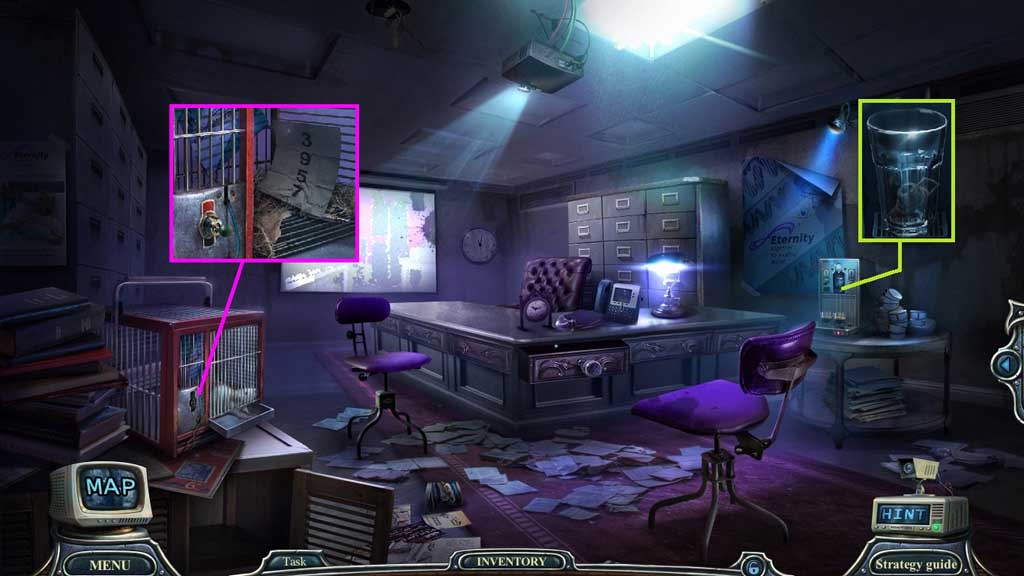
- Insert the coin and click the switch.
- Collect the switch and attach it onto the cage.
- Click it once and collect the access code.
- Move to the Lab.
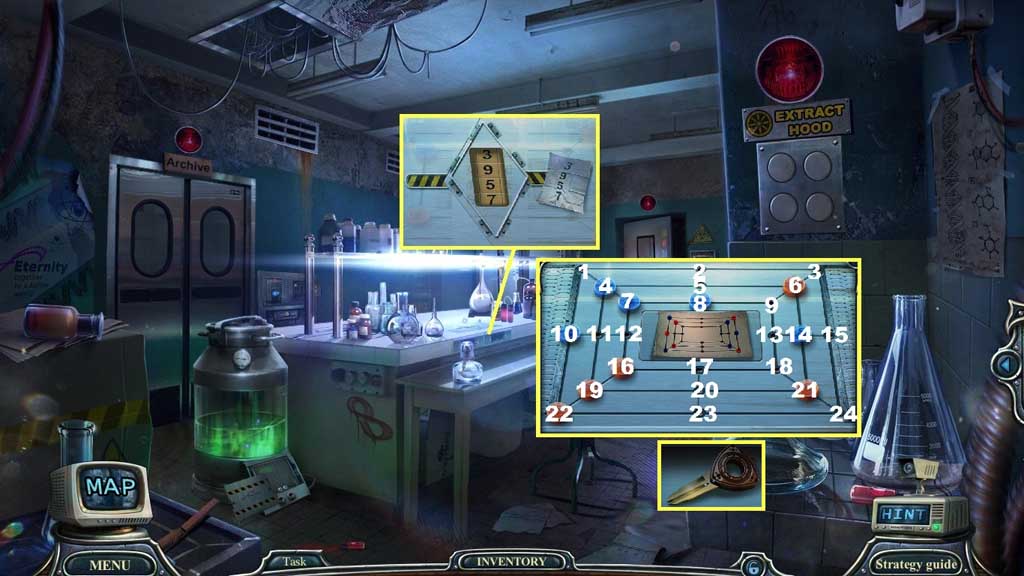
- Select the access code 3 – 9 – 5 – 7 to trigger a mini game.
- Solve the game by aligning the buttons as shown in the diagram.
- Solution: 4 – 1, 19 -11, 11 -4, 22 -19, 10-22, 16 -12, 12 -11, 11- 10, 6 -3, 21 -24, 14 -15, 8 -9, 9-13, 13- 18, 18 -21, 7 -8, 8 -9, 9 -6.
- Collect the lab assistant’s key.
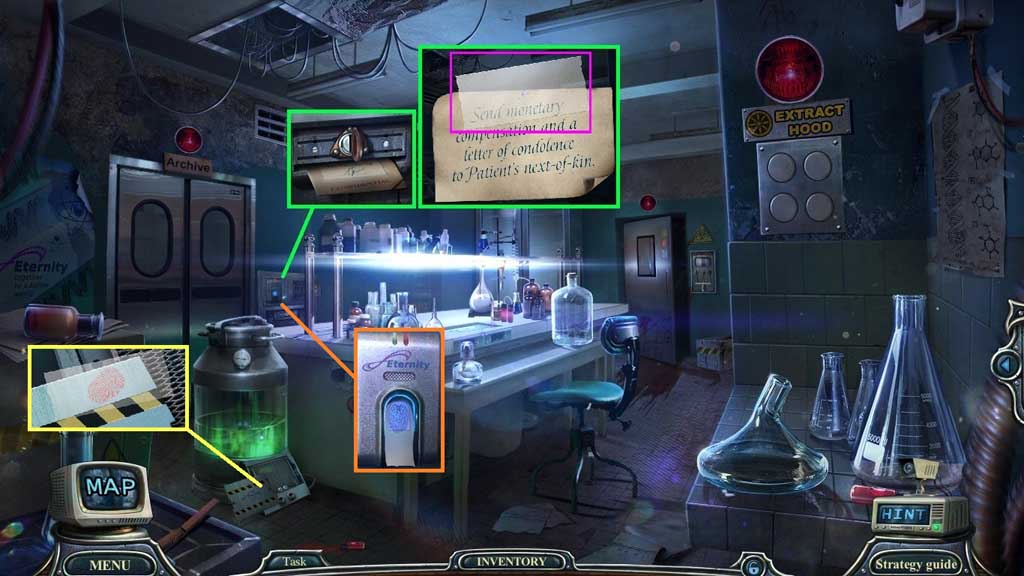
- Insert the lab assistant’s key and click it once; collect the patient profile and click it open.
- Read the note; collect the piece of tape and use it to collect the fingerprint.
- Use the fingerprint to enter into the Archives.
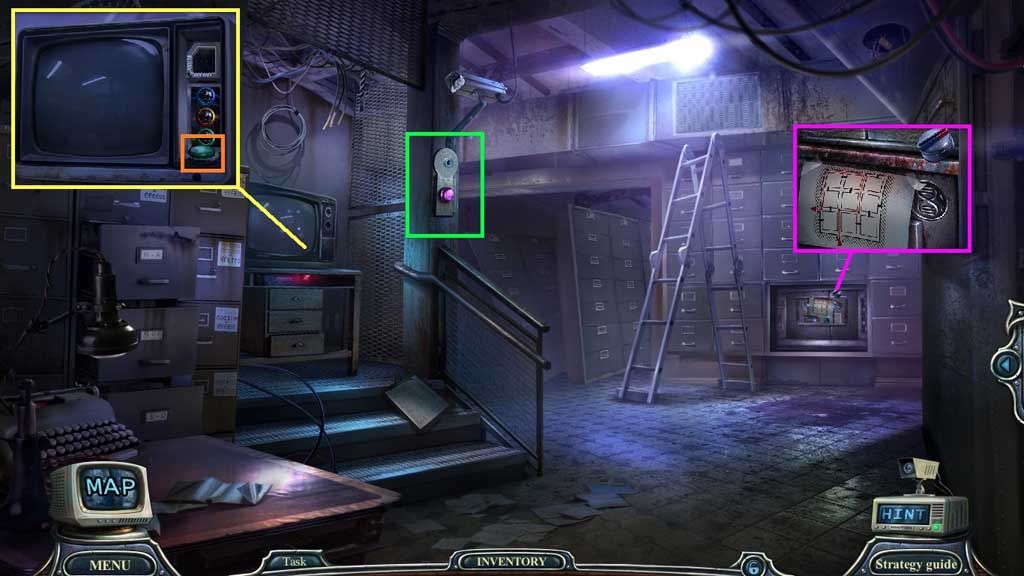
- Collect the volume control and the ventilation system plan.
- Insert the hex key; collect the button.
- Attach the volume control and insert the cork into the TV; collect the button.
- Move down once.
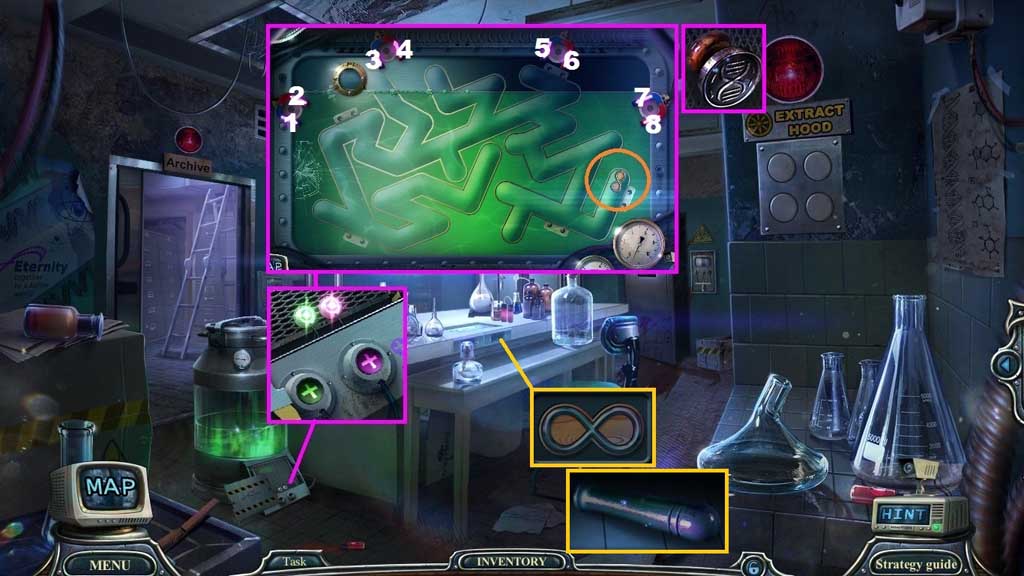
- Insert the 2 buttons and click them to trigger a mini game.
- Solve the game by using the magnets to guide the emblem through the maze.
- Solution: 5 – 2- 6 – 7- 4 – 8 – 2 – 7 x 3 – 6 – 2 – 4 – 2
- Collect the eternity emblem.
- Collect the DNA shaped seal.
- Insert the eternity emblem; collect the file handle.
- Move down once.
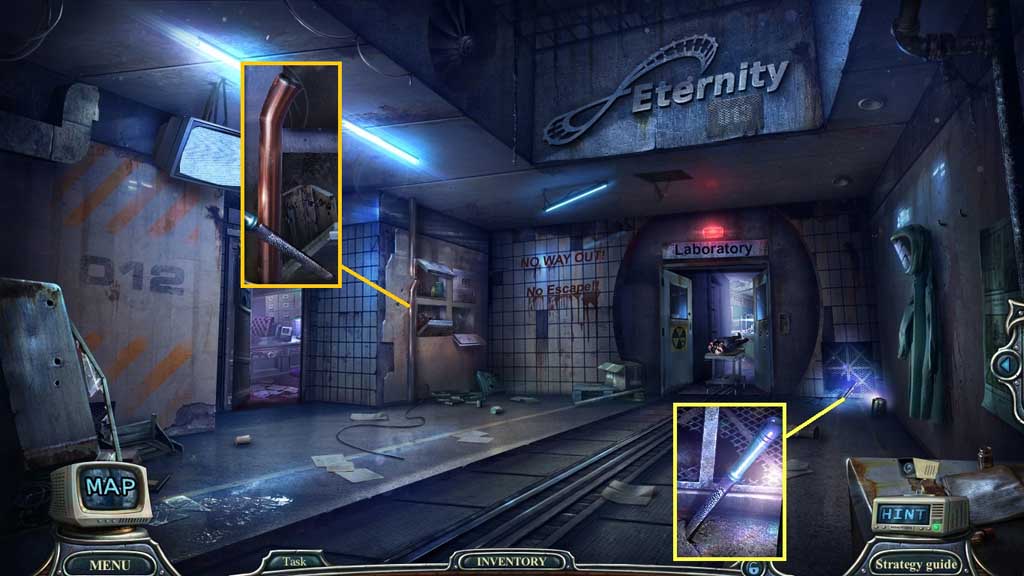
- Attach and click the file handle.
- Select the file to collect the pipe piece.
- Move to the Archives.
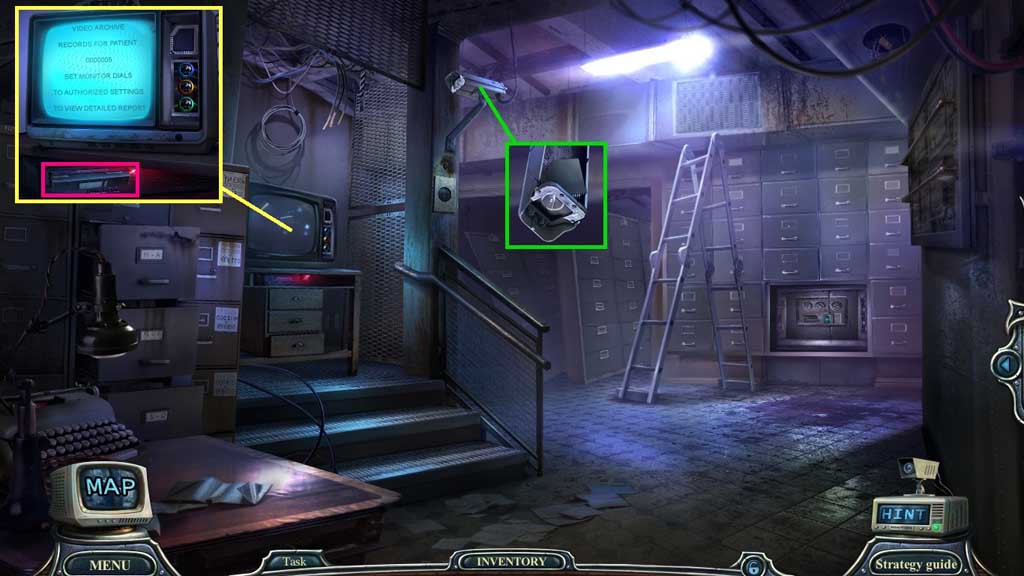
- Select the pipe piece to strike the camera; collect the chip.
- Insert the chip into the TV; collect the videotape.
- Move down once.
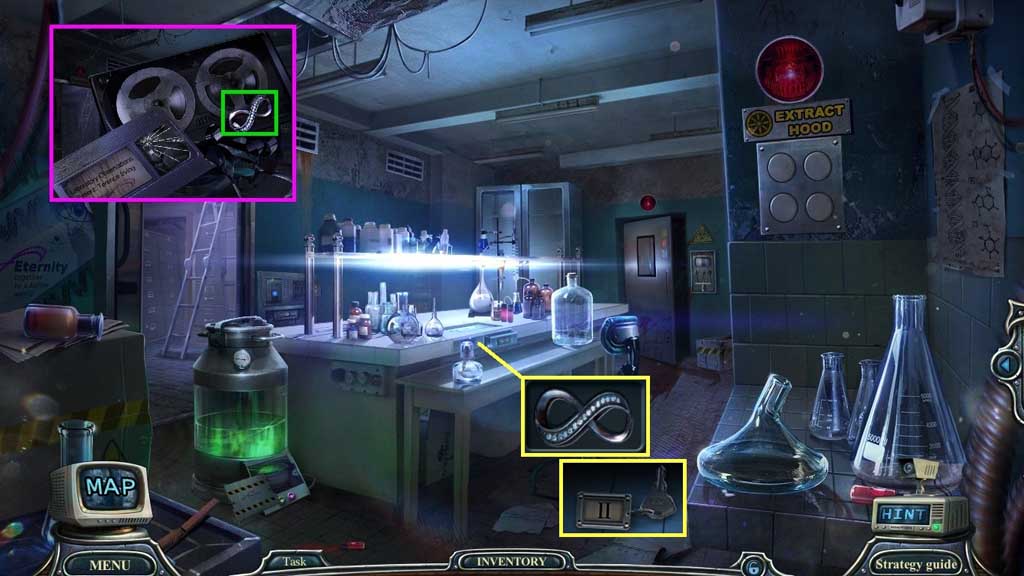
- Click the videotape 2x’s; collect the eternity emblem.
- Insert the eternity emblem to collect morgue key 2.
- Move down once.
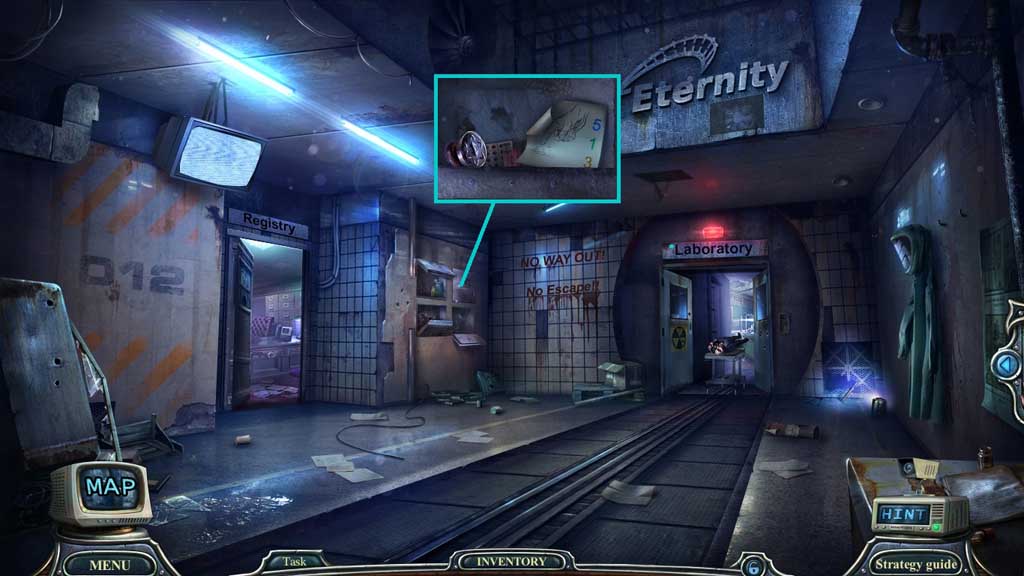
- Insert morgue key 2.
- Collect the hint and the atom shaped seal.
- Move to the Archives.
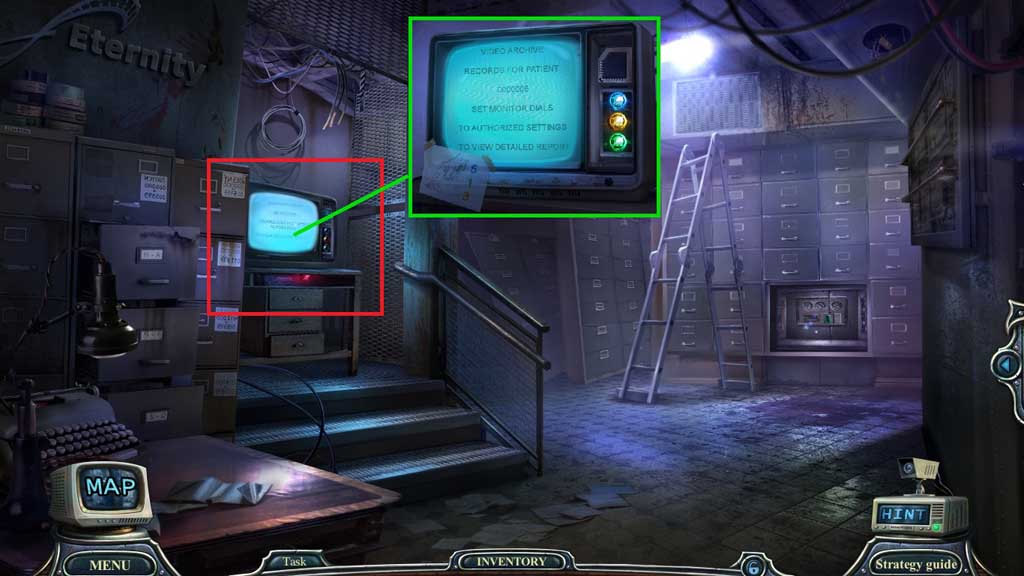
- Place the hint to trigger a mini game.
- Solve the game by clicking the buttons as shown on the diagram.
- Click the hidden objects area.
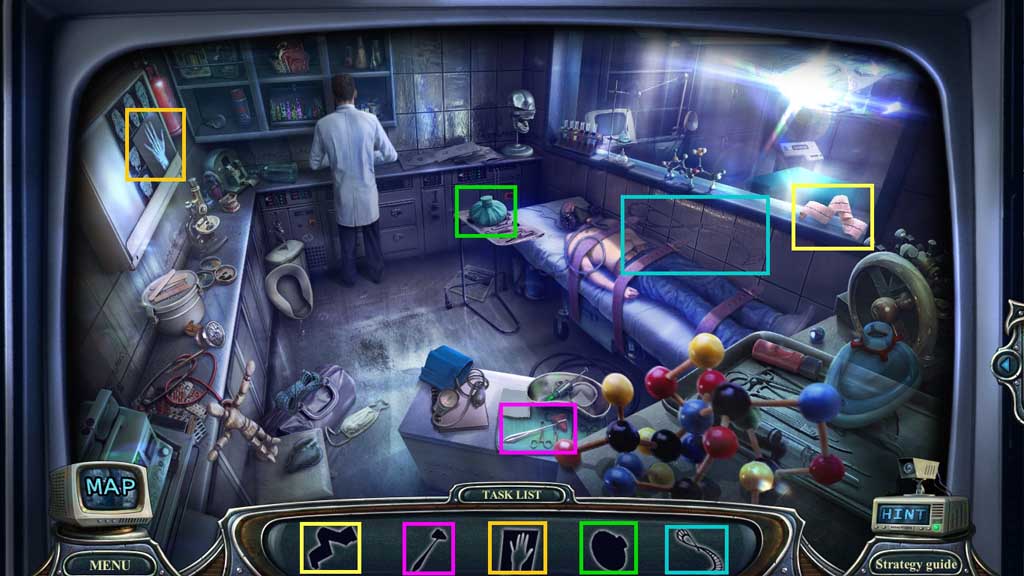
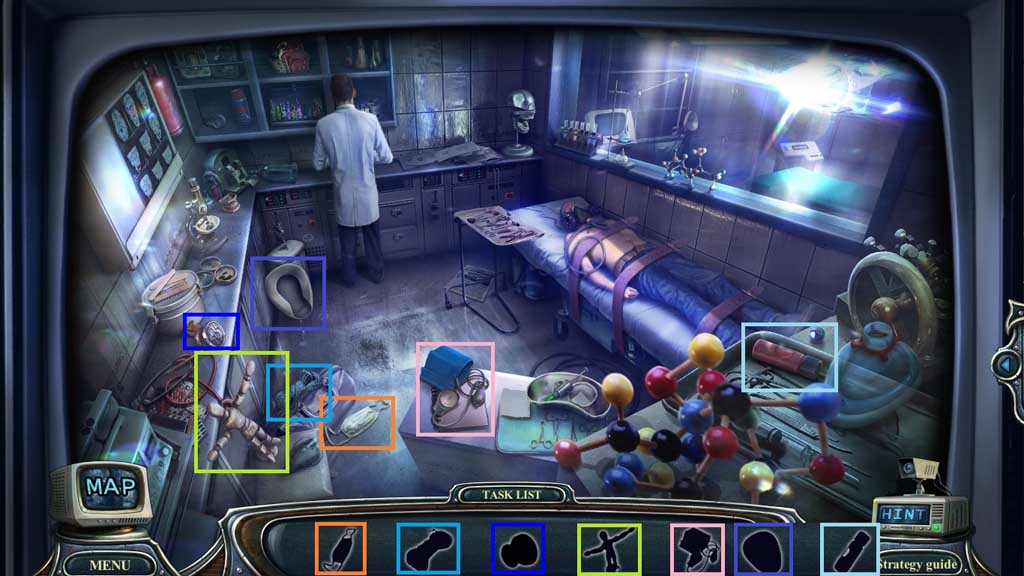
- Find the items.
- Collect the infinity shaped seal.
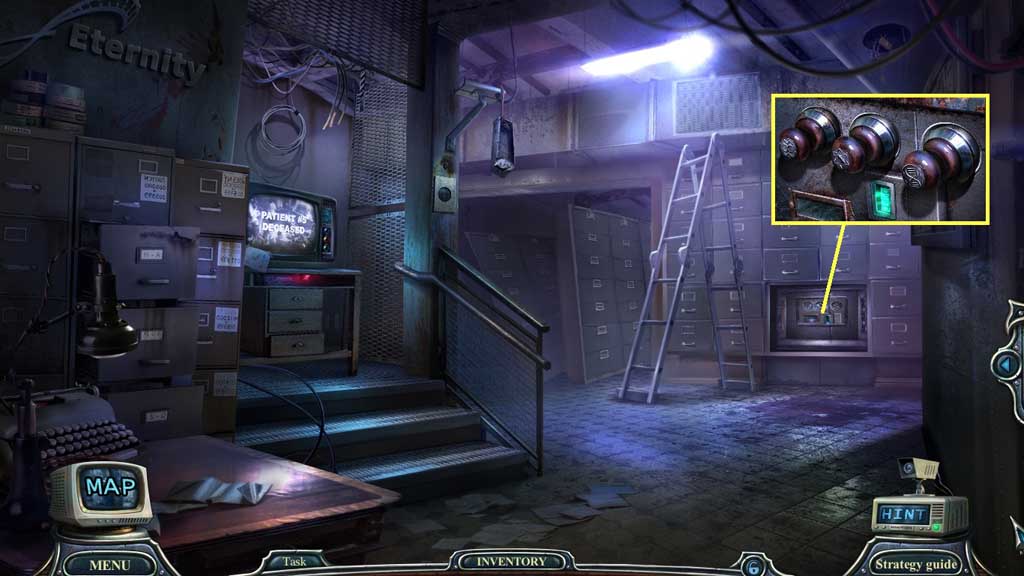
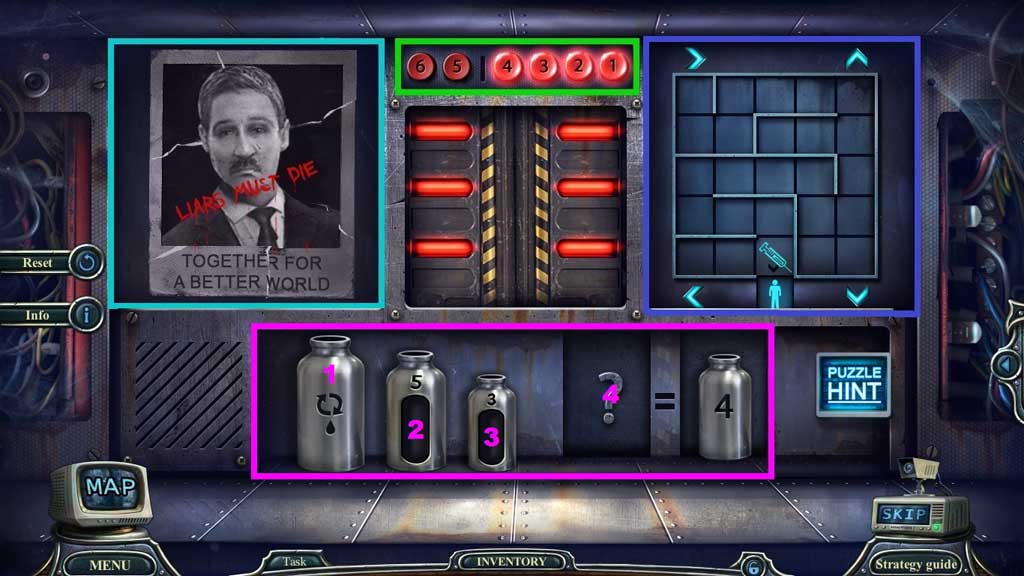
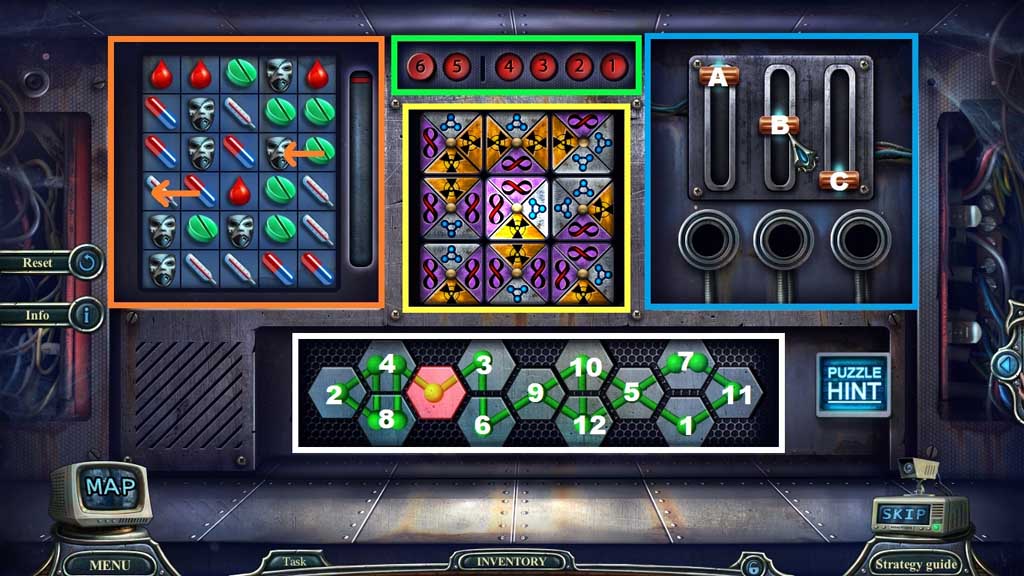
- Insert the DNA-shaped and atom shaped seals and infinity shaped seals to trigger a mini game.
- Solve the game by following the prompts.
- Click 4 – 1 – 3 – 2 (green box).
- Assemble the image correctly (turquois box).
- Click 1 – 3 – 4 - 2 (green box).
- Guide the medicine through the maze (purple box).
- Down – right – up – right 3x’s – down 3x’s – left – up – left 3x’s – down – right 2x’s – down 2x’s.
- Click 1 – 2 - 3 – 4 (green box).
- Arrange the bottles correctly (pink box): 1 – 3, 3 – 2, 1 -3, 3 -2, 2 – 1, 3 -2, 1 -3, 3 -2, 2 - 4
- Click 2 – 4 – 3 – 1 - 5 (green box).
- Match 3 items to fill the meter (orange box).
- Adjust the levers correctly (blue box): A – C - B
- Click the symbols (white box) in the correct order.
- Click 4 – 2 – 1 – 3 – 6 – 5 (green box).
- Align the tiles correctly (yellow box).
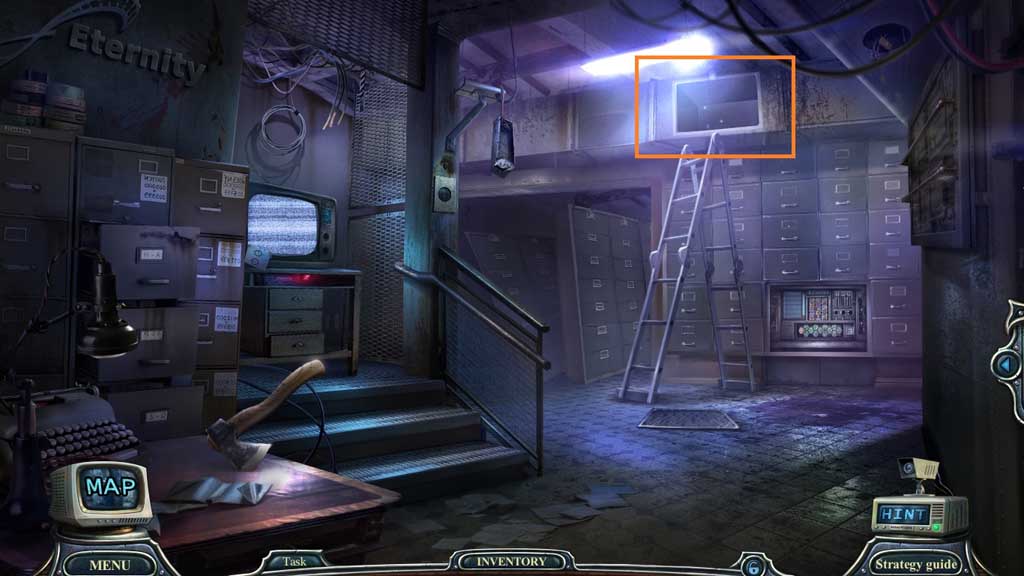
- Move into the Ventilation Shaft.
Comments will load when you reach this part of the walkthrough.