

Chapter Two: Werewolf
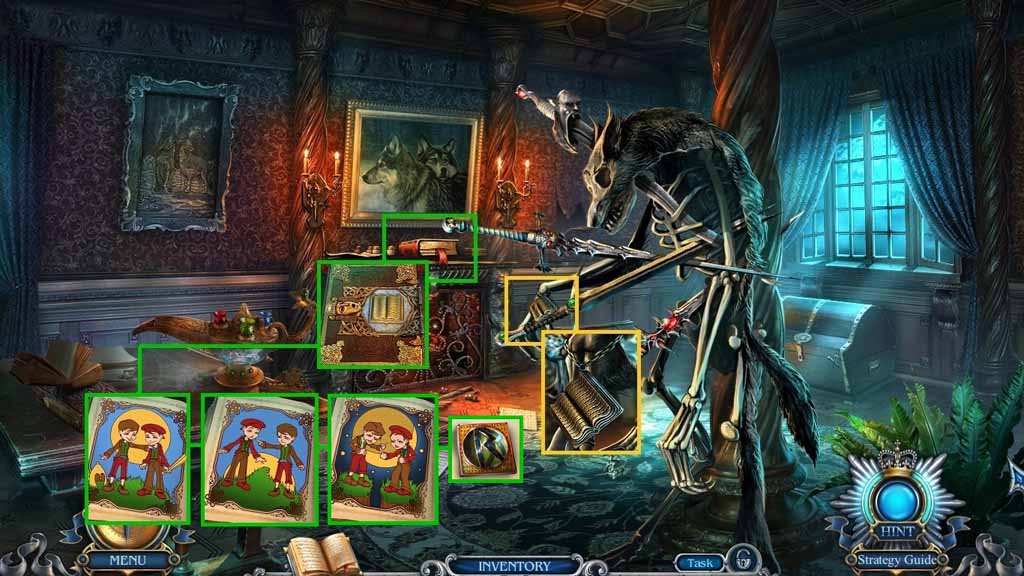
- Send the flutter fire into the room.
- Collect the book tile; place the book tile into the groove.
- A mini-game will trigger.
- Solve the game by painting the pictures using the color coded paints.
- Collect the rune.
- Move to the Hotel Entrance.
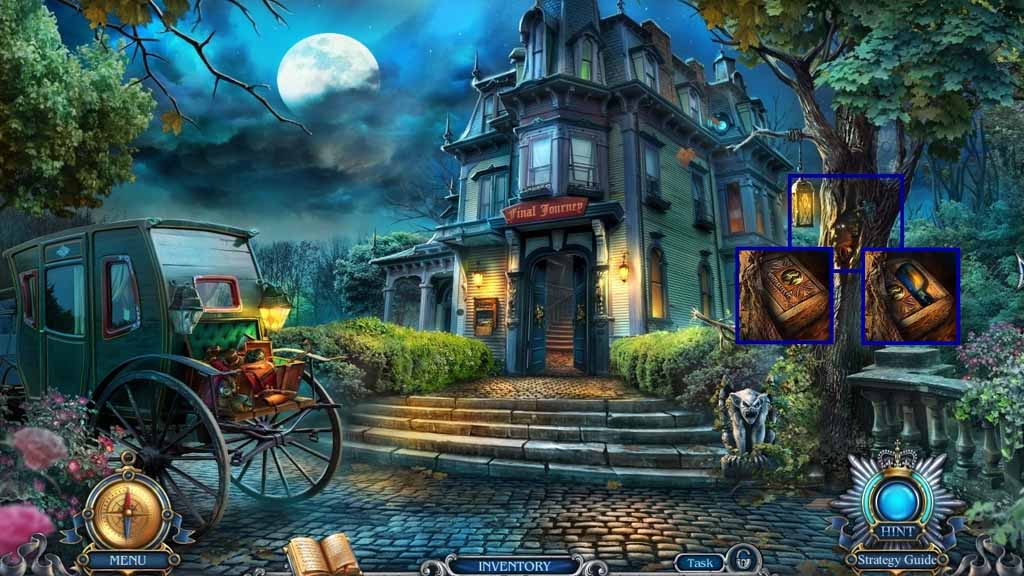
- Place the rune into the groove; collect the blue elixir.
- Move to the Werewolf’s Room.
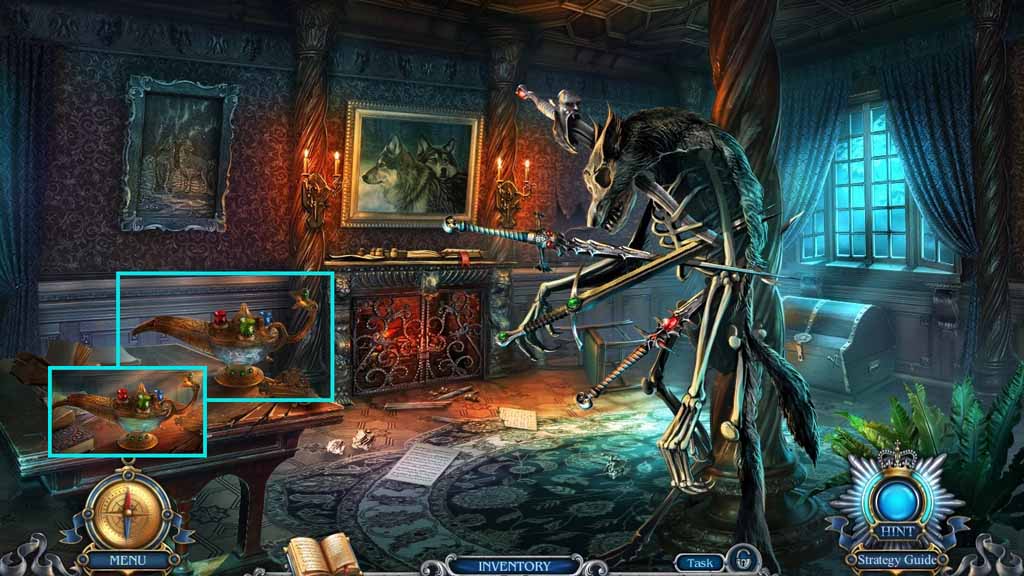
- Pour the blue and green elixir along with the blood into the lamp.
- Collect the magic lamp.
- Move to the Hallway.
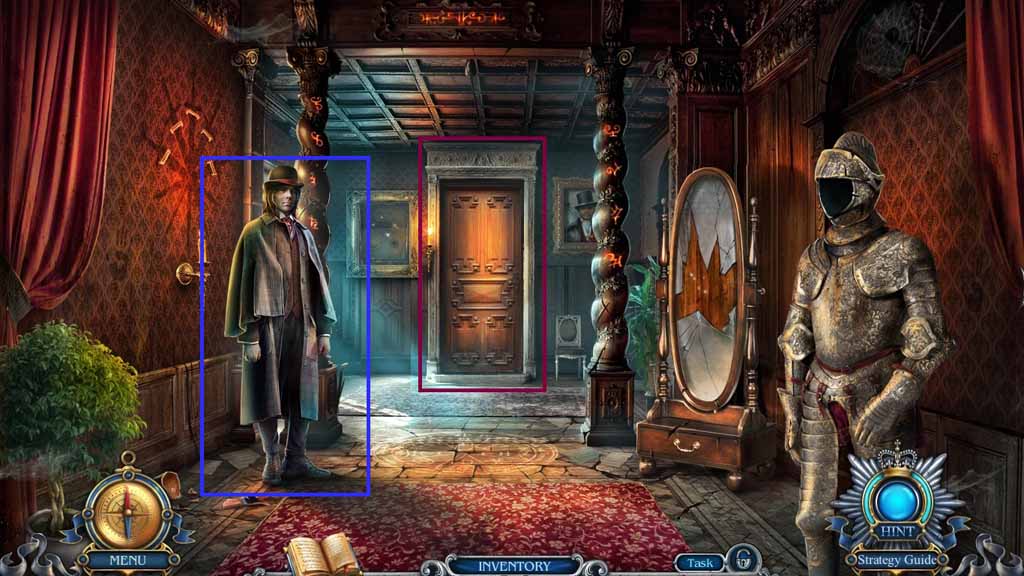
- Give the magic lamp to the man.
- Click the door open.
- Move into the office.
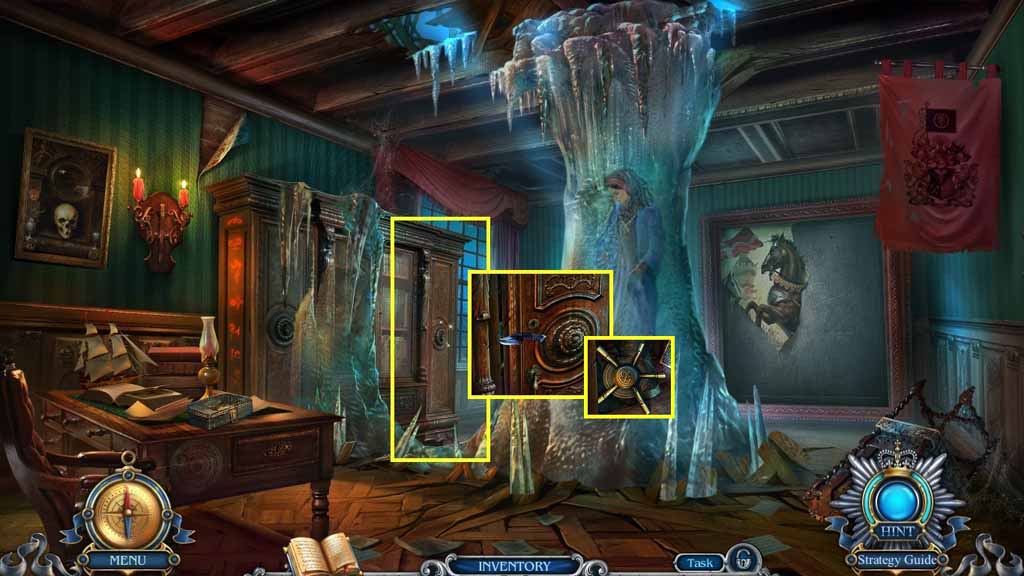
- Use the dagger to open the door.
- Collect the safe knob.
- Move down once.
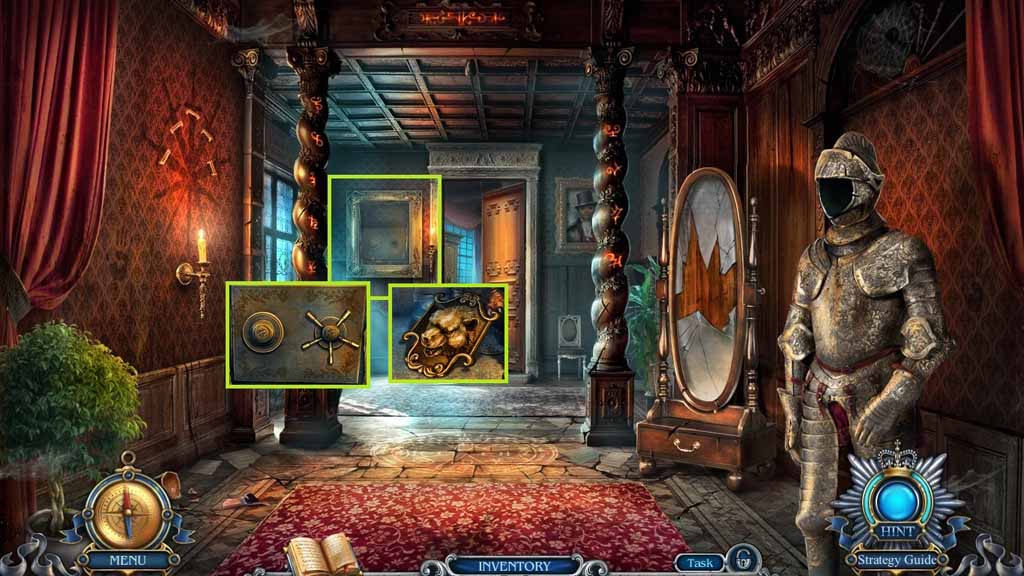
- Attach the safe knob onto the safe and click it.
- Collect the Bear’s Head Medallion.
- Move to the Werewolf’s Room.
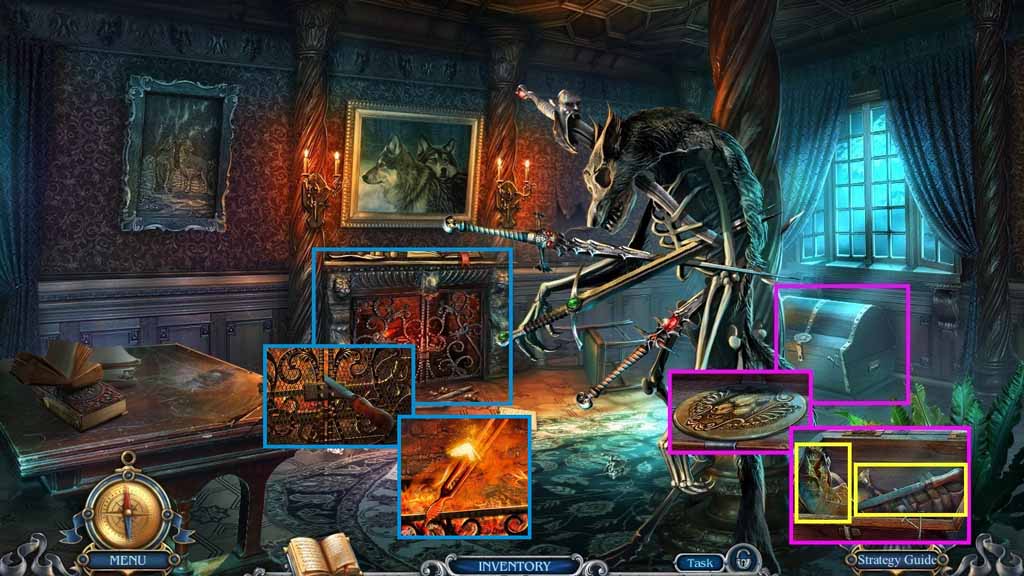
- Place the Bear’s Head Medallion into the groove; collect the picture piece and the file.
- Use the file to saw the grating.
- Send the flutter fire into the flames; collect the tuning fork.
- Move to the Office.
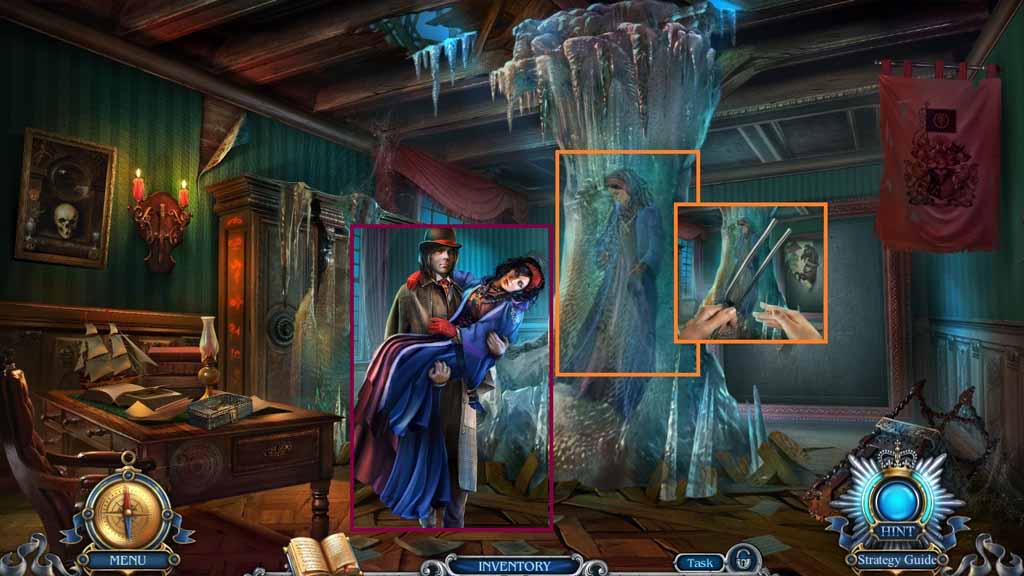
- Use the tuning fork to crack the ice.
- Speak to the man.
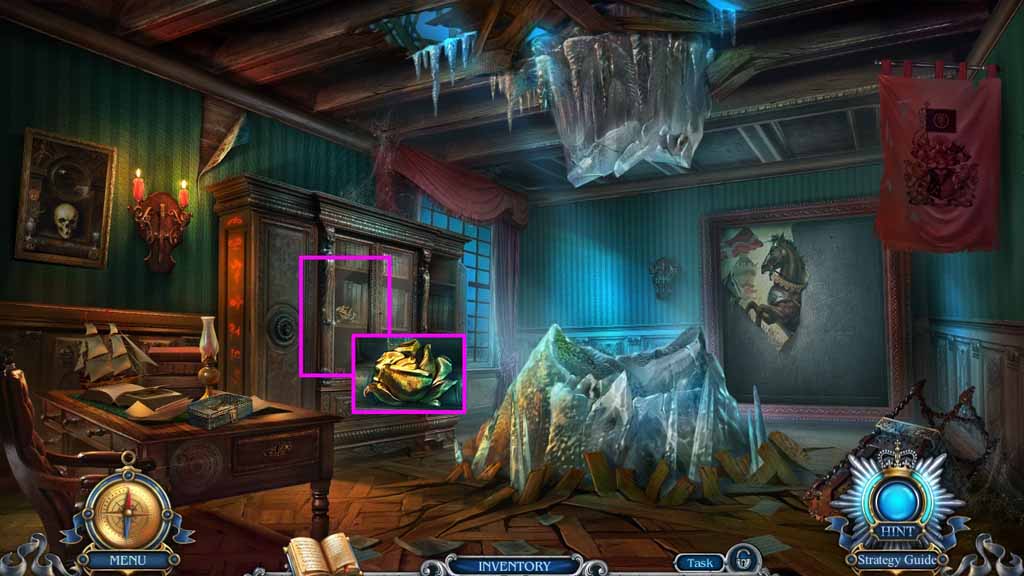
- Click the door open; collect the metal rose.
- Move down 2 times.
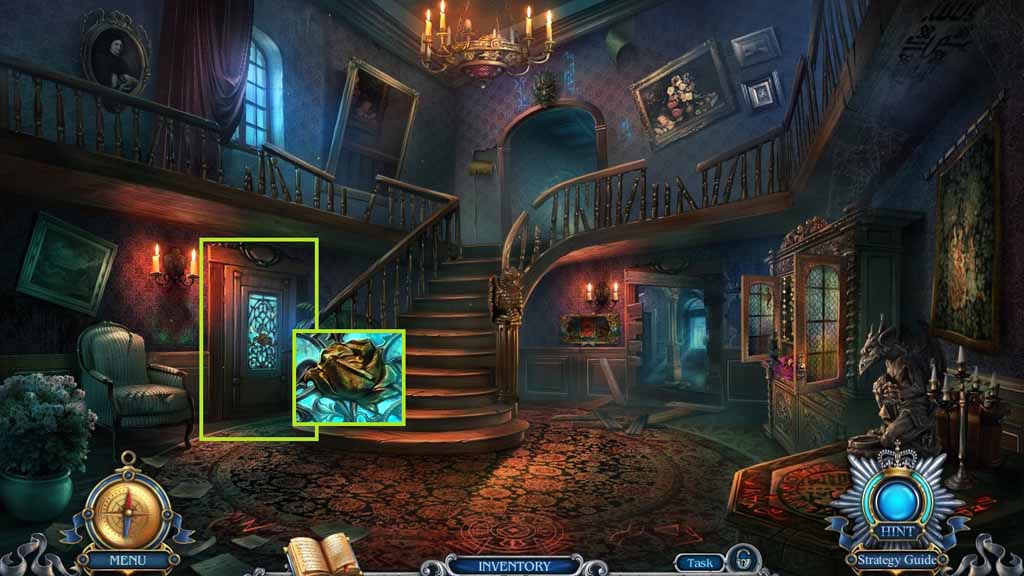
- Place the metal rose into the groove.
- Move into the Garden.
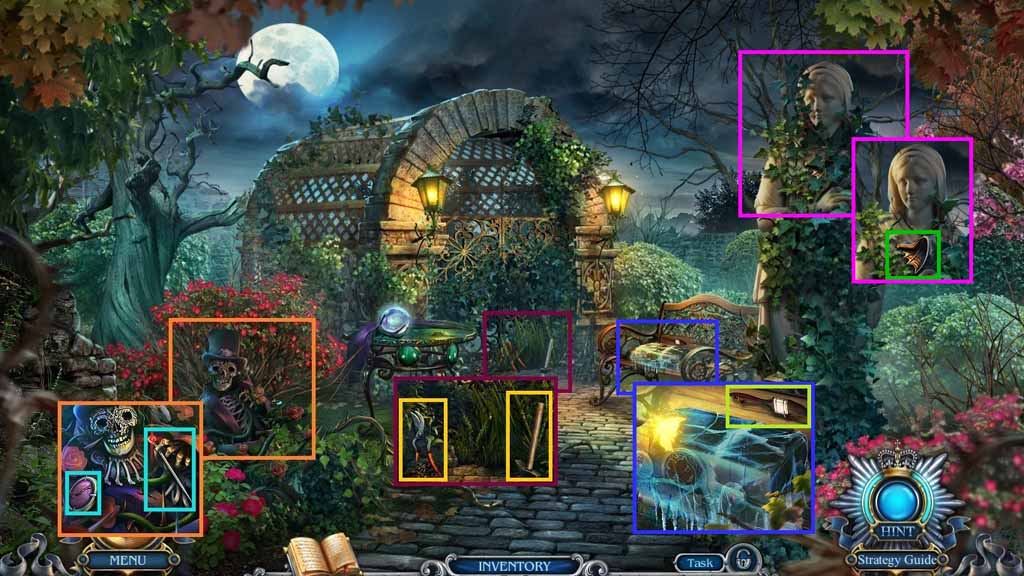
- Collect the tiles.
- Collect the pin.
- Select the oil can and pour it onto the pruning shears; collect the pruning shears.
- Collect the hammer.
- Collect the paintbrush.
- Use the flutter fire to melt the ice.
- Use the pruning shears to cut the vines.
- Collect the dragon’s wing.
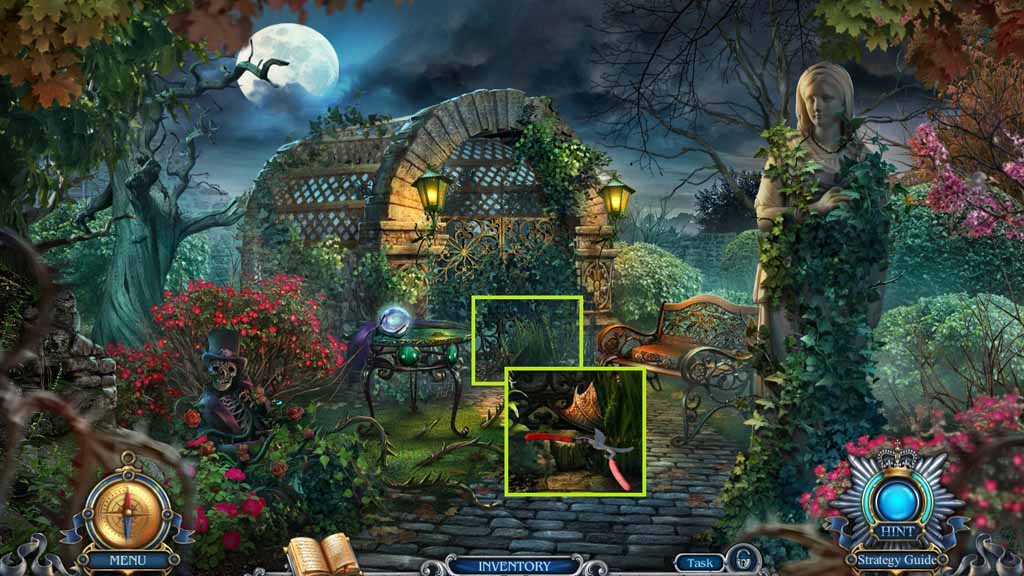
- Use the pruning shears to cut the grass; collect the dragon’s wing.
- Move to the Hallway.
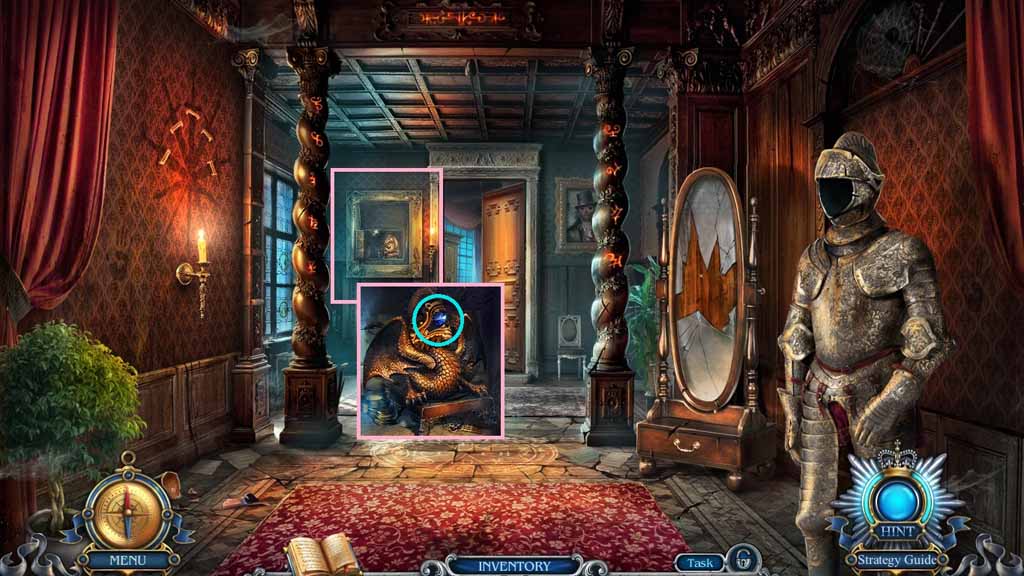
- Attach the 2 dragon’s wings onto the dragon.
- Collect the sapphire eye.
- Move ahead.
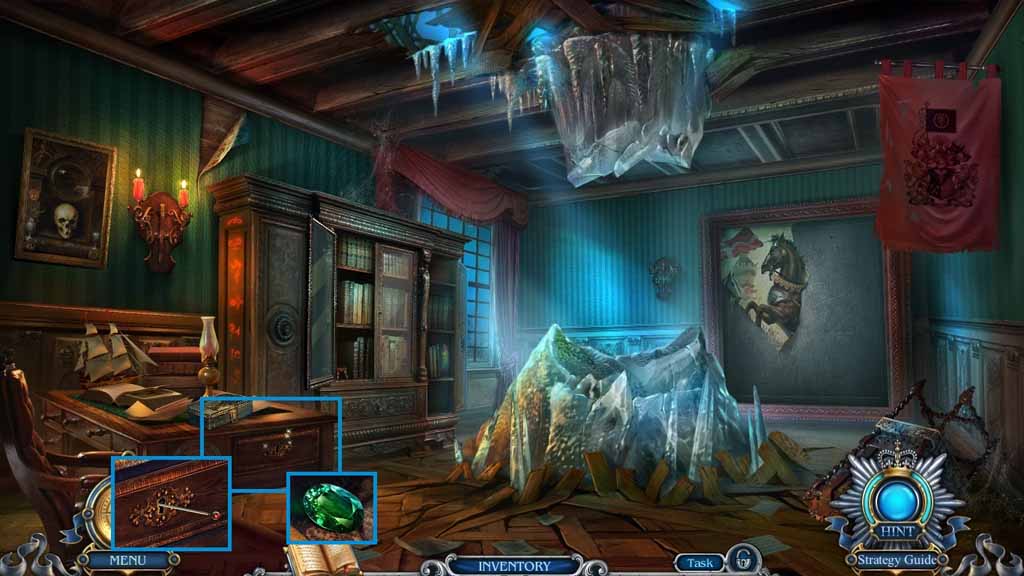
- Place the pin into the lock; collect the emerald eye.
- Move down 3 times.
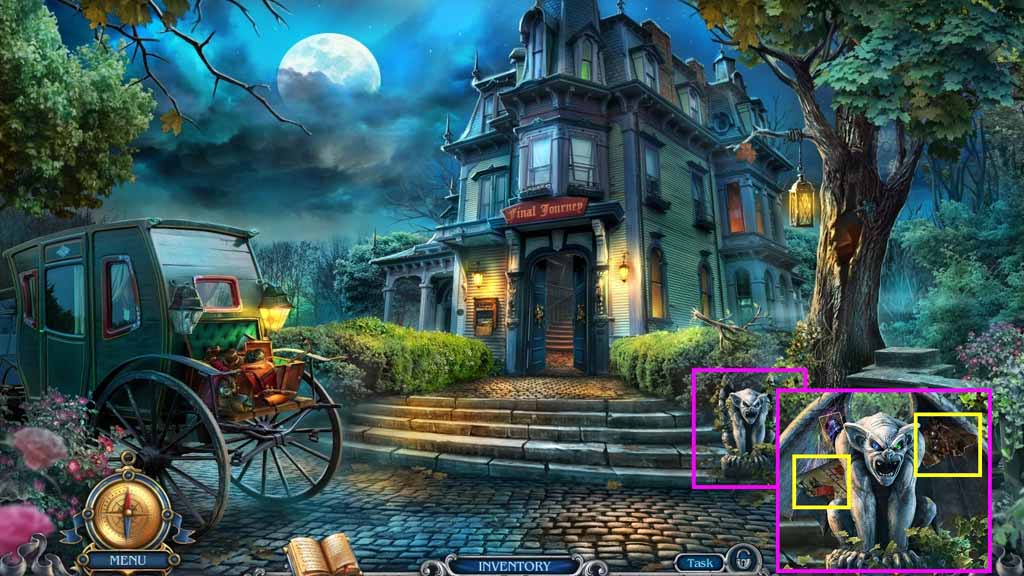
- Place the sapphire and emerald eyes into the slots.
- Collect the 2 picture pieces.
- Move to the Office.
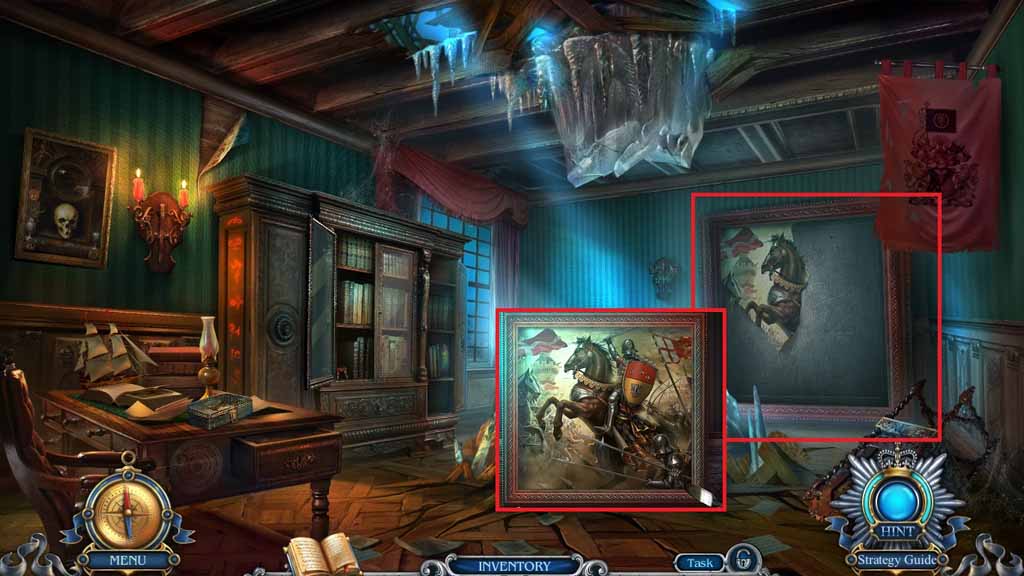
- Place the 3 picture pieces onto the torn picture.
- Use the paintbrush to restore the picture.
- Click the hidden objects area.
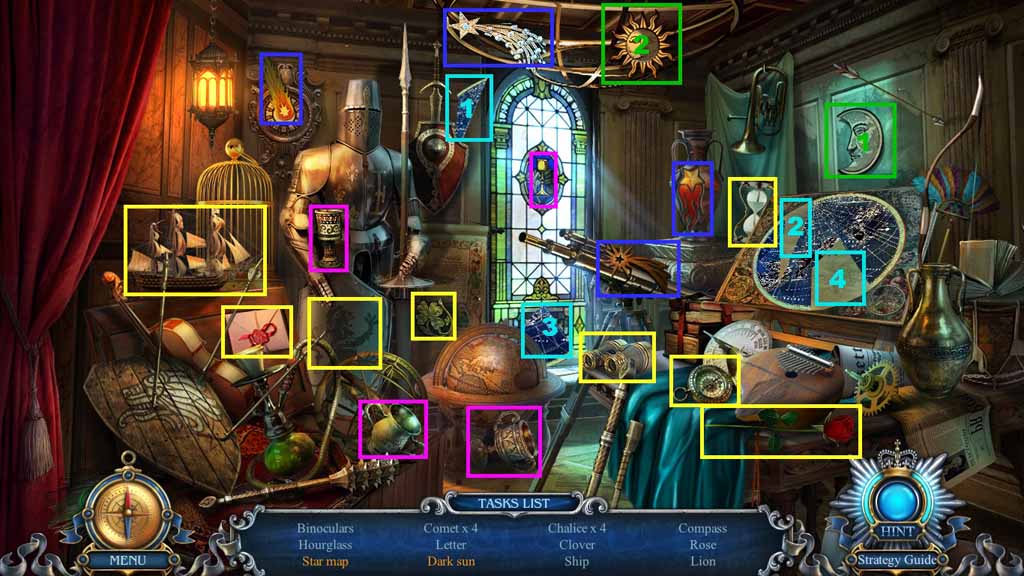
- Find the listed items.
- Collect the map pieces and place them into the map; collect the star map.
- Place the sun into the moon; collect the dark sun.
- Collect the clover charm.
- Move to the Garden.
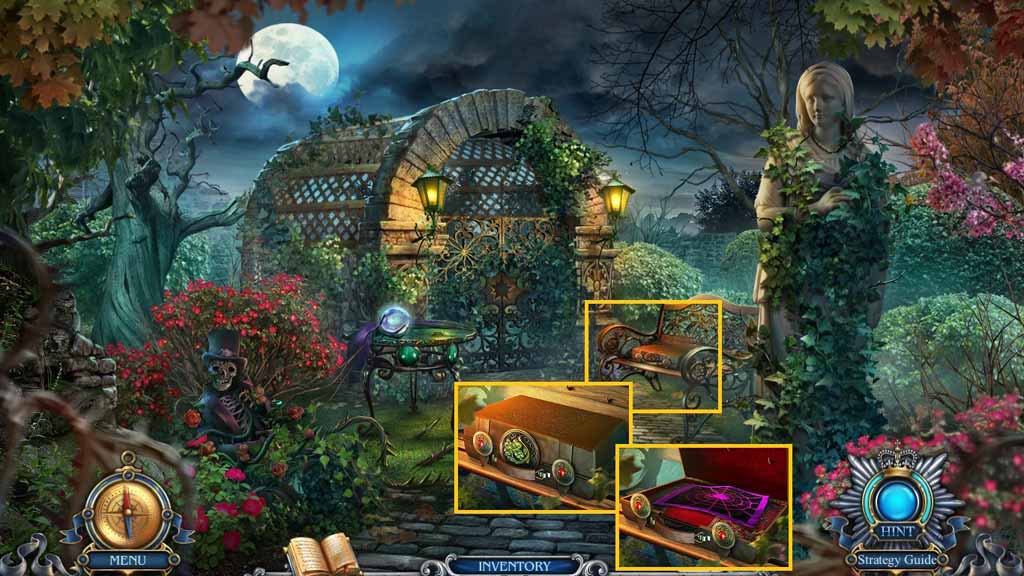
- Place the clover charm into the groove; click the suitcase.
- Collect the magic cloth.
- Move to the Office.
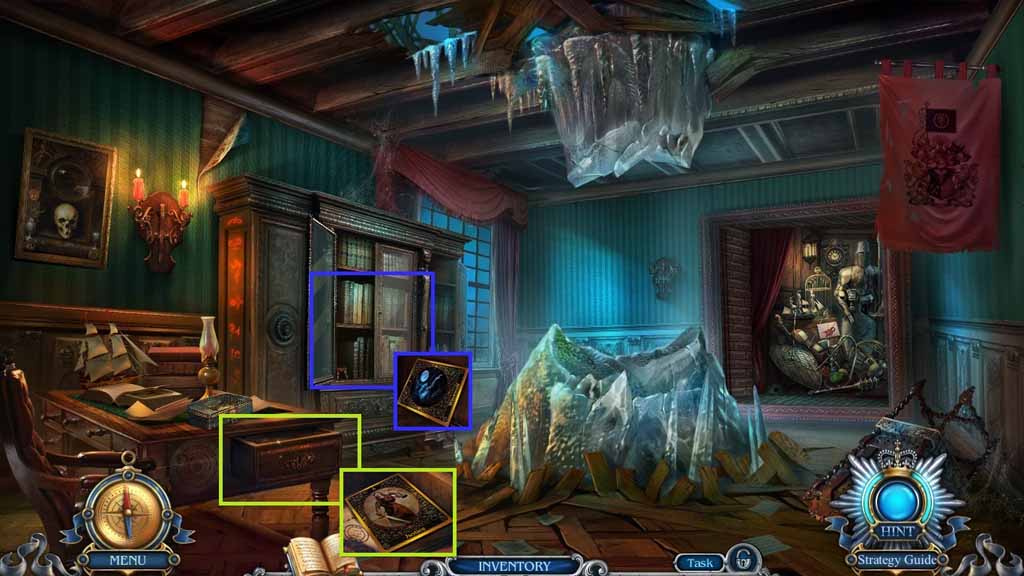
- Place the magic cloth onto the card; collect 1 / 7 cards.
- Place the magic cloth onto the card; collect 2 / 7 cards.
- Move to the Werewolf’s Room.
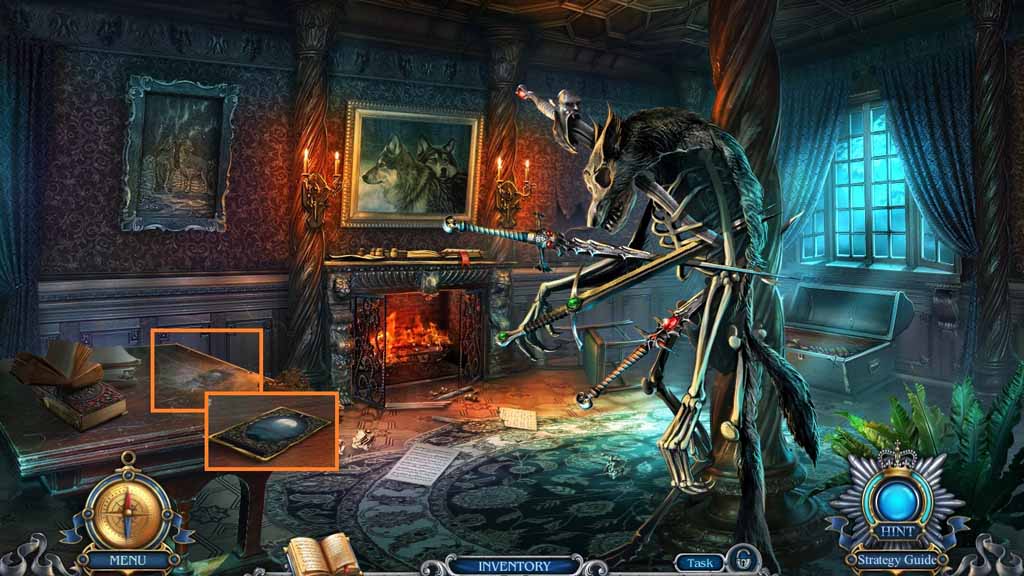
- Place the magic cloth onto the card; collect 3 / 7 cards.
- Move to the Vampire’s Room.
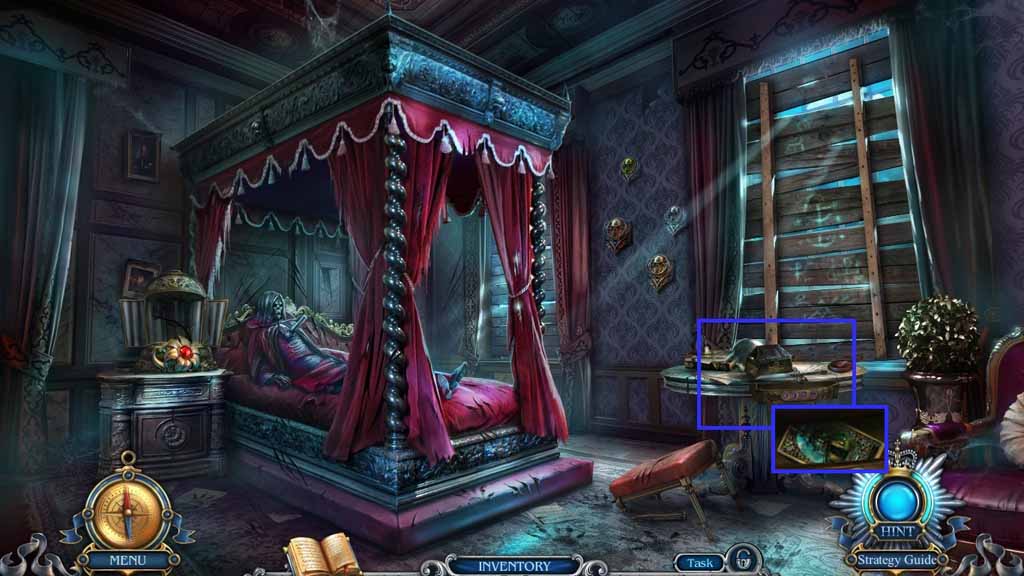
- Place the magic cloth onto the card; collect 4 / 7 cards.
- Move down 3 times.
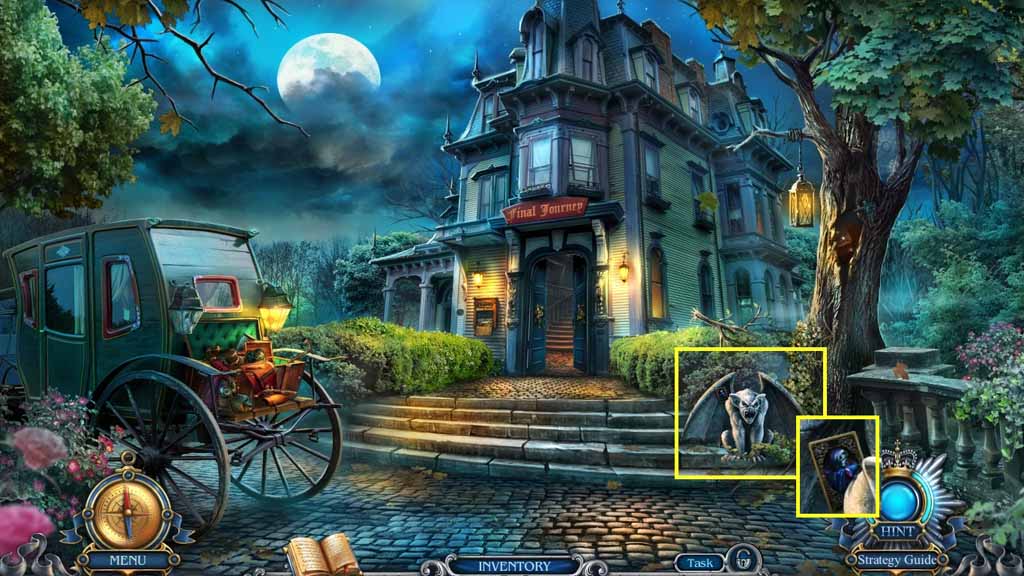
- Place the magic cloth onto the card; collect 5 / 7 cards.
- Move to the Hallway.
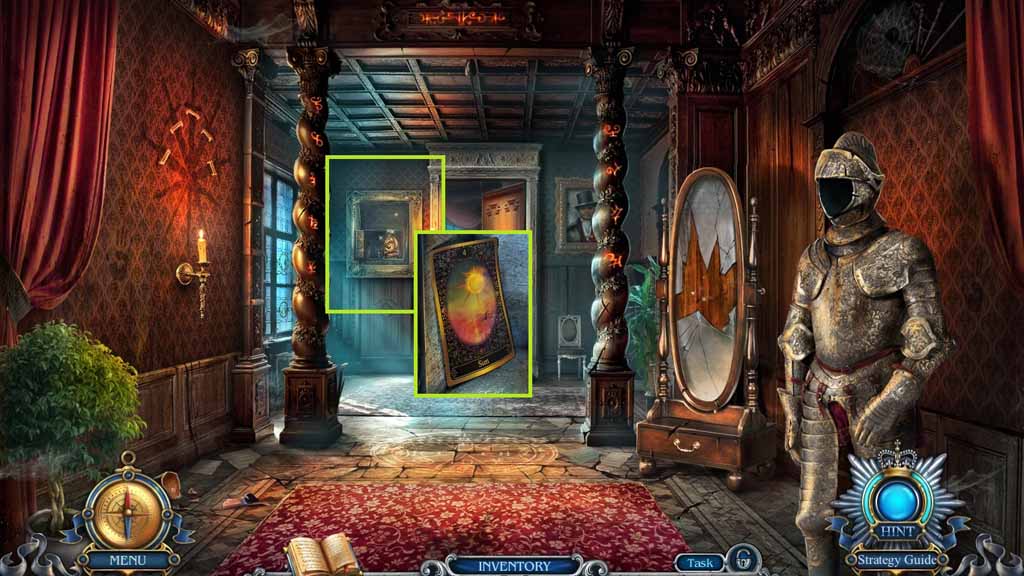
- Place the magic cloth onto the card; collect 6 / 7 cards.
- Move to the Corridor.
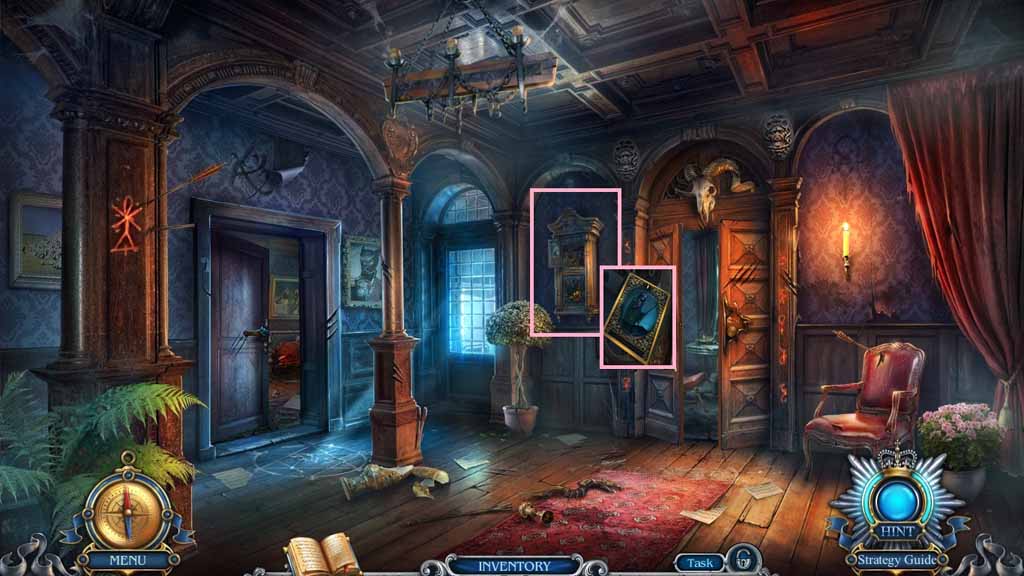
- Place the magic cloth onto the card; collect 7 / 7 cards.
- Move to the Garden.
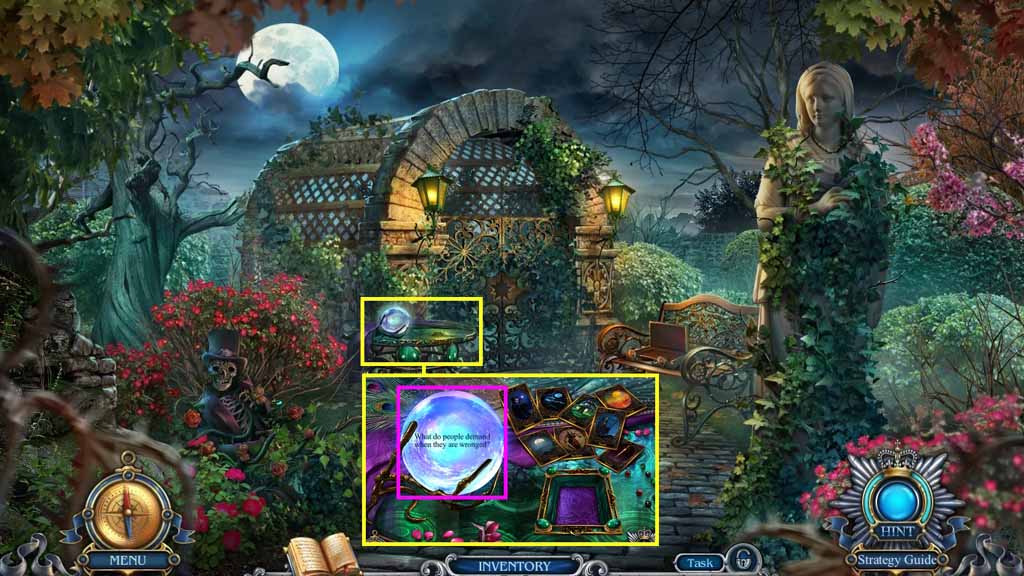
- Place the 7 cards down to trigger a mini-game.
- Solve the game by answering the crystal balls questions by selecting the correct cards.
- Collect the crystal ball.
- Move to the Office.
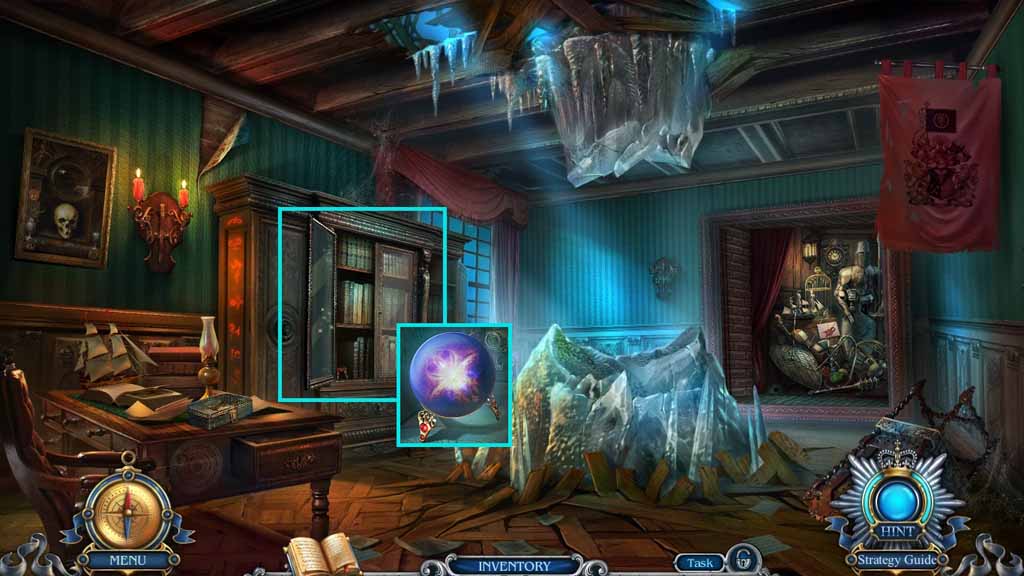
- Place the crystal ball into the bowl.
- Move into the Library.
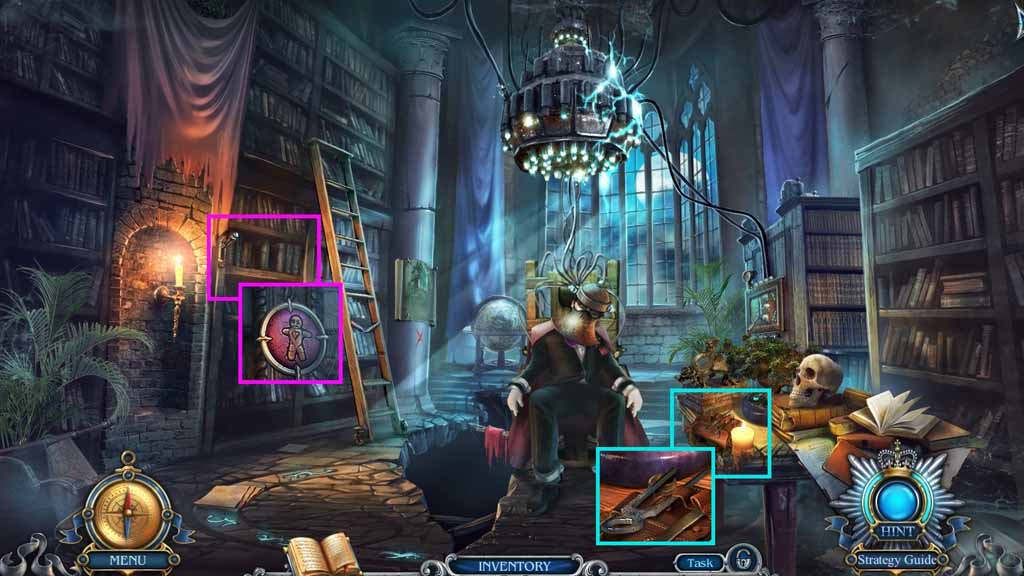
- Collect the tiles.
- Collect the pincers.
- Move down 4 times.
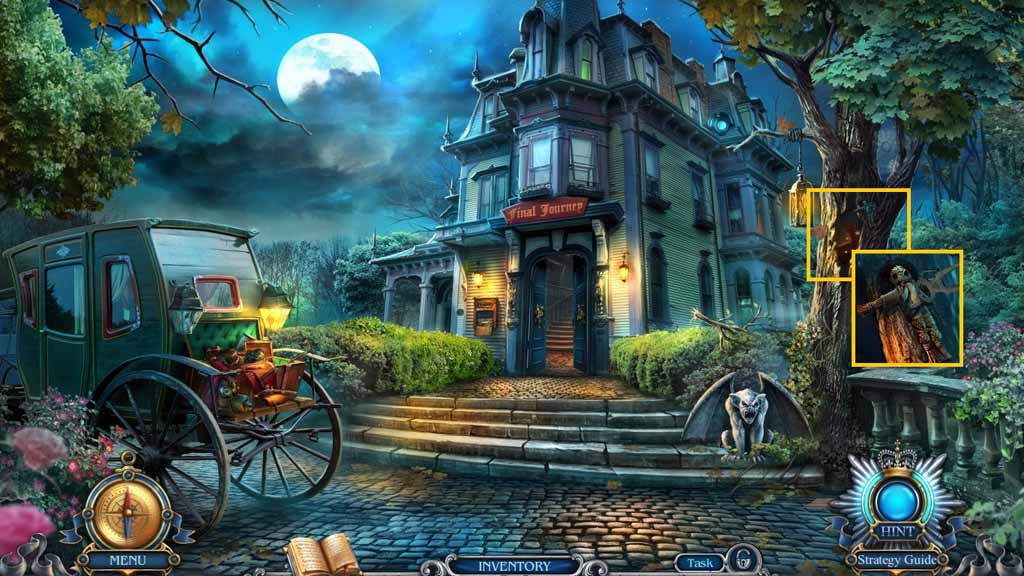
- Use the pincers to collect the 2 nails; collect the voodoo doll.
- Move to the Werewolf’s Room.
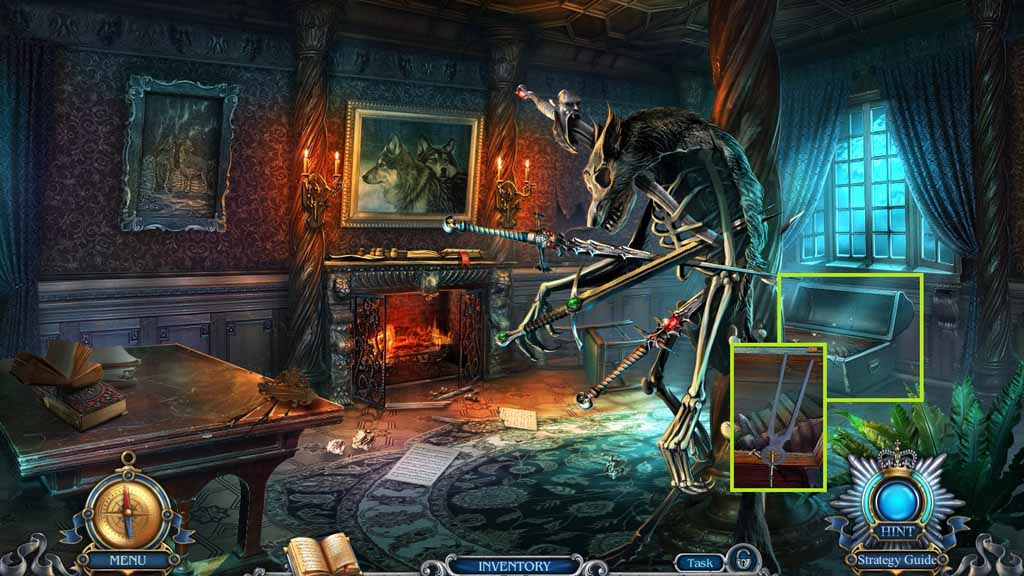
- Use the pincers to collect the 2 nails.
- Move to the Library.
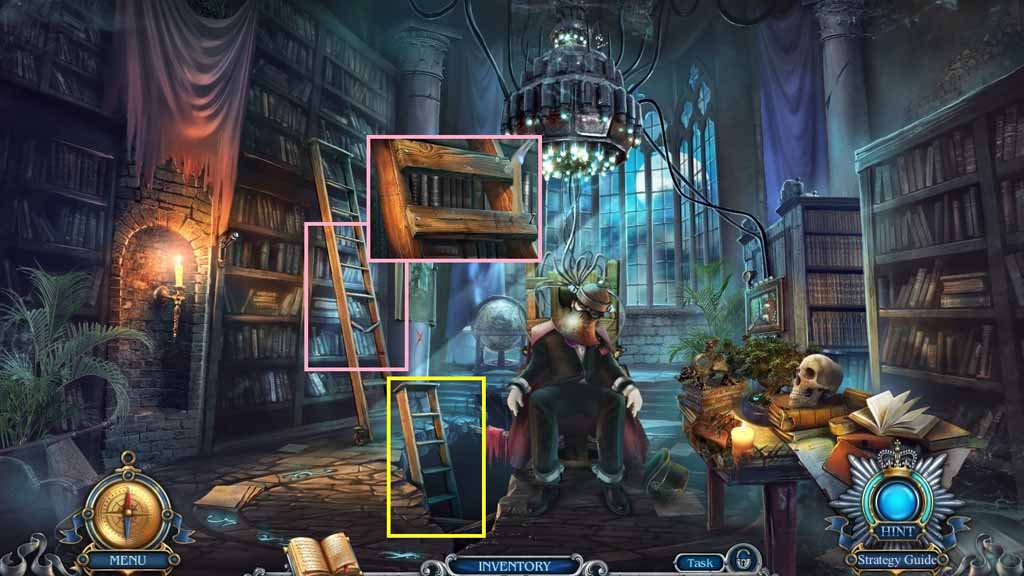
- Click the broken rung.
- Attach the boards and the 4 nails onto the ladder.
- Use the hammer to secure the nails; collect the ladder.
- Place the ladder into the crack.
- Move down the ladder.
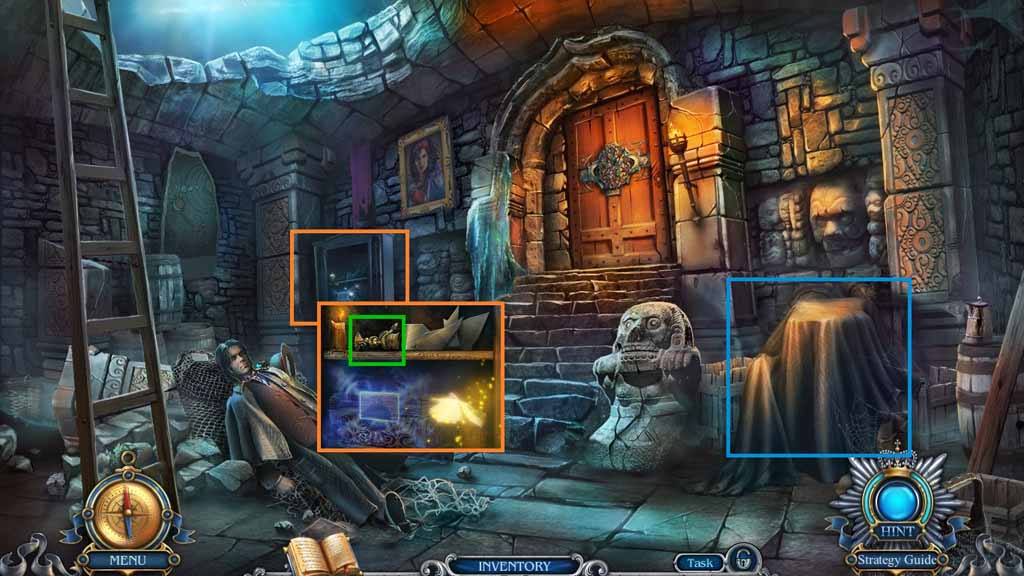
- Click the blanket.
- Use the flutter fire to ignite the candles.
- Collect the bowl of Hygeia.
- Move to the Office.
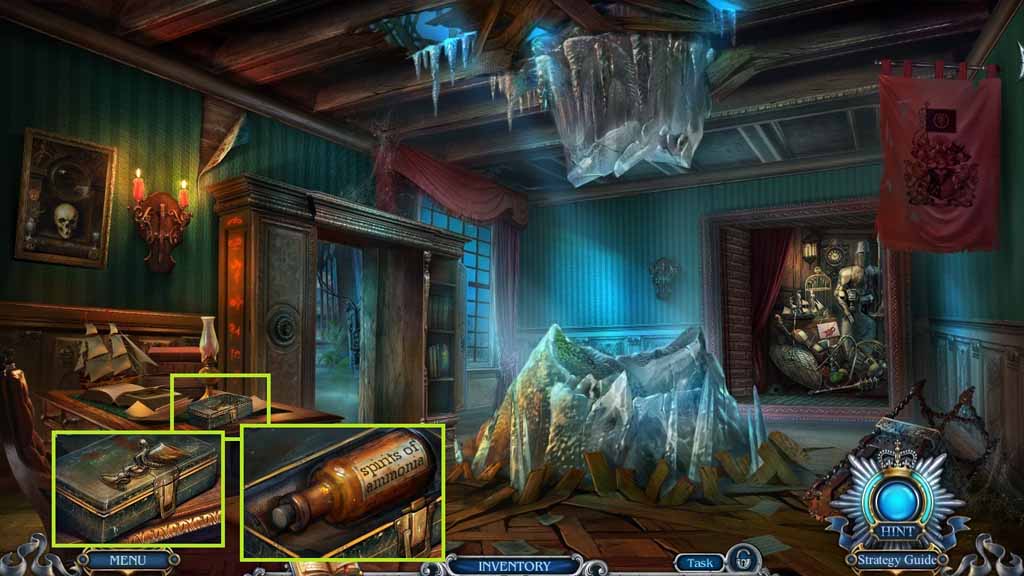
- Place the bowl of Hygeia into the slot.
- Collect the spirits of ammonia.
- Move to the Secret Hallway.
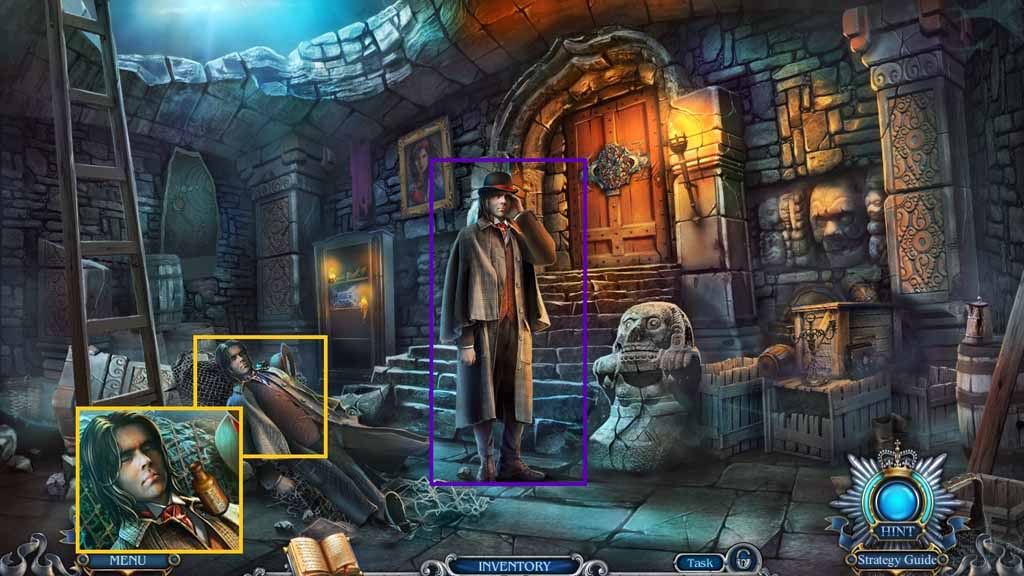
- Place the spirits of ammonia next to the man.
- Speak to the man; collect the key.
- Move up.
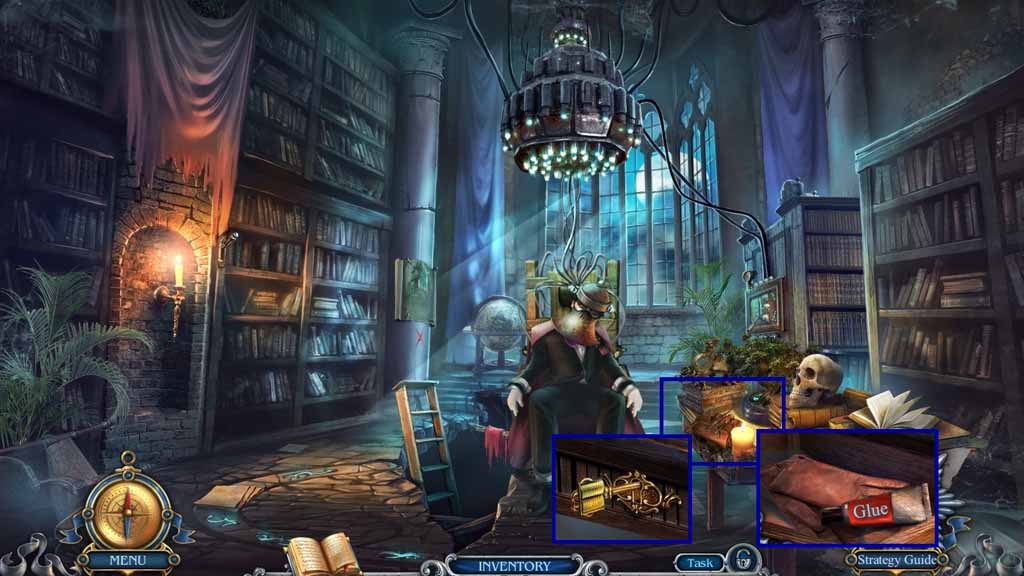
- Place the key into the lock and click it.
- Collect the glue and the gloves.
- Move to the Secret Hallway.
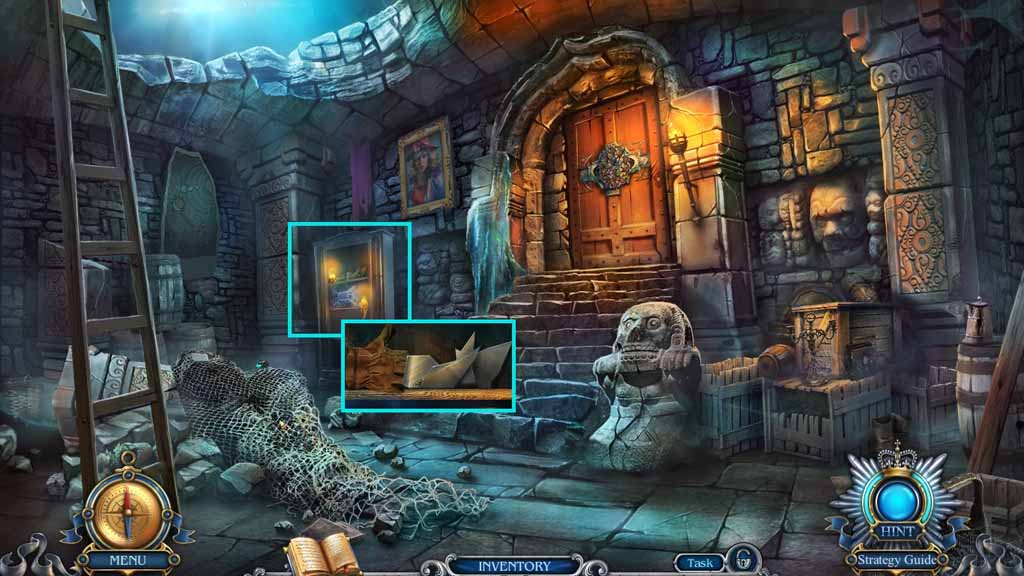
- Select the gloves to collect the mirror shards.
- Move to the Hallway.
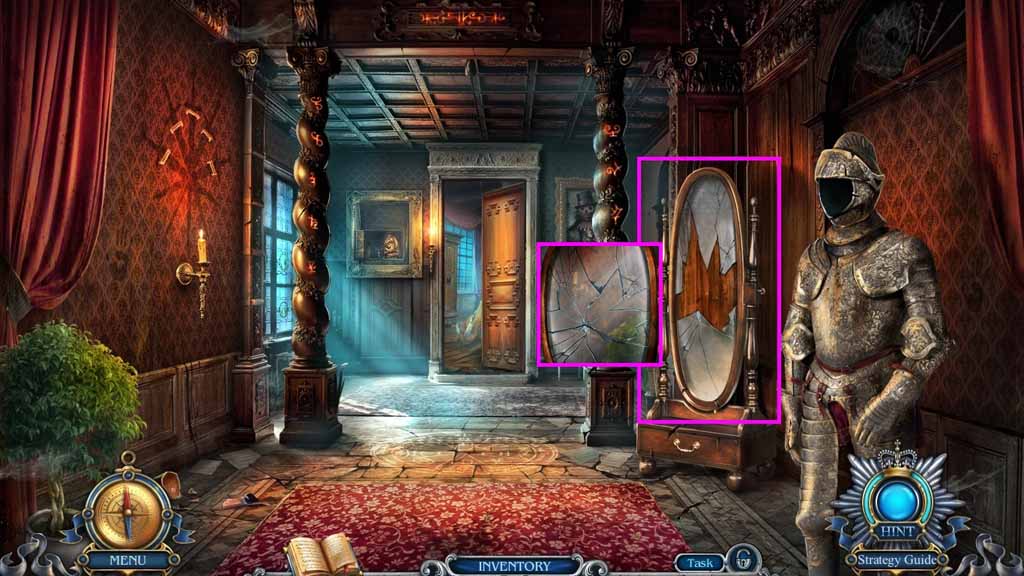
- Place the glue onto the mirror and insert the mirror shards to trigger a mini-game.
- Solve the game by assembling the mirror shards correctly.
- Enter the mirror.
Comments will load when you reach this part of the walkthrough.